
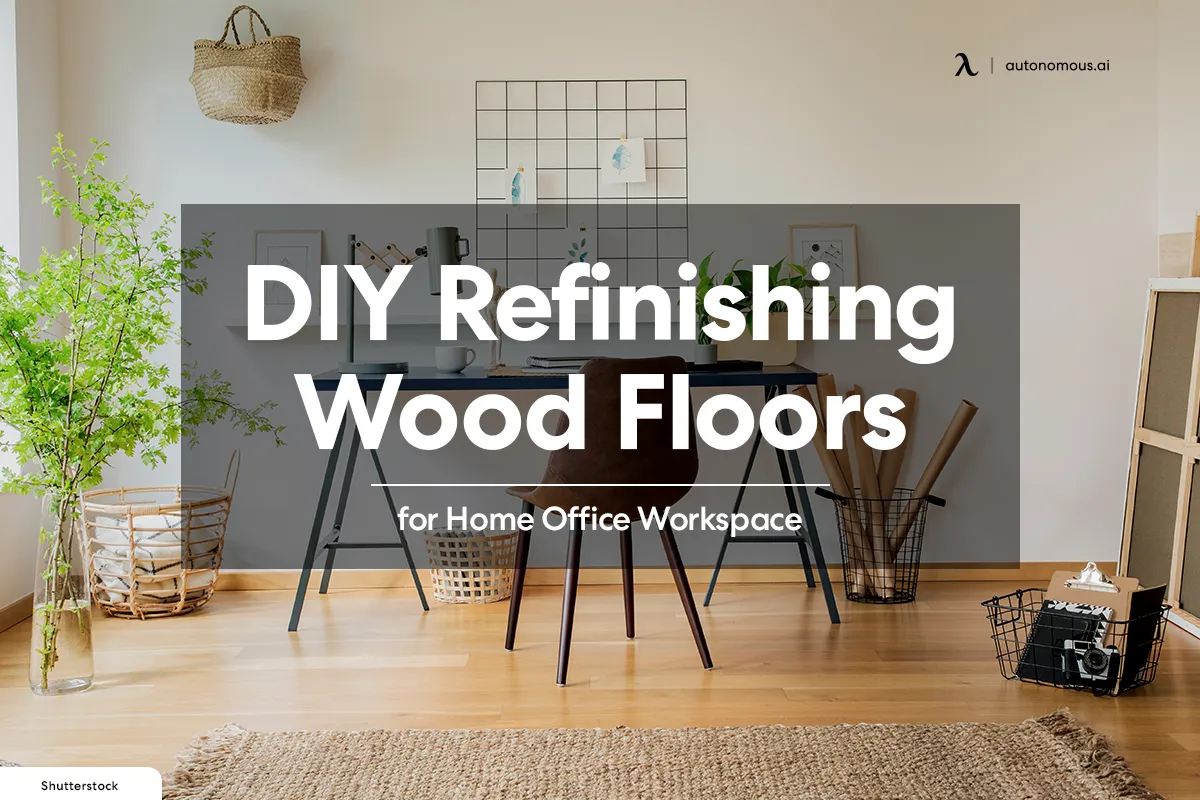
DIY Refinishing Wood Floors for Home Office Workspace
A well-kept and properly maintained office space, whether the desk or the office room, is important for an employee to feel productive. The idea that our surroundings shape us applies seriously to the workplace, which is why office aesthetics and designs play a huge role in shaping employees' productivity. And since many tiny and big factors are involved which make a workplace appealing and even user-friendly, you need to pay attention and get the job done before it's too late so the cost isn't too high nor the damage is permanent.
For office spaces and professional offices, there is a lot of chair movement involved with hundreds of steps taken on the floor throughout the day. Hence a floor is most prone to marks from the chair wheels, stains from dirty shoes, and all kinds of permanent damages. A simple project for DIY refinishing wood floors can help you achieve the perfect results without redoing the entire place. This article will cover a simple guide on refinishing wood floors process, which can be done for homes, offices, or even outdoor sheds like a prefab studio setup, privacy pod, or a wooden pod for the garden.
How to Refinishing Wood Floors
Prepare the Room

The prep stage of a wooden floor refinishing is most important and greatly impacts how the final results will turn out. Hence this process needs to be catered to most skillfully and patiently. To prepare the room, first, you need to empty the room. The whole floor should be exposed so the final look has uniformity.
Take out all the furniture you have and store it away because even sliding them away will cause you trouble, and the furniture will come in. It is best to store your furniture in a shed for a clutter-free and proper process. If the room is too important for work, you can set up a temporary room in an office pod. You can set up an outdoor prefab office until the work is done so there is no distraction. If you don't have backyard space with a shed, an indoor office pod can be a great choice too. A variety of Autonomous pods can be used for this purpose.
Clean the Floor
Some dirt particles are visible, while many are too tiny to be caught by the naked eye. Ensure you have cleaned every inch to the core before proceeding with your process. Take a mop and dip it into the mixture of hardwood flooring cleaner or make your cleaner with a 10:1 ratio of water to vinegar. Gently mop the entire surface without redoing a certain part more than 3 times. Turn on the fan for the cleaner to dry and the smell to subside as you don't want the cleaner cutting your throat when working here for the next few days.
Patch and Repair
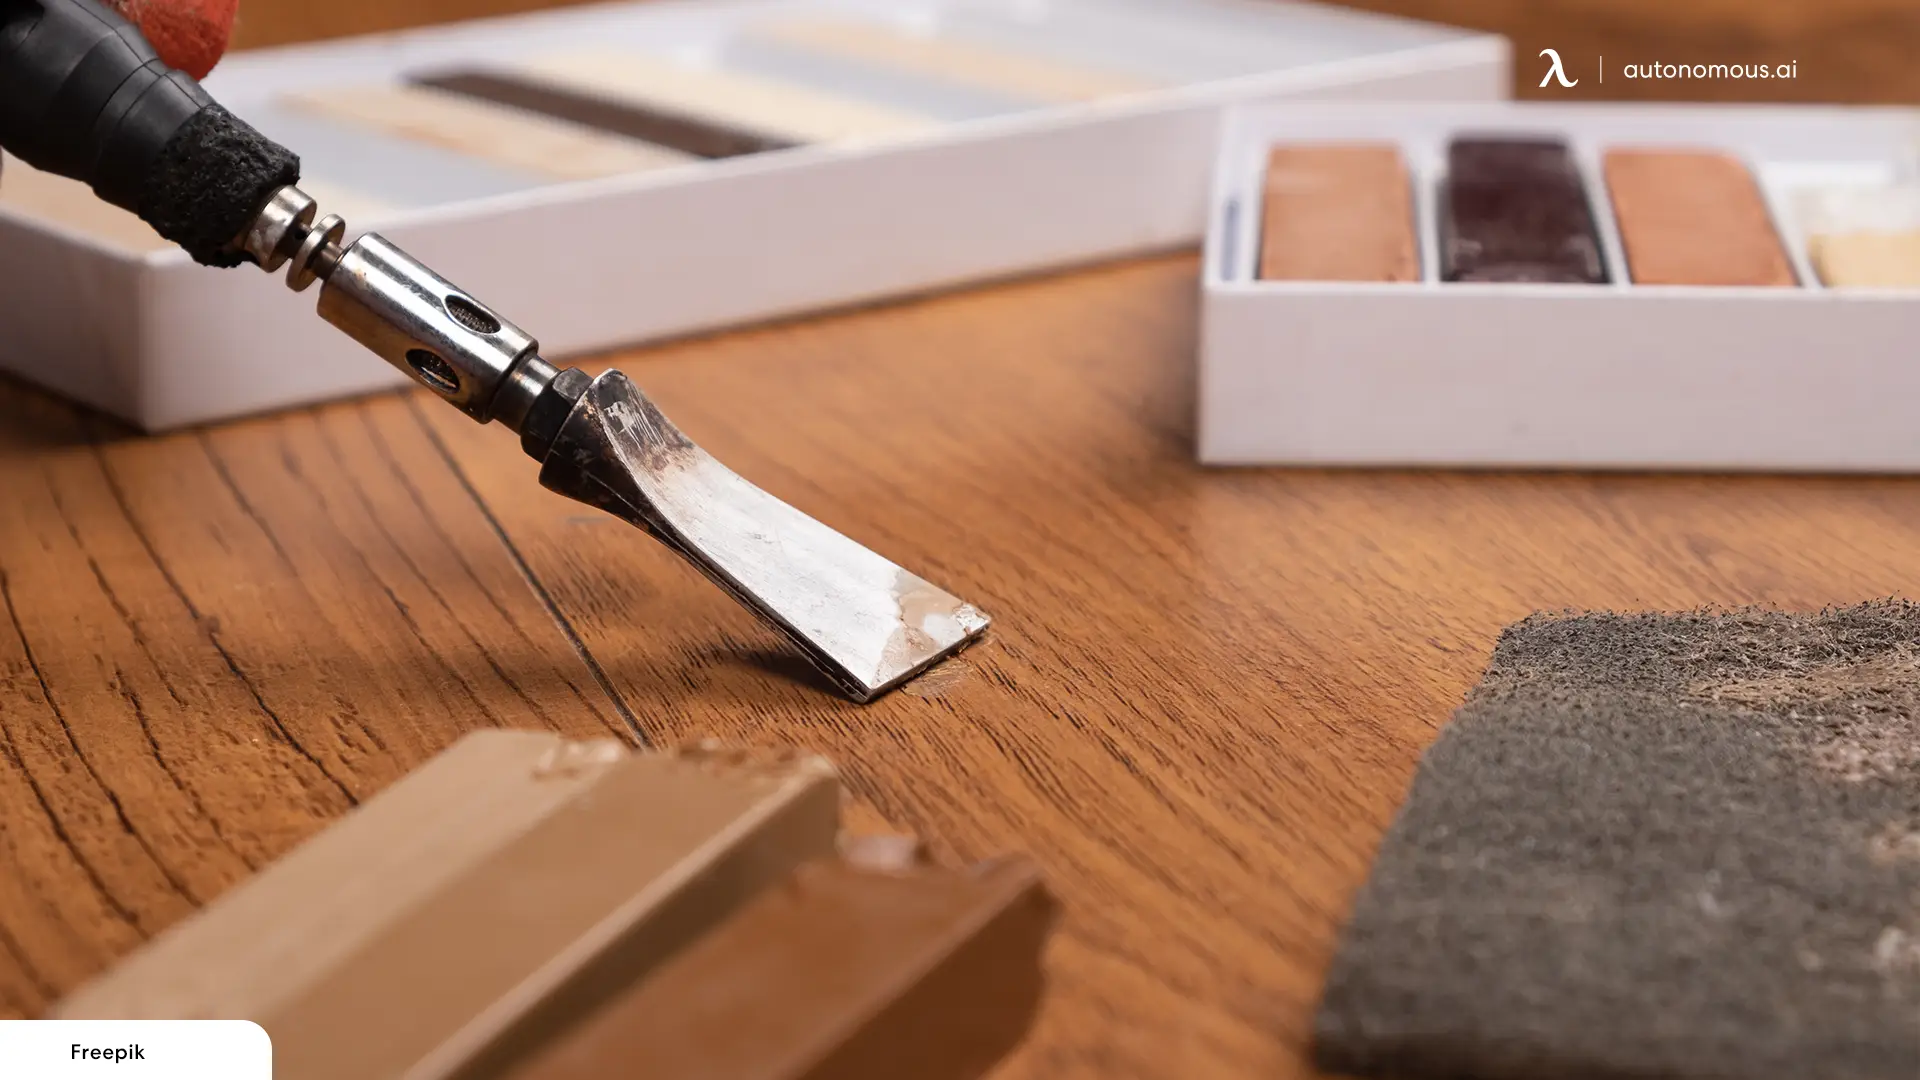
Use wood filler and a spackle knife to patch any larger cracks or holes in the floor. For flooring that has attained significant damage the best type of repair option is to use a trowel filler and some thin wood filler to fill the holes or cracks and then even it up this requires a large putty knife. However, if your flooring only has minor damage, you can use a wood patch filler in isolated areas. Allow the filler to dry fully. To eliminate all the dirt and debris, wipe the floor with a moist rag. Sand it when it has completely dried.
Sanding
Once the room is empty and exposed start by removing the molding, which holds the wooden layer in place, you can gently insert a molding bar between the floor and trim and take off the molding easily. Be gentle and get as thin of a tool as possible to prevent any permanent damage. Any protruding nails or bumps at this point should be hit back to the floor, so they don't cause any turbulence or uneven results when sanding.
Sanding can begin after the room has been prepared. Three power tools are required for this task: a large walk-behind sander for the room's main area, a hand-held random orbital sander for the edges, and a detail sander for the corners. Although it will take considerably more time and work, it is also possible to finish the corners by hand.
Buff the Floor
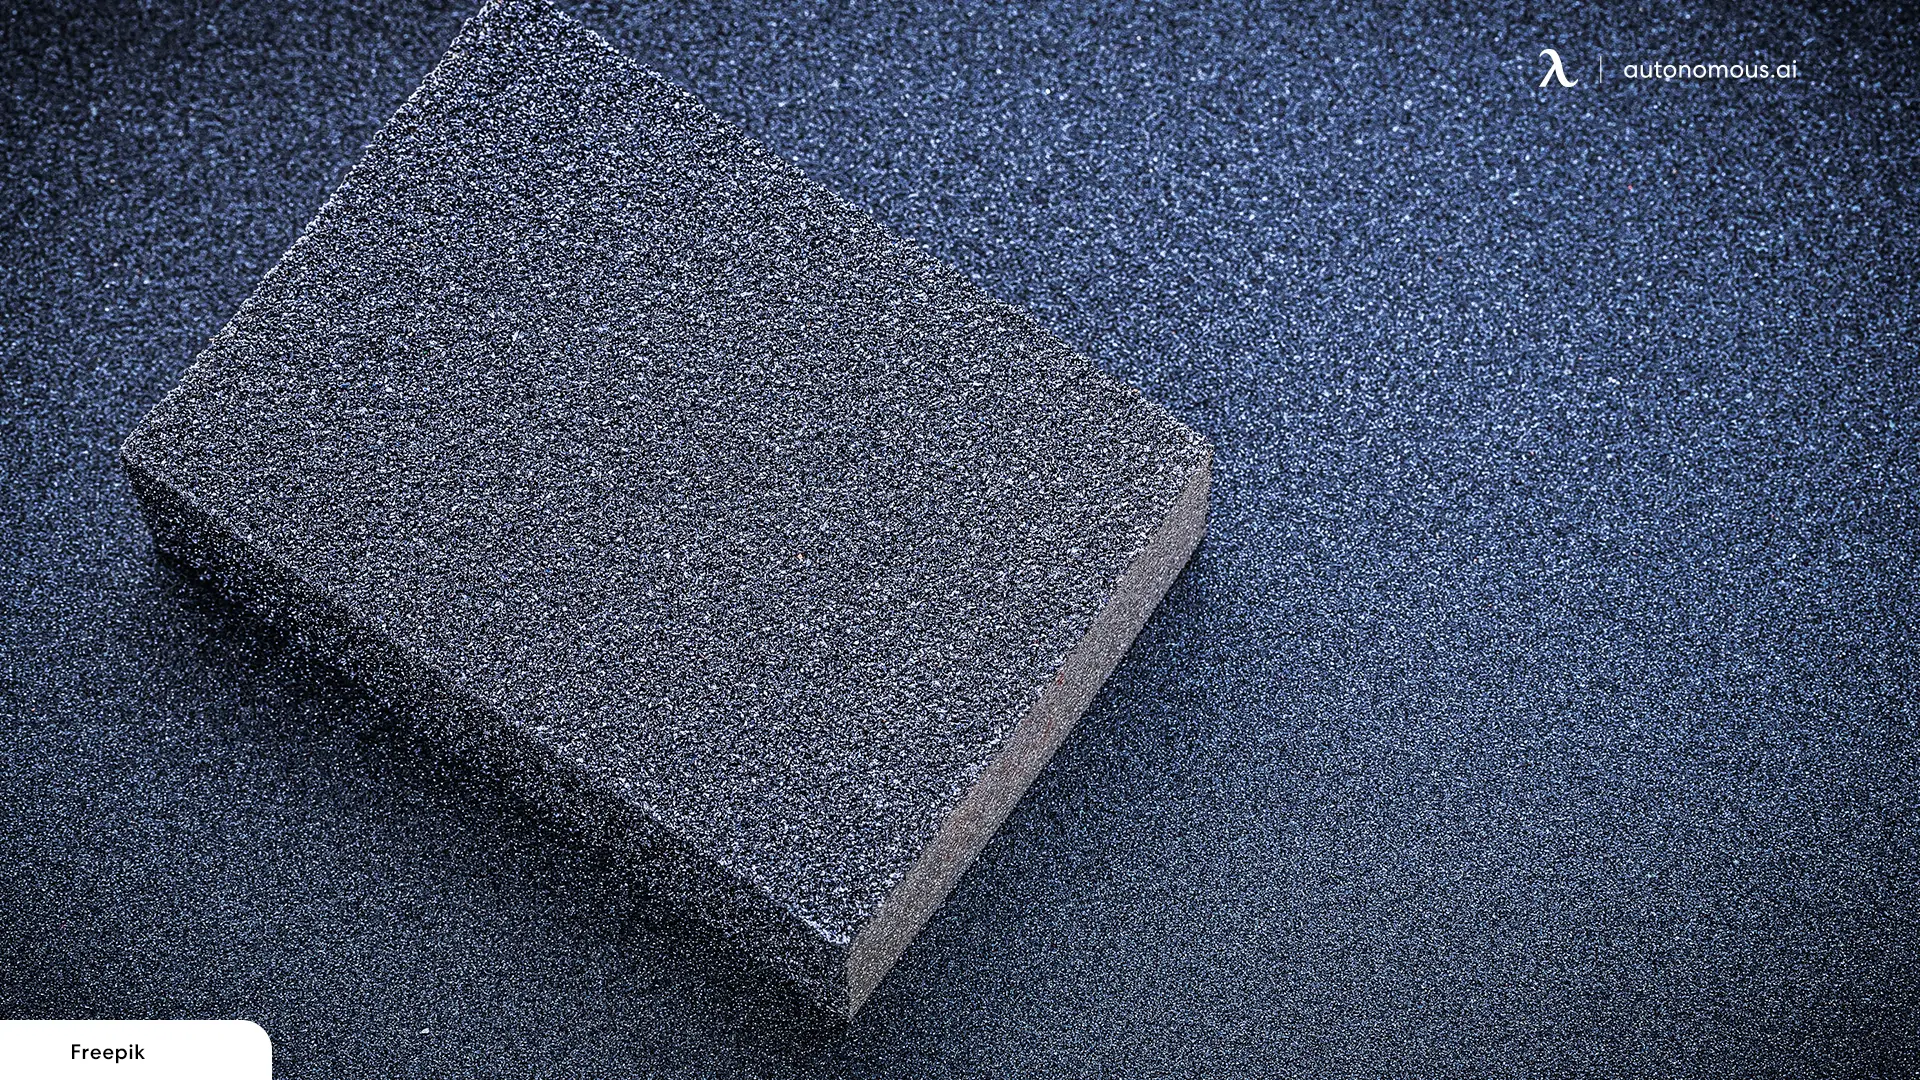
Sanding is a rough process and needs to be done roughly for better results. Thus, you can expect some sanding marks on the floor once done with the process. The floor of the prefab studio will become entirely smooth after buffing, eliminating all sanding traces. Some people use an industrial rented buffer for this job, but the pole sander is an excellent alternative. A pole sander requires a little more time, but it is also less expensive and easier to use than a buffer. Buff the floor along each board while going back and forth with the grain using a 120-grit sanding screen.
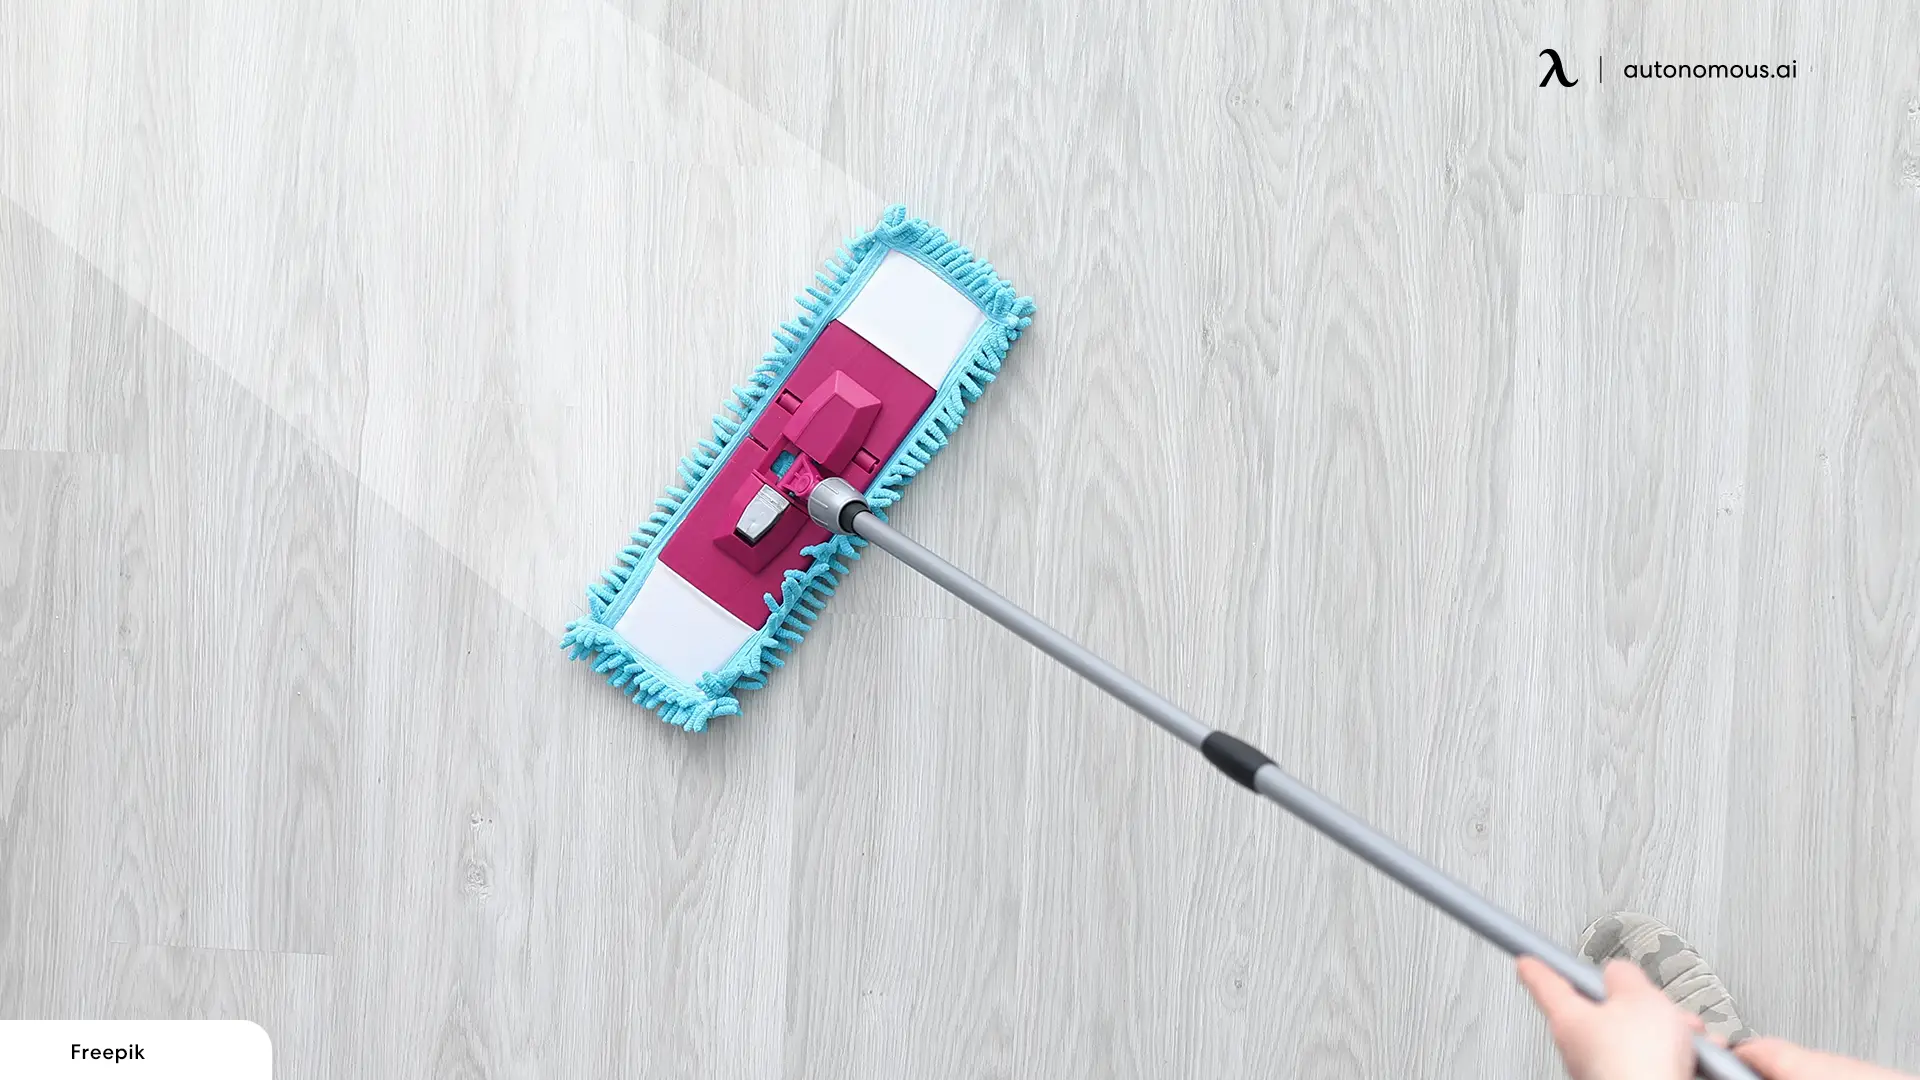
Stain Prep
Staining is like a new and fresh paint job that needs to be done before you can seal the deal with the floor. Since staining is crucial, its prep is equally important too. Make sure you don't have single dirt, fly, dust, or hair on the floor, which can get caught under the stain and later show up as a risen surface or uneven streak.
Wipe the walls with the help of a broom and vacuum the entire floor, taking special attention to the edges. Try to prevent shoe marks and wear socks when walking on the floor. Once done with this process, start staining the floor. Stain is mostly optional, but staining helps you choose a different color for an entire refinishing job.
Seal the Floor
Finish by sealing the floor once the stain has dried or if you are bypassing the stain. Sealing gives the floor luster and gloss to highlight the beauty of the wood while defending it against water damage, dents, and scratches.
The most widely used hardwood sealer is probably polyurethane, which is offered as a water-based or oil-based solution. Because polyurethane provides great protection against water and scratches and requires little maintenance, it rests on top of the hardwood.
Conclusion
If a tiny scratch pops on the wooden floor or a hardwood floor, the first instinct is to call the handyman so he can control the problem before it even increases. Though these professionals are best at what they do, they also cost a lot, and with daily wear and tear involved, you cannot hire a service every other week. Thankfully there are some simple above steps for refinishing wood floors that can be done yourself at home with just a simple tool and accessories. Now, let’s start your DIY refinishing wood floors plan!
/https://storage.googleapis.com/s3-autonomous-upgrade-3/production/ecm/240417/april-10-off-offer-2024-1920x540-CTA.jpg)
/https://storage.googleapis.com/s3-autonomous-upgrade-3/production/ecm/240417/april-10-off-offer-2024-720x1200-CTA.jpg)
/https://storage.googleapis.com/s3-autonomous-upgrade-3/production/ecm/240415/bulk-order-apr-2024-offer-720x1200-CTA-min.jpg)
Subscribe for a 10% discount on your first order.
Sign up for our weekly update and be the first to know about our specials & promotions.
/https://storage.googleapis.com/s3-autonomous-upgrade-3/production/ecm/240415/pod-offer-apr-2024-720x1200-CTA.jpg)
Verbreiten Sie es weiter
/https://storage.googleapis.com/s3-autonomous-upgrade-3/static/upload/images/new_post_author/admin-1.png)