How to Adjust the Autonomous ErgoChair Pro
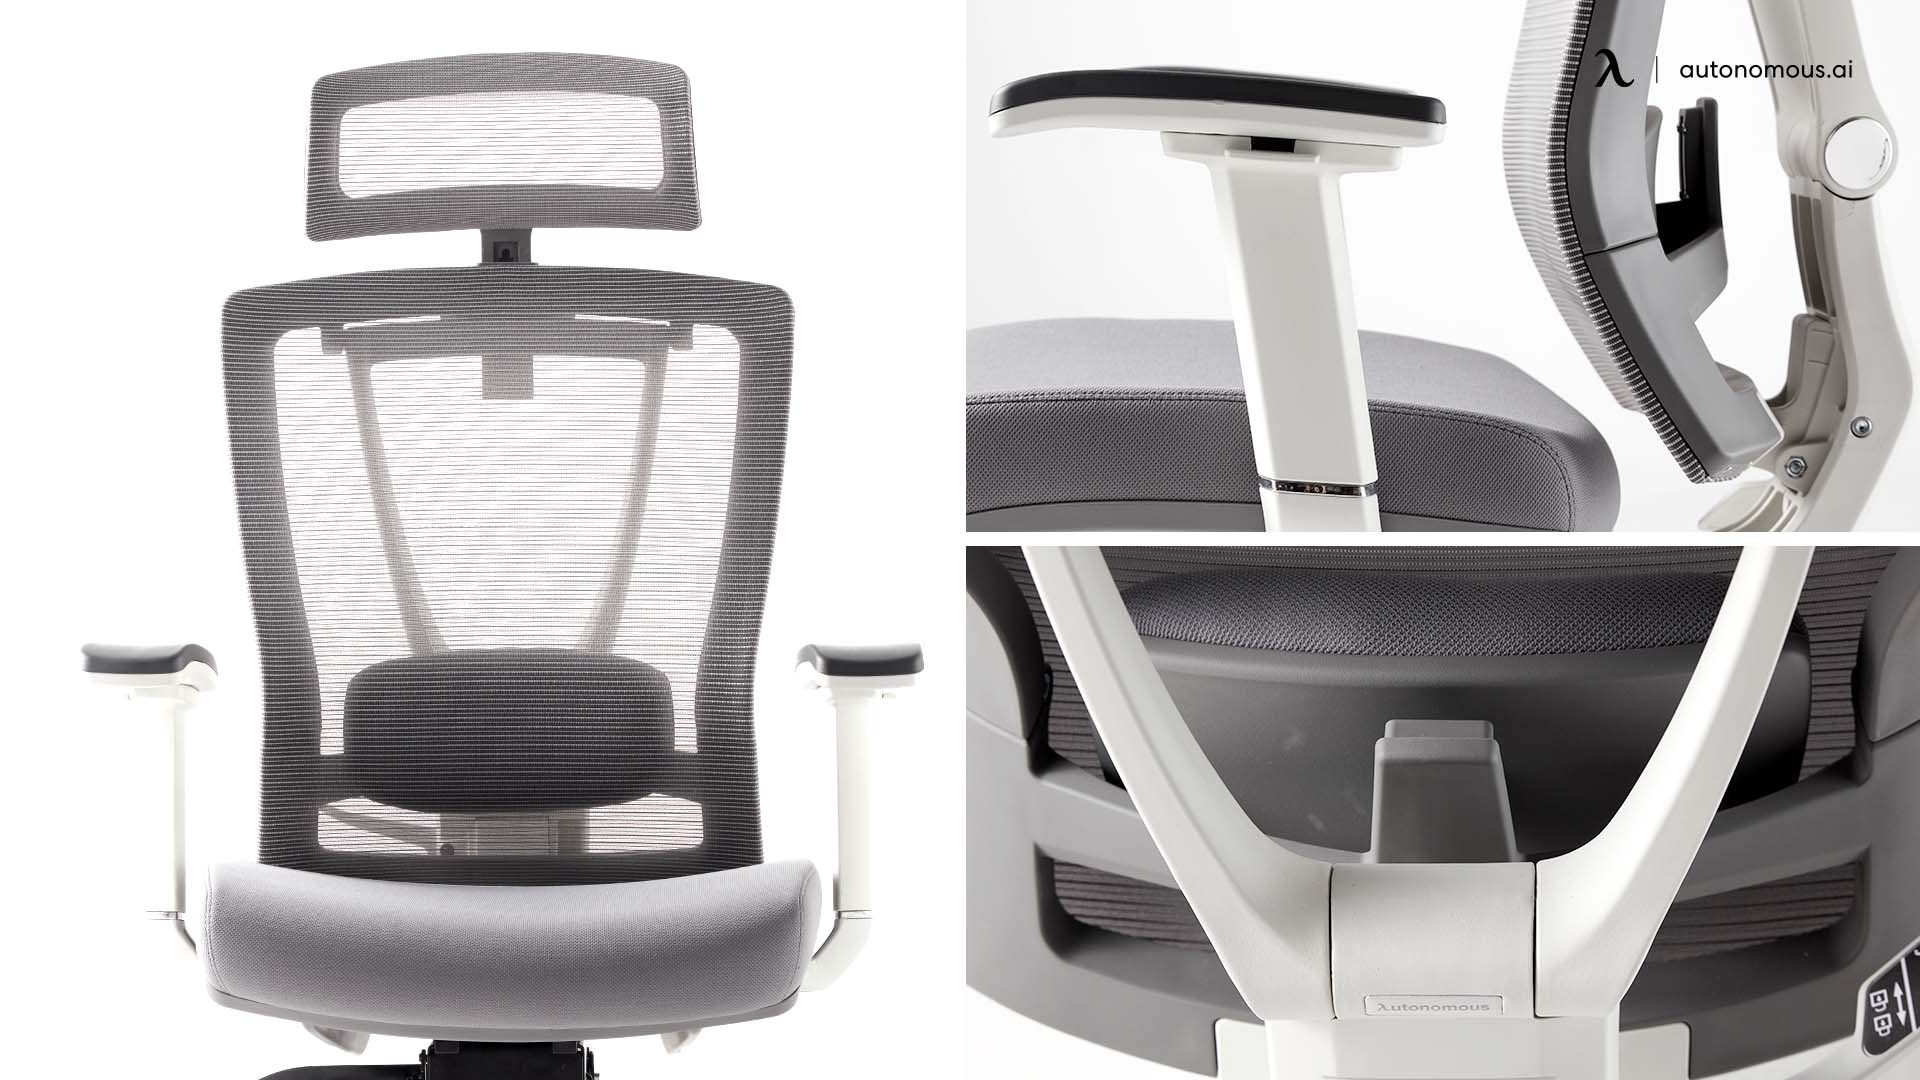
The Autonomous ErgoChair Pro has eight adjustment points - seat height, seat depth, recline angle, back tilt tension, seat tilt, lumbar position, headrest, and armrests. Setting them in the right order takes 5 minutes and makes the difference between a chair that fits and a chair that doesn't. Setting them in the wrong order - or skipping a step - leaves you with a chair that's mostly right and slightly uncomfortable for years.
This guide covers each adjustment, what it actually does, and the order I recommend setting them on a new office chair. The instructions match the official function guide that ships in the box.
Step | Adjustment | Target |
1 | Seat height | Feet flat on floor, knees at 90° |
2 | Seat depth | Two to three fingers between the seat front and the back of your knees |
3 | Backrest height (via lumbar) | Lumbar pad aligned with the small of your back |
4 | Recline angle and tension | Comfortable lean without forcing your weight against the back |
5 | Armrests | Forearms at 90°, shoulders relaxed |
6 | Headrest | Bottom edge supporting the base of your skull |
7 | Seat tilt | Neutral or slight forward angle for typing |
1. Seat height
Seat height is the foundation of every other adjustment. It controls how your feet rest on the floor and how your knees, hips, and spine align above them.
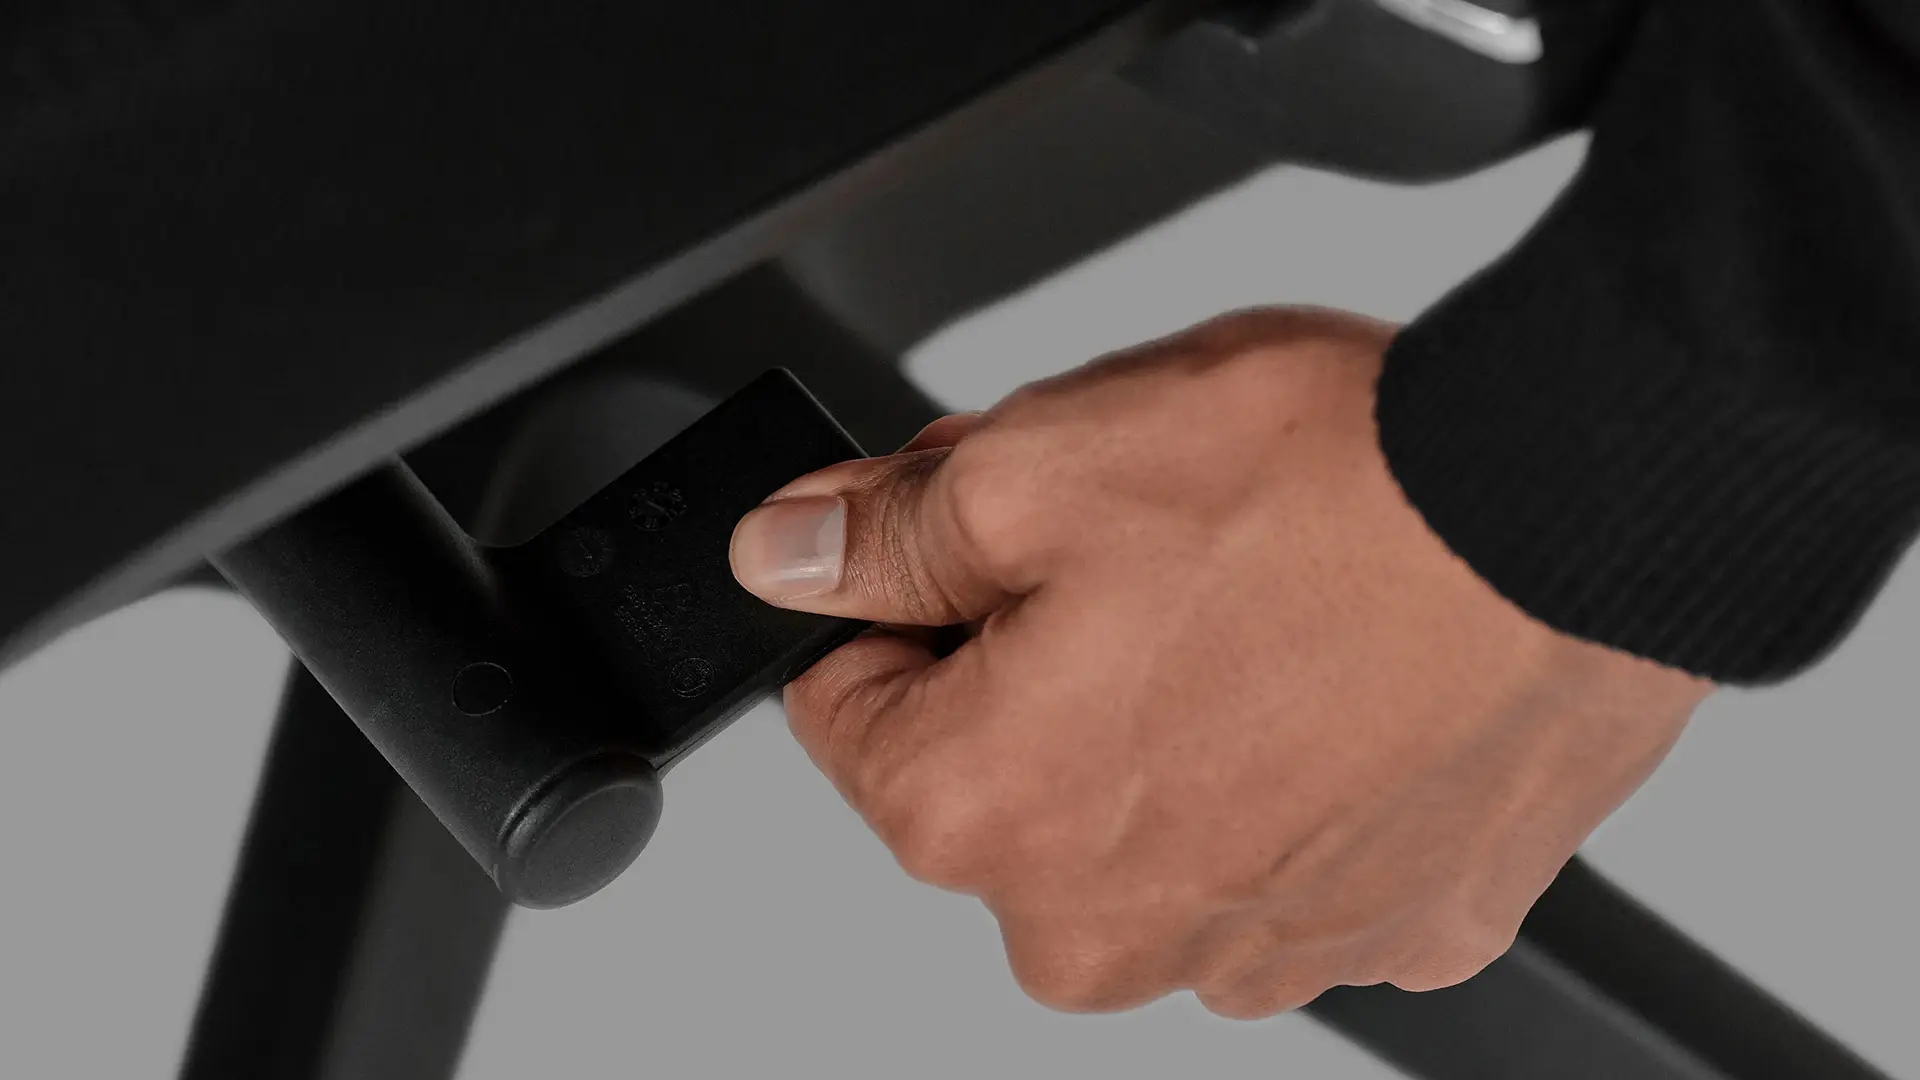
How to adjust: Pull the right-side lever up to lower the seat. Pull it again to raise. Release the lever at your preferred height - it locks in place.
Target: Feet flat on the floor, knees at 90°, thighs parallel to the floor or angled slightly downward. If your feet don't reach the floor at the chair's minimum height, use a footrest.
Range: The ErgoChair Pro adjusts from 18.5" to 22" seat height - enough range for users from 5'2" to 6'4" with feet flat.
2. Seat depth
Seat depth controls how much of your thigh the seat supports. Too deep, the seat presses against the back of your knees and cuts circulation. Too shallow, your thighs hang unsupported and your weight loads onto your sit bones.
How to adjust: Push the handle under the front-right of the seat to slide the seat pan forward up to 60mm. Release the handle to lock in position.
Target: Two to three fingers of clearance between the front edge of the seat and the back of your knees.
Range: 19" to 21.5" of depth adjustment.
3. Backrest and lumbar support
The lumbar support is the part of the backrest that presses into the curve of your lower spine. Setting it correctly is the single biggest comfort factor for long sessions.
How to adjust: A lever on the left side of the backrest unlocks the lumbar. Position A is locked, B is unlocked - slide to position B, adjust the height to fit your lower back, then return to A to lock.
Target: The lumbar pad should align with the natural curve of your spine at belt level - roughly where your back curves inward most.
The lumbar slides 6" along the backrest, which covers L3–L5 for users 5'2" to 6'4".

4. Back recline and tilt tension
Recline lets the backrest move with you when you lean back. Tilt tension controls how much force is needed to start the recline.
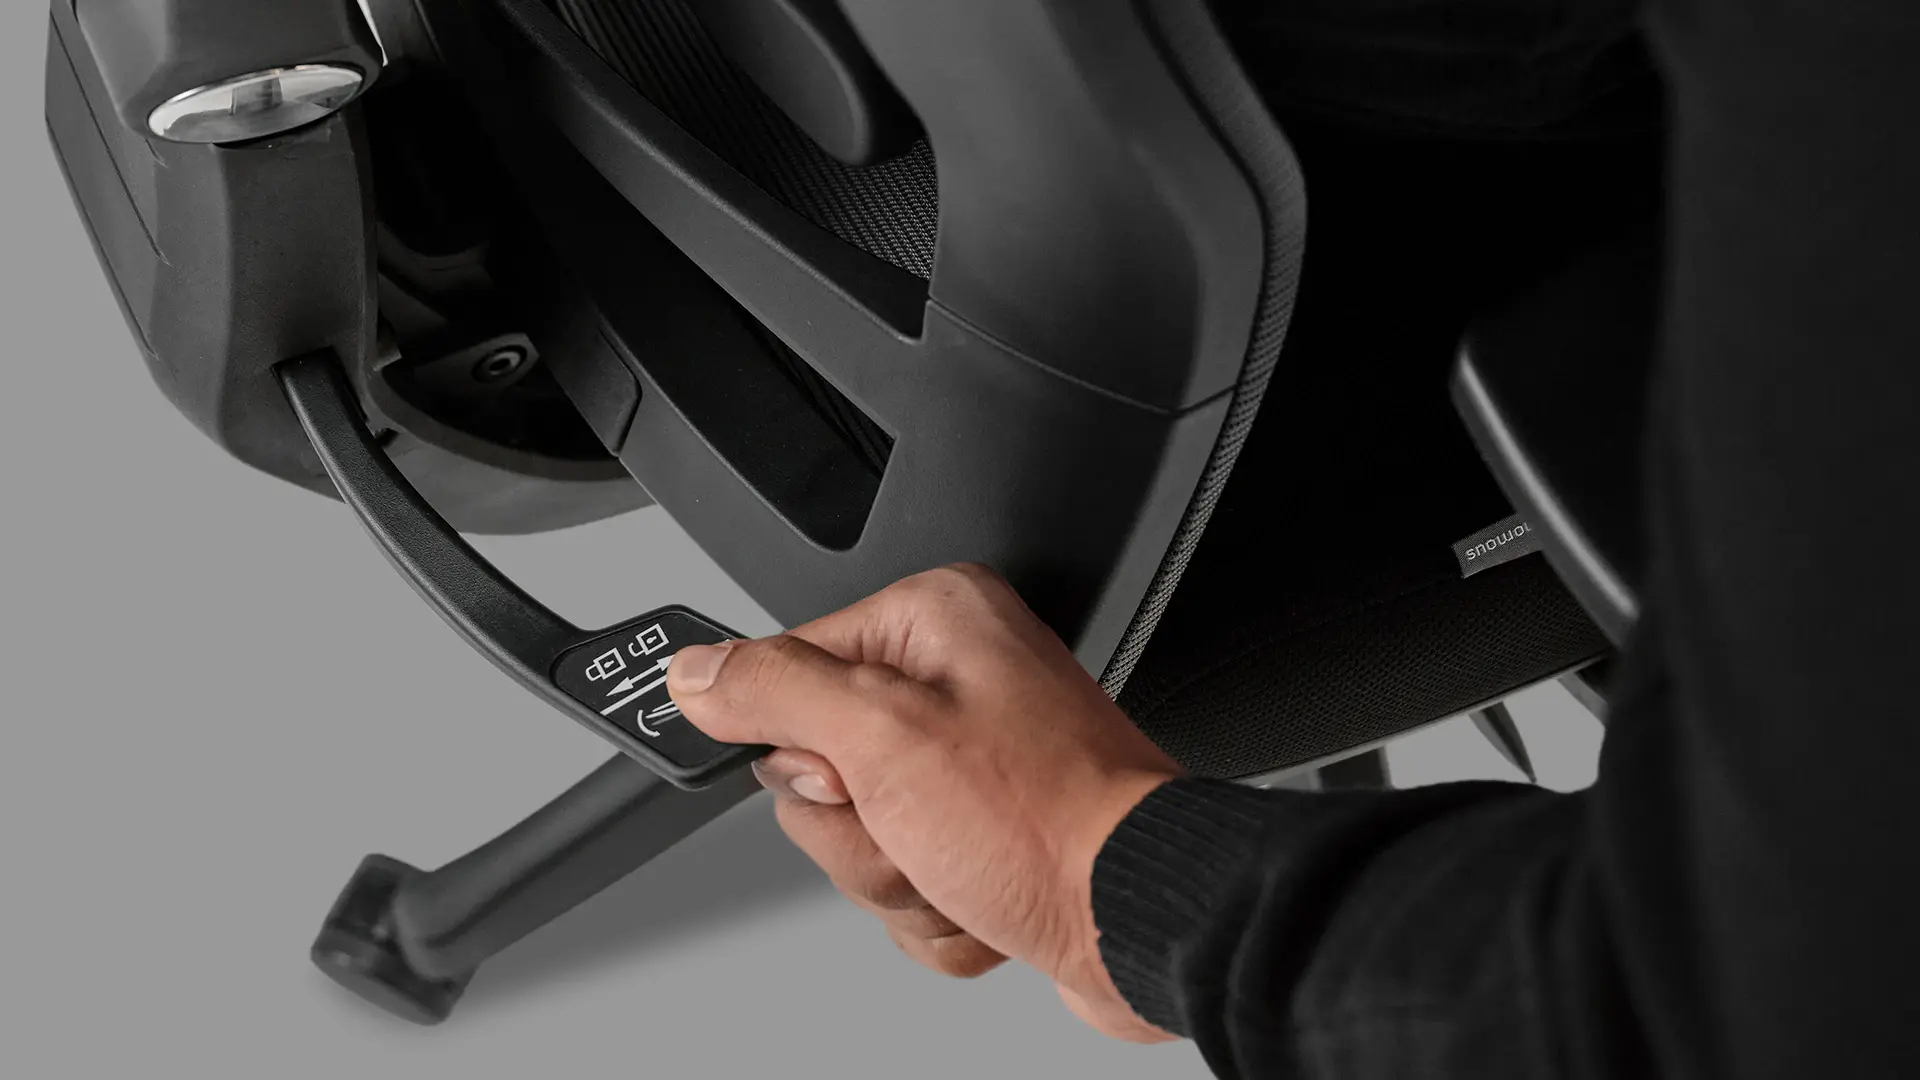
How to adjust recline: Push the back-right handle down to activate the recline function. Lean back to find your preferred angle, then pull the handle back up to lock in position. The chair reclines through 22° across five lock positions.
How to adjust tilt tension: Rotate the front-right tension handle clockwise to increase resistance (the chair is harder to recline), counterclockwise to decrease it. Heavier users typically want more tension; lighter users want less.
Target: Tension should be high enough that you don't fall back when you lean, but low enough that you can shift between upright and reclined without forcing it.
5. Seat tilt
Seat tilt rocks the seat pan forward or backward. Forward tilt engages your core during typing-intensive work. Backward tilt is for relaxed reading or call positions.
How to adjust: Flip the front-left handle clockwise to activate the seat tilt function. To lock your preferred seat position, flip the handle counter-clockwise.
Target: Neutral or 5° forward tilt for keyboard work. Up to 10° backward for reading or calls.
6. Armrests
The armrests support your forearms so your shoulders don't carry the weight. Setting them too high pushes your shoulders up; too low and your forearms hang.
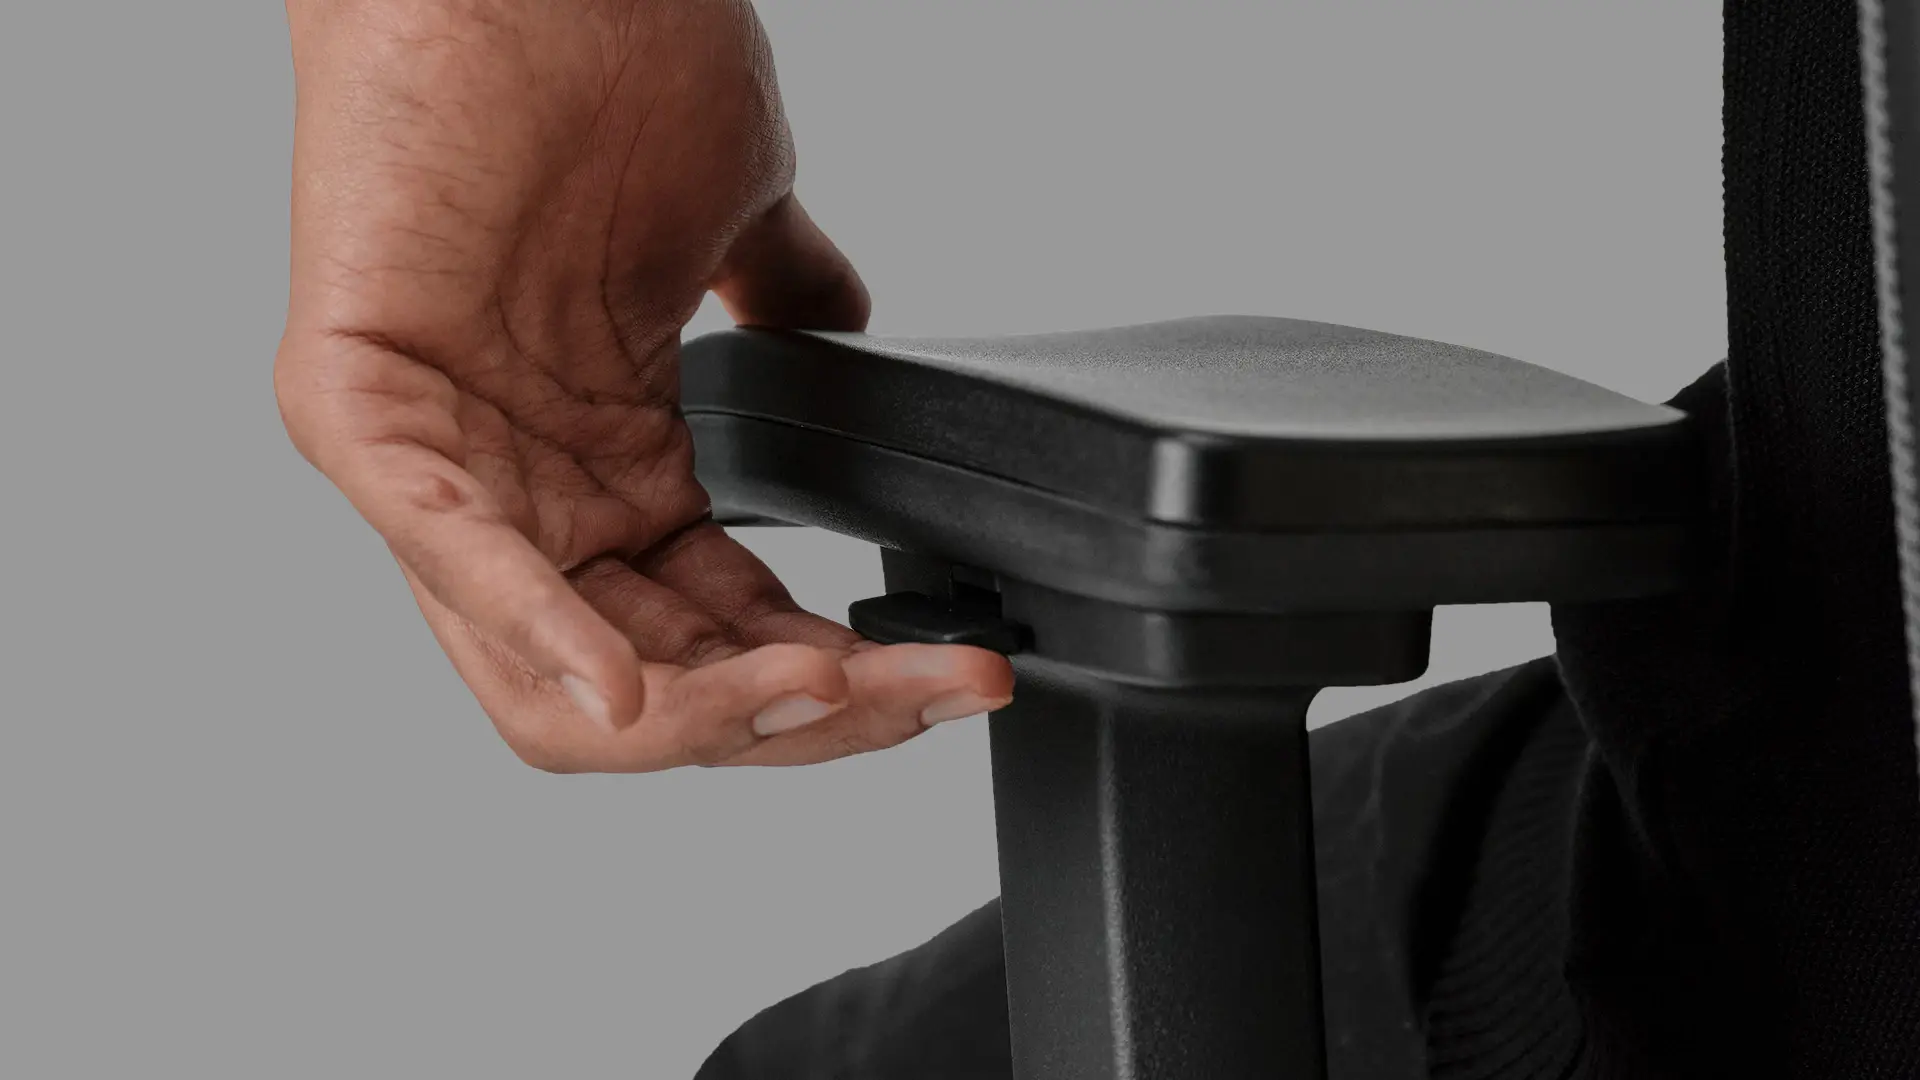
How to adjust height: Press the tab underneath the armrest to release the height lock. Slide up or down to your preferred height, then release the tab to lock.
How to adjust width: Press the tab underneath the armrest and slide the armrest in or out. The armrests move freely on the chair - both axes adjust independently.
Target: Forearms parallel to the floor, elbows at 90°, shoulders relaxed (not shrugged up, not slumped down).
Range: Armrest height adjusts from 11" to 14" above the seat.
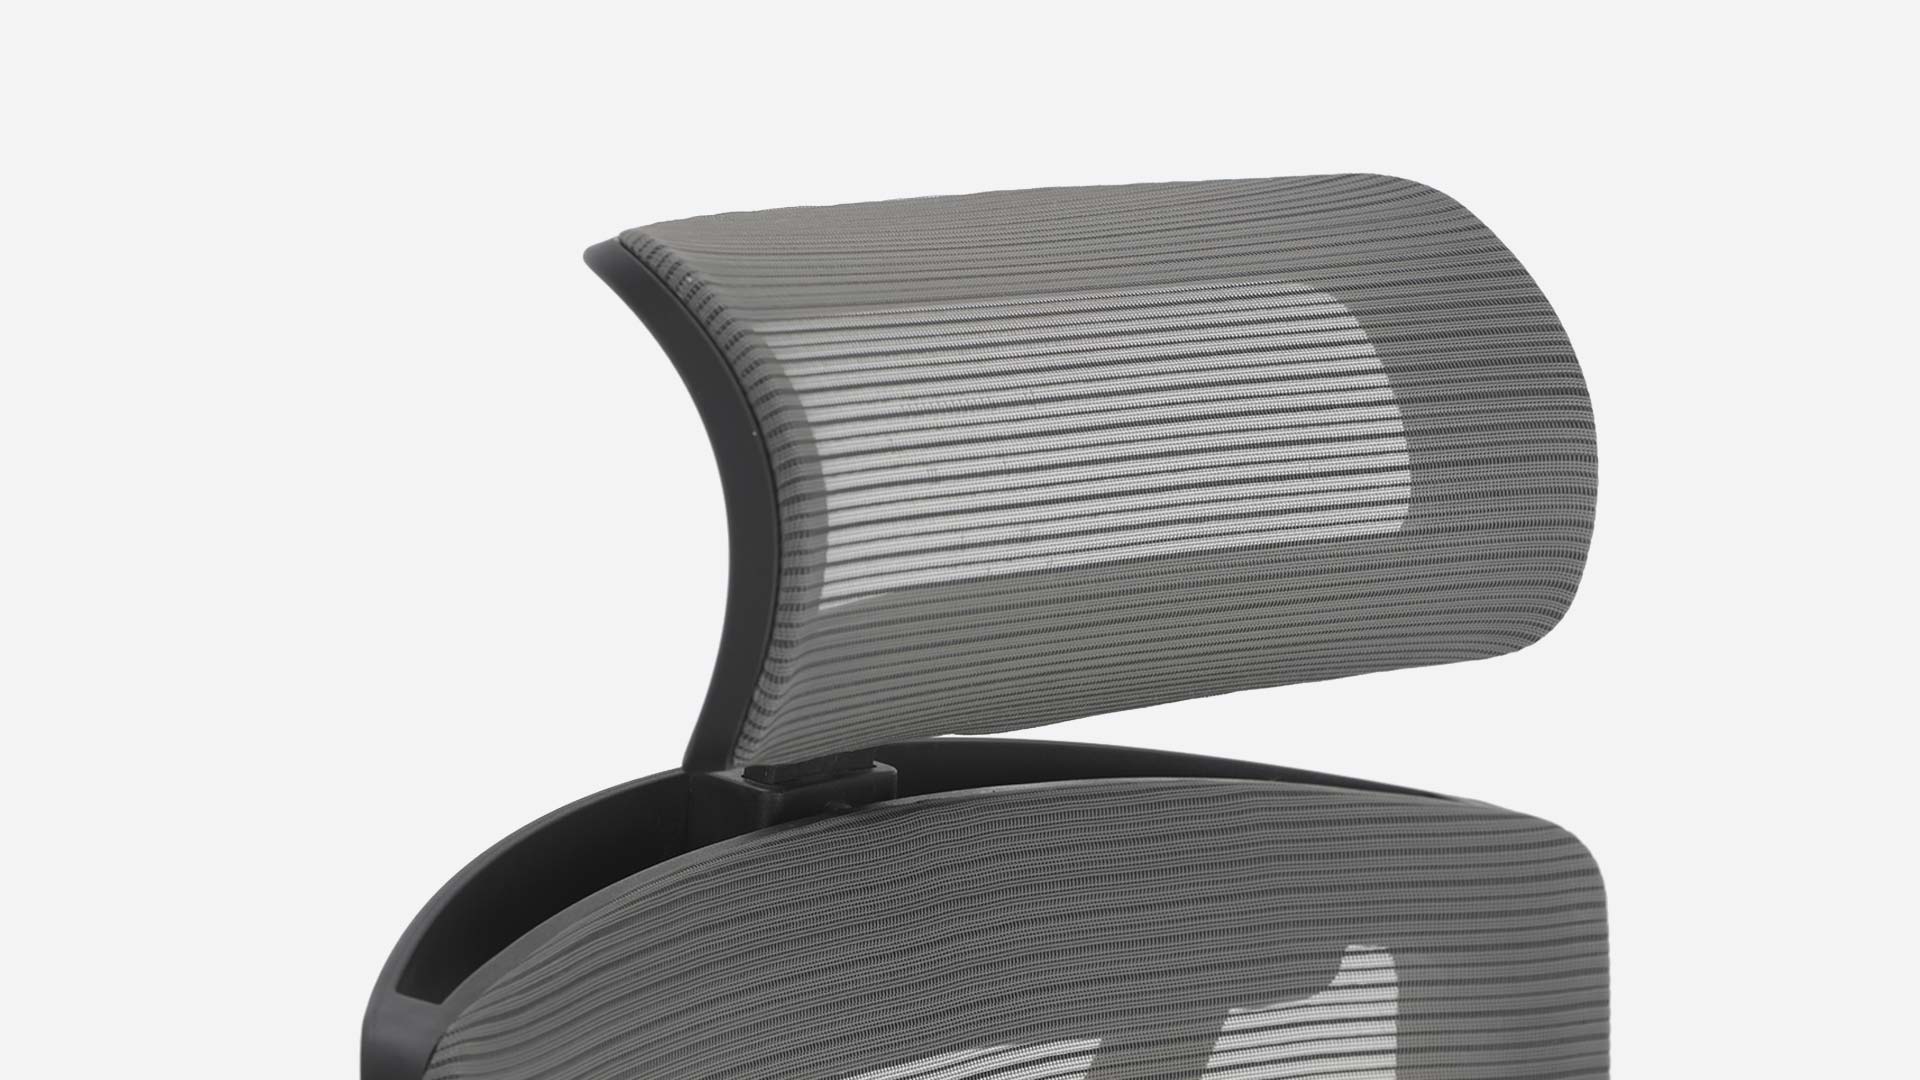
7. Headrest
The headrest supports the back of your skull during recline. Set incorrectly, it pushes your head forward and undoes everything else.
How to adjust height: Slide the headrest up or down within its 70mm vertical range. The bottom edge should support the base of your skull, not your neck.
How to adjust tilt: Rotate the headrest up to 45° to angle it toward or away from your head. Match the angle to your seated head position when reclined.
Target: The headrest contacts the back of your head at the bony ridge where your skull meets your neck (the external occipital protuberance). Not lower - that pushes your chin forward. Not higher - that gives no contact at all.
Watch the full setup video
The video walks through the same eight adjustments in real time, with the chair on camera.
Frequently asked questions
How do I adjust an Autonomous ErgoChair?
Adjust the ErgoChair from the bottom up: seat height (so feet are flat), seat depth (so knees clear the seat edge), lumbar position (small of back), recline and tension (comfortable lean), armrests (forearms parallel to floor), headrest (base of skull), and seat tilt (forward for typing, back for reclining). The full setup takes about 5 minutes on a new chair.
How do I raise the Autonomous chair?
Pull the lever on the right side of the seat upward to raise the chair. Release the lever at your preferred height - the chair locks in position. The ErgoChair Pro adjusts from 18.5" to 22" seat height.
How do I adjust the back tilt on the Autonomous ErgoChair Pro?
Push the back-right handle down to activate the recline function. Lean back to find your preferred angle (the chair reclines through 22° across five positions), then pull the handle back up to lock in place. To adjust the tilt tension, rotate the front-right handle clockwise to increase resistance or counter-clockwise to decrease it.
How do I adjust the seat depth on the ErgoChair Pro?
Push the handle under the front-right of the seat to slide the seat pan forward up to 60mm. Release the handle to lock in position. The target is two to three fingers of clearance between the front of the seat and the back of your knees.
How do I adjust the headrest on the ErgoChair Pro?
Slide the headrest vertically within its 70mm range. The bottom edge should support the base of your skull, not your neck. The headrest tilt also adjusts up to 45° - match the angle to your reclined head position.
How do I adjust the armrests on the ErgoChair Pro?
Press the tab underneath the armrest to release the lock, then slide the armrest up or down for height, or in or out for width. The target is forearms parallel to the floor with elbows at 90° and shoulders relaxed. Armrest height adjusts from 11" to 14" above the seat.
Does the ErgoChair Pro come with instructions?
The ErgoChair Pro ships with a function guide that covers all eight adjustments. The digital version is available in the ErgoChair Pro product page and the video walkthrough is linked above.
How long does it take to set up an ErgoChair Pro?
A new ErgoChair Pro takes about 5 minutes to set up correctly the first time. Daily fine-tuning takes under 30 seconds. The setup is bottom-up - start with seat height and work up through the spine to the headrest.
The short version
Eight adjustment points. Set them in order - feet first, head last. The chair holds your weight in the right places when each level above is calibrated to the one below. Skip a step and the whole stack is slightly off. Get it right once and the chair fits.