MacBook Monitor Setup: How to Connect MacBook with Monitor
Workplace Inspiration

MacBook Monitor Setup: How to Connect MacBook with Monitor

|Nov 21, 2021
5,968 Views

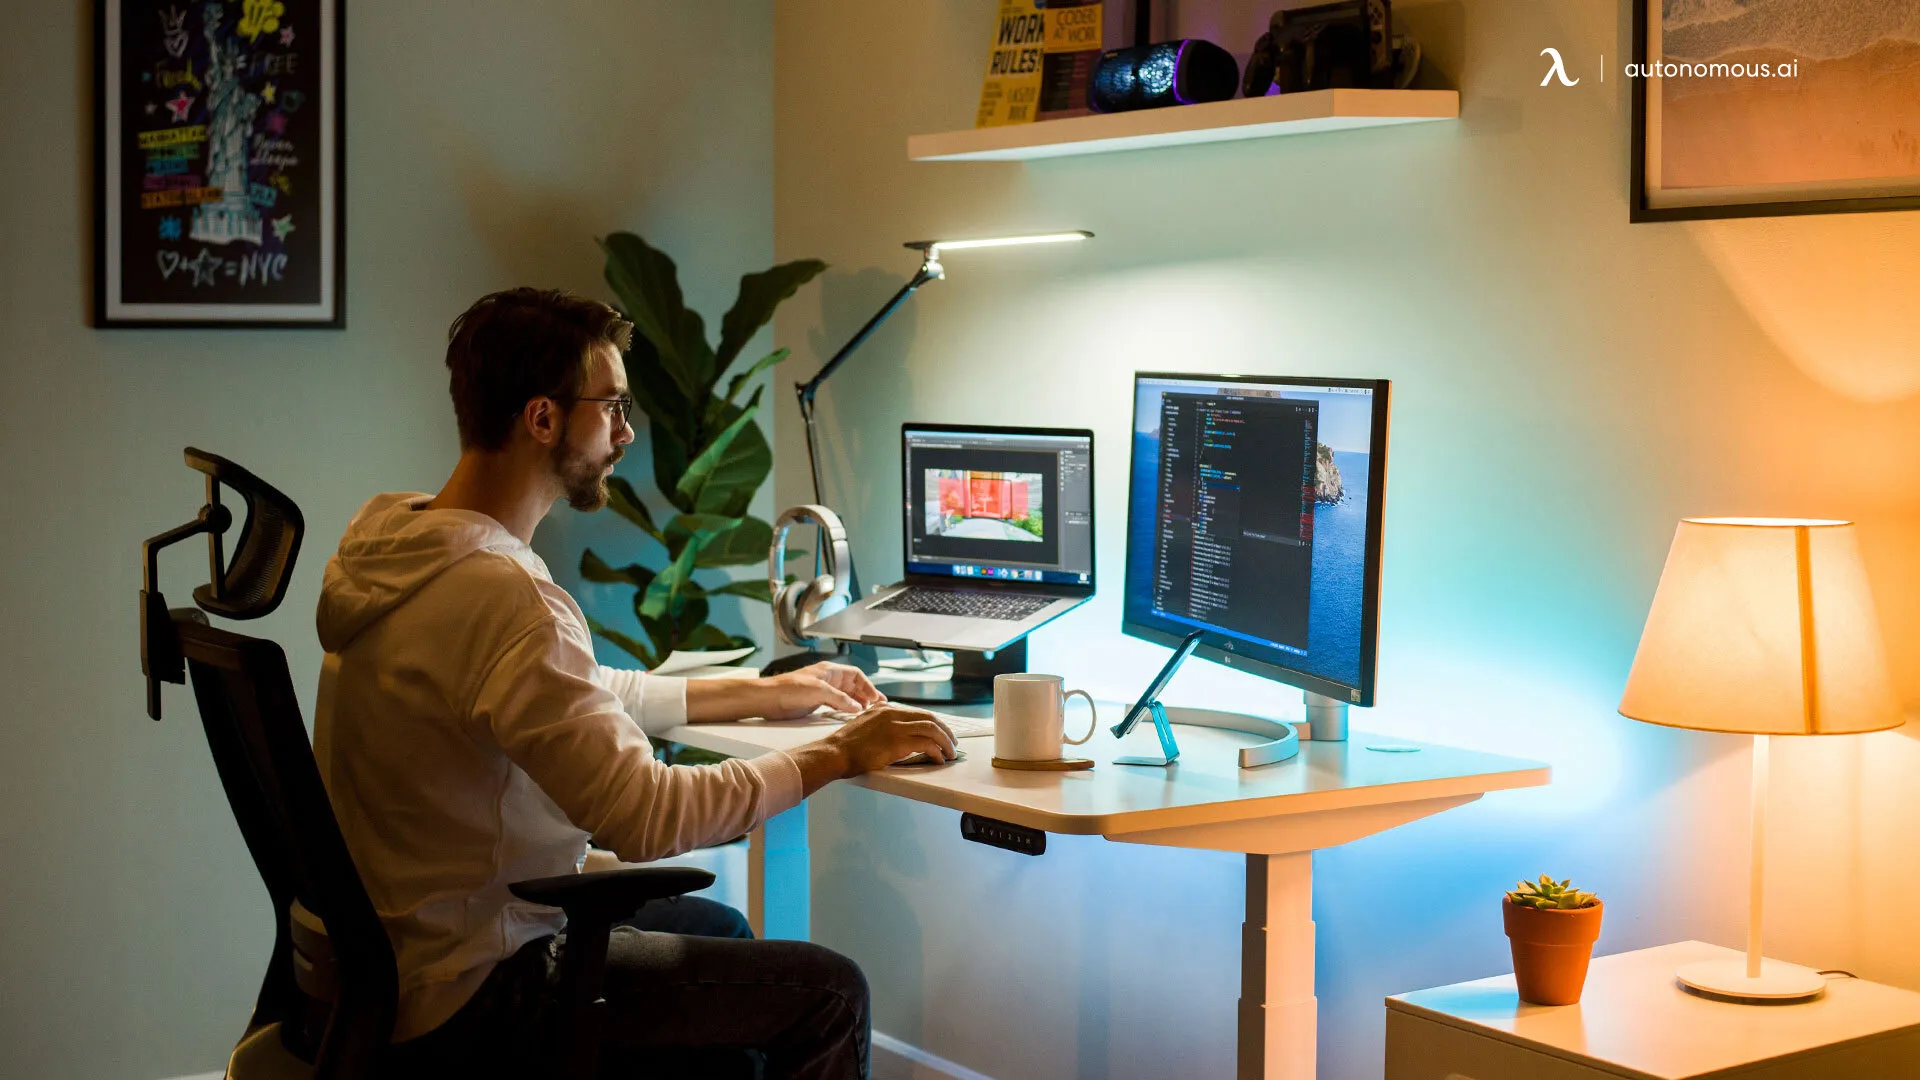
A MacBook monitor setup can be highly convenient for multiple reasons. It grants you double the screen space while allowing you a wider field of view. Plus, laptops are portable; so, all you need to do is disconnect them from the monitor if you're going out and need to bring them with you.

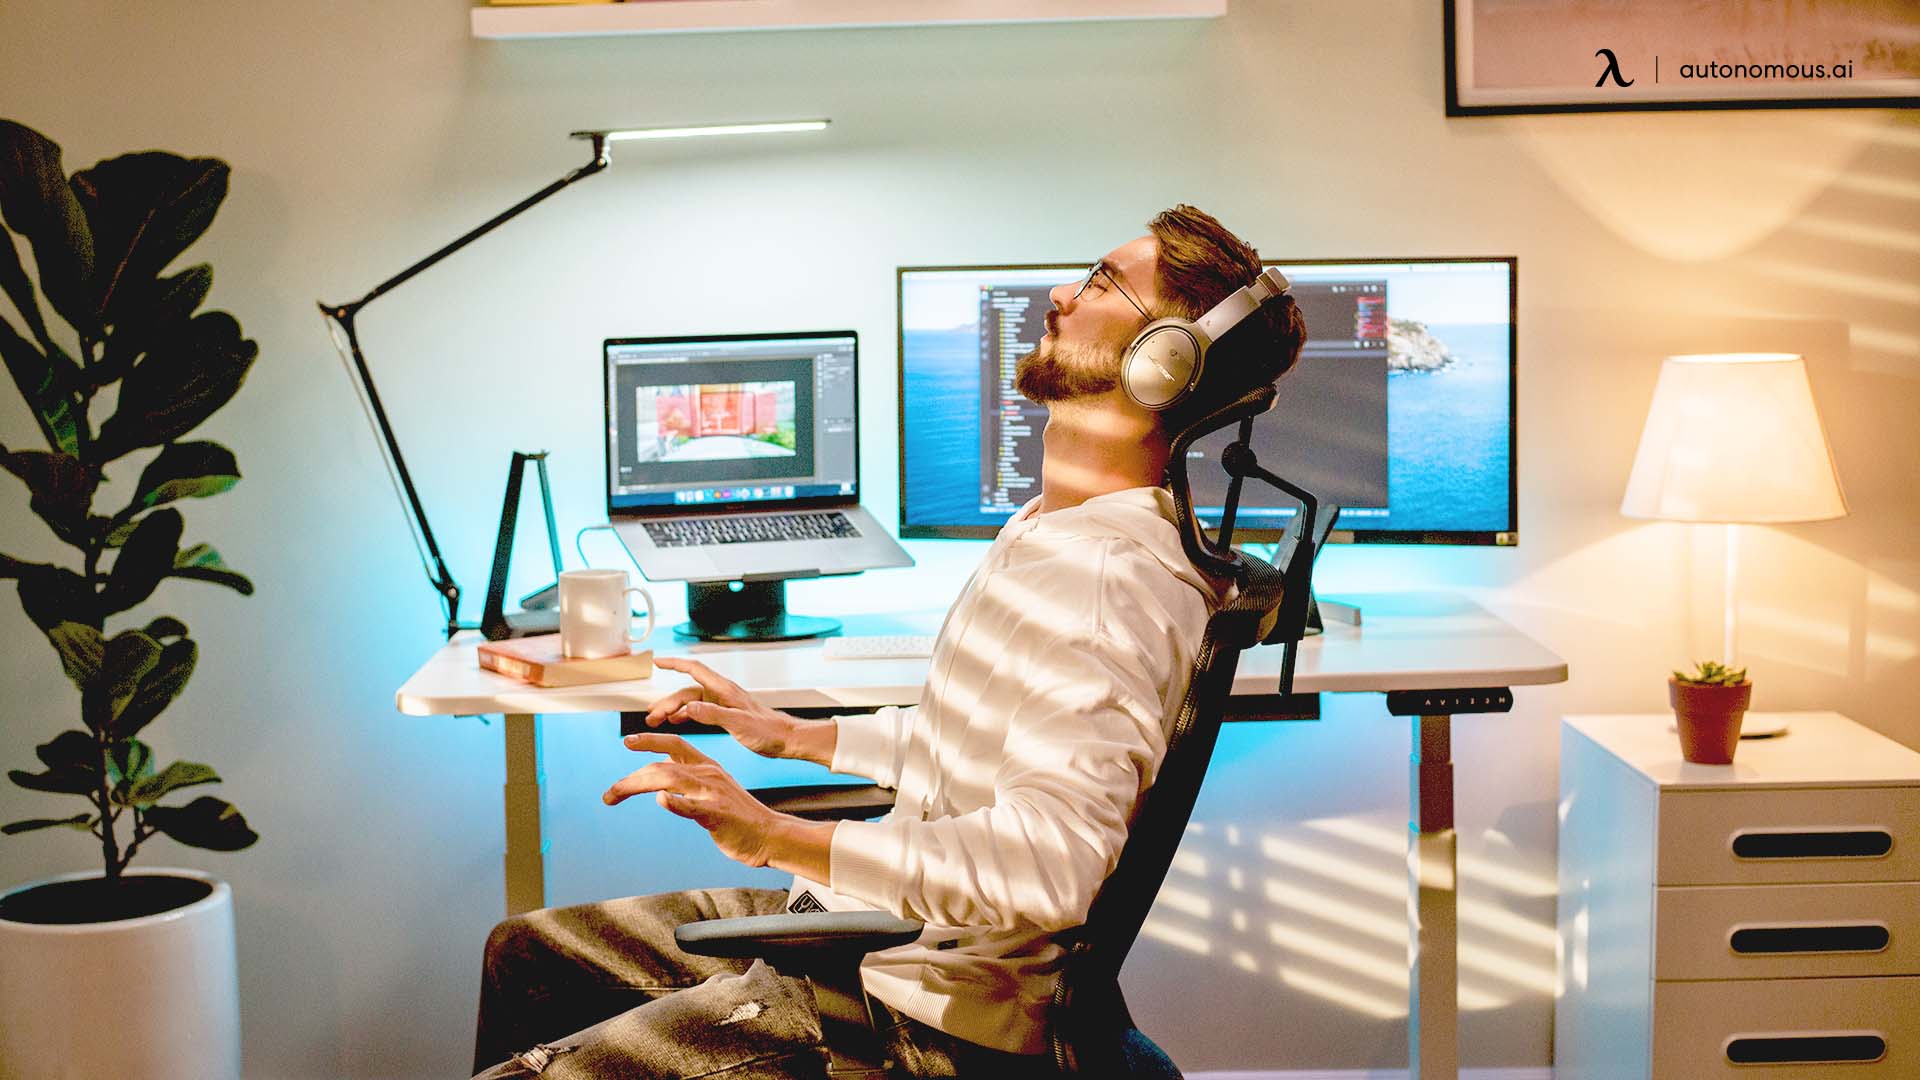
Many people have experienced productivity boosts and reduced stress levels after building a MacBook Pro external monitor setup. Plus, it is more comfortable to your sight as a monitor tends to be wider than a laptop screen, allowing you to arrange it as you feel it’s more convenient for your FoV.

MacOS has a feature known as "Sidecar," which is meant to help you connect your iPad as an external or second display. However, it doesn't have to be an iPad necessarily; you can also connect a monitor to your Mac.

For today’s article, we’ll tell you how you can use an external display with your Macbook, be it an iPad or an external monitor. Not only will doing this grant you more comfort, but you will also find it easier to concentrate as you go on with your workday. We will also give you a few tips on how to build a Macbook desk setup and how to connect Macbook with monitor.

How to Use MacOS's "Sidecar"

How to Mse MacOS's

As mentioned above, it is possible to use this feature to connect an external display to your Macbook. For this article, we’ll focus on how to connect a Macbook with a monitor in easy steps.

Before we start, let’s note that you can connect pretty much any monitor to your Macbook, including portable monitors. It is also possible to connect more than one display, making it possible to build a triple monitor setup or any other multi-monitor setup you may have in mind.

So, without further ado, here you have the steps you need to follow to connect Macbook with a monitor and finish the setup.

1. Check if your monitor is compatible with your Mac

Check if your monitor is compatible with your Mac

Not all monitors are compatible with your Macbook. Therefore, if you’d like to have a MacBook with a monitor setup at home so that you can work more comfortably, first, you have to verify the compatible monitor models based on your current device.

You can check what monitors can work with your Mac by going to the Mac menu bar, then clicking on the “About this Mac” tab. Once there, please click on the “Support” tab and click on the “Specifications” options.

Once you're there, a website will open, which will show all the displays your Macbook can support. All you need to do is jump to the "Video Support or Graphics" subheading, and you’ll get all the information you need to know.

On the other hand, some MacBooks can support multiple screens while others can only be connected to one, such as the MacBook Pro. However, if you’re trying to make a MacBook Air monitor setup, then you'll be happy to hear that you can connect the monitor to any of the four Thunderbolt/USB ports.

This web page will give you all the information regarding the monitors your MacBook can support and how many displays you can connect to the MacBook.

Once you've verified that you can connect the monitor to your MacBook without problems, all you need to do is connect the monitor to a power source (if needed) and use the wired connection option available to connect them to your Macbook.

2. Configure the external monitor correctly

Configure the external monitor correctly

You're not done yet. You must set up a few things before you can continue working as comfortably as possible. The tips we're going to give you below will help you complete your MacBook monitor setup quickly to make sure that your desk is arranged in a way that contributes to your productivity.

Once you’ve connected your monitor to your Mac, please click on the Apple logo and go to the System Preferences option, and then select “Displays.” A window will pop up, or multiple ones if you’ve connected more than one monitor.

The system will designate your MacBook as the primary display as long as it is open and available. All the configurations will be made on this monitor, so external displays will always be dependent on it. You will also be able to move the cursor between both screens as if they were an "extension" of your main display.

The System Preferences option allows you to configure all external displays based on your comfort.

MacBook Monitor Setup Tips

MacBook Monitor Setup Tips

Next up, let’s give you some tips so you can take as much advantage as possible of your new display.

  • Once you’ve connected the external monitor to your MacBook, the configuration is up to you. You can choose any configuration you feel works best for you.
  • You don't have to keep your MacBook open all the time. You can close it and continue working on the external display.  Shutting your Mac's lid will make the external monitor your main display while your Mac is still powered on and awake.
  • All the settings will remain the same. So, you can choose the optimal brightness levels, warmth, and so on. The Night Shift options are also customizable.

Conclusion

Conclusion

Now that you know how to build a MacBook monitor setup, you can make the best of your home office so you can work comfortably throughout the day.

Although the computer device can work very well on its own, you can also get some of the best office accessories so you can contribute to the room’s ergonomics and make the overall atmosphere of the place more comfortable. For example, some people like to include a monitor arm as part of their home office setup.

There are many ways to make your workstation more comfortable for you to go through each workday easily. An external display is an excellent starting point, as you’ll be modifying your field of view. This way, you’ll be less likely to suffer from eye strain as a monitor is easier to arrange than a laptop screen.

April 2024 Offer

Verbreiten Sie es weiter