
- Newest
- Most viewed
Interested in a Link Placement?
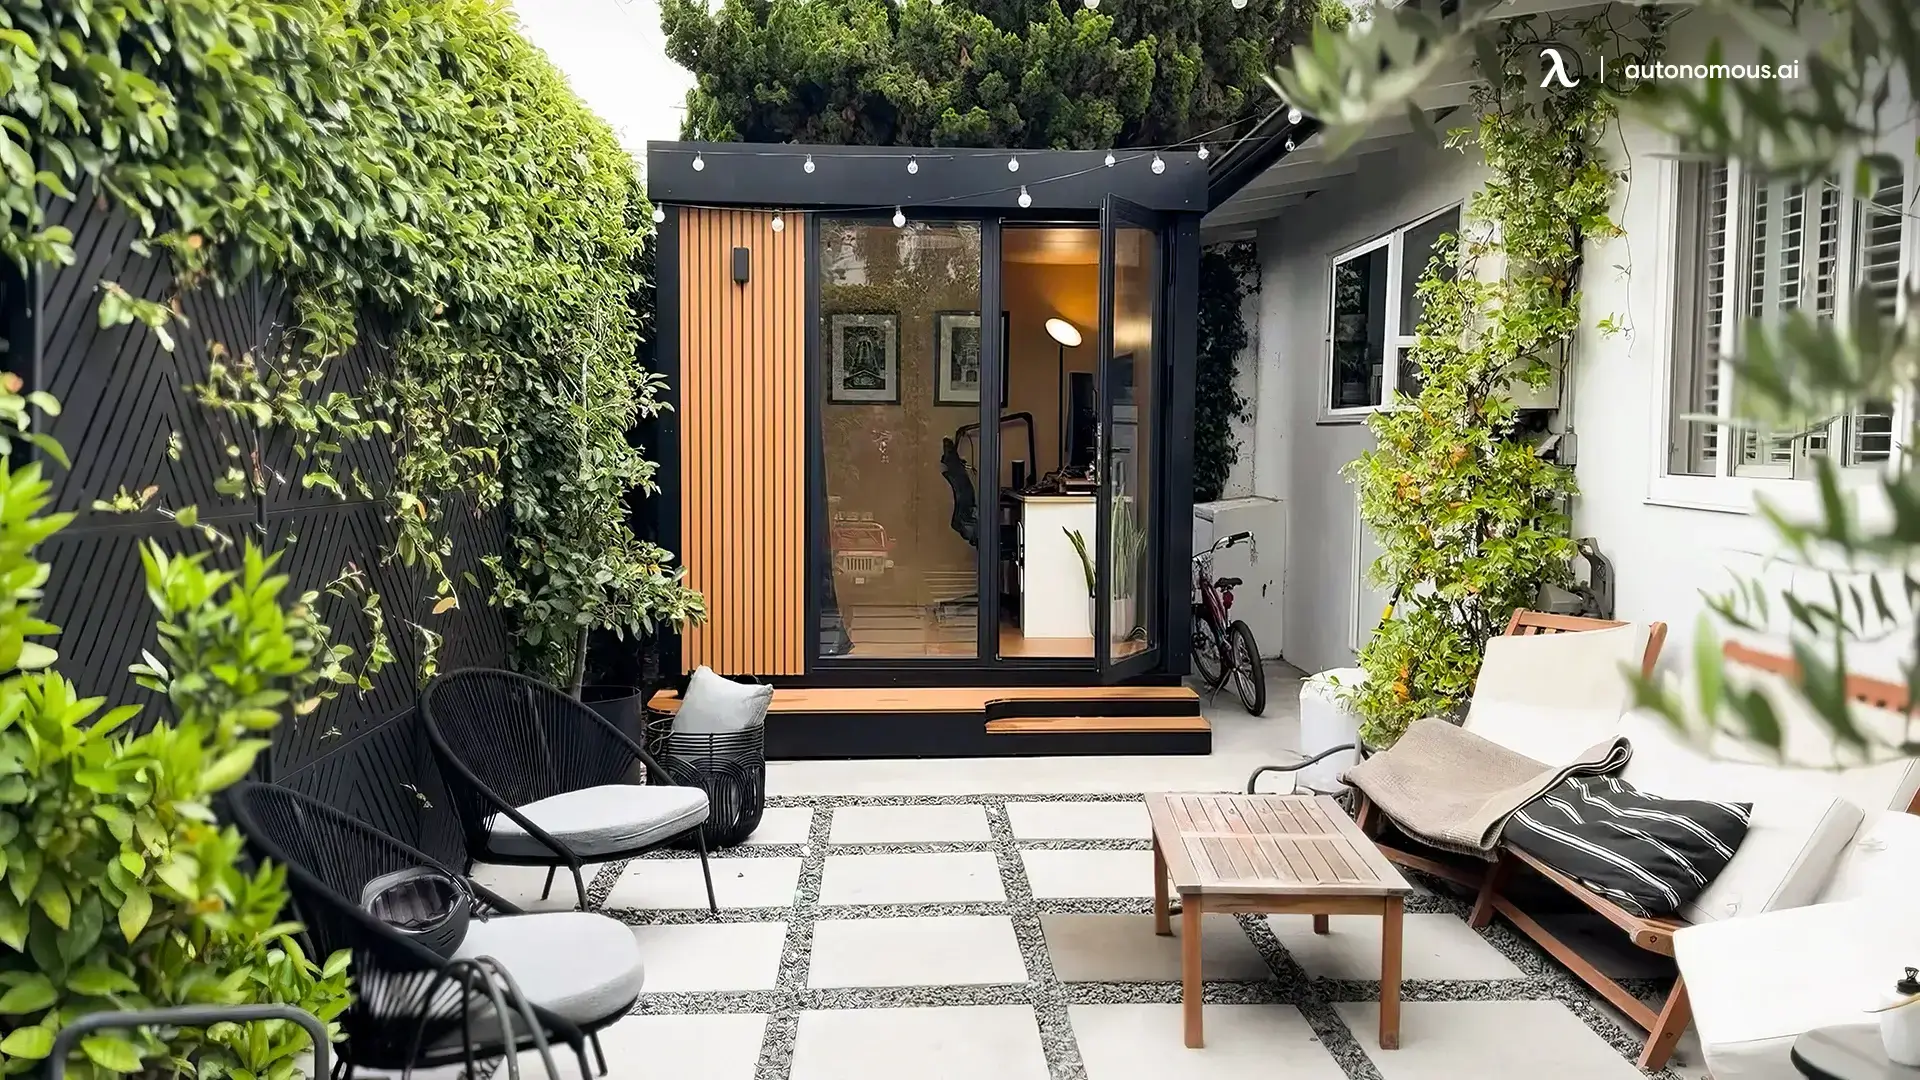
Best Woman Cave Ideas to Transform Your Space
Looking for woman cave ideas? Discover creative ways to transform your space into a cozy, stylish retreat with reading nooks, personalized decor, and more!
Workplace Inspiration | May 13, 2025 900 views
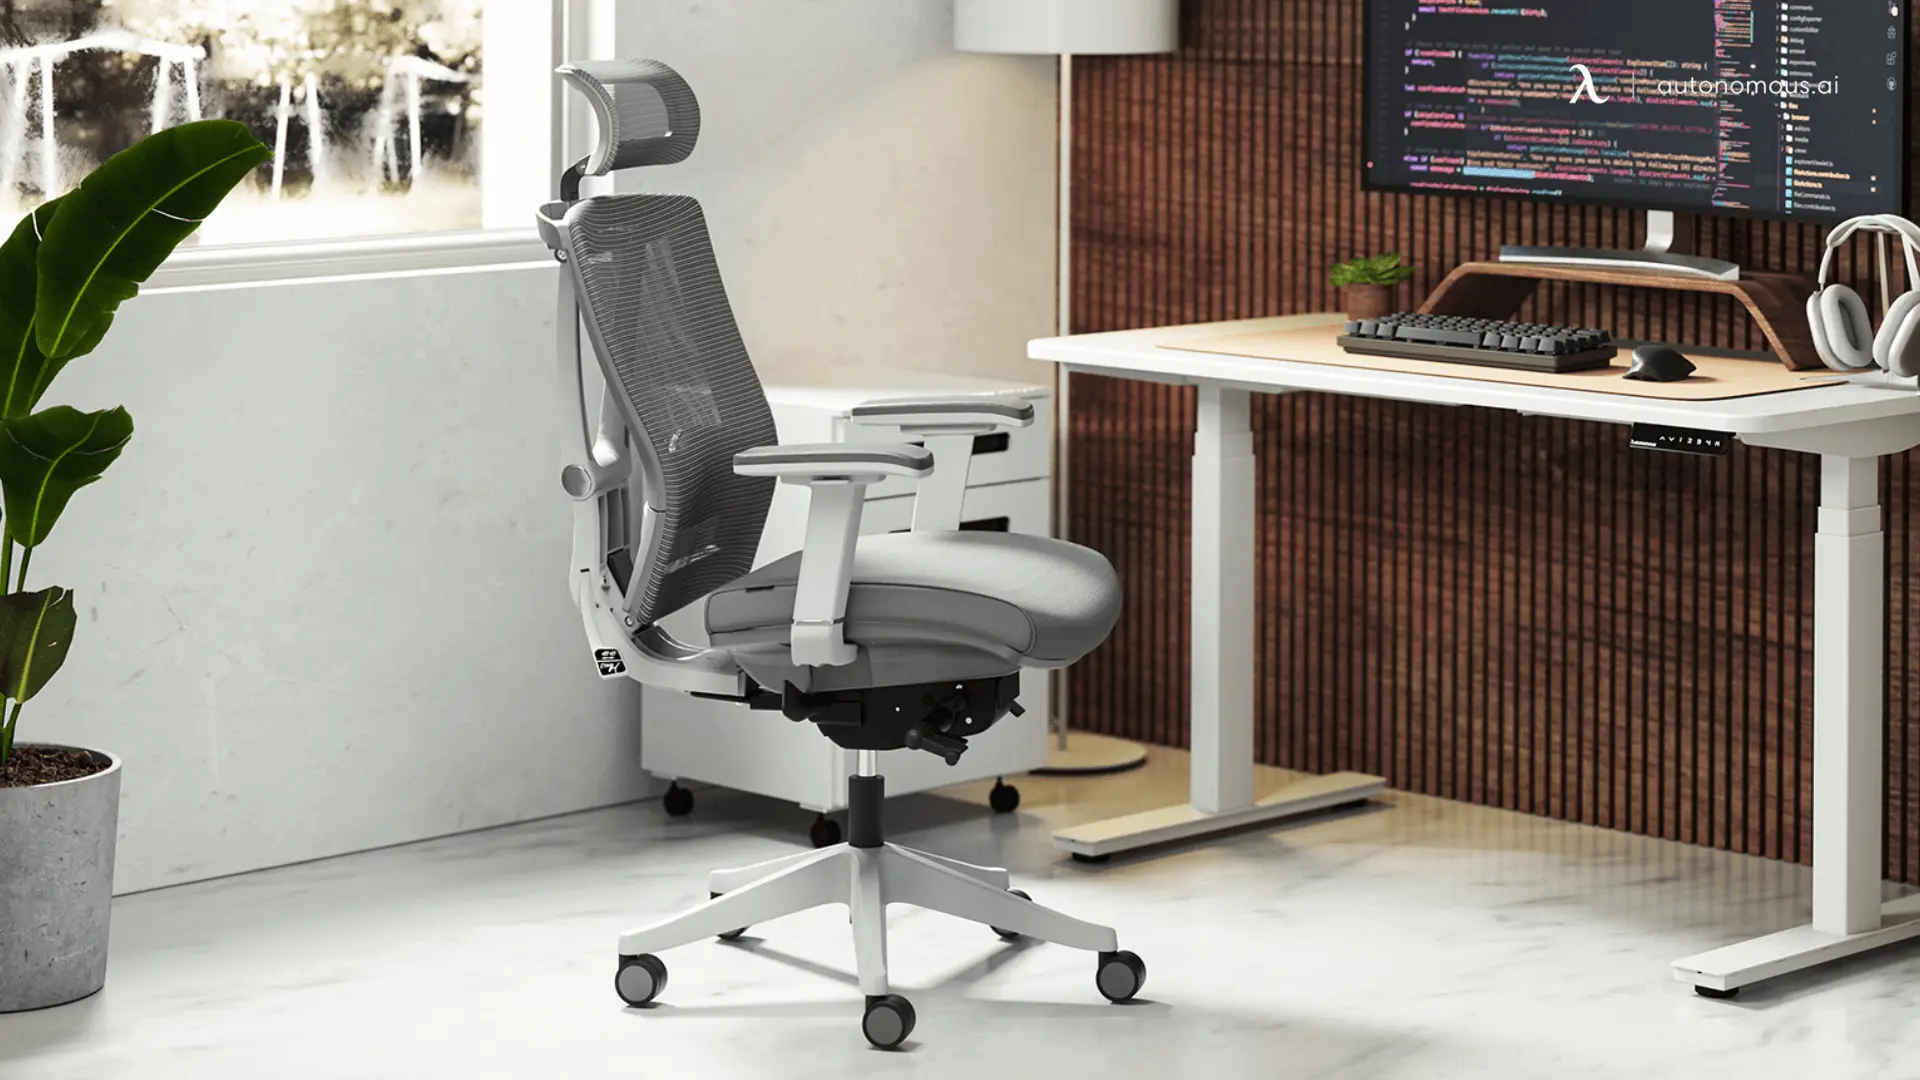
Top 10 Fabric Office Chairs That Feel as Good as They Look
Smart Products | May 12, 2025 775 views
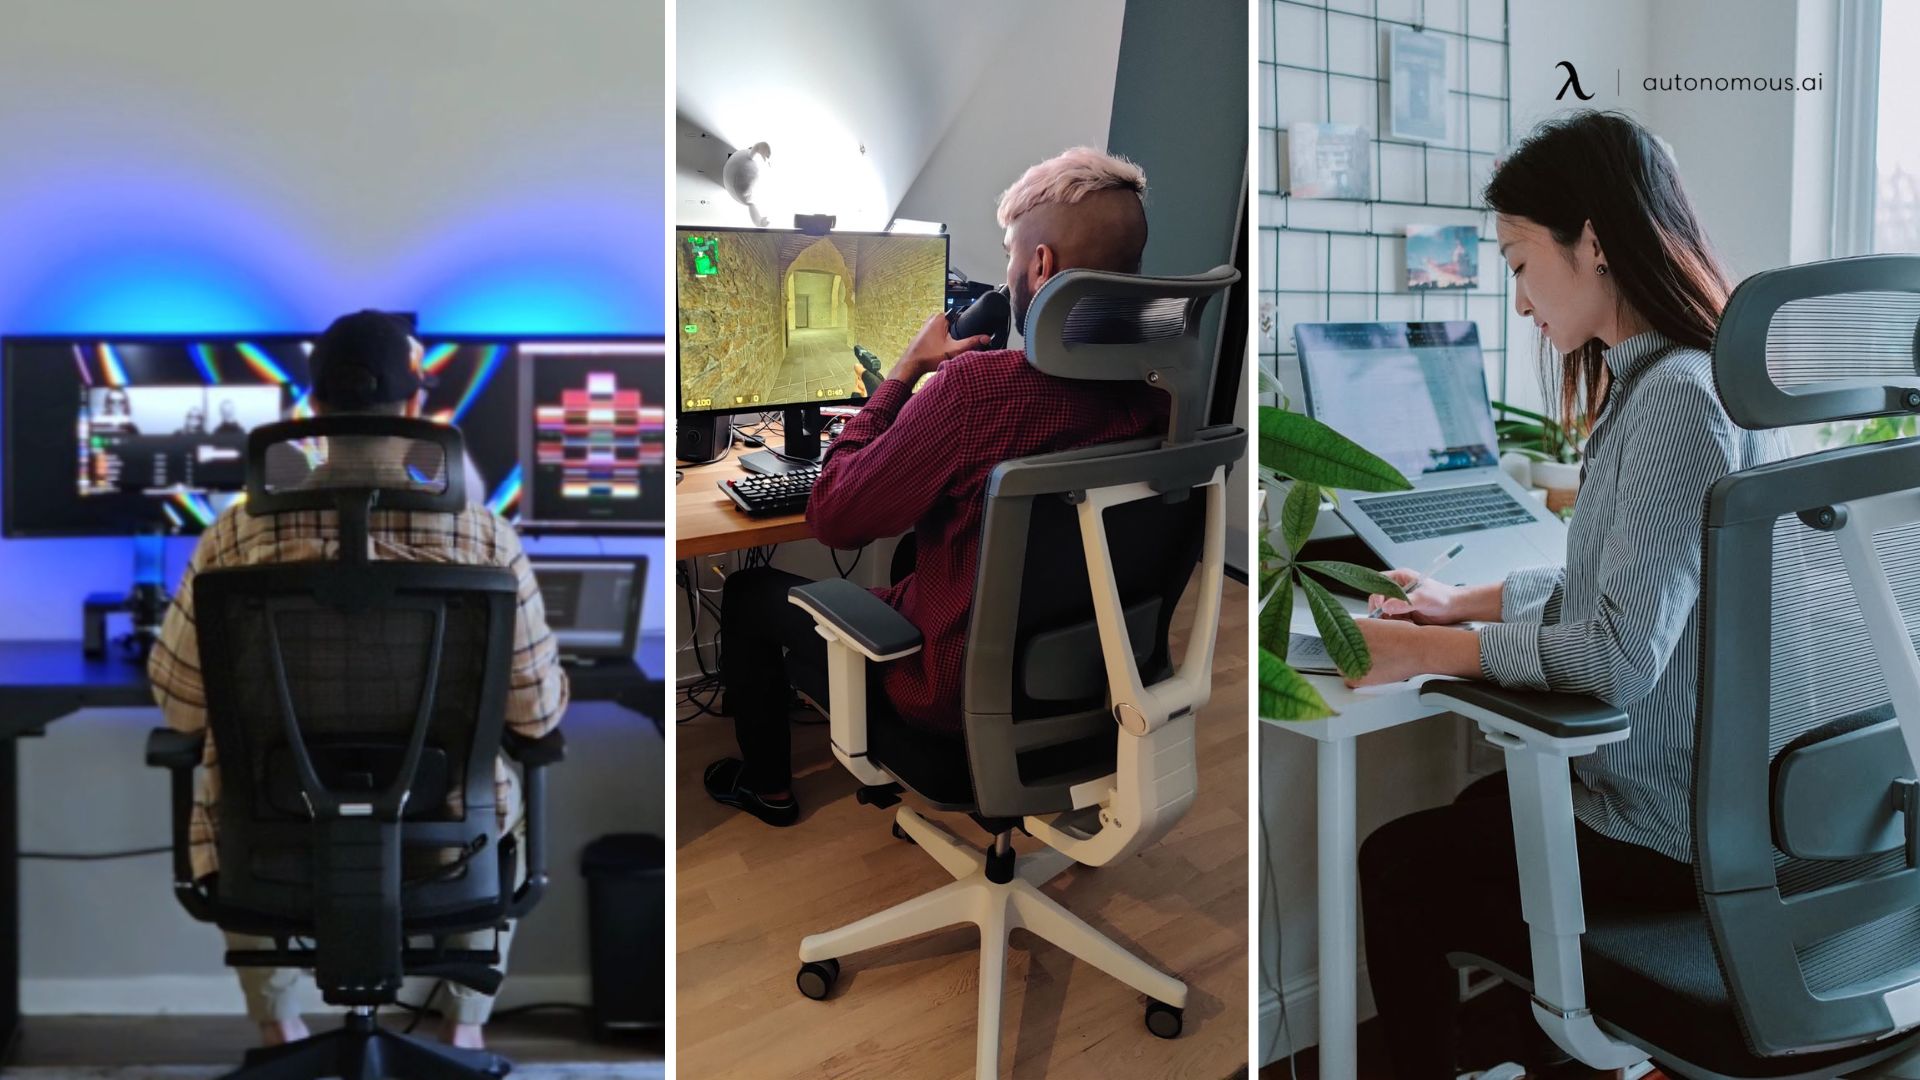
Orthopedic Chair vs Ergonomic Chair: Key Differences
Smart Products | May 8, 2025 792 views
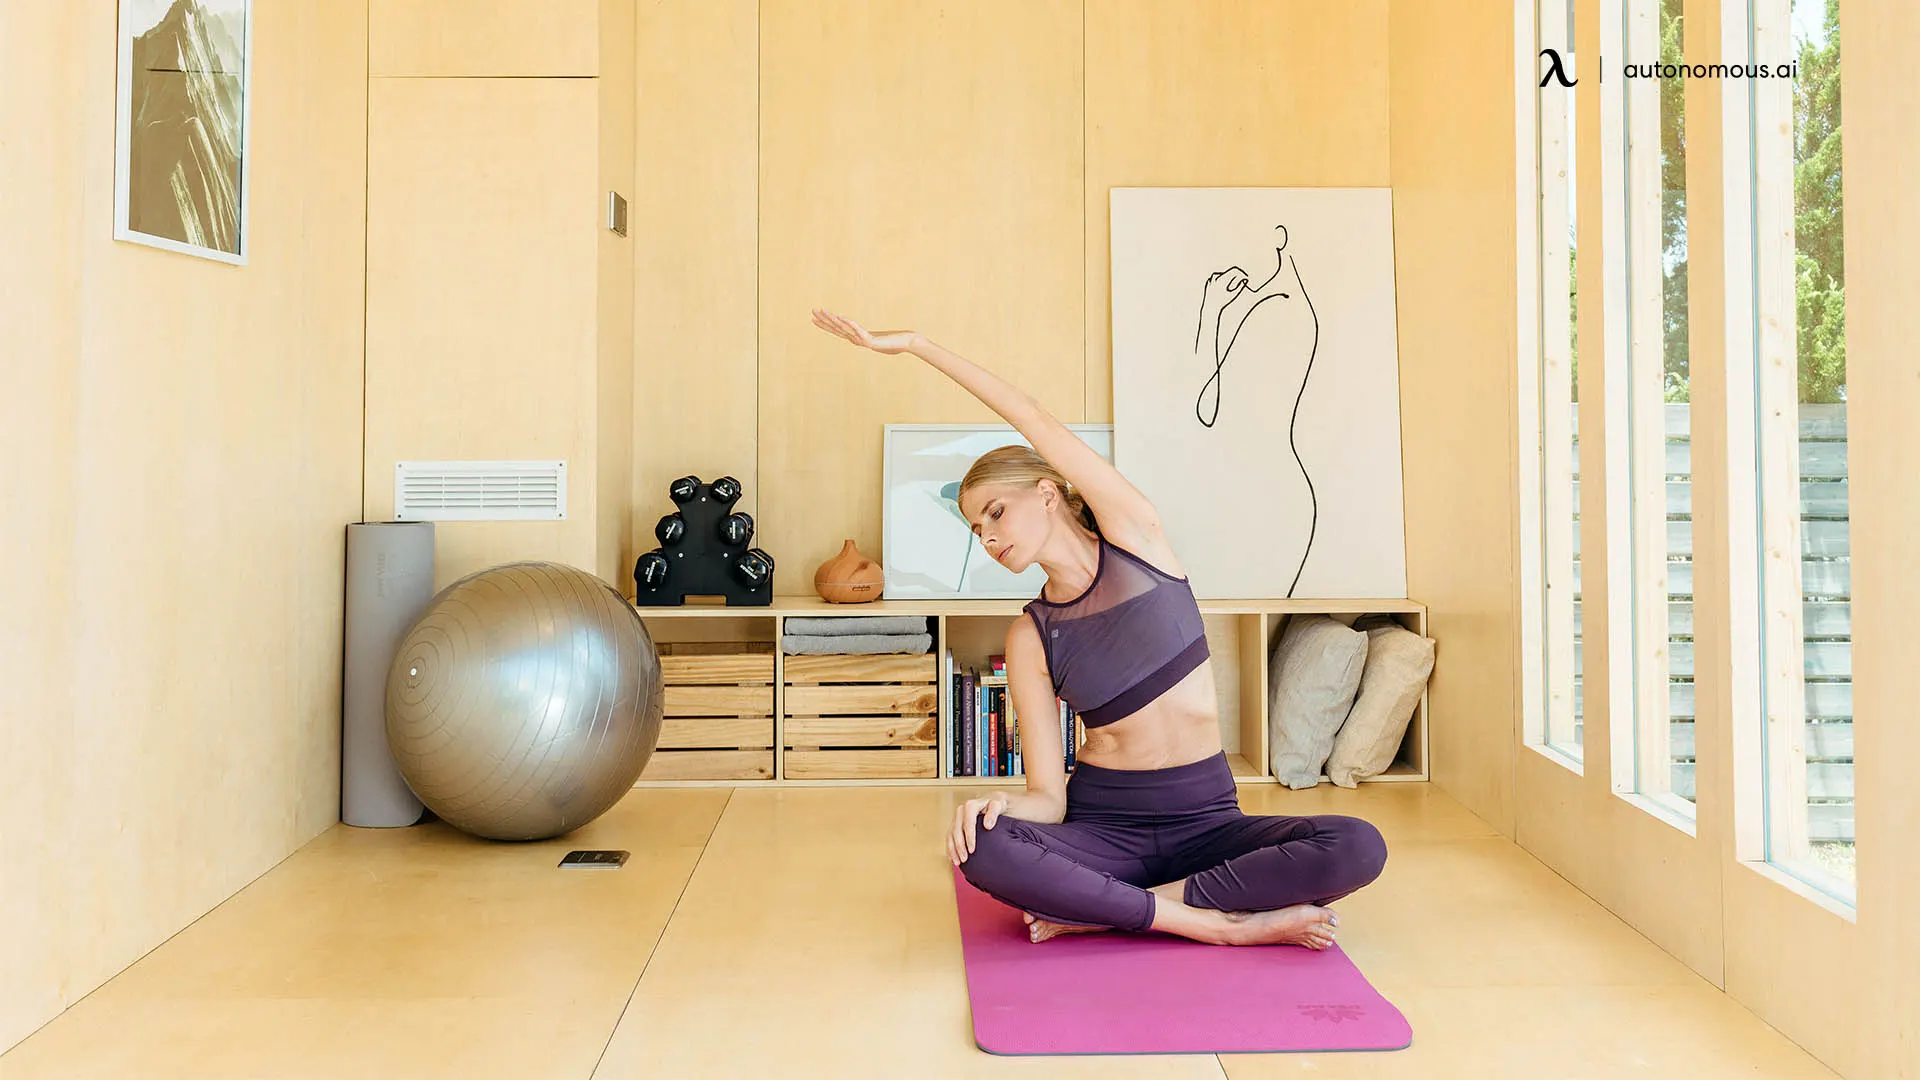
Calorie Restriction for Weight Loss: Science, Strategies & Tips
Work Wellness | May 8, 2025 516 views

Brainway App Review: Can It Really Help With Procrastination?
Productivity | May 5, 2025 991 views
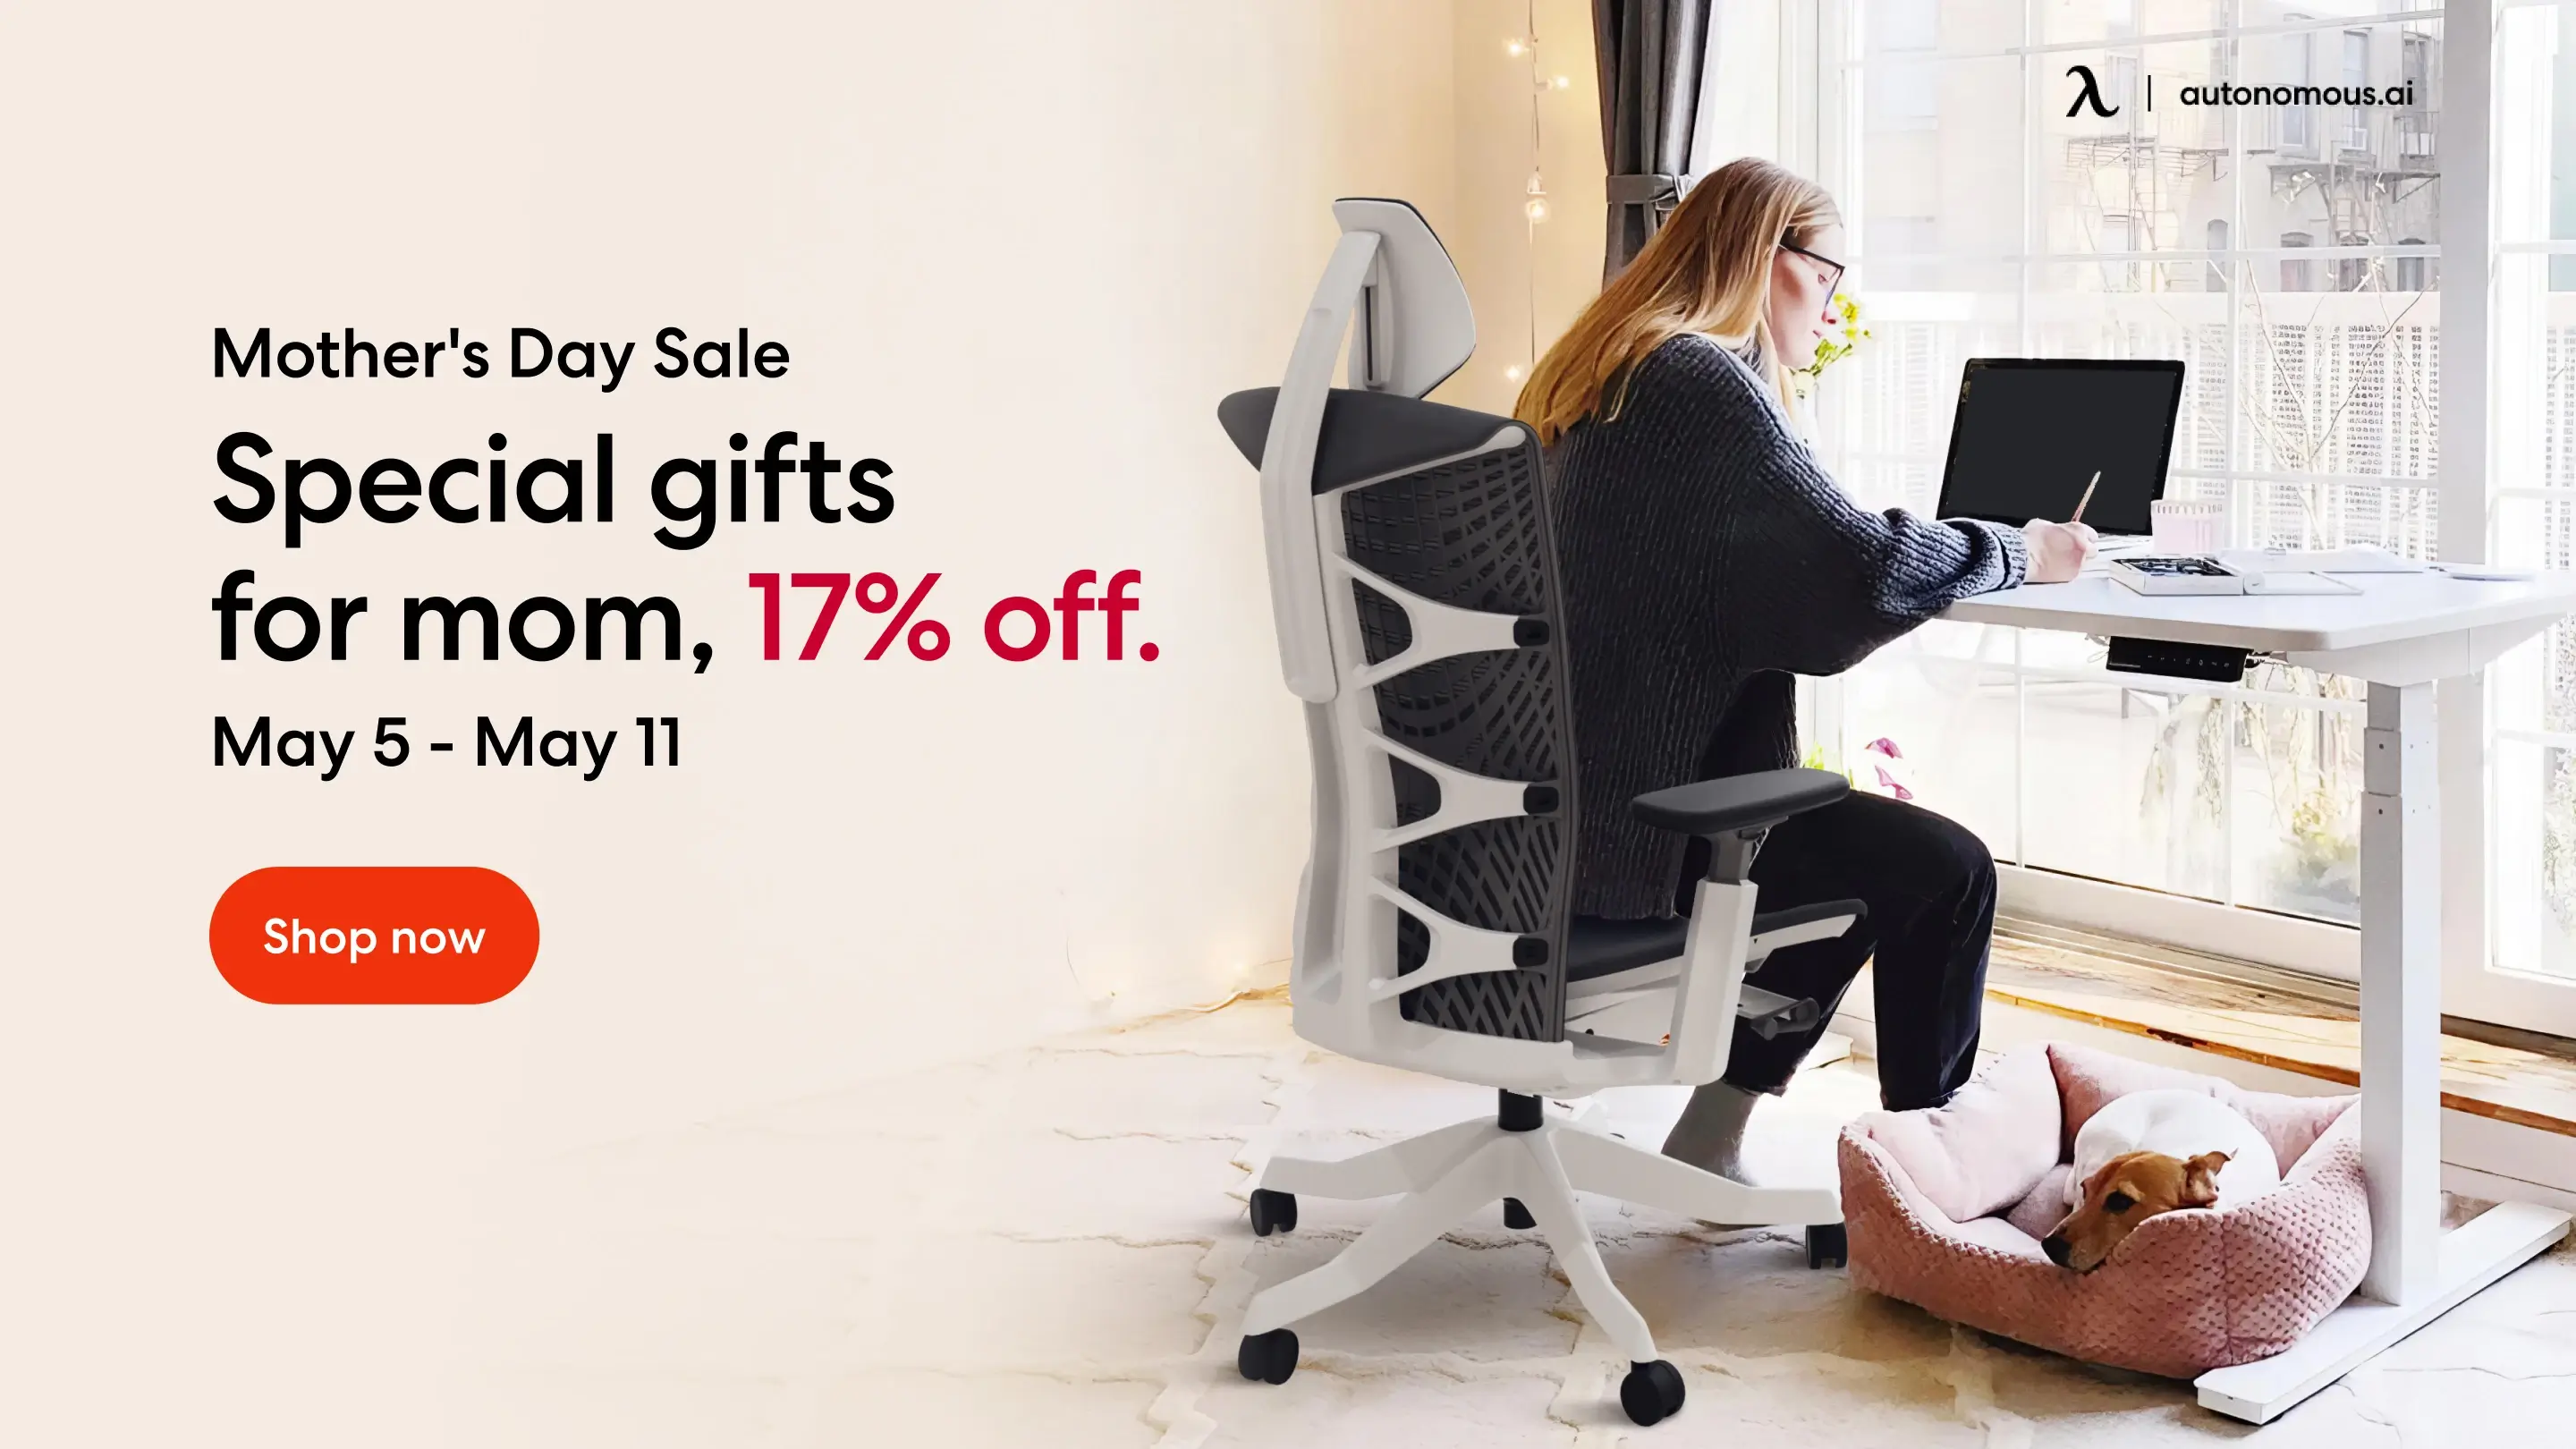
Autonomous Mother’s Day Sale 2025 – Terms & Conditions
Latest Updates | May 4, 2025 1,060 views
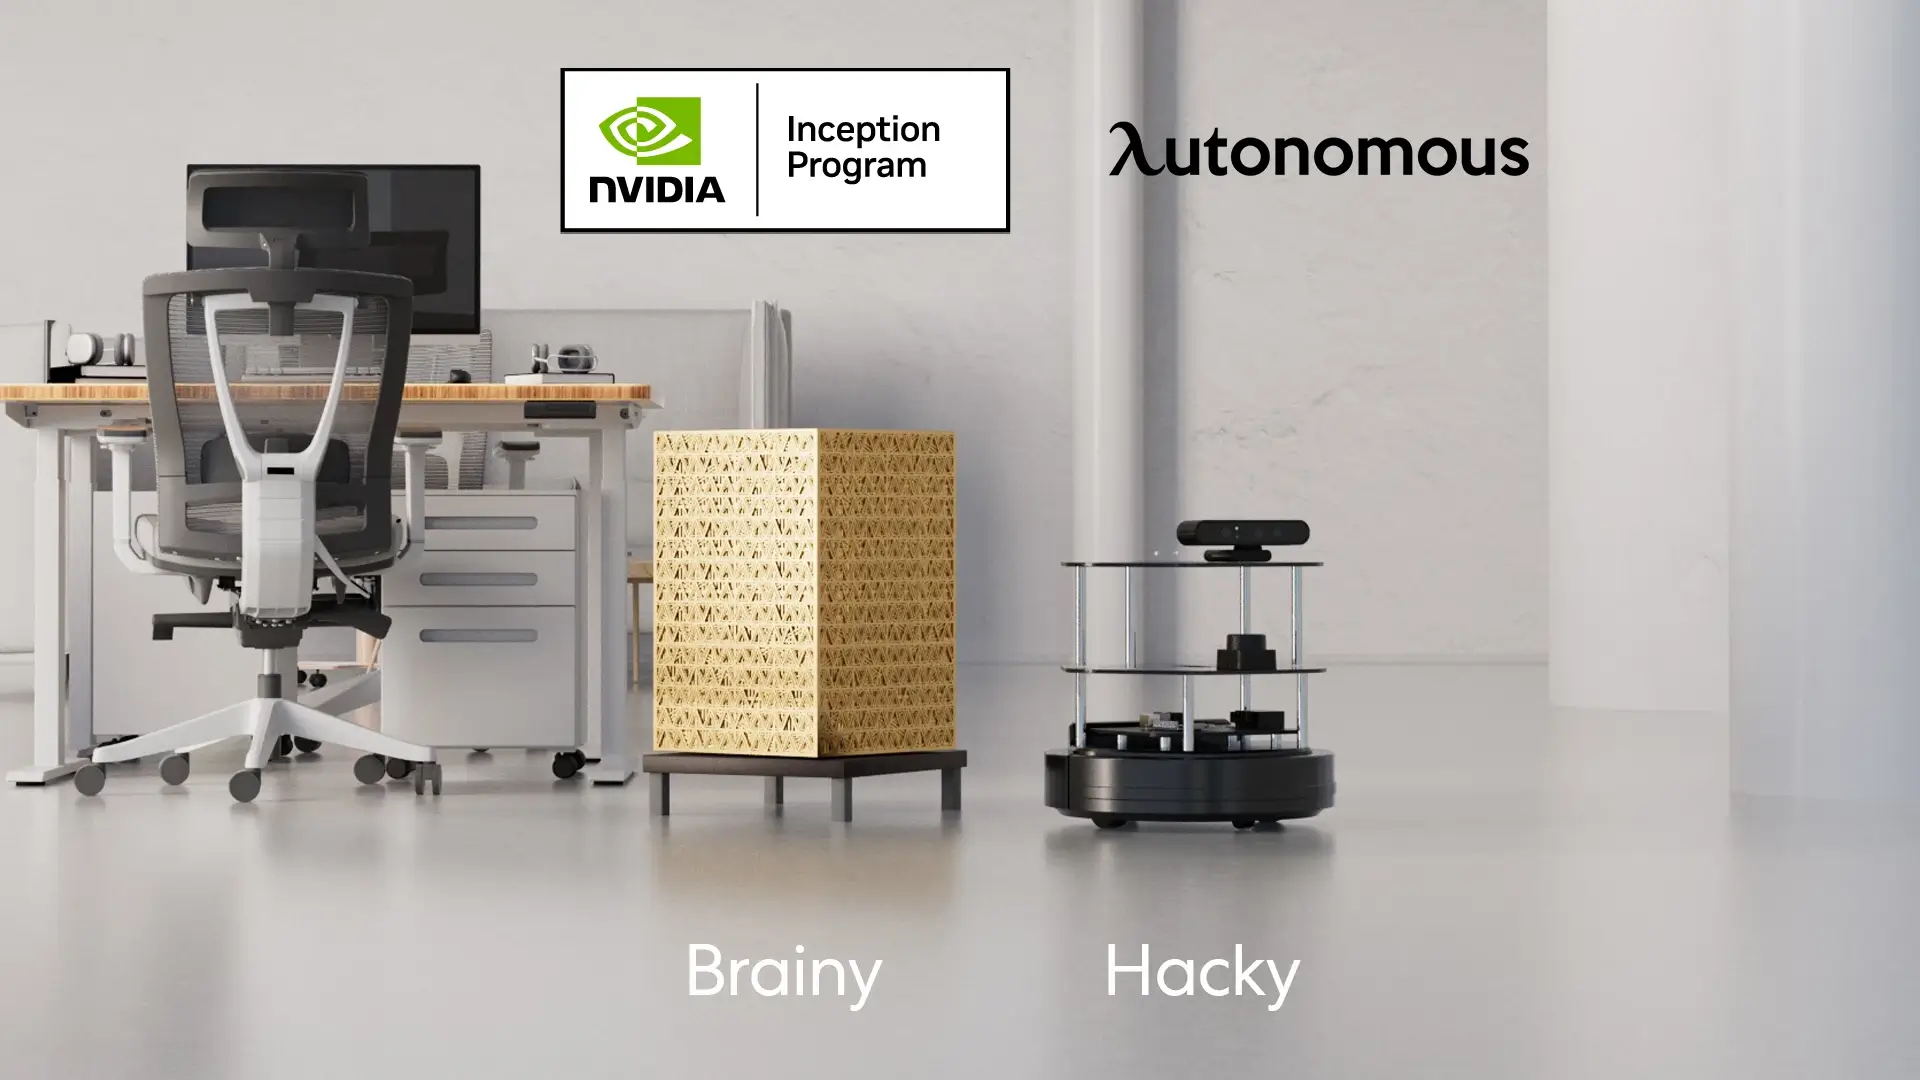
Autonomous Joins NVIDIA Inception Program
Latest Updates | Apr 28, 2025 577 views

Liven App Review: A Mental Wellness Tool for Productivity and Focus
Work Wellness | Apr 28, 2025 945 views
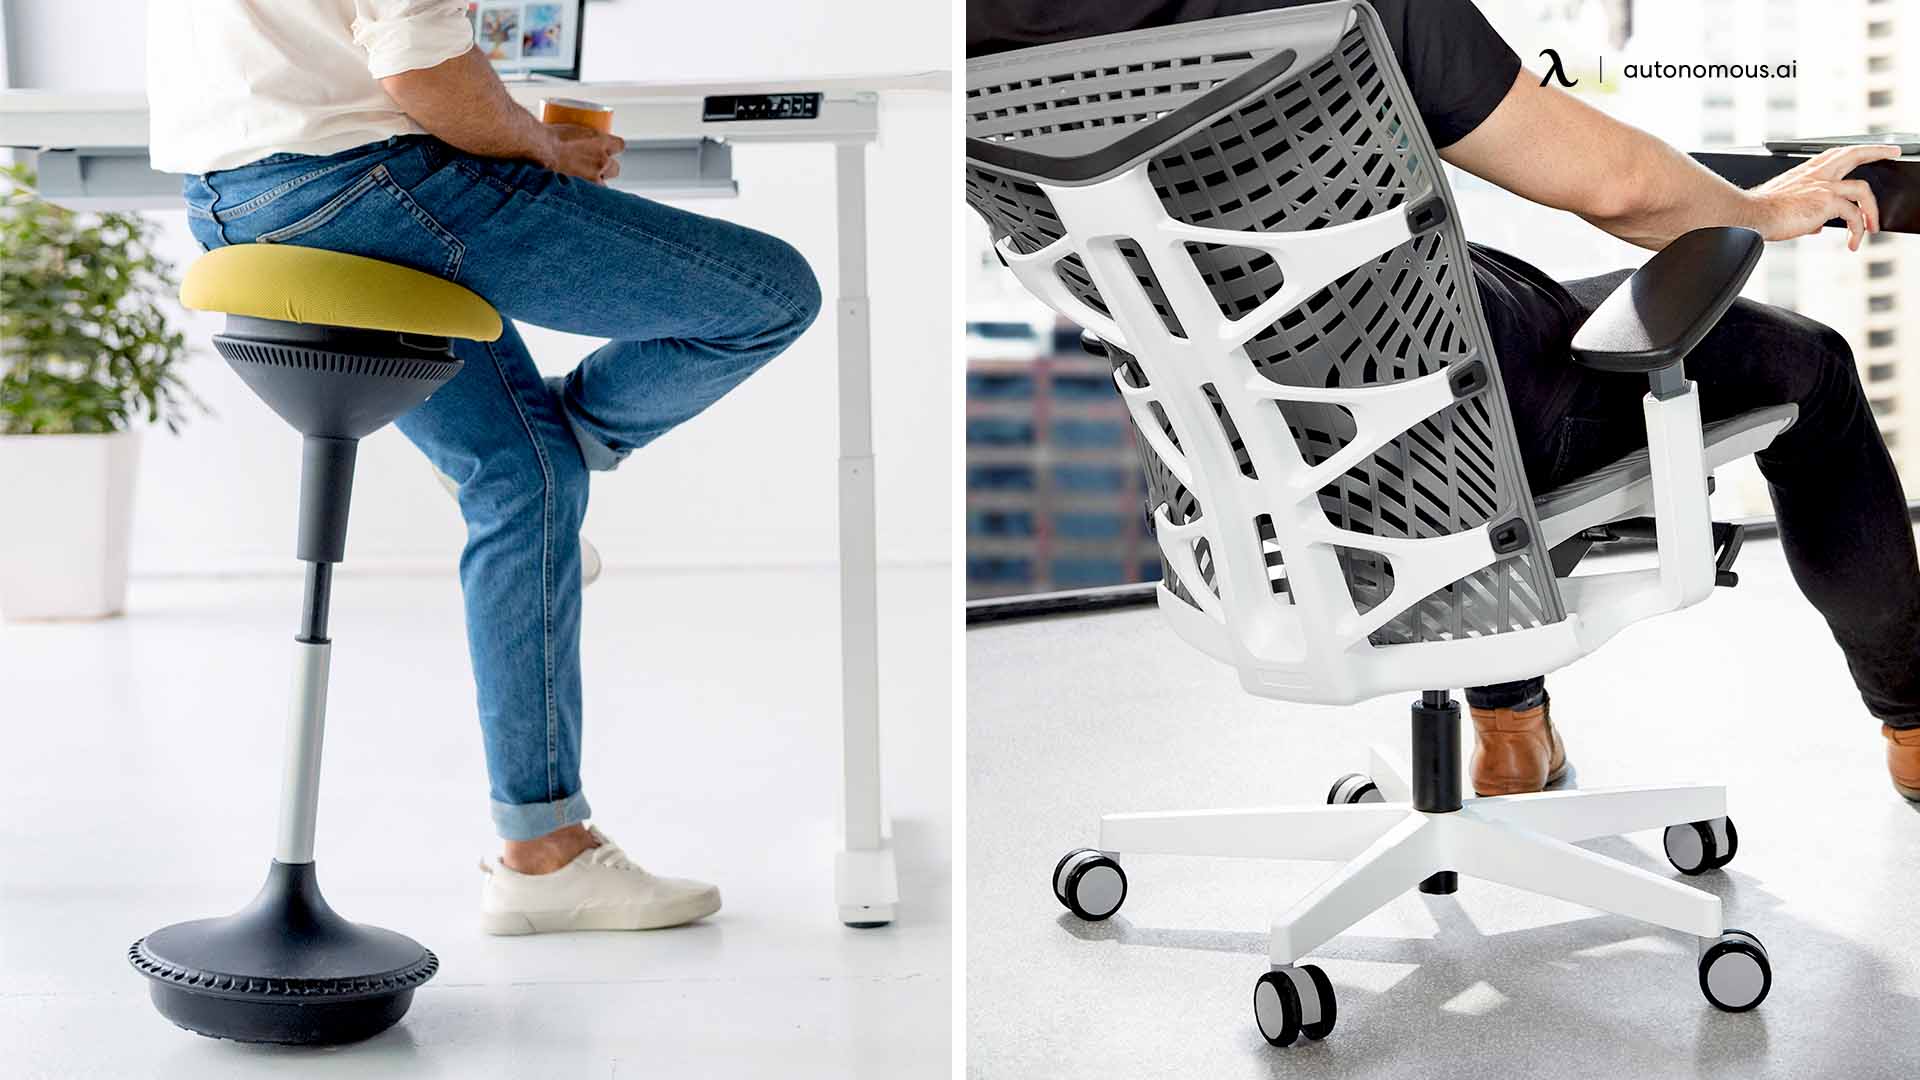
Stool vs. Chair: Which is Better for Your Comfort?
Smart Products | Apr 24, 2025 955 views
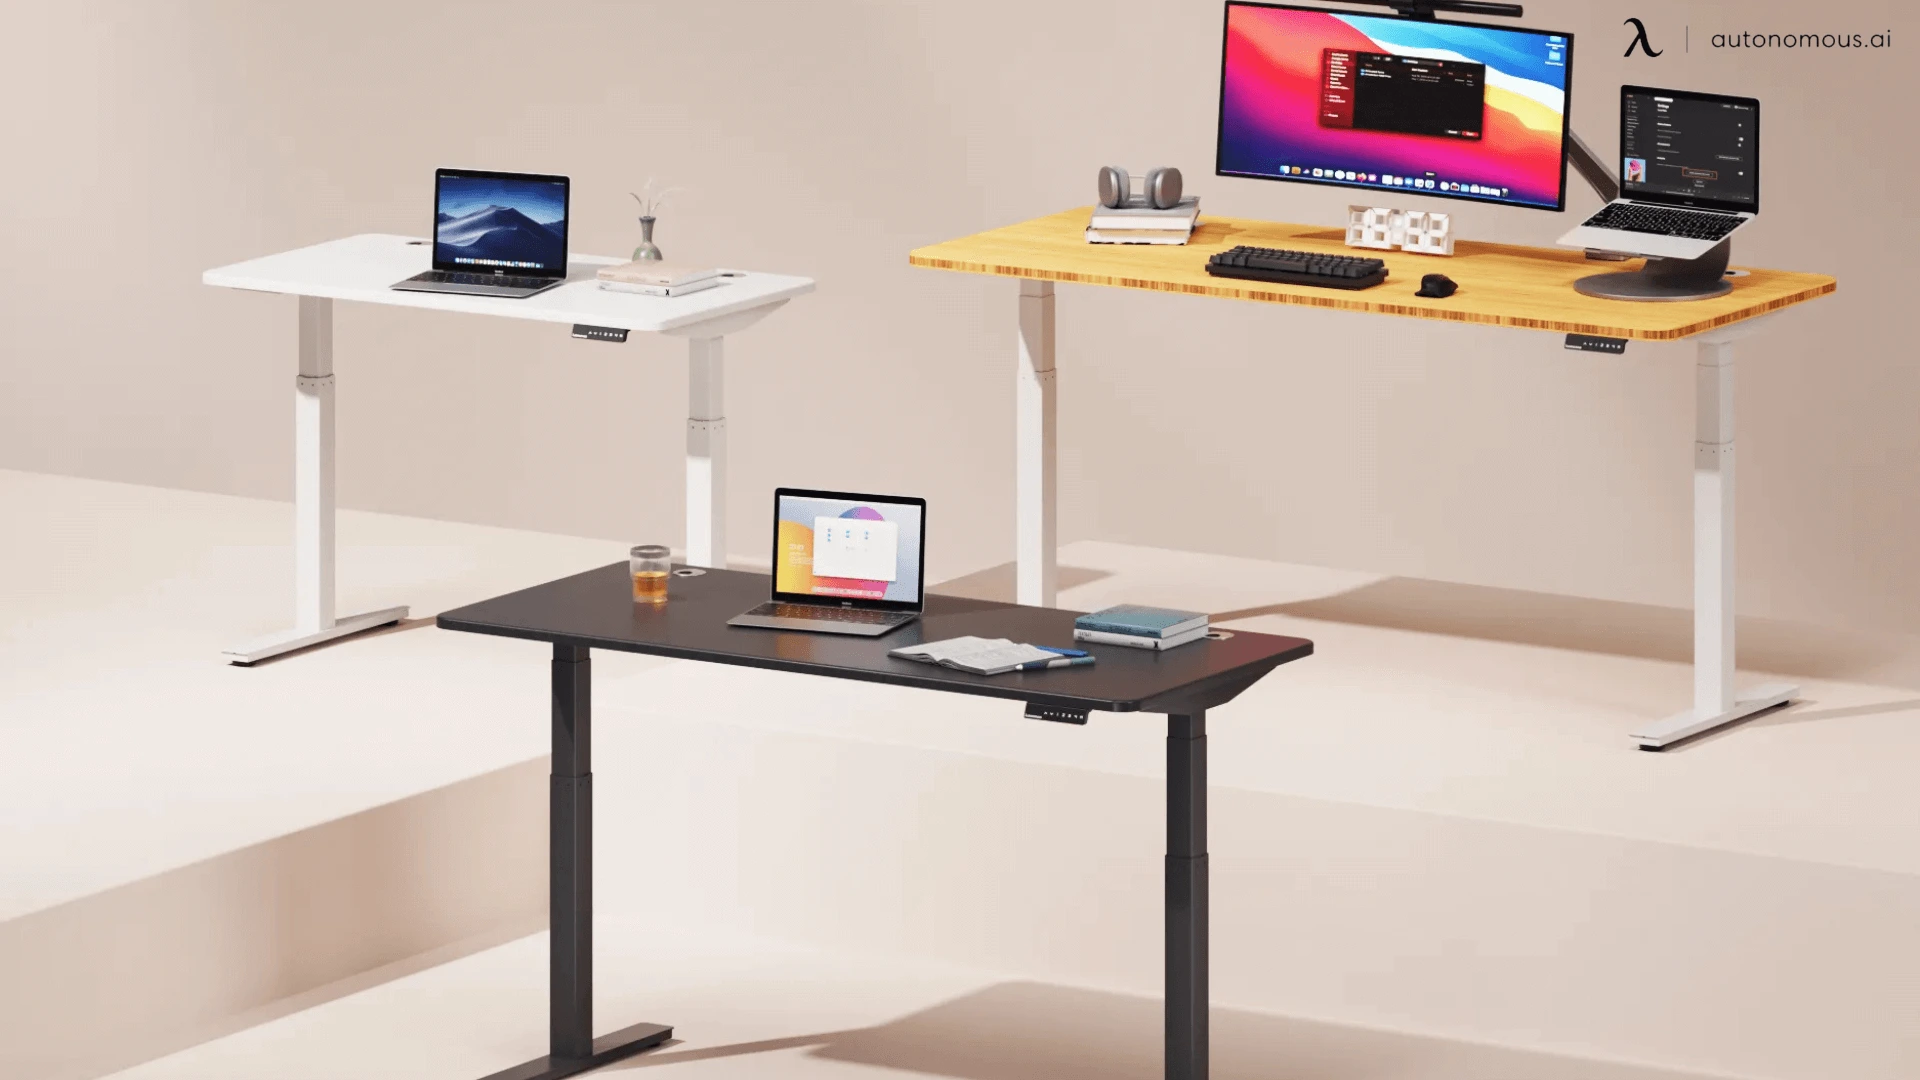
Understanding Standing Desk Prices: What to Expect at Every Budget
Smart Products | Apr 22, 2025 597 views
The 5 Best Office Chairs for Bedroom Setups in 2025
Smart Products | Apr 21, 2025 1,339 views

Best Office Chairs for Managers That Lead in Comfort and Support
Smart Products | Apr 18, 2025 1,430 views