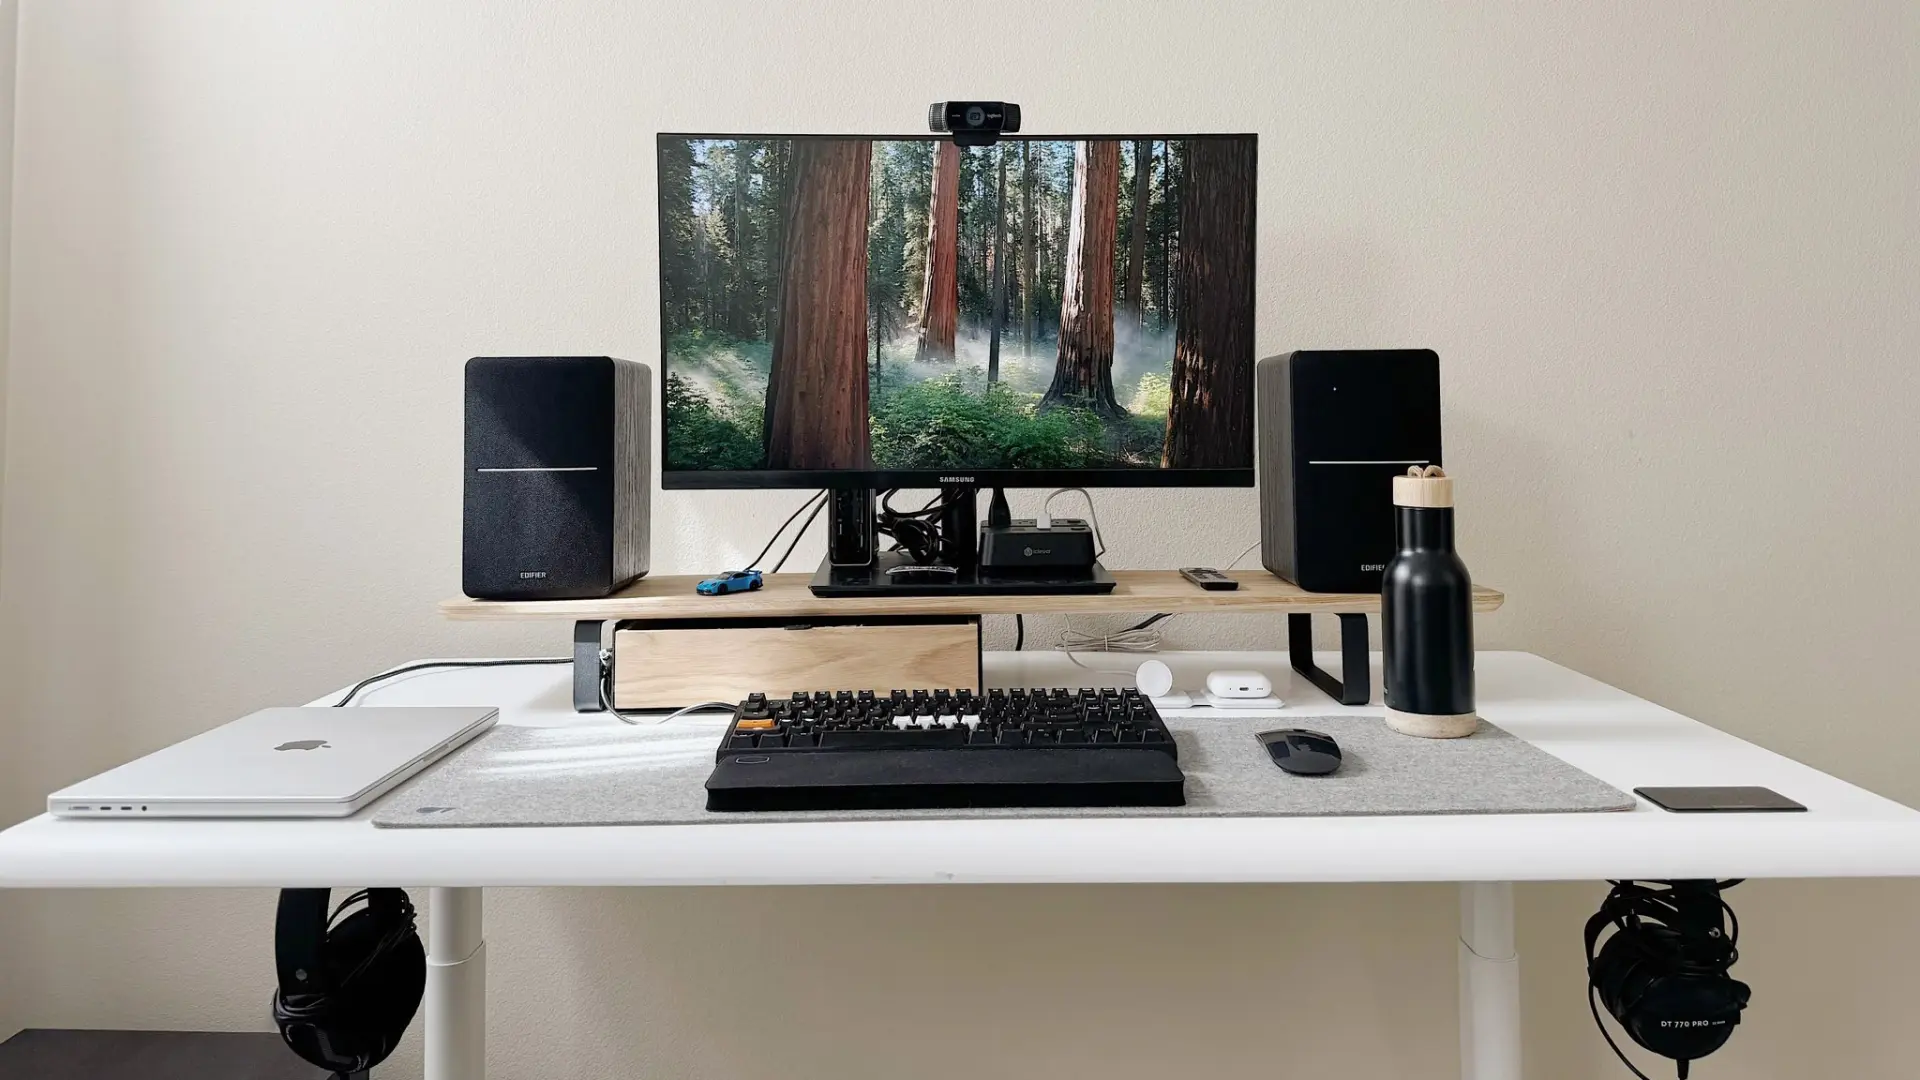
How to Set Up a Standing Desk Correctly

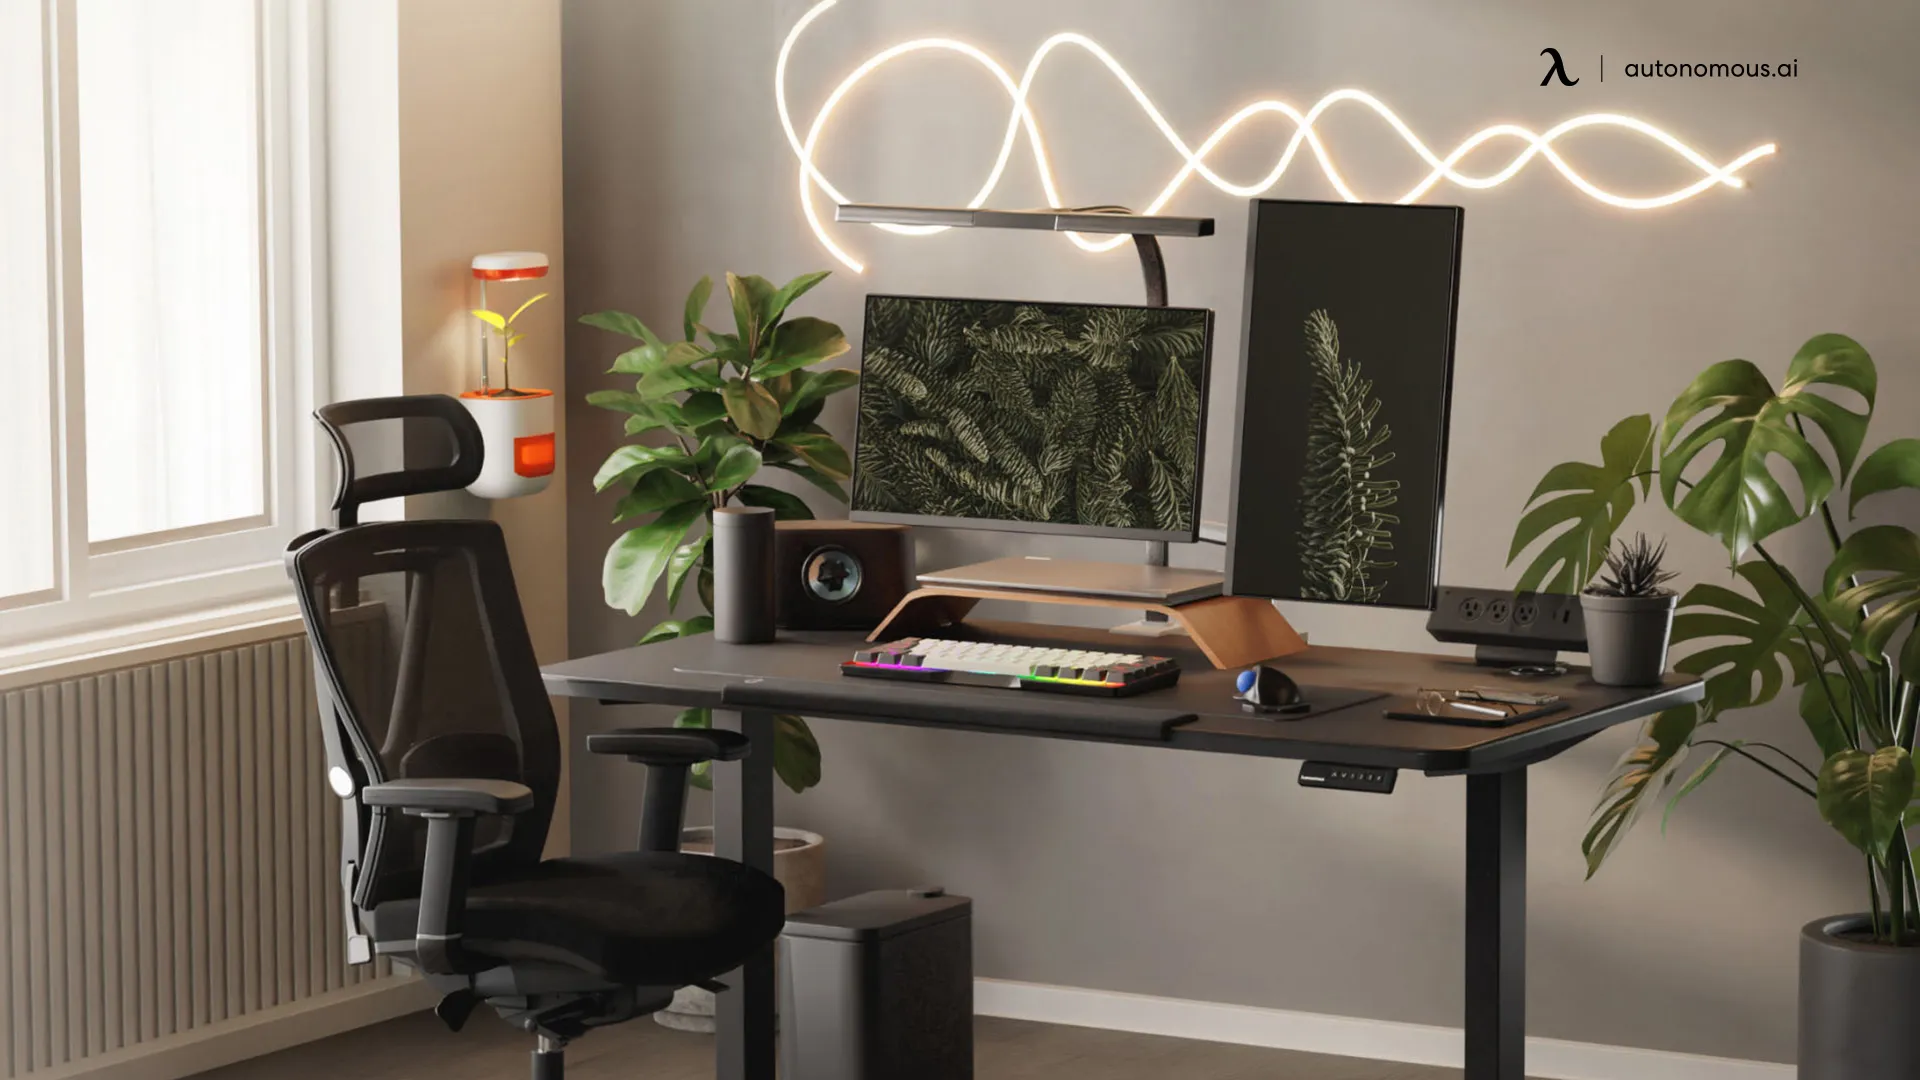
A standing desk is set up correctly when your elbows rest at roughly 90 degrees with your shoulders relaxed, the top of your screen sits at or just below eye level, and your weight is spread evenly across both feet. Almost every complaint people have about standing desks, sore shoulders, aching feet, a stiff neck, traces back to one of those three being wrong rather than to standing itself.
This guide walks through the setup in order, gives you a sit-stand rhythm that people actually stick to, and covers the mistakes that make new standing desk owners quietly stop raising the desk after a fortnight.
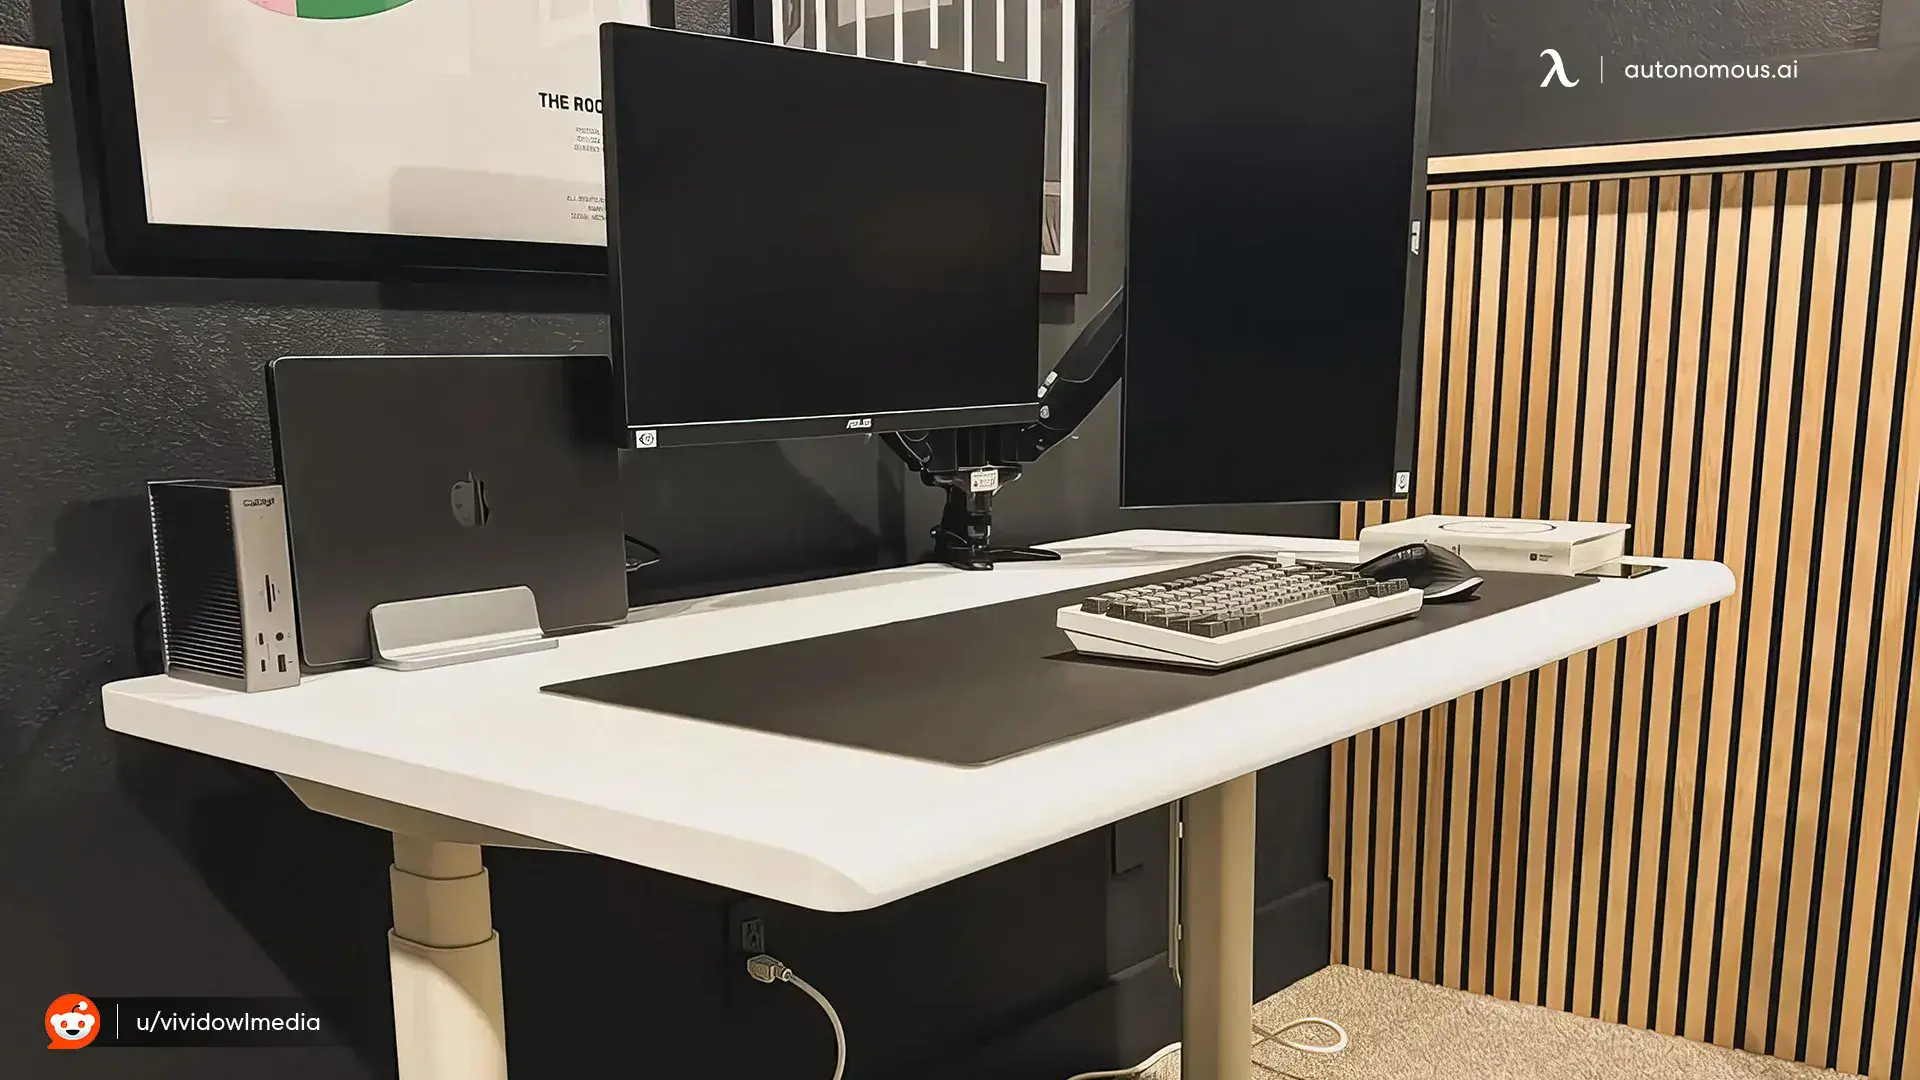
The Five-Minute Setup
Work through these in order. Each one depends on the one before it, which is why setting the monitor before the desk height is the most common way to end up with a setup that never feels right.
Step | What to set | Target |
1 | Desk height | Elbows at 90 degrees, shoulders relaxed |
2 | Monitor height | Top of screen at or just below eye level |
3 | Monitor distance | About an arm's length away |
4 | Keyboard and mouse | Wrists flat, elbows close to your sides |
5 | Feet | Flat, hip-width apart, knees soft |
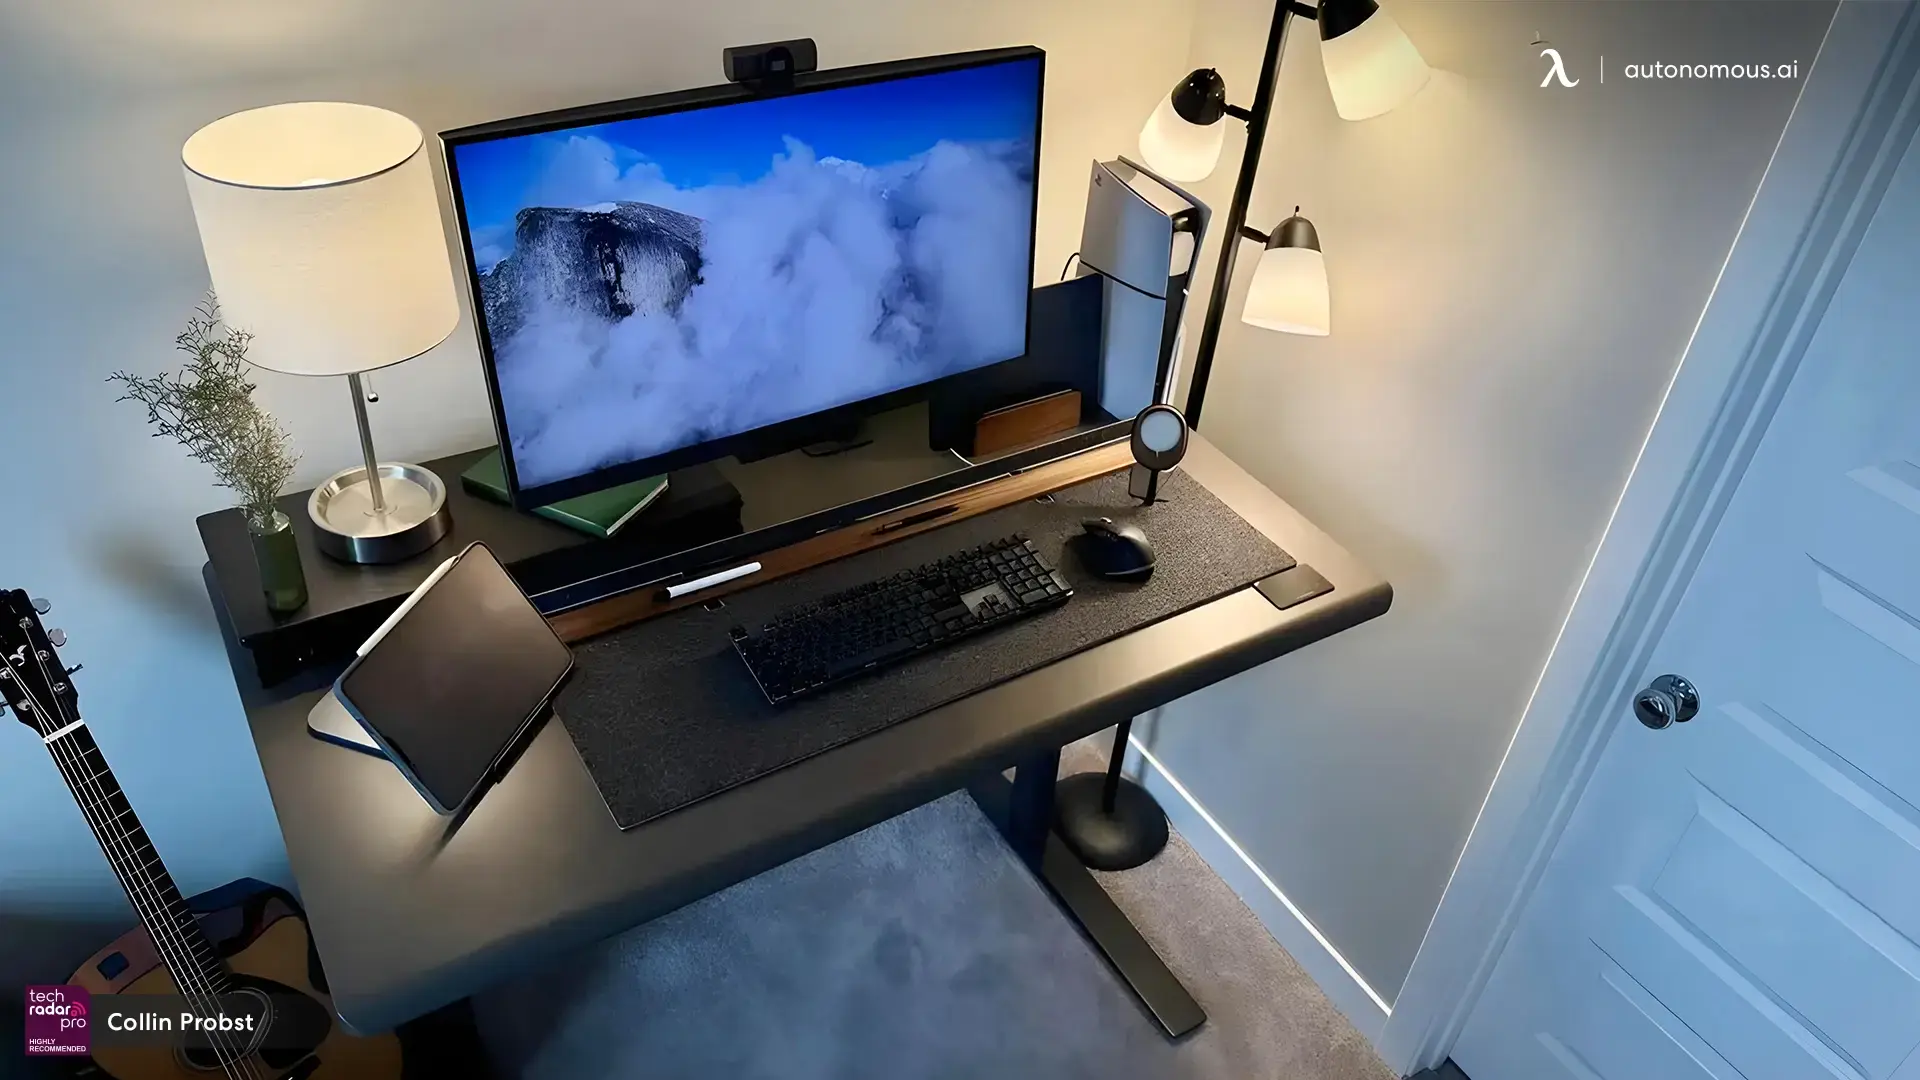
Step 1: Set Your Desk Height
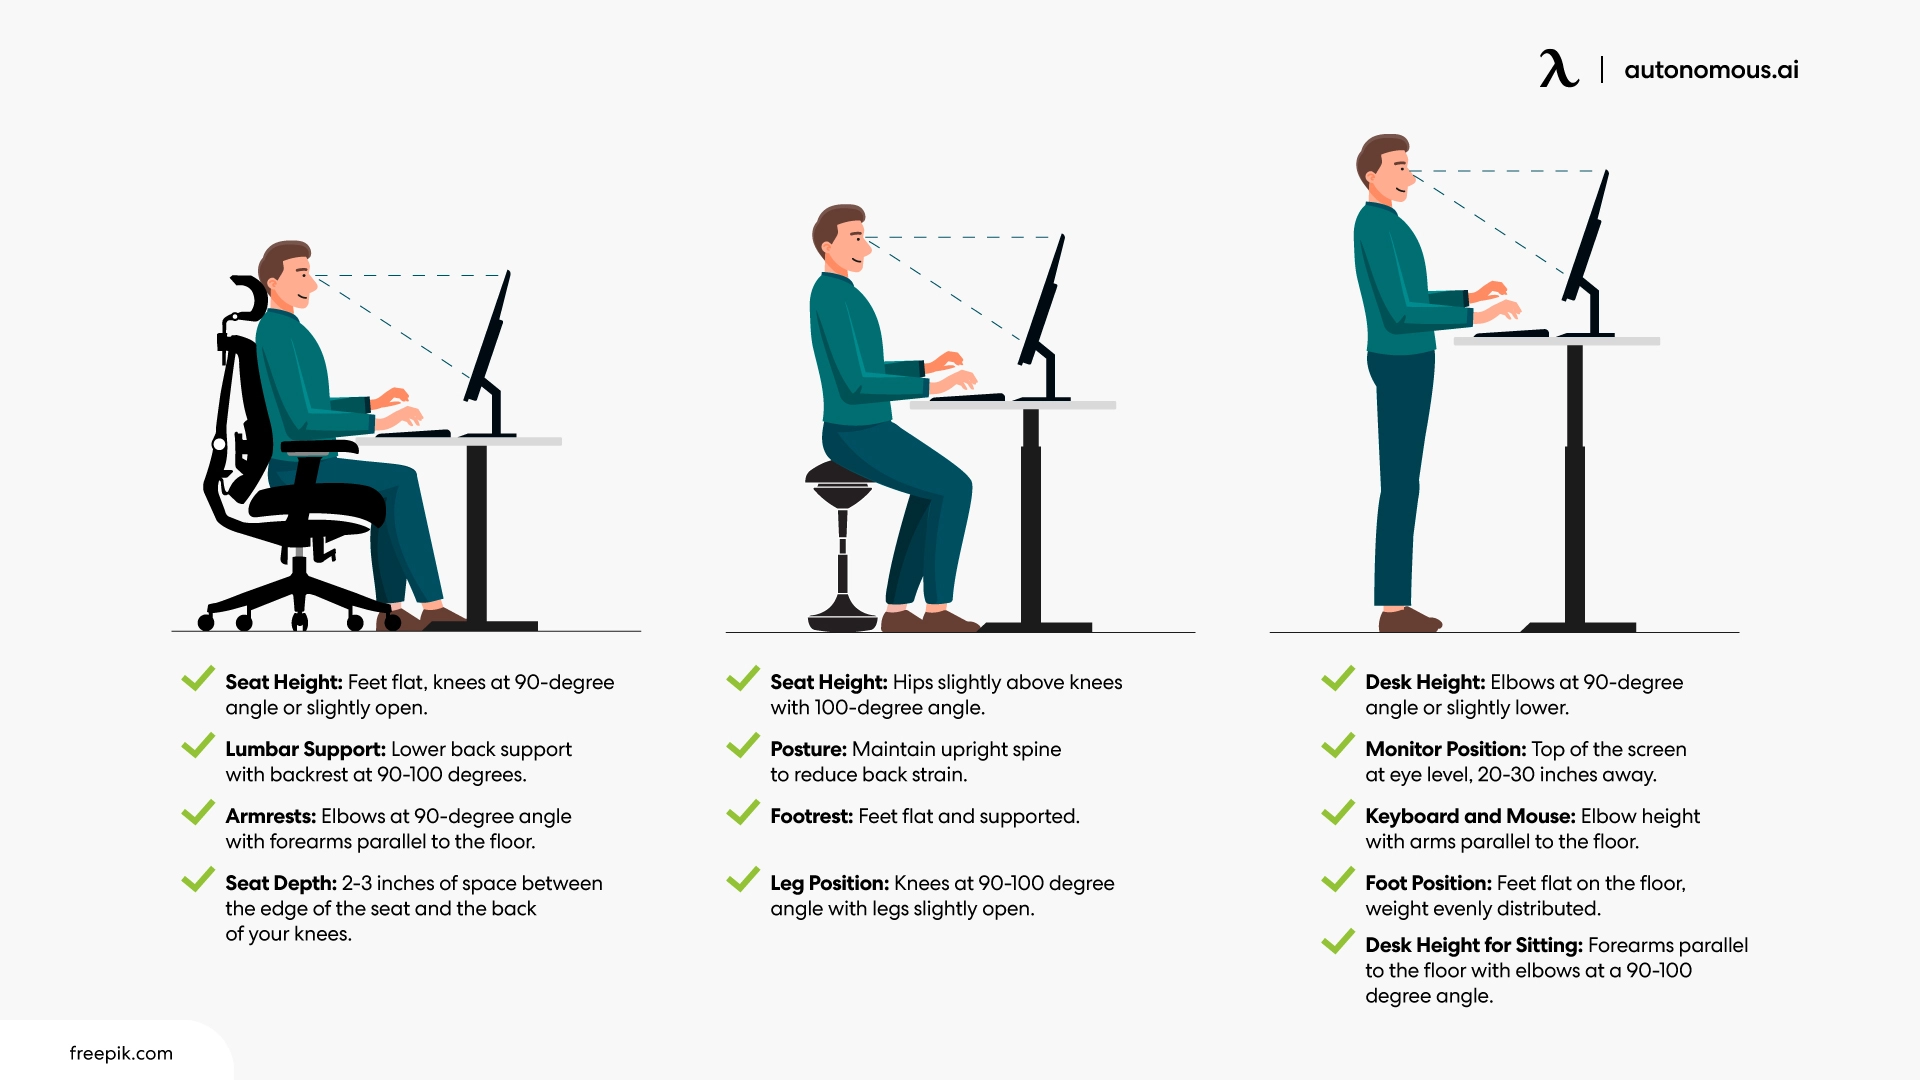
Set your standing desk so your elbows rest at about a 90-degree angle with your forearms parallel to the floor and your shoulders relaxed, not hunched or shrugged. This is the elbow rule, and it matters more than any number on a chart, because the correct height depends on your torso and arm proportions rather than your overall height alone.
The quickest way to find it: stand naturally, bend your elbows to 90 degrees, and have someone measure from the floor to the underside of your forearm. That figure is your standing desk height. Do the same seated to find your sitting height, then save both as presets so you are not re-adjusting by eye several times a day.
One detail people miss: if your desk has memory presets, use them. A setup that requires holding a button and eyeballing the height is one you will stop adjusting within a couple of weeks, which quietly turns your standing desk into an expensive fixed desk.
Step 2: Position Your Monitor
Position your monitor so the top of the screen sits at or just below eye level and the screen is about an arm's length away. Your eyes should fall naturally on the top third of the display, which lets your neck stay neutral instead of tipping back to look up or dropping forward to look down.
The problem with laptops is that this is impossible: if the screen is at the right height, the keyboard is too high, and if the keyboard is right, you are looking down all day. A laptop stand plus an external keyboard solves it for about the price of a takeaway. For a permanent setup, a monitor arm is the better answer, because it lets you set screen height independently of desk height, which is exactly what you need when the desk moves several times a day.
If you use two monitors, put your primary screen directly in front of you rather than splitting the difference between both. Angling your neck toward a screen for hours is the fastest route to the stiffness people wrongly blame on standing.
Step 3: Place Your Keyboard and Mouse
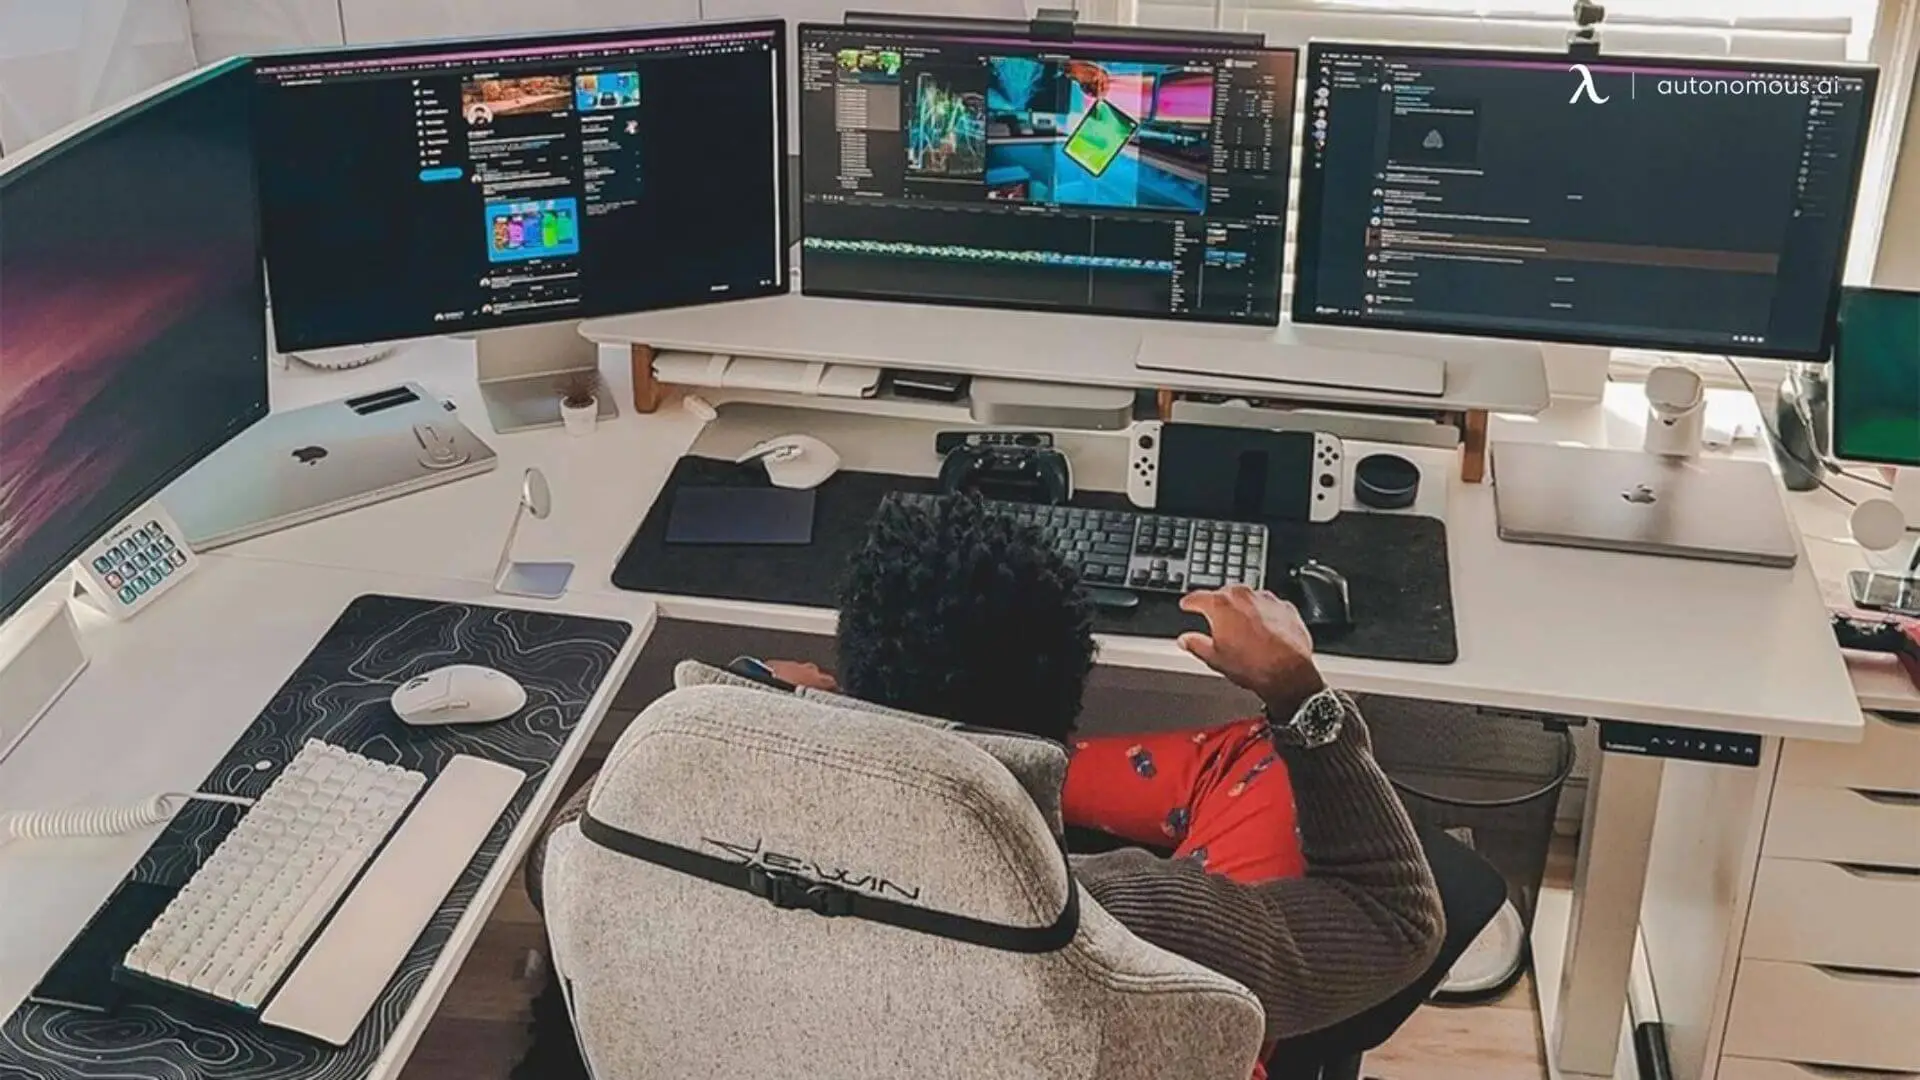
Keep your keyboard and mouse at a height where your wrists stay flat and your elbows stay close to your sides, rather than reaching forward or splaying outward. Your wrists should not be bent upward to reach the keys, which is what happens when the desk sits slightly too high, and the mouse should sit on the same plane as the keyboard rather than higher.
A wrist rest helps if you tend to plant your wrists while typing, though the better habit is floating your hands slightly. Keep the mouse close enough that your upper arm stays near vertical. Reaching for a mouse placed too far right is a shoulder problem that takes weeks to show up and months to undo.
Step 4: Fix Your Standing Posture
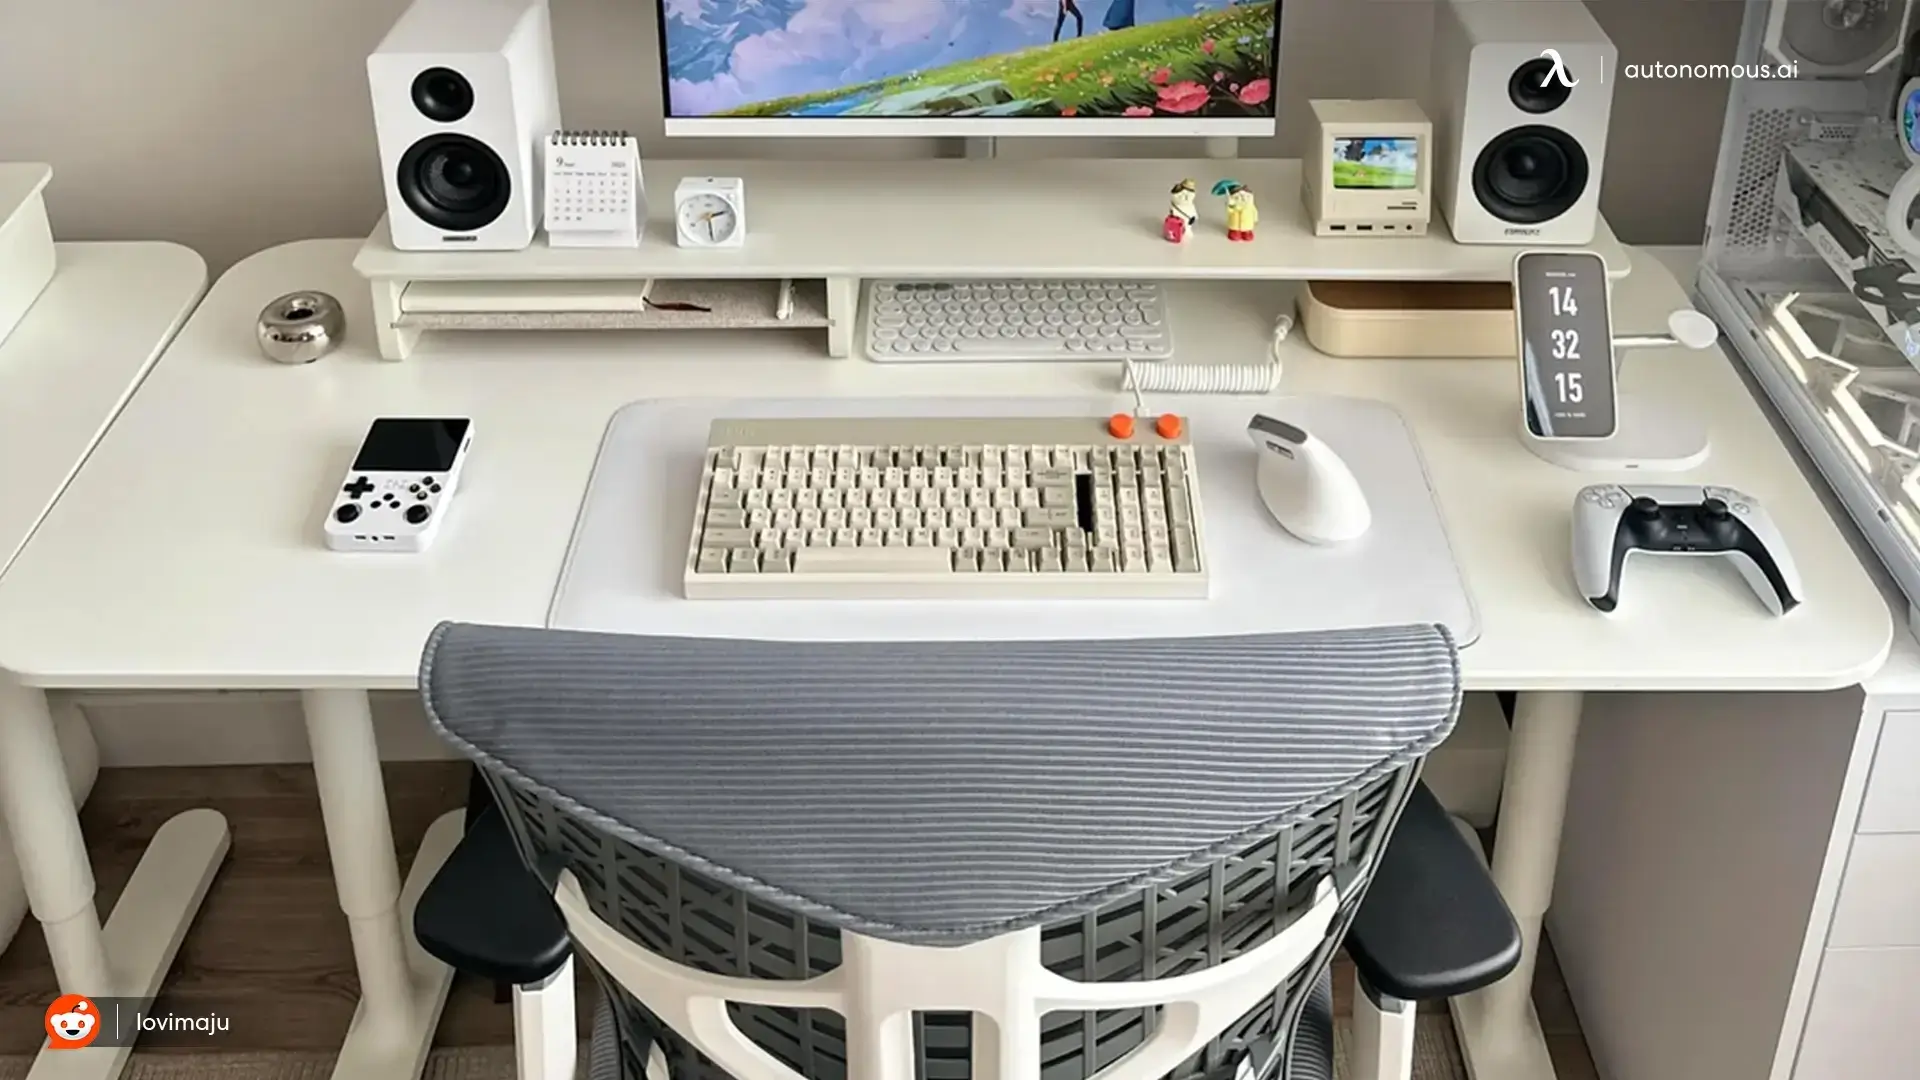
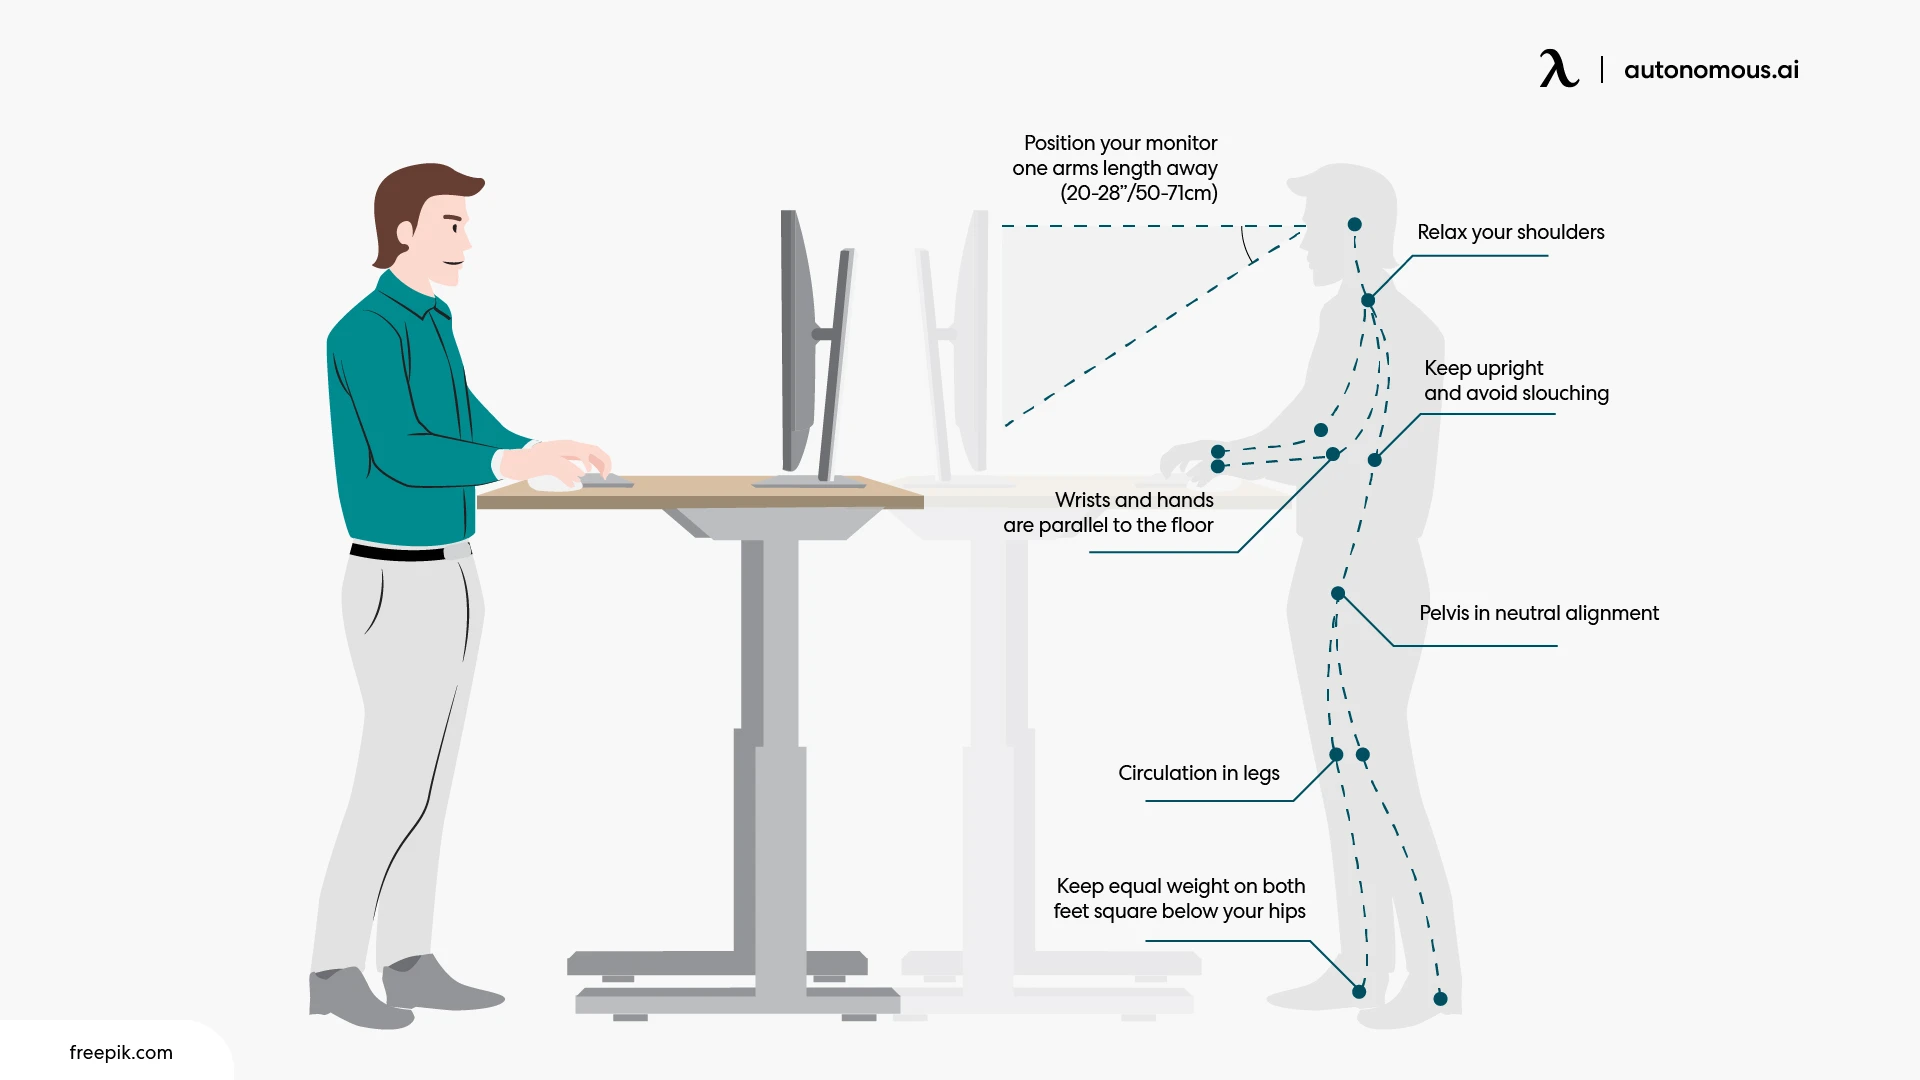
Stand with your weight spread evenly across both feet, hip-width apart, with your knees soft rather than locked. Locking your knees restricts circulation and is the single most common reason people report their legs aching after standing sessions, which they then attribute to the desk rather than to the stance.
A few things that help more than they sound like they will. Shift your weight periodically rather than holding one stance, because stillness is the actual problem, not standing. Wear supportive shoes or use an anti-fatigue mat if you are on a hard floor, since standing barefoot on tile for two hours will convince you standing desks do not work. And keep your head stacked over your shoulders rather than pushed forward toward the screen, which is the posture that creeps in during concentration and undoes everything else you have set up.
Step 5: Build a Sit-Stand Rhythm You Will Keep
Alternate between sitting and standing roughly every 30 to 60 minutes rather than trying to stand all day. The benefit comes from changing position, not from standing continuously, and people who attempt eight-hour standing days almost always abandon the desk entirely inside a month.
If you are new to it, ease in. Start with 20 to 30 minutes of standing per hour for the first week or two, then extend as it starts to feel normal. Harvard Health's guidance on standing desks makes the same point: build up gradually rather than switching overnight. A useful trick is to anchor standing to a recurring task instead of a timer, standing for calls and email and sitting for focused writing, so the switch becomes part of the work rather than another thing to remember.
Common Standing Desk Mistakes
Most standing desk problems are setup problems wearing a disguise. These are the ones that come up most.
Standing too much, too soon. The fastest way to hate a standing desk is to spend a full day on your feet in week one. Sore feet and legs get blamed on the desk rather than the ramp-up.
Locking your knees. It feels stable and it restricts circulation. Soft knees, weight shifting occasionally.
Setting the monitor before the desk. Desk height is the foundation. If you set the screen first and then adjust the desk, you have to redo the screen anyway.
Leaving the desk at one height. A sit-stand desk that never moves is a fixed desk. Presets exist because friction is what kills the habit.
Ignoring the floor. Hard tile or laminate under bare feet will end your standing habit faster than any ergonomic error. A mat is the cheapest fix in this entire guide.
Letting cables set the height limit. If a cable goes taut before the desk reaches full height, you will stop raising it fully. Leave slack and route cords through a tray or spine.
Accessories That Actually Earn Their Place
A handful of standing desk accessories solve real problems that a standing desk creates or exposes. The rest are decorations.
Monitor arm. The highest-impact addition, because it decouples screen height from desk height and frees the surface underneath.
Anti-fatigue mat. Matters more than people expect on hard floors, and it is the difference between standing comfortably for an hour and giving up after twenty minutes.
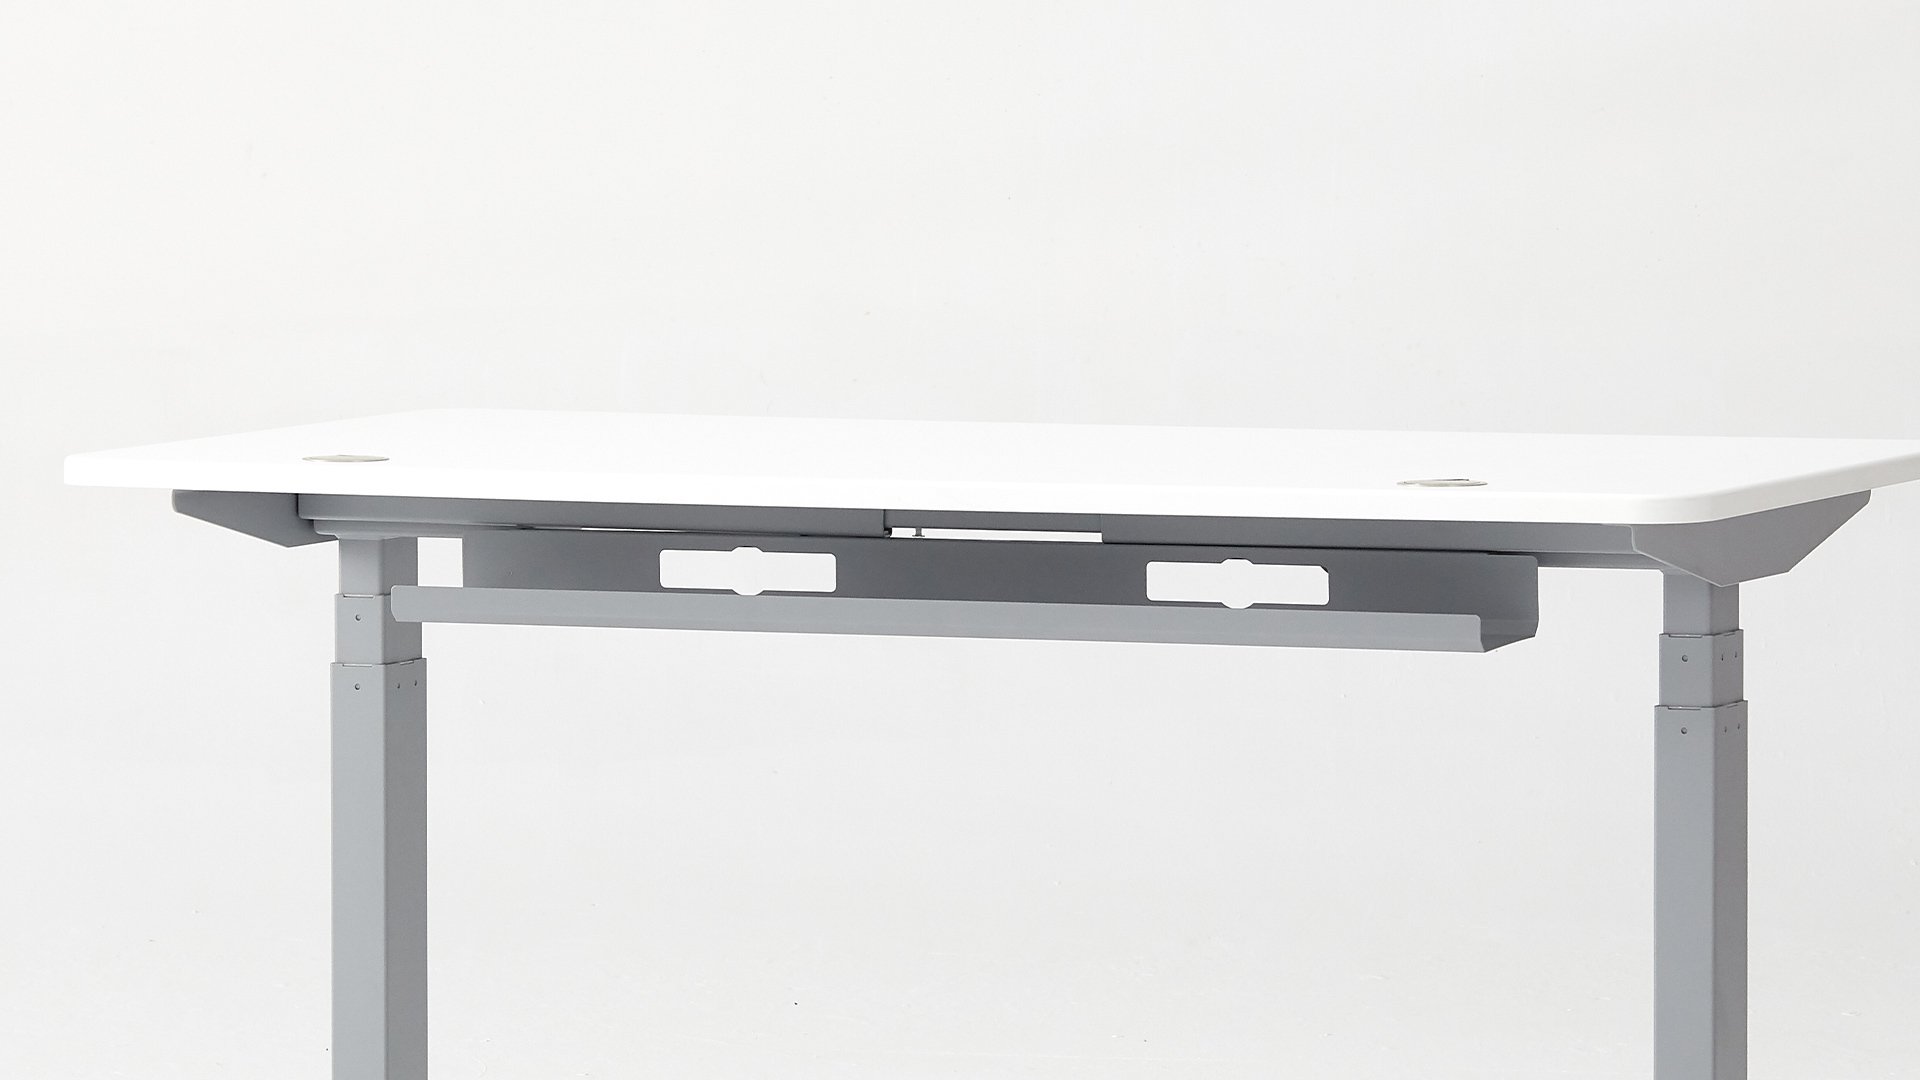
Cable tray or spine. Keeps cords traveling with the desk instead of snagging, which is both a tidiness and a safety issue.
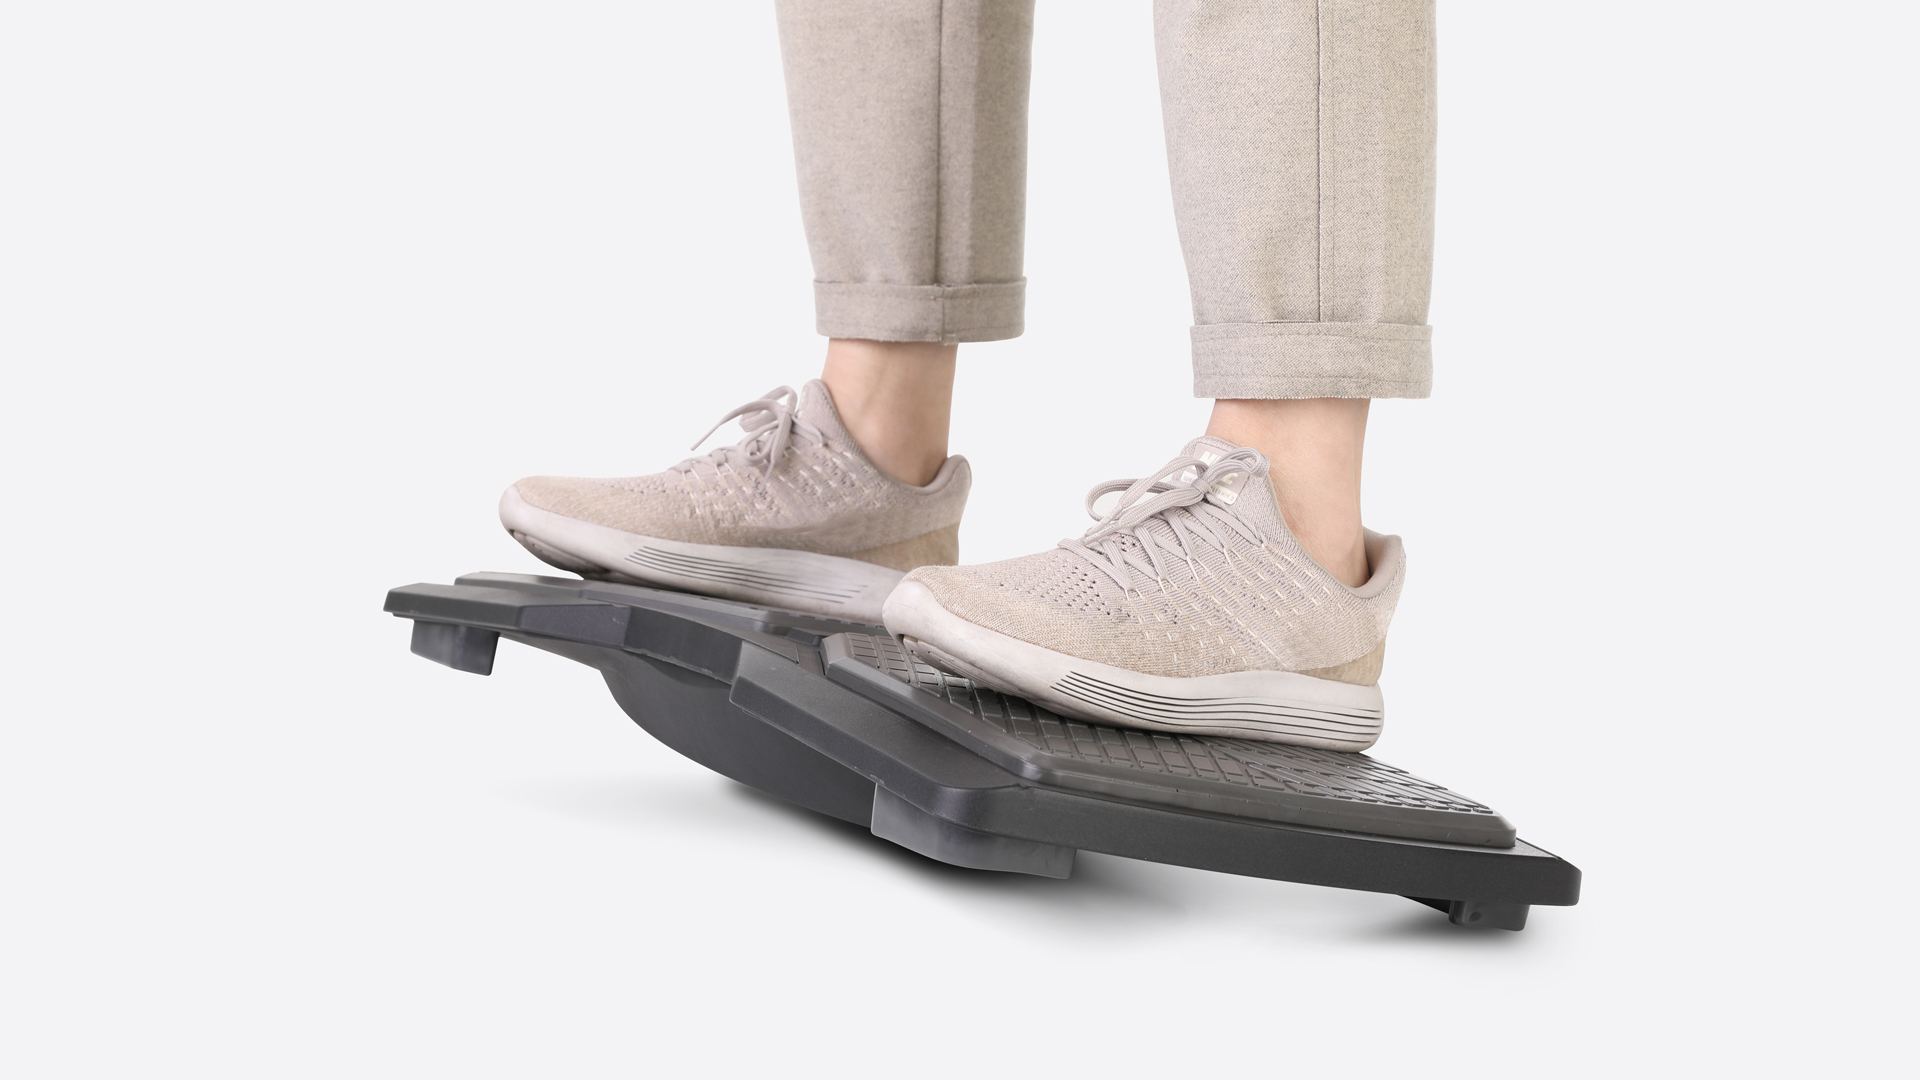
Balance board. Worth it if you find standing still uncomfortable, since gentle movement is easier to sustain than a fixed stance.
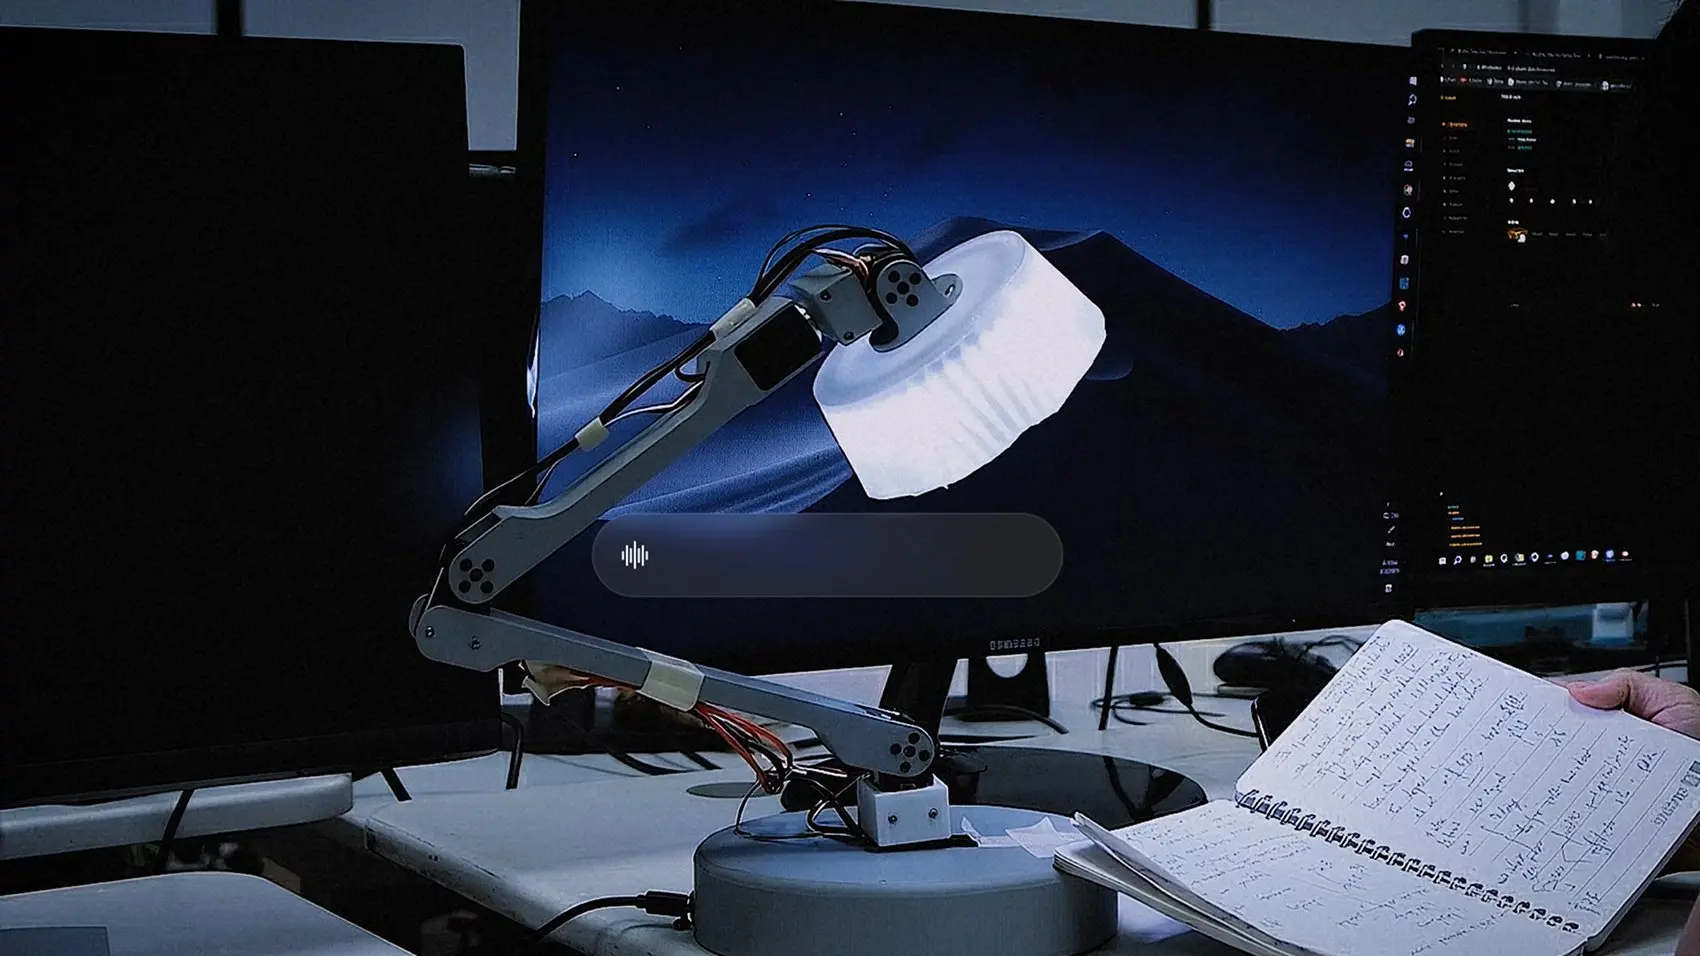
Task lamp. Adjustable lighting reduces eye strain and, practically, makes you look considerably better on video calls.
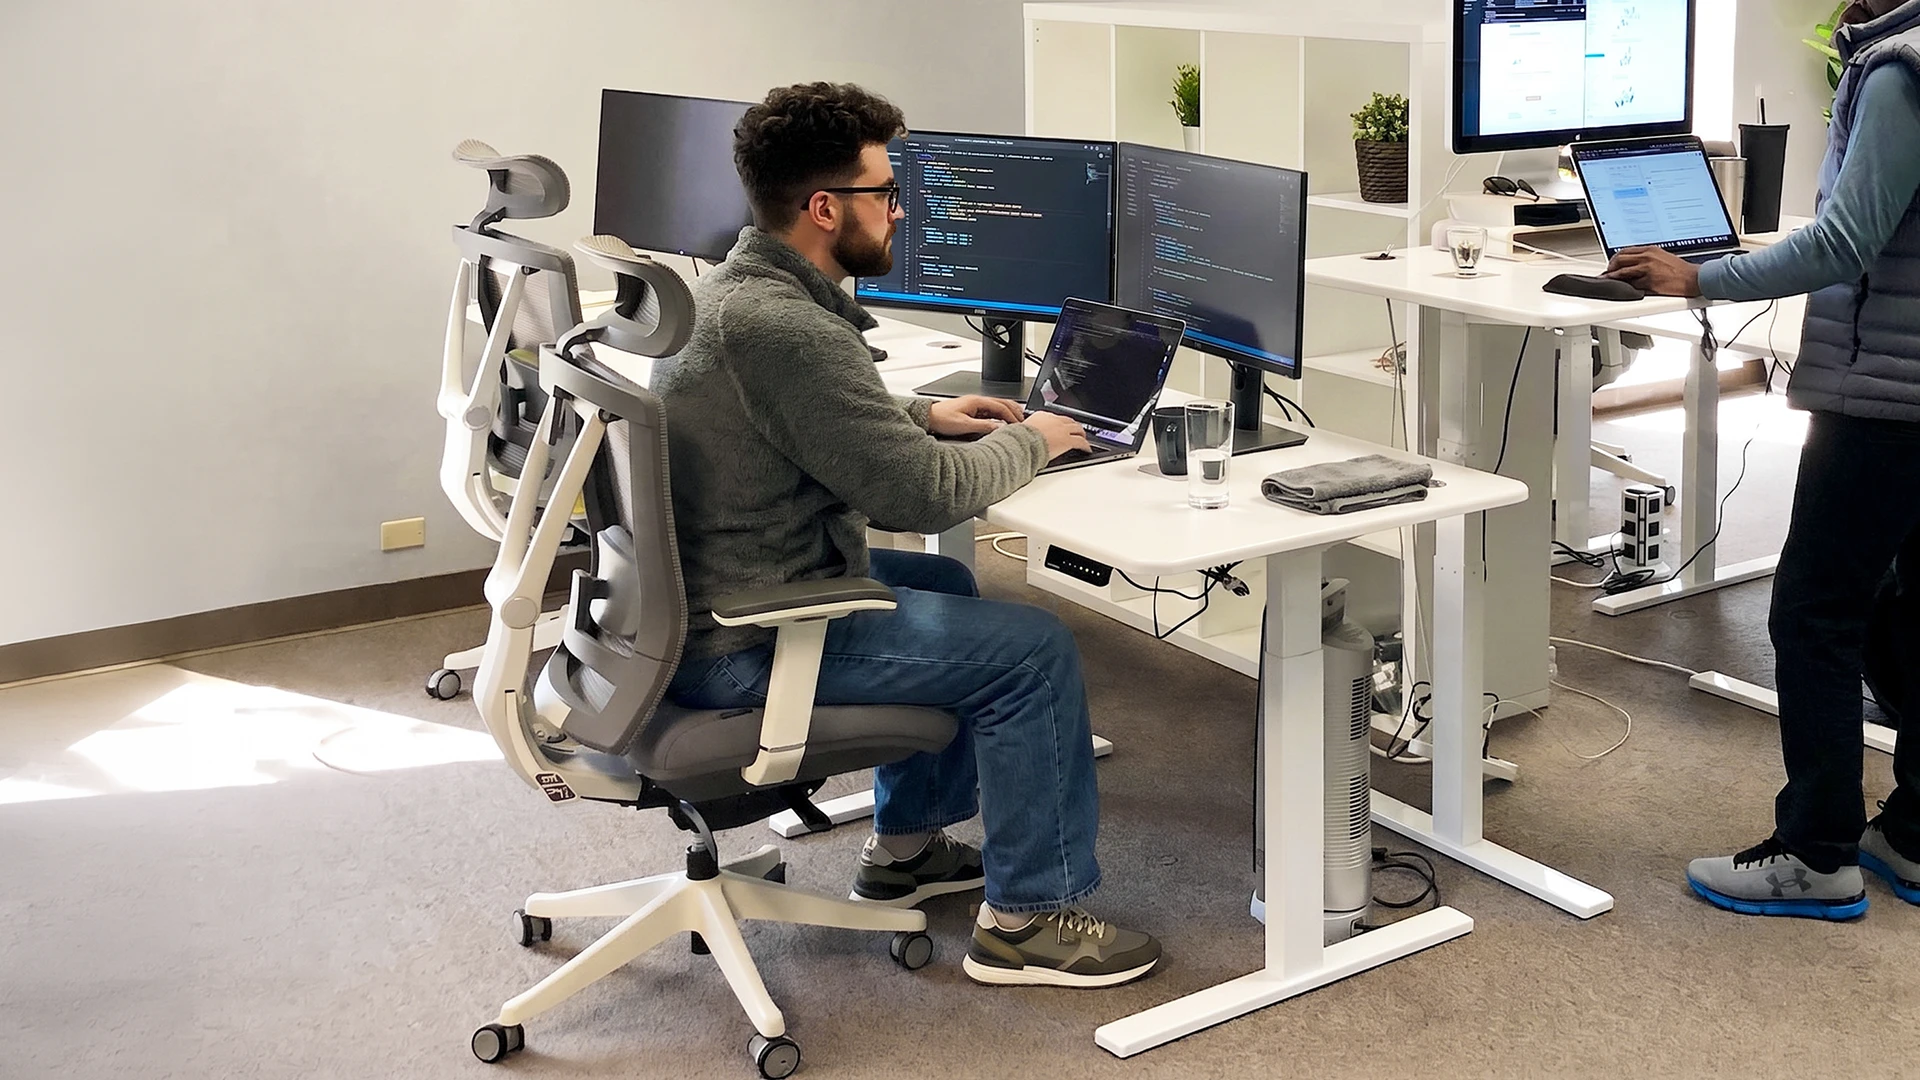
Ergonomic chair. You will still sit for a good share of the day, so the chair matters as much as the desk. A supportive ergonomic chair is the other half of a sit-stand setup.
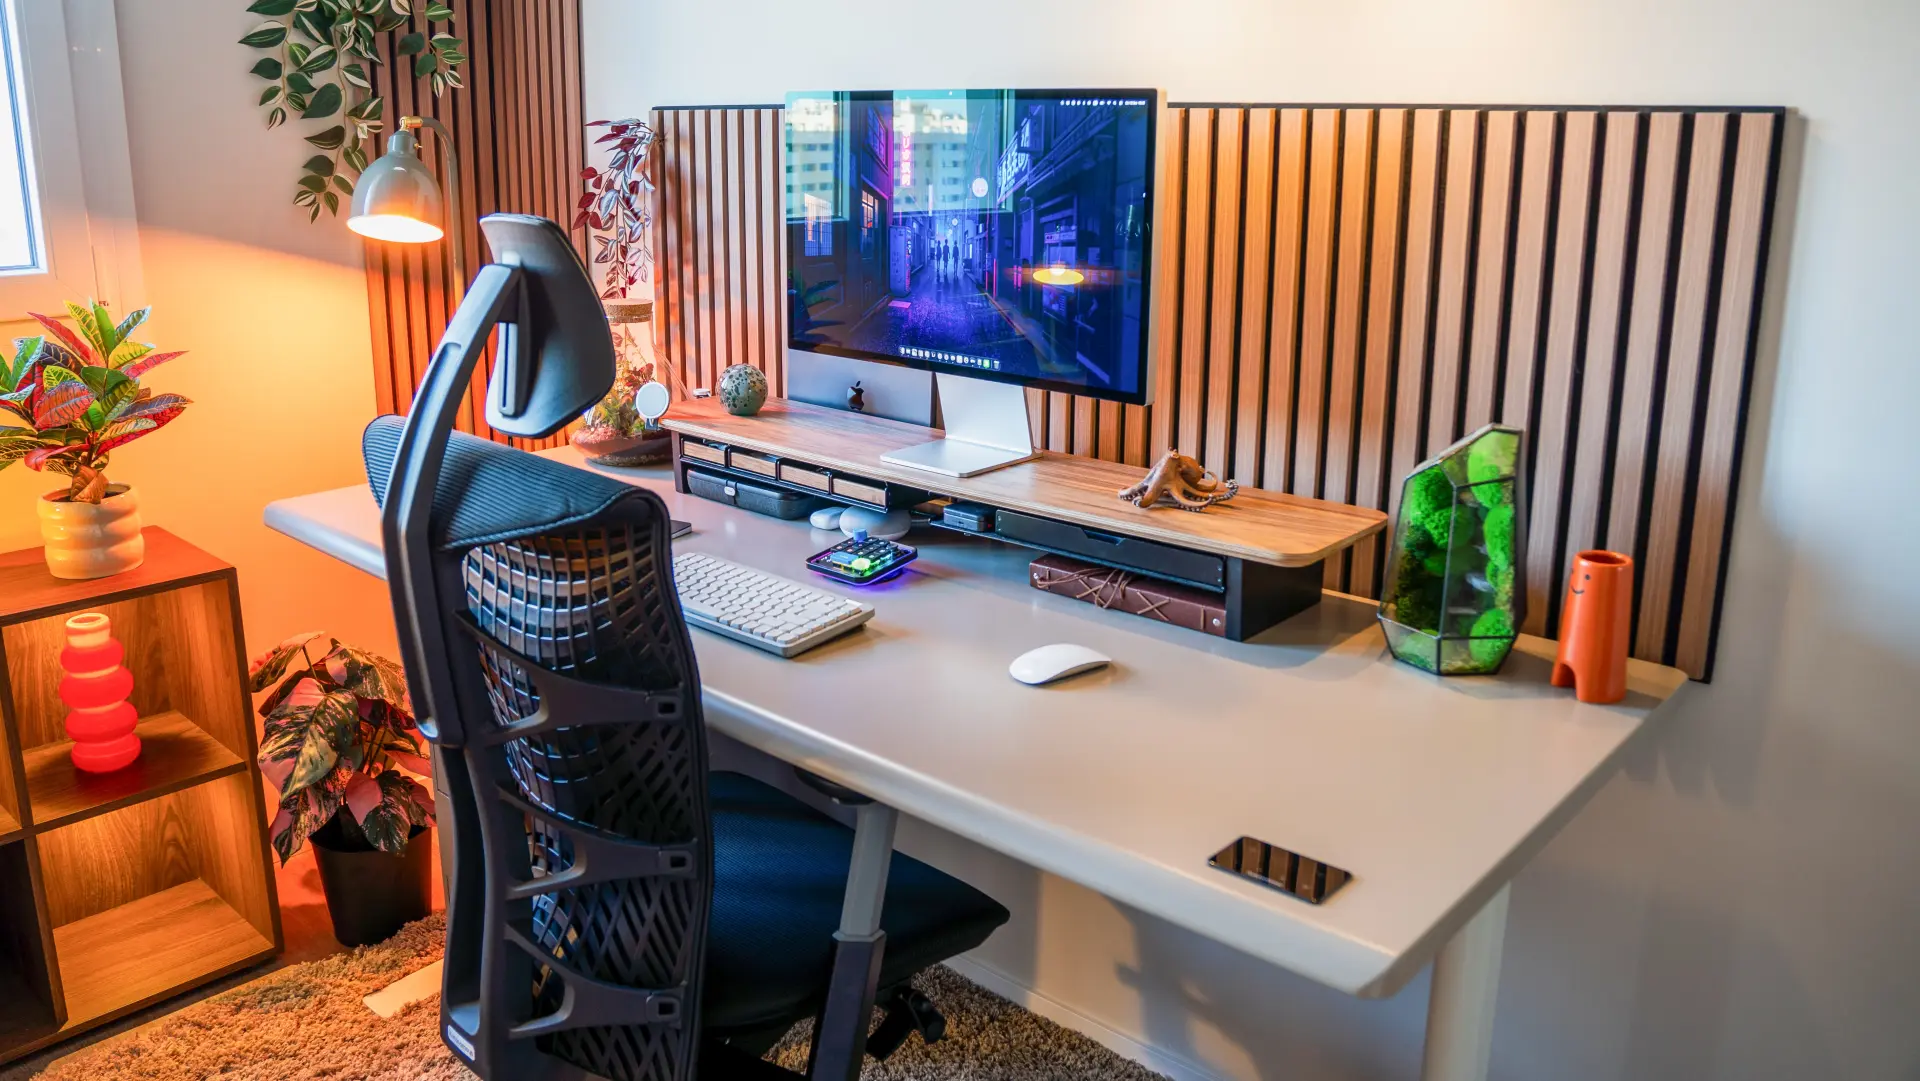
Styling Your Standing Desk
A standing desk surface has one constraint a fixed desk does not: everything on it moves several times a day. That single fact should drive how you style it. Anything tall and top-heavy, a full mug near the edge, a precariously stacked monitor riser, becomes a small hazard every time the desk rises.
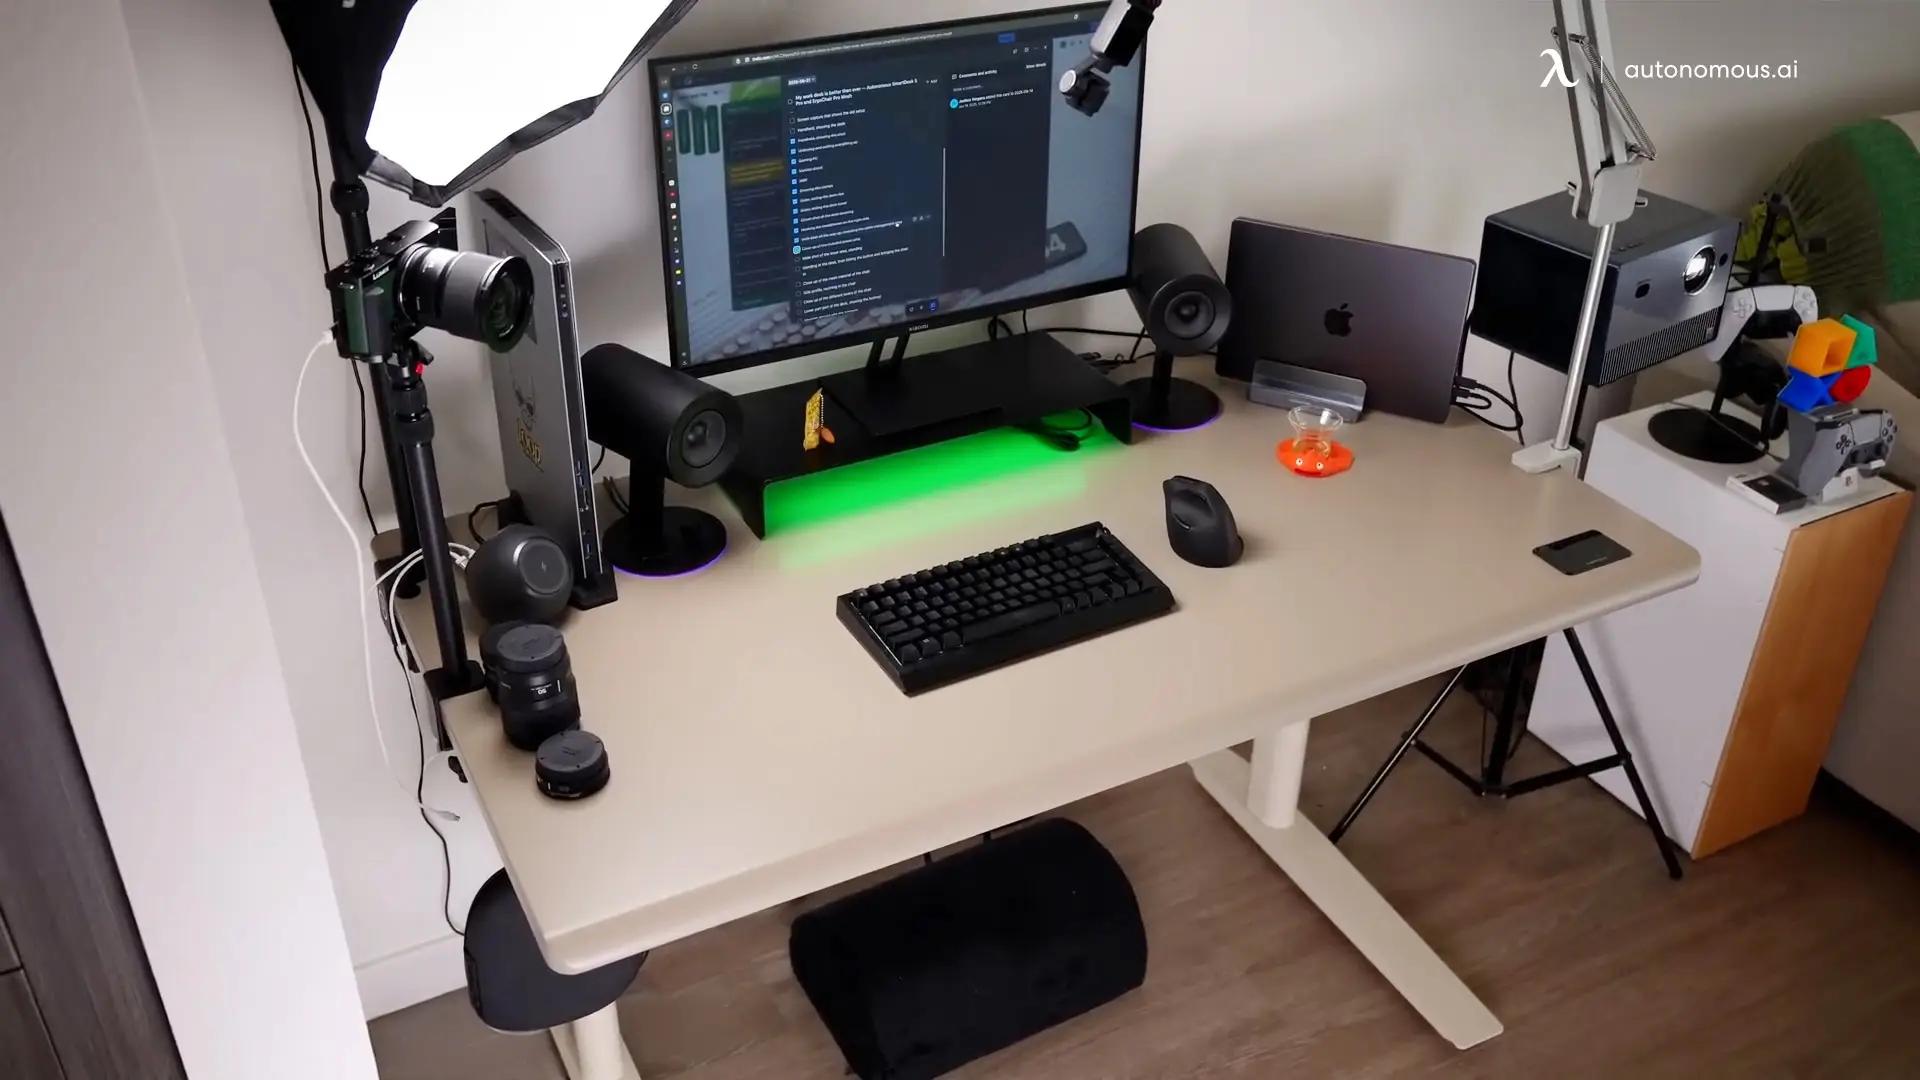
Work with that rather than against it. Keep the footprint of loose objects small and push them back from the front edge. Mount what you can, since a monitor arm, a clamp-on lamp, and a microphone arm all travel with the desk instead of sliding. Use one tray or organizer rather than several small items, because fewer objects means fewer things to reset after each height change. Plants work well if they are weighted and low, and a desk mat gives the surface a visual anchor while stopping smaller items skating around during a lift.
For a genuinely tidy look, cable management is the whole game. Cords that hang behind the desk are the single most visible thing that separates a photogenic setup from a messy one, and they are also what limits your height range. Route everything to one tray, run a single cable to the wall, and the surface starts looking deliberate rather than accumulated.
Frequently Asked Questions
How do I set up a standing desk correctly?
Set the desk height first so your elbows rest at about 90 degrees with relaxed shoulders, then position your monitor with the top of the screen at or just below eye level and about an arm's length away. Keep your wrists flat at the keyboard and your feet flat and hip-width apart when standing.
What is the correct height for a standing desk?
The correct standing desk height puts your elbows at roughly a 90-degree angle with your forearms parallel to the floor. Measure from the floor to the underside of your forearm while standing with your elbows bent, since the right height depends on your torso and arm proportions rather than your overall height.
How long should I stand at a standing desk?
Alternate roughly every 30 to 60 minutes rather than standing continuously, since the benefit comes from changing position rather than from standing itself. If you are new to it, start with 20 to 30 minutes of standing per hour and build up over a week or two.
Why do my legs hurt at a standing desk?
Leg and foot pain at a standing desk usually comes from locked knees, standing on a hard floor without a mat, or ramping up too quickly rather than from standing itself. Keep your knees soft, shift your weight periodically, and use an anti-fatigue mat if your floor is tile or laminate.
Where should my monitor be on a standing desk?
Your monitor should sit about an arm's length away with the top of the screen at or just below eye level, so your eyes fall on the top third of the display. A monitor arm is worth it on a sit-stand desk because it lets you set screen height independently of desk height.
Do I need a mat for a standing desk?
An anti-fatigue mat is worth it if you stand on tile, laminate, or concrete, because hard floors cause leg fatigue far faster than the standing itself does. On carpet it matters less, though many people still prefer the cushioning during longer standing sessions.
How do I make my standing desk setup look good?
A tidy standing desk starts with cable management, since cords hanging behind the desk are the most visible difference between a considered setup and a cluttered one. Mount what you can with a monitor arm and clamp-on lamp, keep loose items few and pushed back from the front edge, and use one organizer rather than several.
Can I use a laptop on a standing desk?
A laptop alone cannot be set up ergonomically, because putting the screen at eye level forces the keyboard too high and vice versa. A laptop stand paired with an external keyboard and mouse solves this cheaply and is the single biggest ergonomic upgrade most laptop users can make.
The Bottom Line
Setting up a standing desk properly takes about five minutes and comes down to three things: elbows at 90 degrees, screen at eye level, weight even across both feet. Get those right and the desk mostly disappears into the background, which is exactly what you want.
The part that takes longer is the habit. Alternate every 30 to 60 minutes, ease in over a couple of weeks rather than standing all day from the start, and anchor the switch to something in your workflow so it does not depend on remembering. A standing desk only helps if you actually raise it, and nearly every setup that fails does so because something small made raising it slightly annoying.