The Best Way to Enhance Landscape Between Houses and ADUs
Enhance your landscape between houses and ADUs by using the most innovative designs right now. Designing and connecting the house and ADU can be done in two stages. First is the setup stage, where you can design the layout and decide everything you want to include in your setup. The second stage is where you connect your house and the ADU by connecting all the utilities that you already have in your primary dwelling. Let's learn how to landscape between two houses and explore some landscape ideas for privacy between houses!
Stage 1: The Setup
The Yard Decoration
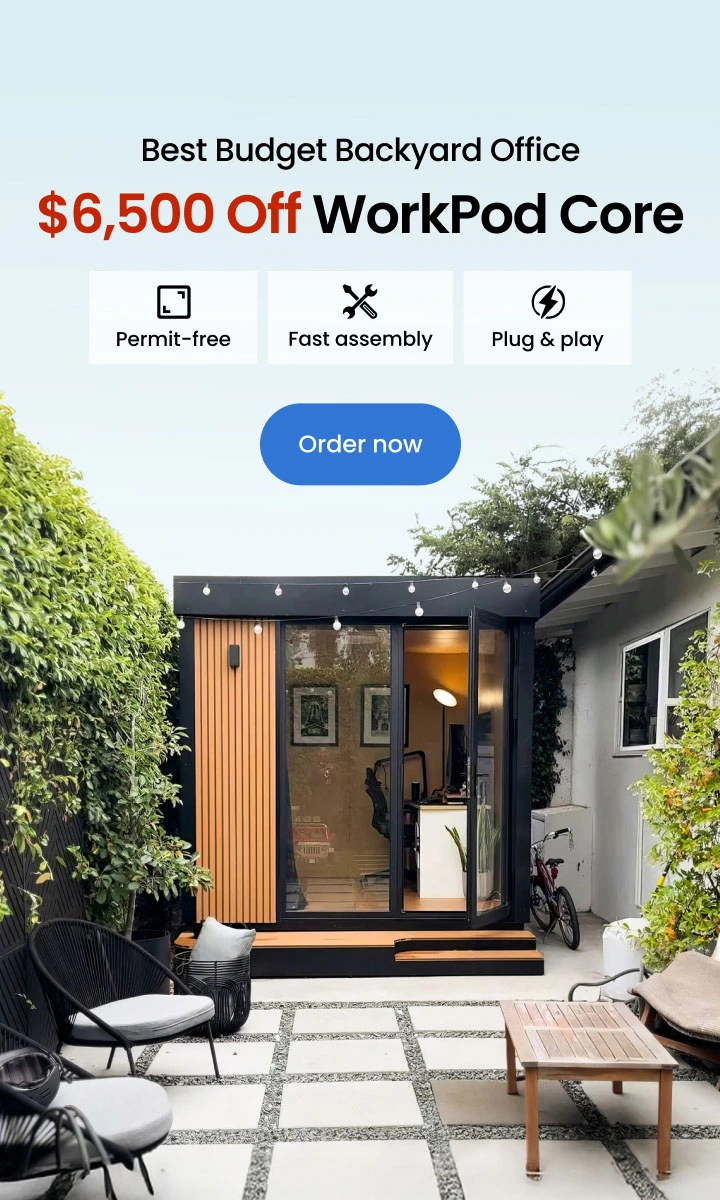
The first step is to set up the yard and decorate it in a way that your home and the ADU look made for each other. There are plenty of yard designs that you can choose from; however, the best one is the Mediterranean-inspired garden space. In this style, you grow some plants and one side of the yard and make a stone outdoor kitchen and fireplace. To connect your house and ADU through a passageway, you can go for concrete rectangular or square boxes to form a path. Place some stones beside the squares for a more attractive look. The space between the concrete squares can also be decorated with grass.
Listing the Priorities
Once you have decorated the entrance of your ADU with an inviting front yard, it's time to decide which additional luxuries you want between your prefab ADU and primary dwelling. In this step, you also need to decide the purpose for which you are setting it all up in the first place. For instance, people with large families love to have outdoor seating, which makes it necessary for them to place some outdoor furniture such as dining tables and chairs. On the other hand, the ones who want to go a step further would also want an outdoor pool and an outdoor kitchen between ADU and the house to make the whole experience more immersive. You can also place a firepit to relax on cold winter nights with friends and family.
The Design Stages
The design stage is where you match everything and design a layout. The layout defines where you need to place everything and utilize space in the best way possible. The more utilities and luxuries you add to the layout, the better it will look. However, it all depends on the space available between your backyard ADU and primary dwelling. While designing a layout, make sure you keep the measurements of everything beforehand. For example, set the dimensions of the pool, allot a space to the seating area, leave some space in the middle for a walkway, and leave some space on the sides for plants. Make sure you always leave ample space for greenery so that it looks spacious and full of nature.
The Installation Stages
Before moving on to the installation stage, make sure you 3D render everything and make full use of technology to help you decide what changes would make your design more functional and attractive at the same time. A 3D-rendered design would also provide you with a better look at everything so you can add the missing piece of the puzzle before it's too late. Once you have finalized the design and layout of your space, start by constructing the walkways and the borders of the yard. Once it's done, move to the seating and partying spaces, as it's the most common requirement for any household. At last, install the remaining luxuries and landscape ideas for privacy between houses, such as swings for kids, a swimming pool, etc.
Stage 2: The Connection Between the House and ADU
The connection between the house and the ADU is built when your ADU has all the utilities you enjoy in your primary dwelling. For that purpose, you need a power source, natural gas for cooking outdoors and inside the ADU, and a sewer and water system.
Power Connection
The first thing you need is the power of your ADU and other outdoor equipment. The simplest way to do it is to extend the power from your house to the ADU, quite similar to how power lines come from power poles to your home. Now, according to the building guidelines, you can connect it through an existing electrical panel or a separate meter. If you decide to connect it to the existing panel, make sure you have a perfect-sized circuit breaker. The breaker would protect the appliances in the ADU and your primary dwelling by limiting the amount of power drawn from the source.
Natural Gas
Natural gas is required if you have a separate kitchen in the ADU and landscape ideas between houses. Many garden ADUs rely only on electrical sources and use them for heating as well. However, heating through electricity would require a larger amperage from the electrical source, which can make power connection a bit more complicated. So, the best way is to connect your ADU with an underground connection. You will need to create a trench from the main source at the primary dwelling to the insertion point at your ADU. Make sure to set the size and pressure of the pipe so that the service at your primary dwelling is not affected by the distribution.
Sewer and Water System
Water and sewerage systems must be well planned and set up separately. The sewer system is the most difficult of all connections. First, you need to check if your primary dwelling has a connection to the city's sewer system or if it runs on its own septic tank. In the case of the septic system, ask your technician if additional requirements would be fulfilled by the current system or if you need a new one. If you have a connection through the city's sewerage system, check the point where you can get a connection for the ADU.
Conclusion
Having an ADU with all the necessities is a must have so that you get to enjoy it to the fullest. Invest in one now, with all the equipment listed above, so that you may have the best relaxing times whenever you want. Have fun and enjoy the experience.
Spread the word
.svg)


