Getting Started with Codex CLI in Your Terminal
.webp)
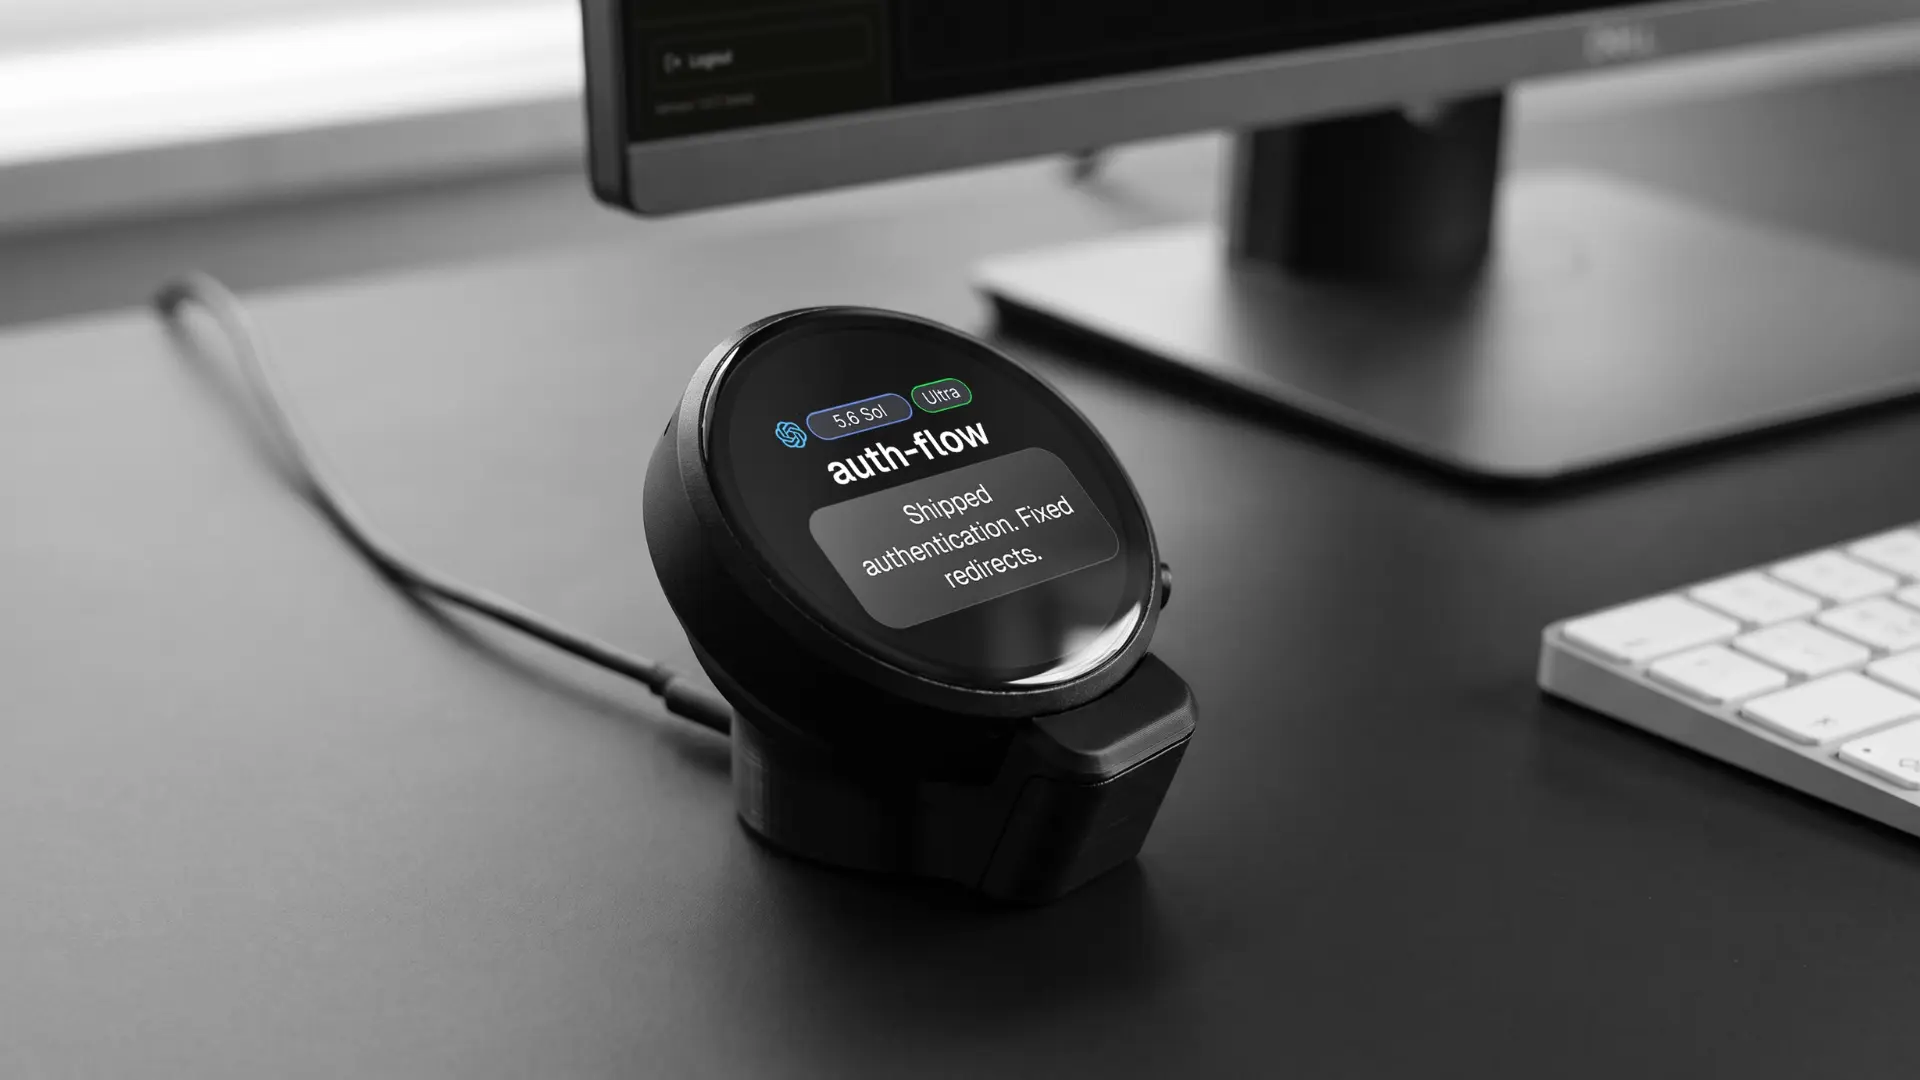
Codex CLI is OpenAI's coding agent that runs in your terminal, reads your repository, edits files, and runs commands, all without leaving the shell. If you have used Claude Code, the shape is familiar, and the setup is a little different.
This guide covers the whole path: installing Codex on each platform, the two ways to sign in and how they bill differently, and your first run. Then it goes past the basics into the parts that actually decide your experience: how much autonomy to hand the agent, and how Codex CLI differs from Claude Code if you are choosing between them. Commands here come from OpenAI's own documentation, so they should match what you see, but the tool moves fast, so check the current docs if anything looks off.
What is Codex CLI?
Codex is a command-line coding agent from OpenAI that works inside a single repository, inspecting code, proposing and making edits, and running your local tools, while you steer and review each turn. It is one of three Codex surfaces, alongside the IDE extension and the cloud, and the CLI is the one that lives entirely in your terminal.
Your source files stay local. Codex sends prompts and the context it needs to OpenAI's servers to generate responses, but it does not upload your repository wholesale unless you include it.
How to install Codex CLI
You install Codex with one command, and there are several routes depending on your platform and how much you trust piping a script to a shell.
On macOS or Linux, the official installer is one line:
curl -fsSL https://chatgpt.com/codex/install.sh | sh
On Windows, use the PowerShell installer, or run the tool through WSL:
powershell -ExecutionPolicy ByPass -c "irm https://chatgpt.com/codex/install.ps1 | iex"
If piping a script to your shell is not allowed in your environment, use a package manager instead. With npm, which needs Node.js 22 or later, run npm install -g @openai/codex. On macOS with Homebrew, run brew install --cask codex.
You can also download a binary from the project's GitHub Releases. Whatever route you pick, Codex keeps its session data in ~/.codex/, and the npm package itself is small, around 50 MB. Then start it by running codex inside a project.
How to authenticate Codex
The first time you run codex, it asks you to sign in, and the choice matters because the two methods bill to different accounts.
Method | Draws on | Best for |
ChatGPT account | Your ChatGPT plan's usage credits | The simplest path if Codex is included in your plan |
OpenAI API key | Your API account, billed per token | Automation and teams that already manage API keys |
Codex is included in ChatGPT Plus, Pro, Business, Edu, and Enterprise, so if you already pay for one of those, signing in with your ChatGPT account is usually the quicker start. An API key suits scripted or CI use where per-token billing and key management are already in place. Pick before your first real session, because switching later means re-authenticating.
Your first run and the commands you will use
Start Codex in a repository by running codex, then describe the task in plain language, such as asking it to find and fix a failing test.
From there, a handful of slash commands do most of the steering:
- /init creates an AGENTS.md file, the place you put standing instructions for how Codex should work in this repo
- /status shows the current session's configuration
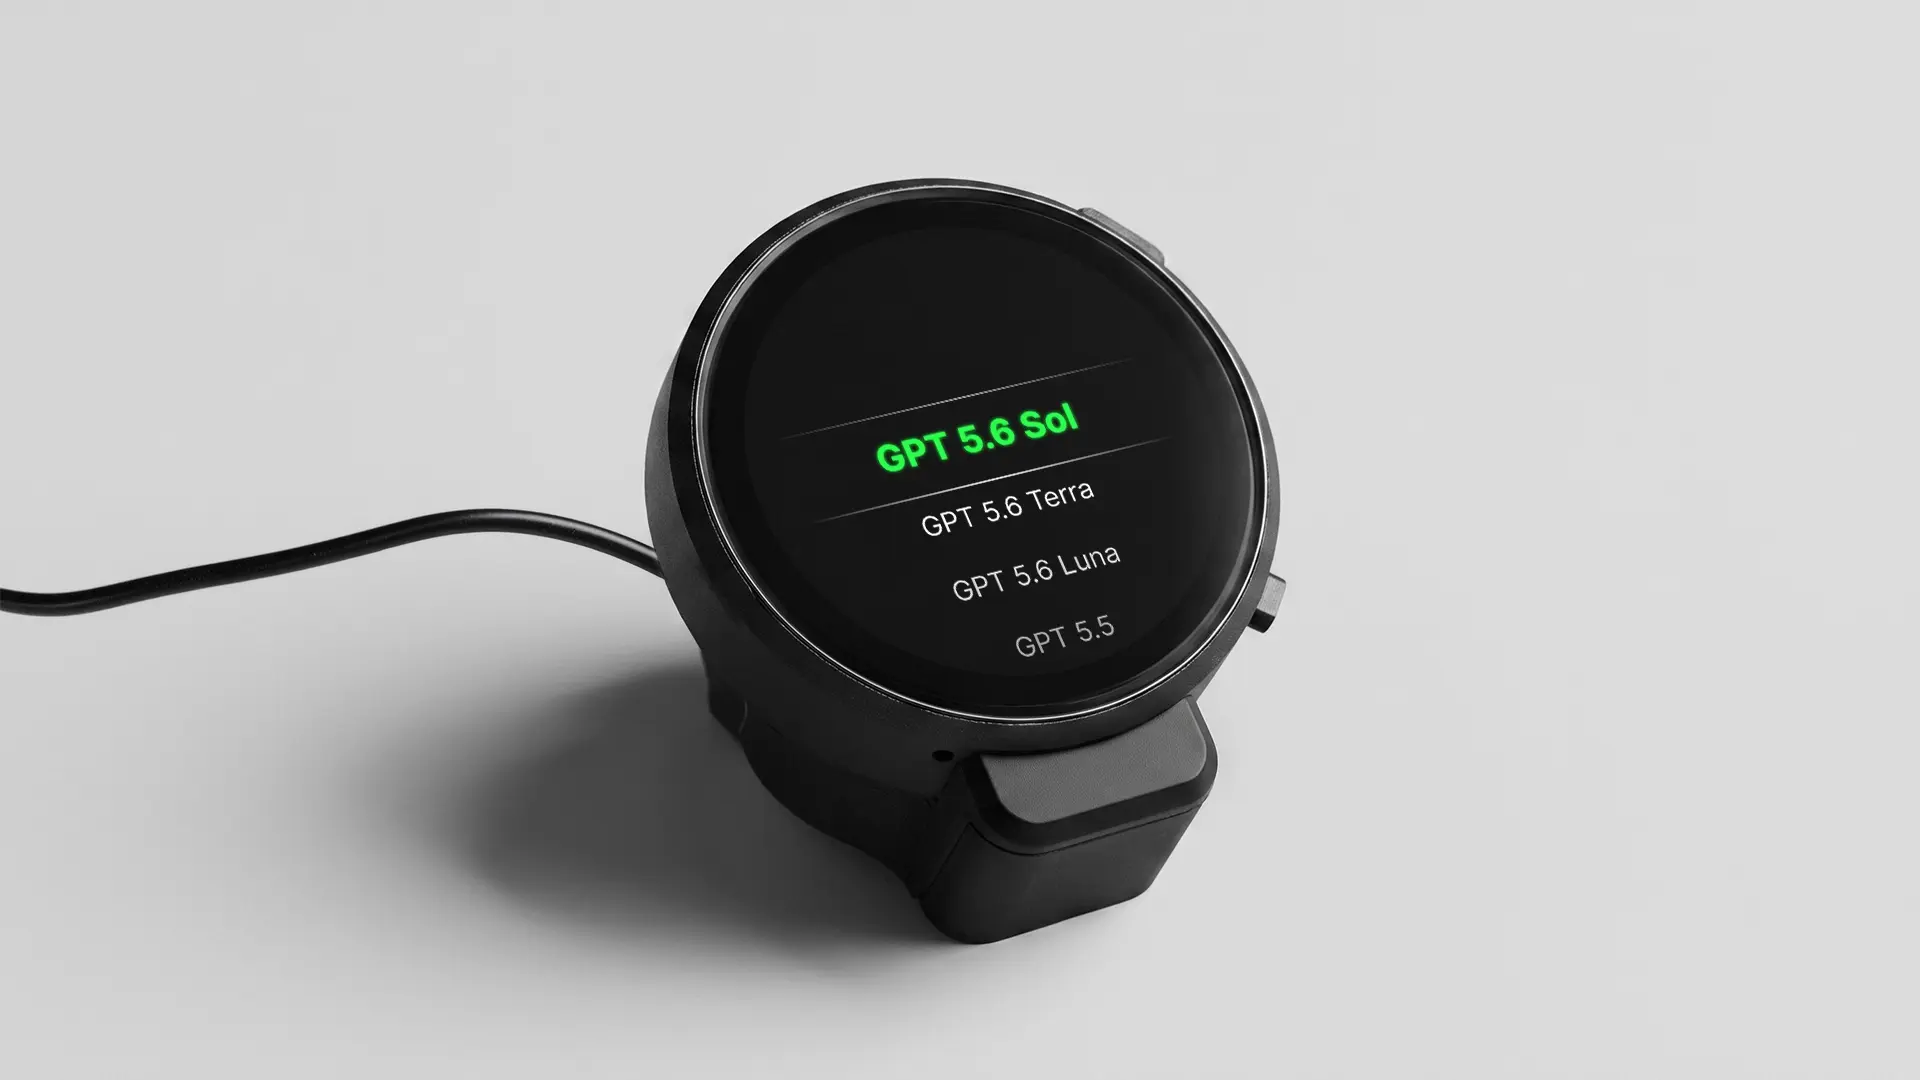
- /model chooses the model and sets reasoning effort to low, medium, or high
- /permissions sets what Codex is allowed to do
- /review runs a dedicated review of uncommitted changes, a commit, or a base branch, and reports issues without touching your working tree
On the model choice, higher reasoning effort suits complex, multi-step changes, while lower effort is faster and cheaper for routine edits. The available models change often, so pick from the in-app list rather than memorising a name.
Beyond the built-in commands, Codex extends through MCP servers and reusable skills, so it can plug into the external tools and data your team already uses, and it can call several of them in parallel rather than one at a time.
How much autonomy to give Codex
The single most important setting in Codex is its approval mode, which decides whether the agent asks before acting or runs on its own.
There are three broad levels, and the right one depends on how much you trust the task:
- Chat mode is read-only. Codex can inspect and suggest, but it does not edit files or run commands.
- Agent mode edits files and runs commands, but asks for approval along the way. This is the working default for most sessions.
- Agent Full Access removes most prompts for trusted, sandboxed work. It is the fastest and the riskiest.
The honest advice is to start scoped and widen autonomy only once you trust a given task. Read what the agent proposes, keep your work in a git repository so every change is reviewable and revertible, and if a run does too much, drop to a lower mode. Full Access plus walking away is exactly how people come back to changes they did not expect, so treat that mode as a deliberate choice, not a default.
Codex CLI vs Claude Code, in brief
Codex and Claude Code do the same job, a coding agent in your terminal, and differ most in one thing: Codex leans toward delegation, where you hand off a task and review the diff, while Claude Code leans toward supervision, where you approve steps as it goes. Codex reads the open AGENTS.md file and sandboxes at the OS level; Claude Code uses its own CLAUDE.md and a configurable permission model. Many developers run both, since they coexist in one repo without conflict.
Running several Codex sessions at once
The tracking problem is not specific to Codex, and the fixes are the same as for any multi-agent setup. Give each session its own worktree, set a fixed point to review finished work rather than checking constantly, and keep an eye on combined token spend, since parallel sessions burn quota several times faster than one.
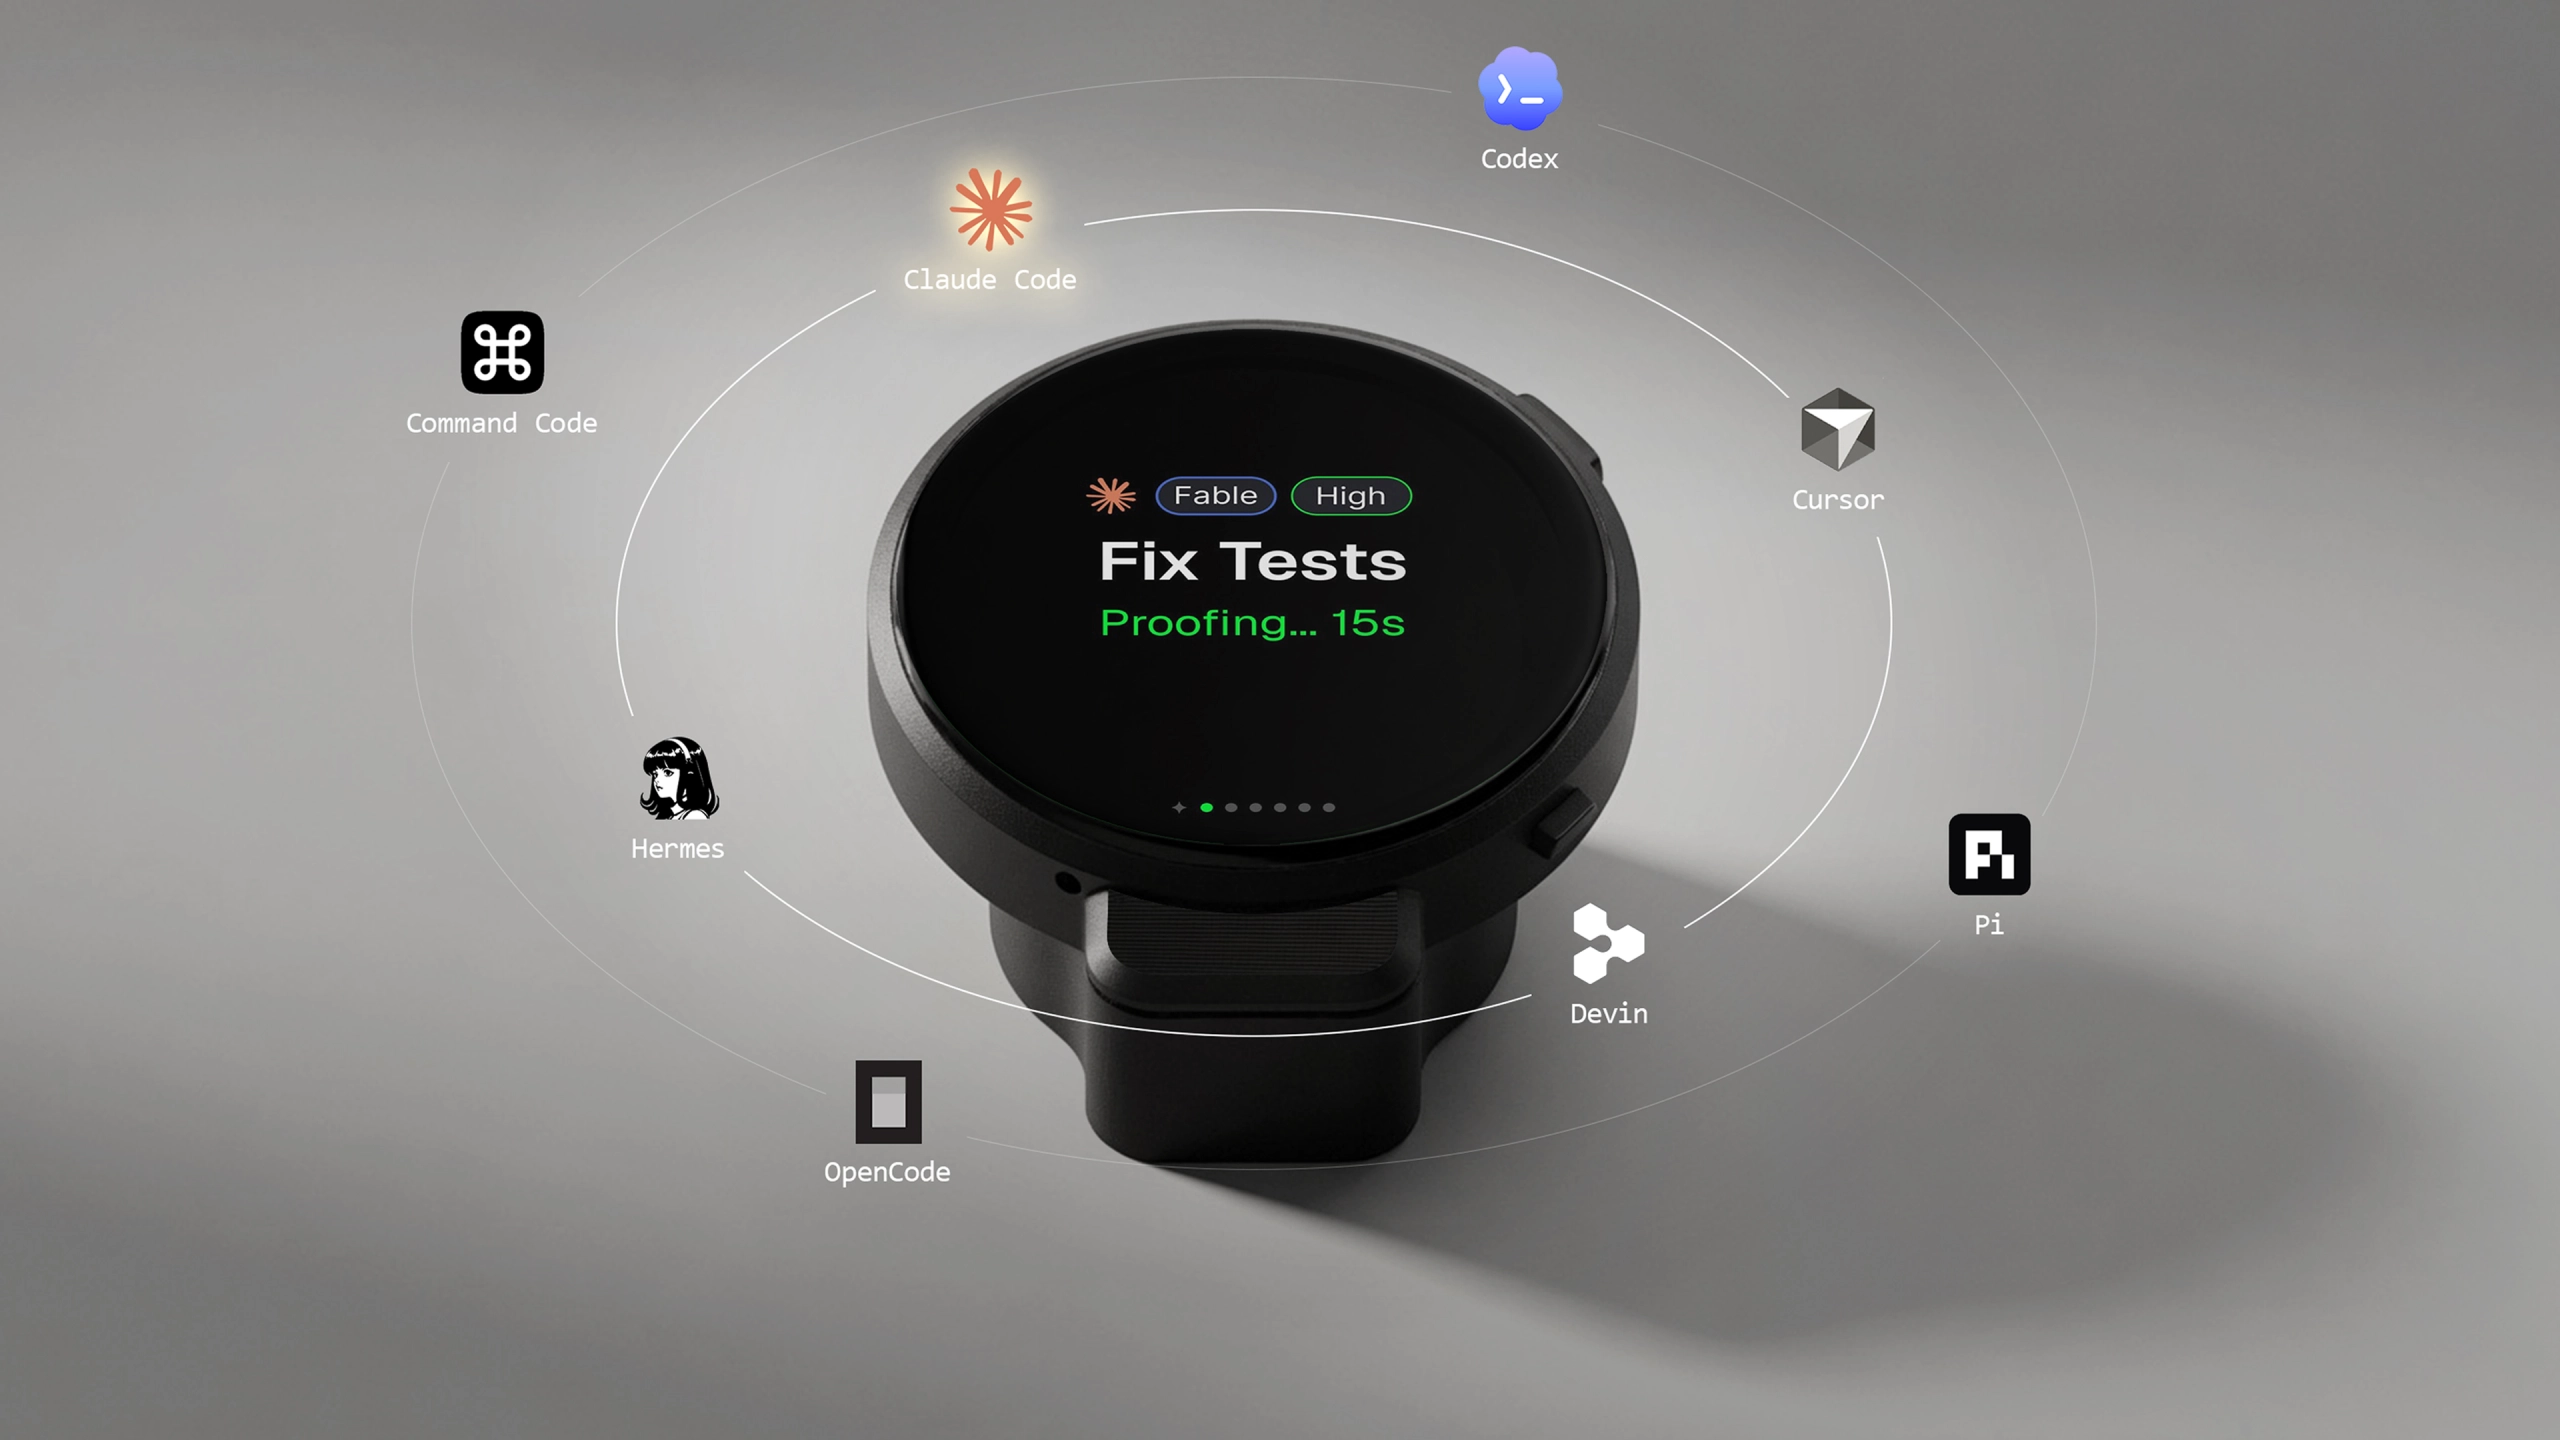
For dispatching and watching several agents without cycling through terminal windows, some developers use a multi-agent dashboard or a separate control surface. The Autonomous Harness is one such device: it takes a spoken task, sends it to the Codex and other agents already running on your machines, and shows their status and the day's spend on an always-on display. It does not replace the CLI, where the actual work happens, so it sits alongside Codex rather than instead of it.

Frequently asked questions
What is Codex CLI used for?
Codex CLI runs OpenAI's coding agent inside your terminal, where it reads a repository, proposes and makes edits, and runs local commands while you review each step. It suits developers who want an agent in the shell rather than in an editor or a browser.
How do you install Codex CLI?
Install it with the official script, curl -fsSL https://chatgpt.com/codex/install.sh | sh on macOS or Linux, or the PowerShell installer on Windows. You can also use npm install -g @openai/codex with Node.js 22 or later, or brew install --cask codex. Then run codex in a project.
Is Codex CLI free?
Codex is included with ChatGPT Plus, Pro, Business, Edu, and Enterprise plans, so those subscribers pay nothing extra beyond usage credits. Alternatively you can authenticate with an OpenAI API key and pay per token against your API account, which suits automation and team setups.
How do you authenticate Codex CLI?
On first launch Codex prompts you to sign in two ways: with your ChatGPT account, which draws on your plan's credits, or with an OpenAI API key, which bills per token to your API account. Choose before your first session, since the two draw on different accounts and bill differently.
What is the difference between Codex approval modes?
Codex has three broad autonomy levels. Chat mode is read-only. Agent mode edits files and runs commands but asks for approval. Agent Full Access removes most prompts for trusted, sandboxed work. Start in a lower mode and widen autonomy only once you trust the task.
Can you run multiple Codex agents at once?
Yes. You can run several Codex sessions in parallel, each in its own terminal and its own git worktree so they do not touch the same files. The hard part is tracking status and combined spend across them, since parallel sessions consume tokens several times faster than a single one.
How is Codex CLI different from Claude Code?
Both are terminal coding agents. Codex CLI is open source, reads the cross-tool AGENTS.md file, sandboxes at the OS level, and can run unsupervised or in the cloud. Claude Code uses its own CLAUDE.md, layered settings, and supervised defaults that ask before destructive actions. Many developers run both.
The short version
Codex CLI gives you OpenAI's coding agent in the terminal, and getting started is short: install with one command, sign in with either your ChatGPT account or an API key, run codex in a repo, and describe a task. The setting that matters most is the approval mode, so start read-only or ask-first and widen autonomy only as you learn to trust a task.
Once you are running several sessions at once, the work shifts from using the agent to keeping track of them. Give each a worktree, review on a cadence, and watch the combined spend, because that is where parallel coding agents quietly get expensive.
References
- OpenAI. Codex CLI. openai/codex on GitHub. https://github.com/openai/codex
- OpenAI. Getting started. Codex documentation. https://github.com/openai/codex/blob/main/docs/getting-started.md
- OpenAI. Codex CLI. OpenAI Developers. https://developers.openai.com/codex/cli