Complete Guide To Setting Up A Homeschool Shed
.webp)
Table of Contents
- Why Build A Homeschool Shed?
- Step-by-Step Guide To Building A Homeschool Shed
- 1. Choose The Right Shed Type And Size
- 2. Evaluate The Structure And Define Your Needs
- 3. Plan For Climate Comfort—Insulation And Weatherproofing
- 4. Add Power And Lighting
- 5. Design An Efficient Interior Layout
- 6. Choose Appropriate Homeschool Room Furniture
- 7. Implement Intentional Storage And Organization Systems
- 8. Personalize And Finalize The Environment
- Thoughtful Homeschool Room Setup Ideas
- Transforming Outdoor Learning With Autonomous ADUs
- FAQs
- Conclusion
Homeschooling offers flexibility, but it also brings challenges—especially when it comes to space. A dedicated homeschool shed solves one of the biggest issues: separating learning from living.
Whether you’re tight on room indoors or looking for a quieter environment to teach, setting up a backyard homeschool shed provides a practical, long-term solution.
Let’s break down the essentials—from shed structure to homeschool room furniture, decor, and organization—so you can build a learning space that truly works.
Why Build A Homeschool Shed?
A homeschool shed provides a dedicated environment away from household noise, helping you create boundaries between learning and living.
Whether you’re new to homeschooling or restructuring your current setup, a homeschool shed offers:
- Fewer distractions and stronger routines
- Space for materials, tools, and homeschool room organization
- The flexibility to design around your family’s learning style
Unlike converting an indoor room, a homeschool shed is a blank slate—perfect for customizing layout, lighting, and decor without competing with daily household traffic.
Step-by-Step Guide To Building A Homeschool Shed
Converting a backyard she shed into a well-designed homeschool classroom isn’t just about adding furniture—it’s about creating an intentional learning space that supports focus, creativity, and long-term use.
From the initial inspection to the finishing touches, every step plays a vital role in shaping a productive educational environment. Here’s a detailed walkthrough to guide your transformation.
1. Choose The Right Shed Type And Size
The structure you start with determines how functional your final classroom will be. Consider these factors when selecting a shed:
Size:
Choosing the right she shed size depends on how many children will use the space and what types of activities you'll include in the homeschool shed.
- 8x10 ft: A small she shed ideal for one student. This size fits a desk, chair, small shelf, and a bit of walking room—perfect for focused, solo learning.
- 10x10 ft: A slightly more spacious setup that offers a bit more flexibility for layout or dual-use purposes. For ideas on how to maximize this footprint, take a look at these tips for creating the perfect 10x10 she shed—many of the same principles apply to homeschool designs.
- 10x12 ft: A versatile mid-size layout that can comfortably accommodate two children or one student with added zones for reading, storage, or art.
- 12x16 ft or larger: Best for families homeschooling multiple children, group projects, or if you want to divide the space into distinct learning areas (e.g., desk zone, creativity corner, storage wall).
The more varied your curriculum or the more children involved, the more space you’ll need to keep the room functional and comfortable. Always allow for extra room to grow as your needs evolve.
Type of Shed:
Choosing the right type of shed for your homeschool setup depends on your timeline, budget, and how much customization you’re comfortable handling.
Here’s a breakdown of the most common options for your ideal homeschool room organization:
Type of Shed | Key Features |
Prefab Sheds | Quick setup; often includes built-in insulation, windows, and electrical compatibility. |
Wooden Sheds | Highly customizable; may require additional work to ensure weatherproofing and proper insulation. For inspiration, take a look at how wood she sheds are used to create cozy and functional backyard spaces. |
Converted Storage Sheds | Cost-effective option; typically needs extensive upgrades such as floor reinforcement and improved ventilation. |
Permit Considerations:
In many U.S. states, you can build a shed up to 120 square feet without needing a building permit. This makes shed-based homeschool rooms especially appealing for families looking to avoid red tape.
However, regulations vary by location. Some areas may have additional requirements related to:
- Electrical wiring or HVAC installation
- Distance from property lines or other structures
- Foundation type or anchoring systems
Always check with your local building department before starting your project to ensure compliance with zoning laws, setback rules, and size limits. Even if a permit isn’t required, it’s wise to document the shed installation in case of future home appraisals or property sales.

2. Evaluate The Structure And Define Your Needs
Once you’ve selected a suitable prefab she shed, inspect it thoroughly before investing in upgrades.
- Check for water damage, pests, and structural issues
- Verify that the base is level and stable for flooring and furniture
- Define your goals: How many students will use the space? What type of instruction or learning zones do you need?
This step ensures the structure of your homeschool room organization is safe and sets the tone for a layout that suits your educational style.
3. Plan For Climate Comfort—Insulation And Weatherproofing
To use the shed year-round, it needs to be properly insulated and sealed.
- Install rigid foam or fiberglass insulation in walls, ceiling, and floor
- Add weather stripping to windows and doors to eliminate drafts
- Consider a dehumidifier or small exhaust fan to control moisture
A well-insulated she shed not only maintains temperature but also protects books, electronics, and supplies.
If you’re considering upgrades like electricity or climate control, you may want to explore how others have done it successfully, such as in this guide on building a she shed with electricity or a she shed with AC. These same principles apply to homeschool sheds and can make a significant difference in day-to-day comfort.
4. Add Power And Lighting
Electricity and lighting bring your homeschool room organization from basic to fully functional.
- Install outlets based on workstation locations and charging needs
- Use energy-efficient LED ceiling fixtures for overall lighting
- Add lighting at desks or reading zones for focused work
Professional electrical installation is recommended to meet safety codes and power demands.
5. Design An Efficient Interior Layout
Smart homeschool room ideas help organize learning without clutter.
- Create zones: instruction area, reading nook, project space, and storage wall
- Leave open floor space for group activities, physical movement, or floor seating
- Ensure the room supports smooth transitions between subjects or tasks
A functional layout minimizes distractions and encourages independent learning.
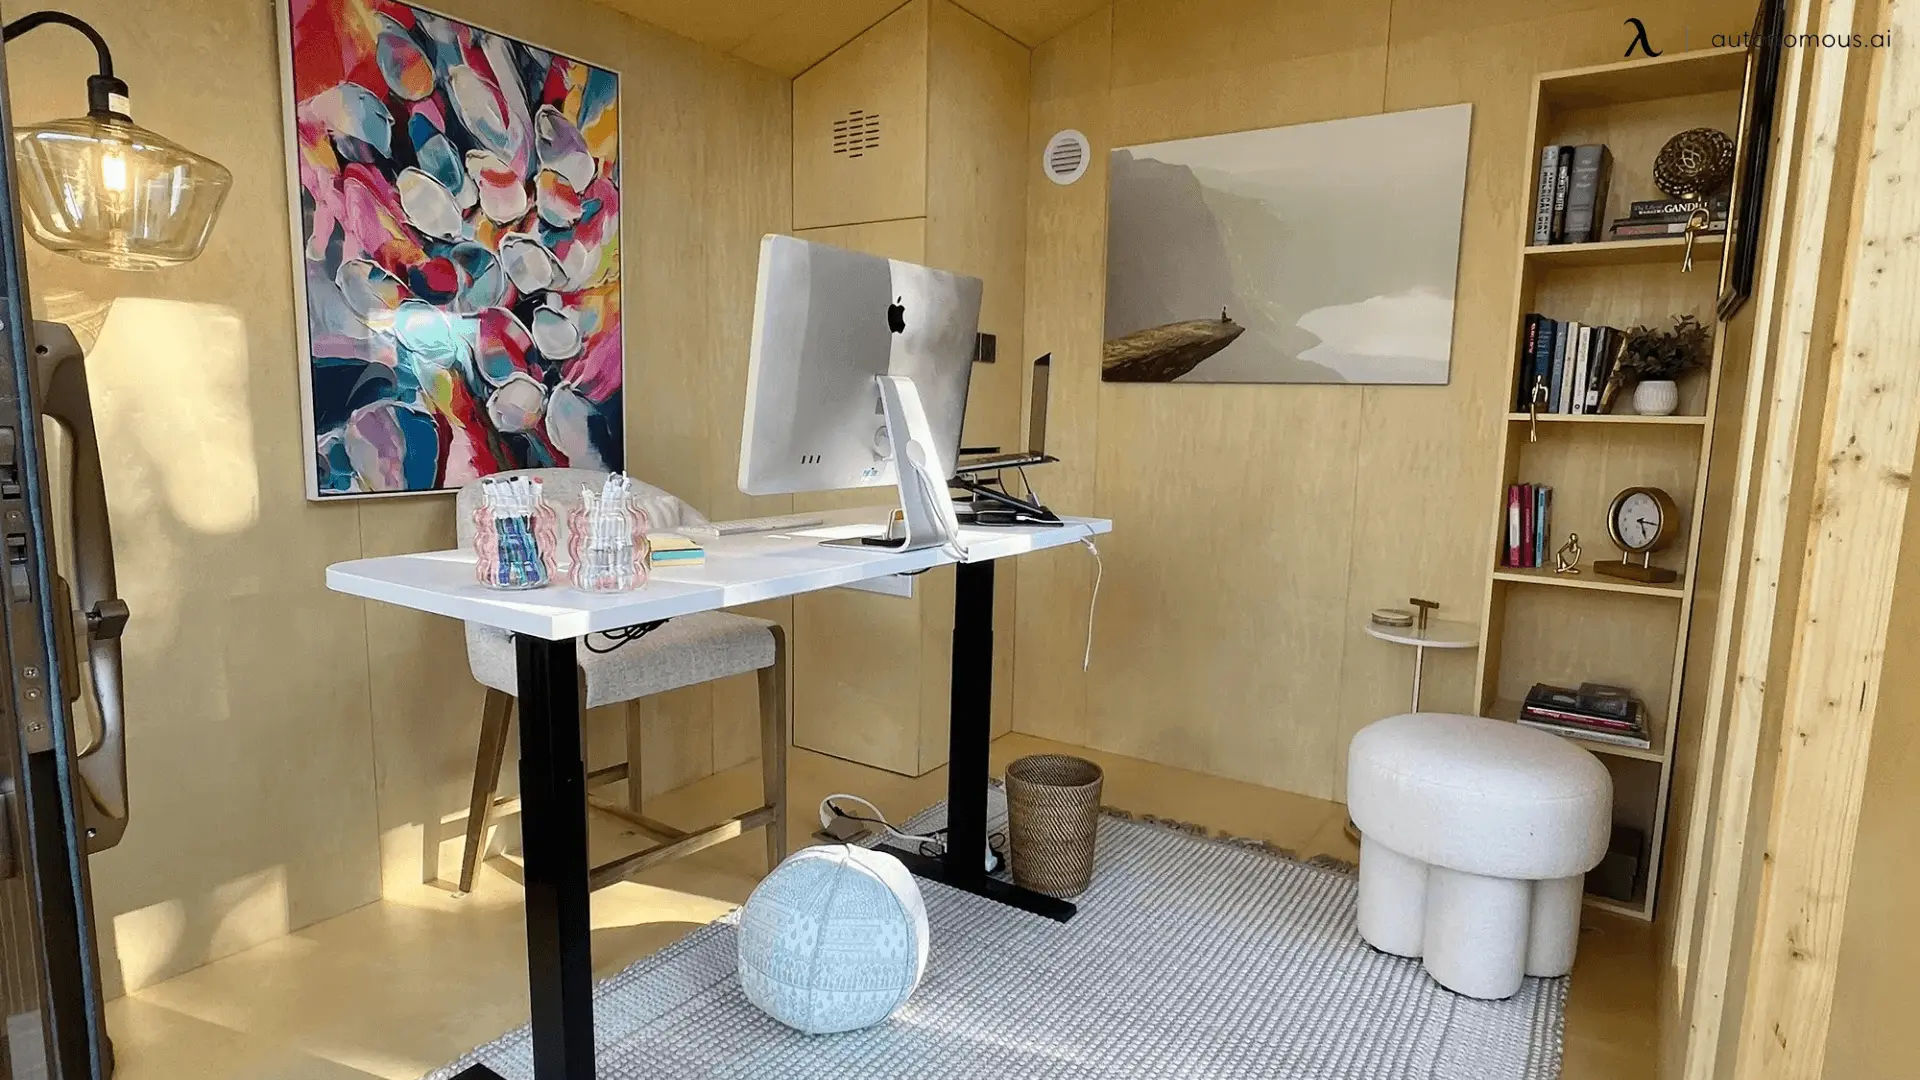
6. Choose Appropriate Homeschool Room Furniture
Invest in pieces that support posture, focus, and flexibility.
- Adjustable height standing desks that fit your child’s size and learning materials
- Office ergonomic chairs with lumbar support and adjustable height
- Multipurpose tables for shared or hands-on activities
- Add alternative seating like cushions or wobble stools to support different learning styles
Homeschool room furniture should grow with your child and support varied types of lessons.

7. Implement Intentional Storage And Organization Systems
Efficient storage keeps the space functional, especially in smaller sheds.
- Use vertical shelving and wall-mounted organizers to free up floor space
- Label bins and drawers for self-directed access to materials
- Rotate or store seasonal supplies in desk drawers or lofted spaces
- Rolling file cabinets are perfect for switching between subjects or transporting supplies
A clean, organized homeschool shed helps learners maintain routines and reduce distractions.
8. Personalize And Finalize The Environment
Finally, make the space feel like your own.
- Use homeschool room decor like educational posters, artwork, and thematic displays
- Add whiteboards or corkboards for schedules, reminders, or achievements
- Include personal touches like rugs, lighting accents, or color schemes that reflect your child’s interests
The goal is to strike a balance between comfort and functionality so your kids want to spend time in the space.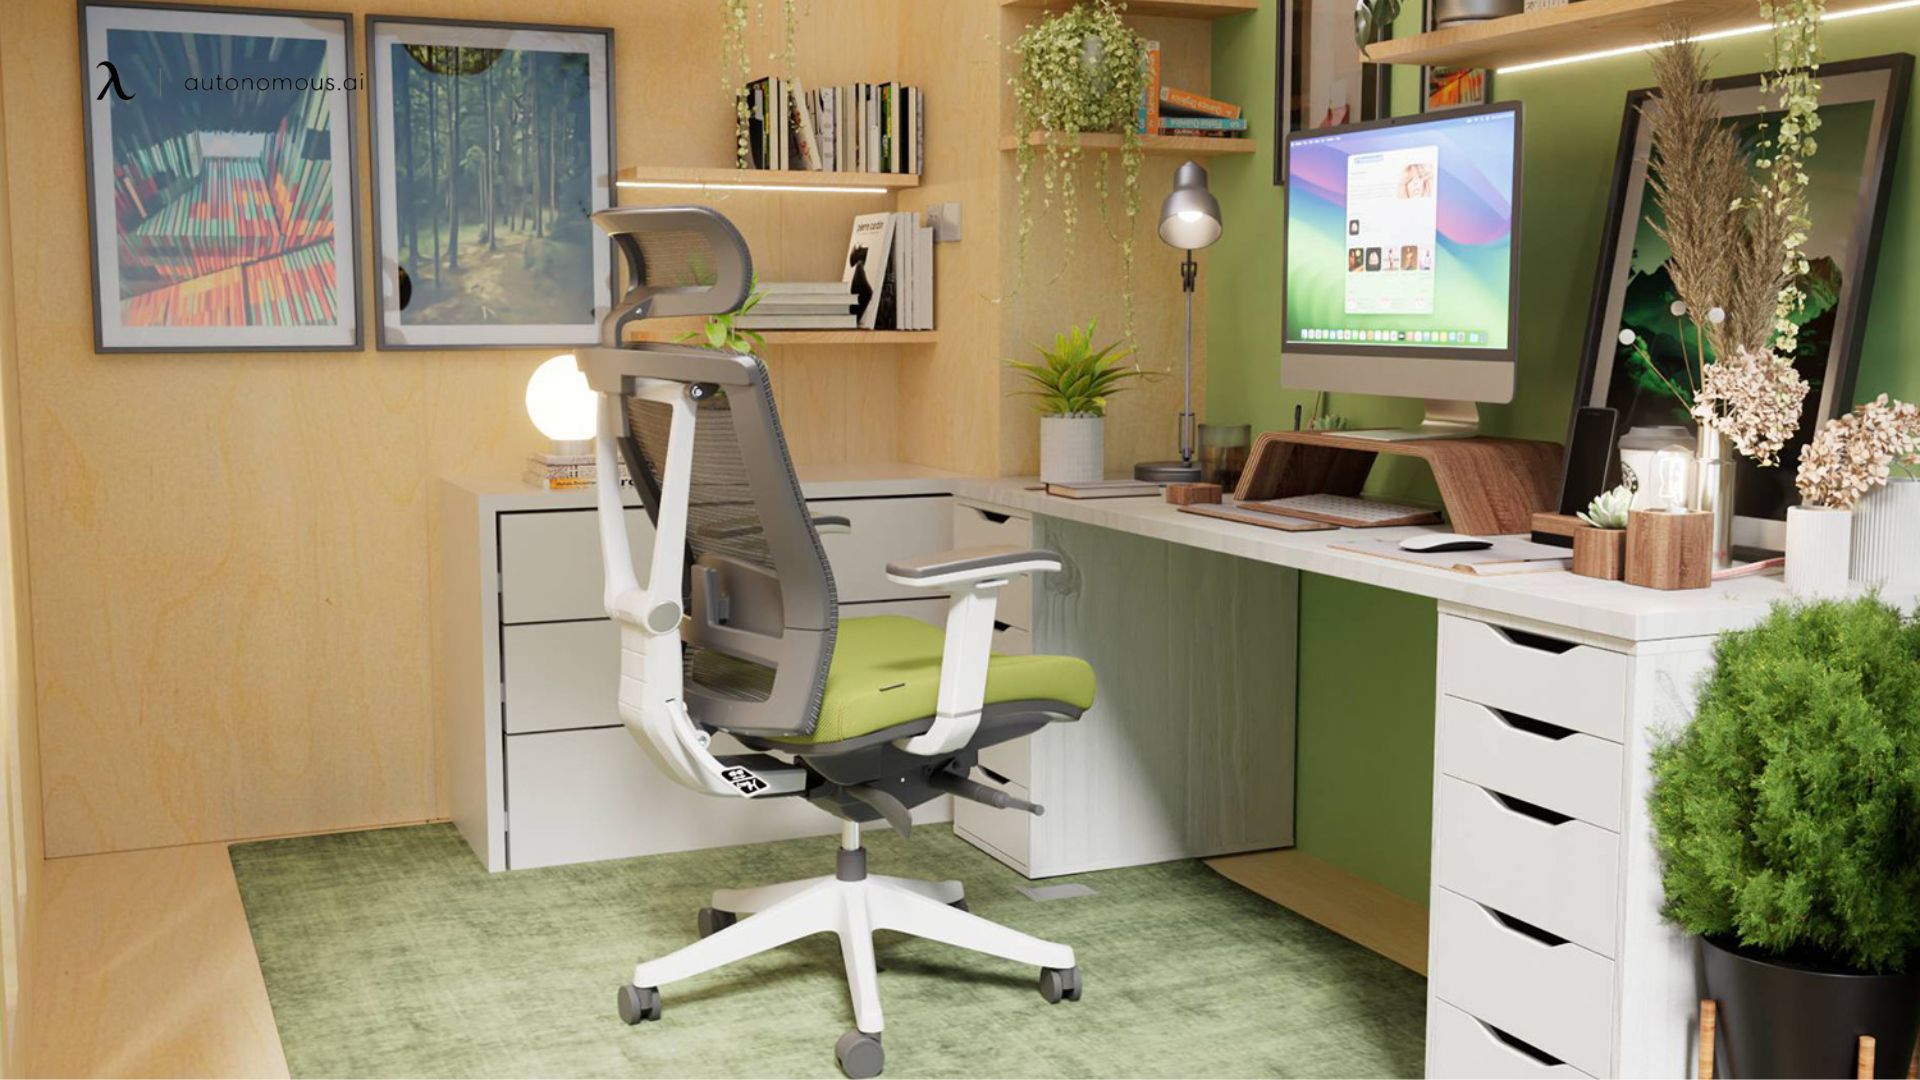
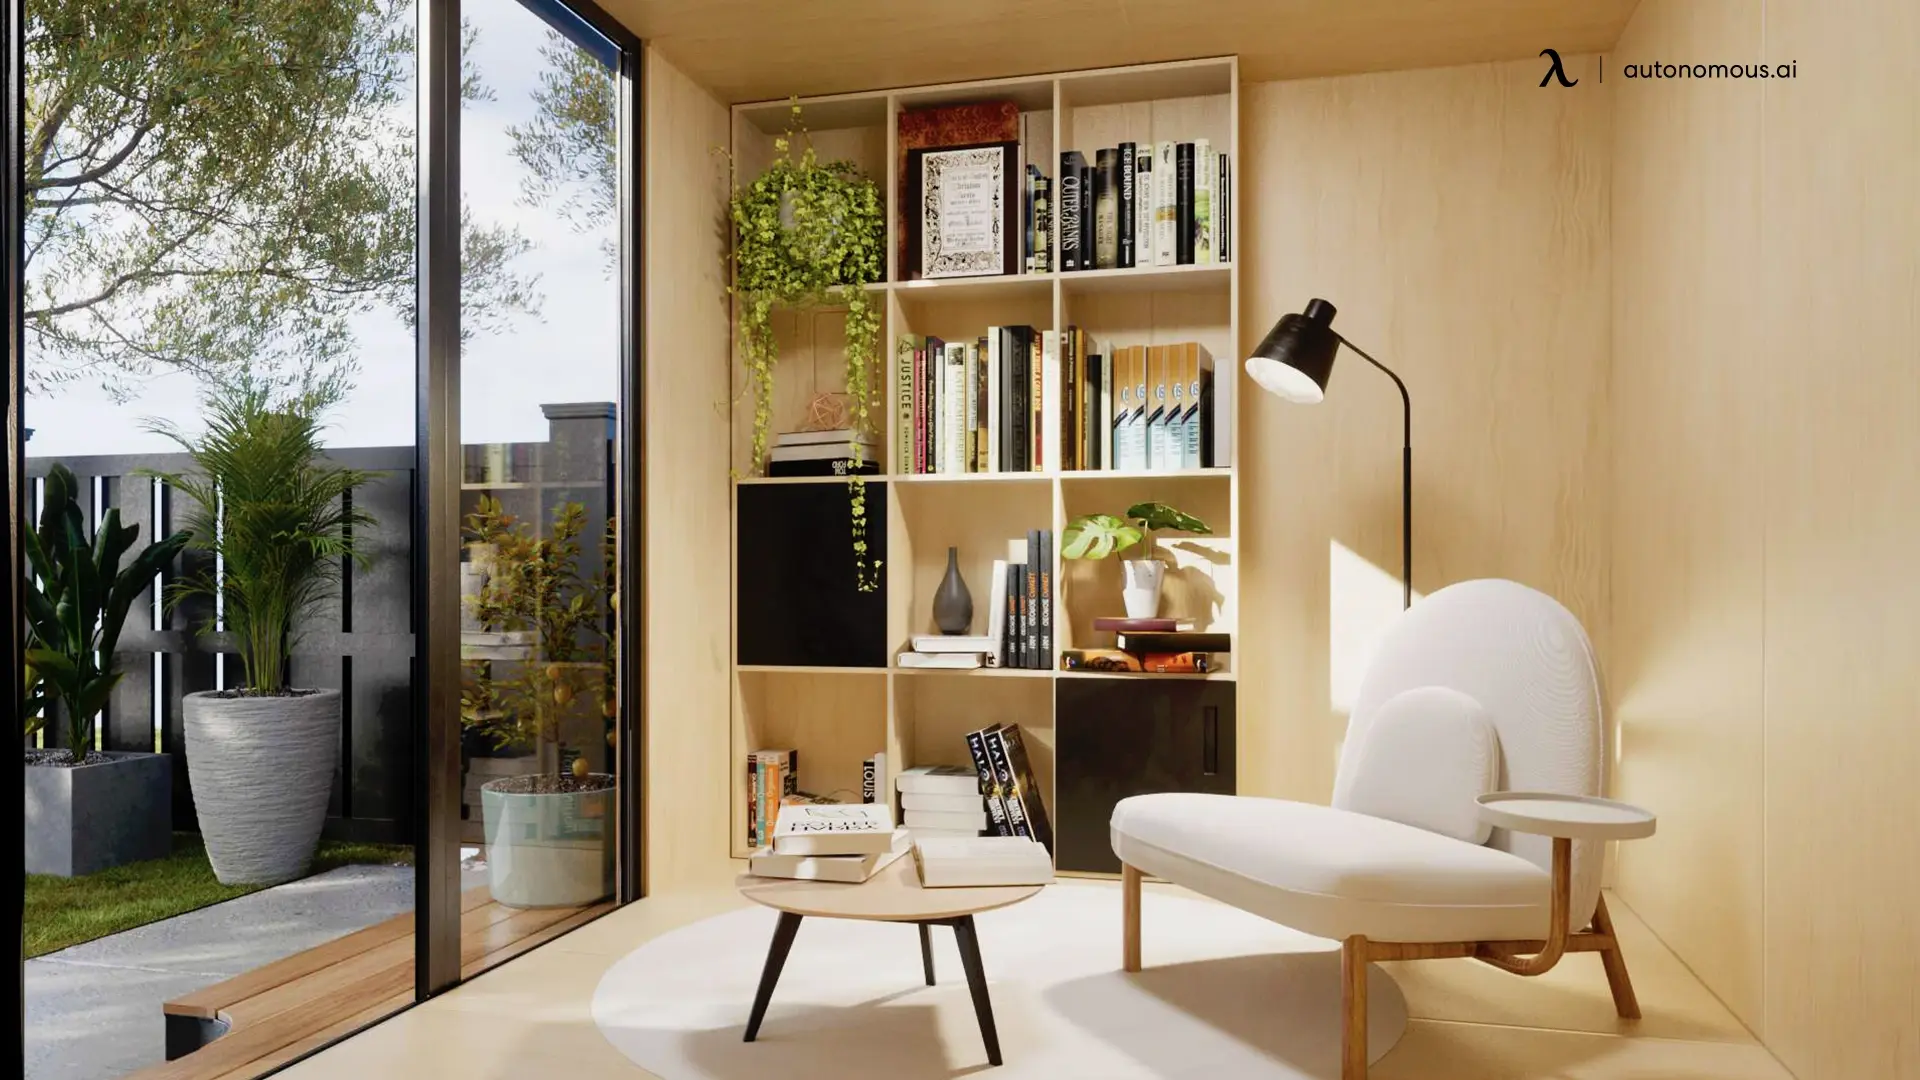
Thoughtful Homeschool Room Setup Ideas
Designing a homeschool shed is all about creating a space that supports learning, creativity, and routine.
The right setup will feel purposeful yet personal—structured enough for focus, but flexible enough to evolve with your family’s needs.
Below are key homeschool room setup ideas to guide your transformation:
1. Establish Daily Flow And Learning Zones
Organize the homeschool shed to support daily structure and ease of use. Instead of crowding everything into one area, create intuitive zones based on your routine:
- Instructional area: A space where direct teaching happens—usually the main desk or whiteboard wall.
- Independent work zone: A secondary surface or reading nook where kids can work quietly on their own.
- Hands-on learning area: A flexible surface or open space for science experiments, art projects, or tactile activities.
Using defined zones helps learners transition between tasks and reinforces a sense of purpose in each part of the room.
2. Layer Sensory Elements For Comfort And Focus
A well-designed homeschool room organization should appeal not just to the eye, but to the senses. Sensory comfort plays a major role in maintaining focus and reducing burnout.
- Lighting: Use a mix of natural light, overhead LEDs, and dimmable desk lamps to adapt to different moods and tasks.
- Sound: Consider soft acoustic panels or fabric wall hangings to reduce echo. A small white noise machine can help block out neighborhood noise.
- Temperature: Ensure the shed has consistent airflow. A small fan, heater, or portable AC unit can regulate temperature without major installations.
- Texture and softness: Add a rug underfoot, soft seating in the reading nook, or curtain panels to make the room feel welcoming.
These subtle additions can significantly improve how children feel and perform in the space.
3. Incorporate Multi-Sensory Learning Tools
Your homeschool shed ideas should support different learning styles. Include tools and materials that support visual, auditory, and kinesthetic learning.
- Educational posters and anchor charts for visual learners
- Audiobooks or headphones for language-rich content
- Tactile items like number tiles, magnetic letters, or manipulatives for hands-on lessons
Having these tools within reach allows for a smoother teaching experience and a more dynamic curriculum.
4. Encourage Ownership And Independence
A productive homeschool room organization promotes self-management. Set up systems that encourage students to take charge of their environment.
- Visual schedules: Use magnetic boards or printed daily routines that kids can update themselves.
- Self-serve stations: Stock a low shelf or rolling cart with pencils, notebooks, and art materials so kids can help themselves.
- Learning portfolios: Add a place where each child can keep their ongoing work, goals, or proud accomplishments.
When students feel the space belongs to them, they’re more likely to stay organized and engaged.
5. Revisit And Adjust With The Seasons
As your homeschool schedule shifts or your children grow, your homeschool room decor should remain flexible.
- Rearrange furniture to accommodate new activities or group work
- Swap seasonal learning materials (e.g., a spring nature study kit or fall-themed books)
- Evaluate what’s working and update layouts or tools accordingly
Flexibility is what makes a homeschool shed so valuable. For even more homeschool room ideas on how to refresh and redesign your setup throughout the year, check out these DIY homeschool room ideas that work in any season.
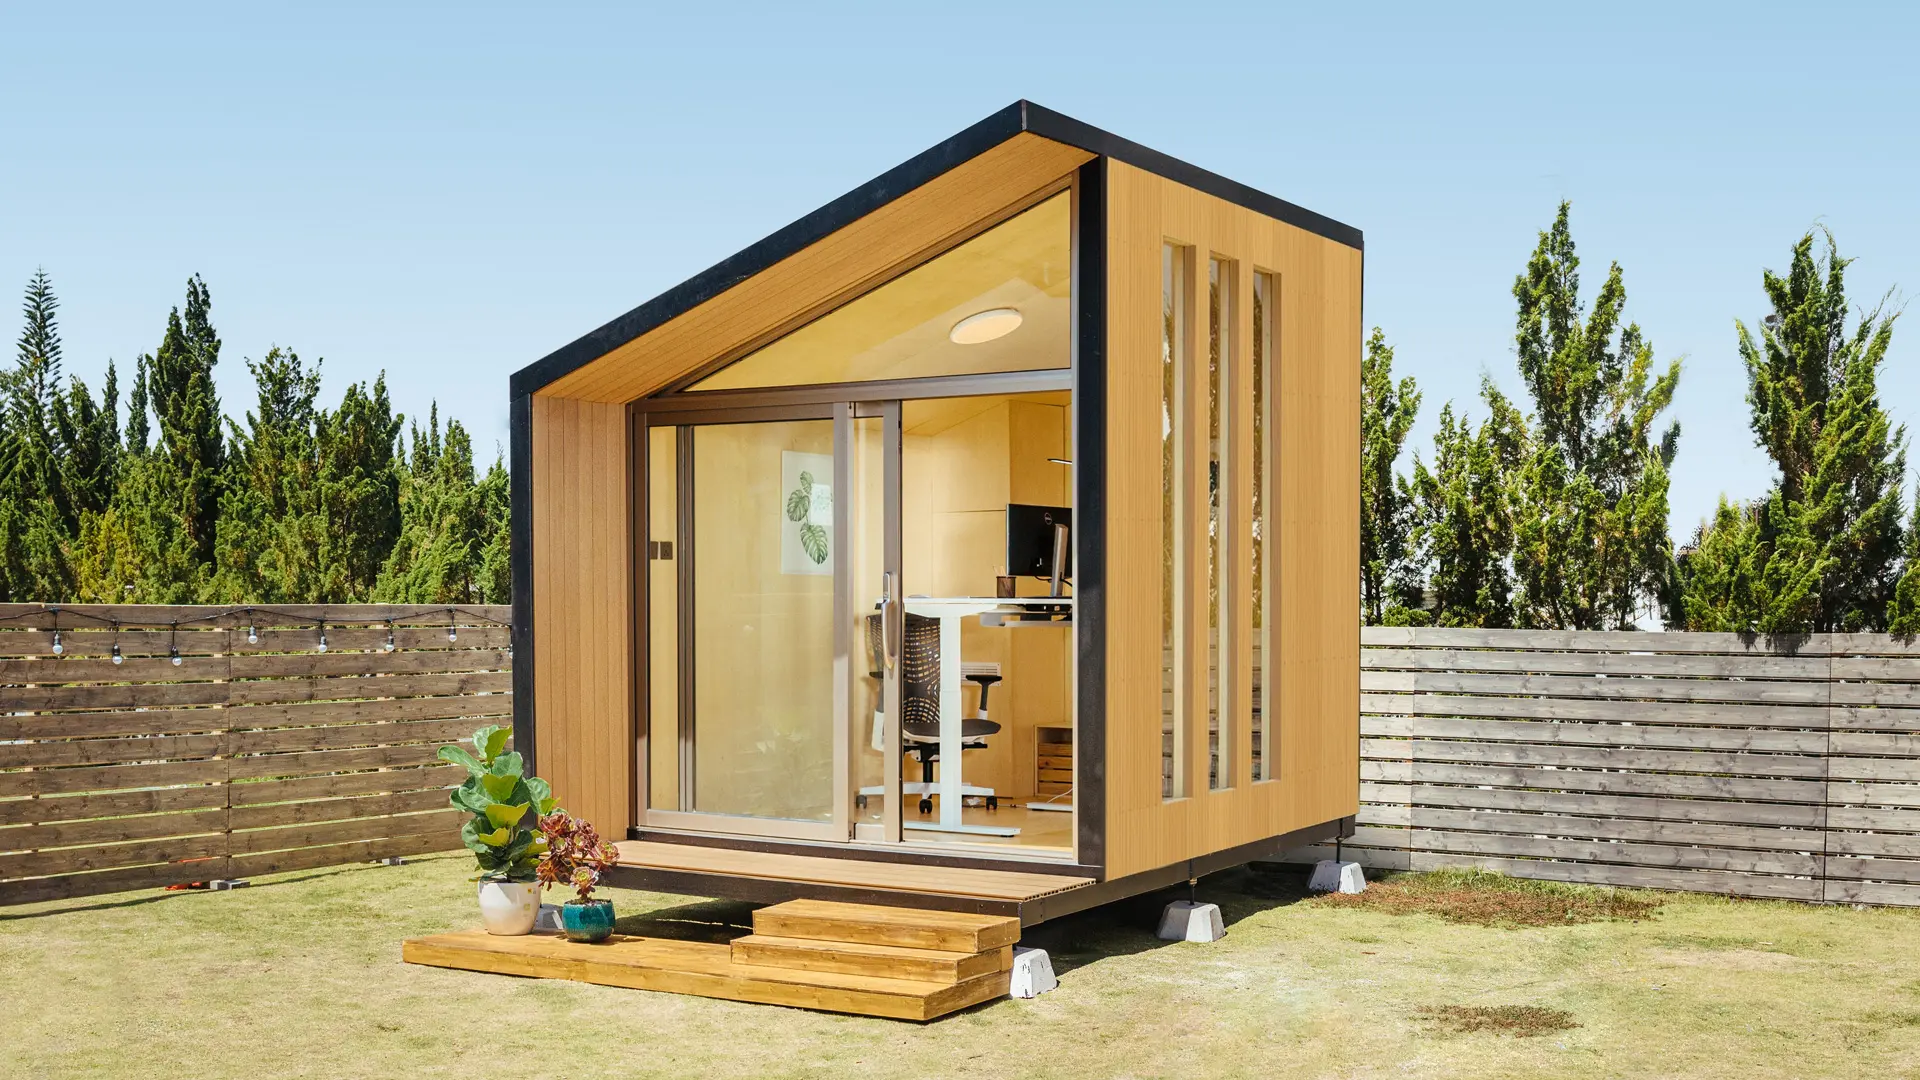
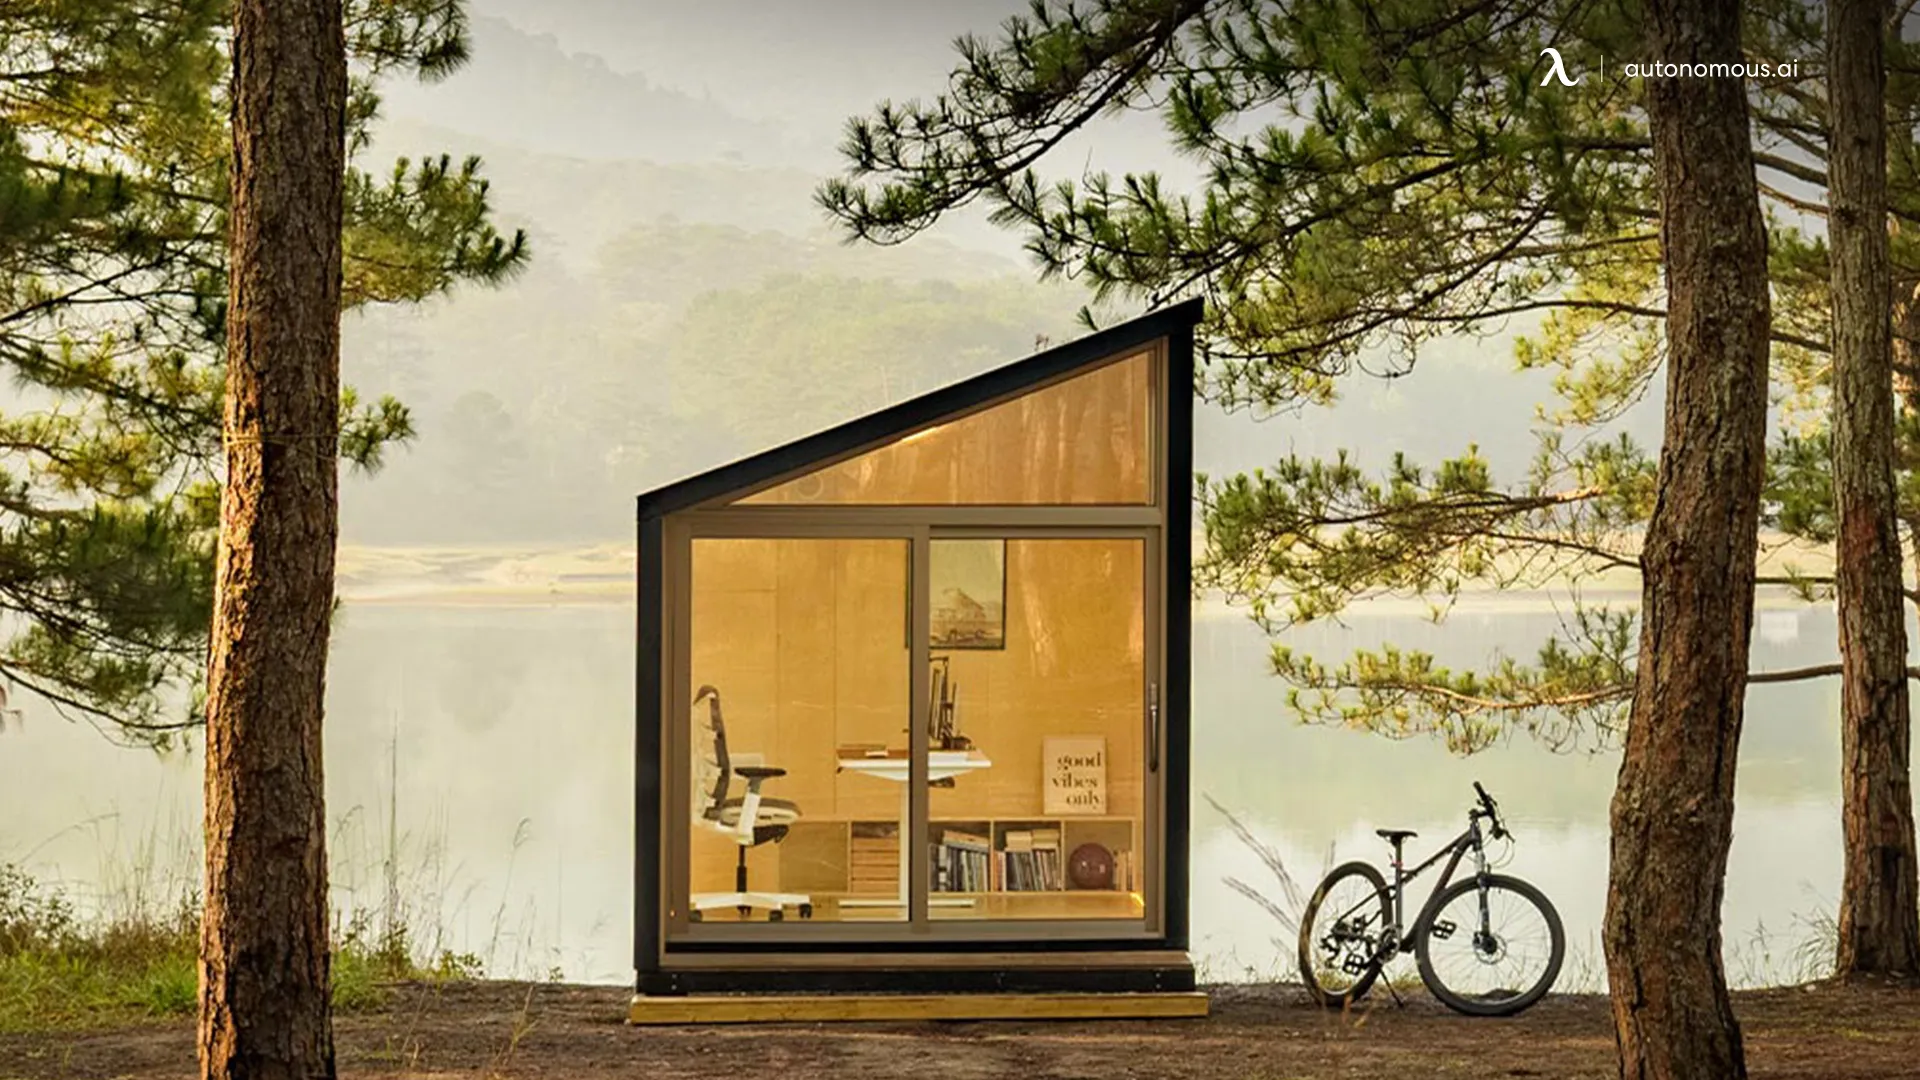
Transforming Outdoor Learning With Autonomous ADUs
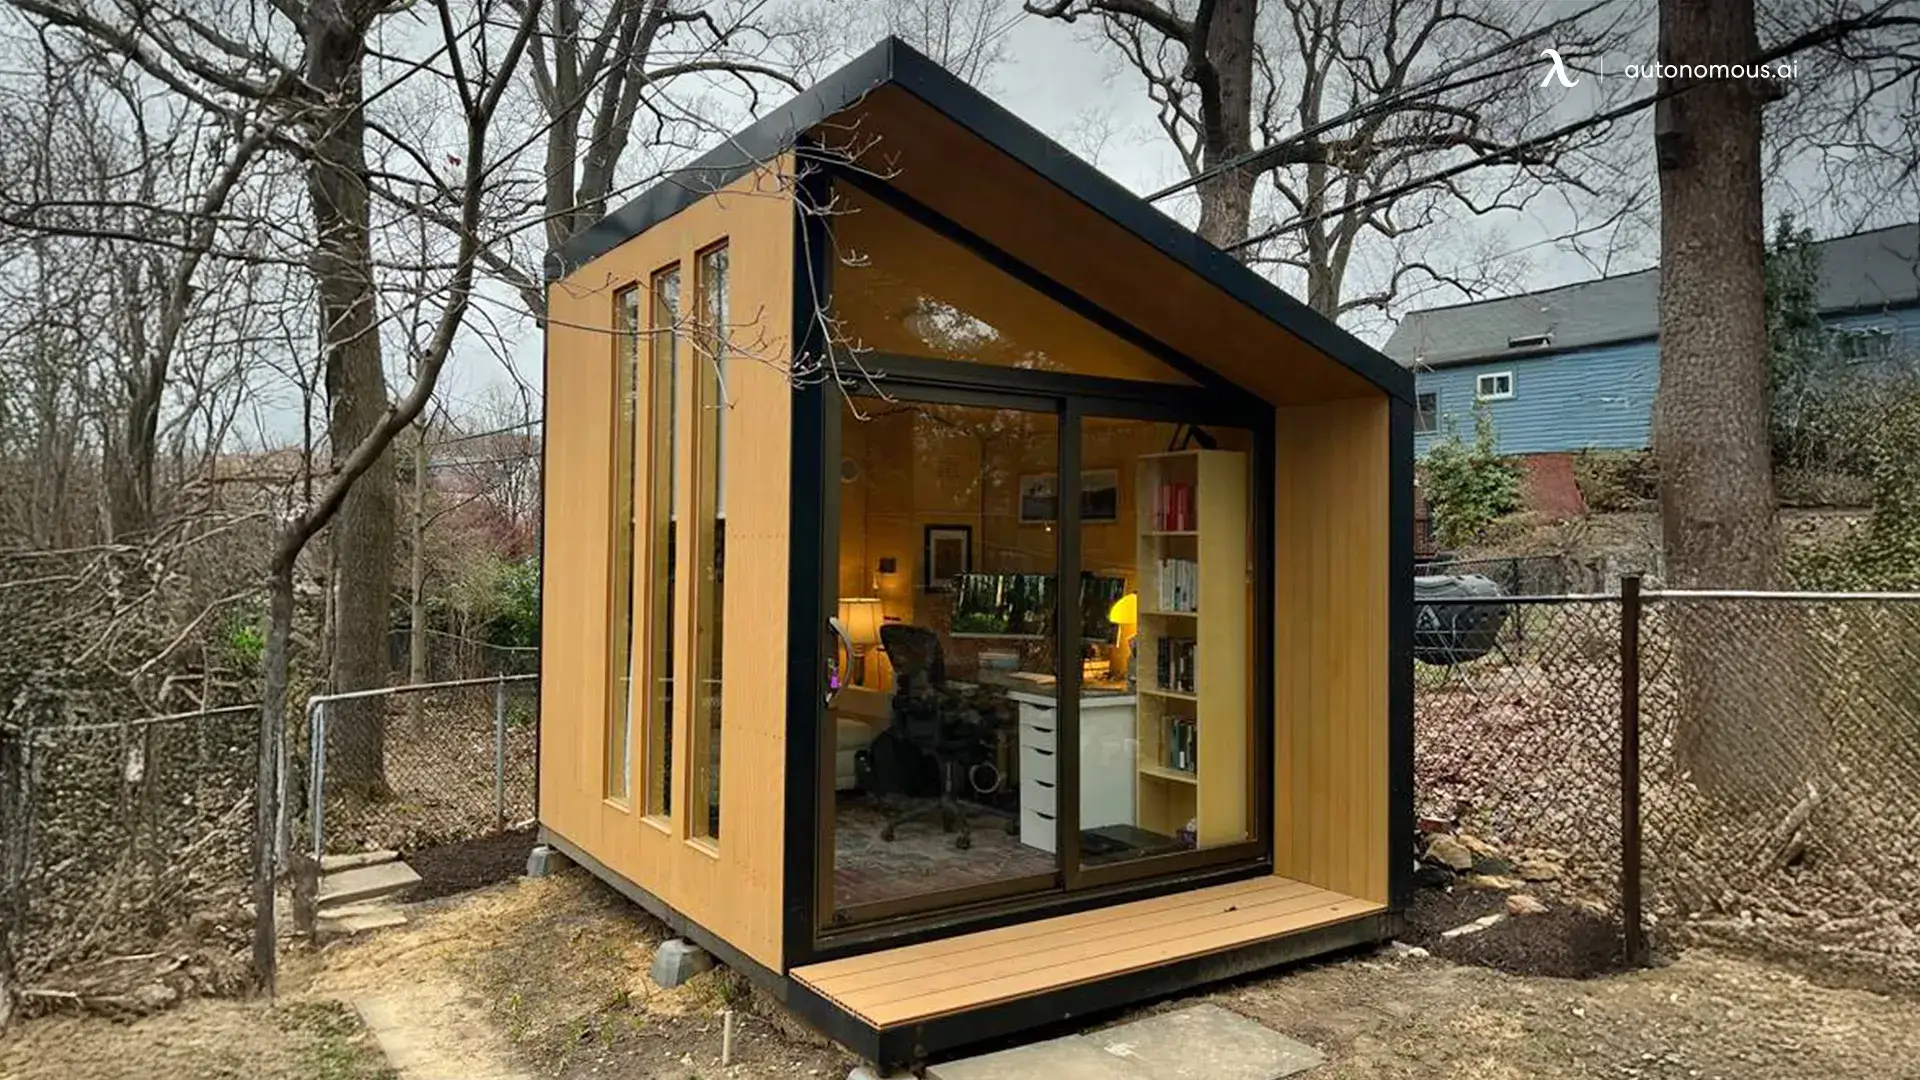
If you're looking for a streamlined, high-quality solution for your homeschool space, Autonomous ADUs offer a practical and design-forward alternative to traditional sheds. These backyard office sheds are purpose-built for productivity, comfort, and ease of use—making them an ideal foundation for your outdoor classroom.
Here’s how an Autonomous WorkPod can elevate your homeschool experience:
- Optimized Space For Learning
Every Autonomous ADU is thoughtfully designed to make the most of its footprint. Whether you're teaching one child or several, the open floor plan provides enough room for desks, shelves, and learning zones without feeling cramped.
You get a dedicated homeschool environment without sacrificing yard space or aesthetics.
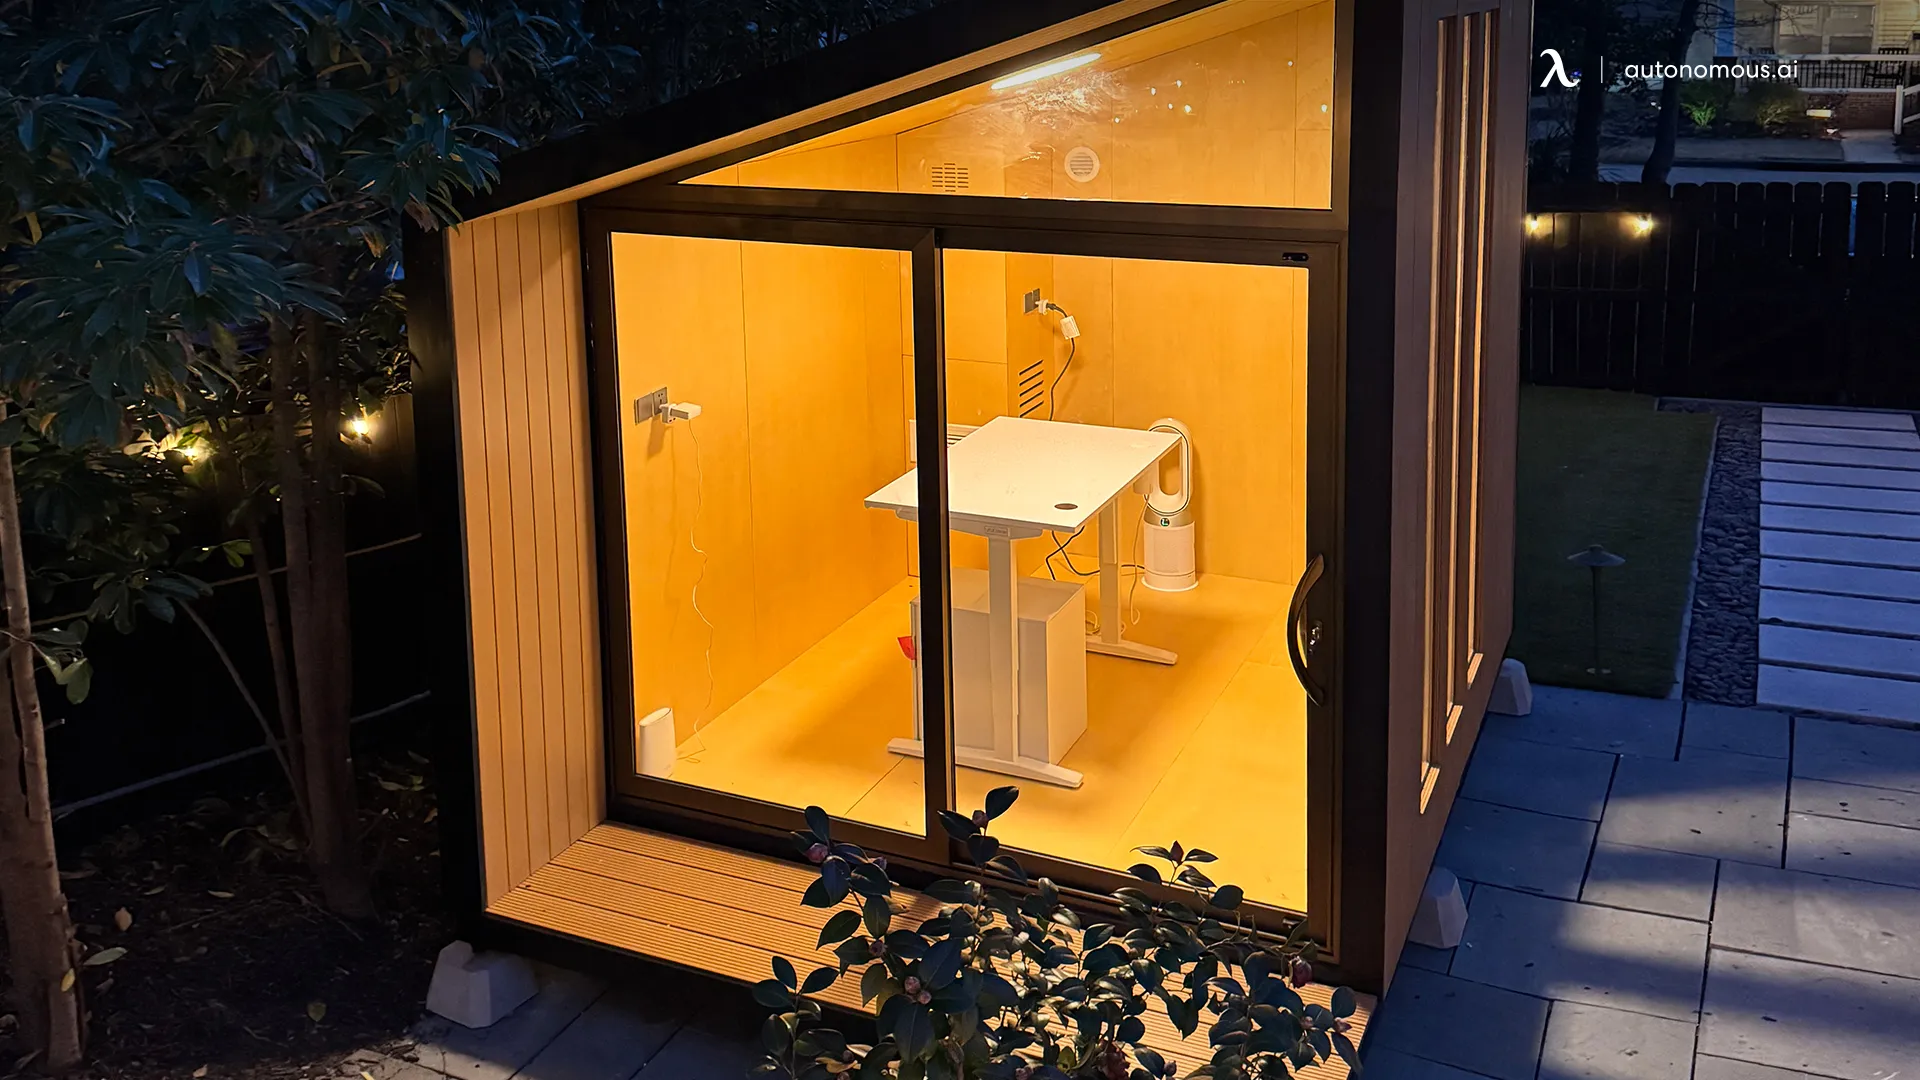
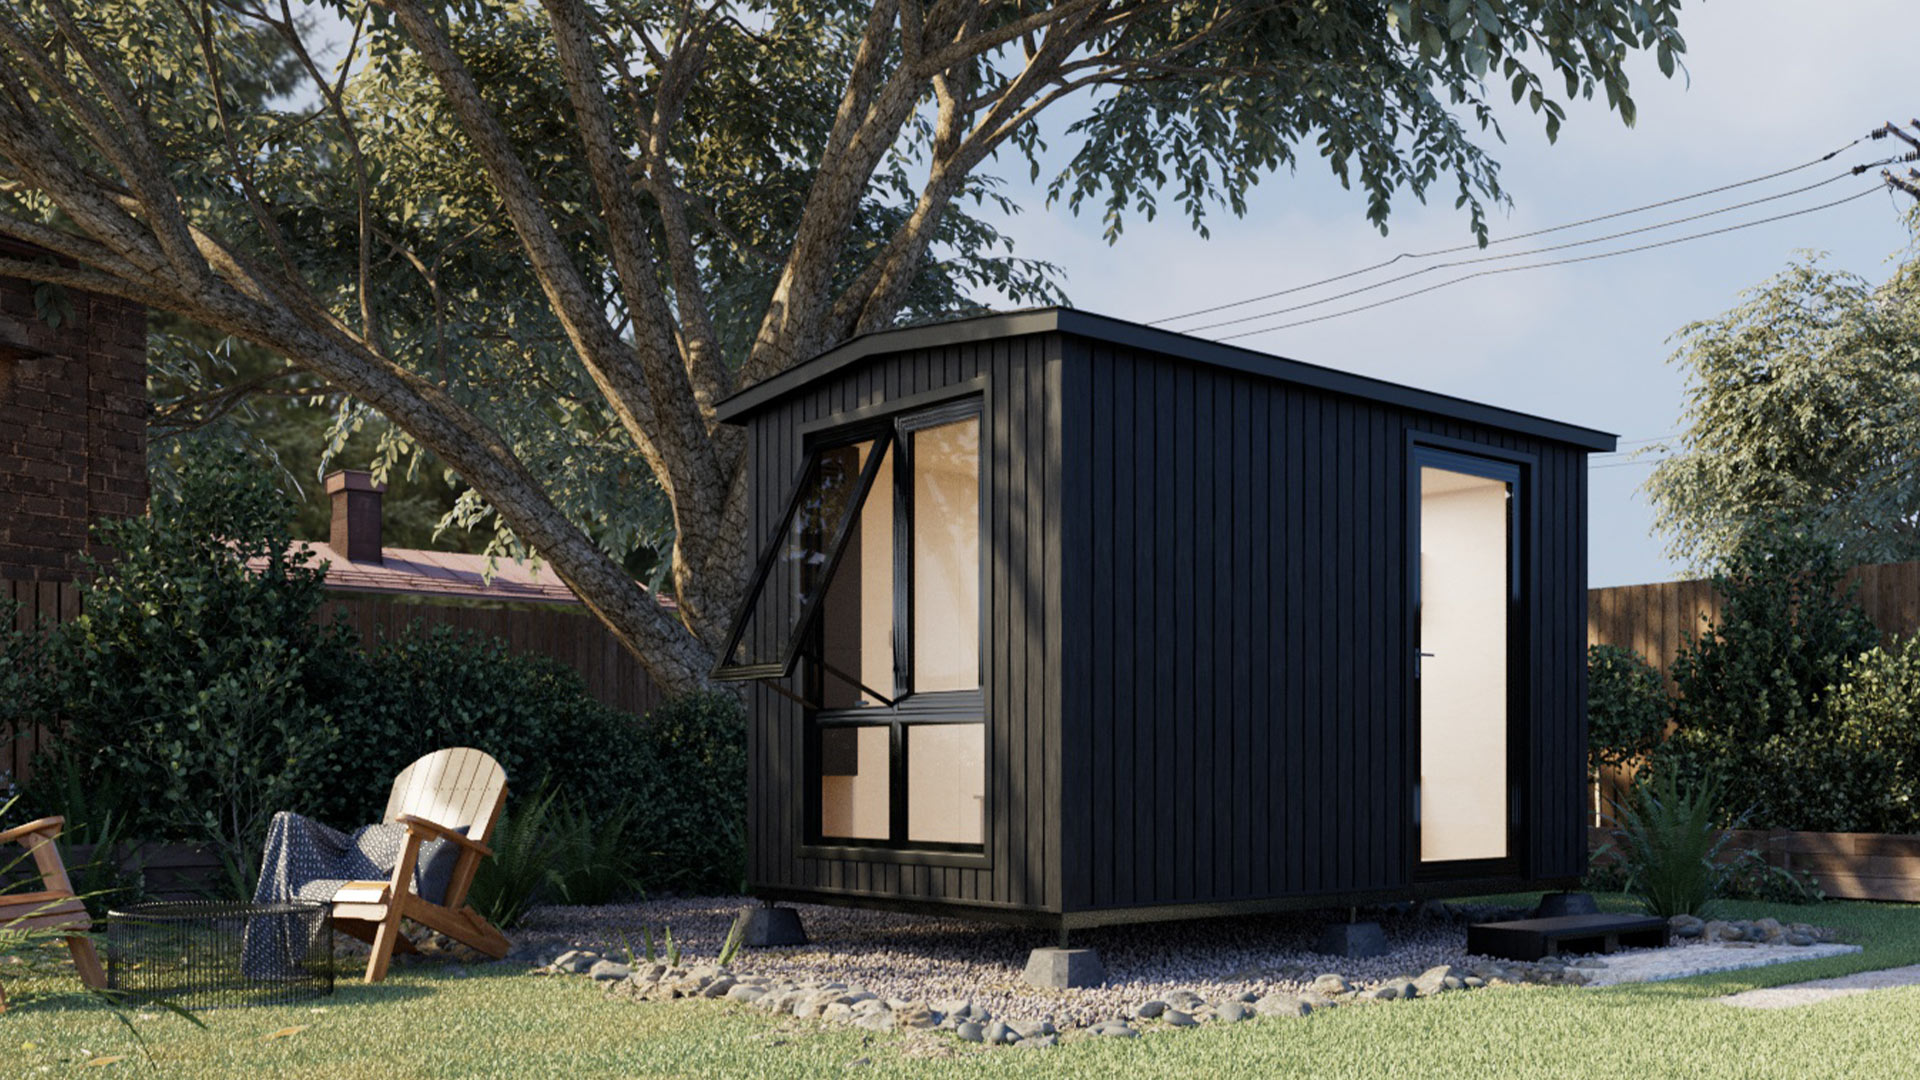
- Built-In Comfort and Efficiency
Unlike basic sheds, Autonomous WorkPods come equipped with insulated walls, double-pane windows, and weather-resistant finishes—helping maintain a comfortable learning environment all year round. These energy-efficient features also align with sustainability goals, minimizing the need for constant heating or cooling.
- Customization Options to Match Your Vision
From layout to lighting, Autonomous ADUs are adaptable to a range of learning styles and design preferences. Whether you prefer a modern, minimalist look or a warm, cozy setup, you can personalize the space with your choice of furniture, storage solutions, and homeschool room decor.
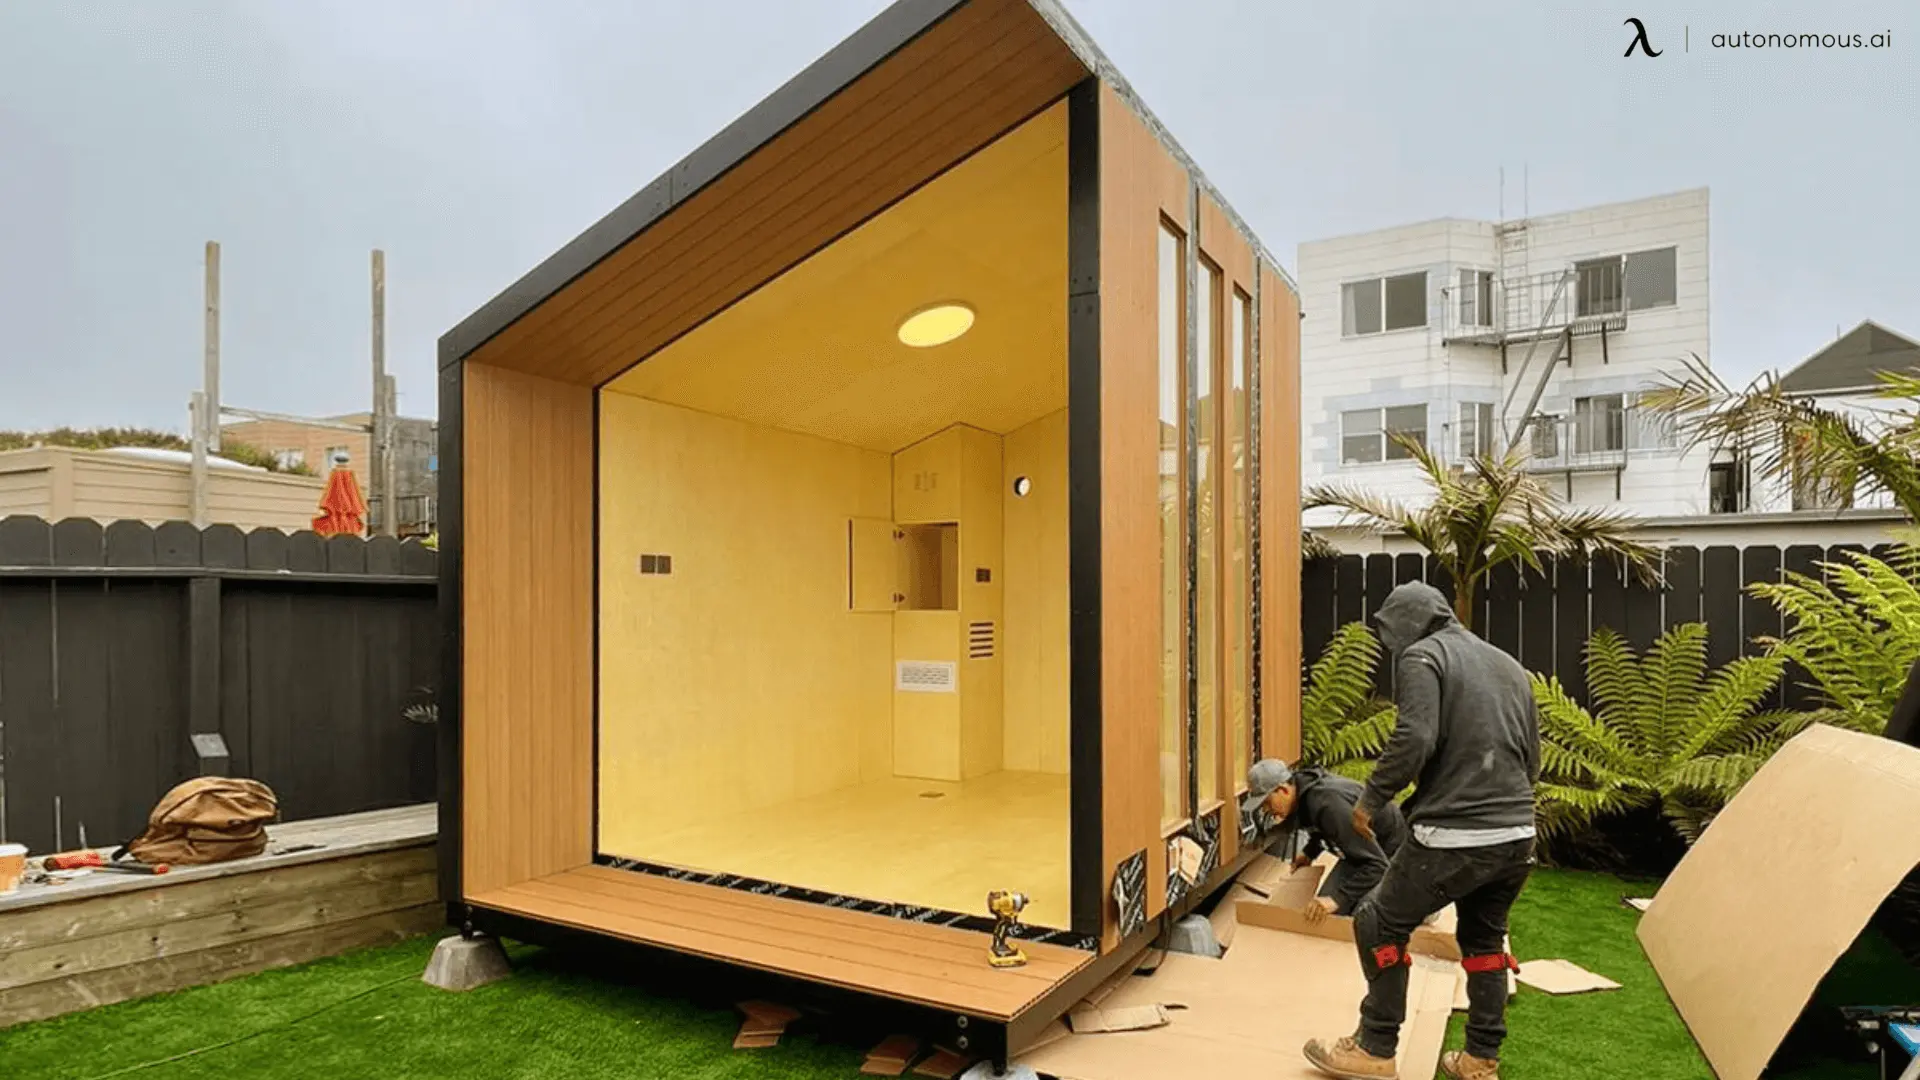
- Fast, Hassle-Free Installation
Time is often a deciding factor when setting up a new homeschool room. Autonomous WorkPods arrive with a pre-built foundation and modular components, making installation quick and straightforward—often completed in just 2 to 3 days. No lengthy construction or disruption to your home is required.
Choosing an Autonomous ADU means choosing a smarter, faster way to create a high-performance homeschool shed. From energy efficiency to modern design, every detail is crafted to support focus, comfort, and long-term usability.
FAQs
1. What's the difference between a she shed and a modern shed for homeschooling?
A she shed is typically designed as a personal retreat—often cozy, feminine, and used for hobbies or relaxation. In contrast, a modern homeschool shed focuses on clean lines, functional layouts, and features like built-in insulation, desks, and storage to support learning. Both can be adapted for homeschooling depending on your style and needs.
2. Can I combine a she shed and a homeschool setup?
Yes! Many families create a hybrid space that blends the comfort and charm of a she shed with the practical layout of a homeschool room. Think cozy seating, decorative touches, and learning zones all in one space. The result is a homeschool shed that feels both functional and personalized.
3. Are prefab sheds customizable for homeschooling?
Yes, most prefab sheds offer customization options. You can adapt the interior layout, choose ergonomic furniture, and incorporate tech-friendly solutions to create an ideal homeschooling idea and space that aligns with your vision.
4. What’s the biggest size shed without a permit?
In many U.S. jurisdictions, you can build a shed up to 120 square feet without a permit. This varies by city or county, so it's important to check local building codes before you begin your project.
5. Is it cheaper to build or buy a shed?
Buying a prefab homeschool shed can be more cost-effective when you factor in materials, time, and labor. While DIY building may seem cheaper upfront, prefab units often include insulation, electrical readiness, and structural stability—saving money and time long-term.
Conclusion
A well-designed homeschool shed is more than just a structure—it’s a dedicated space that supports focus, creativity, and growth. Whether you’re drawn to the charm of a cozy she shed or the clean functionality of a modern layout, the key is to create an environment tailored to your family’s learning needs.
By combining thoughtful homeschool room setup ideas with practical setup—furniture, organization, lighting, and seasonal flexibility—you can build a space that evolves alongside your homeschool journey.
With the right planning and tools, your backyard can become a quiet, inspiring classroom where learning truly thrives.