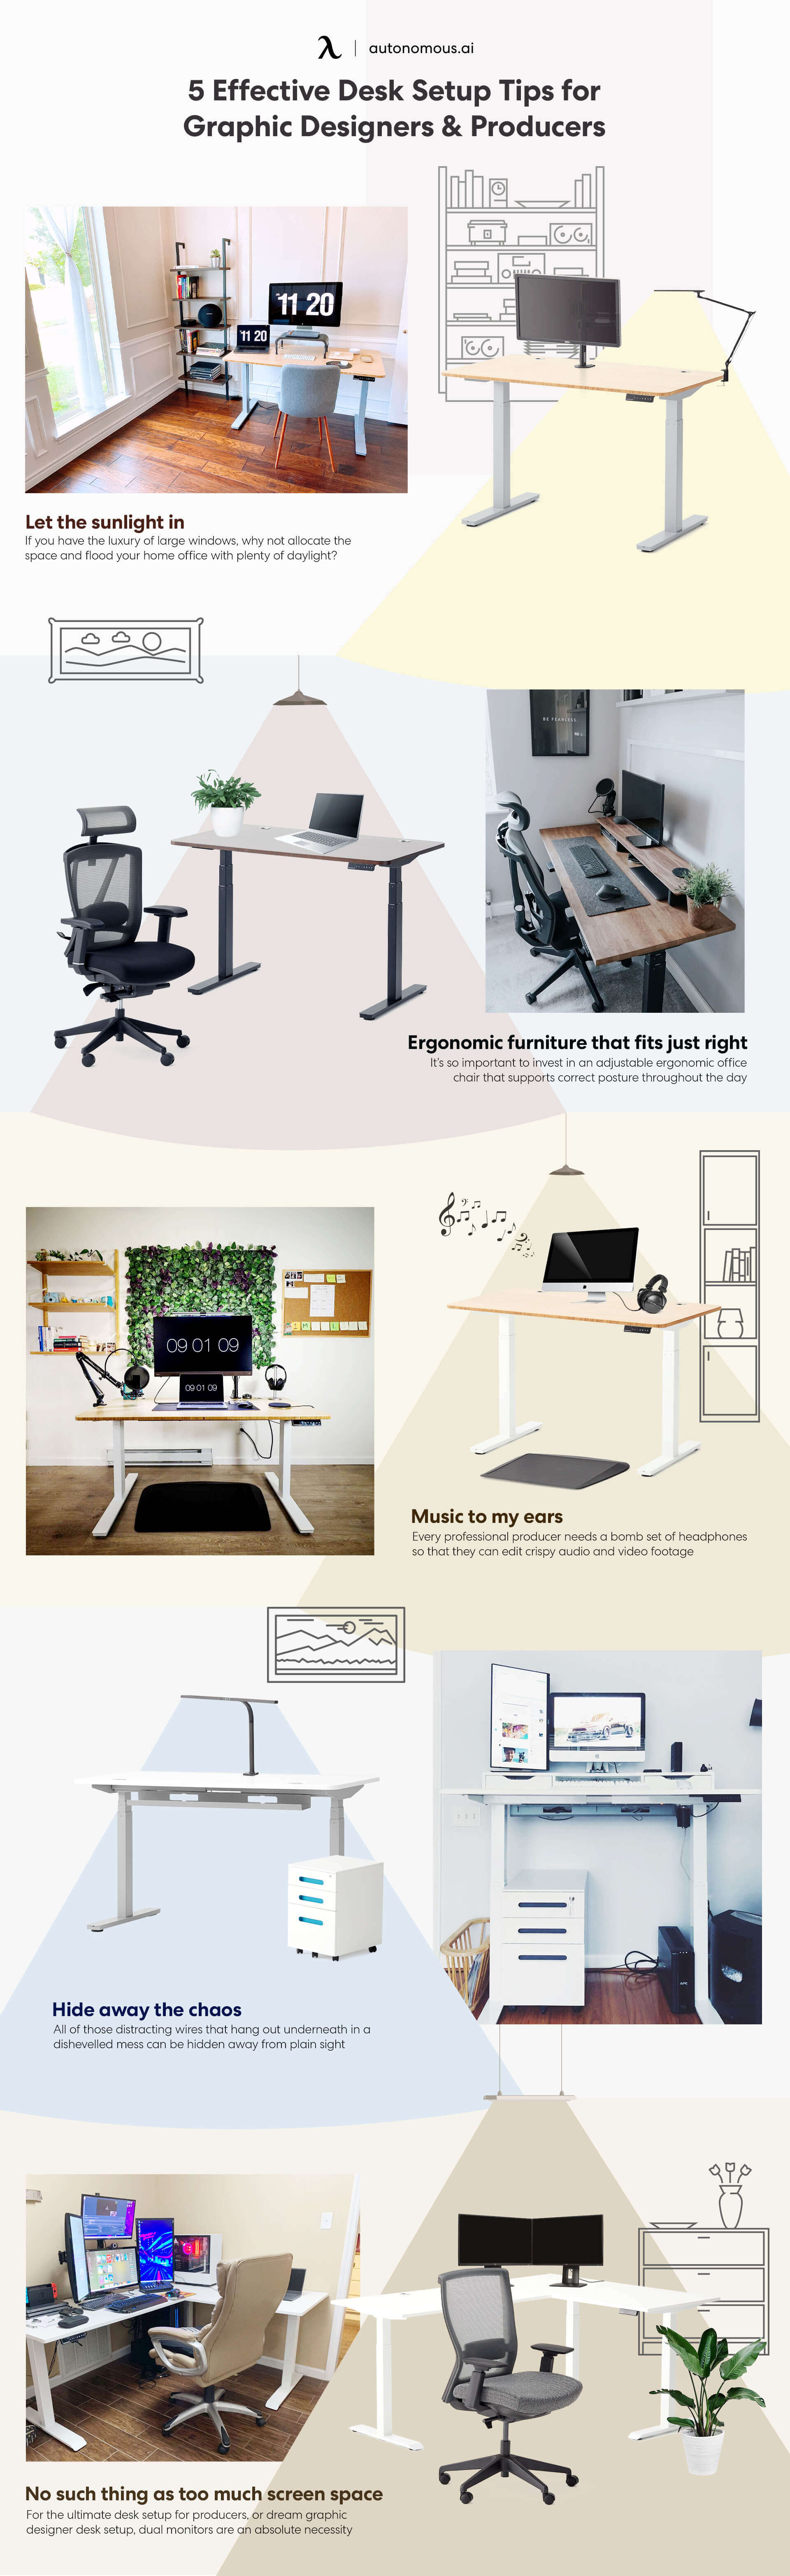
5 Effective Desk Setup Tips for Graphic Designers & Producers
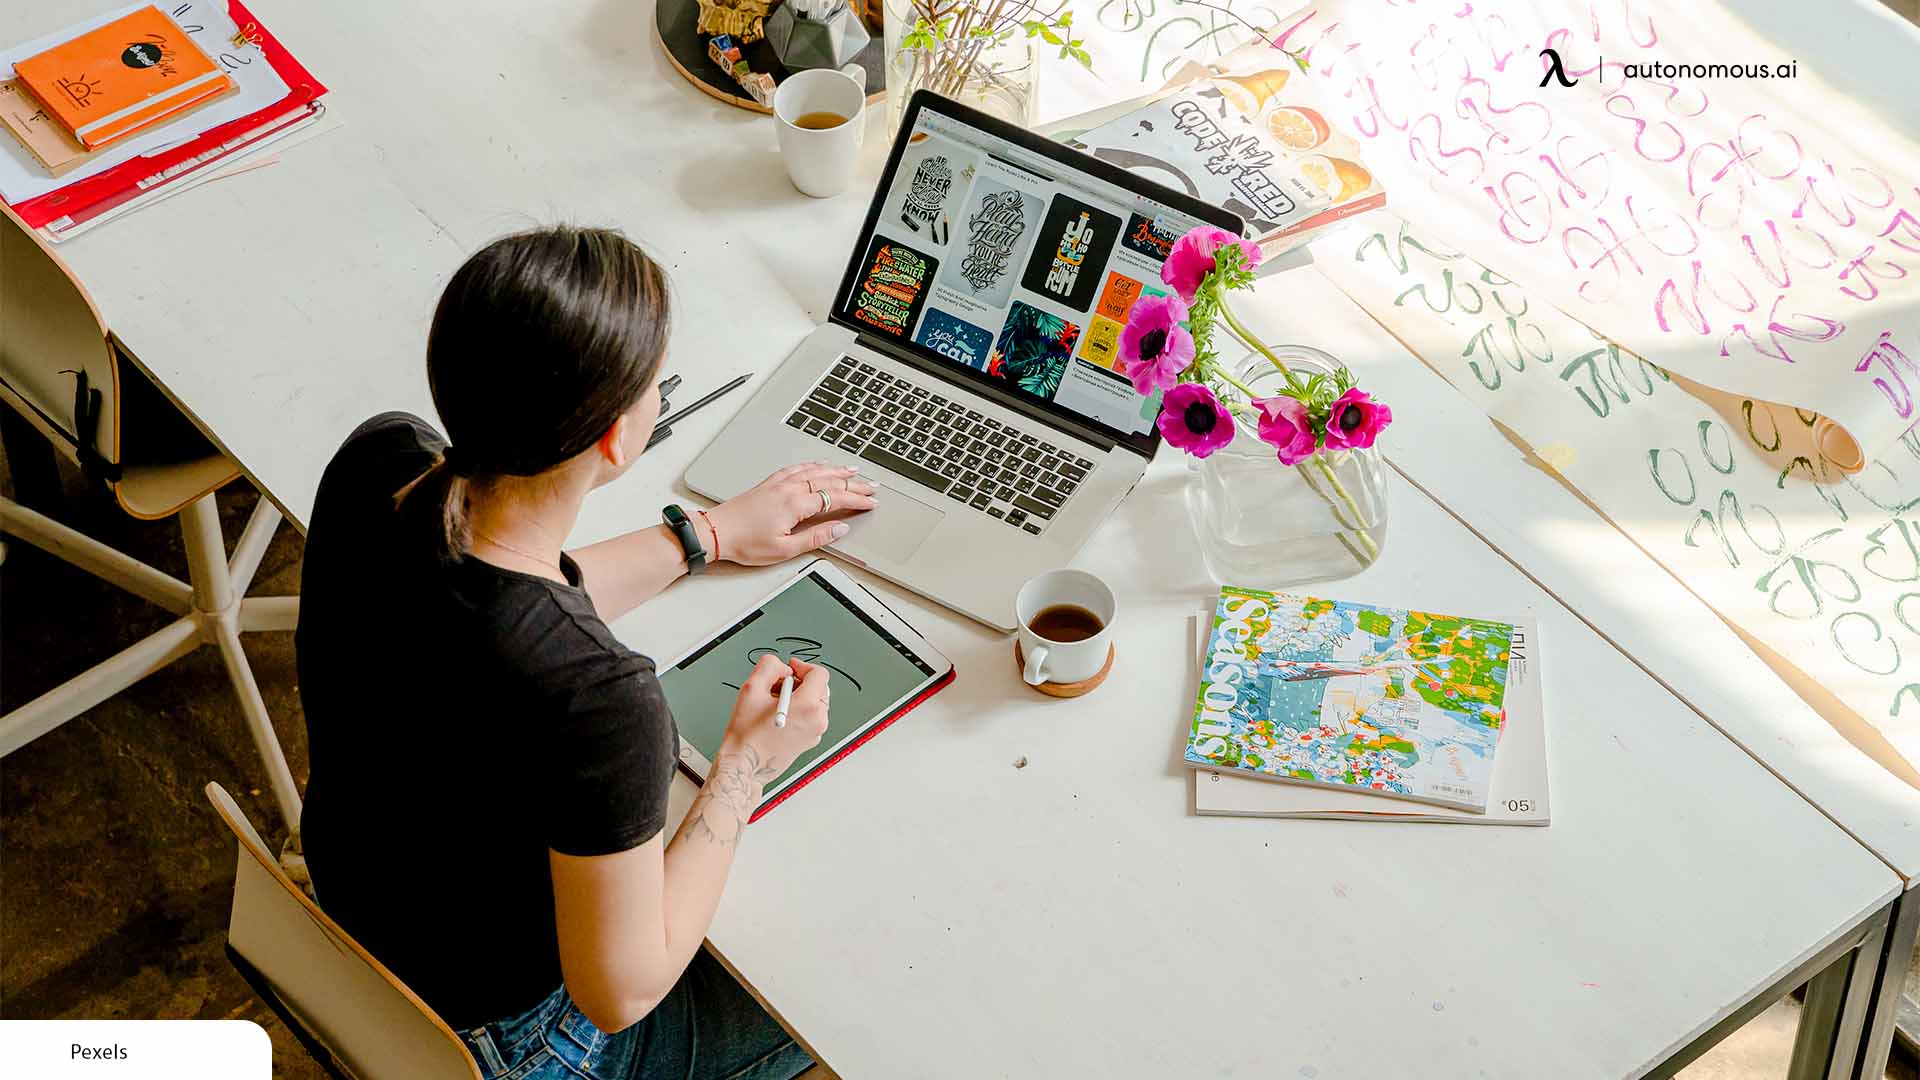
Table of Contents
Demand for creative professionals such as graphic designers, web designers, and content producers has consistently been on the rise over recent years. More often than not, these professionals work remotely from home. If you’re a new talent entering the design and production field, chances are you’ve started to realize that working from home creates a unique set of challenges. Constant communication with your clients, managing multiple ongoing projects, countless meetings via correspondence, receiving feedback, revising and editing drafts, deadlines, deadlines, DEADLINES! Working productively for any creative professional is a real balancing act, especially when confined to the walls of working remotely from home.
If you’re feeling a little overwhelmed and over your head. We got you. Keep reading for some easy designer desk setup ideas that will help create a workspace that supports your professional workflow and productivity any time of day or night.
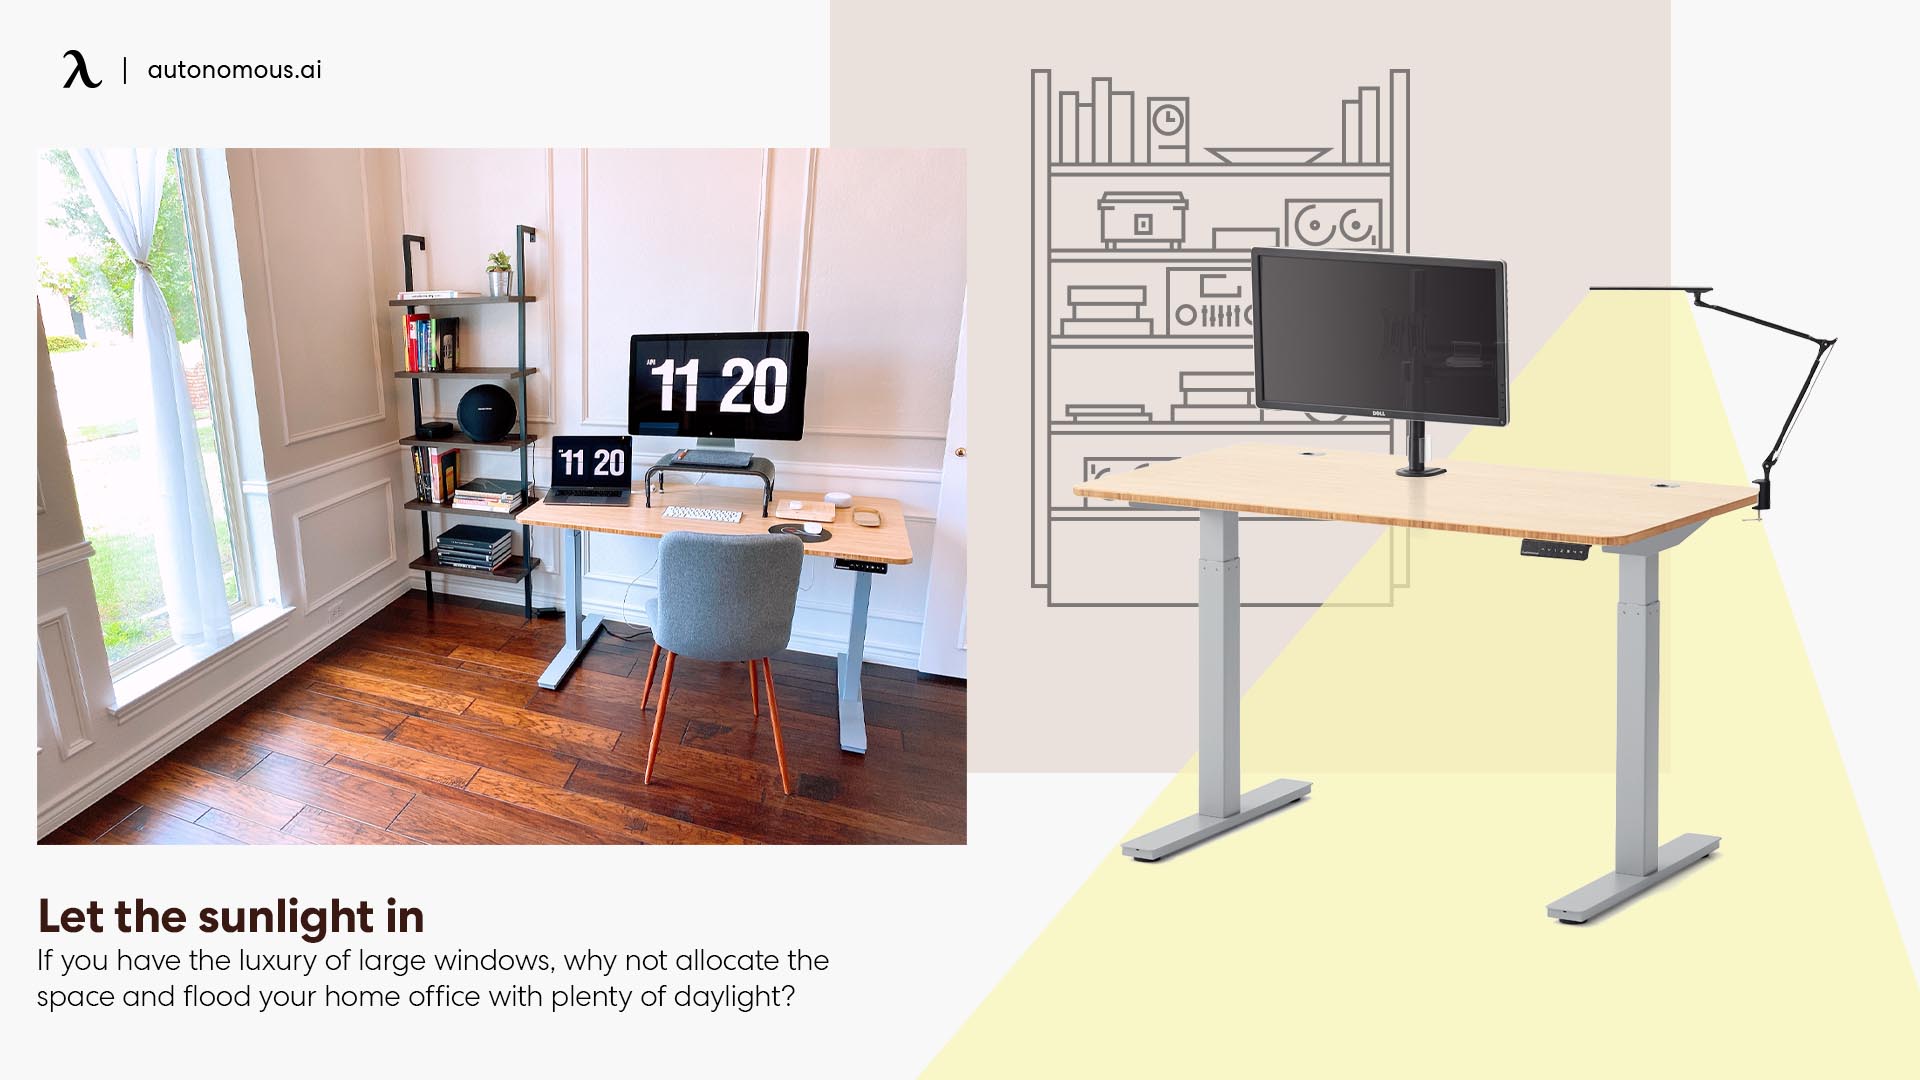
1. Let the sunlight in
Before we dive into setting up your designer and producer work desk with tasty tech, and supportive tools, you first need to dedicate the perfect workspace that works for you. Have a look around each room of your house or apartment and get a feel for which area most effectively puts you in the right headspace to knuckle down and get to work.
Natural light is always a good idea. If you have the luxury of large windows, why not allocate the space and flood your home office with plenty of daylight? A naturally lit workspace gies a sense of space and helps to alleviate any sense of confinement from being trapped indoors all day long. Think about it. When you walk into the office first thing in the morning with your cup of coffee, you want to enter a bright and heavenly space filled with abundant light. Not a dimly lit, gloomy dungeon with no windows.
 Numerous studies have shown that natural light in the office greatly improves worker satisfaction and productivity. The National Sleep Foundation found that those exposed to high levels of natural light throughout the working day reported much better quality of sleep when compared to workers who weren’t exposed to any natural light. Better sleep, unsurprisingly, leads to greater work productivity and satisfaction. Other benefits of working in natural light include reduced eye strain, fewer reports of headaches, overall improved mood, less drowsiness, and fewer mistakes. So let the sunlight in and create a workspace that will brighten your mood and jumpstart your workflow at home.
On the other end of the light spectrum. For many designers and producers whose work relies on true color accuracy, a darker working environment is in fact beneficial to their work. Install some simple shutter blinds or hang some thick black out curtains so that when you’re done replying to emails and searching the web for inspiration, you can block out the glare, create the perfect den, and view the truest colors on screen. Make sure to equip the workspace with the right source of artificial light, so that you can work comfortably during any hour of day or night and relieve your eyes from strain.
We suggest using diffused light. Avoid glare, hotspots, and sharp shadows, which may be visually distracting. This can simply be done by angling the lamp away from you and bouncing its light off the walls (preferably walls with a matte finish) to create bias lighting that makes working on digital screens all the more comfortable. It’s also a good idea to invest in artificial lighting that gives you options. LED desk lamps that offer brightness levels, as well as tonal transitions between warm and neutral are really useful in desk setup for designers to provide the perfect lighting conditions for whenever you want to work, relax, or play.
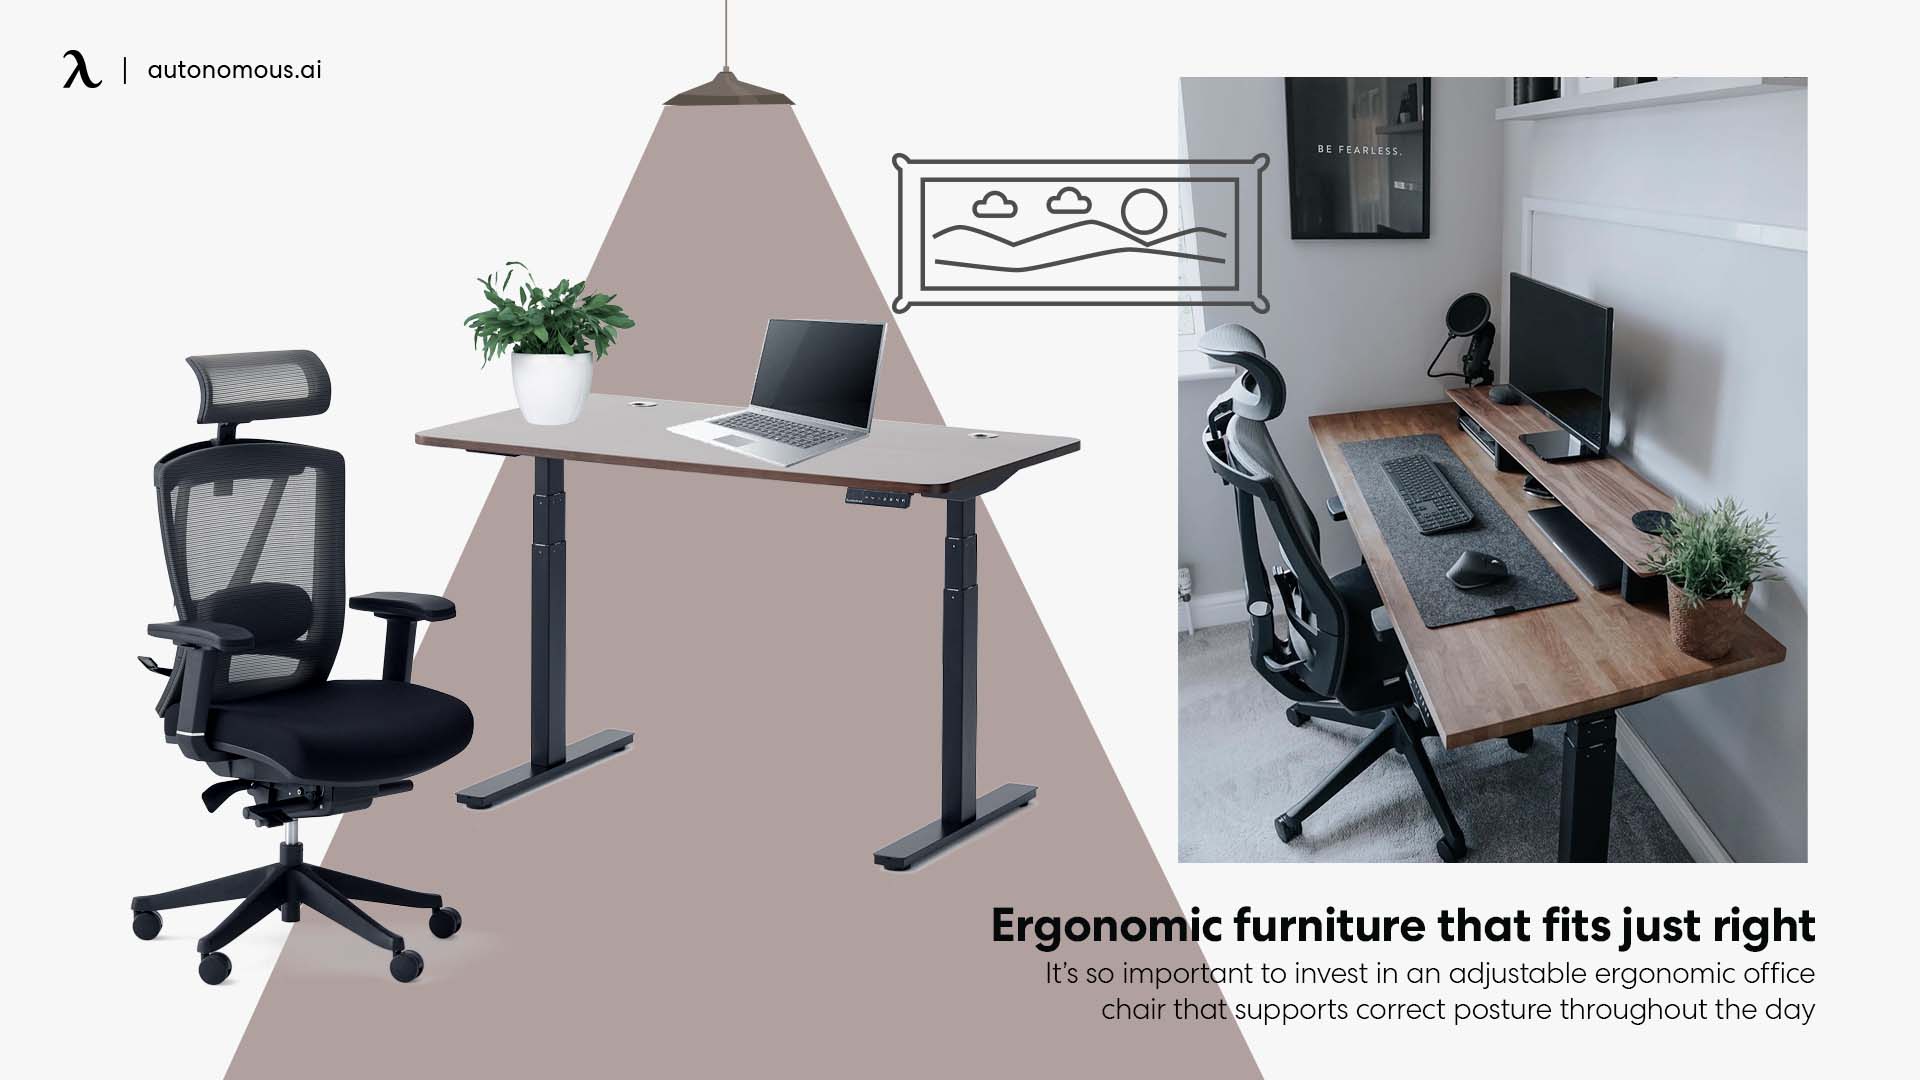
2. Ergonomic furniture that needs for designer desk setup
Ergonomic Office Chair
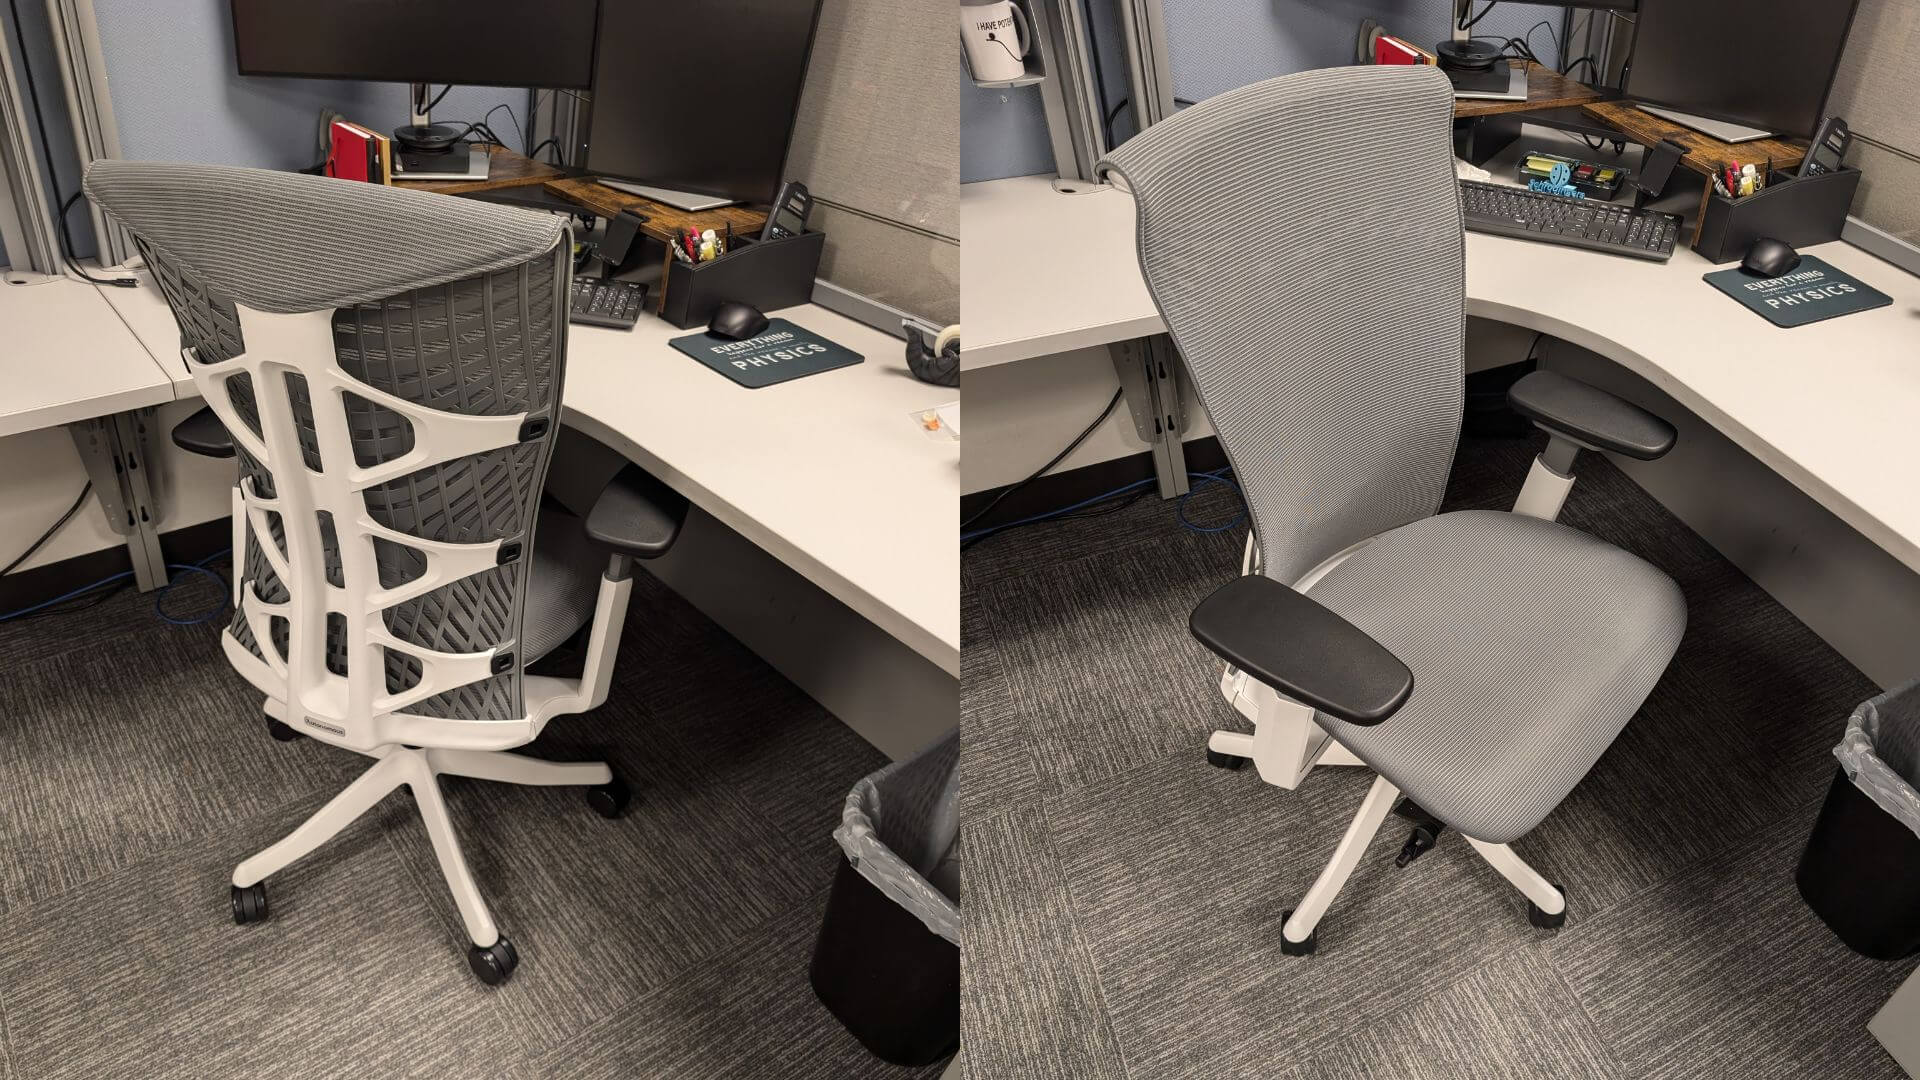
There are so many different roles and scopes of work when it comes to being a designer or producer. One thing in common that digital creatives share, is that they spend hours upon hours seated in front of their computer screens. It’s so important to invest in an adjustable ergonomic office chair that supports correct posture throughout the day so that you can perform at your peak.
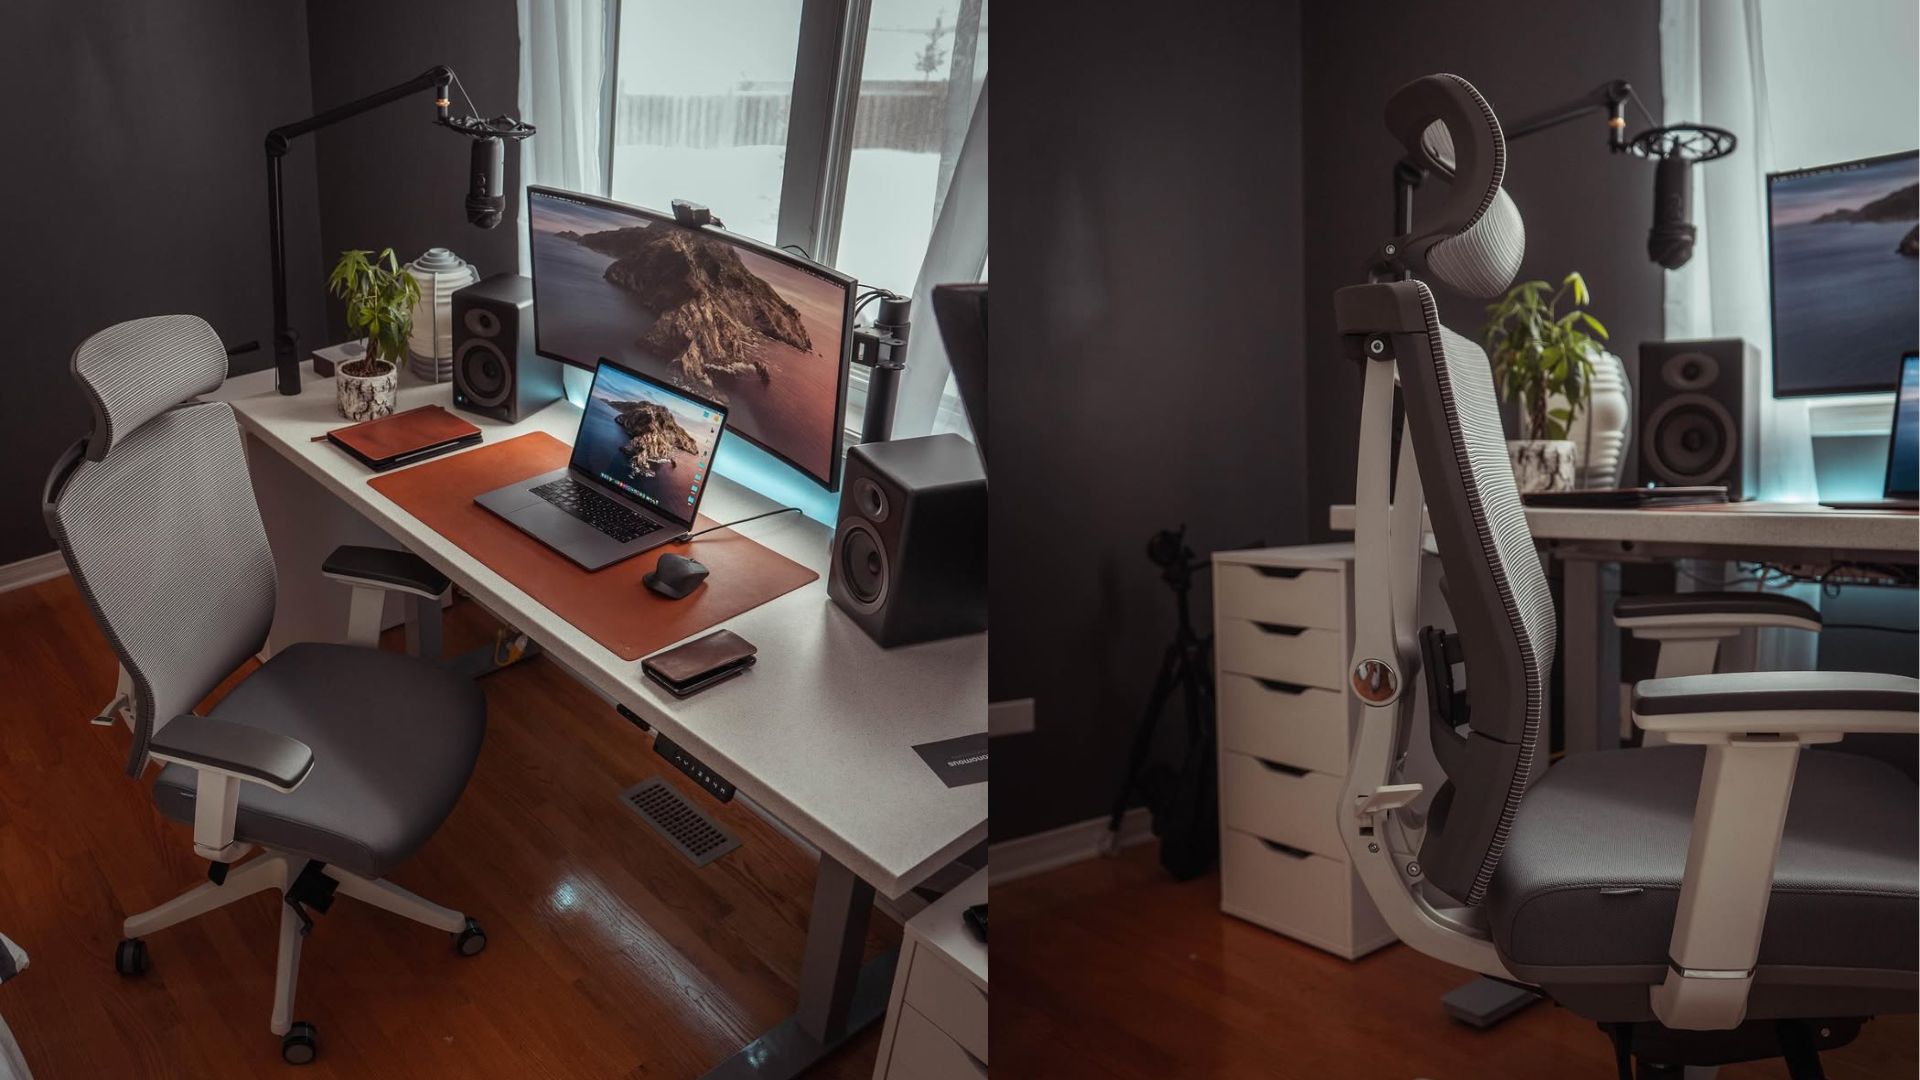
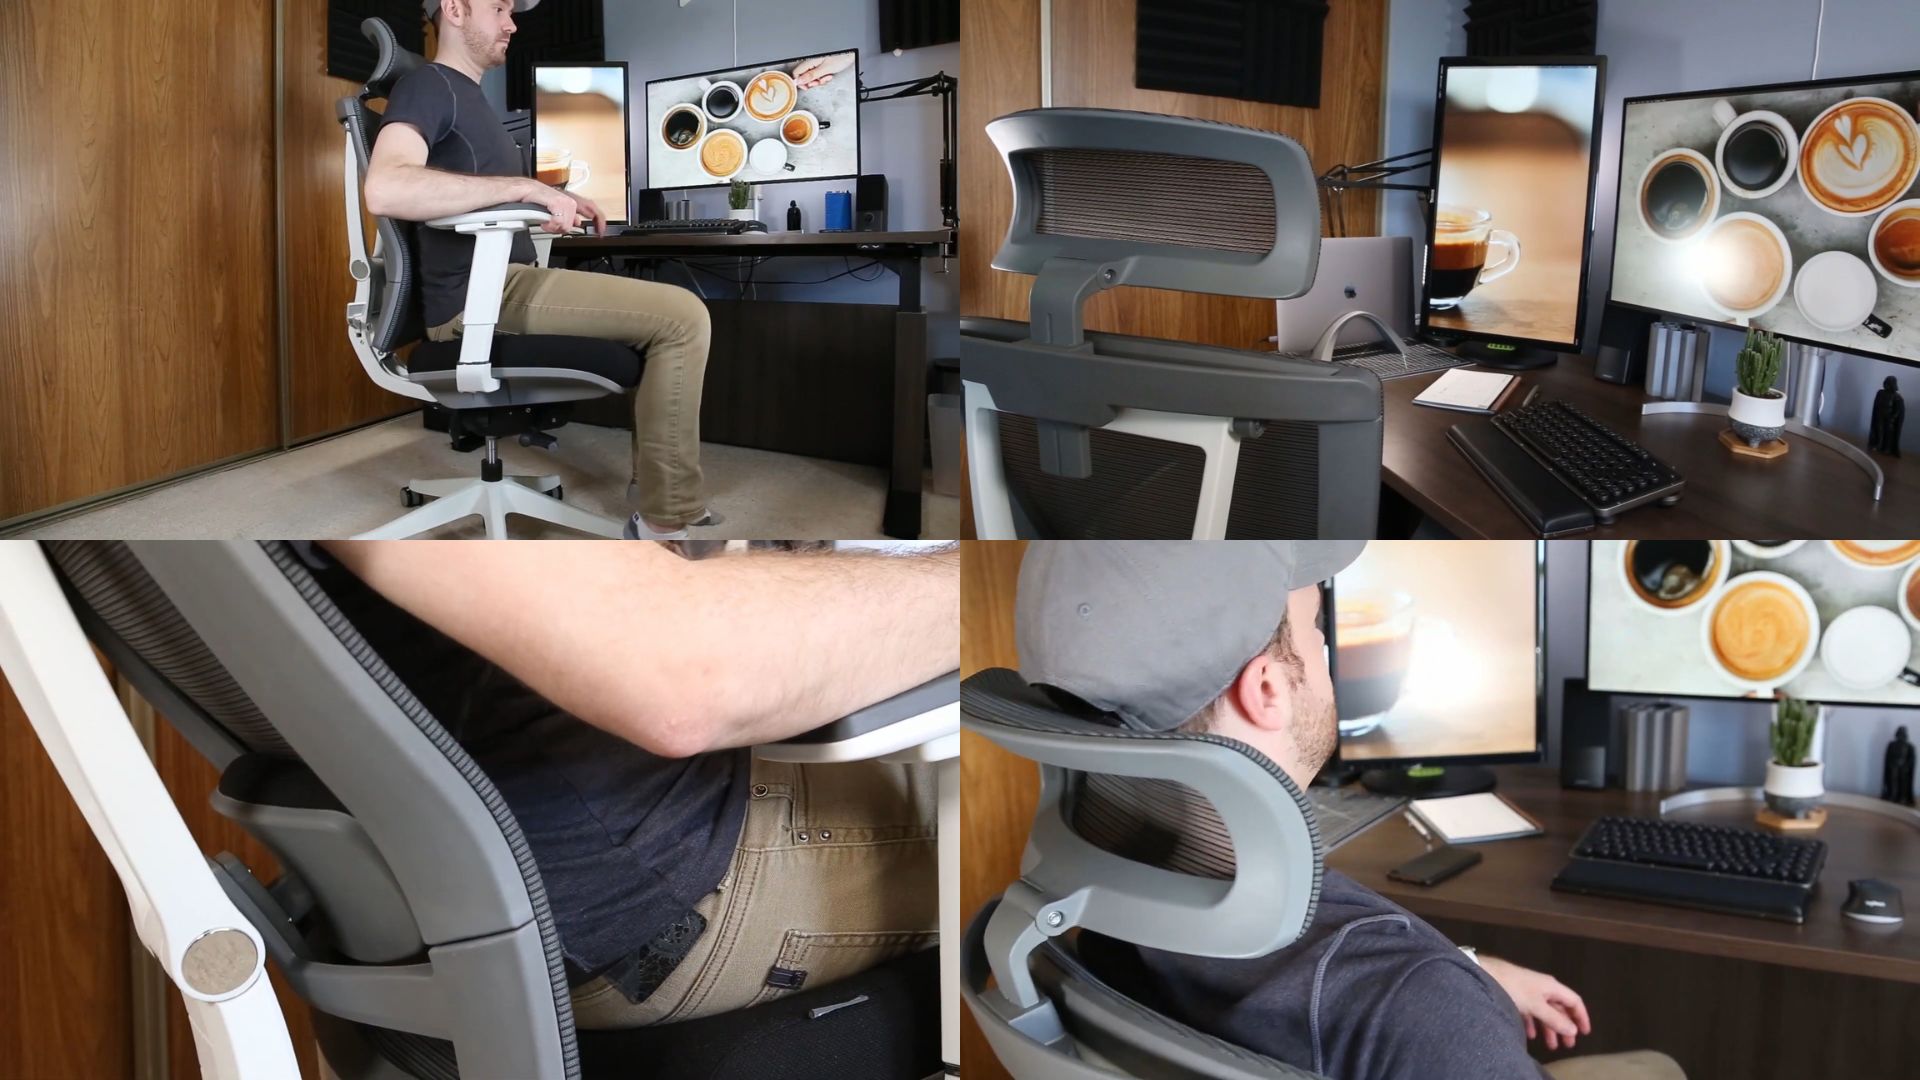
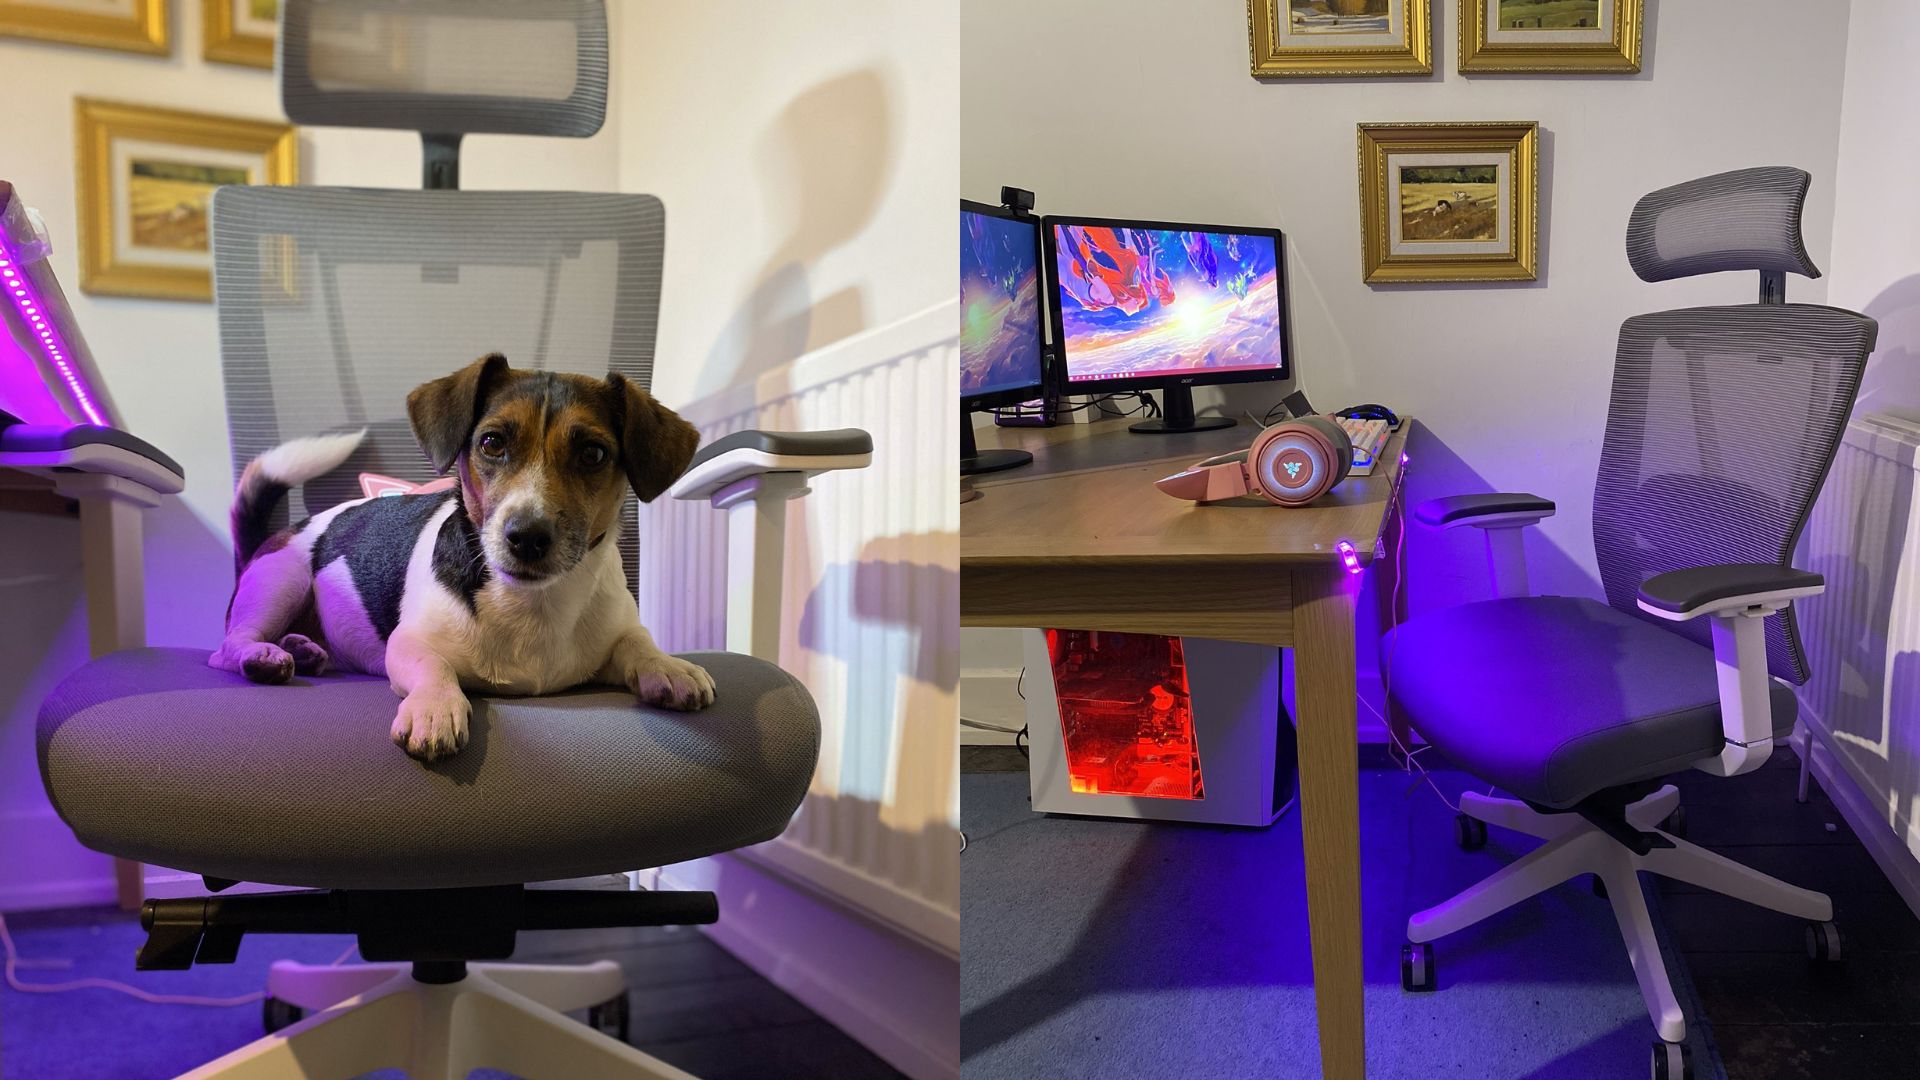
As no one sits in exactly the same position for eight hours a day, you need a chair that allows you to adjust to various seating positions that are healthy and great for maintaining your correct posture. The ErgoChair Pro from Autonomous provides a fully adjustable seat tilt, seat height, and complete lumbar support that not only provides comfort but also aids greatly to prevent any aches or pains that could potentially lead to more serious injuries connected with improper seating positions. Autonomous has many great ergonomic chair options to suit any taste, but we think the ErgoChair Pro is best suited for designers and producers desks thanks to its super satisfying headrest that makes working on screen, editing graphics, and endless gameplay an absolute joy.


Standing Desk for Graphic Designers & Producers
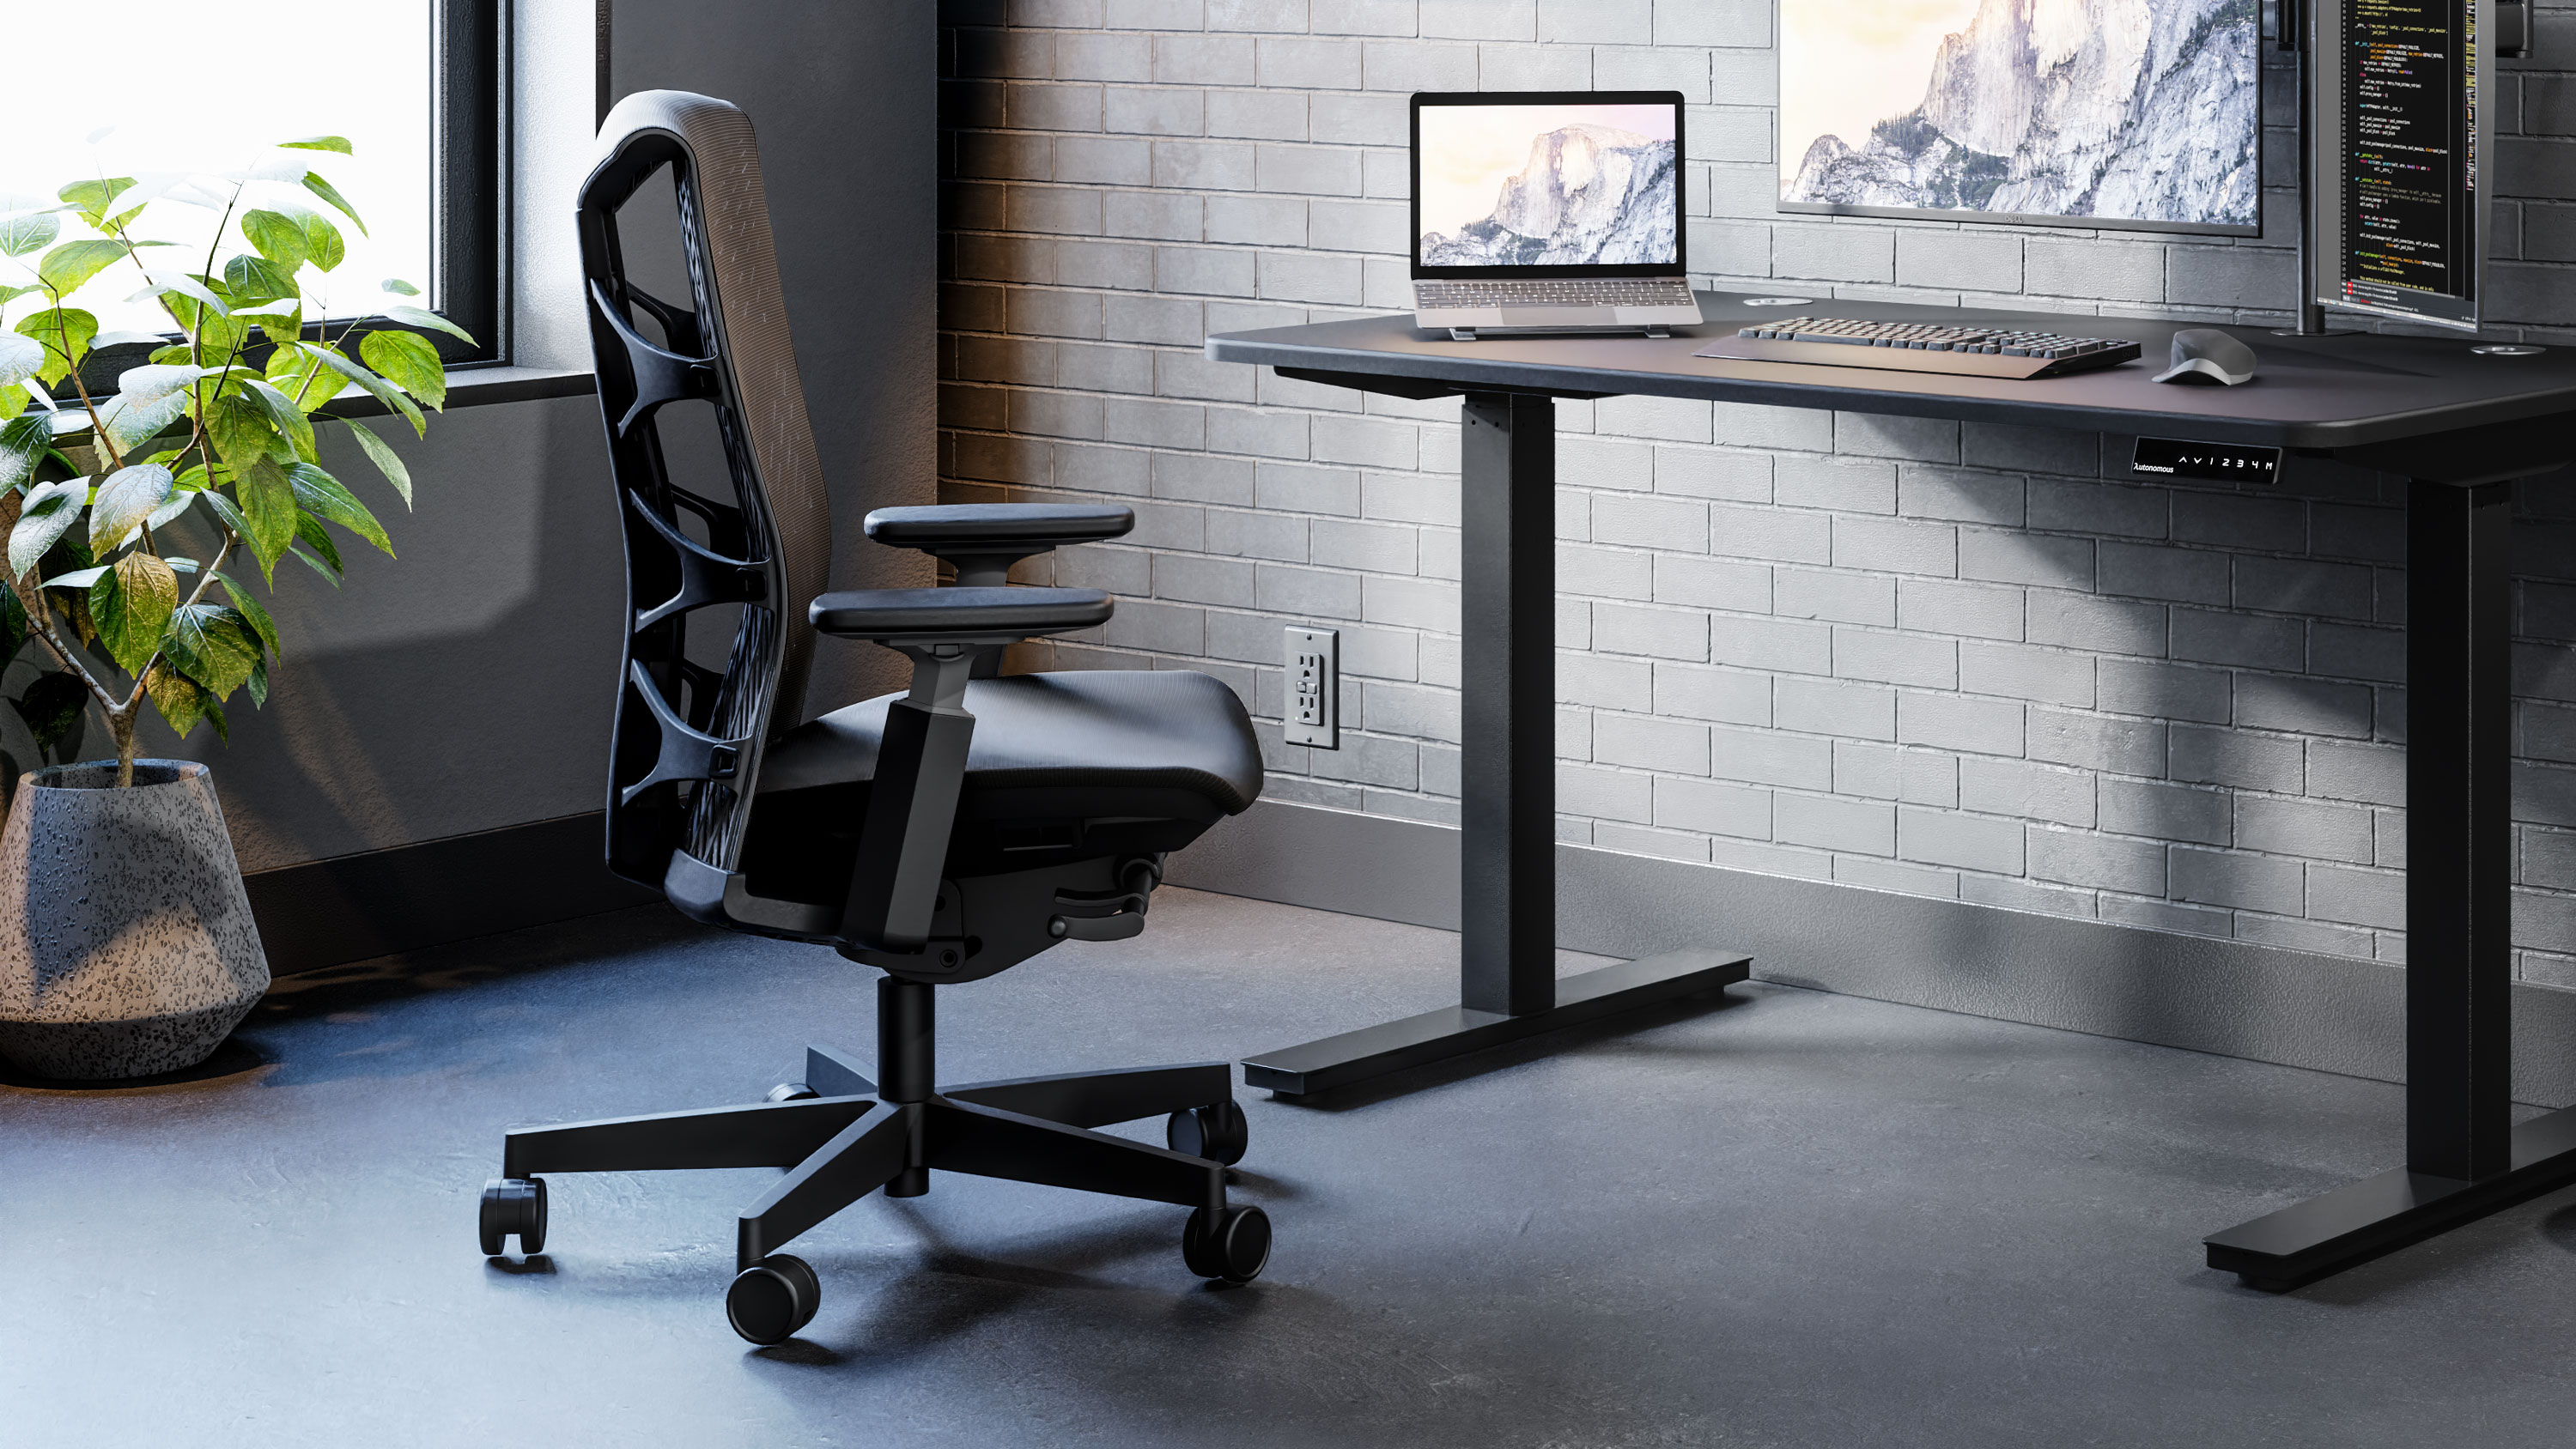
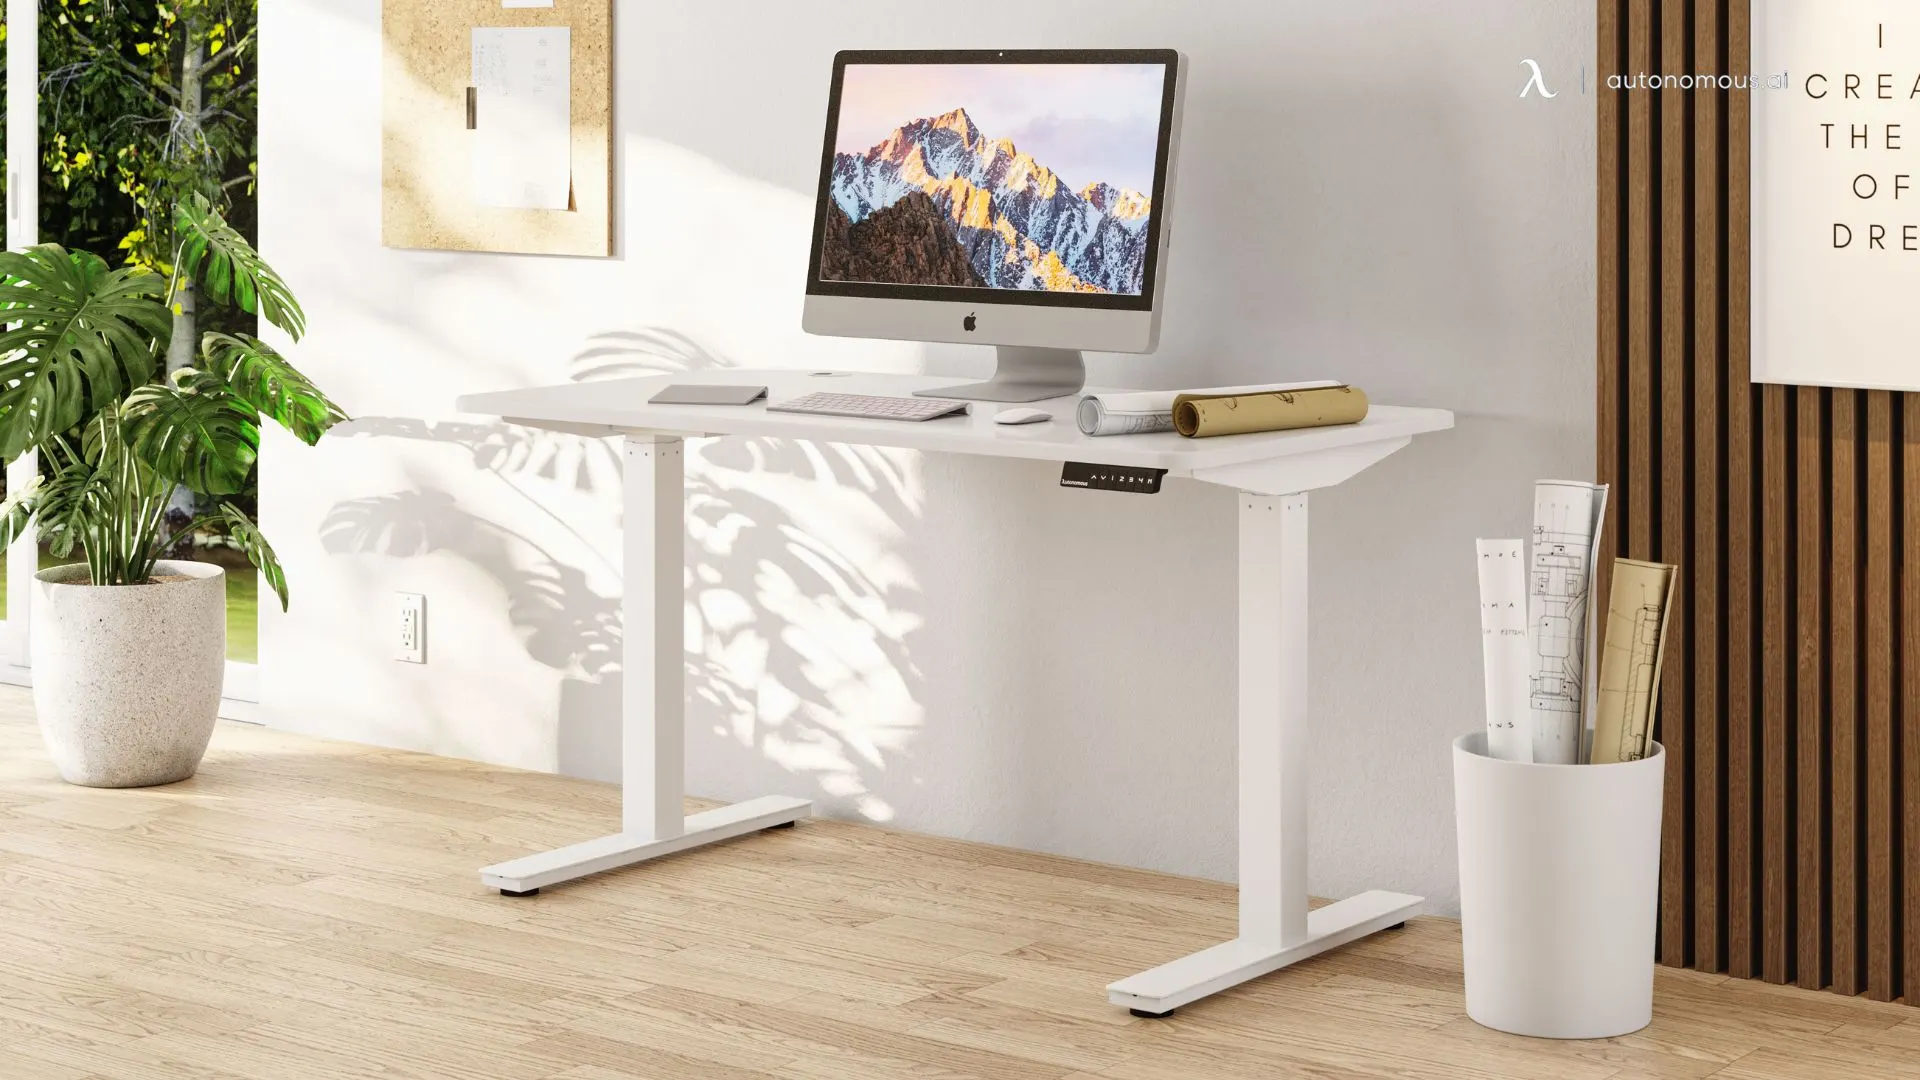
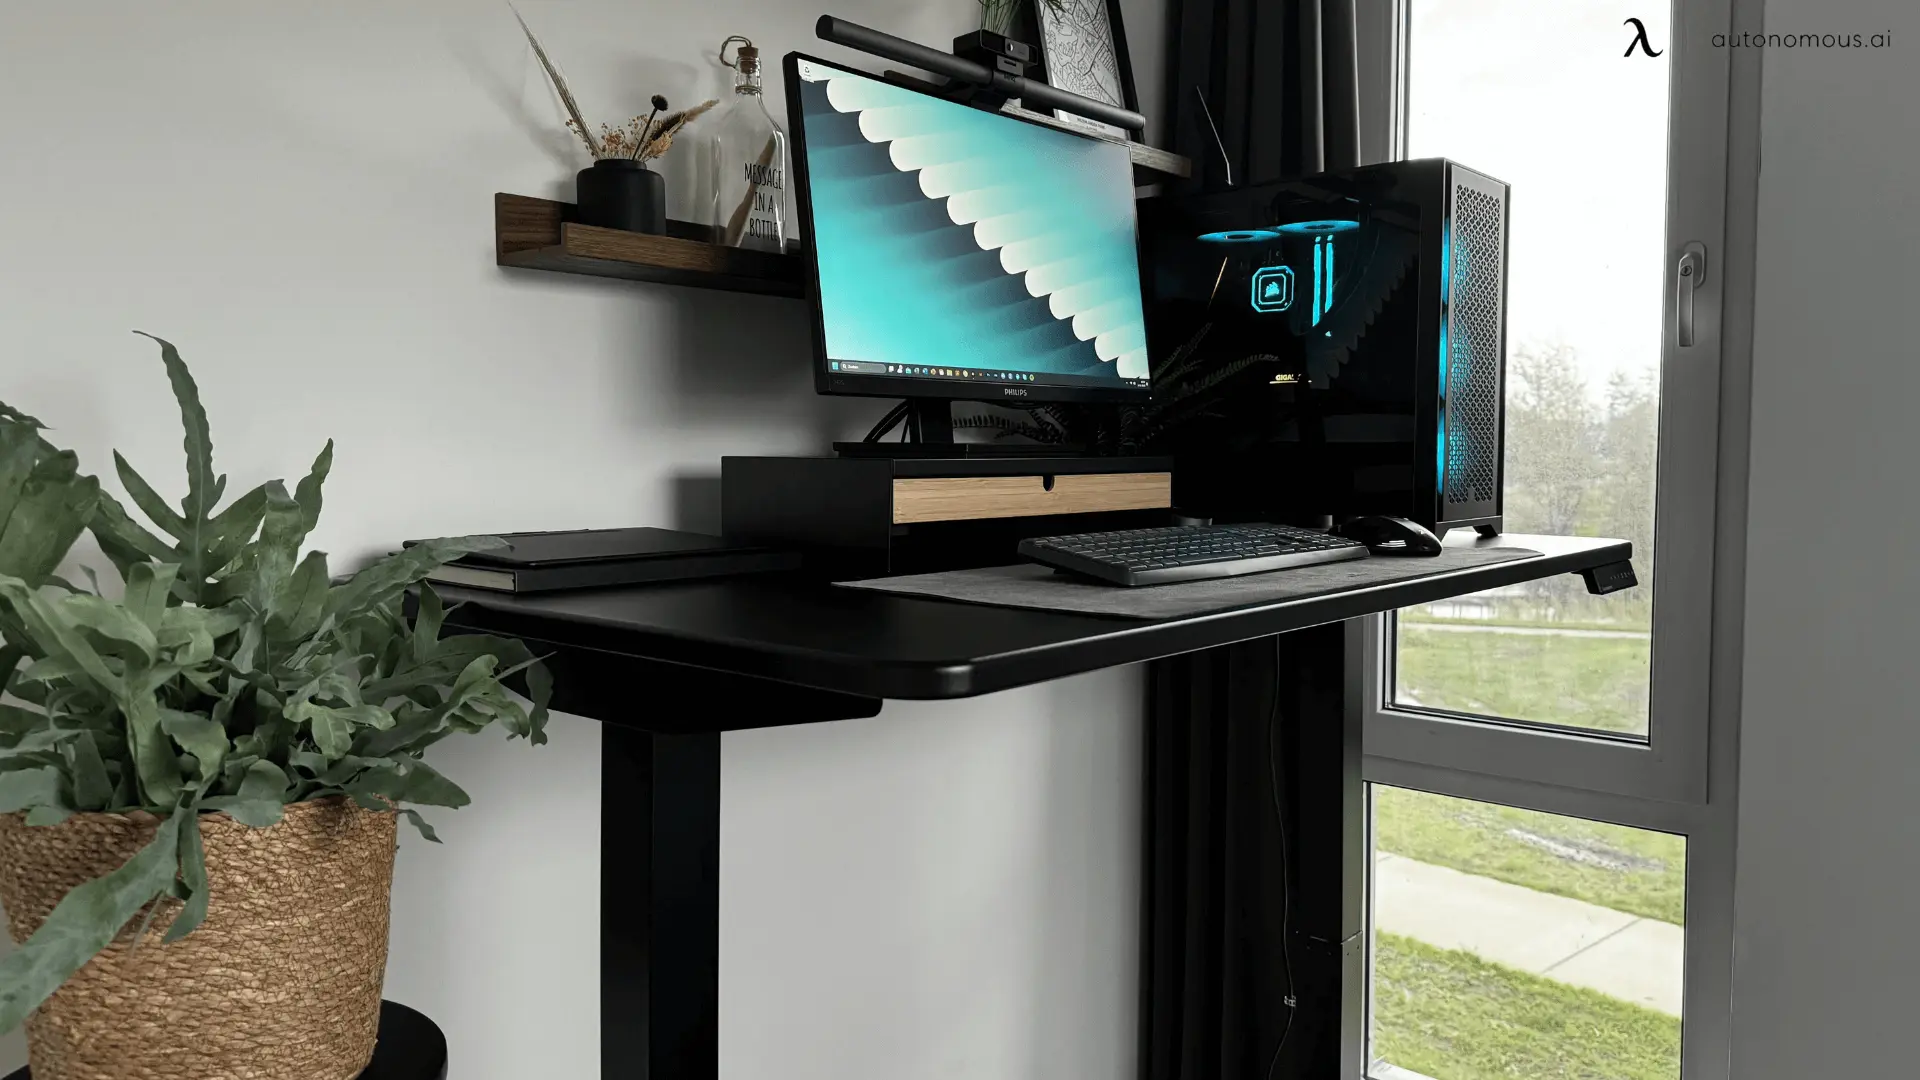
Another way to conquer work slumps and increase focus whilst designing from your home office is by getting up out of that chair. Sitting too much is seriously bad for your health. People who sit a lot every day have an increased chance of diabetes, heart disease, and early death. This is a major problem for designers and producers as their careers depend heavily on sitting down to work most of the day, everyday. Thankfully, an adjustable standing desk is the perfect desk for designers who can’t afford to pull their eyes away from work. Autonomous offers a diverse range of sturdy standing desks to suit a variety of spaces and designer work needs.
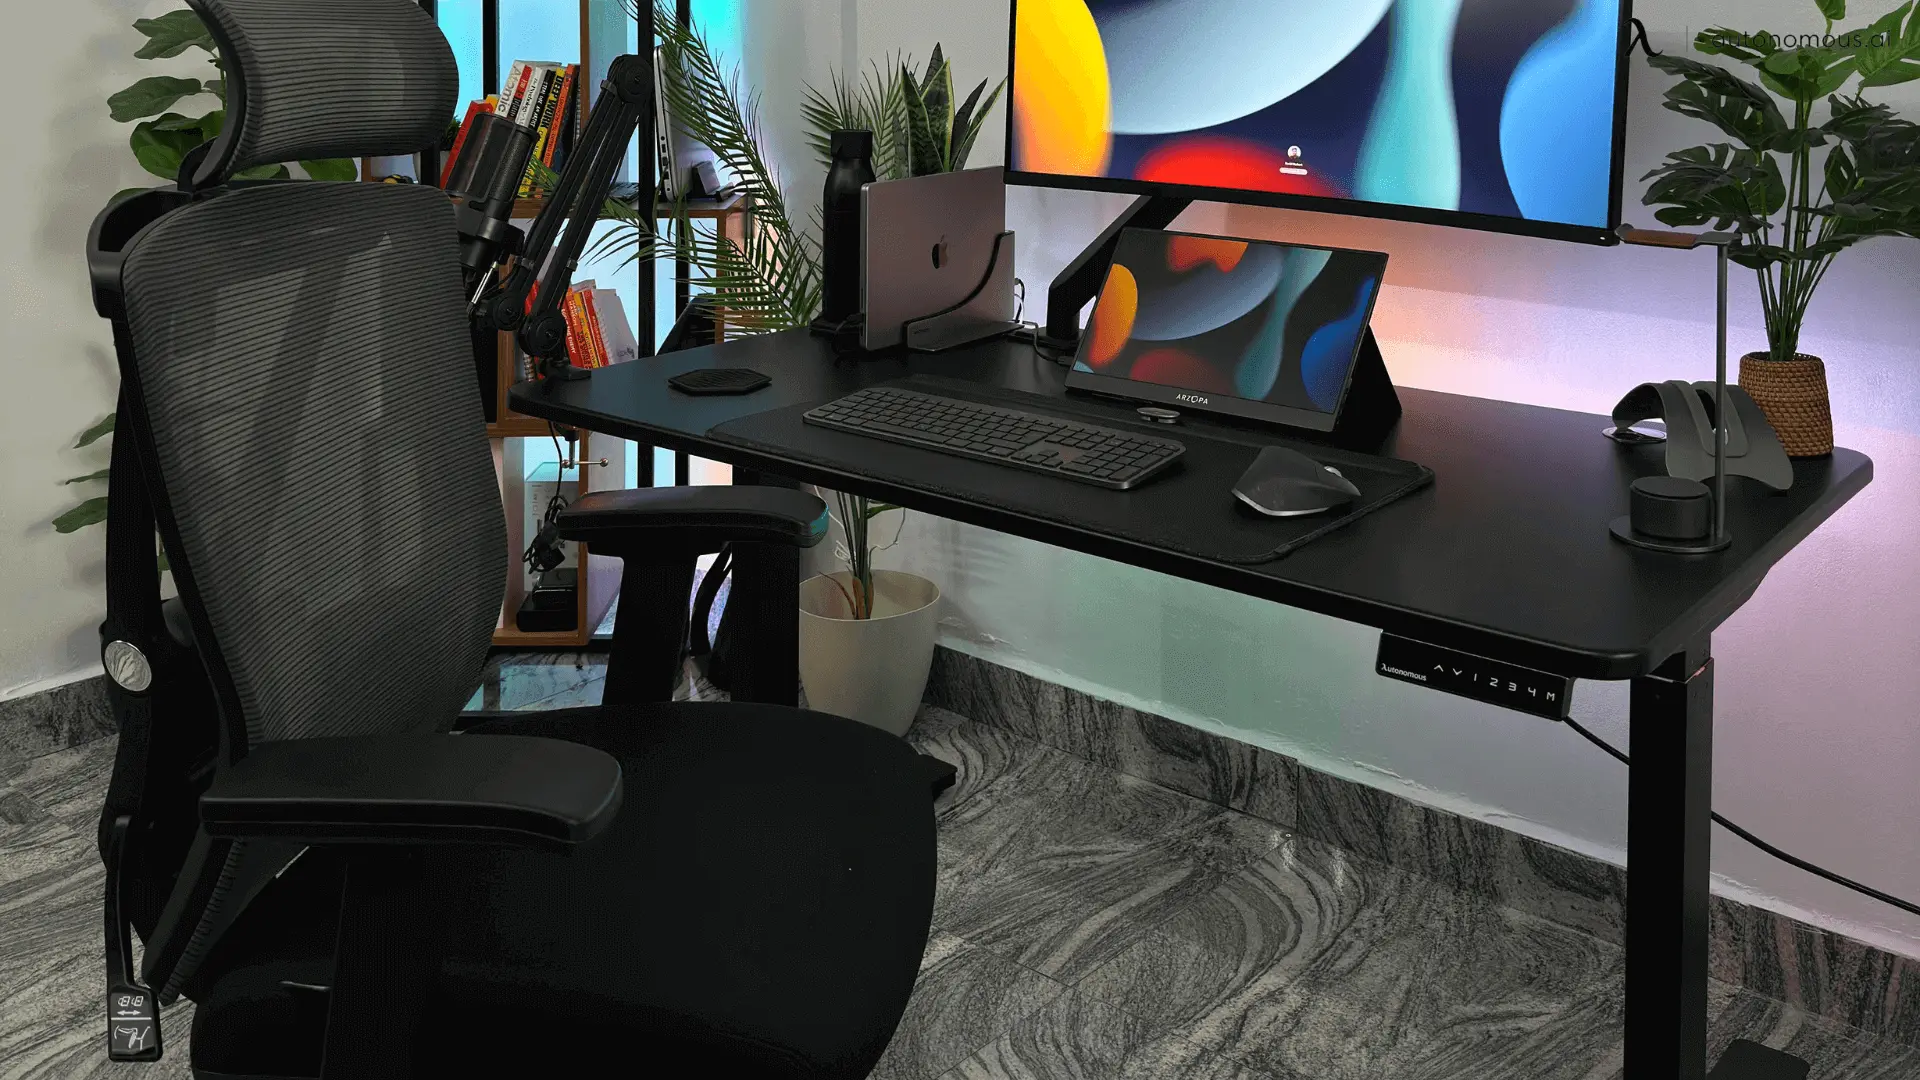
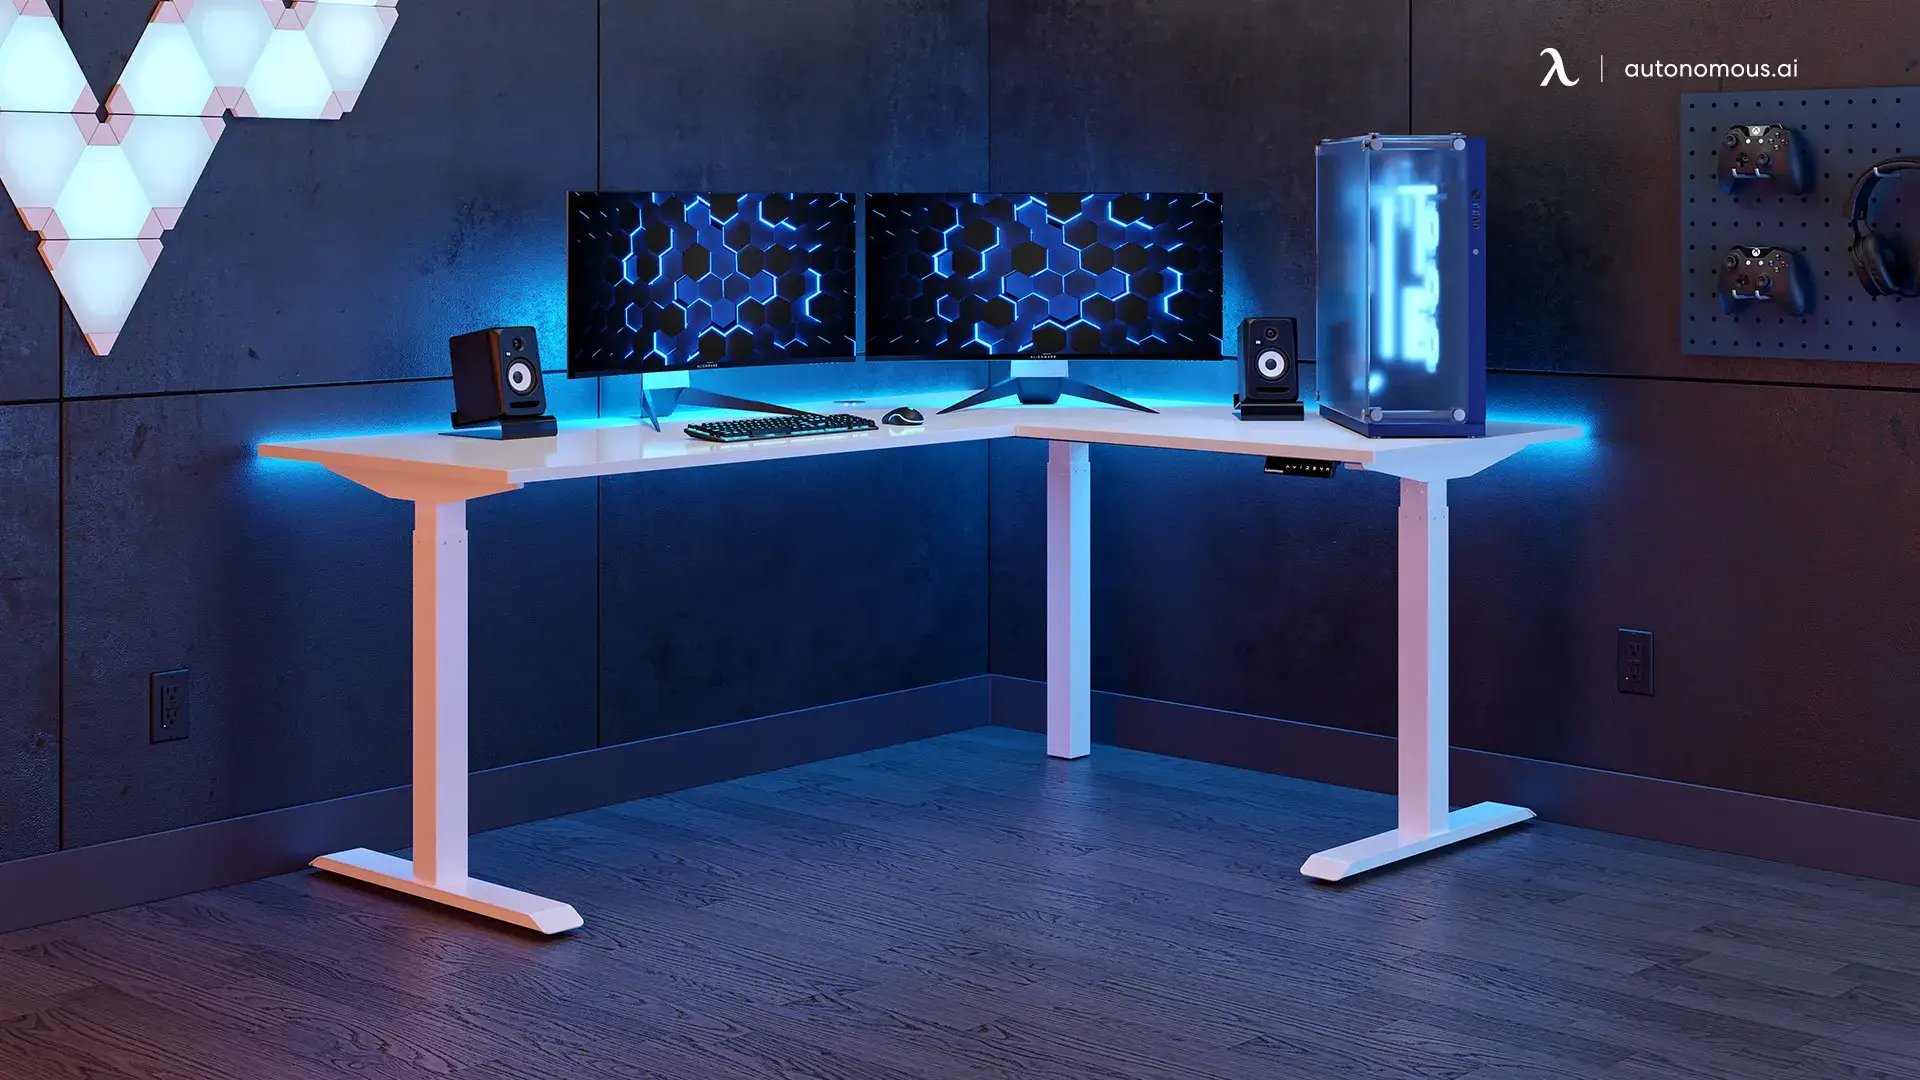
If you’re stuck with an awkward corner of the room, or if you’re a producer who works with multiple displays and loads of sound recording and editing tech on the daily, the Autonomous Desk 2 L-Shaped (L-Shaped Desk) is a Godsend. If you’re sharing your home office with a loved one or a housemate, then the Autonomous Desk 2 is a nifty way to make the most of your existing space whilst providing two adjustable standing desks that can be controlled independently of one another.
All Autonomous Desks from Autonomous provide more than enough ample table top space to set up your dream designer workspace. A spacious desktop gives you the physical and mental room to breathe so you can stay focused and productive whenever you need. Autonomous Desks come equipped with a sturdy metal leg frame powered by a dual motor system that can easily support up to 300 lbs of whatever tasty tech and accessories your work may require for designer desk setup. Every Autonomous Desk comes with four programmable presets allowing you to adjust the height of the table on the fly. With just the touch of a button you can move your entire production hub from your ideal seated position to standing. Stay flexible and fluid, and keep active throughout the day with a dynamic range of physical movement. Whatever your job may require, there is an ergonomic table and chair out there to match your needs.

3. No such thing as too much screen space
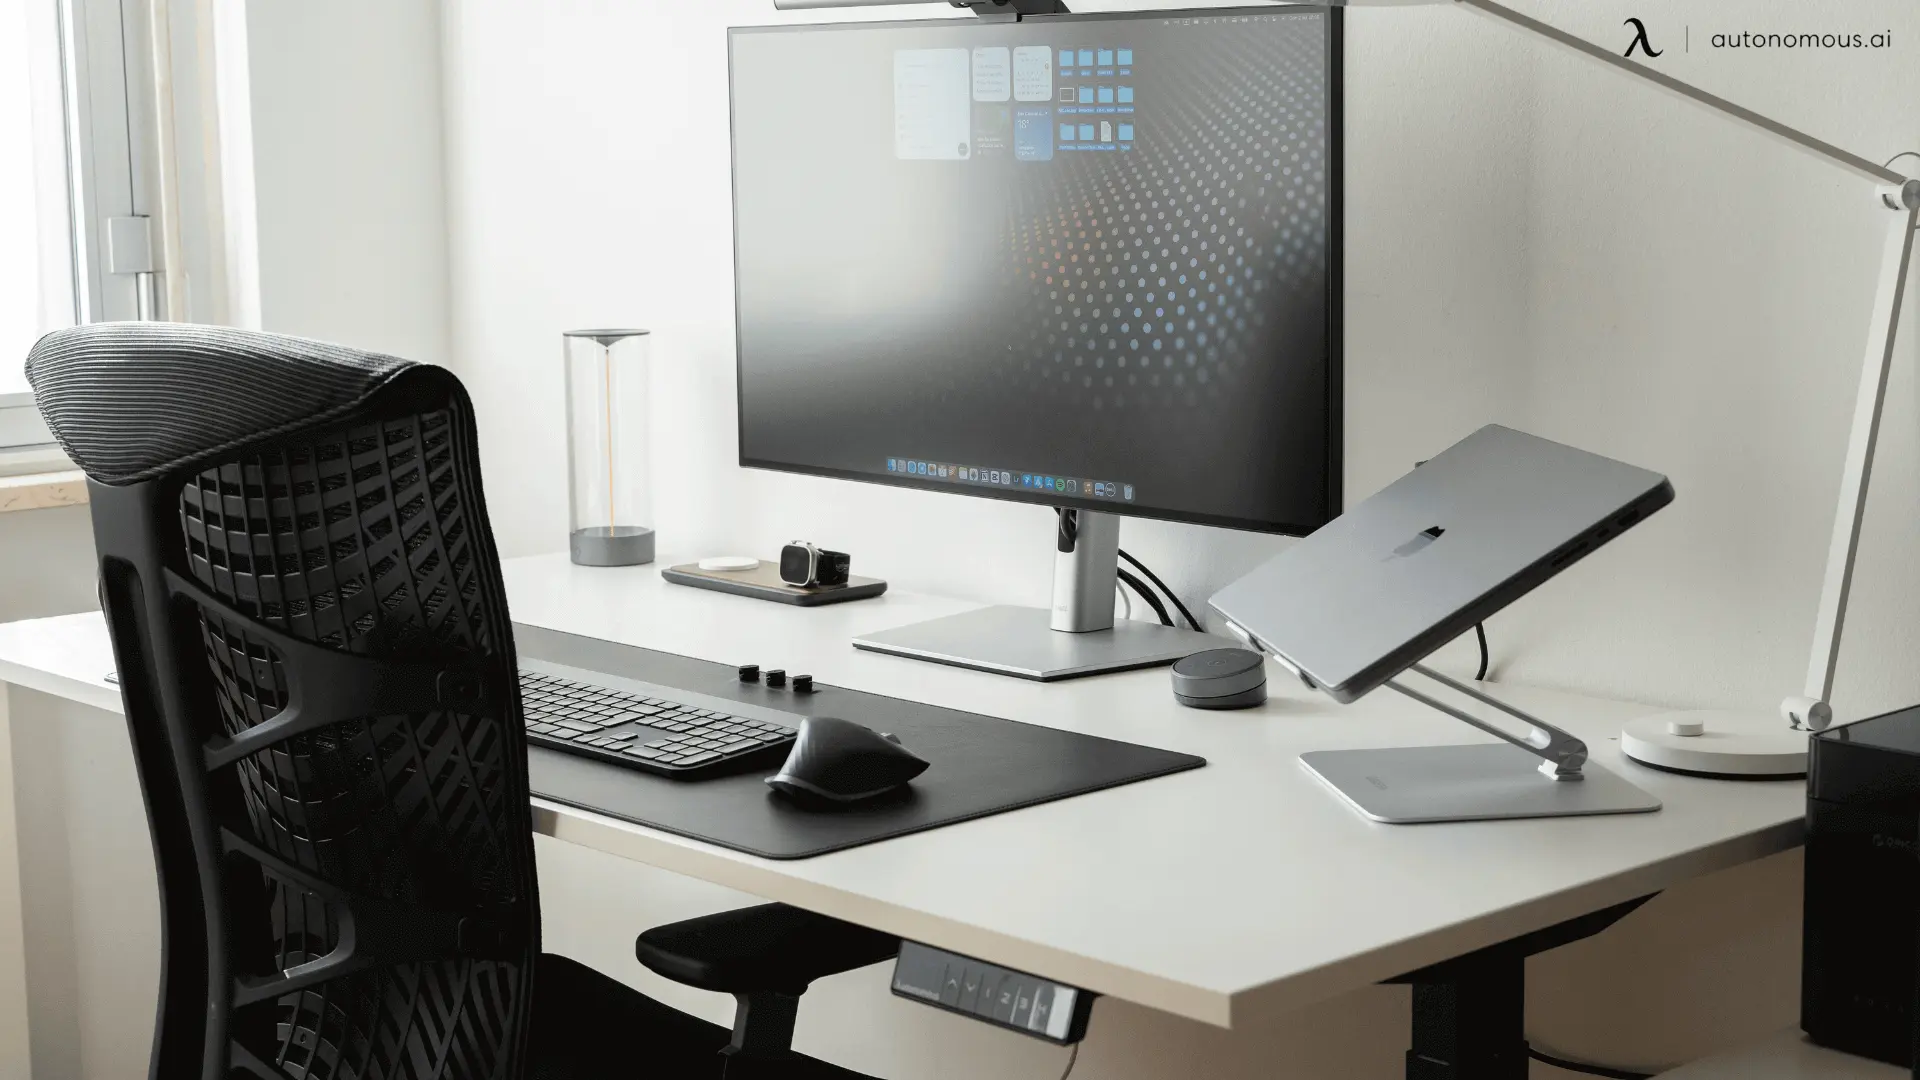
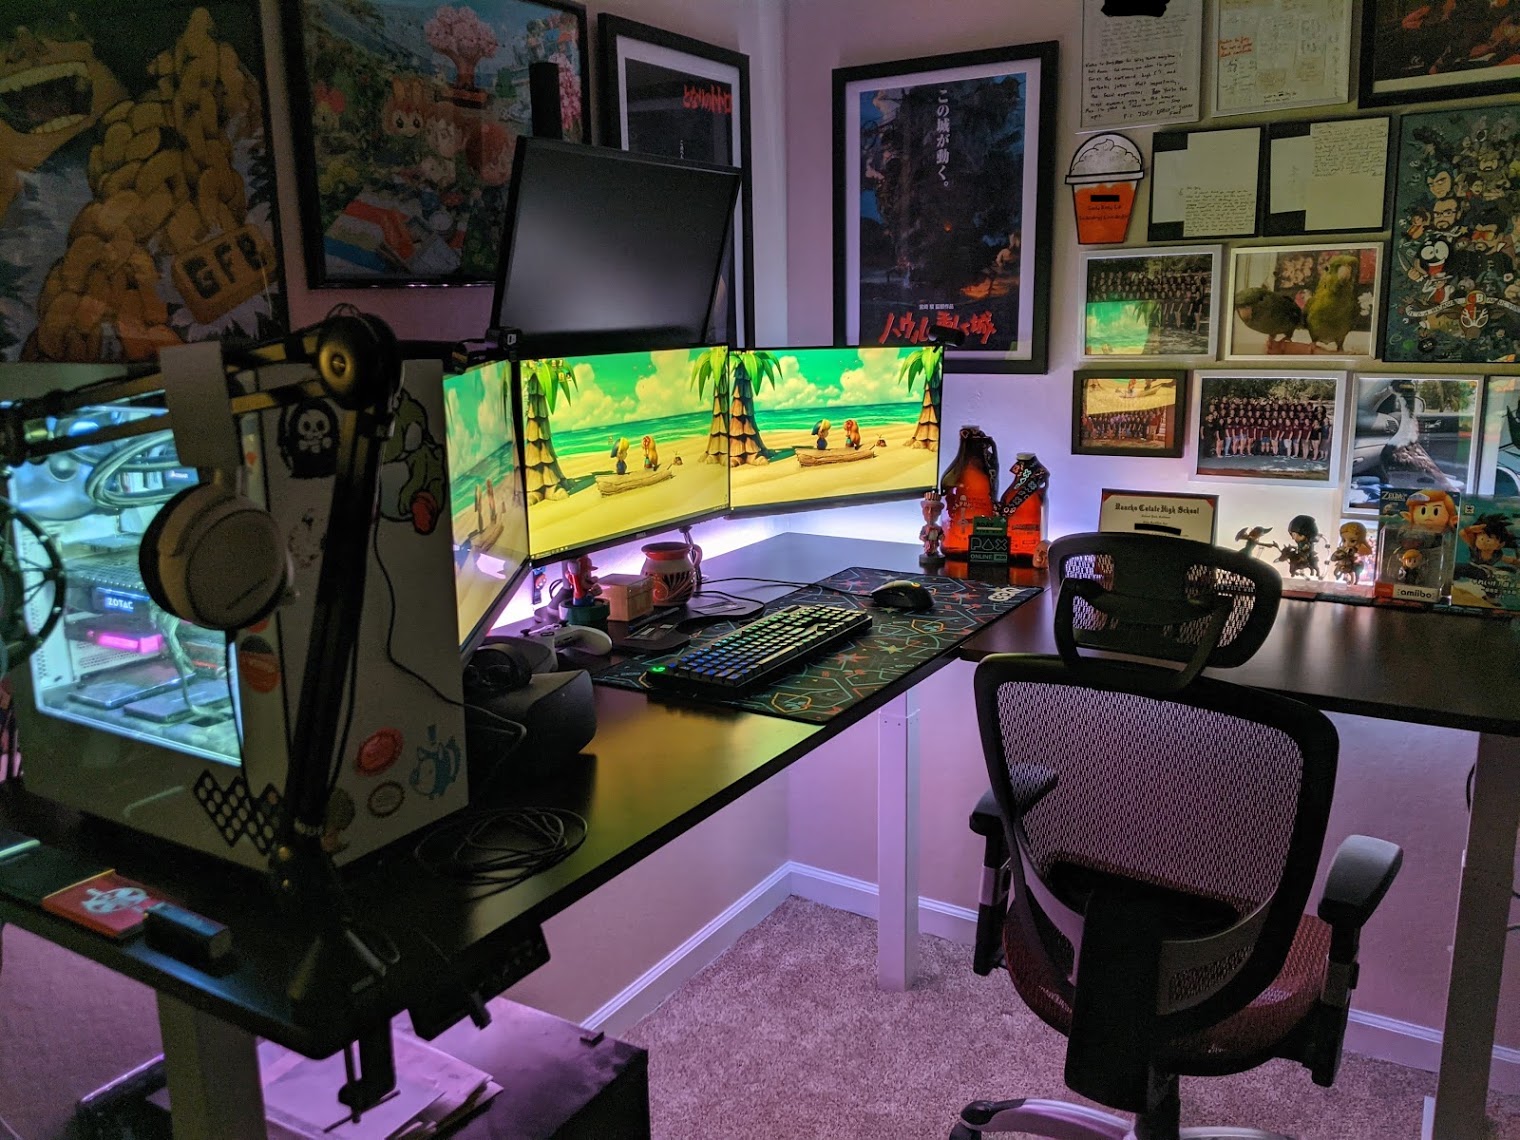
For both graphic designers and digital content producers, screen space is everything. How many is too many? We say there’s no such thing! Even if you think it’s not entirely necessary for what you do, you’ll quickly be blown away by how handy it is to have a secondary display. Working with dual monitors can increase overall productivity by 20 - 50%! By using dual monitors you can conveniently spread out your on-screen projects. You’ll no longer need to toggle back and forth between tabs, thus reducing the chance of errors whilst speeding up your productive flow. Digital designers and producers usually have multiple active projects at any given time, and each project in itself usually requires the use of multiple applications and programs. Efficient multitasking requires adequate screen space to keep multiple applications and projects simultaneously visible. Something that is quite simply, impossible to do on a single screen display.
 For the ultimate desk setup for producers, or dream graphic designer desk setup, dual monitors are an absolute necessity. The days of stacking numerous editing tools on top of the image or video project that you’re currently working on are thankfully long gone. Instead of image and video editing from a lone screen display that looks more like a game of mahjong, you can easily allocate all of your editing tools on one screen and leave the final image or video preview displayed in full up on the secondary screen. With better visibility, you’re less likely to commit errors and can finesse your final work to completion without sacrificing any valuable working time in the process.
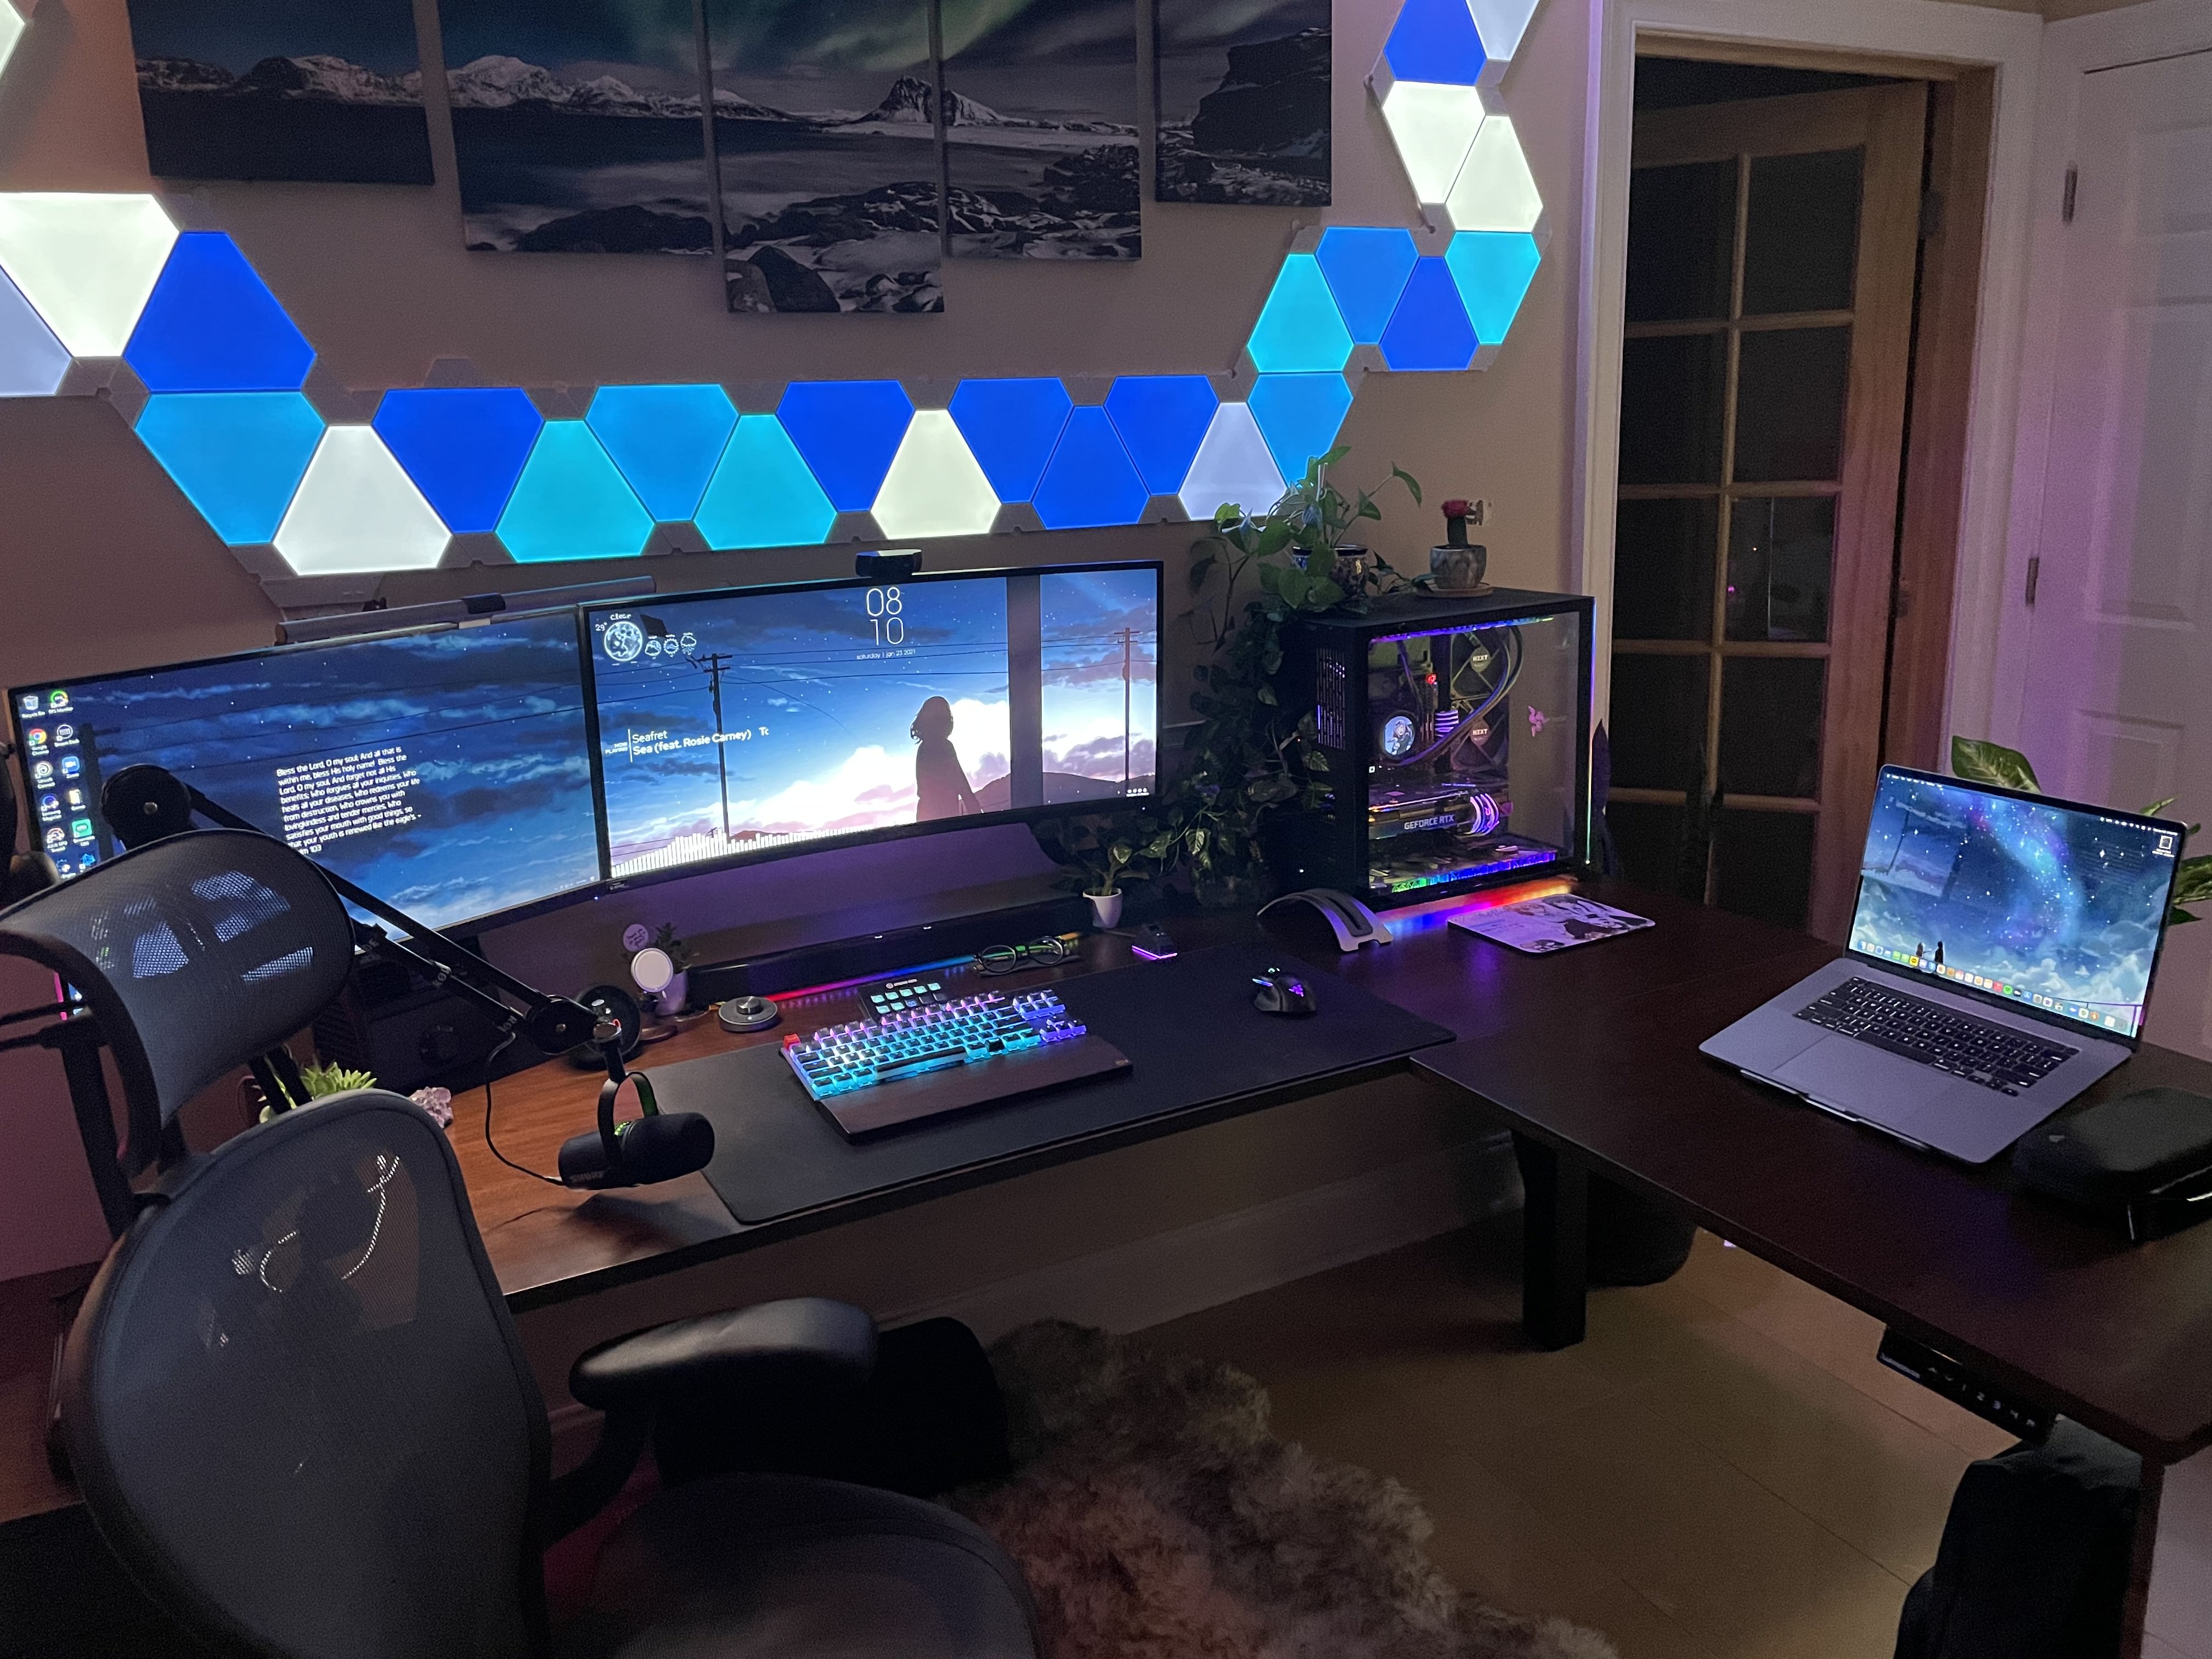
For even more dynamic screen display orientations, we highly recommend elevating your dual screen display with a simple desk mount. This Double Monitor Arm from Autonomous is a simple and convenient way to free up desk space, tilt, and rotate your displays 360° to whatever configuration suits your digital project best. On top of your dual screen setup, if you also have a laptop, tablet, and smartphone, you’ll effectively have a FIVE SCREEN DISPLAY at your disposal. The possibilities are endless. Check out the video below to see how an Autonomous Desk can comfortably support an iMac, a dual screen display, a MacBook and an iPad Pro, with heaps of room to spare!
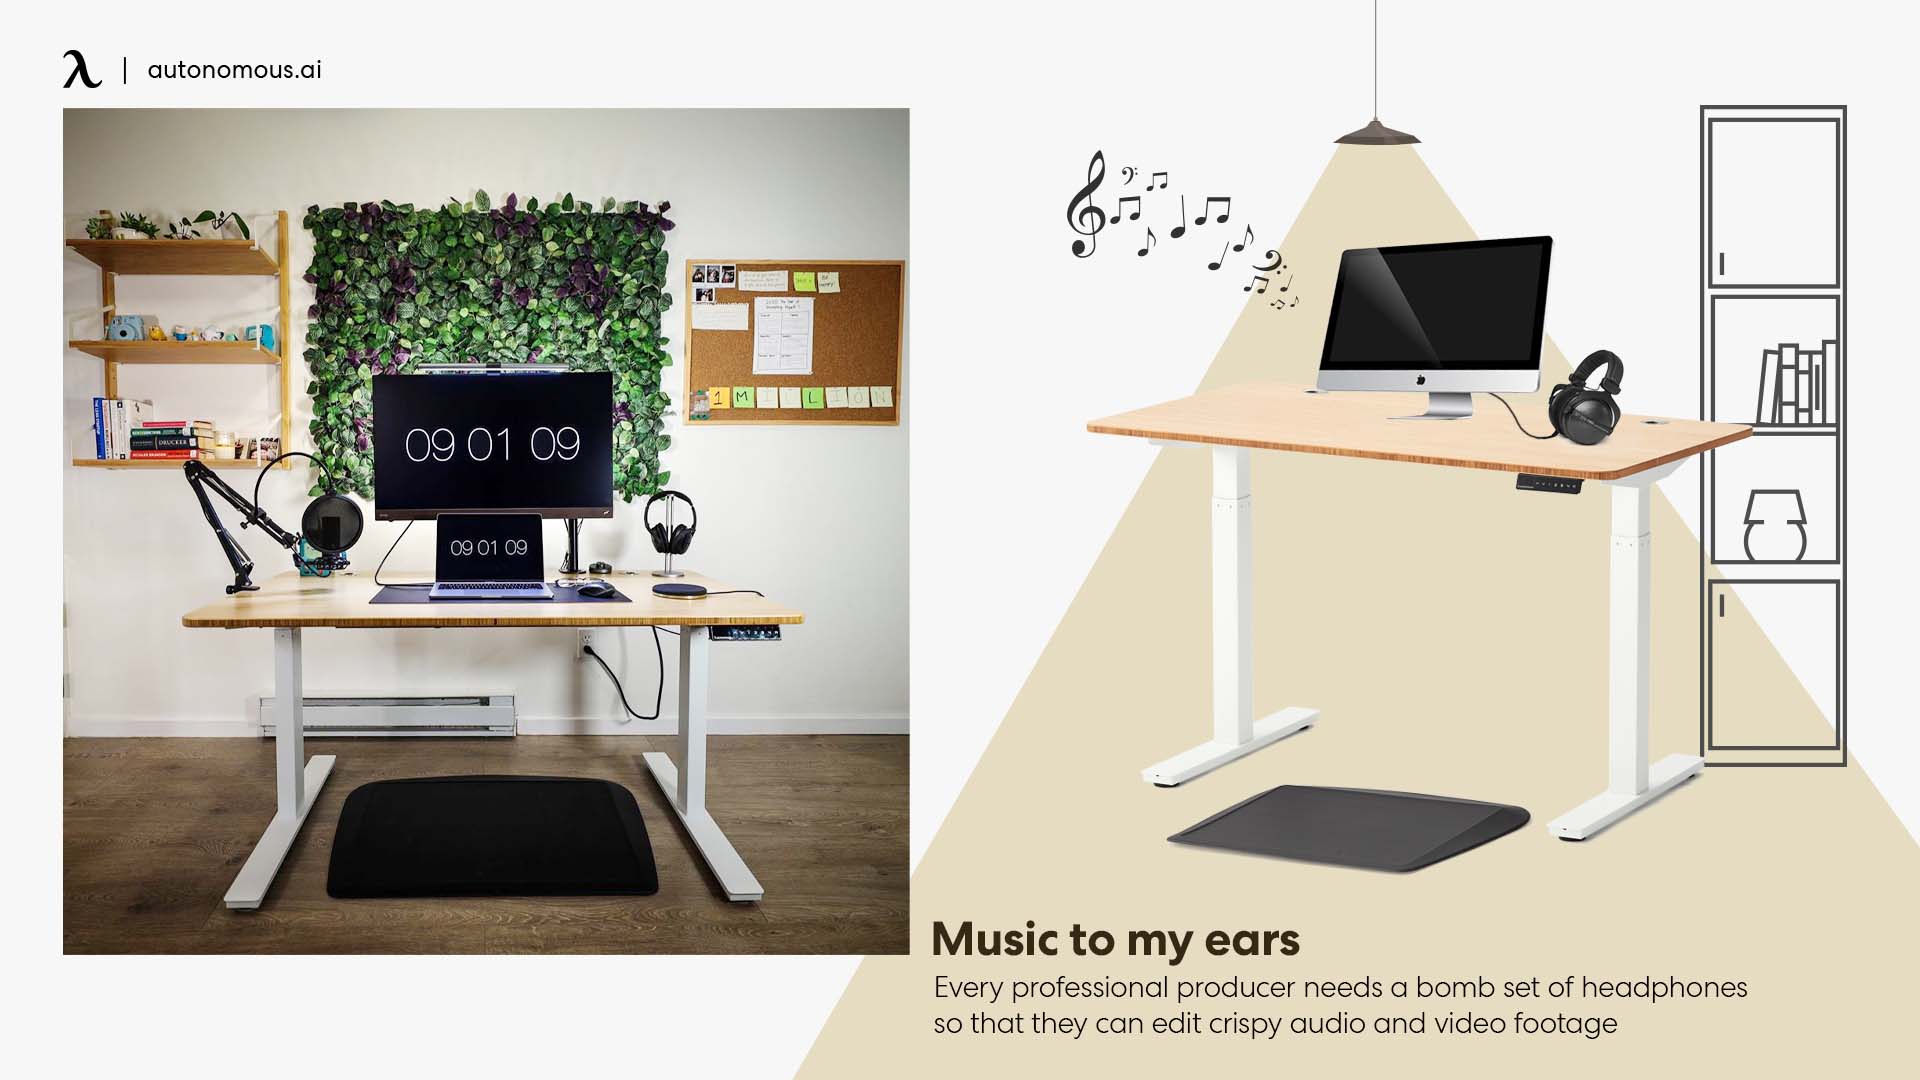
4. Music to my ears
Every professional producer needs a bomb set of headphones so that they can edit crispy audio and video footage with dolby surround clarity. The Limited Edition DT 770 PRO Headphones from beyerdynamic are one of the best headphone choices available on the market. German made, the circumaural headphones provide professional sound when used in the studio or with your mobile devices. These are no entry level headphones, beyerdynamic specially designed these babies for critical music and sound monitoring, providing a perfectly neutral listening environment with exceptional isolation and top-notch impulse response. High frequencies are translated into an analytical and differentiated sound, while the innovative bass reflex system means that ultra-low bass sounds are defined and reproduced crisply.
A lot of the time with over-ear headphones, users tend to complain about discomfort over prolonged times of use. But the DT 770 PRO headphones have you covered. Literally. They provide high wearing comfort during every editing hour thanks to the soft, circumaural, and replaceable ear pads. The soft ear cups means you can wear these babies all day long for prolonged periods without any strain or nagging pressure. The ultimate comfortable and secure fit is further guaranteed thanks to the rugged, adjustable, soft padded spring steel headband construction.
This is the perfect desk setup accessory for any graphic designer or content producer that works for hours on end remotely from home. The single sided cable allows the headphones to be put on and taken off frequently without tangling any cables. And we all know what a headsore cable management can be.
5. Hide away the chaos
You’re all set! You’ve dedicated the perfect space to house your home office and plant your designer desk setup. You’ve invested in a sturdy and reliable standing desk and a fully adjustable ergonomic office chair to support your correct posture and mental well being. Your work desk is proudly adorned with an elevated dual monitor display that will have all of your peers green with envy. And your noise canceling headphones and adjustable lighting will ensure you always have the perfect environment to edit and produce your greatest work, at any hour of the day.
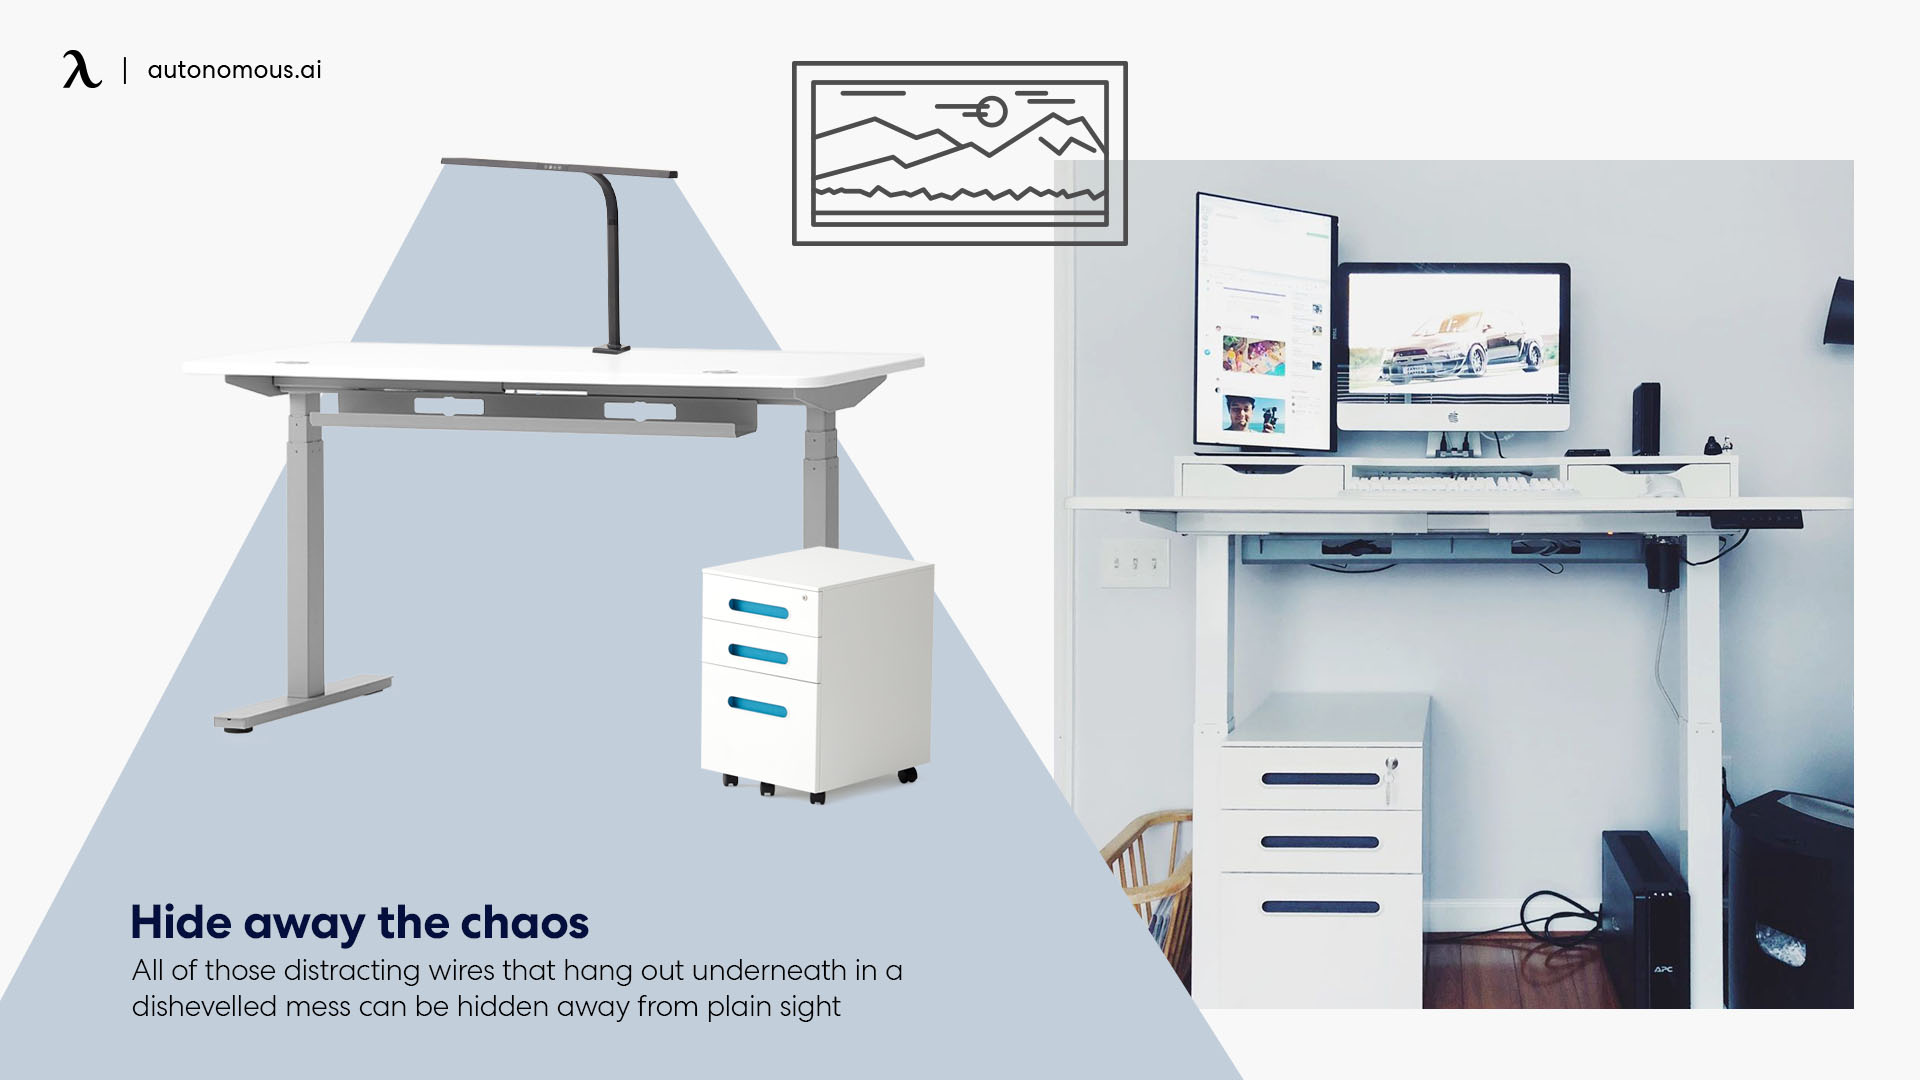
With lots of tasty tech however, comes plenty of power cords and connective cables. And with a crazy number of cables just hanging around waiting to get tangled, you know what that means… CHAOS. Some simple cable ties, like those that come packaged with all Autonomous Desk purchases, are an inexpensive and effective way of organizing and attaching low hanging cables to the underneath of your desk. Another effective solution for hiding all of your unsightly cables is attaching a simple cable tray. Now all of those distracting wires that hang out underneath in a dishevelled mess can be hidden away from plain sight. That haphazard mess that makes you groan with distaste and hang your head in shame every time you enter the room can finally be fixed, all with a simple cable tray.
Now that you’ve completed your home office with these desk setup ideas for designers and producers working from home, you’re totally ready to hit the ground running (or standing, or sitting) and produce your greatest work yet!
FAQs
Do I need to build a professional studio at home for graphic design?
Actually, you don’t need much to set up an in-home art studio. Basically, you need only two core components: a desk and a chair. However, it is better if you invest in a standing desk, ergonomic chair and also other tools such as computer, keyboard and mouse.
Is making a creative desk setup for graphic designers difficult and high cost?
Creating a productive desk setup actually is not difficult if you follow our above advice. Everything you need for your graphic desk setup is really basic and if you have a good budget plan, you can save a lot of money!