

.webp)


- Newest
- Most viewed
Interested in a Link Placement?
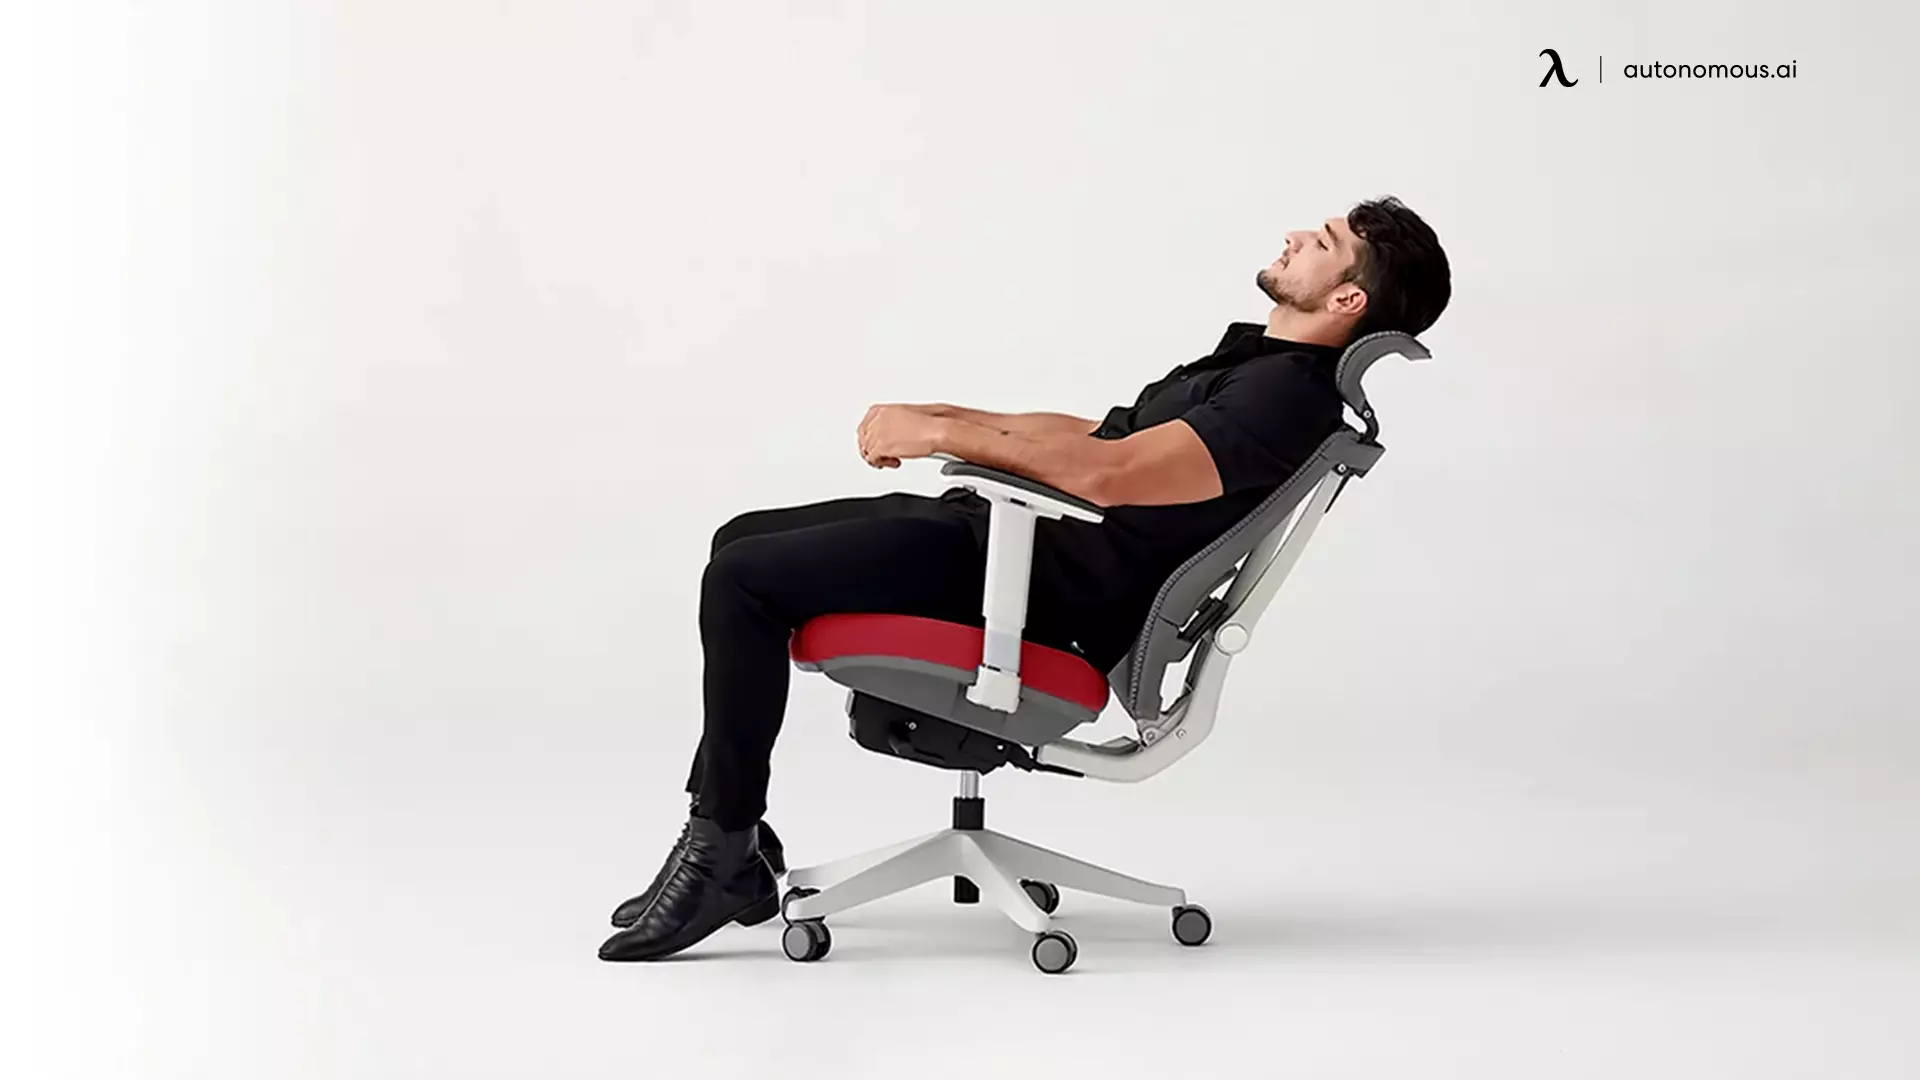
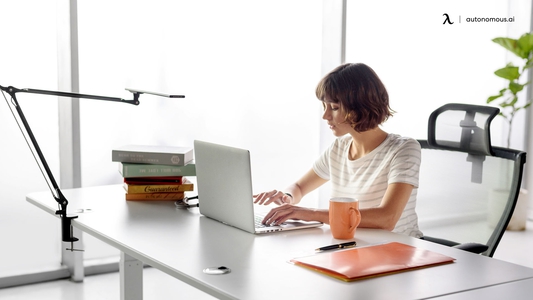
A Guide To Choosing The Best Office Chair Heating Pads
Learn how an office chair heating pad can improve comfort, reduce back pain, and keep you warm during long work hours.
Smart Products | Jul 8, 2025 949 views
.webp)
Should You Buy An Office Chair Under $100? Pros And Cons
Smart Products | Jul 8, 2025 634 views

Wiser App Review: Is It Perfect For Daily Learning?
Latest Updates | Jul 3, 2025 1,054 views

What Is A She Shed? A Guide To Building Your Own Oasis
Smart Products | Jul 3, 2025 649 views
13 Office Chairs For Guitar Players That Hit The Note
Smart Products | Jun 29, 2025 605 views
Best Standing Desks in Montreal, Quebec, Canada
Smart Products | Jun 27, 2025 1,010 views
.webp)
What Is Edge AI? Meaning and Use Cases
Smart Products | Jun 26, 2025 666 views
5 Best Ergonomic Office Chairs in Montreal, Quebec, Canada
Smart Products | Jun 25, 2025 1,164 views
.webp)
What Is an AI PC?
Smart Products | Jun 24, 2025 738 views
.webp)
Best 4th of July Tech Deals For A Smarter, Calmer Life
Latest Updates | Jun 20, 2025 882 views
Upgrade Your Space With The Furniture 4th of July Sale
Latest Updates | Jun 20, 2025 811 views

Deep Work Quotes to Inspire Focus and Productivity
Productivity | Jun 19, 2025 1,083 views