A Complete Gaming Desk Cable Management Guide with 5 Steps
Table of Contents
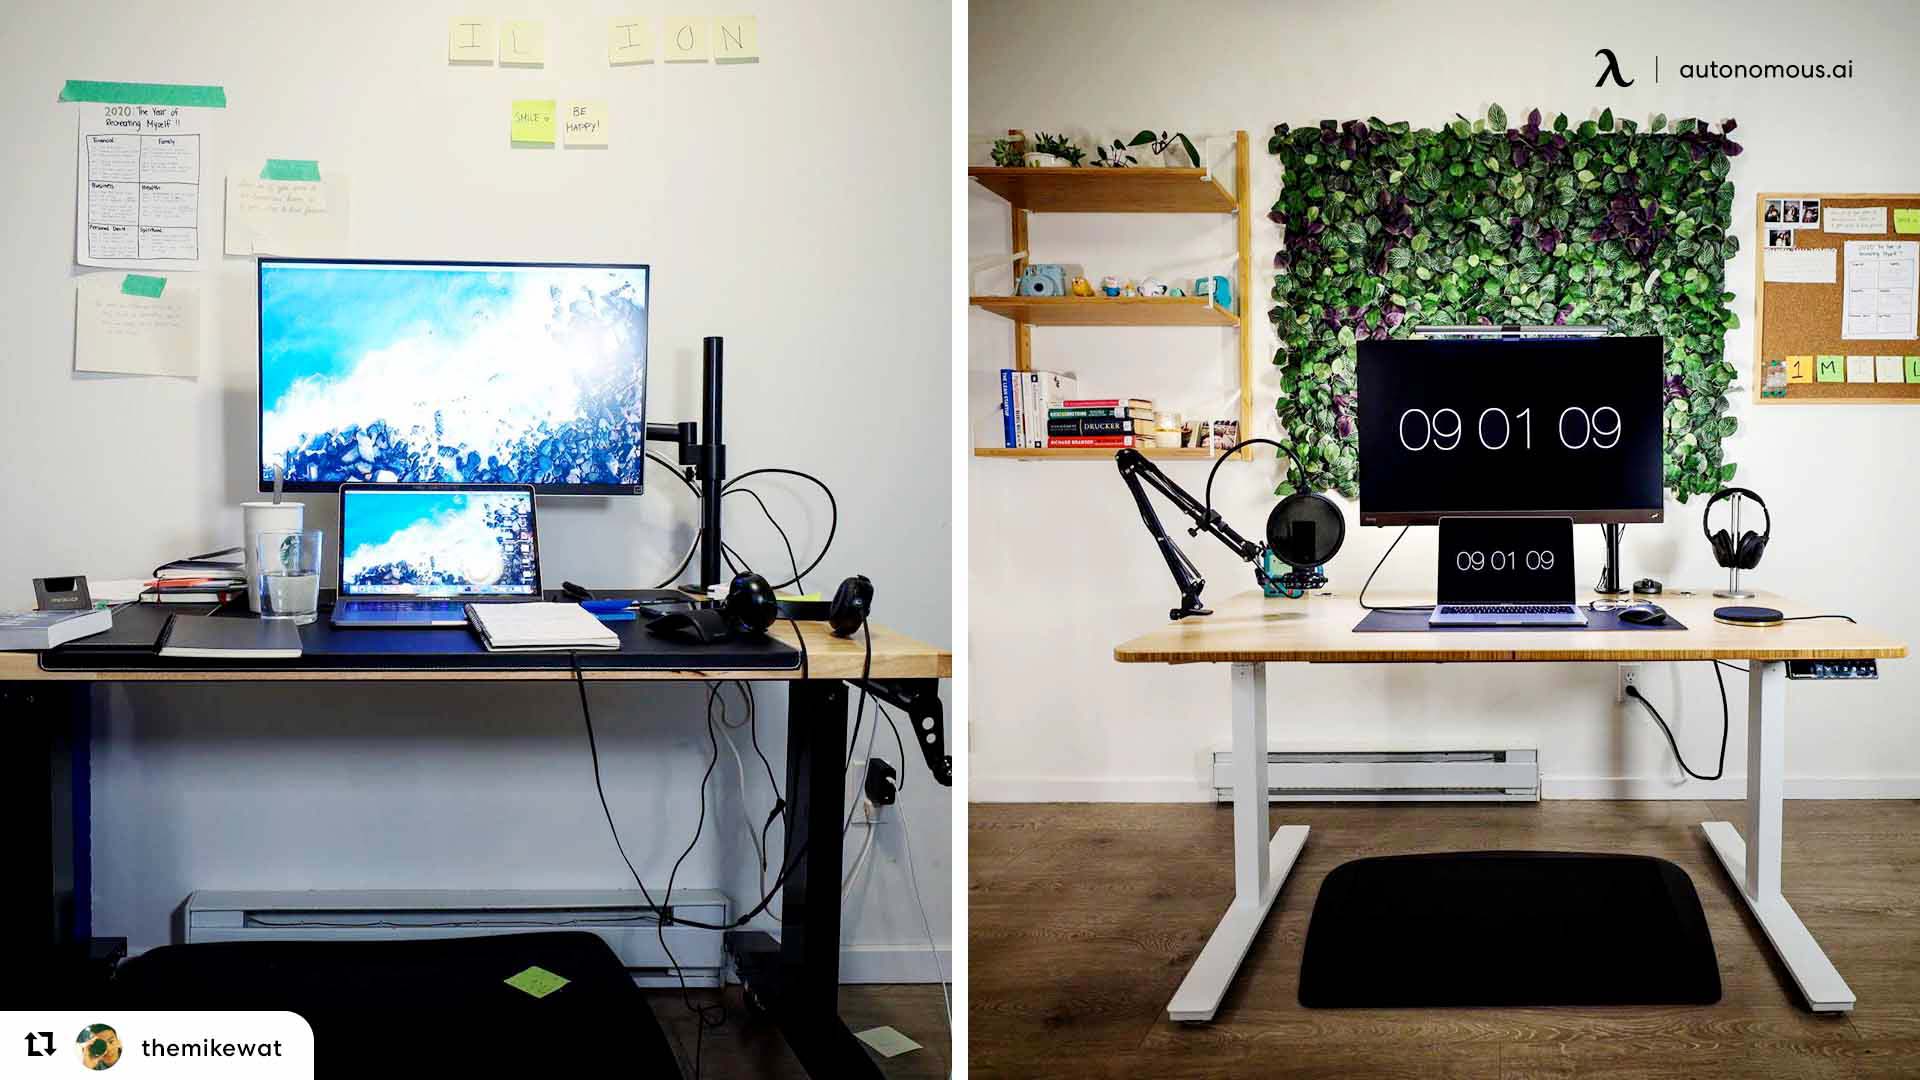
Most gaming desk setups you find on the internet seem pretty clean, almost as if everything was connected wirelessly. However, the truth is that these people have learned the best about gaming desk cable management so their desks can look as clean and organized as possible.
Gaming desk wire management can be a tedious process, but it's necessary if you want to maintain your desk as clean as possible. Plus, it is a must as you don't want your stuff to become damaged or go through a long process of unknotting cables.
For that reason, today, we've summarized all you need to know about desk cable management in easy steps. By the end of the article, you’ll learn how to set up your desk as clean as possible.
Step one: Disconnect everything.
Whether you're starting with a new gaming setup with a proper gaming desk organizer or if this is the first time you'll organize your gaming desk cables, what you should do is disconnect everything connected to both the PC and the surge protector.
Step two: Find the best position for your power strip.
Finding the best gaming desk wire management position feels like “solving” a puzzle. Instinctively, we will put the power strip as near as possible to the power outlet; however, this isn’t necessarily the best action.
There are many other areas where you can place it so that you can manage your gaming desk wire clutter easier.
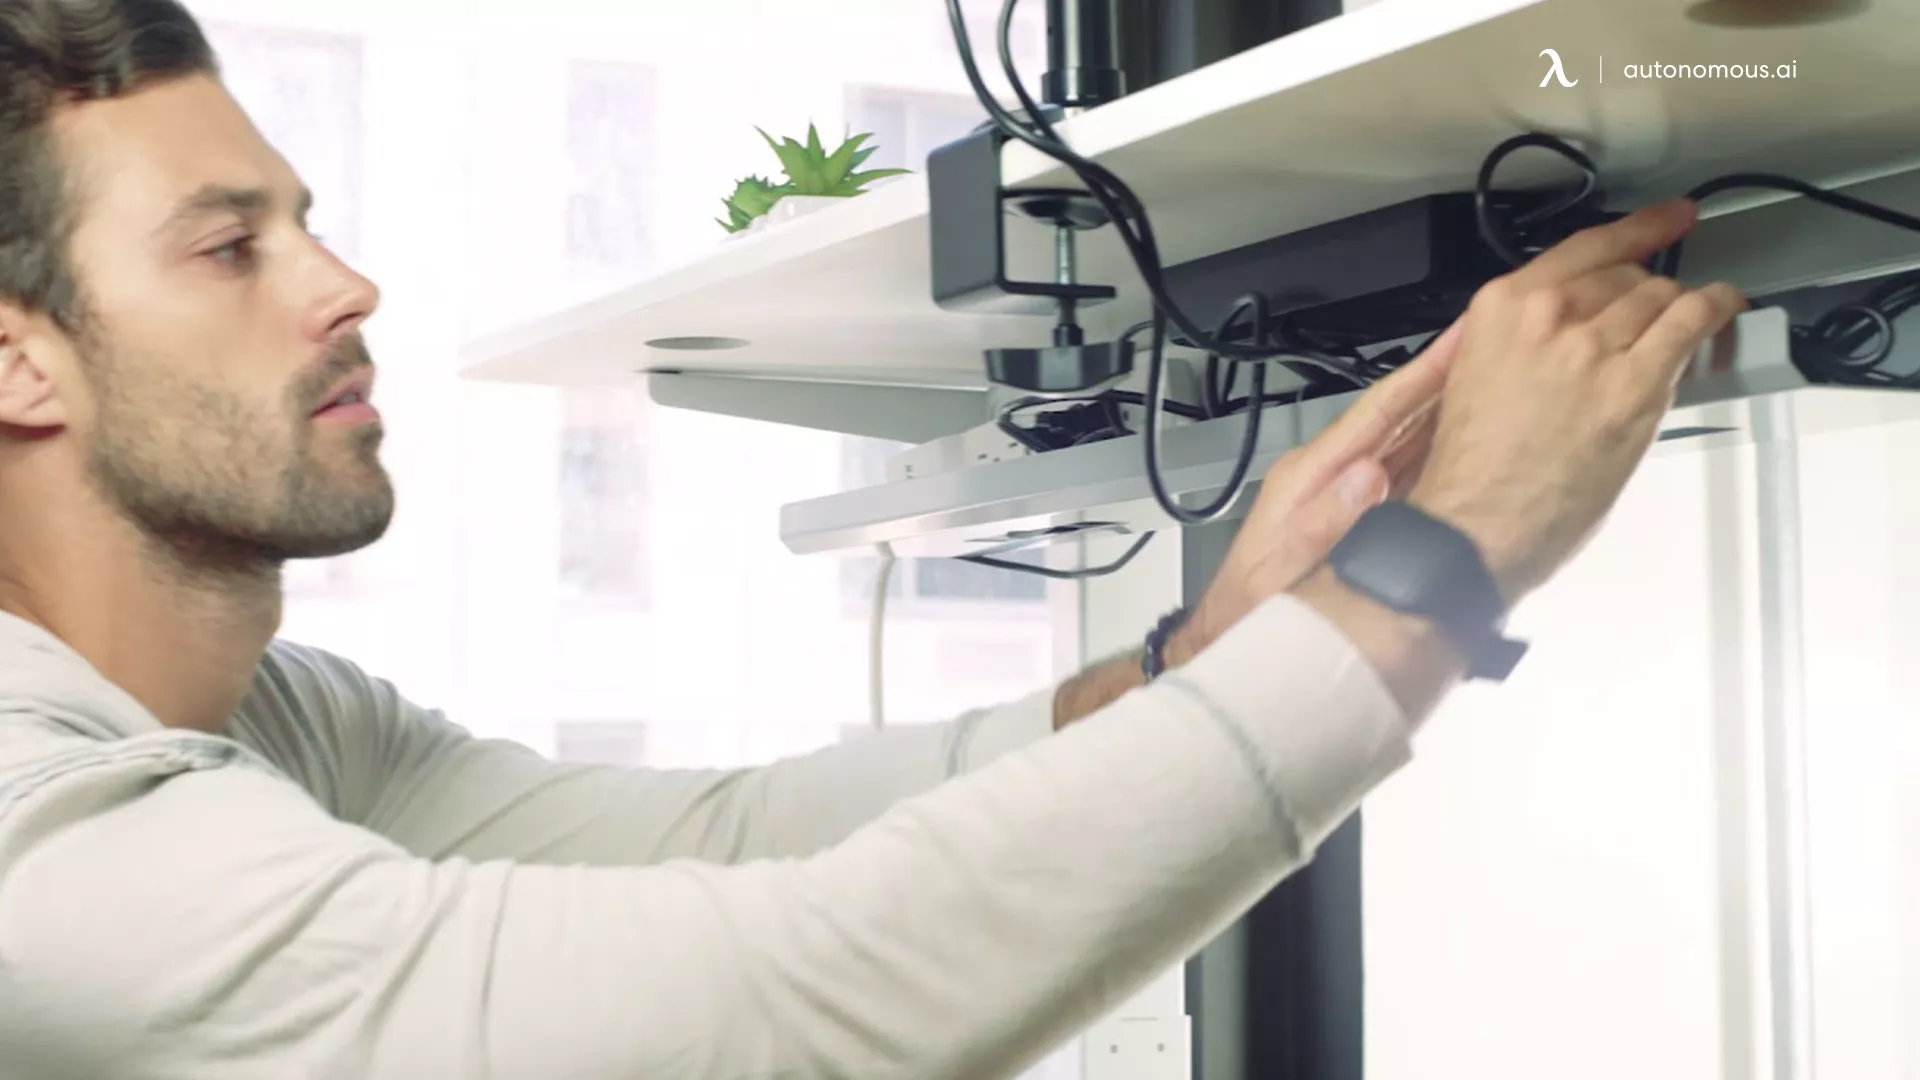
1. The underside of the desk
For the first area, you can choose to put it in the underneath area of your desk's top. It may seem a bit impractical, but it's actually hugely helpful as it will be as near to your equipment and accessories as possible.
You don't need to modify your desk or "break it" to make this possible. Purchase some high-quality double-sided tape. Still, please don't place it anywhere just yet. Wait until you have everything else planned out, so you don't regret what you've done later.
You can also find an under desk cable tray.

2. On the floor
Another good option is to place it on the floor to have a better gaming desk cable management, in a location where it remains out of sight. For instance, you can place it behind any other furniture or cabinet that’s near your desk so it can be between the said object and the wall.
Here you can learn how to organize wire behind a desk.
3. Use a box
If you can’t find a good place where you can put your surge protector, perhaps all you need to do is get a desk cable management box. It will make this step less problematic.
.png)

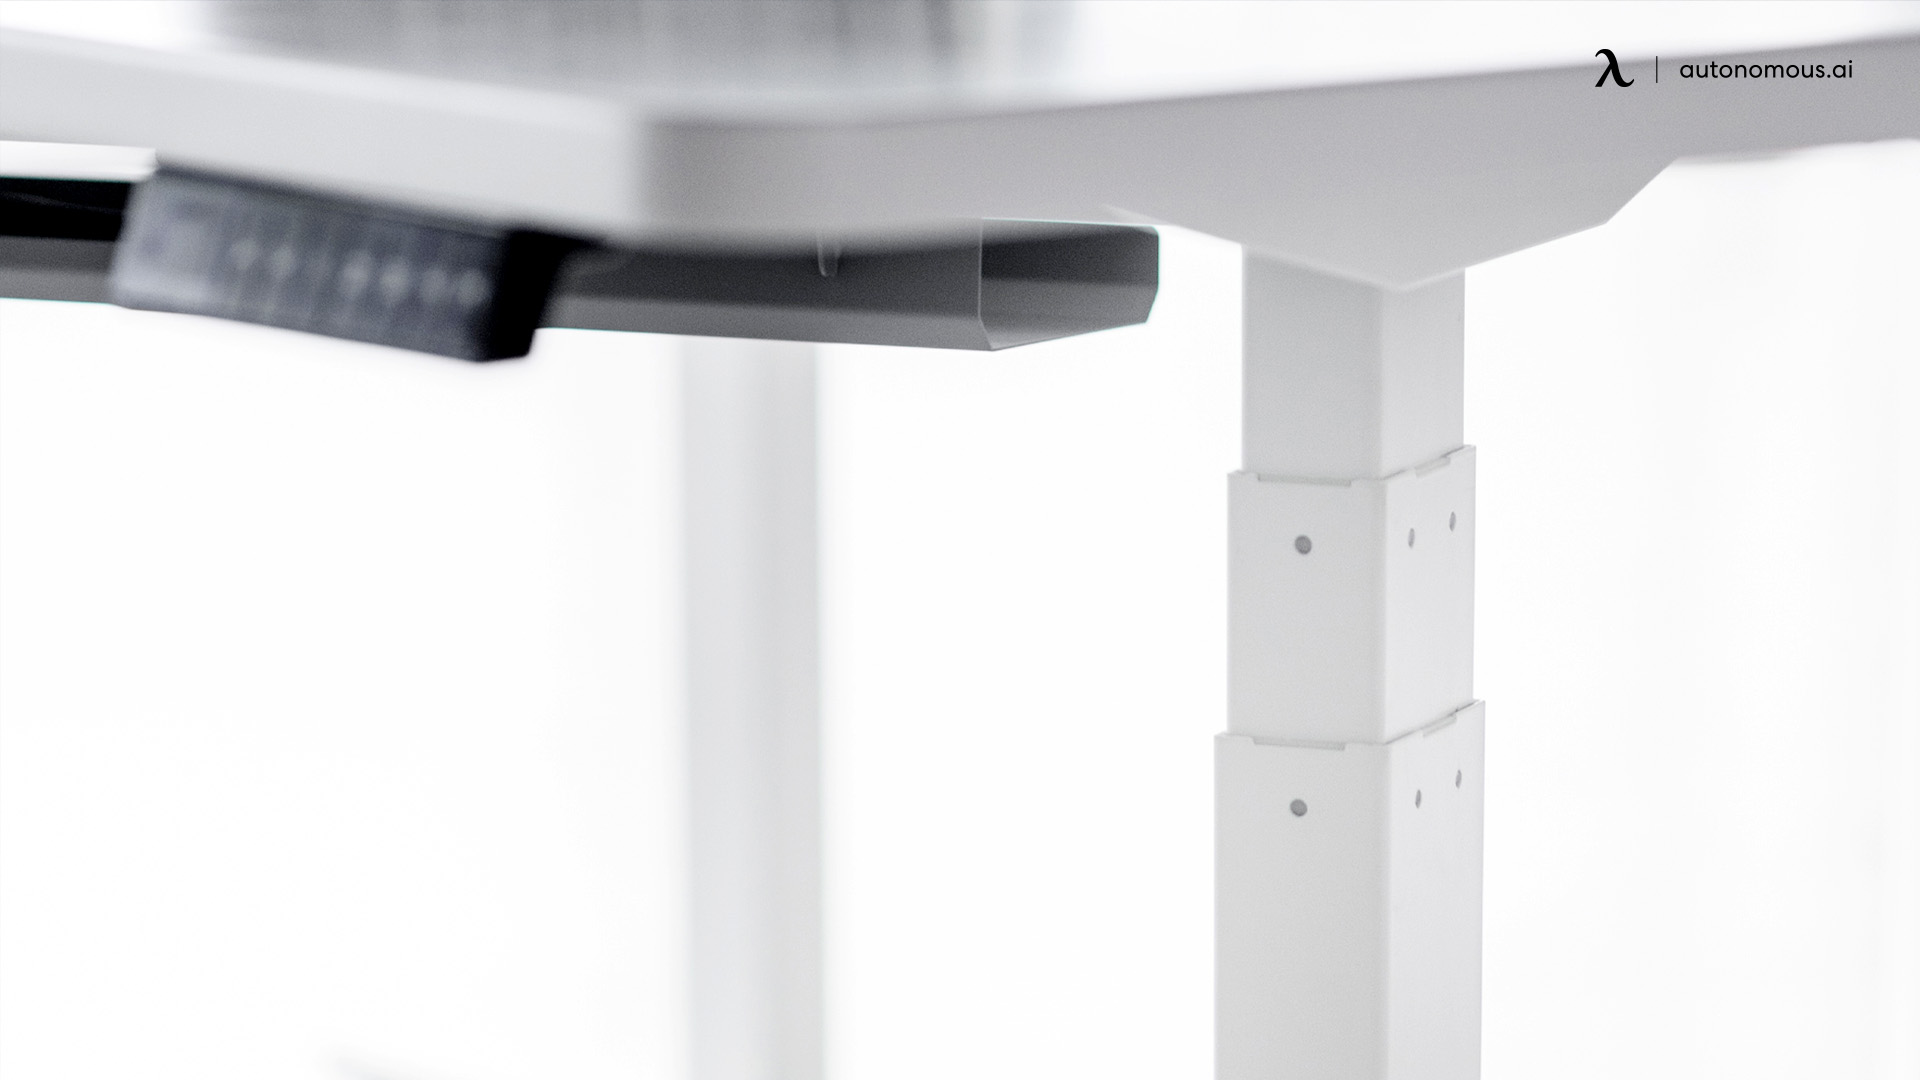
Step three: Start with the desk cable management aspects
Some desks already have cable management features integrated. However, if your desk doesn't, perhaps you may have to start "incorporating" them so you can finally start connecting everything. Don't worry; it is not a challenging process, and you can get it done within a few minutes.
It’s recommended to take at least one day to figure out the best gaming desk cable management for your preferences. Here you have everything you need to add:
1. Cable management compartment
The first tap consists of adding cable management compartments, which will act like "trays" that will guide your cables underneath your desk so that they can find their way to the power surge.
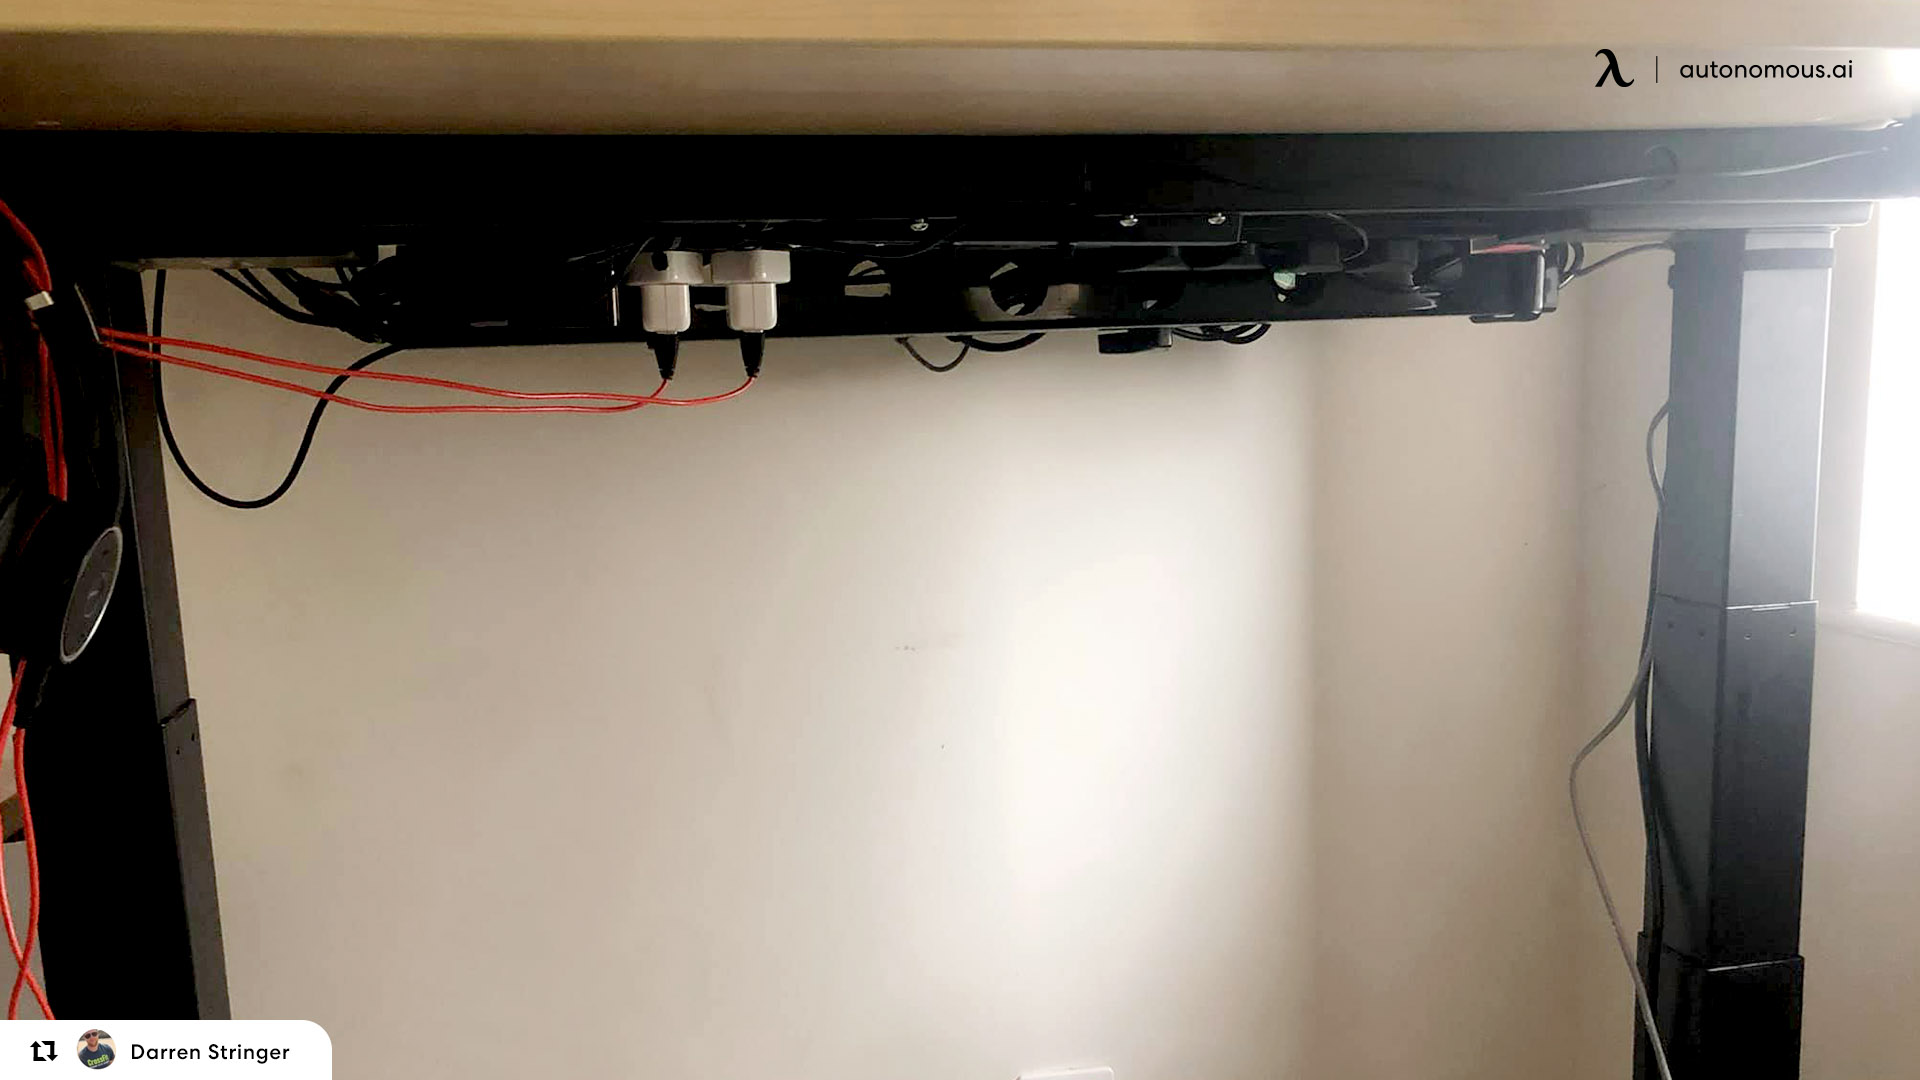
There are multiple options available on Amazon. Many options are under twenty dollars, so you don't have to worry about spending that much.
2. Holes and Grommets
You’ll need to make some holes on your desk (yes, be prepared) for certain items, like the ergonomic keyboard or the mouse. These holes are often small, but some people may be worried about the aesthetics even if they’re the only ones frequenting their gaming room.
If you want these holes to look more aesthetically pleasing, you can always incorporate grommets into them.
Step four: About your monitors
Some people worry a lot about space. In this regard, there are many things you can opt for doing, such as mounting your monitor. Some people prefer doing that because it grants them more space on the desk and also makes it easier for you to organize the gaming desk cables.
Similar to the second step, there are multiple options you can choose from.
1. Mount it on the wall
Wall mounts take some time, but they’re worth it. You’ll have to use your driller and spend some minutes setting it all up. Furthermore, mounting your monitor on the wall also means you can “hide” all the wires on it, which means that you’ll have a cleaner gaming desk setup that will also look aesthetically pleasing.
If you can mount your monitor on the wall but cannot hide your wires behind it, perhaps a cable raceway may solve the problem. It’ll still look good!
2. Use a monitor arm
Monitor arms are another good option, although they are not as good as mounts. However, you won’t have to spend too much time setting it up, and they also will include channels where you can place your cables and make them follow a determined route.
Once you've found a way to set up your monitor, it will be easier for you to deal with your gaming desk cable management.
Step five: Start routing the cables.
If you’ve been reading everything to this point, then you’ve probably arranged the whole desk and may have an idea of where the cables should go.
Start reconnecting everything to your computer by guiding the wires through the new compartments you have incorporated into your ultimate desk setup. Then, you can start plugging everything into the surge protector so you can finally get your computer working altogether.
If you've followed the steps correctly and have used your imagination and better gaming desk cable management, perhaps you may have found the best way to put it together. However, certain cords will look out of place, which means you may have to tidy up everything and give the set up the finishing touches.
Some cables are difficult to “put together.” Thus, you may have to use cable clips so they can remain in the same place and don’t ruin your effort


Stay connected with us!
Subscribe to our weekly updates to stay in the loop about our latest innovations and community news!
Interested in a Link Placement?