

- Newest
- Most viewed
Interested in a Link Placement?
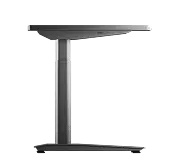
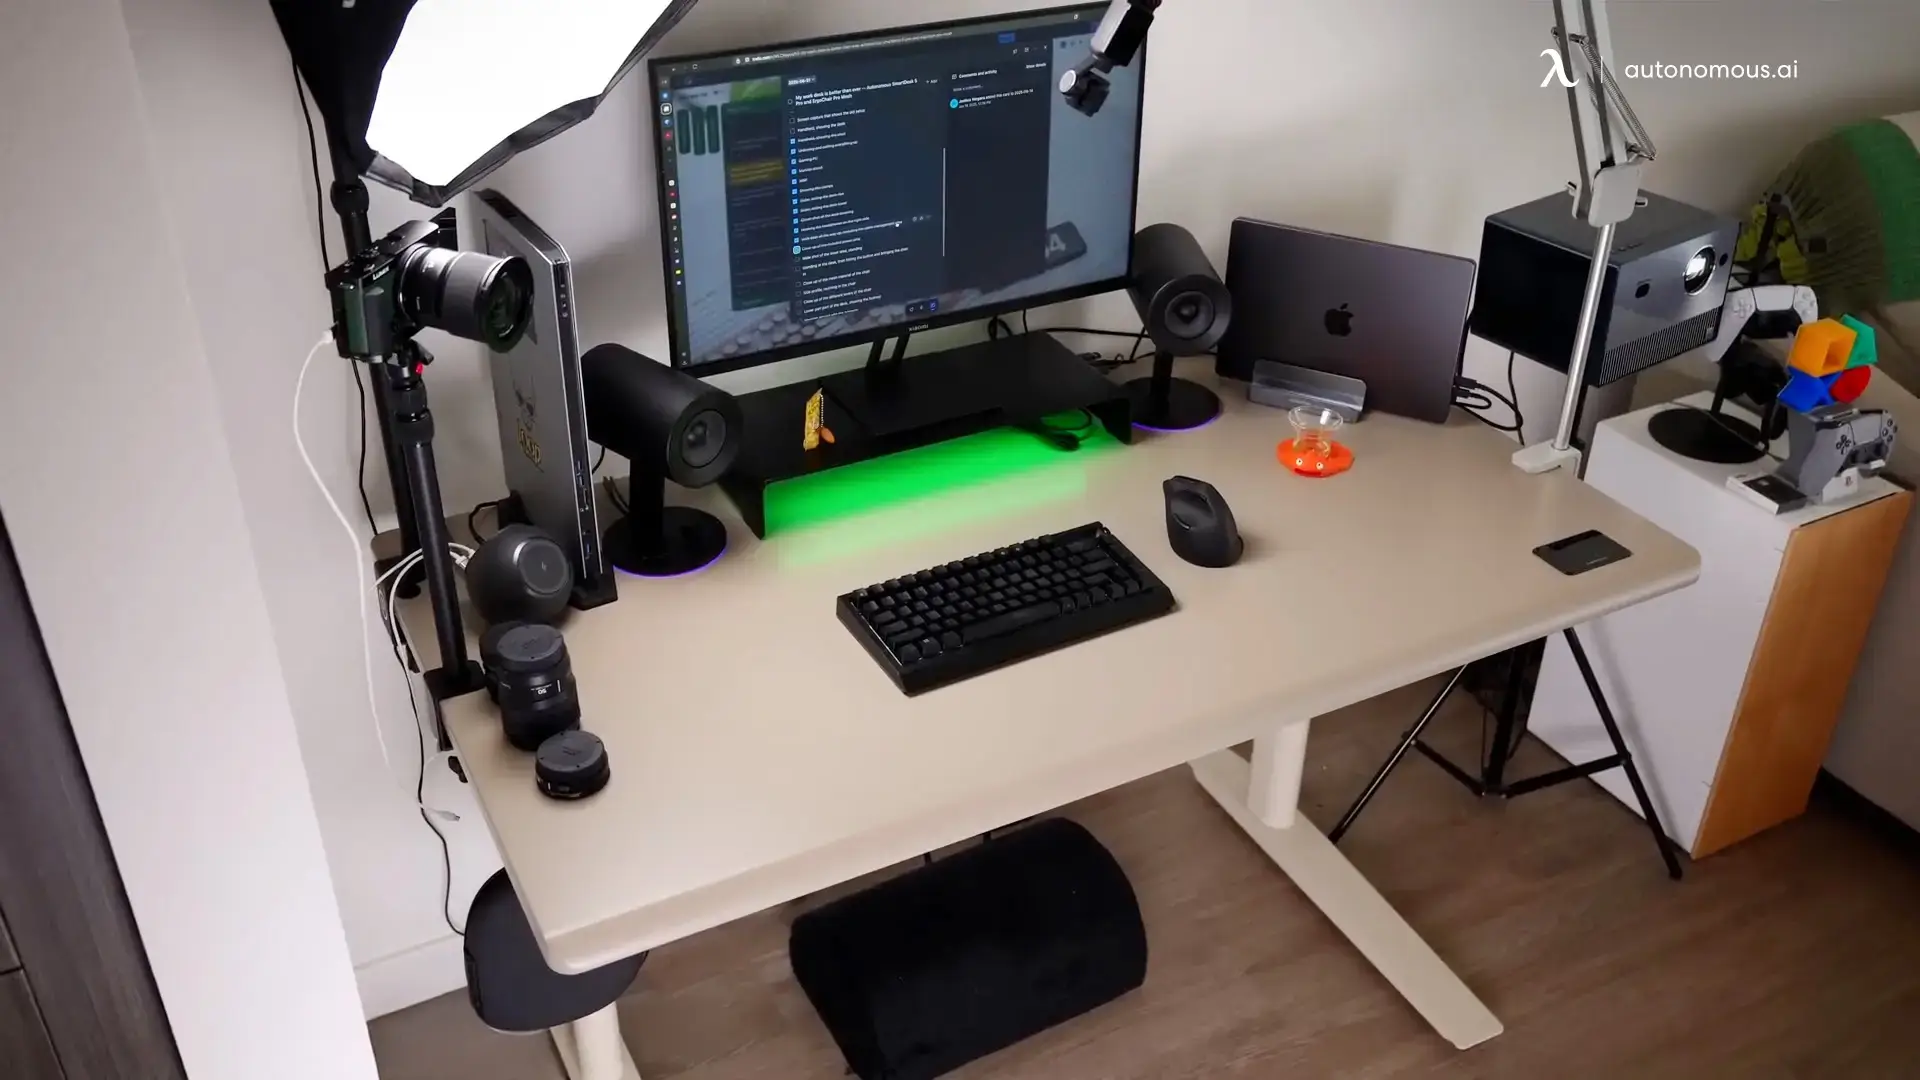
Ottawa Desk Shopping: Sit-Stand, Office, and L-Shaped Desks
Find the best standing, gaming, and office desks in Ottawa. Explore local stores and online options to upgrade your home office or workspace today.
Smart Products | Sep 18, 2025 831 views
She Shed Library: 12 Cozy Backyard Reading Space Ideas
Workplace Inspiration | Sep 17, 2025 122 views
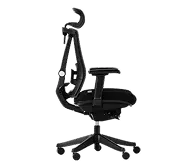
Butterfly Office Chair Review: Top 8 Picks For 2025
Smart Products | Sep 17, 2025 432 views
Best Standing Desks in Edmonton for Home and Office Workspaces
Smart Products | Sep 16, 2025 656 views
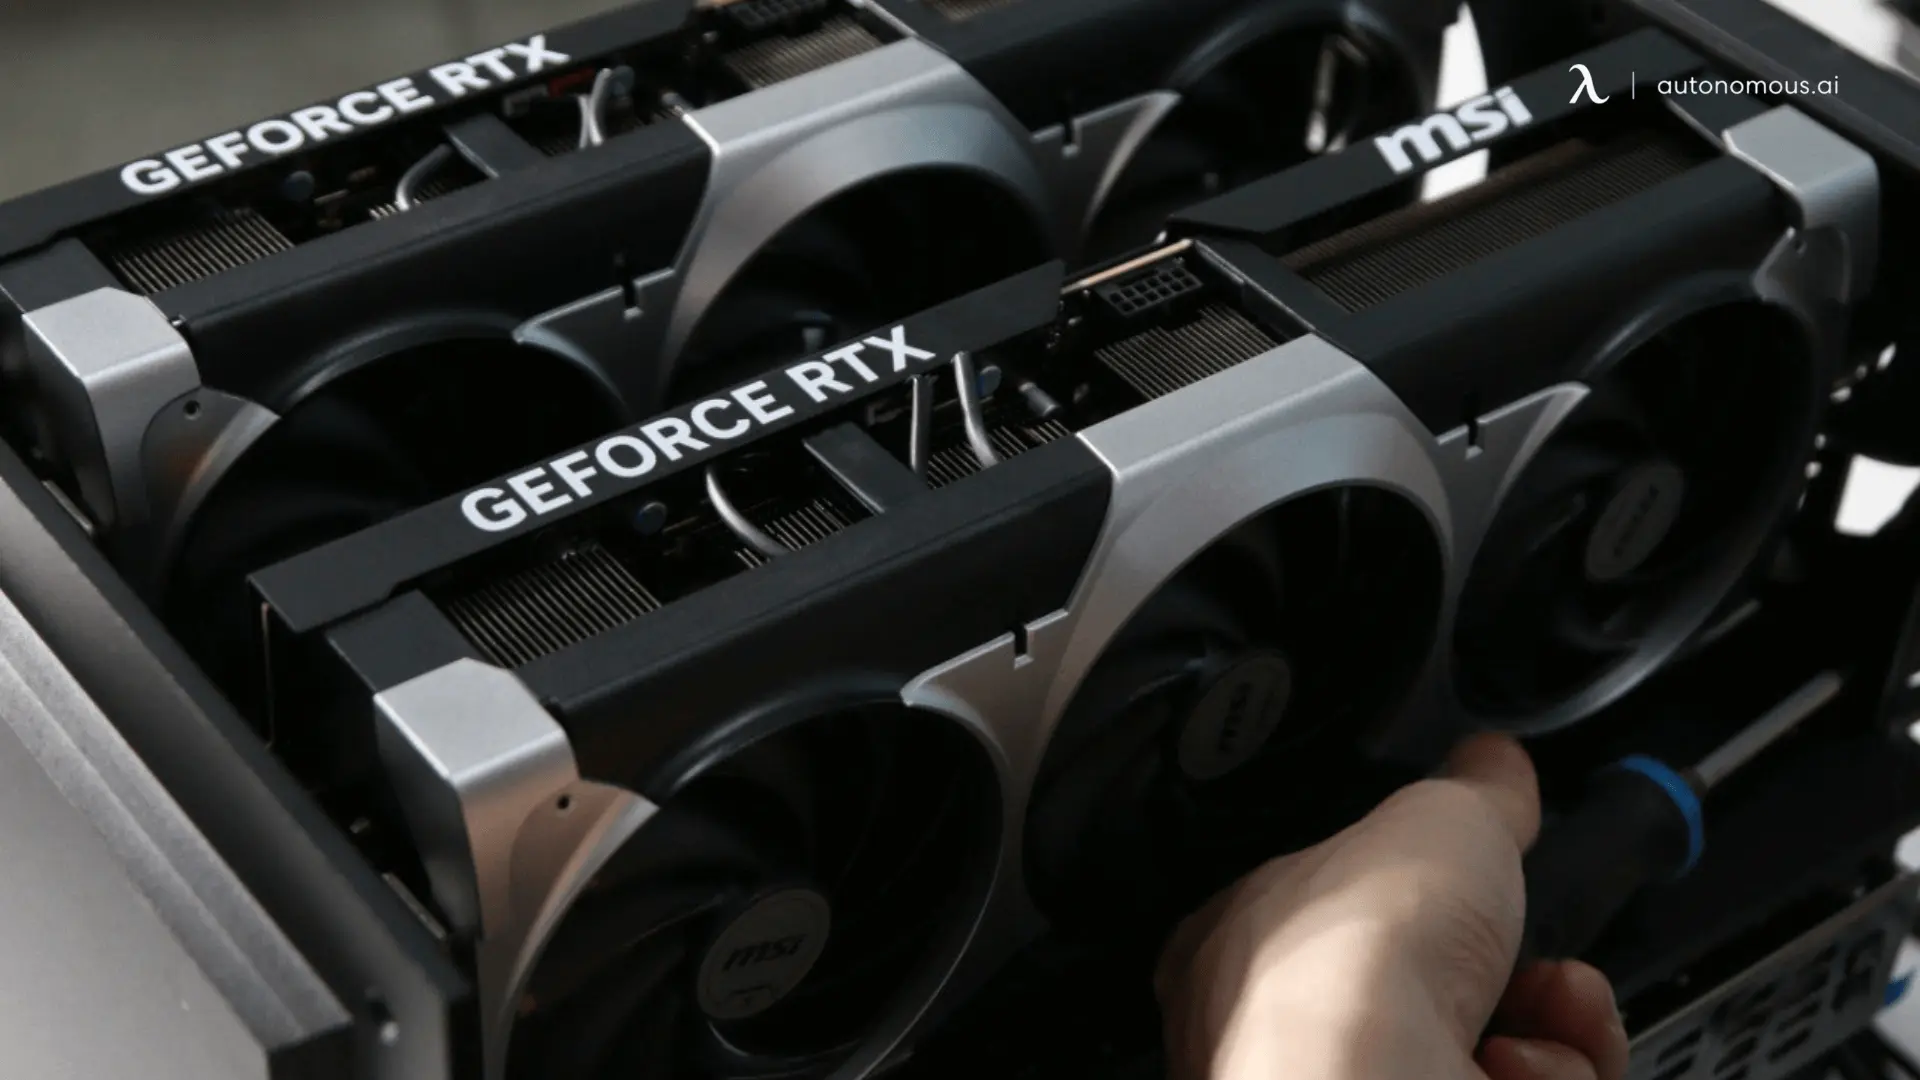
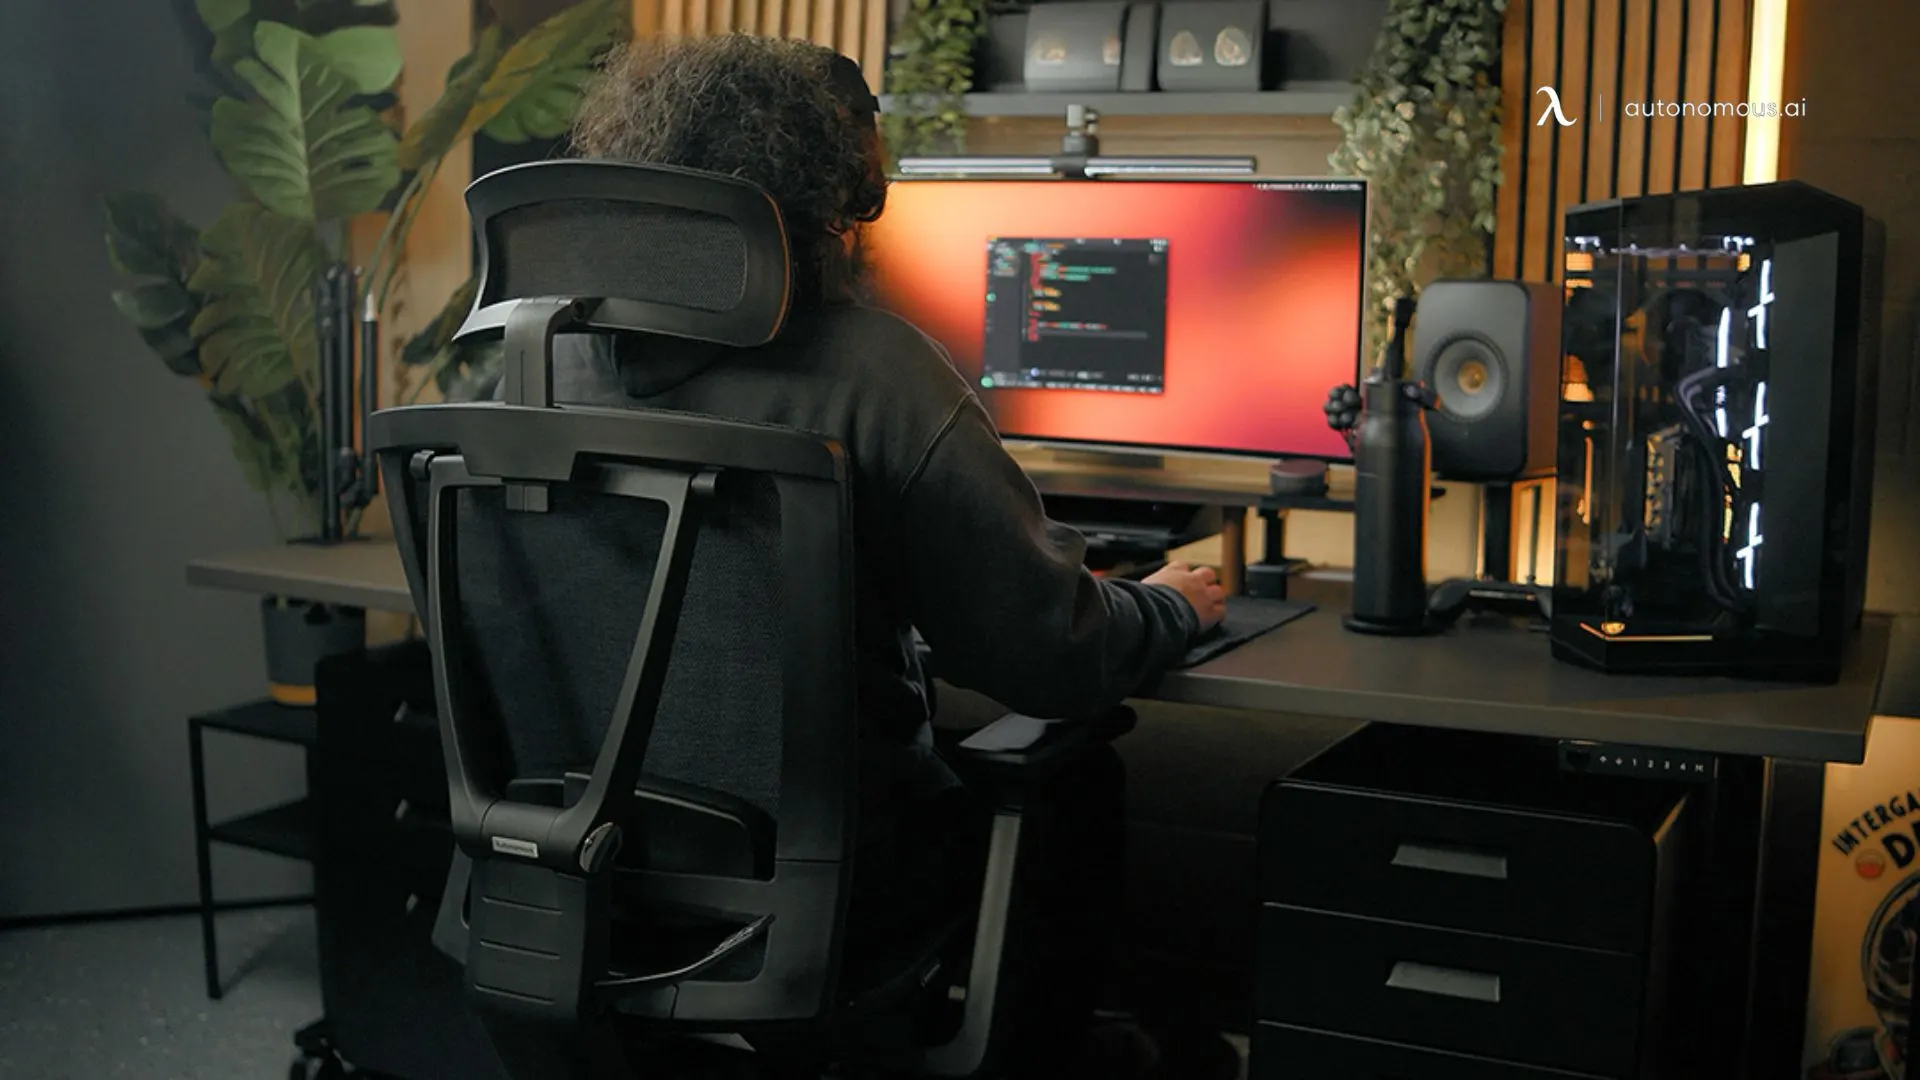
Building an Efficient EdgeAI Server: A Guide to Dual-GPU Setups
Smart Products | Sep 15, 2025 625 views
Average Screen Time For Adults Per Day In 2025
Productivity | Sep 15, 2025 674 views
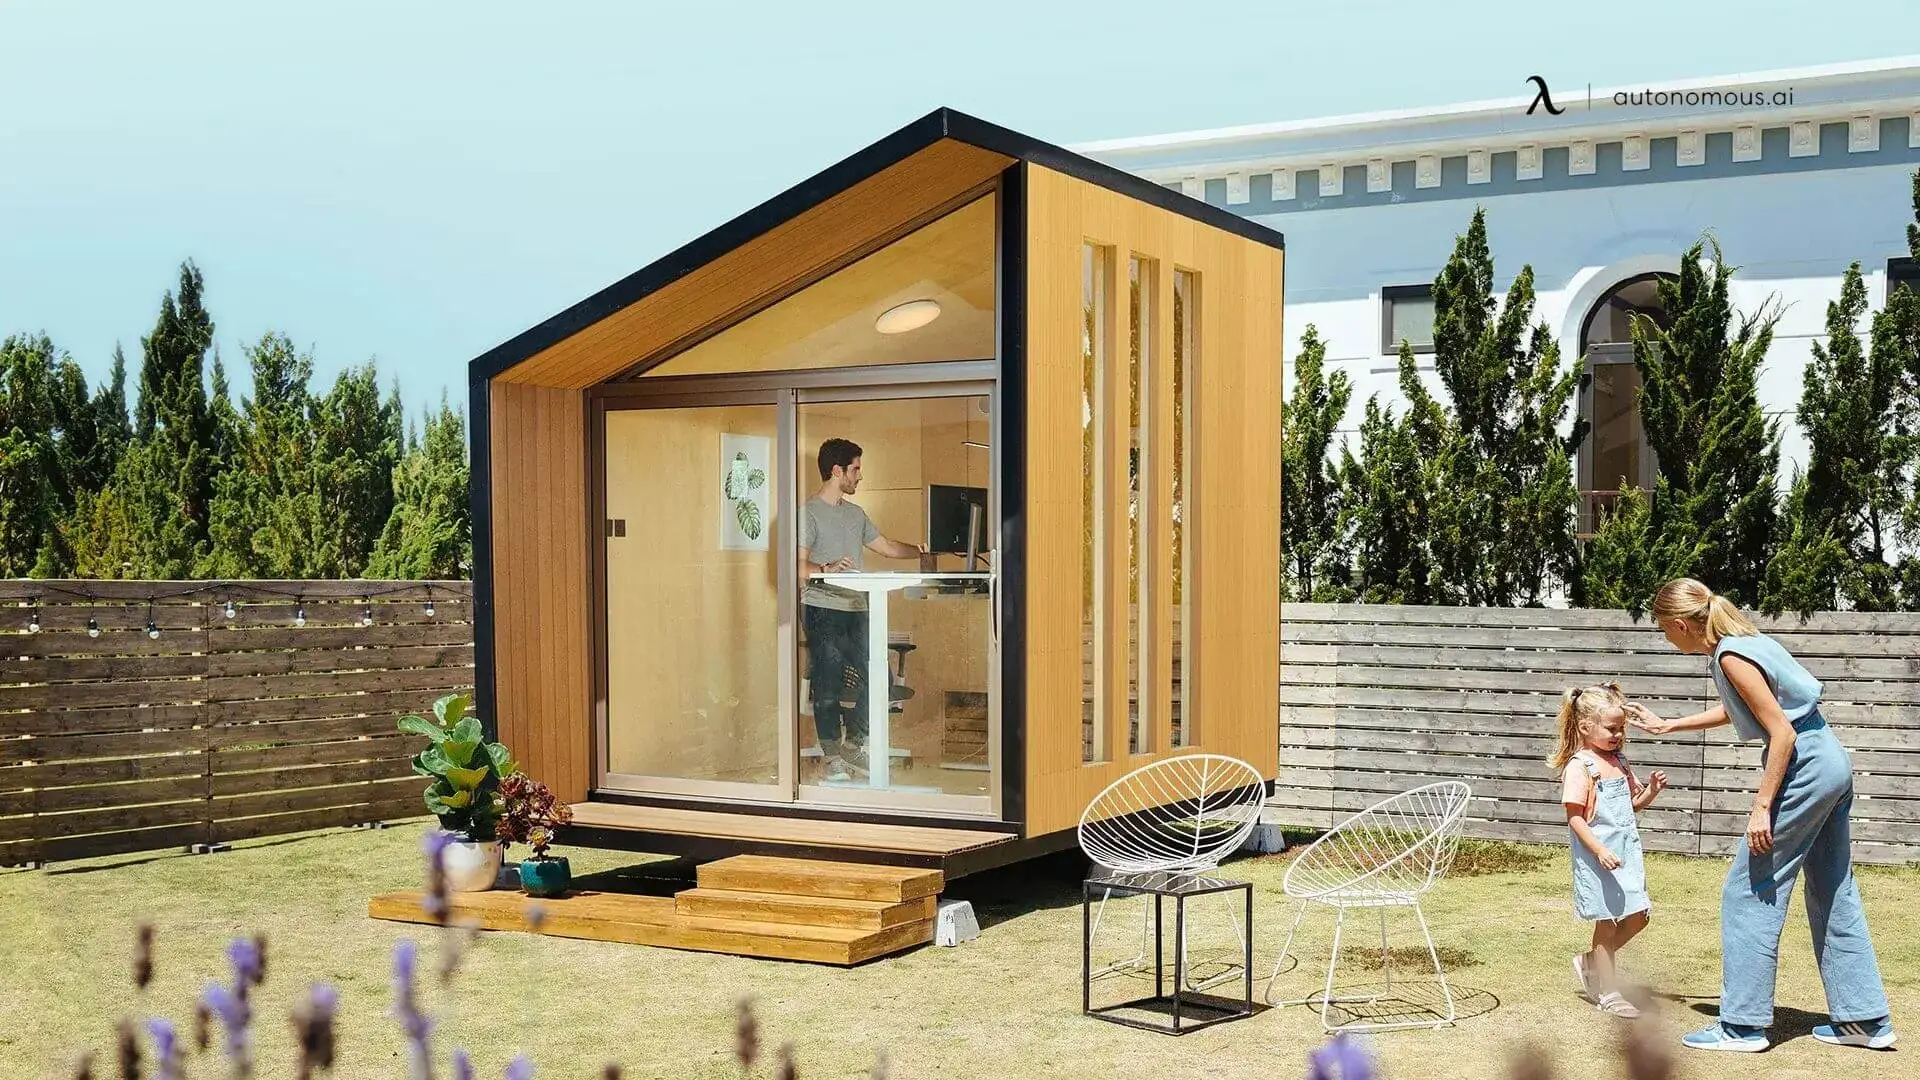
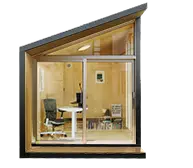
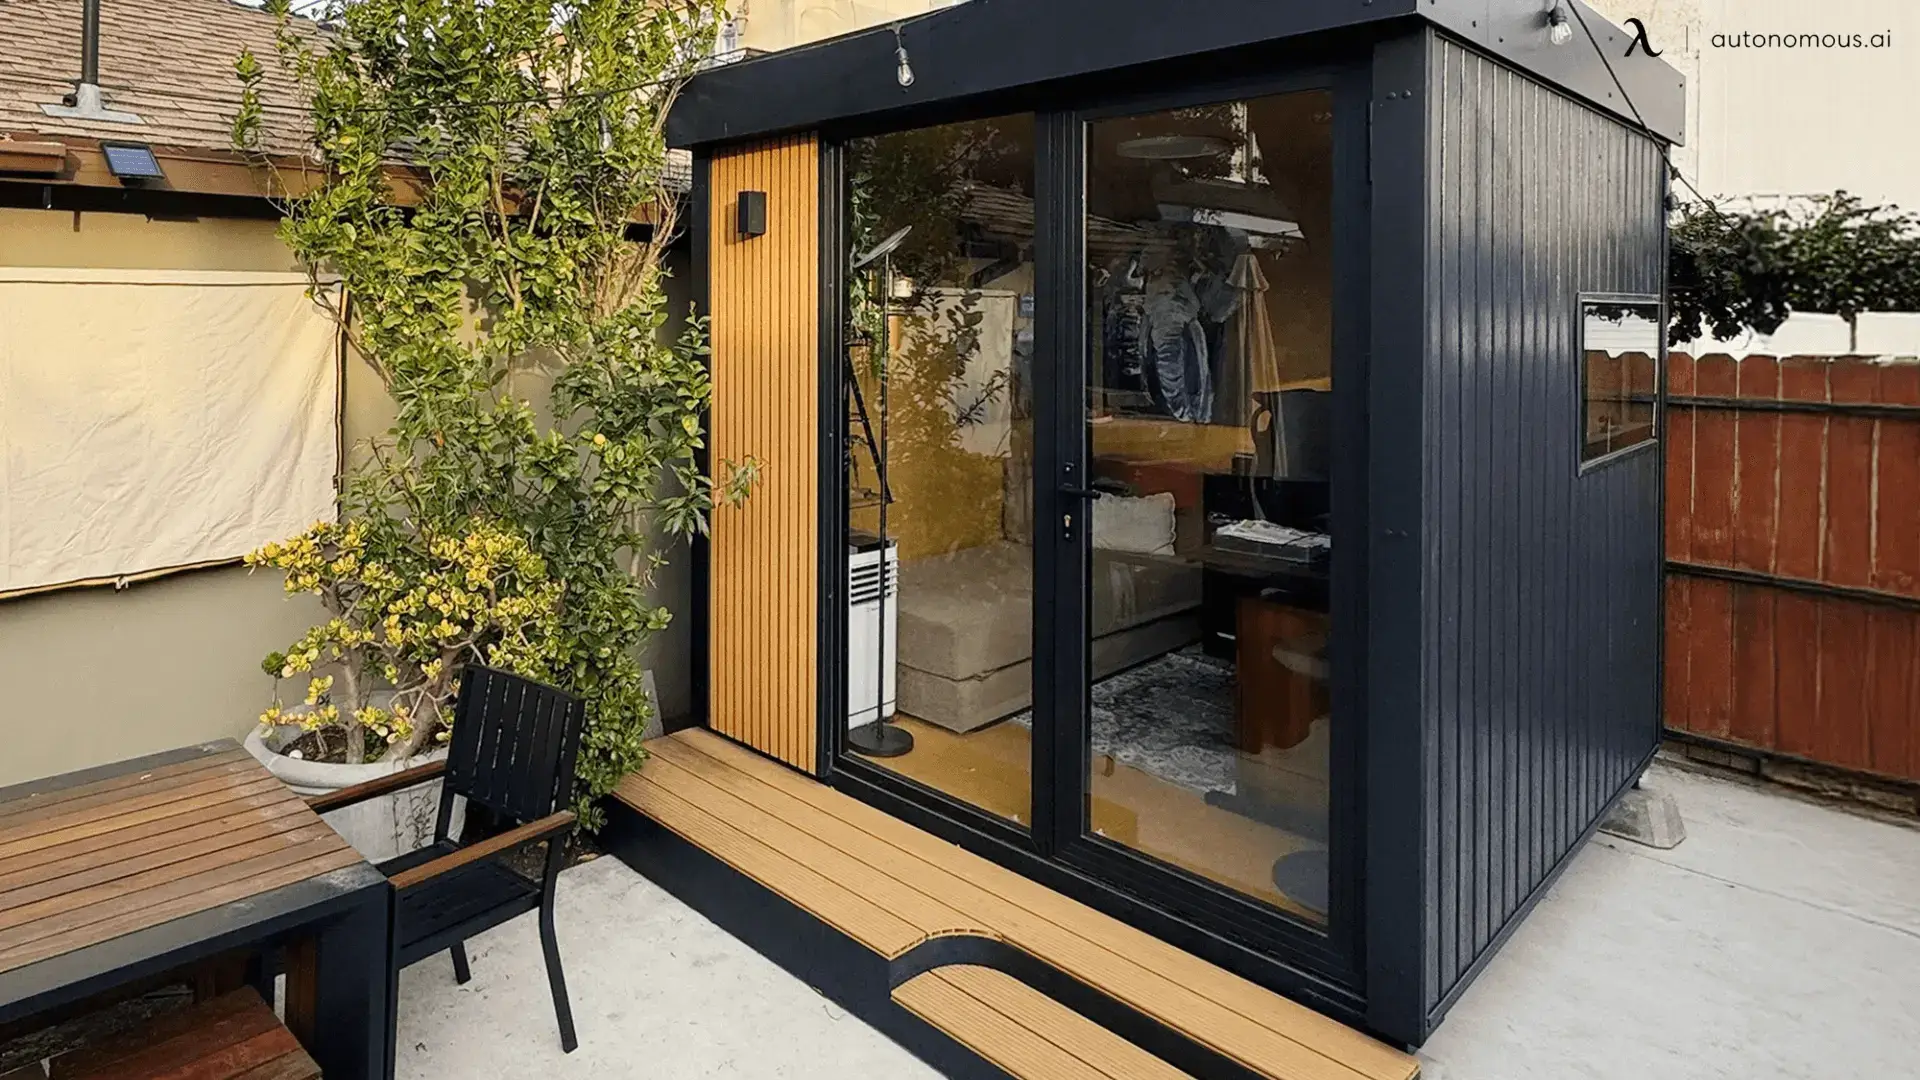
Modular Garden Rooms Guide 2025: Cost & Options
Smart Products | Sep 14, 2025 1,066 views
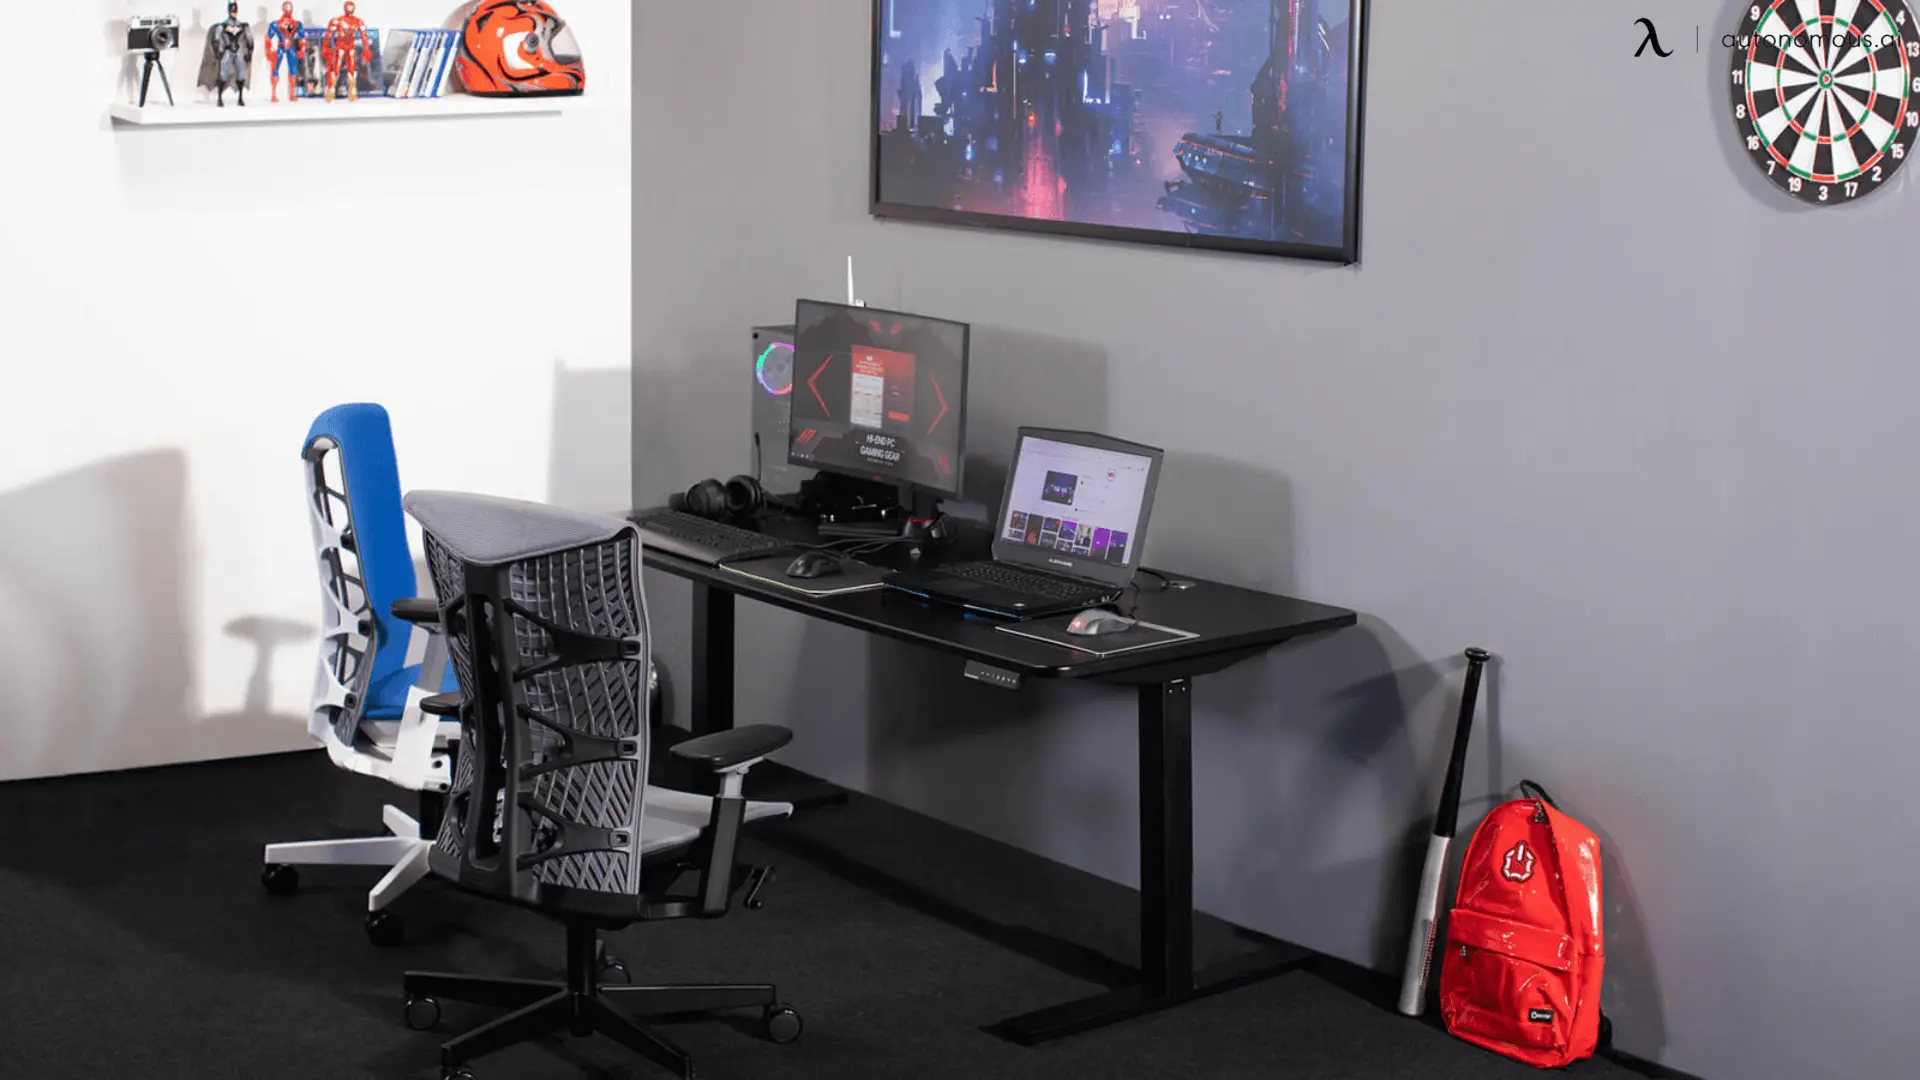
MSI Katana 15 Gaming Laptop Review: Is It Worth It?
Gaming Setup | Sep 11, 2025 419 views
.webp)
Modular Shed Kit: Ultimate Guide for Offices & Home Use
Smart Products | Sep 10, 2025 641 views
.webp)
7 Easy World Records to Break from Your Home Office
Remote Working | Sep 9, 2025 901 views

Mygrow App Review 2025: Enhance EQ In 10 Minutes Daily
Latest Updates | Sep 12, 2025 861 views
.webp)
MyFitCoach App Review 2025: Pricing, Pros & Cons
Latest Updates | Sep 10, 2025 1,113 views