- Newest
- Most viewed
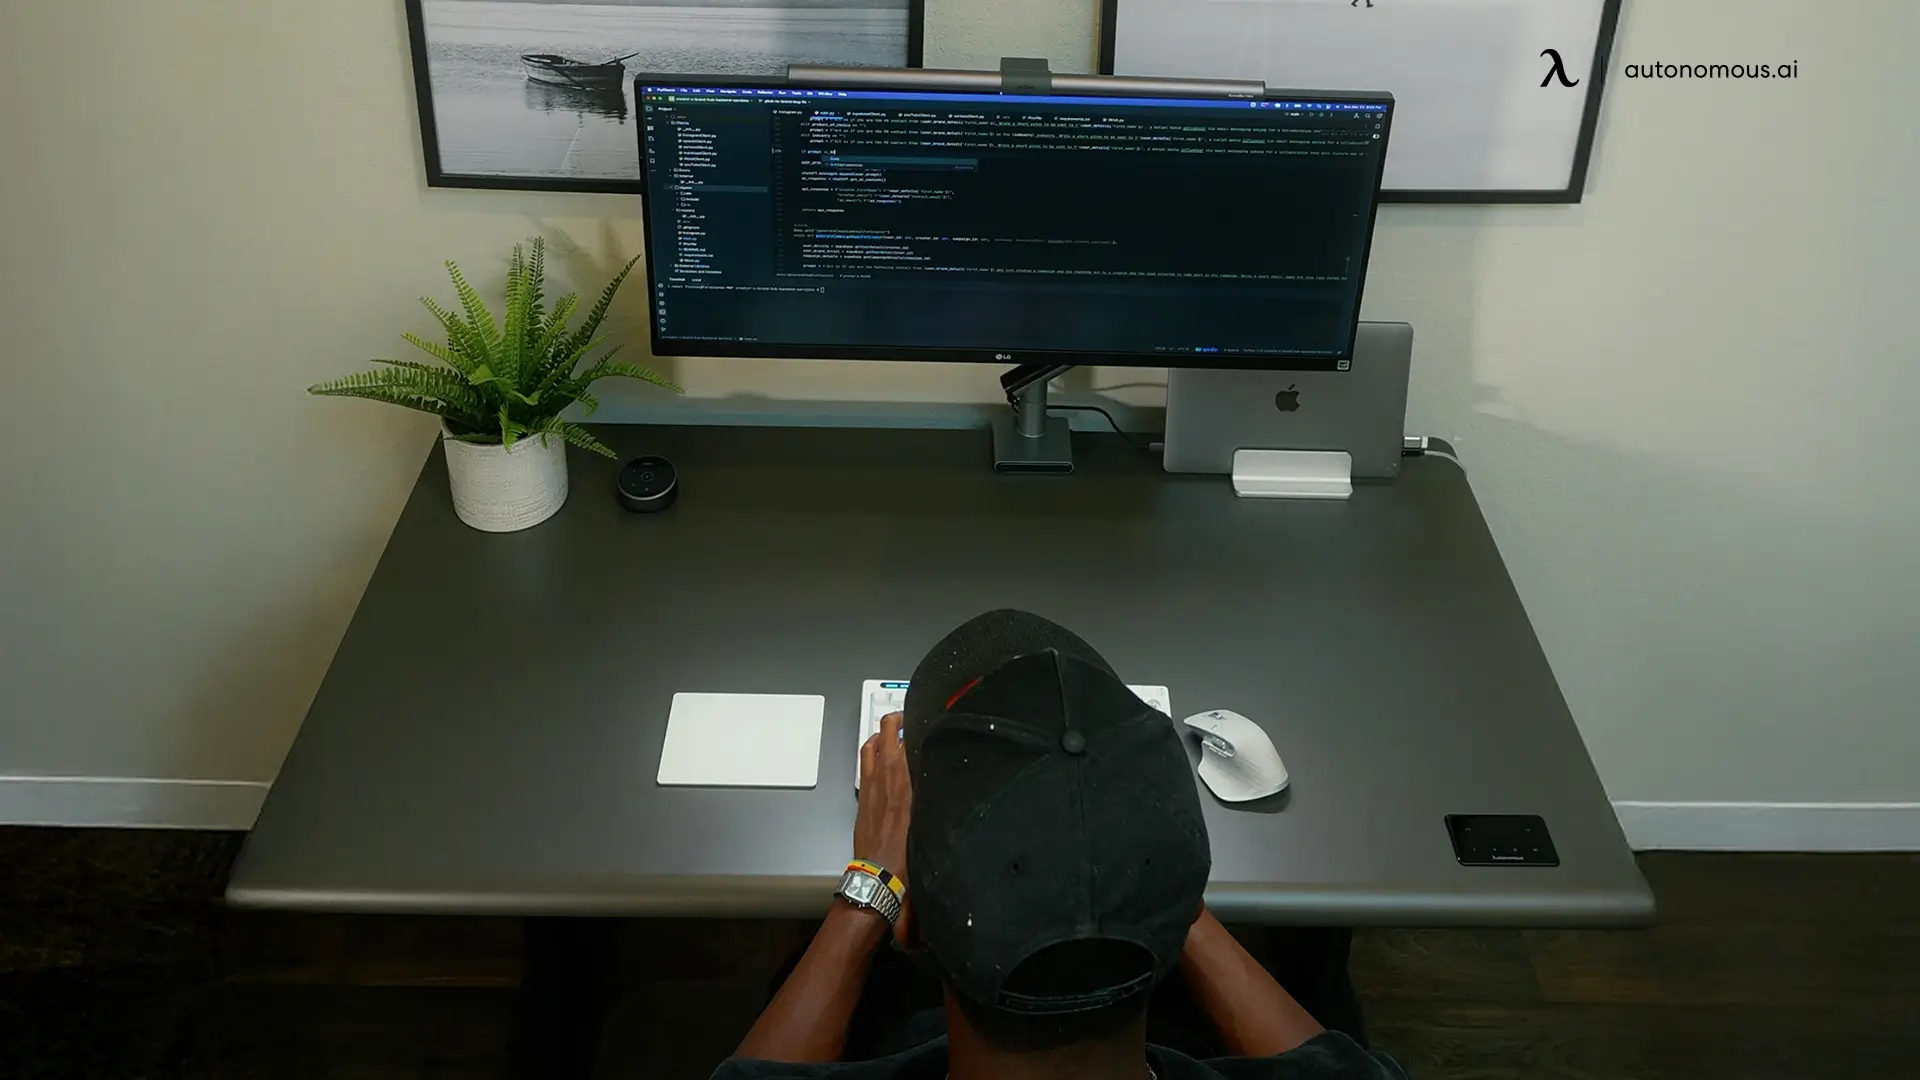
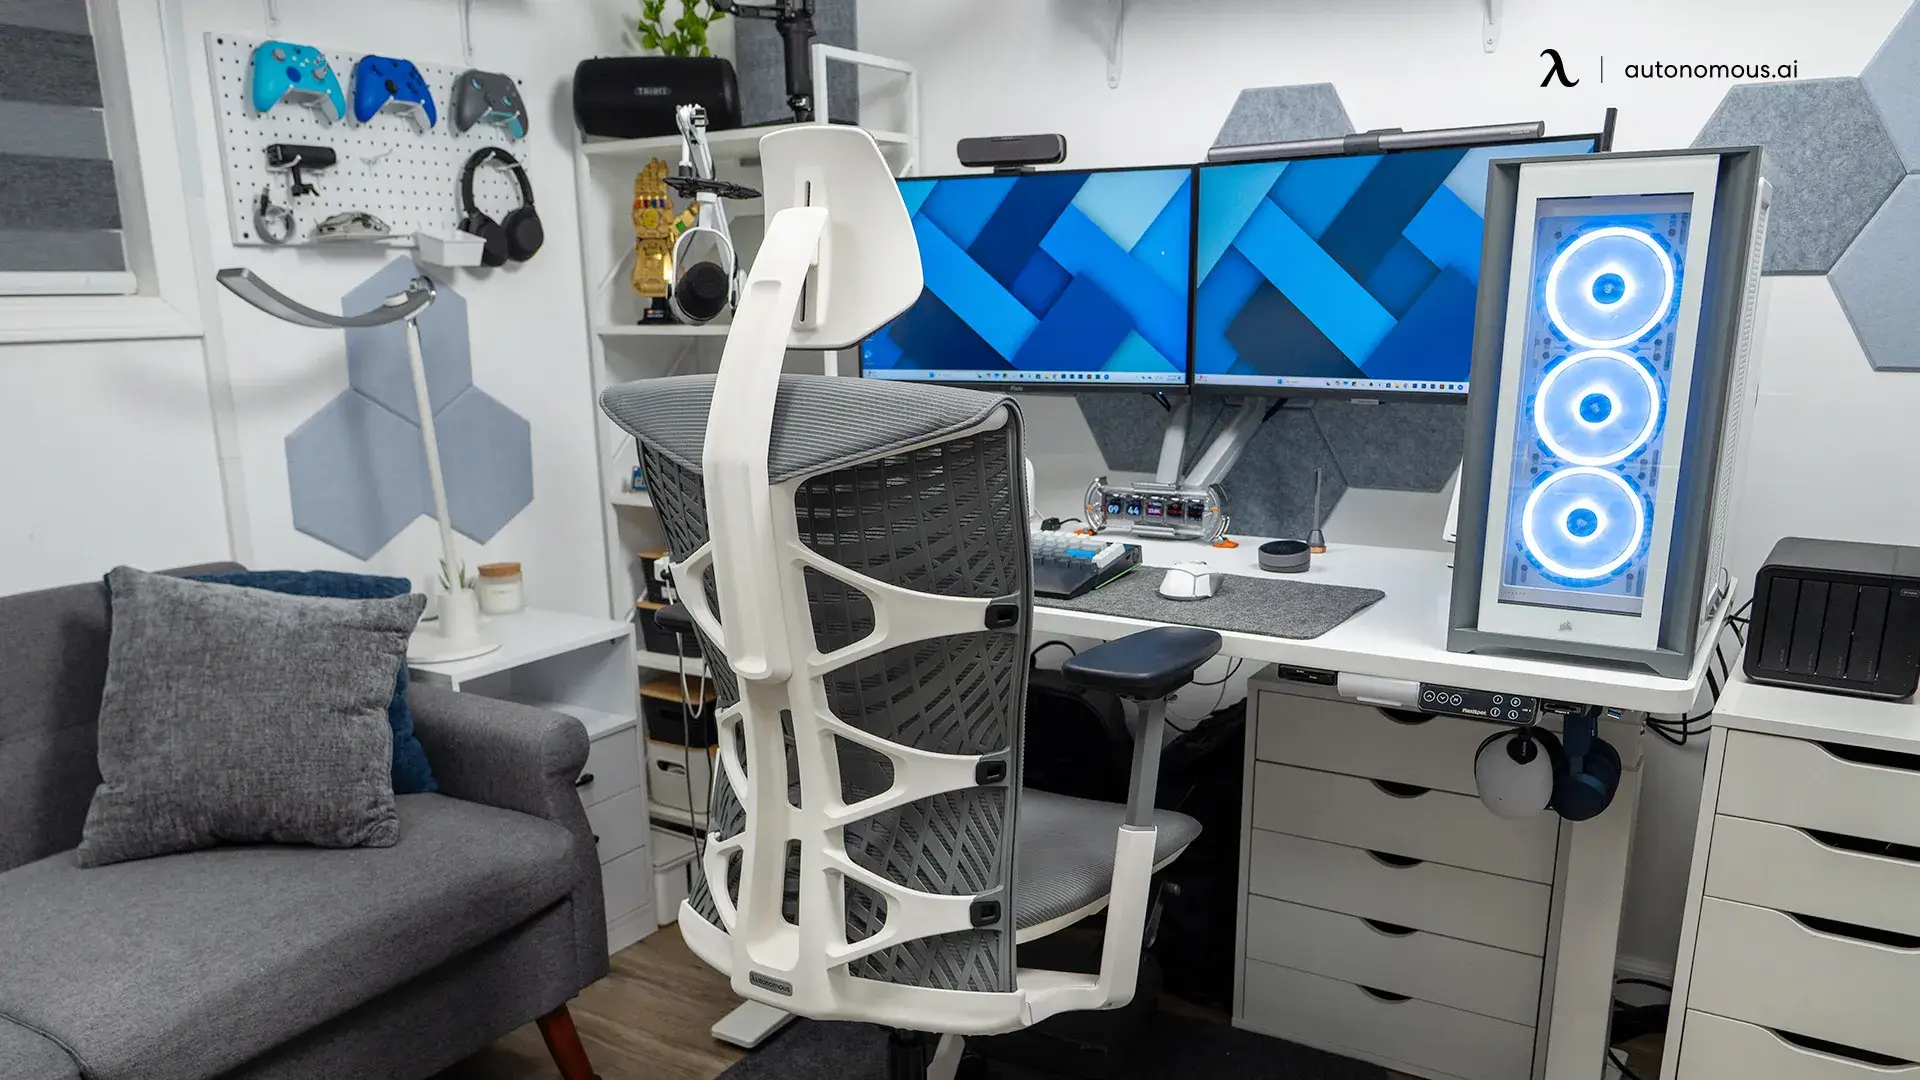
Real Developer Desk Setup for Multi-Agent Workflows
The 2020 dev rig was built for one IDE. The 2026 rig supervises 4 agents. Developer desk setup broken down by component, with 6 real rigs to compare.
Workplace Inspiration | May 12, 2026 137,386 views
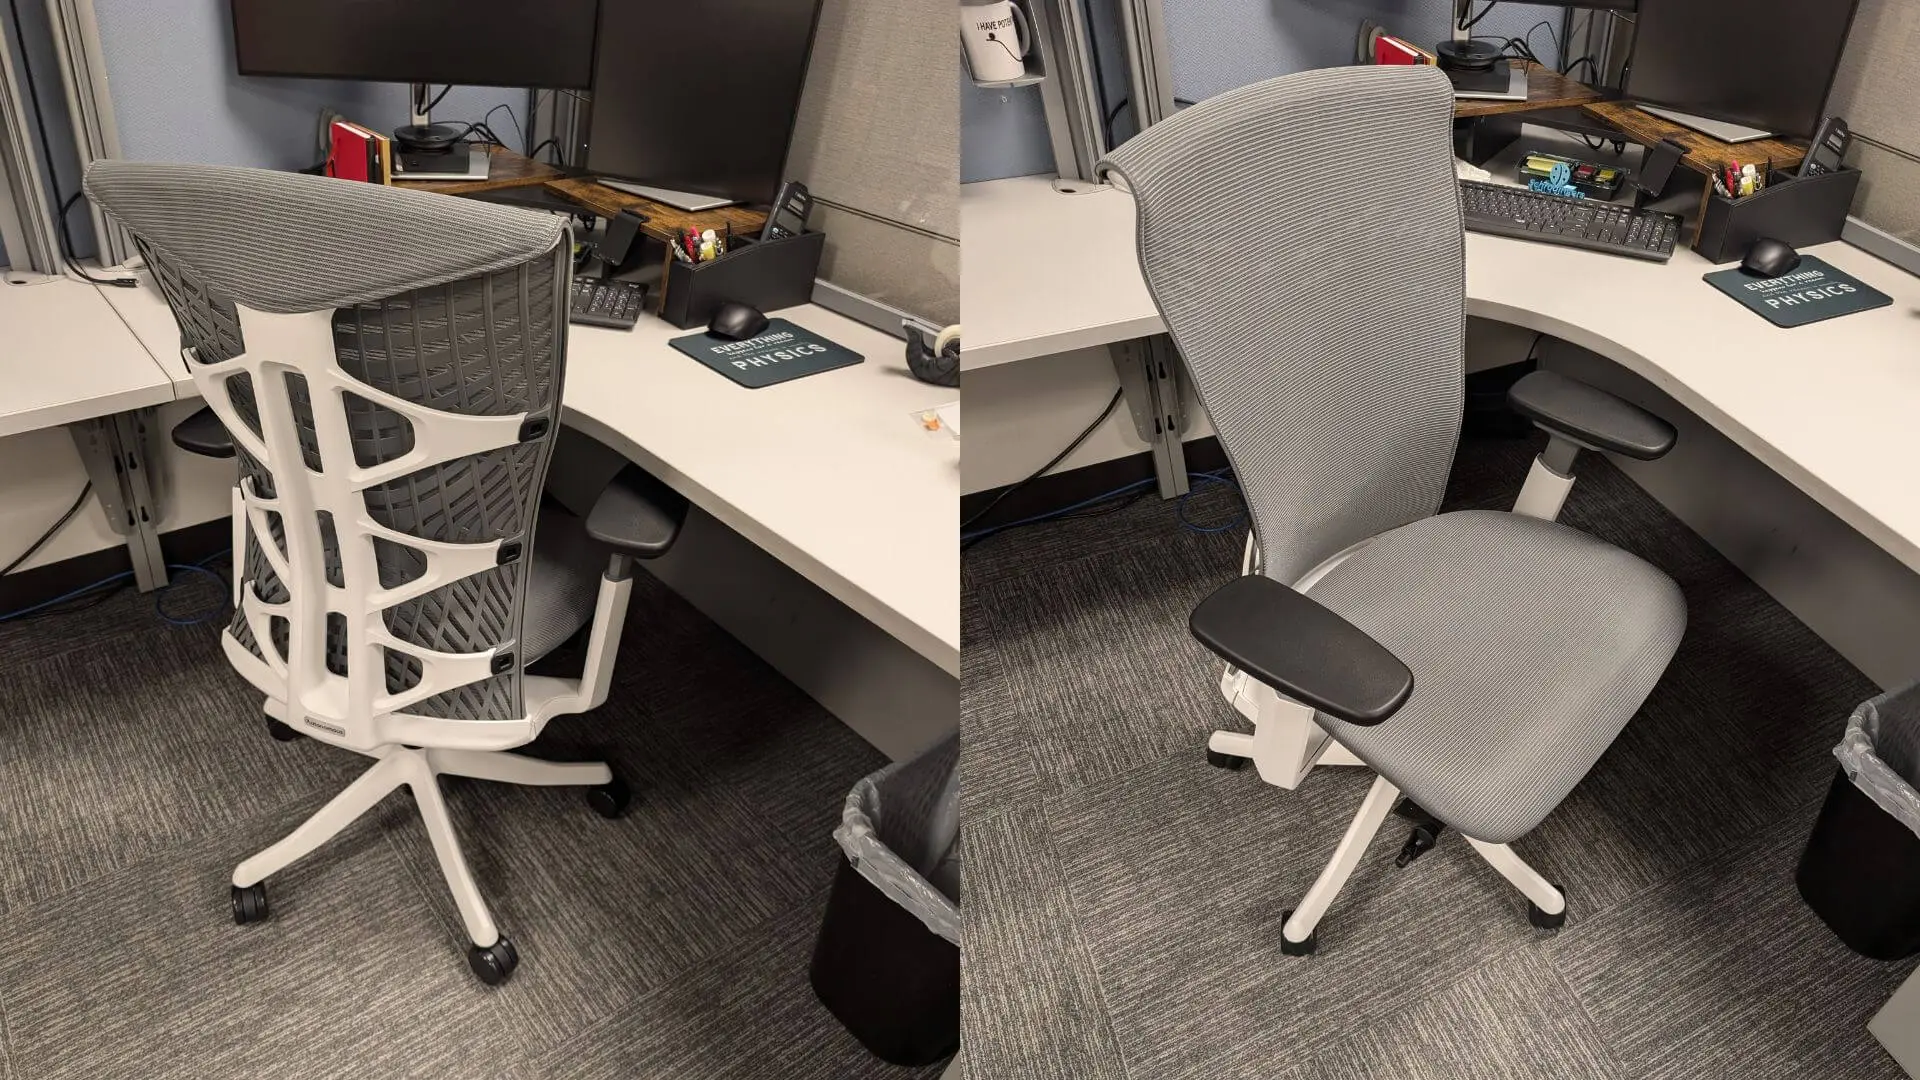
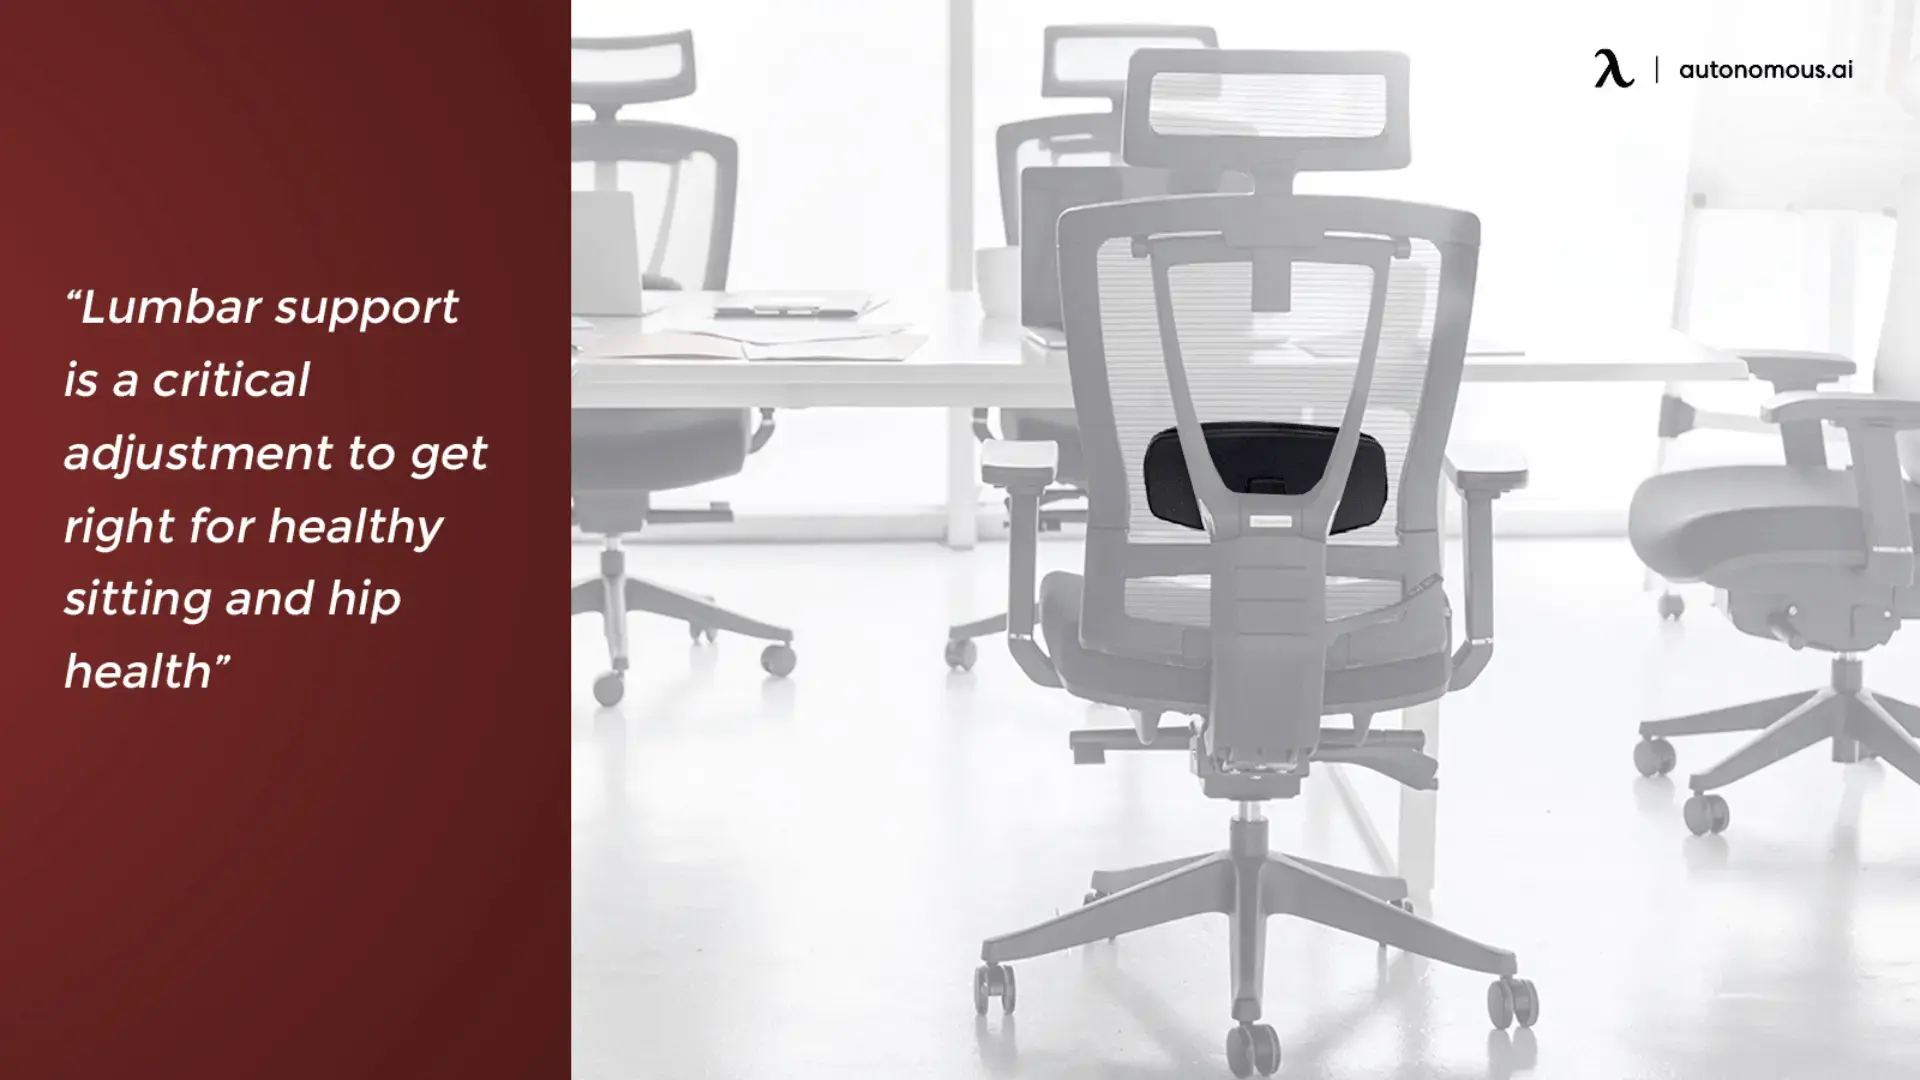
How to Size an Office Chair for Real Work
Smart Products | May 8, 2026 41,239 views
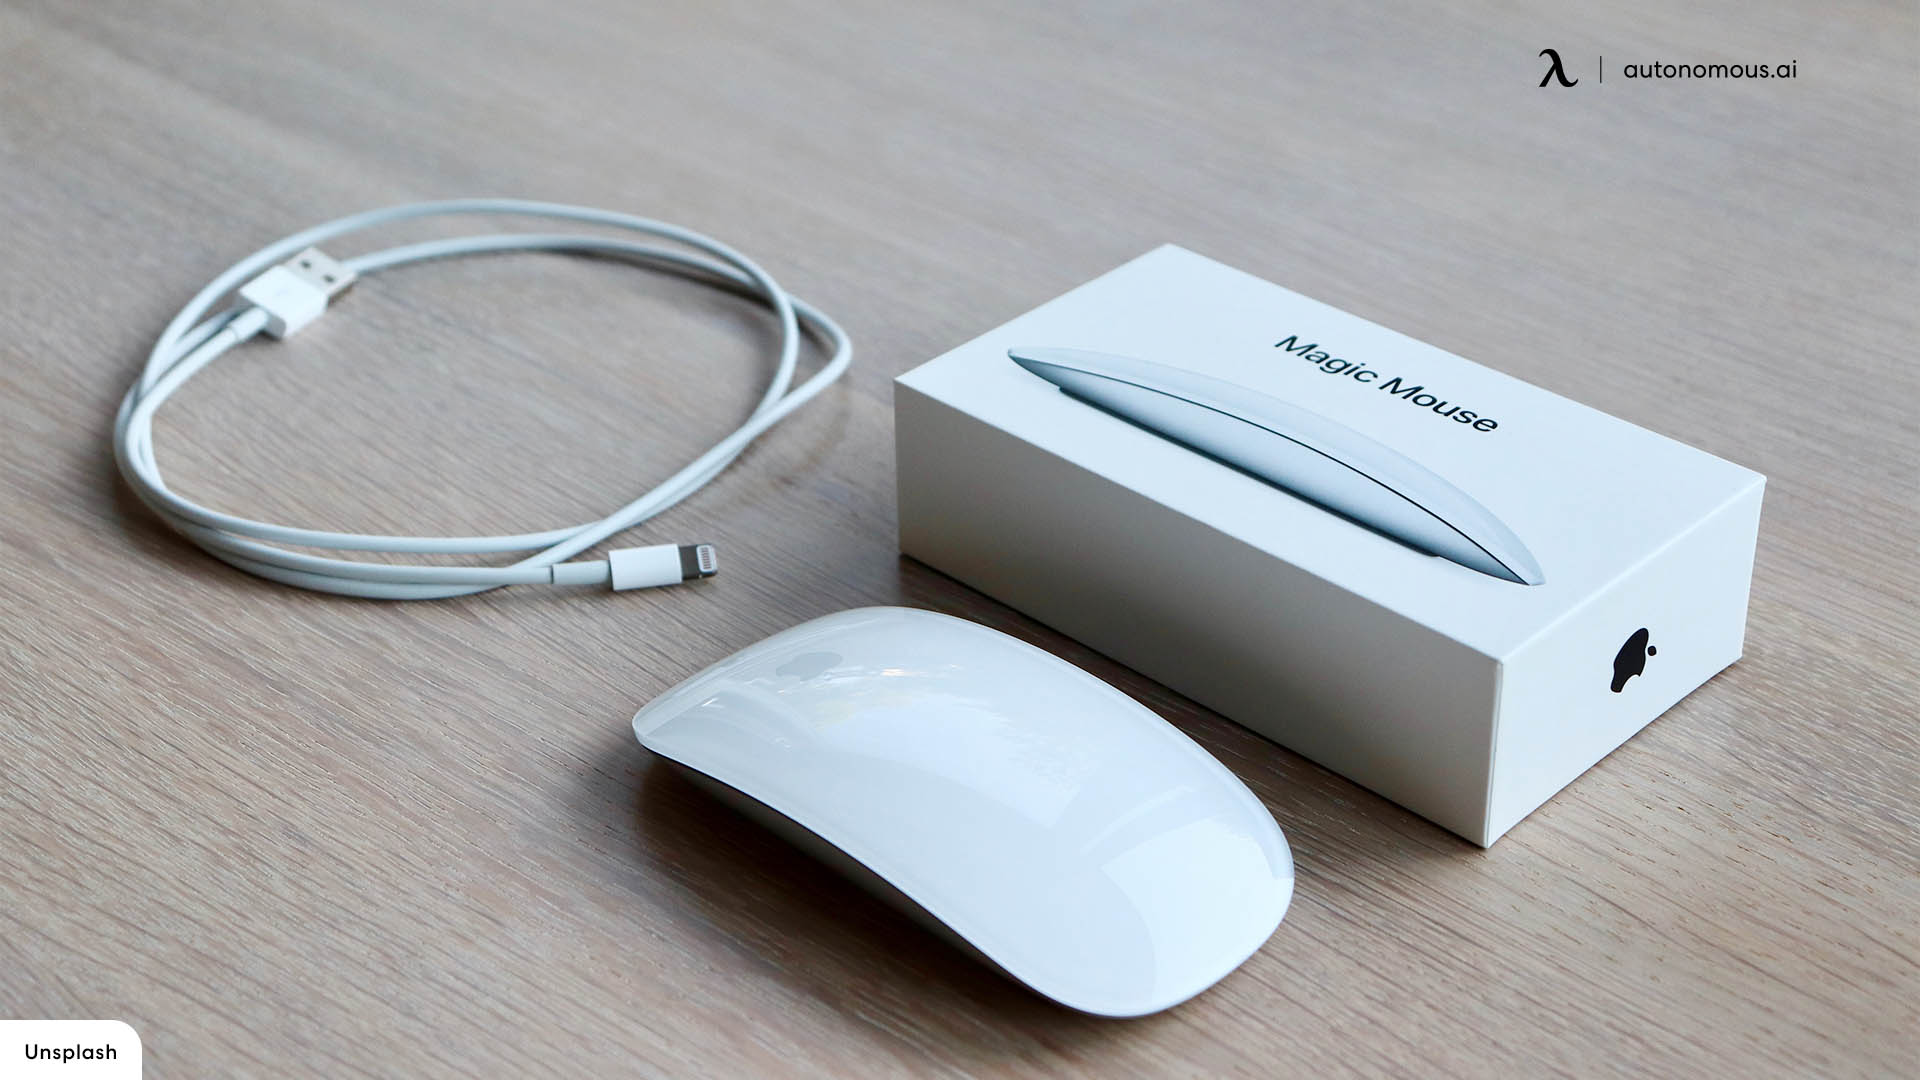
How to Charge an Apple Mouse (All Models)
Smart Products | May 5, 2026 7,893 views
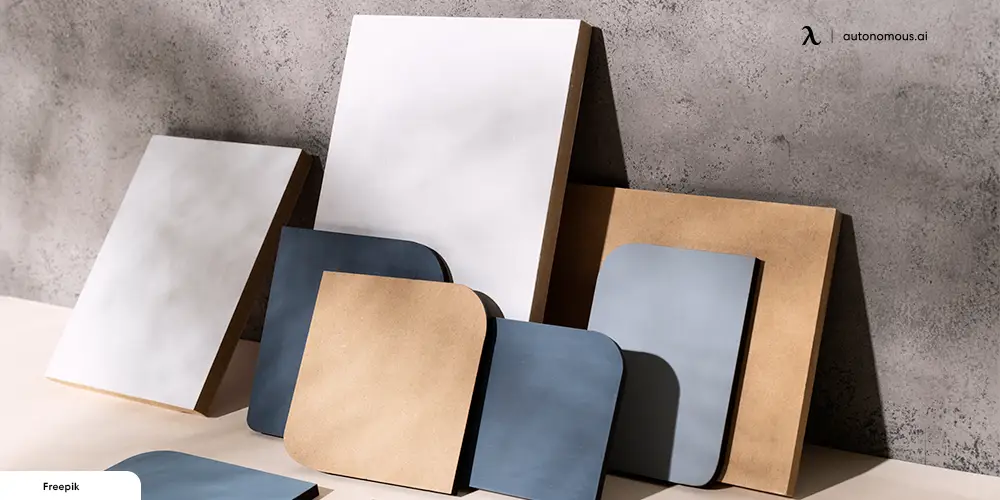
MDF vs. Particle Board: Are They the Same?
Smart Products | May 4, 2026 26,266 views

How to Get Rid of Wood Mites: Treatment by Furniture Type
Workplace Inspiration | May 4, 2026 33,284 views

Average Treadmill Speed by Age, Activity, and Fitness Level
Work Wellness | Apr 29, 2026 28,712 views

How Many Active Calories Should I Burn a Day?
Work Wellness | Apr 29, 2026 33,616 views
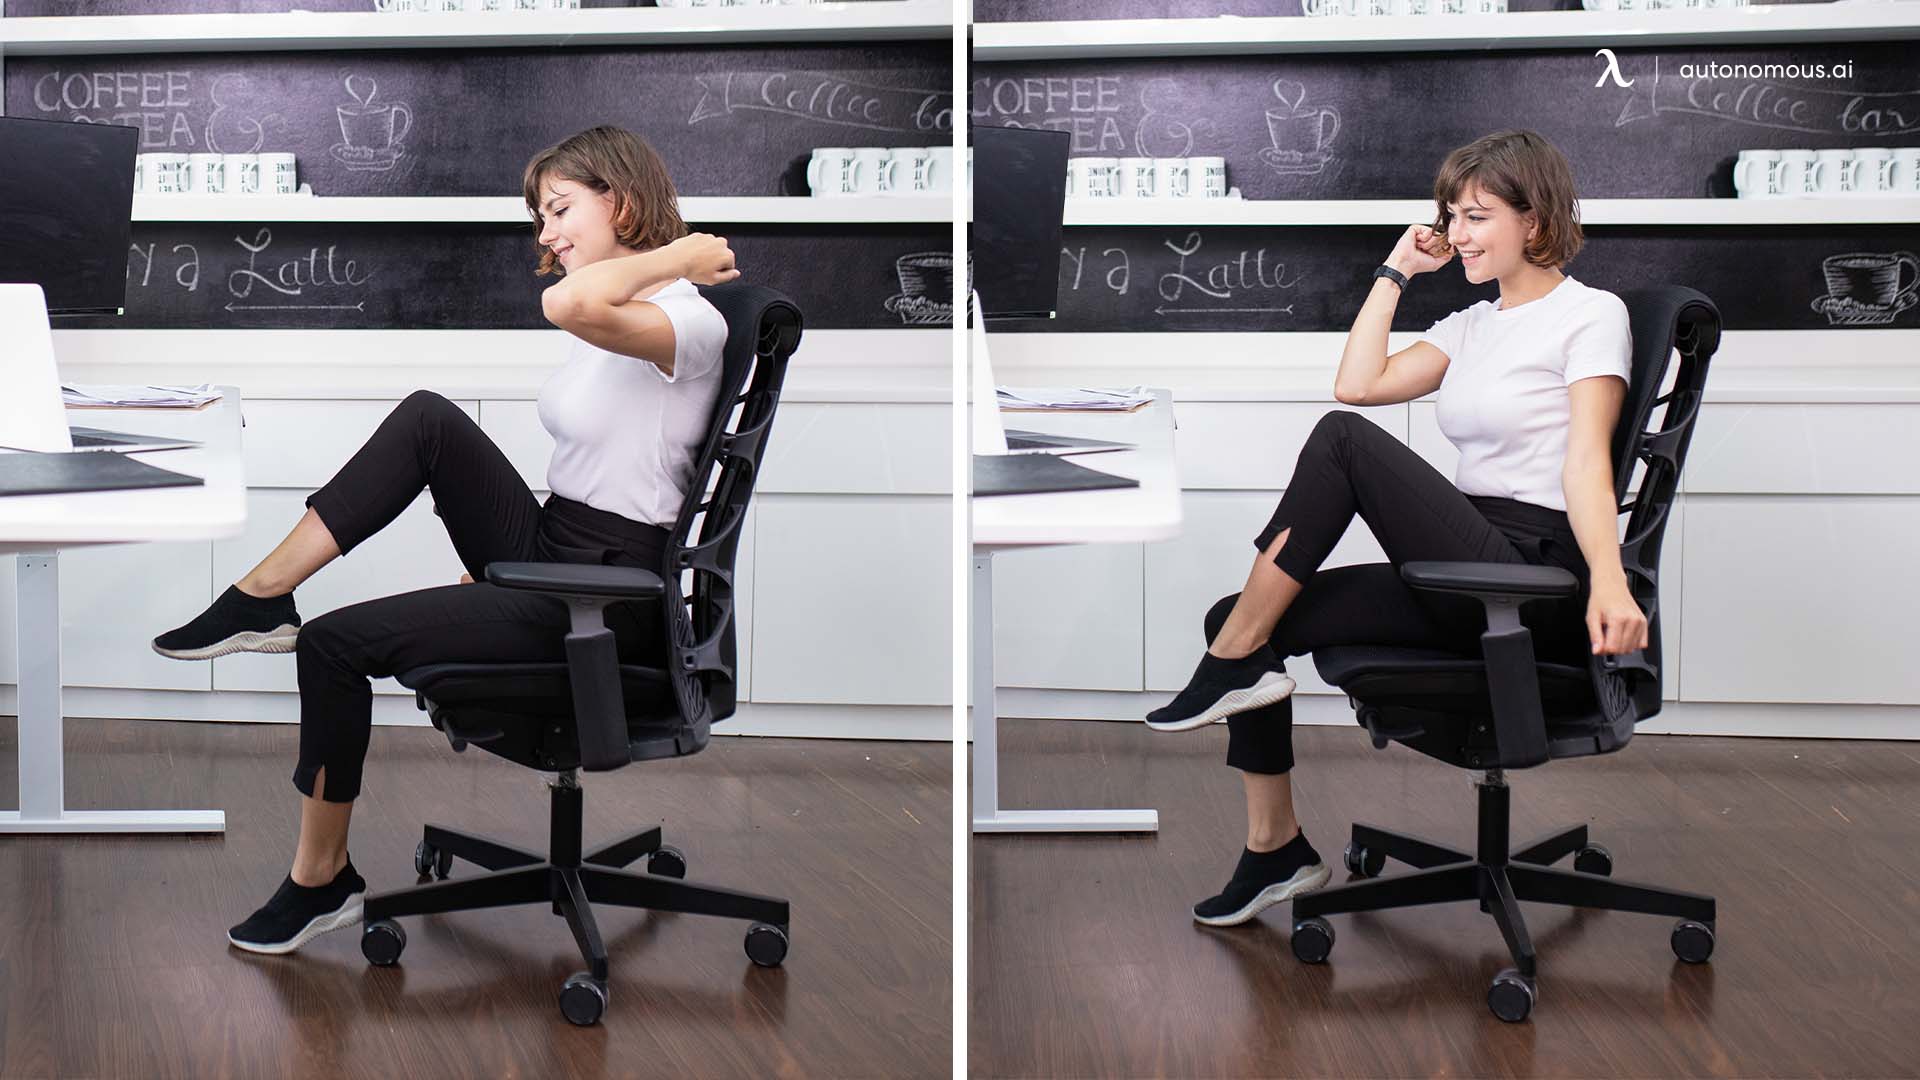
10+ Chair Exercises For Belly Fat Loss with Video
Work Wellness | Apr 29, 2026 15,017 views
Creative Workspace Ideas That Go Beyond Decor (2026)
Workplace Inspiration | Apr 28, 2026 29,936 views

Tai Chi Chair Exercises for Balance and Mobility
Work Wellness | Apr 24, 2026 925 views
PS5 Keyboard and Mouse Guide: Setup, Games & Converters
Smart Products | Apr 24, 2026 32,095 views
Is a Criss Cross Chair With Footrest Worth It for Work?
Work Wellness | Apr 23, 2026 1,529 views