How to Reupholster Leather Office Chair: Step by Step
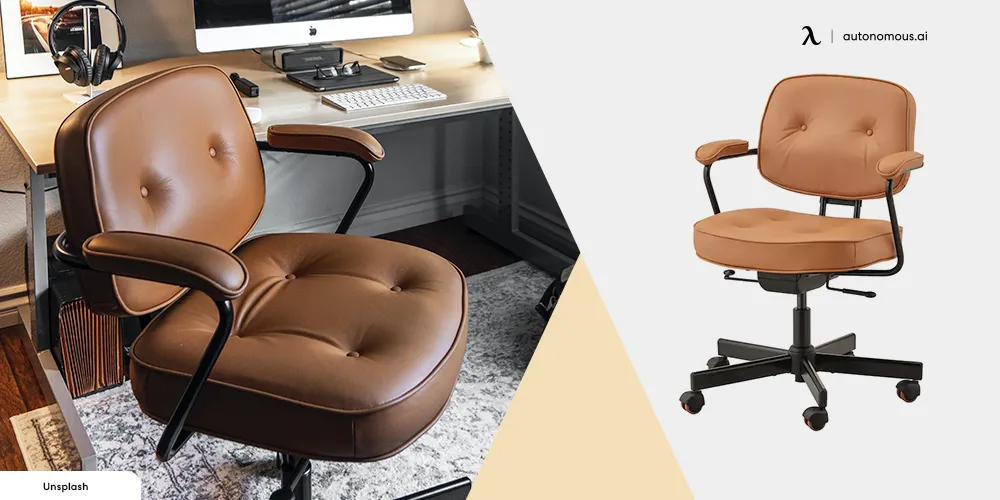
Table of Contents
- Reupholstering a Leather Office Chair: Best Tips
- Reupholstering a Leather Office Chair: Step by Step Guide
- Step 1: Obtain the Required Tools
- Step 2: Unscrew the chair
- Step 3: Staples must be removed, and you must strip away the old upholstery
- Step 4: Install the entire upholstery material and cut it
- Step 5: Put the replacement upholstery in place
- Step 6: Reconnect the seat's backing
- Step 7: Assemble the office chair once more
Is your office chair starting to show its age? It may be time to invest in the finest office budget-friendly office chair. Continue reading if you wish to keep your chair because the greatest office chair is one that has been repurposed for longevity. However, rather than reupholstering the chair all by yourself, you can also have a look at the Leather Gaming Chair by Karnox through the Autonomous Employee Purchase Program.
You should follow our guide if you still want to reupholster a leather office chair and give it a new life. The following DIY reupholstering can add decades to your desk chair – and create the impression like it pertains! All you need is the correct fabric and maybe a little patience. Our tutorial below can assist you in how to reupholster a chair seat.
Reupholstering a Leather Office Chair: Best Tips

This DIY reupholster leather office chair project is meant to be used with upholstered desk chairs. Put it another way. You can't do the same to chairs made from composite fabric weaves since that's everything about them. Similarly, certain pleather or PVC coatings might not even be suitable for reupholstering because their exterior and cushioning are made as a single structure; reupholstering a leather desk chair is a challenge for the very same reason.
Conventional office chairs with separate foam cushioning, which can be exposed and repaired with fresh fabric, work beautifully for this project. You'll discover quickly whether or not your armchair is suitable for reupholstering. If you've gotten into this project, we recommend going to a yard sale or a donation and picking up the best budget office chairs with either textile or jute upholstery which you can quickly remove.
Synthetic textiles, such as microfiber and polyamide, can also be removed. Check for the unmistakable fabric wrinkles beneath the mid-century modern office chair corners, indicating that the material was folded under and may be taken away.
Reupholstering a Leather Office Chair: Step by Step Guide
Here is how to reupholster a leather office chair:
Step 1: Obtain the Required Tools
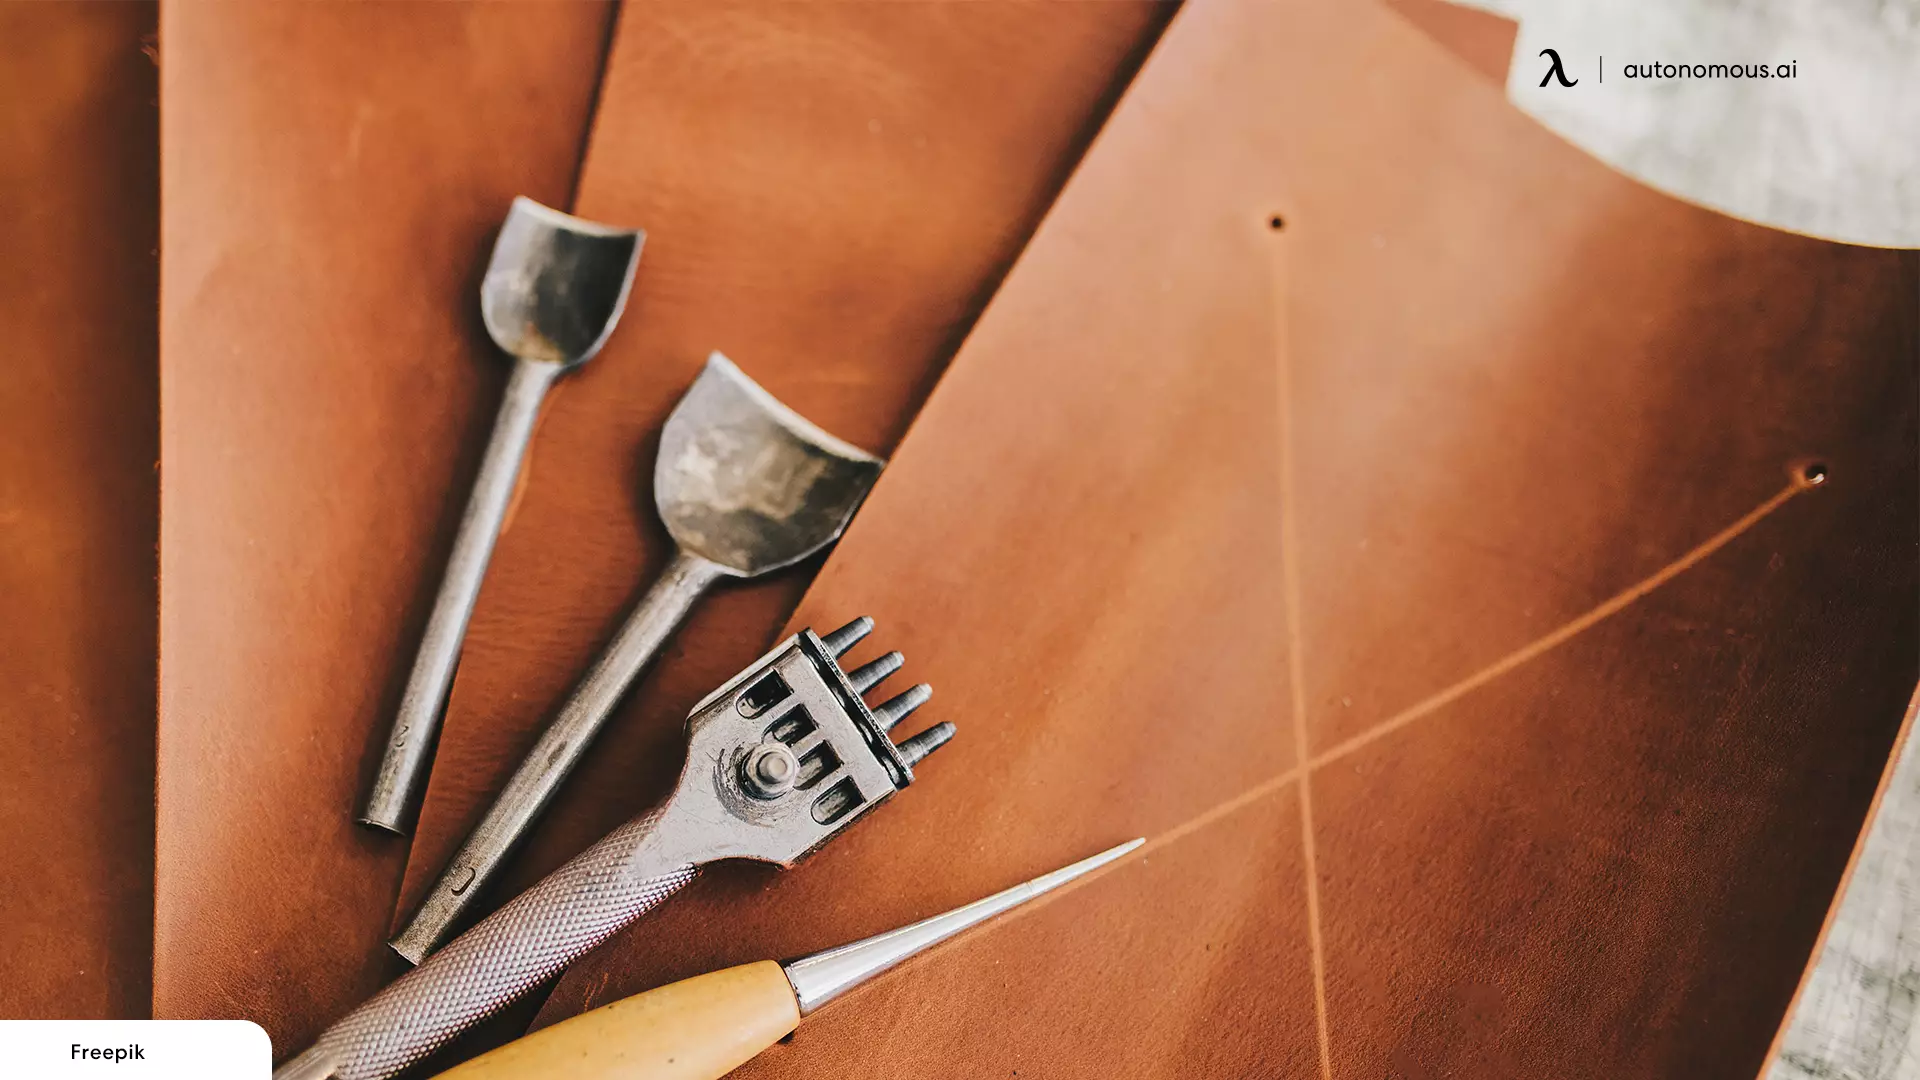
- The fresh fabric: For refinishing furniture jobs, normal cotton-based textiles work well. Outdoor textiles will provide more durability. However, they will also be much more complicated to handle. You'll require a meter, but do not be afraid to acquire more if you make errors or find you need more cloth than anticipated.
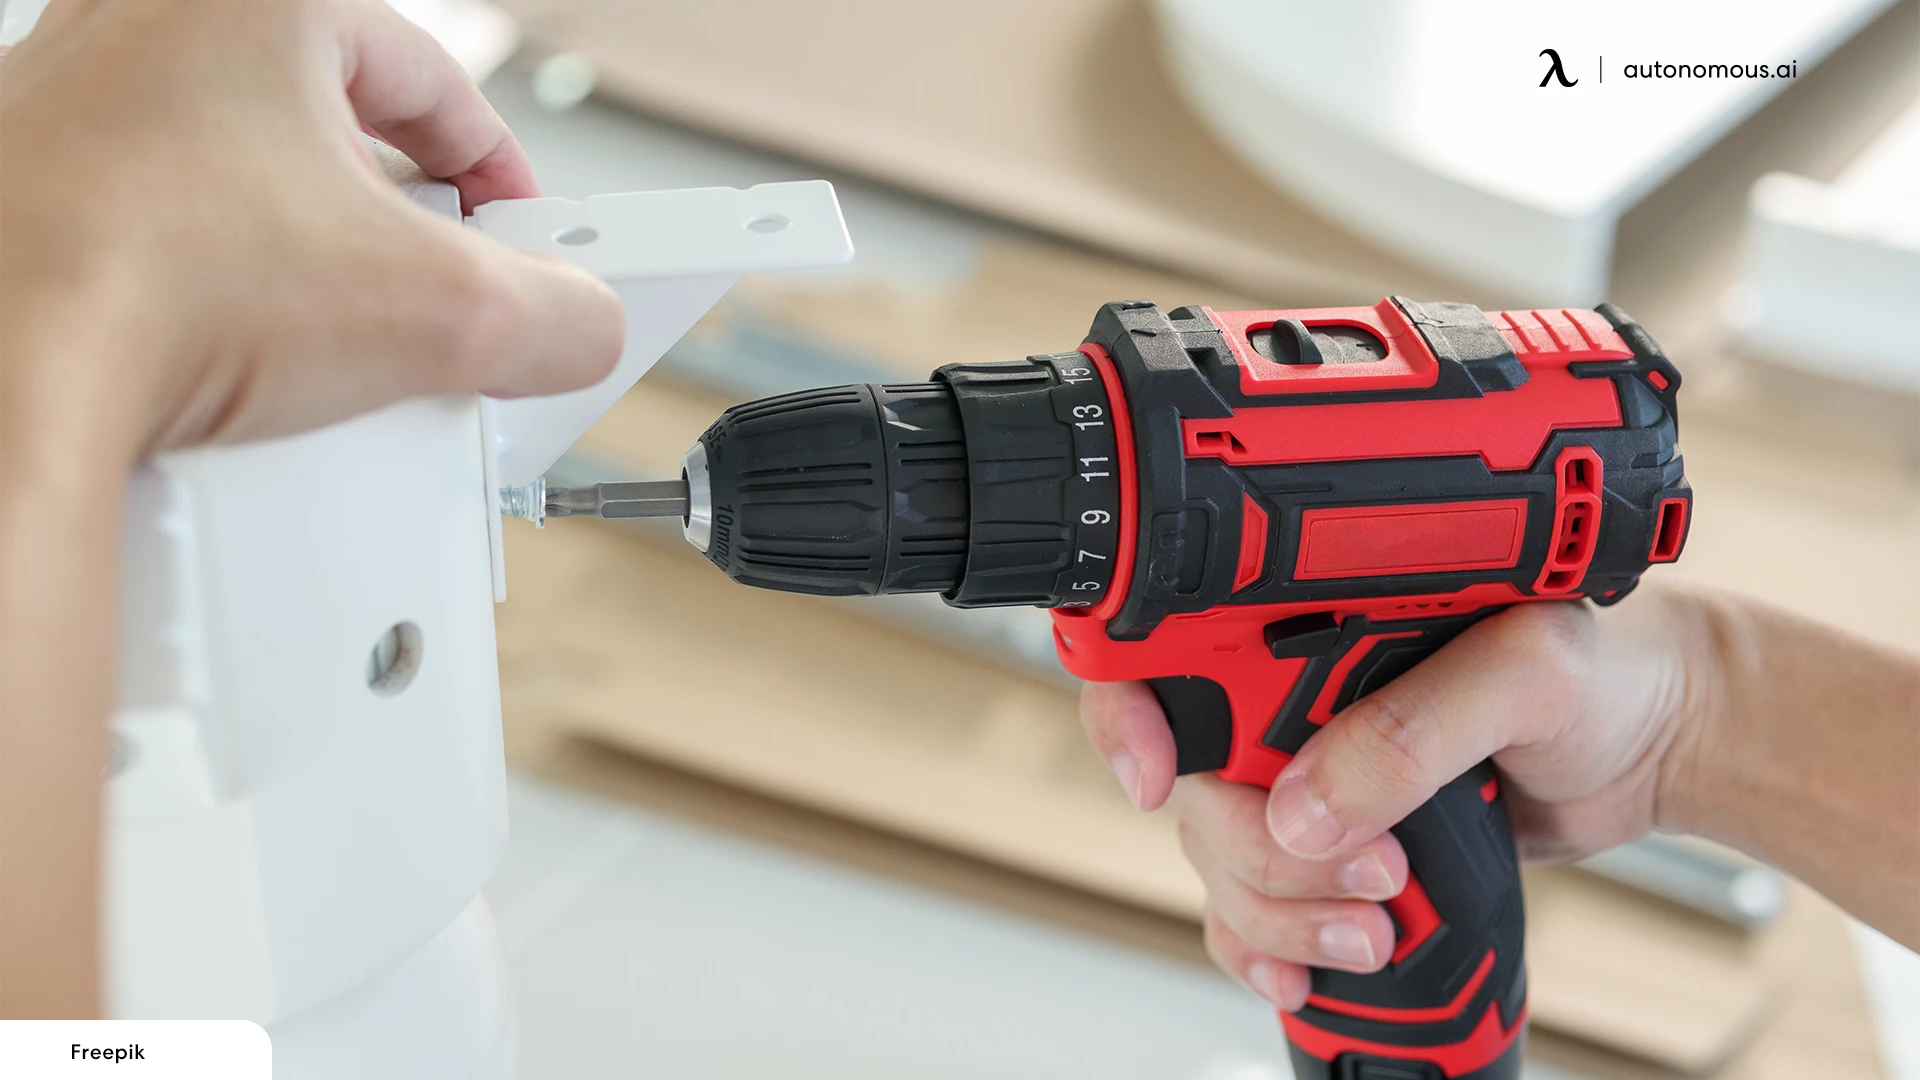
- A screw toolset: For a reupholstering desk chair project, an electric drill or equivalent instrument used as a screwdriver would work much better. Yet, the head of the screwdriver should match all fasteners or nuts on the bottom of your desk chair.
- Pliers: Needle-nose is possibly the best choice here; you'll be shocked at how often you need these.
- Scissors and a box cutter are both useful tools for cutting cloth.
- An industrial staple gun: You'll need some heavy-duty clips for this job, so do not try to restore a desk chair with your office stapler.
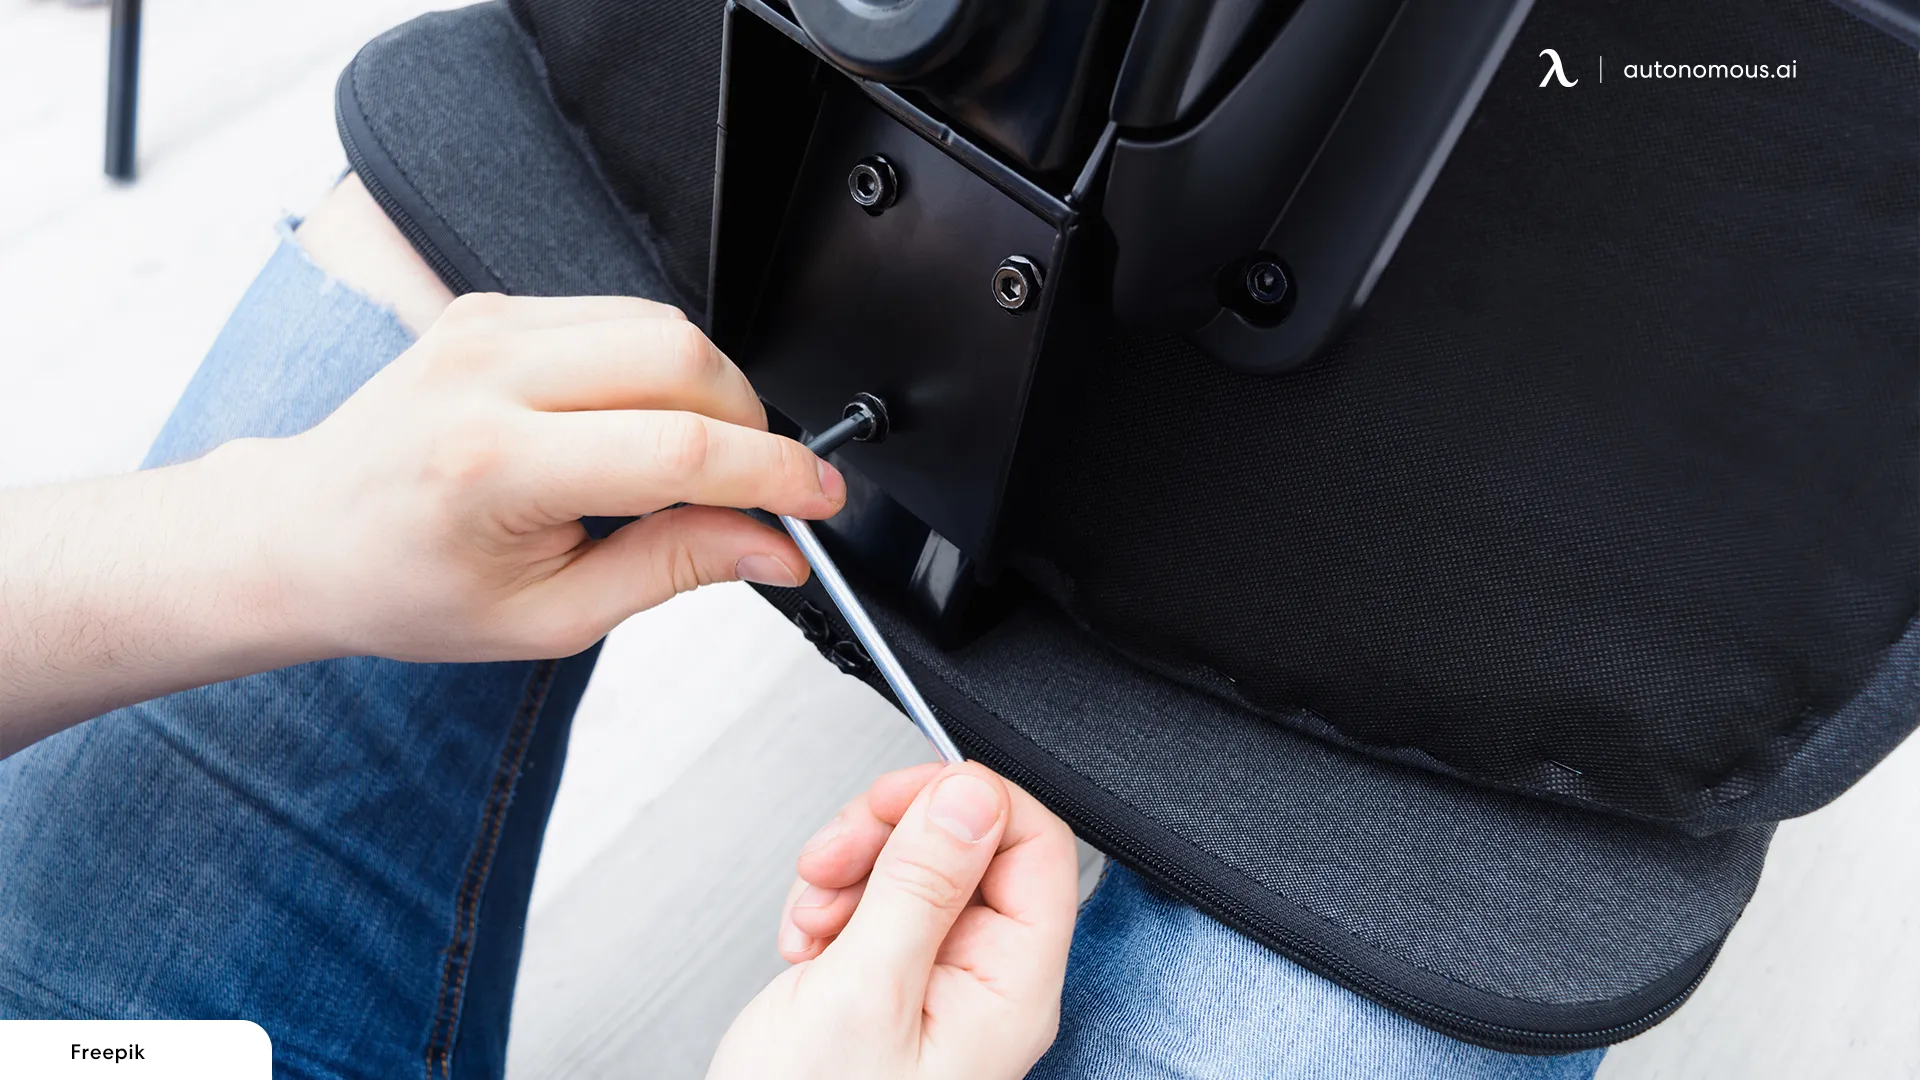
Step 2: Unscrew the chair
To reupholster the office chair, first, make sure you have arms on your seat? If this is the case, unhook or remove them to clear the path. If you're curious about how to refurbish a desk chair with armrests, you'll need to remove them initially.
Next, turn the chair over and search for the nuts or bolts that connect the chair's bottom to the "seat." To start reupholstering the chair, you'll need to unscrew the base. It's easiest to do this by disassembling all of the connections simultaneously and raising the base completely off the couch cushion.
Remove the shell-like structure from the chair's bottom plus, if required, the chair's backrest. If everything goes well, the wooden structure that serves as a bracing for the seat cushion and cloth should be visible. The chair and back usually have a wood foundation that should be disassembled at this stage. At the border of this foundation, attach the fabric with a strong circle of pins or screws.
Step 3: Staples must be removed, and you must strip away the old upholstery
Have you noticed the staples? It's past time for you to take them out. Start taking the nails out with the needle-nose pliers. Those staples might range in size from a few little staples to numerous huge metal bolts, based on how well the armchair was made. In any case, pull them out with care to prevent injuring the hardwood underneath. Pliers are great for tiny staples, while a heavy-duty staples remover might be preferable for bigger fasteners.
Step 4: Install the entire upholstery material and cut it
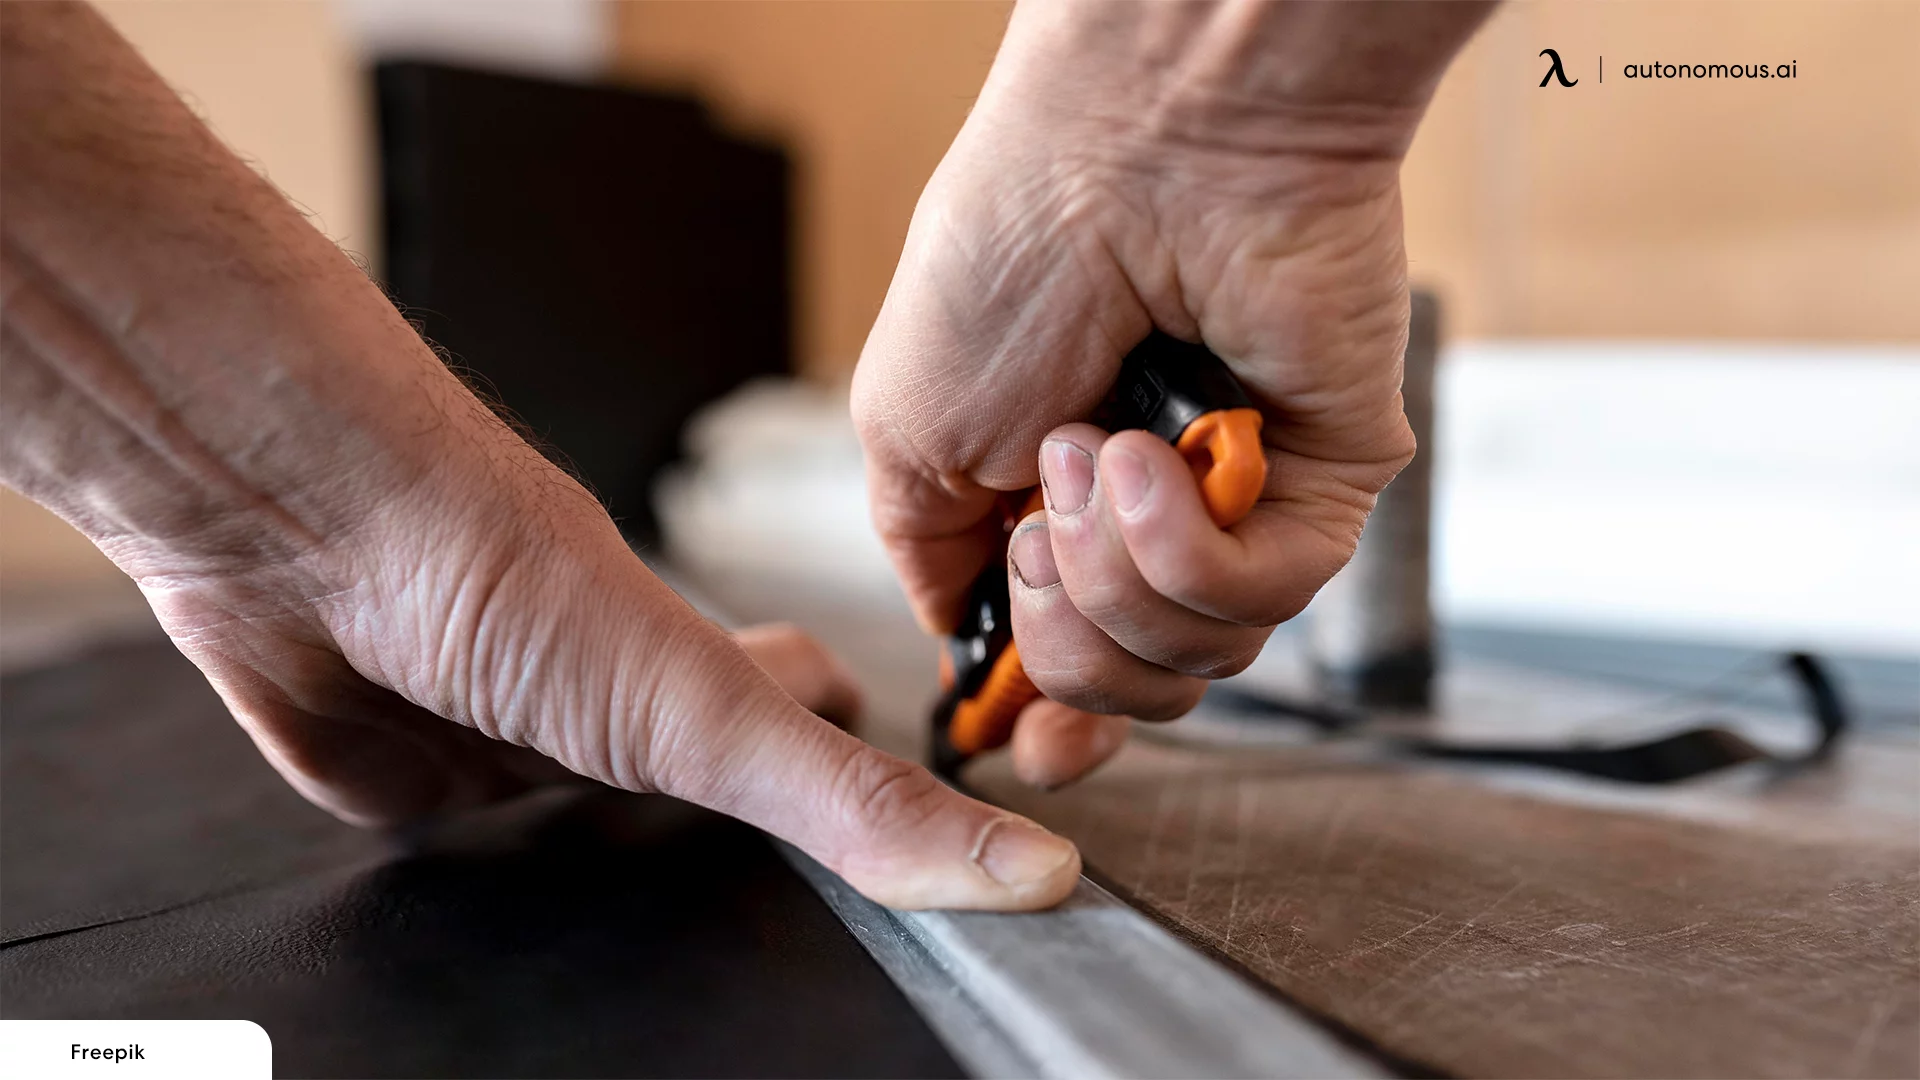
Place your fabric below the chair, with the wooden base pointing up. If you're going to add a foam layer, start with the soft foam layers! Fold the cloth all around the chair for some measures - they don't have to be accurate, but 4 inches along the borders of the wooden foundation should suffice. Trim your material until you have sufficient.
Step 5: Put the replacement upholstery in place
This is, without a doubt, the most challenging step because you need to reupholster bonded leather office chair. The cloth will not drape neatly over the base due to the odd form among most chairs and desk chair supports. Persistence is the most critical weapon you have for this procedure.
Step 6: Reconnect the seat's backing
It is time to reattach the back to your armchair using the fasteners you carefully saved. Some desk chairs can cover the back sides (typically the non-plastic) with fabric to match the rest of the office chair with a headrest, but this isn't necessarily essential. It's OK to adjust your ideas to accommodate the distinctive design of your desk chair because they're all distinctive.
Step 7: Assemble the office chair once more
Before moving on, reconnect the backrest and seat of the office chair if they are still separated. Then connect the seat's wheel foundation (if you reverse the sequence, it won't function as well). Repeat the procedures you took during the disassembly and replace any missing nuts or screws. Check that all the parts are securely attached to your modern office chair, strong, and at the proper angles.