Bedroom Recording Studio Setup in 7 Steps for Beginners

A bedroom recording studio needs a room you can close off, a computer with an audio interface, one decent microphone, closed-back headphones and some soft treatment on the walls to stop echo. With those in place, most people can record vocals, a podcast or guitar at home in a weekend.
The catch is that foam and panels change how the room sounds, not how much sound gets out, so loud sources still reach the neighbors. The seven steps below follow the order you would do them, from choosing the room to the first test take.
Bedroom Studio Setup at a Glance
A bedroom studio setup comes down to seven jobs, and each one has a quick check you can do before moving on.
| Step | What you do | Check before moving on |
|---|---|---|
| 1. Pick the room | Quietest room, walls of unequal length, highest ceiling | Divide 565 by each room dimension in feet; no two results within a few hertz, no dimension double another |
| 2. Cut outside noise | Seal door and window gaps, quiet the room's own hum | Record 30 seconds of silence and listen on headphones |
| 3. Clear and plan the layout | Desk centered on the short wall, nothing that rattles | Left and right sides of your seat roughly mirror each other |
| 4. Get the core gear | Computer, interface, mic, headphones, DAW | Every item has a job in your first song or episode |
| 5. Treat the acoustics | Panels at first reflection points, bass traps in corners | A hand clap dies out quickly with no metallic ring |
| 6. Place mic and monitors | Monitors in a triangle with your head, mic off the walls | The same line recorded in three spots; keep the driest |
| 7. Wire and test | Route and label cables, set gain, set a safe level | A full test take with no clipping or hum |
Step 1: Pick the Right Room for a Recording Studio
The right room for a bedroom recording studio is the quietest one you can use at the hours you record, with a high ceiling and walls of unequal length. Skip rooms that share a wall with a neighbor's bedroom, face a busy street, or sit next to the laundry or the furnace.
Avoid square rooms and low ceilings. The reason is room modes: bass notes that build up between two parallel surfaces. You can check your room in a minute. Divide 565 by each dimension in feet to get its lowest mode in hertz (that is the speed of sound, about 1,130 feet per second, divided by twice the length).
A 10 x 10 foot room puts both walls on 56.5 Hz, so that note booms while others thin out. A 10 x 12 foot room splits them to 56.5 Hz and 47 Hz, which spreads the bass more evenly. An 8 foot ceiling adds 70.6 Hz to the list. If two numbers land within a few hertz of each other, or one dimension is double another (an 8 foot ceiling over a 16 foot room puts both on 70.6 Hz), plan for corner bass traps in step 5.
Bigger usually sounds more natural, and the engineers Berklee quotes advise against tracking vocals in closets or bathrooms because small, hard rooms color the voice. If no room in the house works, the last section covers booths, prefab studio sheds and small prefab cabins.

Step 2: Soundproof What You Can and Cut Background Noise
Soundproofing stops sound from passing through walls, doors and windows, and the cheapest part of it is sealing air gaps. Where air can pass, sound passes too. Weatherstripping around the door, a door sweep at the bottom and heavy curtains over the window handle a lot of the high-pitched noise.
Real isolation takes four things: mass (heavier walls and doors), decoupling (separating the inner wall from the outer one), damping and sealing every gap. That is construction work, not a weekend fix. Foam panels do none of it. A wall covered in foam will not keep a drum kit or a guitar amp out of the next apartment.
Then quiet the room itself. Microphones turn small sounds into loud ones: fridges, plumbing, room fans, air conditioning, rain on a window and traffic all end up under your takes. Turn off what you can during a take and record when the street is quiet.
Check: set your mic gain where you normally record, capture 30 seconds of silence and listen on headphones with the volume up. Any hum, traffic or fan you hear there will sit under every take.
Step 3: Clear the Room and Plan the Layout
Clear out anything that rattles, hums or reflects sound, then center your desk on the shorter wall so you face the length of the room. Glass-front cabinets, loose picture frames and a buzzing lamp all show up on recordings. Soft things can stay: a bed, a full closet and a packed bookshelf absorb or break up sound, which helps.
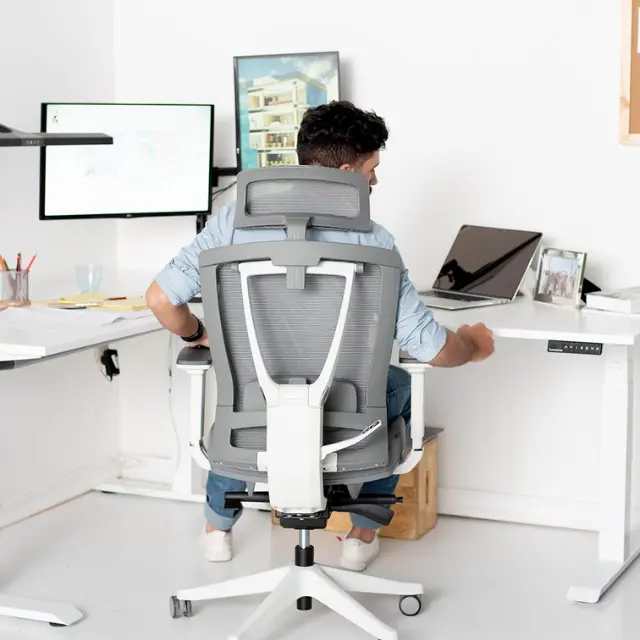
Symmetry matters more than the exact spot. Your left and right sides should see similar walls, windows and furniture, so the speakers sound balanced. Do not sit in the exact middle of the room, where bass cancels out; a seat a little in front of center works better. A desk built for a recording studio with room for an interface and a keyboard keeps cables off the floor.
A quiet chair matters too: a creaking office chair lands on vocal takes, so test yours with the mic live, or look at studio chairs for musicians.
Check: stand where your head will be and look left and right. If one side is a window and the other a closet door, shift the desk until both sides roughly match.
Step 4: Get the Core Recording Gear
The core gear for a bedroom studio is a computer, an audio interface, a microphone, closed-back headphones and a digital audio workstation (DAW), with studio monitors added once you start mixing. Buy for the first project you will record, not the tenth.
- Computer: Audient's budget guide suggests at least 8 GB of RAM and a 4-core processor, with 16 to 32 GB if you can afford it. A dedicated graphics card is not needed for audio.
- Audio interface: two inputs cover a solo artist or a duo, such as a vocal and a guitar at once.
- Microphone: a USB mic plugs straight into the computer and works for podcasts and simple demos. An XLR mic through an interface gives more options later. In an untreated bedroom, a dynamic mic picks up less of the room than a condenser.
- Headphones: closed-back models seal better, so the click track does not bleed into the vocal mic.
- Monitors: Audient suggests 5 to 6 inch drivers for a room around 8 x 10 feet and 6.5 to 8 inch drivers for about 12 x 15 feet. Bigger speakers in a small room mostly excite more bass problems.
- DAW: free options such as GarageBand, Audacity and Cakewalk are enough to learn on.
- Small parts: a mic stand or boom arm, a pop filter for plosive "p" and "b" sounds, XLR cables, and a reflection shield if the walls behind the mic are bare.
Check: list your first project and cross off any item it does not need. A podcast or vocal setup can skip monitors until mixing starts.

Step 5: Treat the Room Acoustics
Acoustic treatment controls echo and bass buildup inside the room: absorbers at the first reflection points, bass traps in the corners and something soft behind the microphone. Engineers quoted by Berklee name room acoustics as the main reason home recordings sound poor.
- First reflection points: sit in your mixing seat while someone slides a mirror along the side wall. Wherever you see a speaker in the mirror, hang a panel. Repeat on the other wall and the ceiling above the desk.
- Corners: bass builds up where walls meet, so corners get the thickest absorbers. Thin foam mostly handles high frequencies; thicker panels of mineral wool or fiberglass reach lower.
- Behind the mic: a panel or a heavy blanket behind the singer stops the voice from bouncing straight back into the mic. Berklee's home studio guide suggests packing blankets hung on mic stands as a cheap start.
- Diffusers: they matter less in a small bedroom. Spend on absorption first.
Check: stand in the middle of the room and clap once. A metallic ring or flutter means two bare parallel surfaces are still bouncing sound. Add treatment until the clap dies out quickly.

Step 6: Place the Microphone and Monitors
Set your monitors so they form an equilateral triangle with your head, tweeters at ear height, and record with the mic away from the walls and its back facing the noisiest part of the room. Small moves here change the sound more than a new cable or plugin.
Monitors: angle both speakers toward your ears, keep them the same distance from the side walls, and pull them a little away from the wall behind. Stands or isolation pads stop the desk from buzzing along with the bass.
Microphone: keep about a fist's width between your mouth and the mic, use a pop filter or angle the mic slightly off your mouth, and point the dead back of a cardioid mic at the window, door or computer fan. Do not face a bare wall at close range.
Check: record the same line in three spots in the room and listen back on headphones. Keep the spot that sounds driest and closest.

Step 7: Wire Everything and Run a Test Session
Route cables along one path, label both ends, set your input gain with headroom and run a full test take before you record anything that matters. Keep audio cables away from power bricks where you can, since crossing them at a right angle causes less hum than running them side by side.
Set gain so your loudest part peaks well below 0 dBFS, around -12 to -6 dBFS, so a louder chorus does not clip. Save each project to two places.
Protect your hearing during long sessions. NIOSH's recommended limit is 85 dBA averaged over an eight-hour day, and the safe time halves for every 3 dBA above that. Mix at a moderate level, take breaks, and turn down when your ears start to feel tired.
Check: record a full song or episode start to finish. If you hear hum, clipping or a cable crackle, fix it now, not during the real session.
Bedroom Recording Studio Budget: What to Buy First
A starter bedroom recording studio costs a few hundred dollars if you already own a computer, because the first buys are an interface, one mic, headphones and cables. Monitors and room treatment come next, and they cost more than most beginners expect.
| Stage | What it covers | Gear to add |
|---|---|---|
| Starter | Vocals, podcast, guitar through the interface | 2-input interface, dynamic or USB mic, closed-back headphones, free DAW, pop filter, stand |
| Producer | Mixing at home, writing with virtual instruments | Pair of 5 to 6 inch monitors, MIDI keyboard, 4 to 6 absorber panels |
| Room upgrade | Cleaner low end, better vocal takes | Corner bass traps, ceiling panel over the desk, a second mic, a better interface |
For a sense of scale, Audient's home studio budget guide puts a workhorse dynamic mic at about $100 and a pair of 5 to 6 inch monitors at about $300 to $400. Treatment you build yourself from mineral wool and fabric usually costs less than ready-made kits.
What Are the Rooms in a Recording Studio Called?
A commercial recording studio usually has a control room, where the engineer listens and mixes, and a live room, where musicians play, plus one or more isolation booths for vocals or loud amps. Larger studios add a machine room to keep noisy computers and power gear out of the control room.
A bedroom studio makes one room do all of those jobs. That is why headphones matter while tracking: with the mic live, the monitors stay off so they do not bleed into the take.
Small Bedroom Recording Studio Ideas
A small bedroom music studio works best when the gear lives in one corner and the rest of the room stays a bedroom. These ideas fit a tight space:
- Corner desk studio: desk on the short wall, two panels at the side reflection points, one above the desk. The bed and closet do the rest of the absorbing.
- Bookshelf back wall: a full, uneven bookshelf behind your seat breaks up reflections better than a bare wall.
- Duvet instead of a closet booth: hang a thick duvet behind the singer rather than singing into a closet, which tends to sound boxy.
- Panels on stands: movable panels go up for a session and fold away at night.
- Vertical storage: guitars on wall hangers, a keyboard on a stand under the desk and other studio apartment furniture ideas free up floor space.
- Headphones at night: track and edit on headphones late, then check mixes on the monitors during the day.
- Camera corner: if you film too, put the treated wall behind you so the same panels serve audio and video. These YouTube studio setup ideas cover lights and camera angles.
When a Bedroom Is Not Enough: Booth or Backyard Room
If the bedroom shares a wall with a sleeping family or a neighbor, or you need to record at night, the next step is a separate space: an indoor booth for spoken word or a backyard room for louder work. A privacy pod can sit inside the house, while backyard rooms and home office sheds move the noise out of it.
Spaceship: An Indoor Booth for Spoken Word
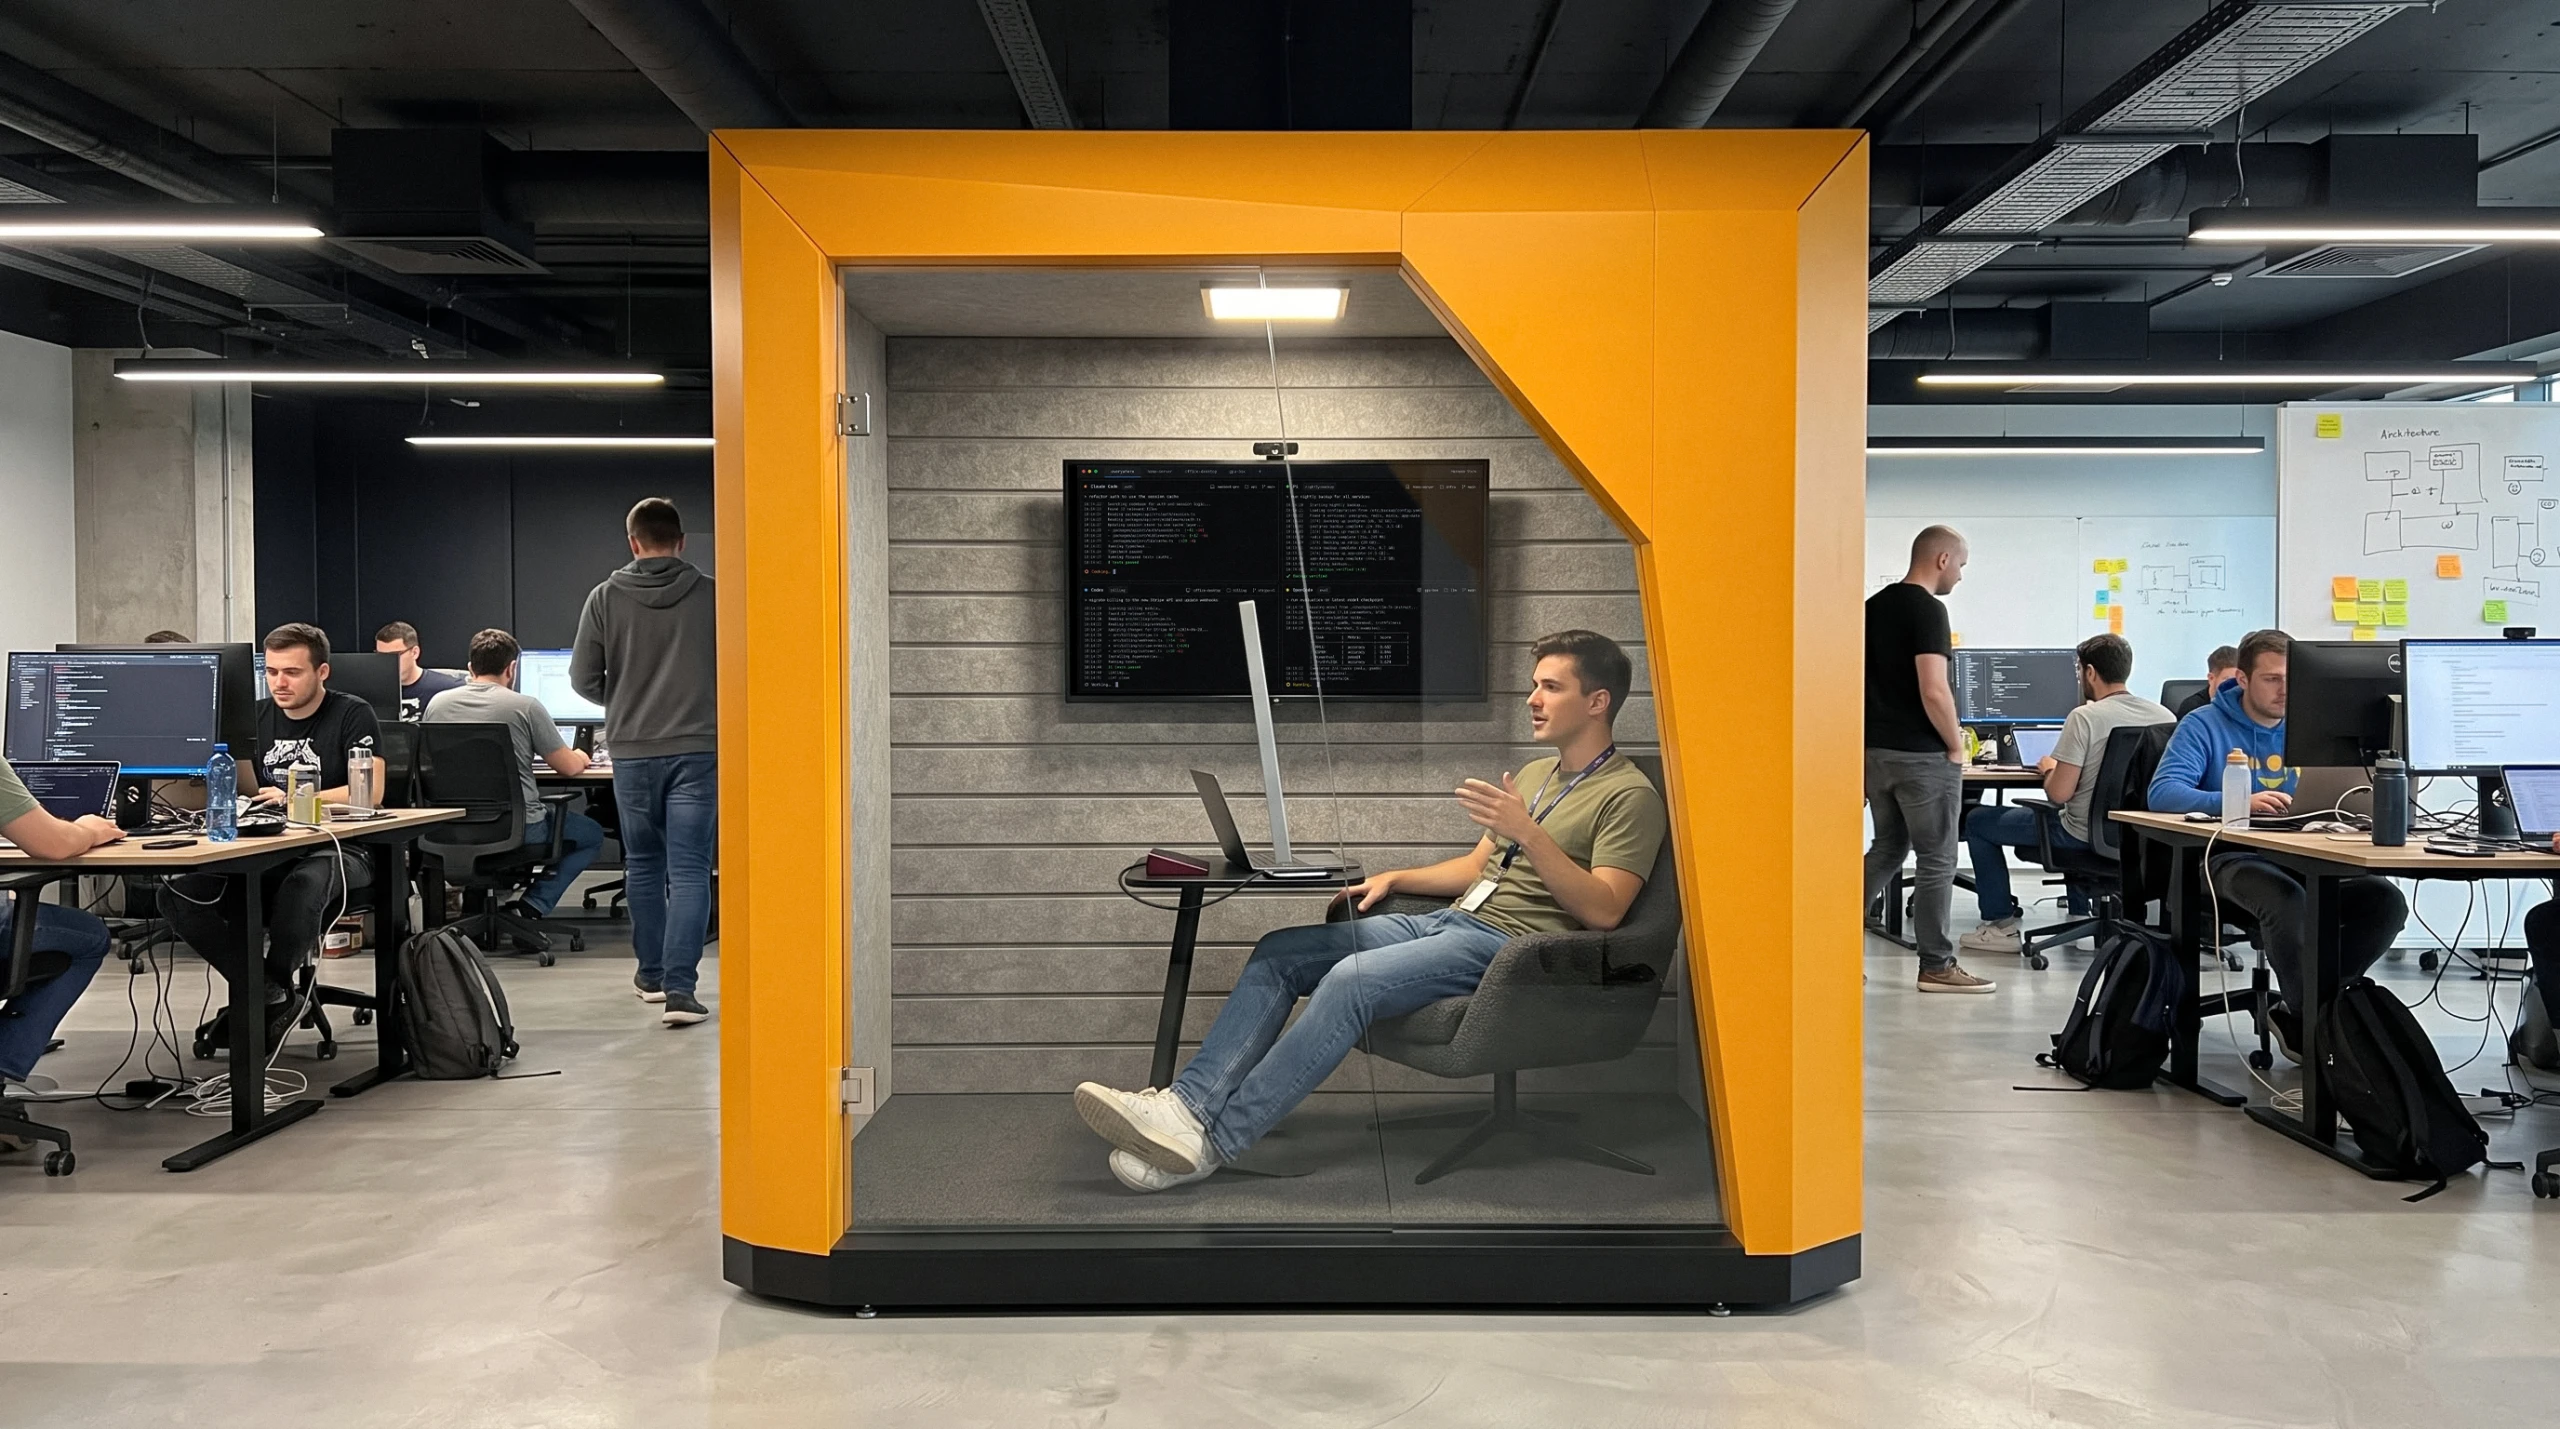
Spaceship is an Autonomous one-person pod that stands inside a home or office, and it suits spoken-word recording: voice-overs, podcast episodes, demos and calls. Felt walls and ceiling stop echo, and a 10 mm glass door closes with a full seal. Autonomous lists 30 dB of speech reduction (marked preliminary), so normal talk is a murmur two desks away.
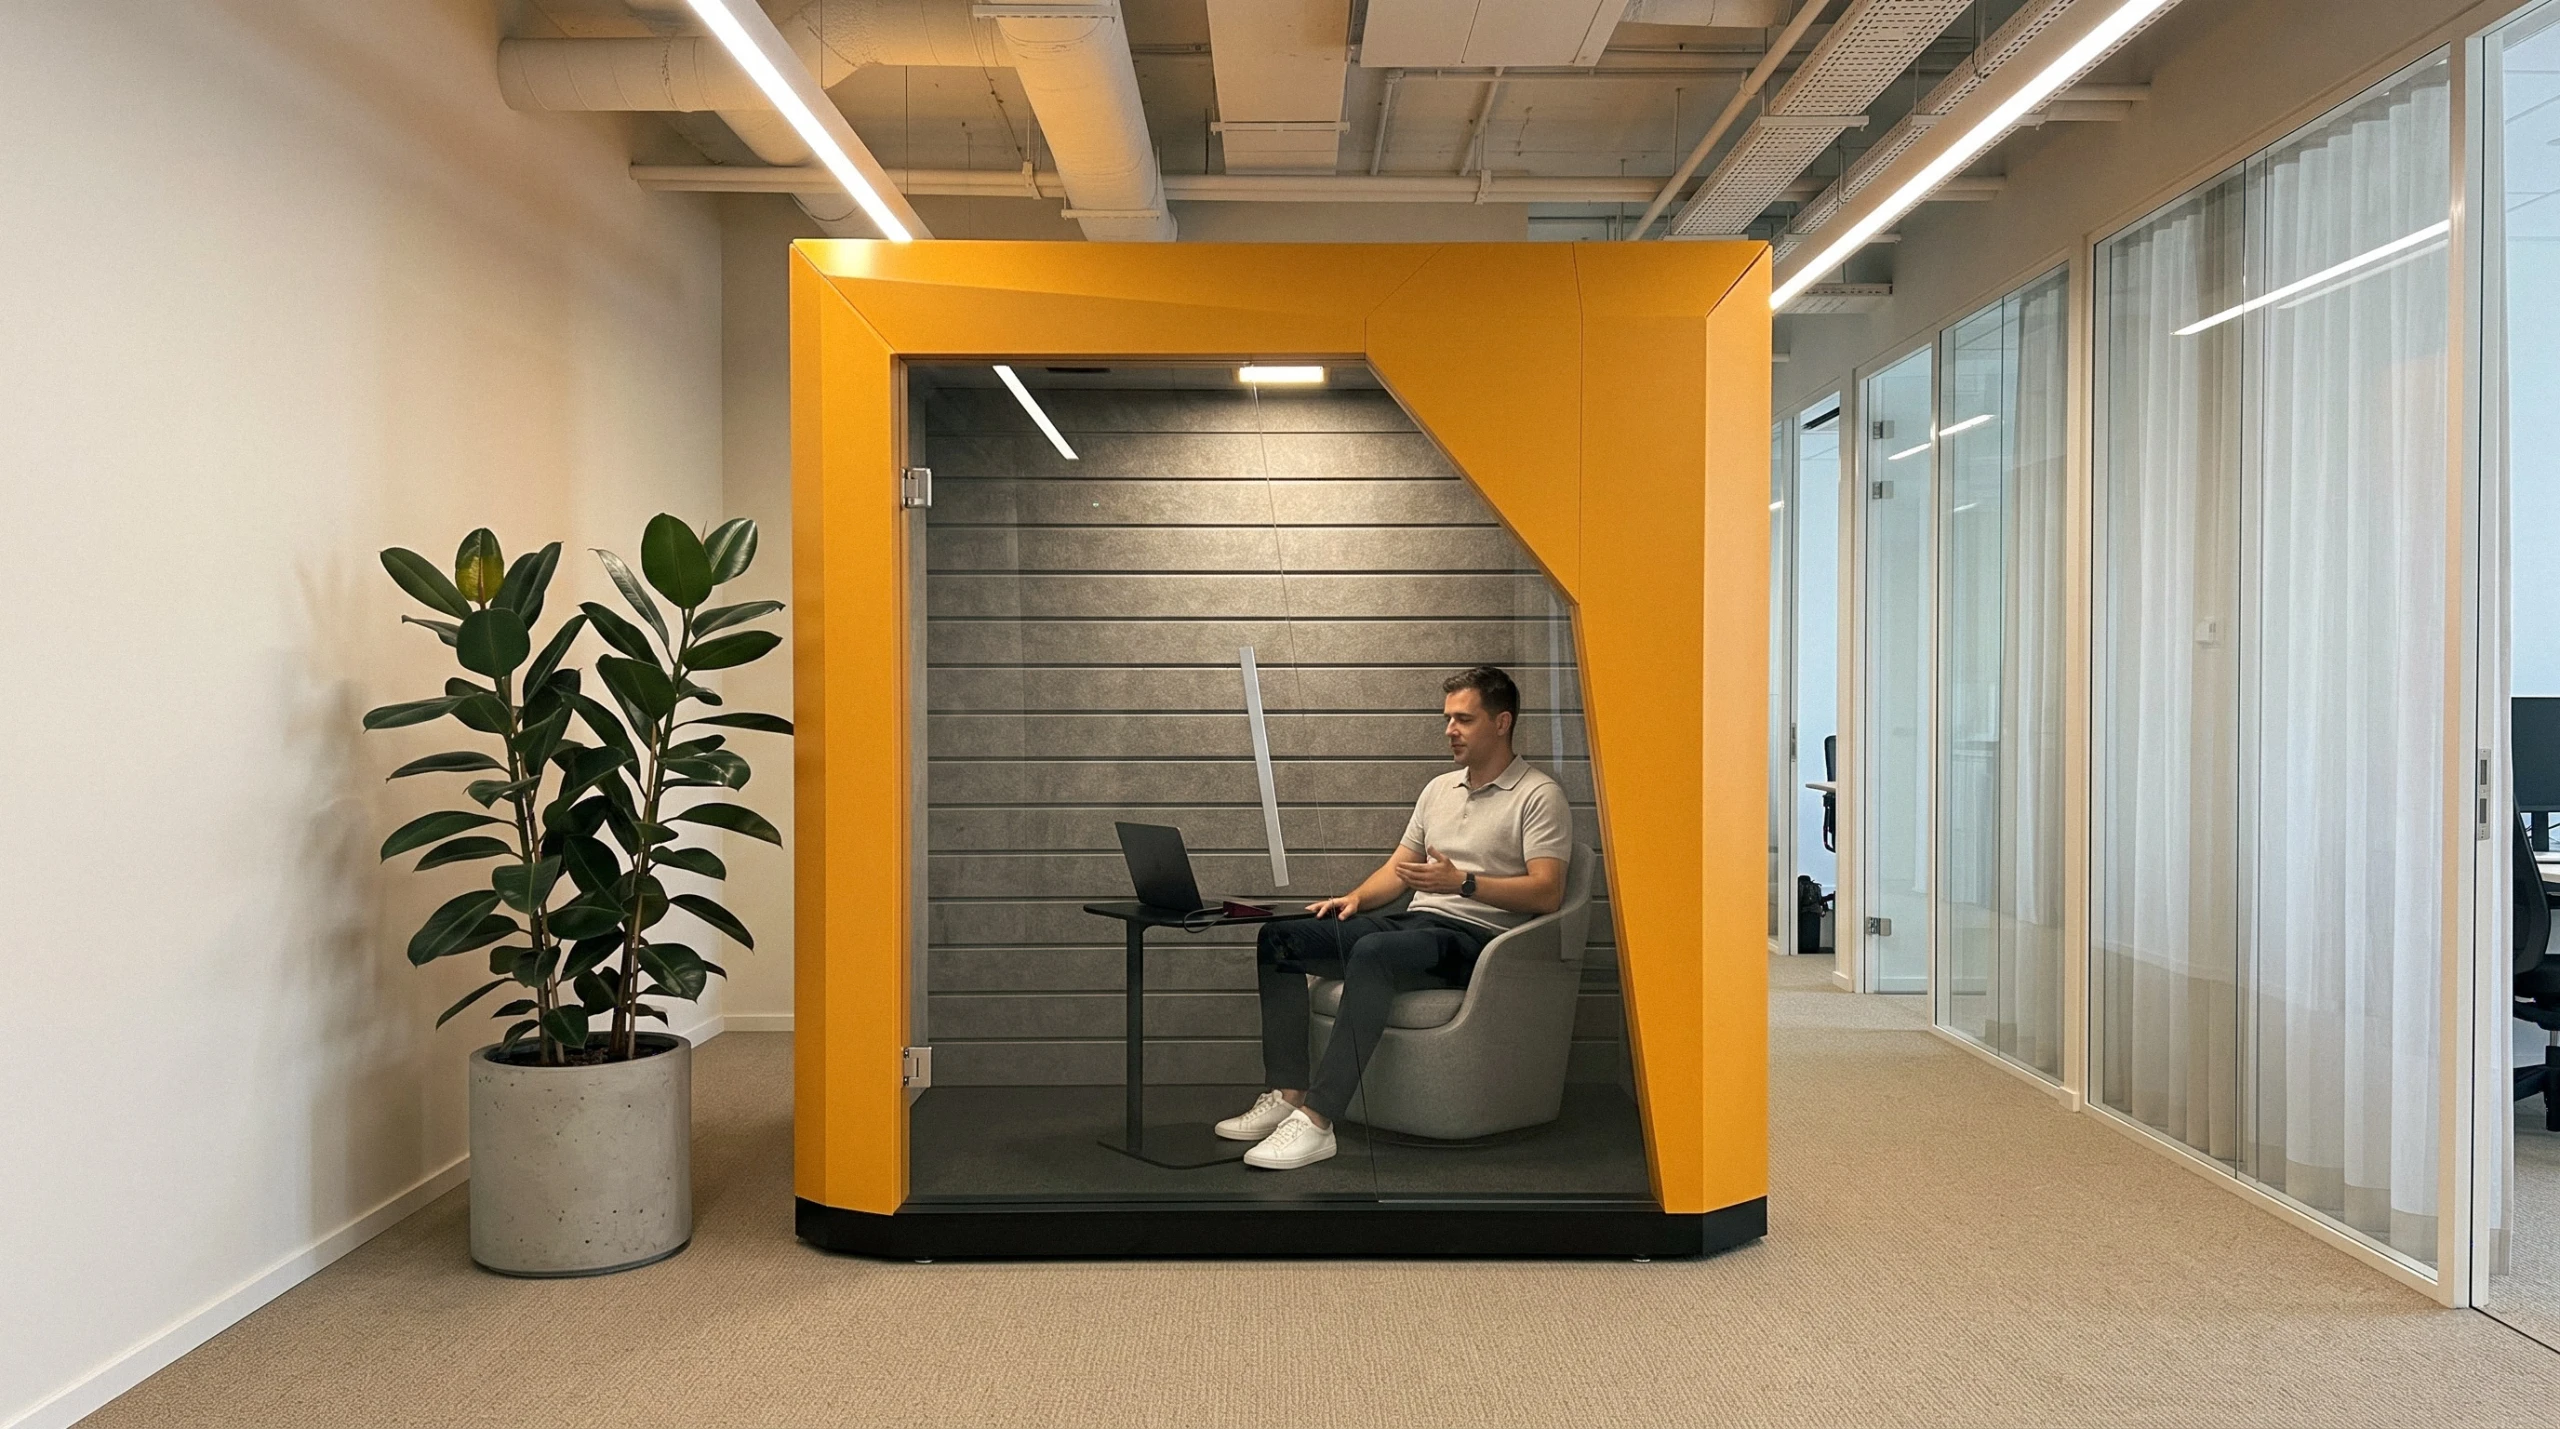
It is not studio isolation for drums, amps or full-voice singing. Its two 8" roof vents run all the time, up to 32 dB(A) at full speed, so test whether a condenser mic hears the fan. The room is built around a lounge chair and a laptop side table (both sold separately), not a desk, so it suits a laptop and one mic, not your full studio desk. It stands 7'9" high and weighs about 950 lb, so check your ceiling first.
StudioPod: A Backyard Room for Louder Sessions
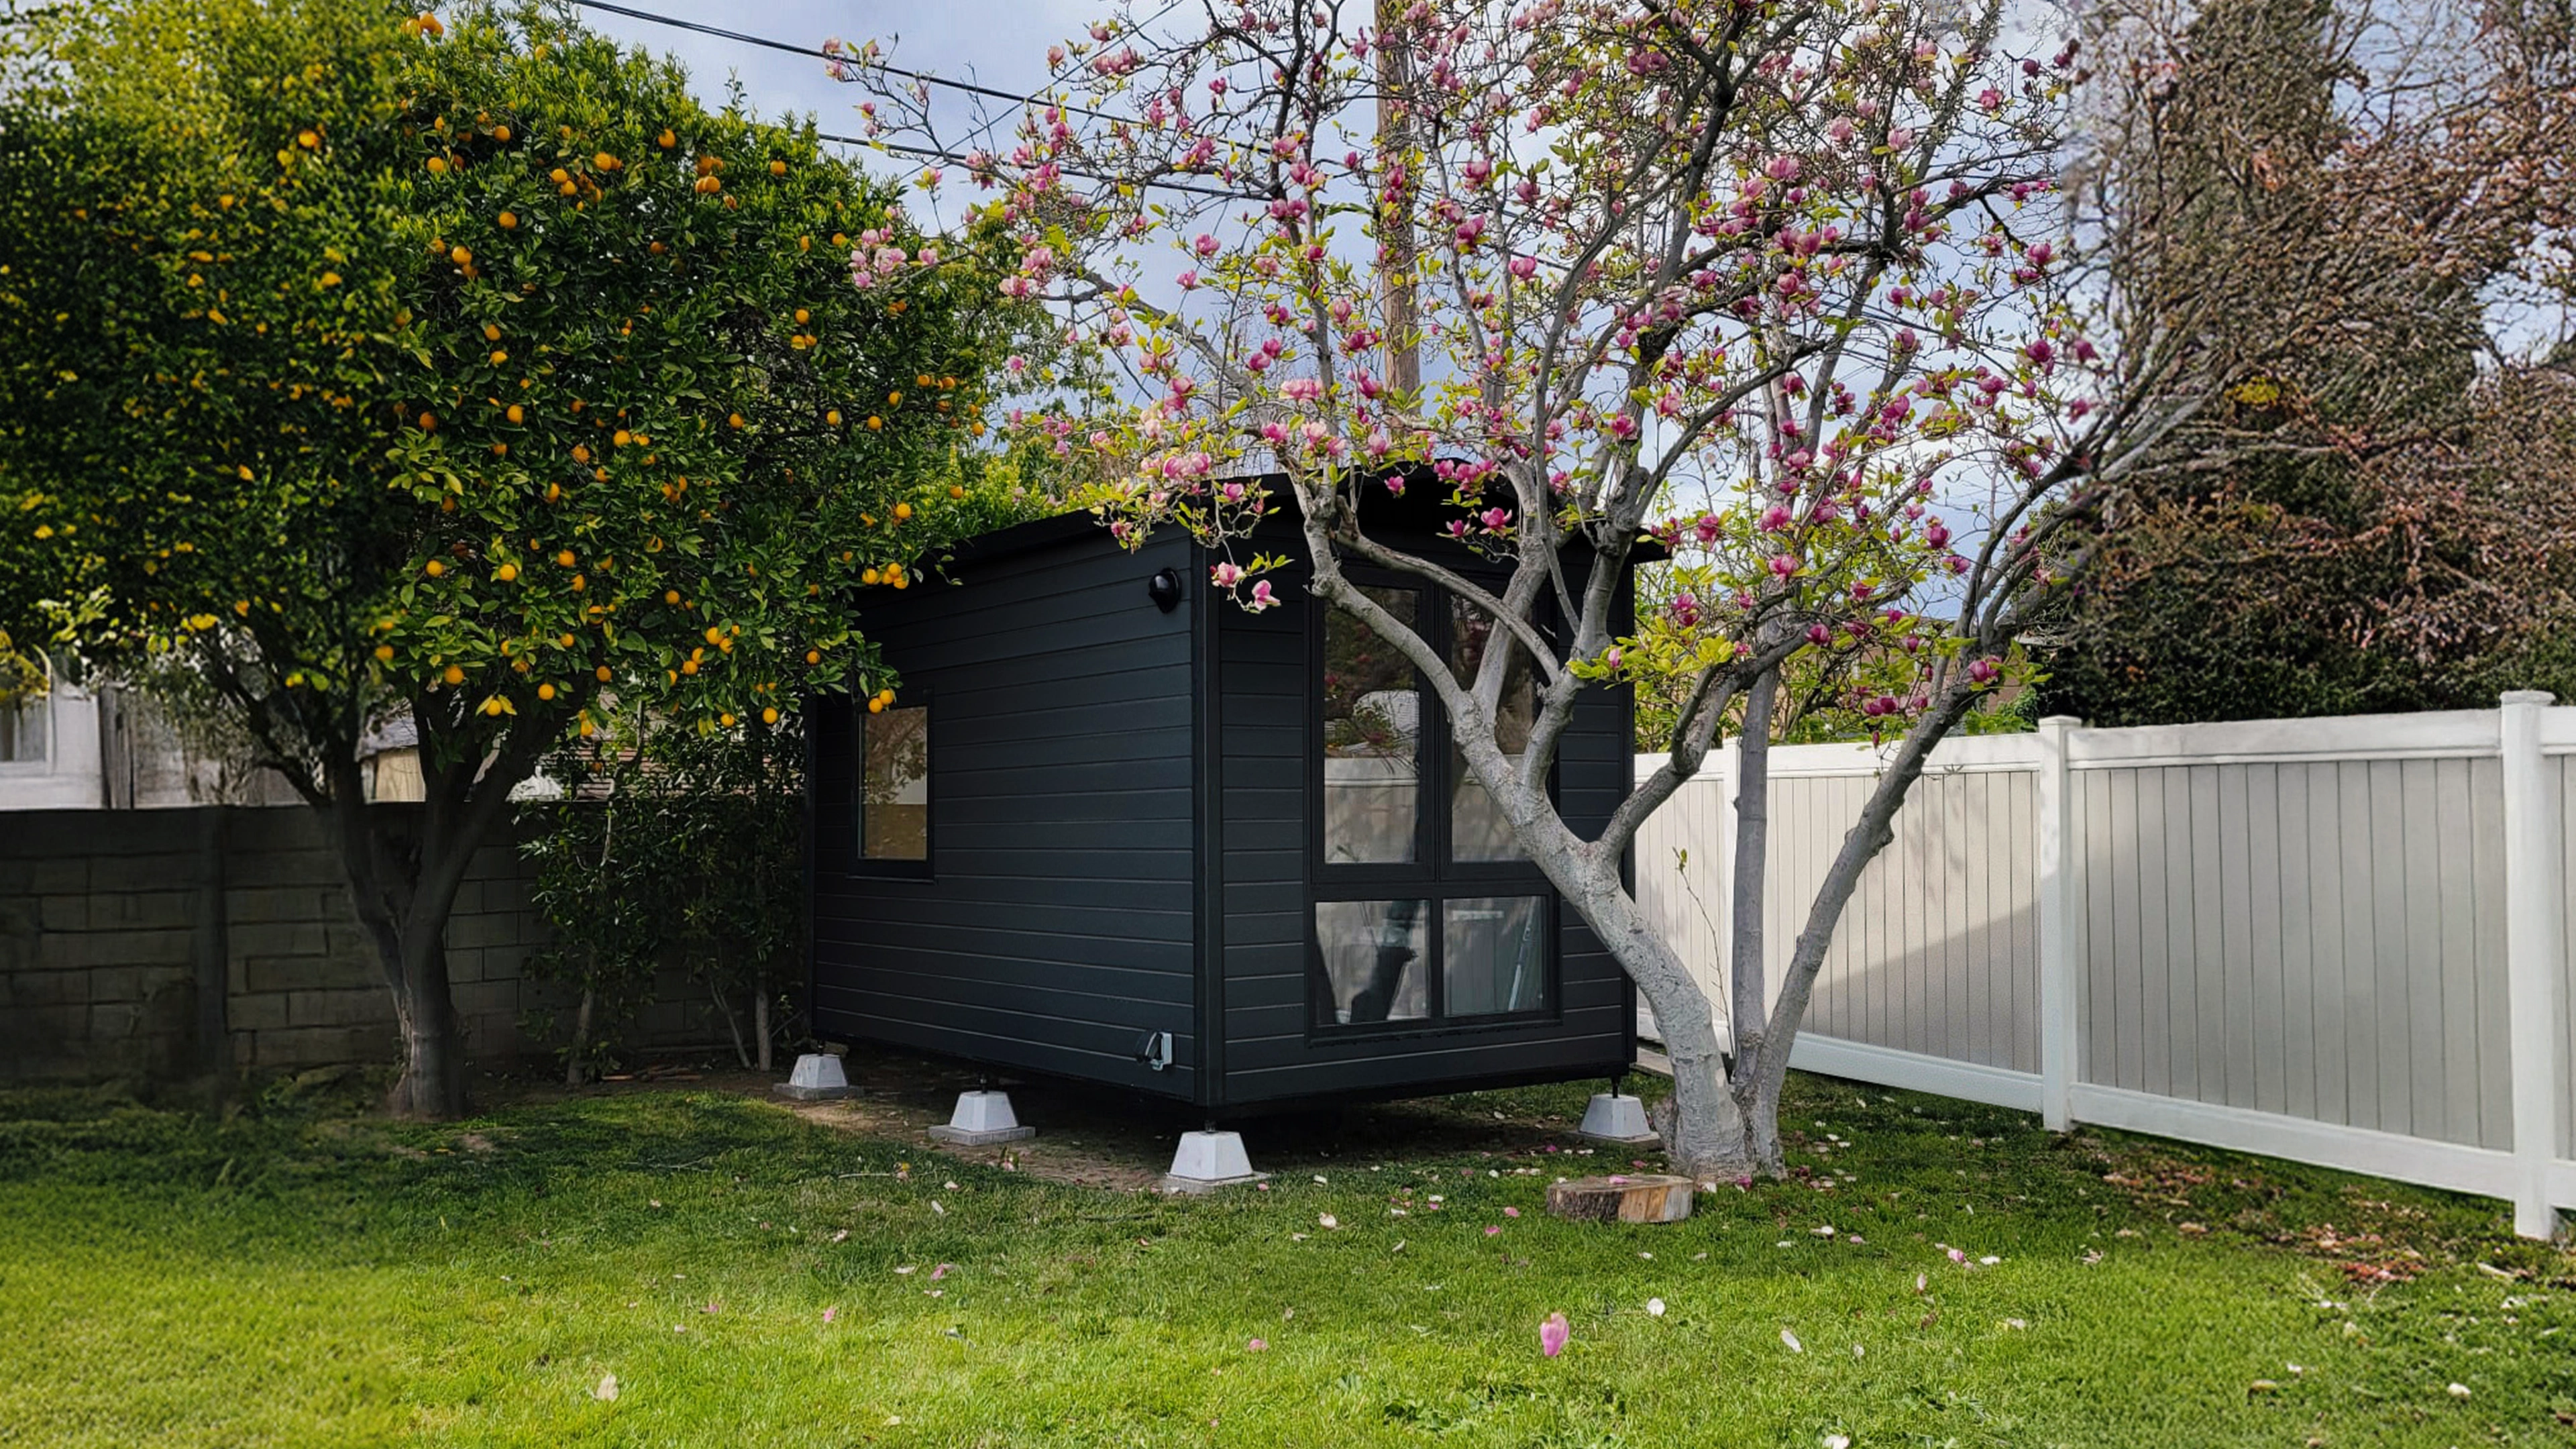
StudioPod is a 105 sq ft backyard room from the Autonomous prefab ADU line, and it ships empty, so you fit it out as a studio yourself. It suits someone who wants to play loud or record at night without sharing walls with the household.

It has six insulated layers, a 7.25 ft ceiling, five wall outlets, two Ethernet ports and a ventilator. Autonomous says it sits below the permit threshold in most US cities and installs in 1 to 2 days; check your local rules anyway.
Autonomous does not publish a sound-reduction figure for StudioPod, so treat the inside like a bedroom: panels at the reflection points, traps in the corners, and a test with your loudest instrument before you book a session. This guide to prefabricated ADUs covers permits, foundations and what to expect from that kind of build.
FAQs
How do I turn my bedroom into a music studio?
Turn a bedroom into a music studio by sealing gaps around the door and window, centering your desk on the short wall, and buying an interface, a mic and closed-back headphones. Then hang panels at the first reflection points and corners, and run a test take to catch hum or echo.
How much does a bedroom recording studio cost?
A basic bedroom recording studio costs a few hundred dollars if you already own a computer: an interface, one mic, headphones, cables and a stand. Adding studio monitors, a MIDI keyboard and room treatment usually takes the total into the low thousands, depending on the brands you pick.
Can a small bedroom work as a recording studio?
Yes, a small bedroom works for vocals, podcasts and direct-input guitar, as long as you treat the reflection points and corners. Small rooms struggle most with bass, so mix on headphones as well as small monitors, and check the room-mode numbers before you buy large speakers.
Does acoustic foam soundproof a bedroom?
No, acoustic foam does not soundproof a bedroom. It absorbs echo inside the room, which makes recordings cleaner, but it adds almost no mass, so sound still passes through the walls. Keeping sound in takes sealed gaps, heavier walls and doors, or a separate room.
Do I need studio monitors or are headphones enough?
Headphones are enough to start recording, and closed-back models are required while the mic is live. For mixing, most people add a pair of small monitors, because headphones exaggerate stereo width and hide room problems. Check every mix on both before you call it finished.
Should I record vocals in a closet?
Recording vocals in a closet usually sounds boxy, because the small space adds short reflections, and engineers quoted by Berklee advise against it. A better option is singing in the open room with a thick duvet or panel behind you and another behind the mic.
How do I keep my home studio from bothering the neighbors?
Record quieter sources at night, use headphones instead of monitors, and seal the door and window gaps. For drums, amps or full-voice singing, a bedroom rarely contains the sound; a room built with mass and decoupling, or a separate backyard room, is the realistic fix.
Conclusion
A bedroom recording studio starts with the room, not the gear. Pick the quietest space with unequal walls, seal the gaps, center the desk, buy only what your first project needs, then treat reflections and corners until a clap dies out cleanly. Run a full test take before the session that counts. If the bedroom still leaks or shares a wall with someone asleep, that is the point to look at a booth or a backyard room.