How I Built My YouTube Studio Setup at Home
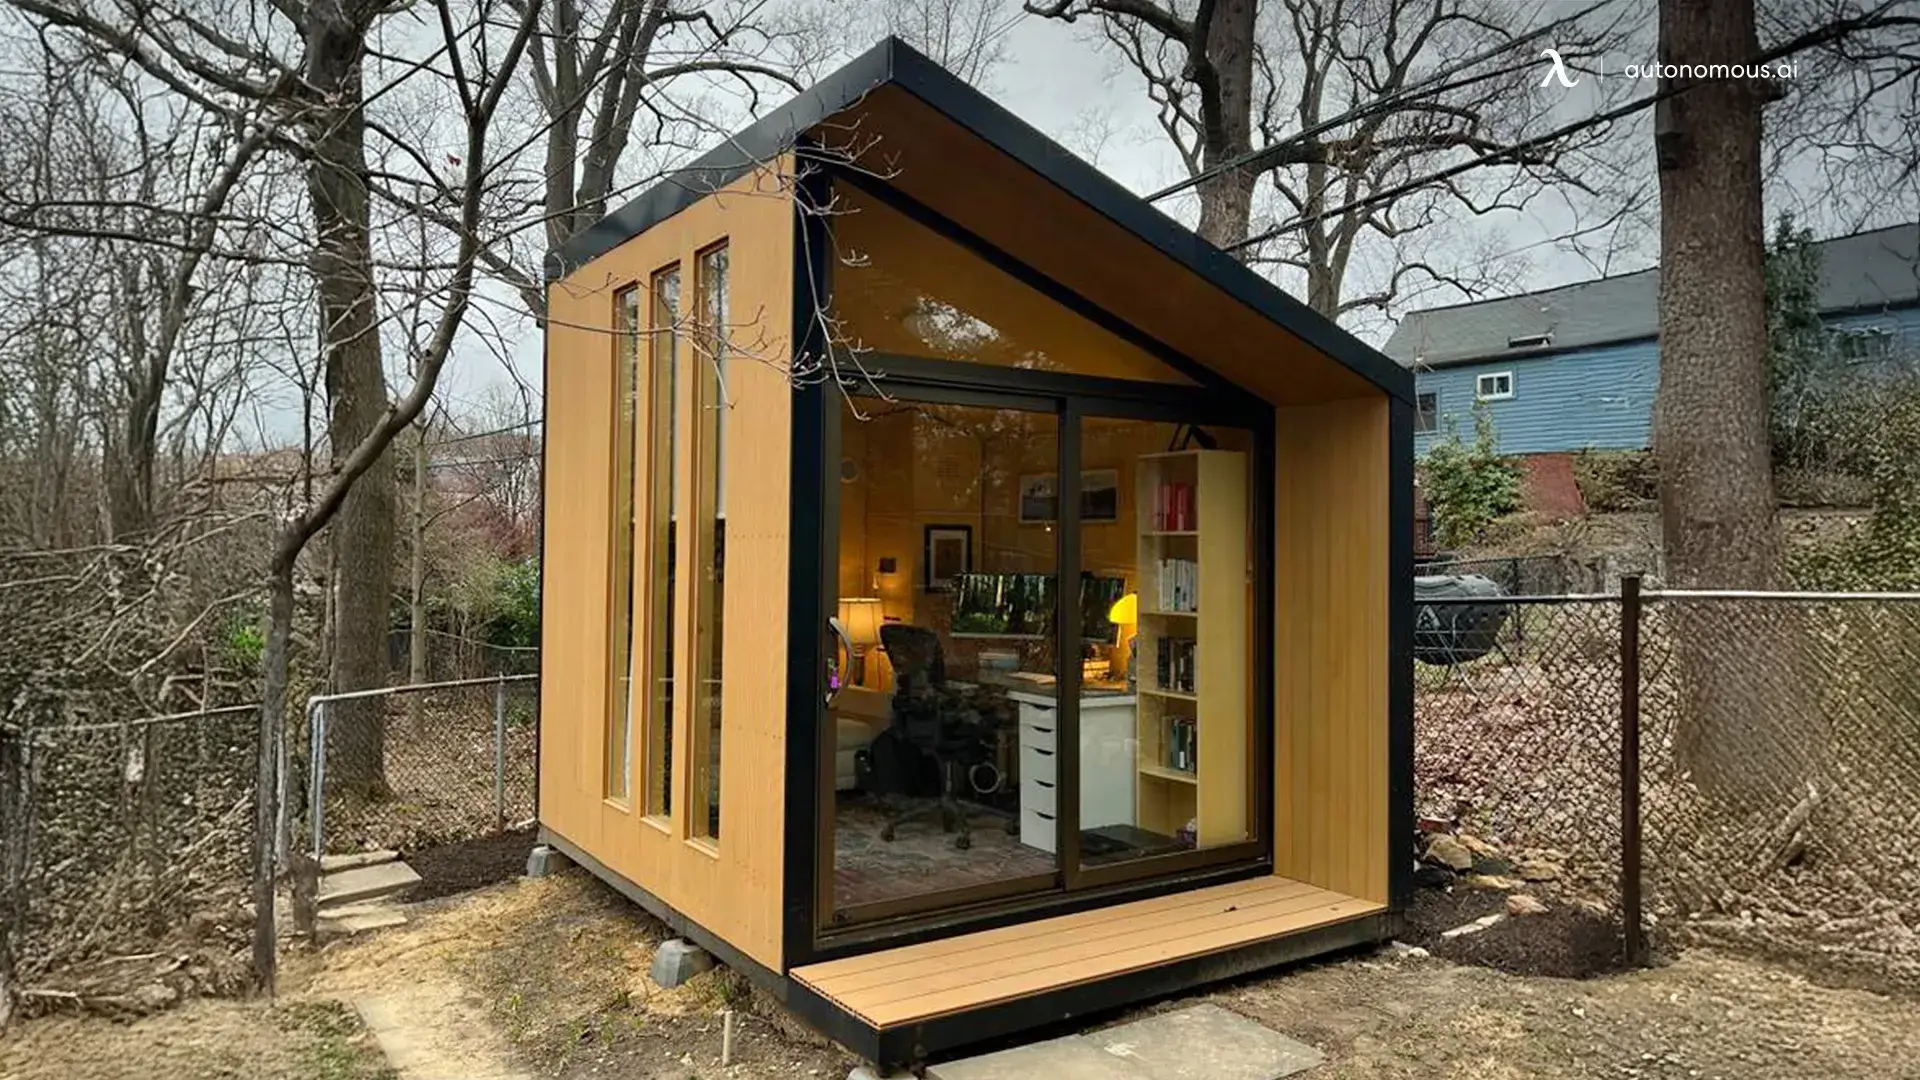
Table of Contents
- 1. Choosing Your Space: Big or Small, It All Works
- 2. Lighting: The Real MVP of Your Setup
- 3. Audio Gear That Won’t Let You Down
- 4. Camera, Tripod & Framing for Creators of Any Level
- 5. Desk Setup & Workflow Tips That Make Life Easier
- 6. Creating a Distraction-Free Studio with the Autonomous WorkPod
- 7. FAQs
- 8. Conclusion
Creating a YouTube studio setup at home might sound overwhelming at first—but it doesn’t have to be. Whether you're working with a tight budget, a small space, or you're just starting out, the right setup can elevate your content and make your workflow way smoother. From lighting and sound to desk arrangement and private workspaces, this guide covers everything you need to build your ideal YouTube studio, even if you're starting with just a corner of your room.
In this blog, I’ll walk you through how to build a simple YouTube studio setup, share tips for optimizing small spaces, break down gear that won’t break the bank, and explain how I turned my own setup into a space that’s functional, focused, and film-ready.
1. Choosing Your Space: Big or Small, It All Works
Before you buy any gear, the first step in setting up your YouTube studio at home is figuring out where you’ll film and work. You don’t need a massive room to make quality content—a small, well-planned area can absolutely become the heart of your channel.
If you're tight on space (like I was), look for a spot that checks a few key boxes:
- Low background noise (away from street-facing windows or noisy appliances)
- Control over light – natural light is great, but being able to block it helps too
- Wall or corner backdrop – plain walls are best if you’re just getting started
Popular spots include:
- A corner of your bedroom or living room
- An unused nook or walk-in closet
- The end of a hallway with minimal foot traffic
If you’re working with tight quarters, these guides may help:
- Small bedroom with desk layout – for squeezing productivity into limited space
- Small bedroom office combo ideas – ideal if your room needs to double as your workspace
- Bedroom recording studio setup – great for creators focusing on audio
- Living room office combo ideas – perfect for shared spaces without extra rooms
Use vertical space! Shelves, wall hooks, and mounted lights help keep your setup organized without taking over your floor.
2. Lighting: The Real MVP of Your Setup
If there’s one thing that instantly separates a beginner video from a polished one, it’s lighting. You don’t need a fancy camera to look good—you need good light. For any simple YouTube studio setup, getting your lighting right is the best place to invest early on.
2.1. Start With Natural Light (If You Can)
If your space has windows, position your desk or filming area so that natural light hits your face—not from behind or directly above. Morning and late afternoon light tends to be the softest.
But natural light changes constantly, so most creators eventually switch to artificial lighting for consistency.
2.2. Core Lighting Equipment
- Key Light – This is your main light source. A softbox LED or panel light placed at a 45° angle from your face is perfect for balanced exposure. If you're just getting started, even a well-placed desk lamp or floor lamp with soft diffusion can work surprisingly well.
- Fill Light – A smaller light (or ring light) on the opposite side helps soften shadows and keeps your face looking natural on camera.
- Back Light / Hair Light – Optional, but great for separating you from the background and adding depth to your frame. Many creators use small RGB panels or clip-on lights here.
- RGB Lights – Not essential, but fun. Add color and mood to your backdrop without cluttering your space. Great for branding and creating a signature vibe.
As you build your lighting setup, understanding color temperature helps a lot. If you’ve ever wondered “Is soft white the same as warm white?” or debated white vs. yellow light bulbs, those differences can seriously impact your look on camera.
And if you’re placing lights specifically for video, what you’re really creating is task lighting—focused, intentional lighting that keeps your setup practical and camera-ready.
You can start with just one light and build from there—plenty of creators with a budget YouTube studio setup use a single soft light and still get fantastic results.
3. Audio Gear That Won’t Let You Down
Let’s be real—viewers can forgive average video, but bad audio is a dealbreaker. Investing in solid sound is crucial, even for a budget YouTube studio setup.
3.1. Microphones That Make a Difference
You don’t need a $500 mic to sound clear. Here are some beginner-friendly microphones that punch above their price:
- USB Condenser Mics – Plug-and-play and perfect for voiceovers or talking-head videos. Blue Yeti, FIFINE, or Samson are solid picks.
- Lavalier Mics – Clip-on mics that work great for tutorials or interviews.
- Shotgun Mics – Ideal if you don’t want a mic visible on camera. Mount it just above your frame.
Whichever you choose, get a pop filter or foam windscreen—it cuts out harsh ‘P’ and ‘S’ sounds and makes a surprising difference.
3.2. Kill the Echo
Even in a small YouTube studio setup, you can dramatically improve audio by reducing reverb. Try:
- Acoustic foam panels or soundproofing strips on nearby walls
- A thick rug to absorb floor bounce
- Bookshelves or curtains—they help more than you’d think
And if you’re recording in a larger or open room, consider using a boom arm to bring your mic closer to your mouth without cluttering your desk.
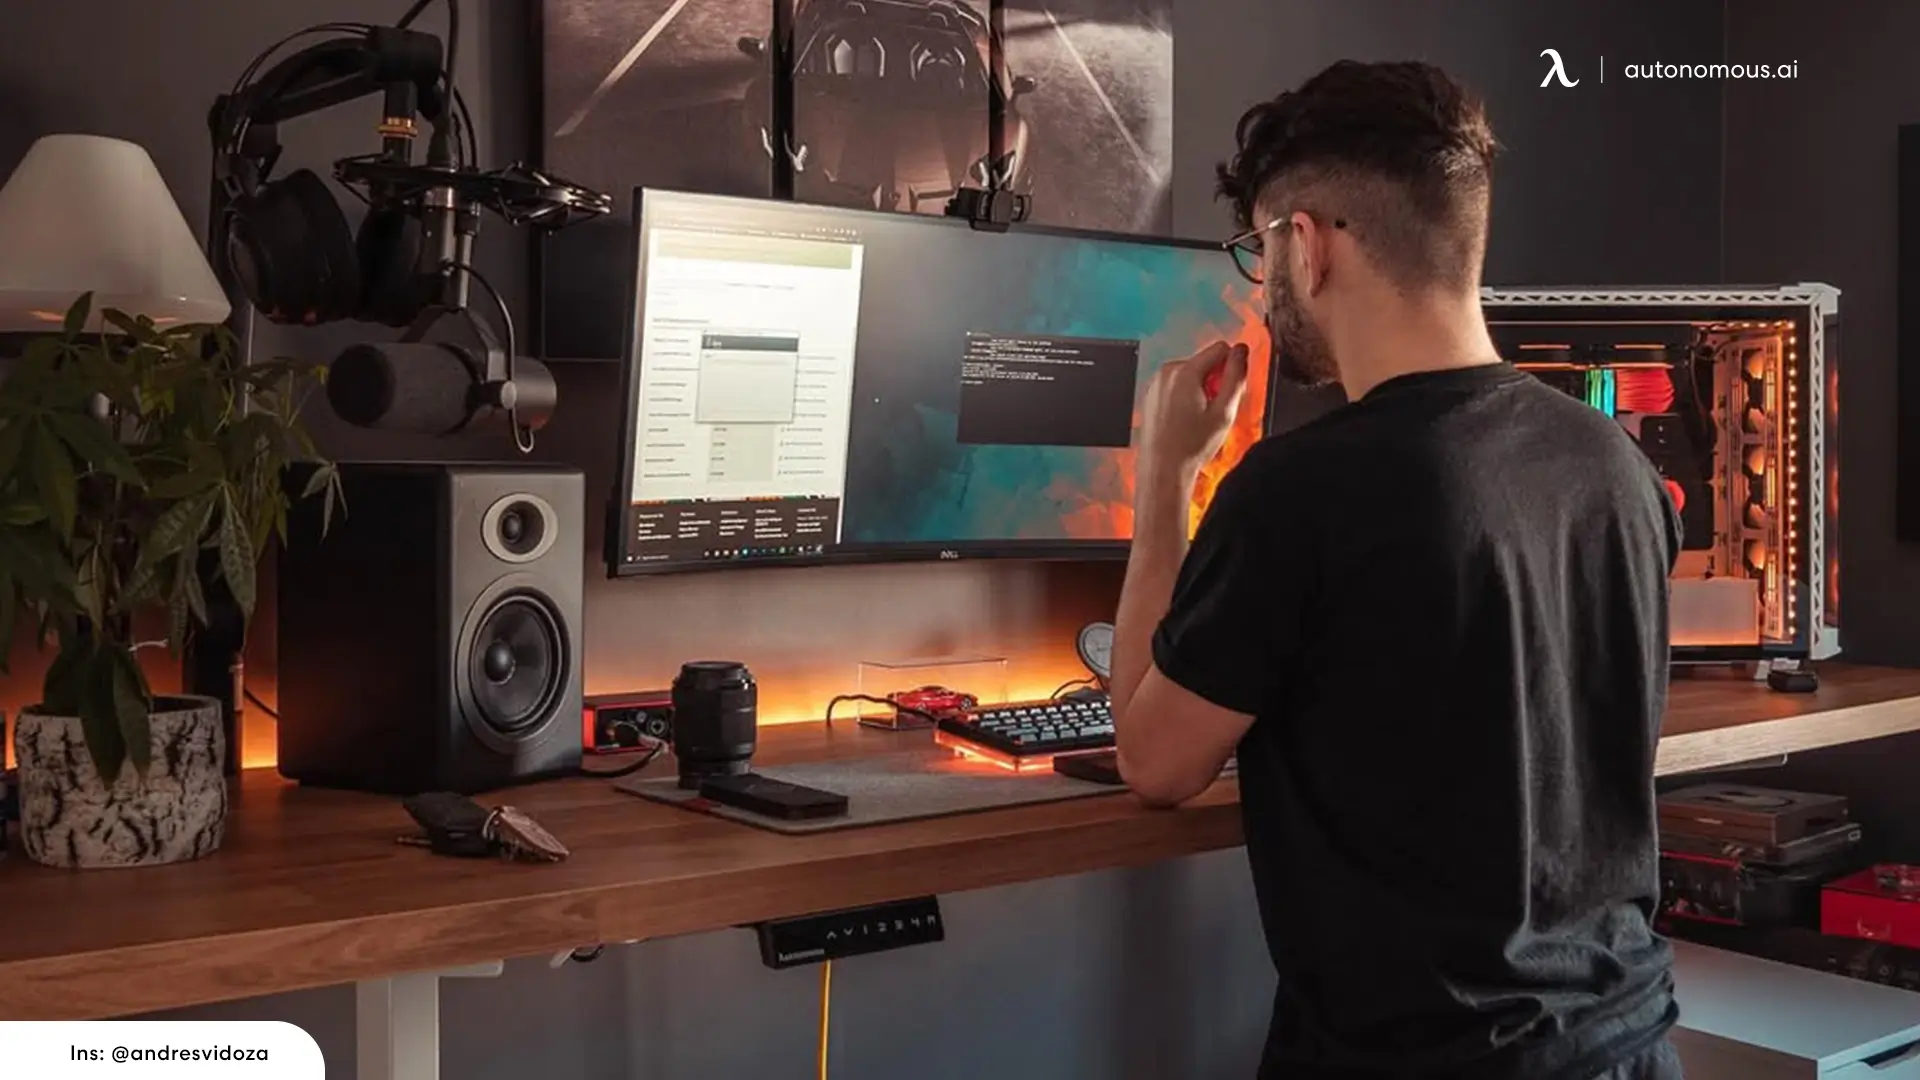
4. Camera, Tripod & Framing for Creators of Any Level
Contrary to popular belief, you don’t need a high-end DSLR to get great-looking videos. In fact, many creators with the best YouTube studio setups started with just their phone.
4.1. Start with What You Have
If you're on a tight budget, your smartphone is more than enough to begin. Most modern phones shoot in HD or even 4K. Just make sure:
- You film with the rear camera for higher quality
- Your lens is clean
- You lock focus and exposure before hitting record
Pair it with a cheap phone tripod and you're good to go.
4.2. Upgrading? Look for These:
When you’re ready to upgrade, consider a mirrorless camera with:
- A clean HDMI output (for livestreaming)
- Flip-out screen (for solo filming)
- Fast autofocus
Popular models include the Sony ZV-E10, Canon M50, or Panasonic G7. These are often seen in best YouTube studio setup gear lists for a reason—they deliver great quality without a steep learning curve.
4.3. Tripod Tips
You don’t need anything fancy here. Just focus on:
- Stability (especially on carpets or uneven floors)
- Adjustable height (match your eye level)
- Quick-release plate (to save time between shots)
Bonus: For overhead shots or desk tutorials, try a desktop tripod arm or an articulating camera mount that clamps to your table.
4.4. Framing & Composition Basics
Keep your eyes about one-third down from the top of the frame (the "rule of thirds"). Use soft lighting and a clean background, and avoid cutting off your head or chin. Even in a simple YouTube studio setup, small tweaks like this go a long way.
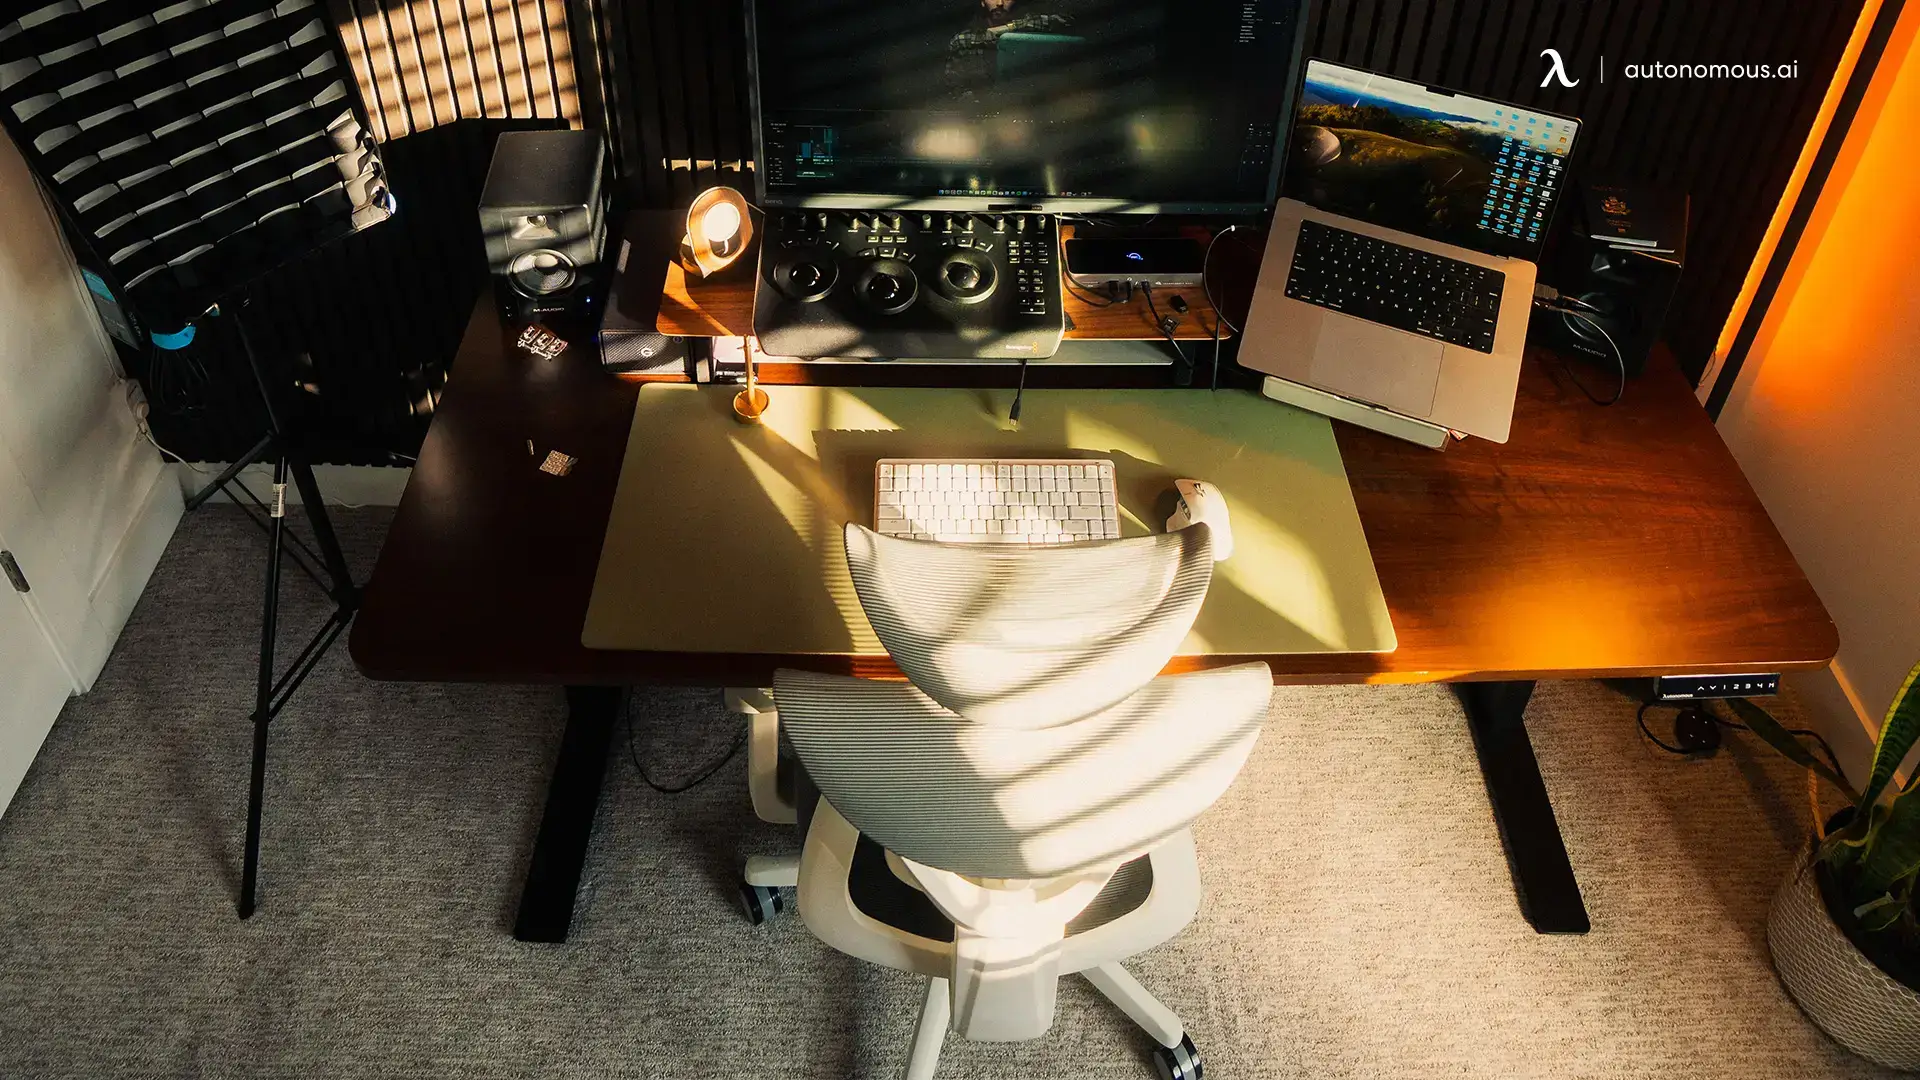
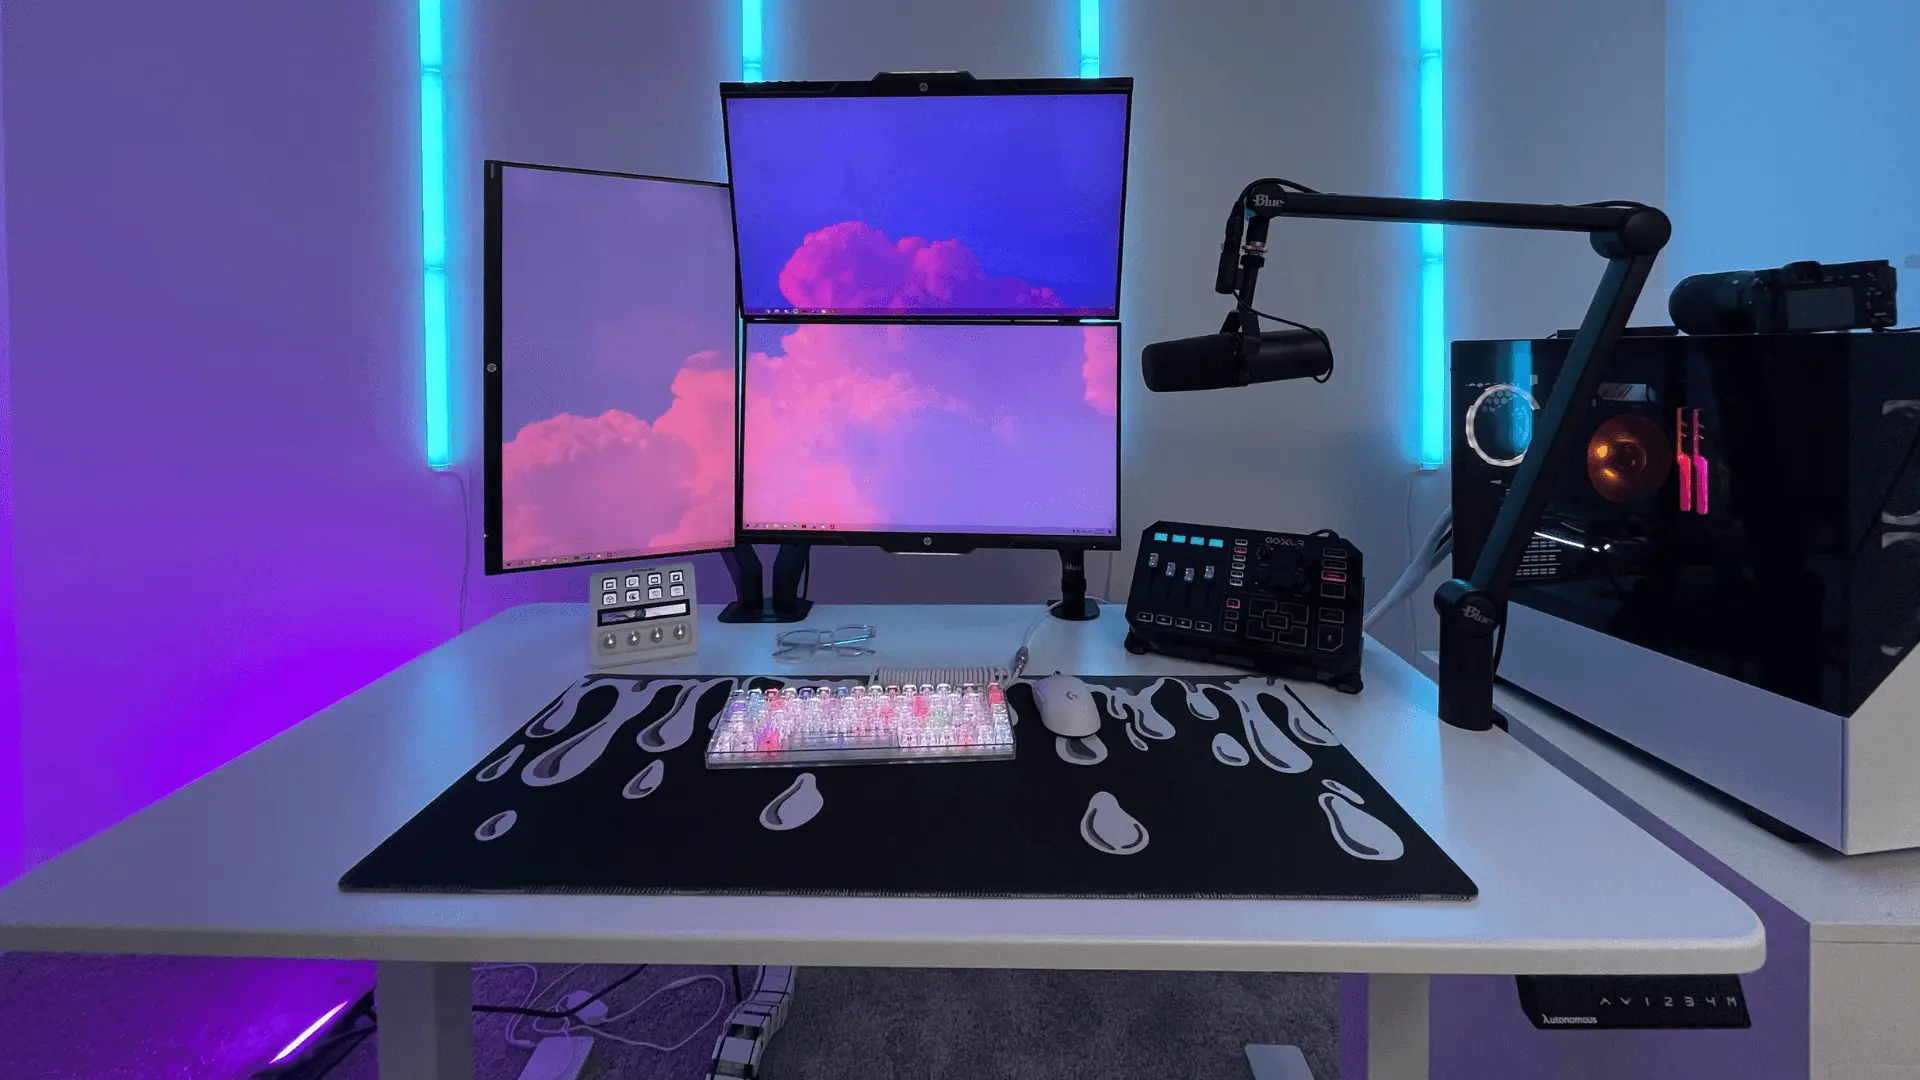
5. Desk Setup & Workflow Tips That Make Life Easier
Your desk is the command center of your studio. Whether you're filming, editing, scripting, or live streaming, having a functional YouTube studio desk setup makes a massive difference in how efficiently you work—and how comfortable you stay while doing it.
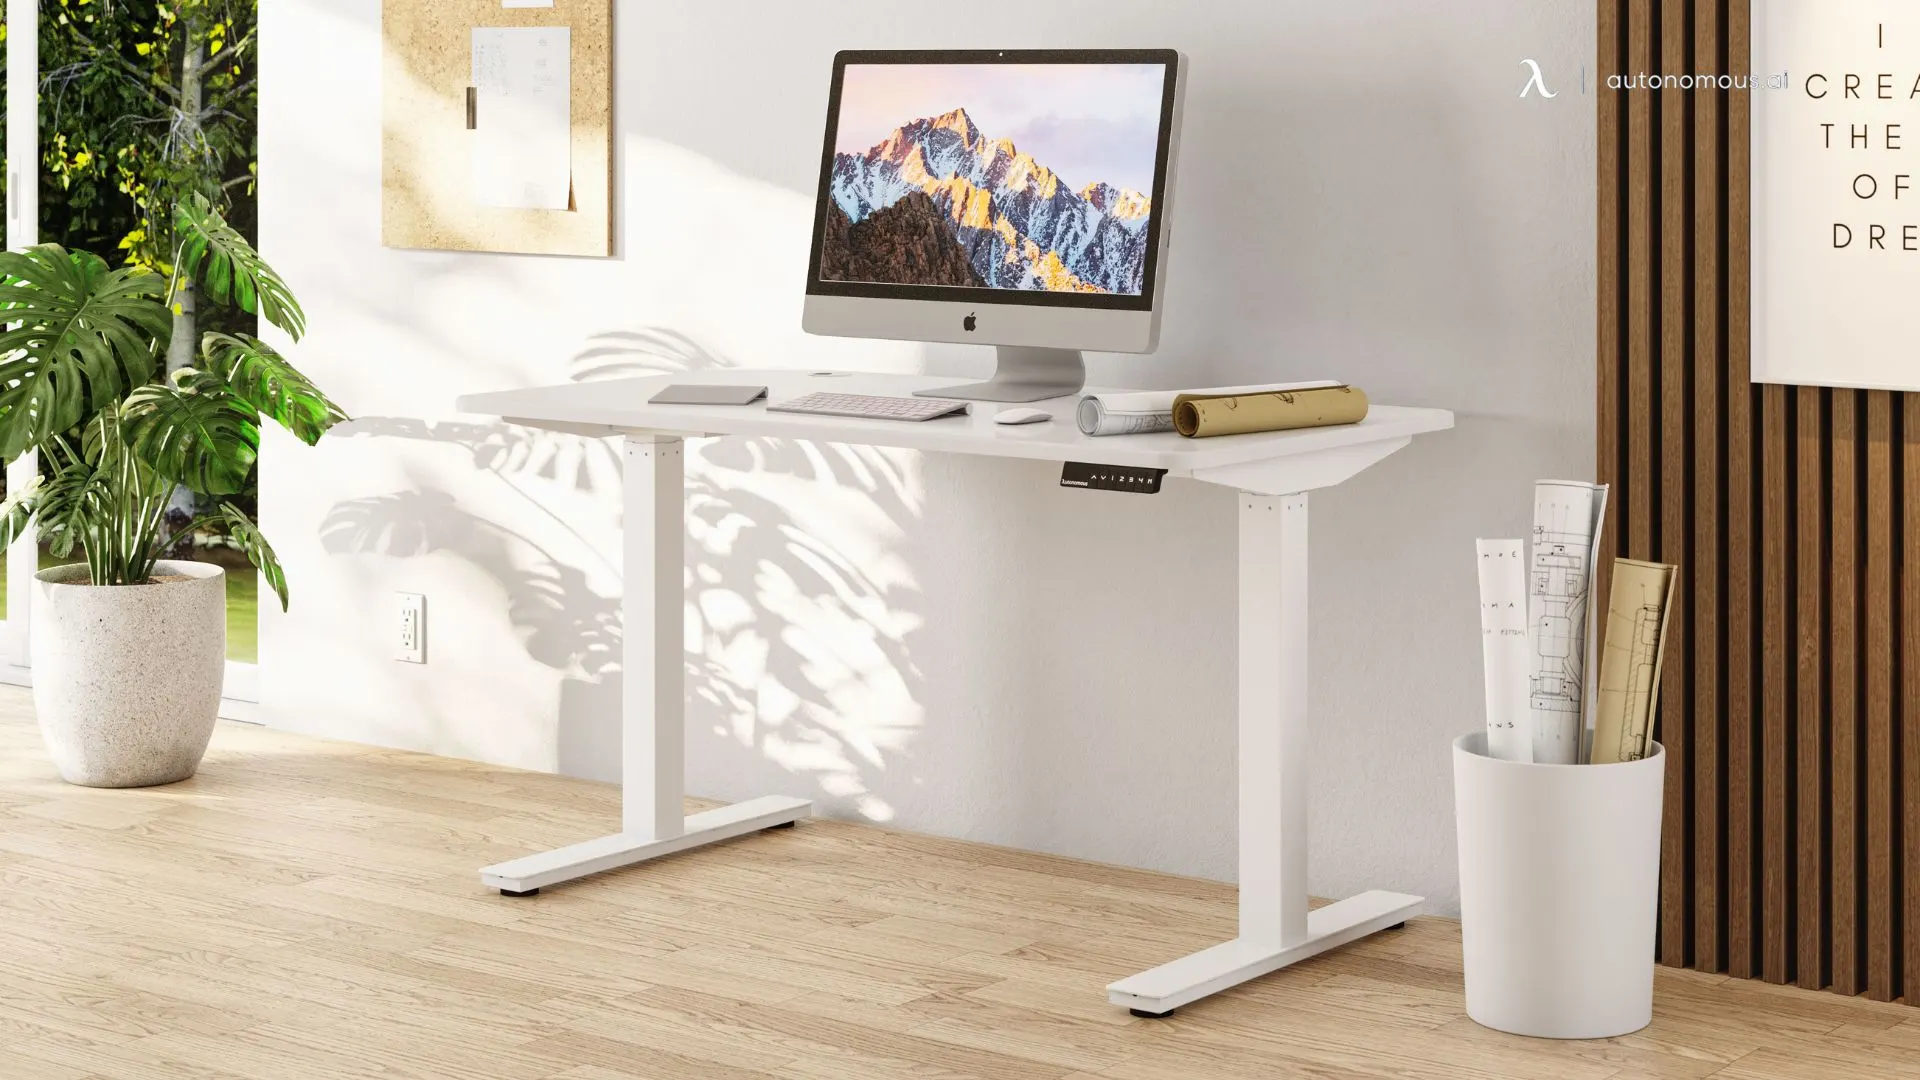
For a small YouTube studio setup, look for desks that are compact but still give you enough surface space for your gear. I recommend:
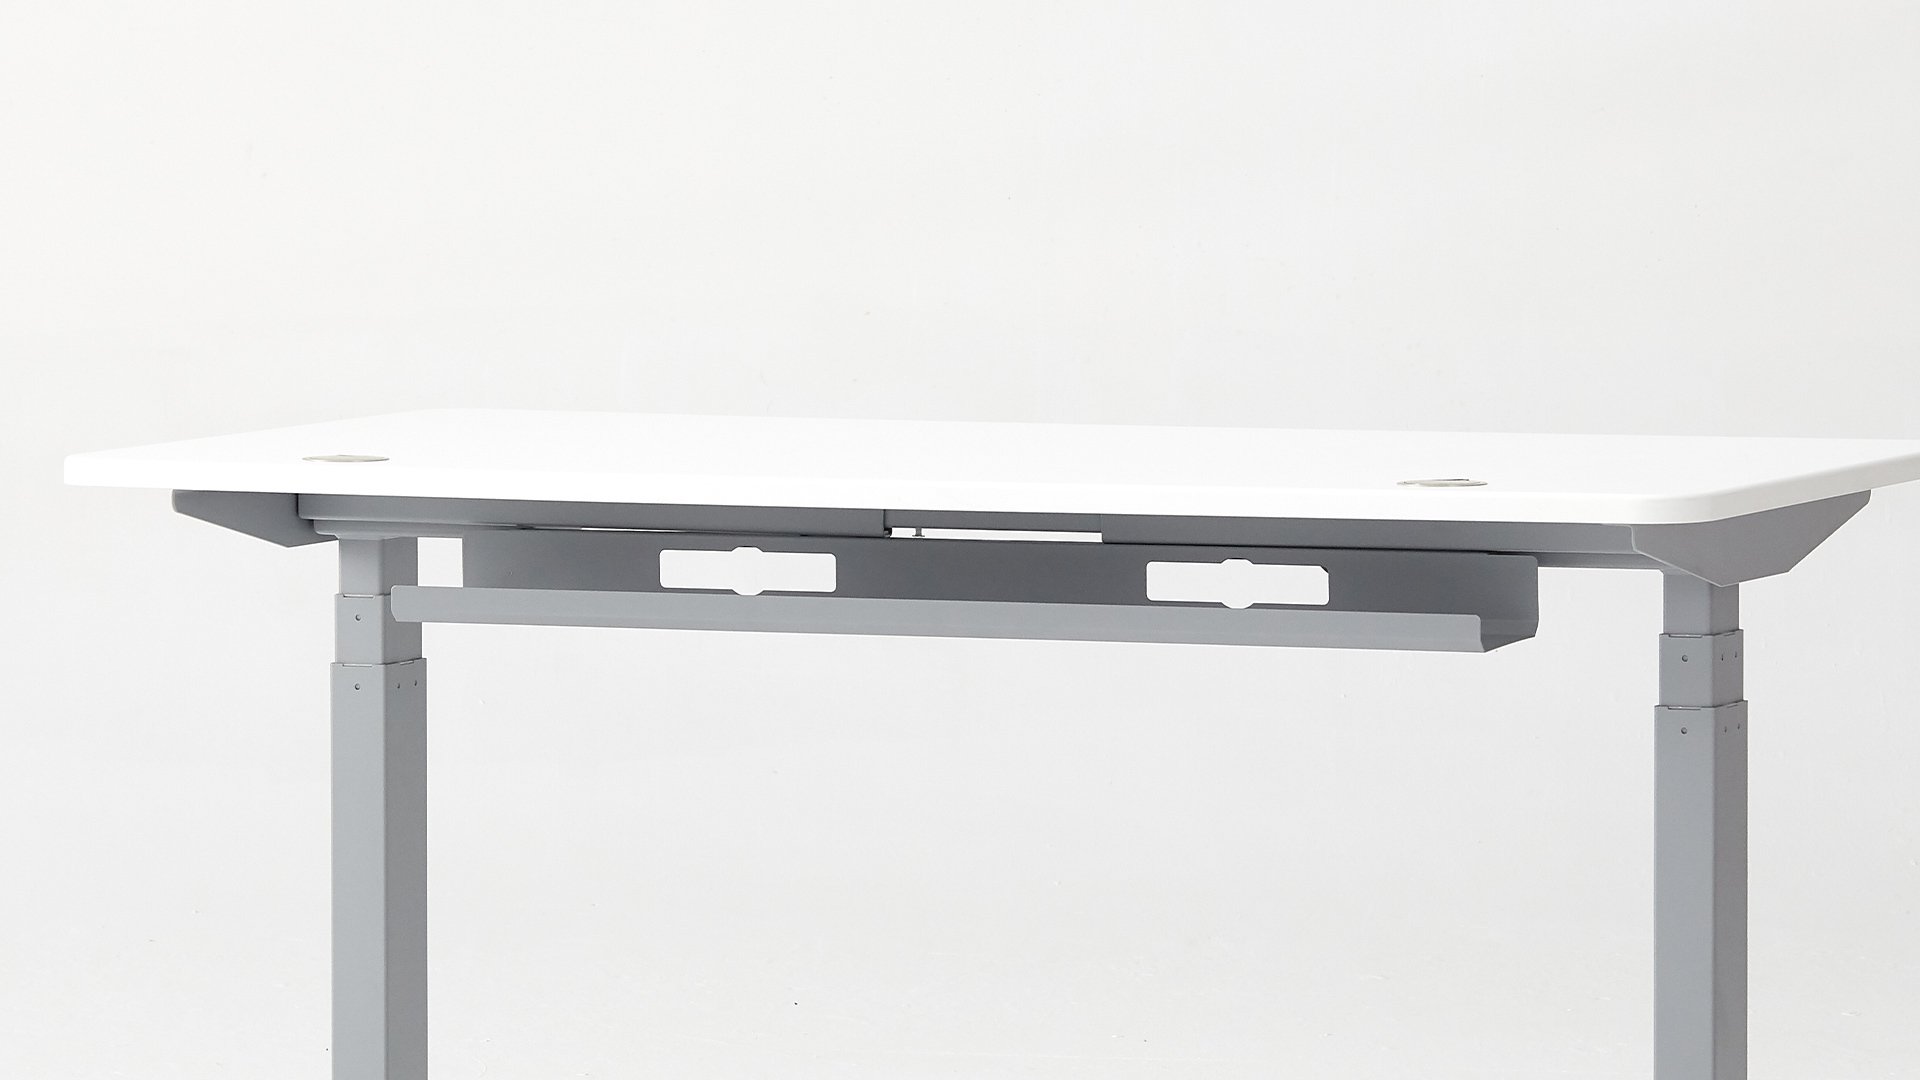
- Standing desks if you're editing for long hours (they help with posture and energy)
- Desks with shelves or risers to lift your monitor and free up surface space
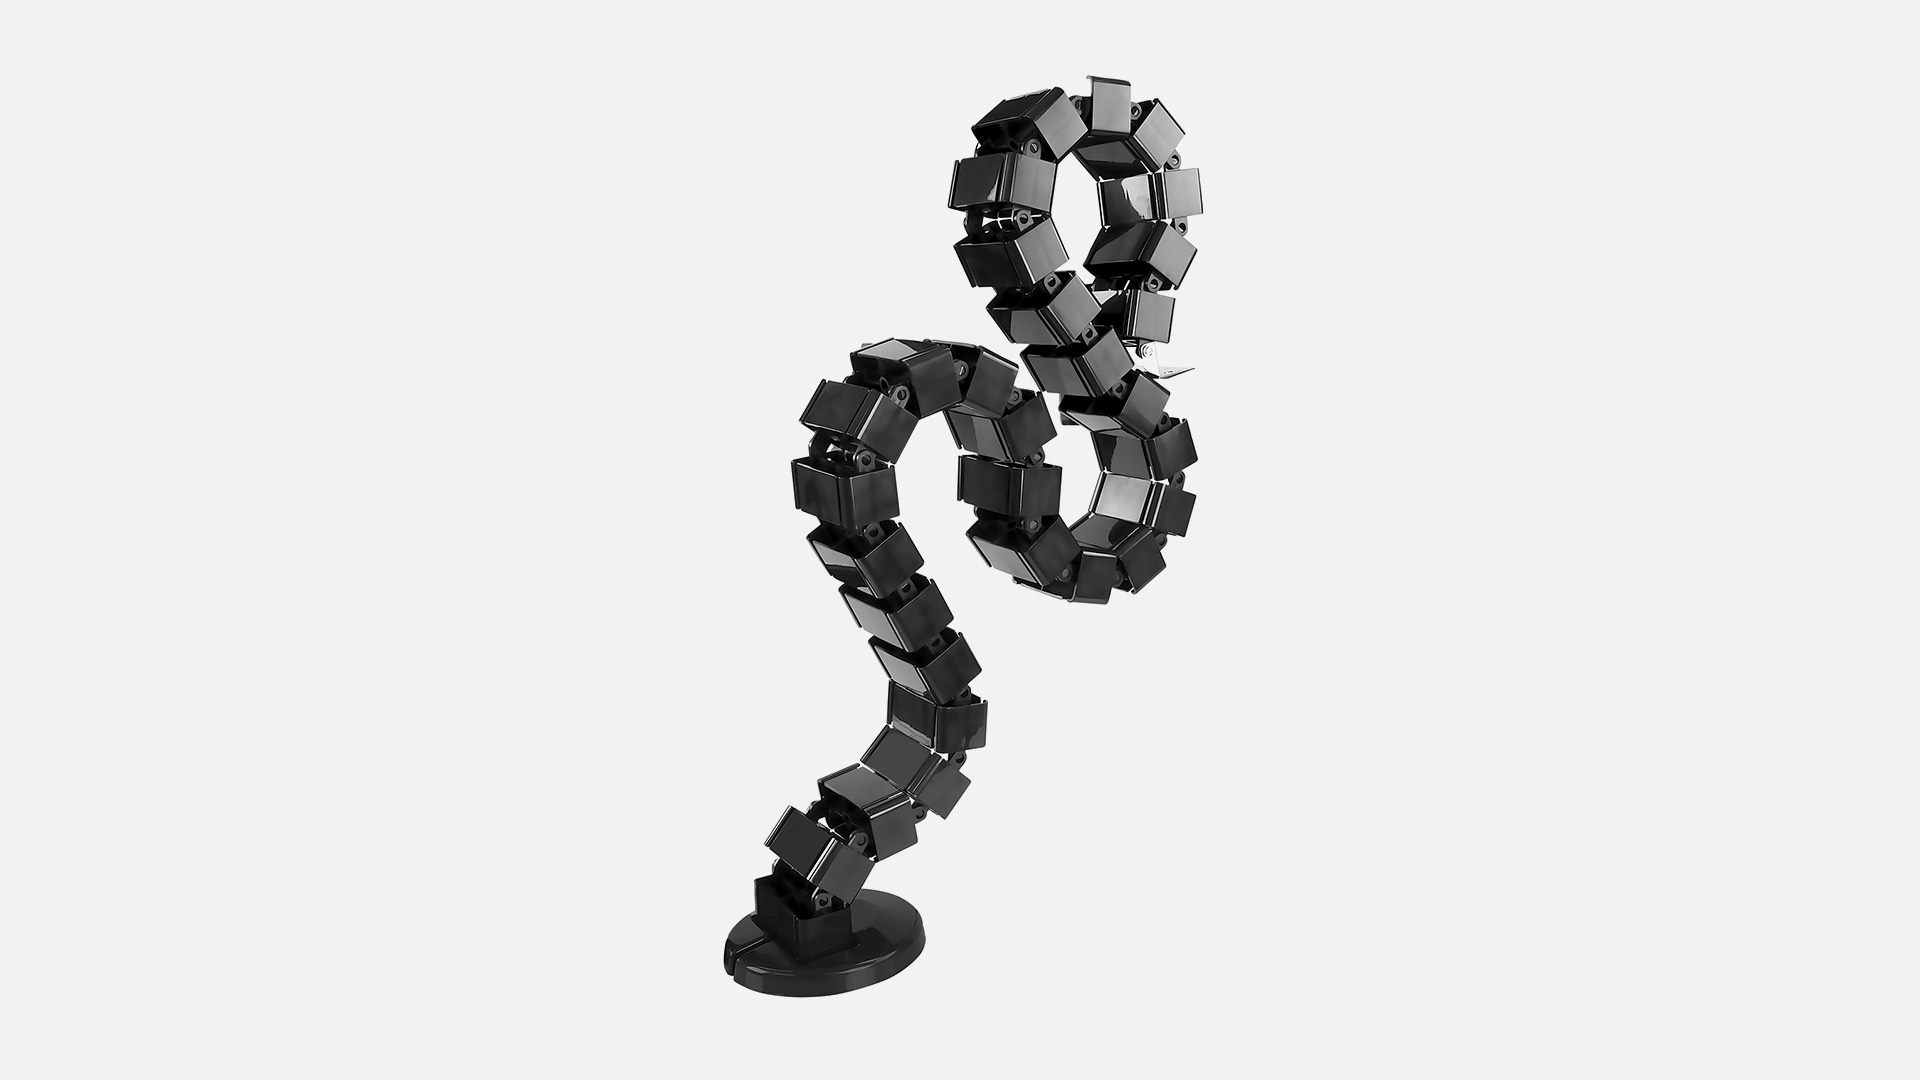
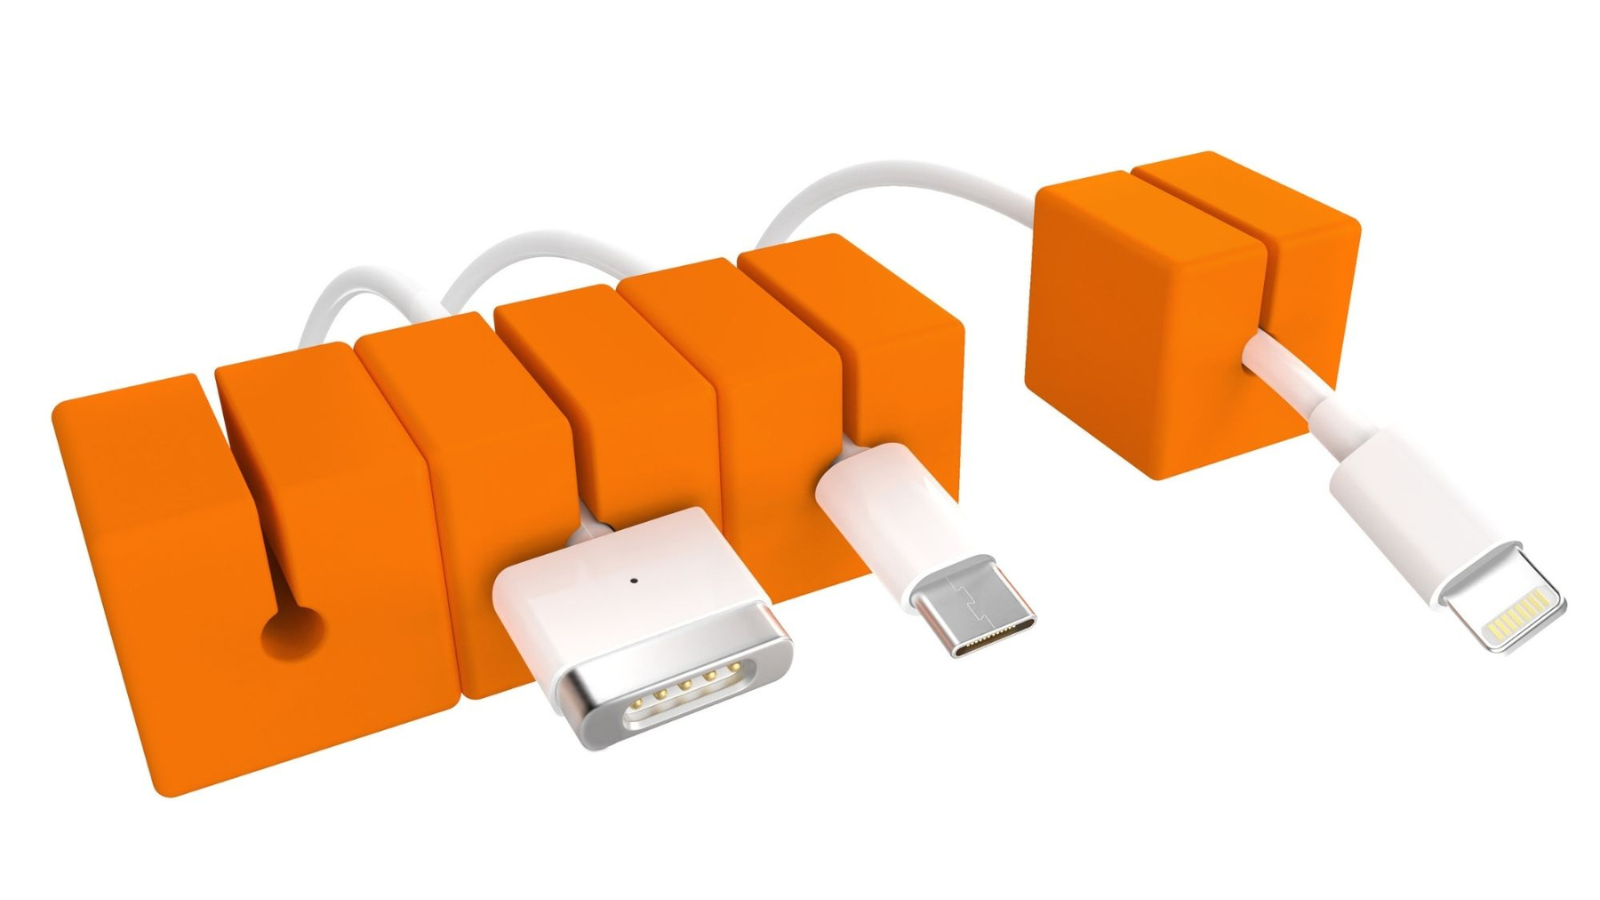
- Cable management features so your space stays clean (velcro ties and under-desk trays are lifesavers)
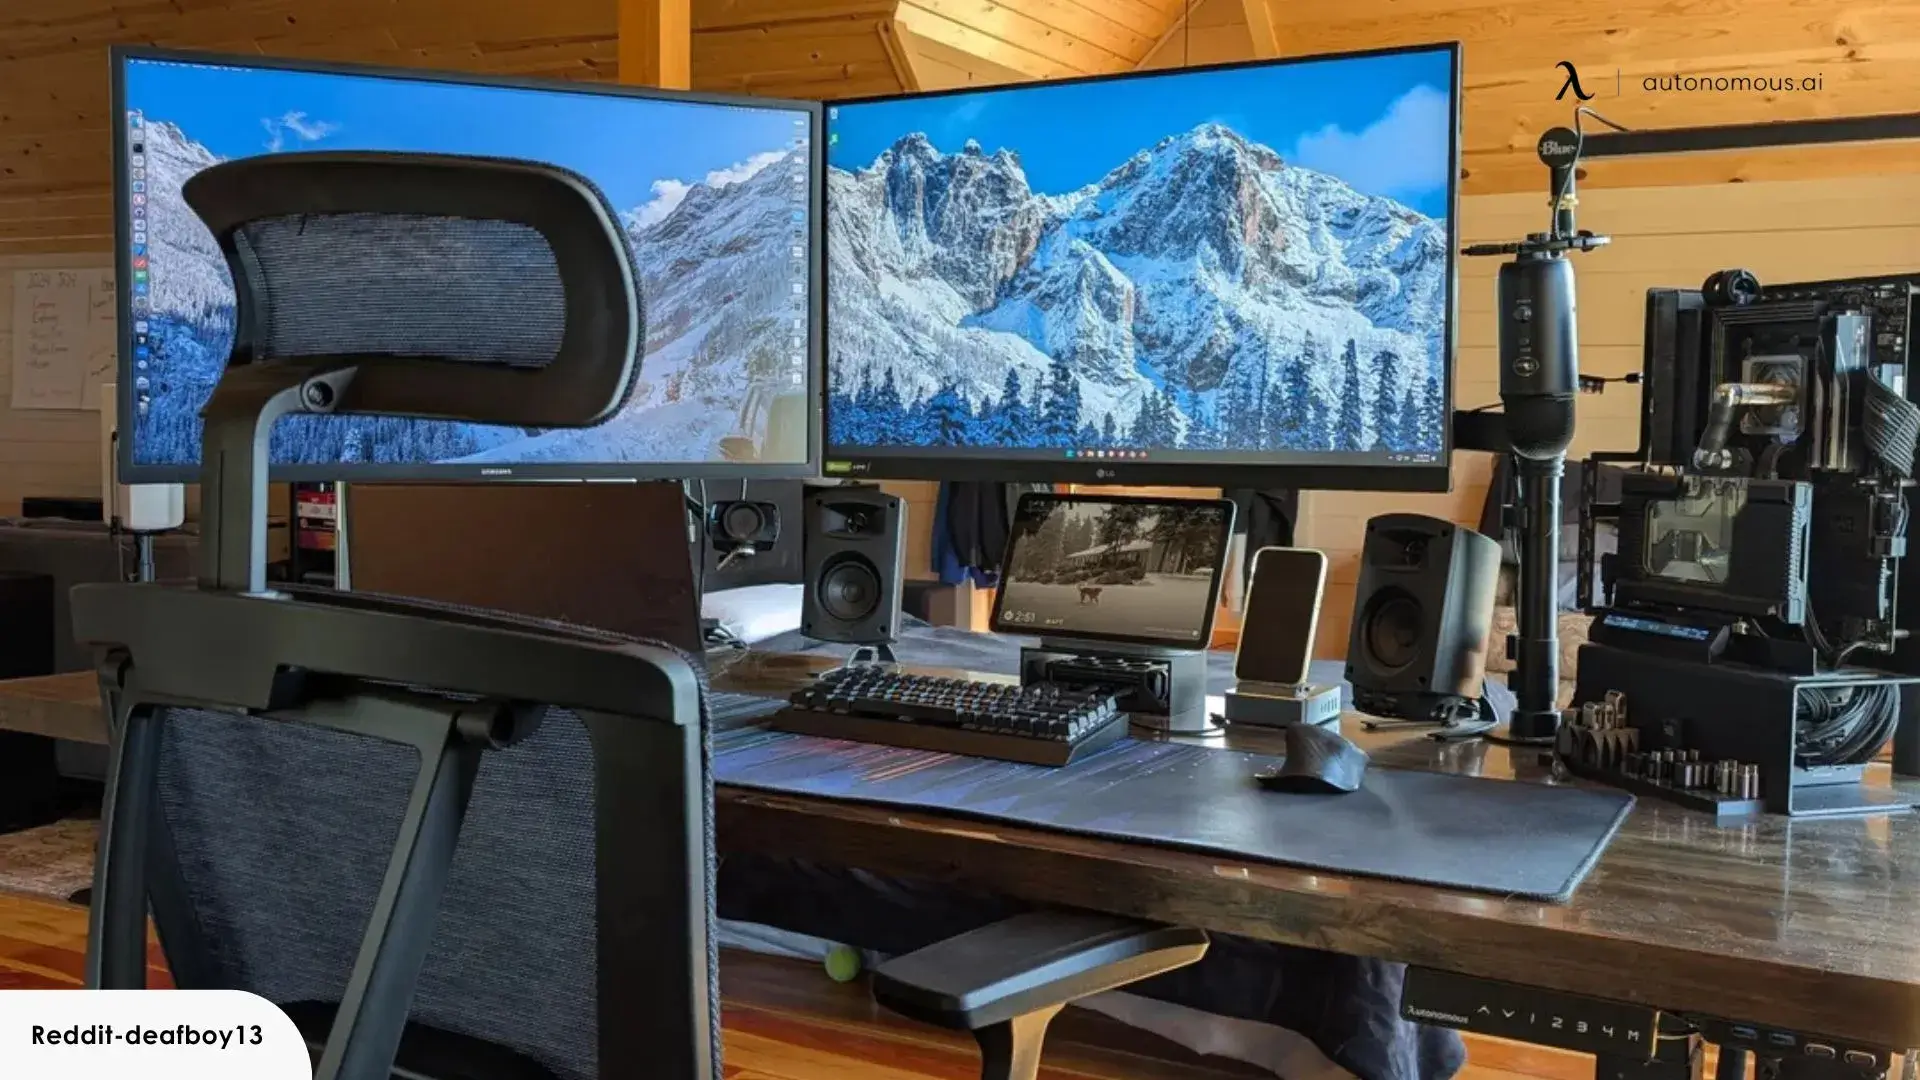
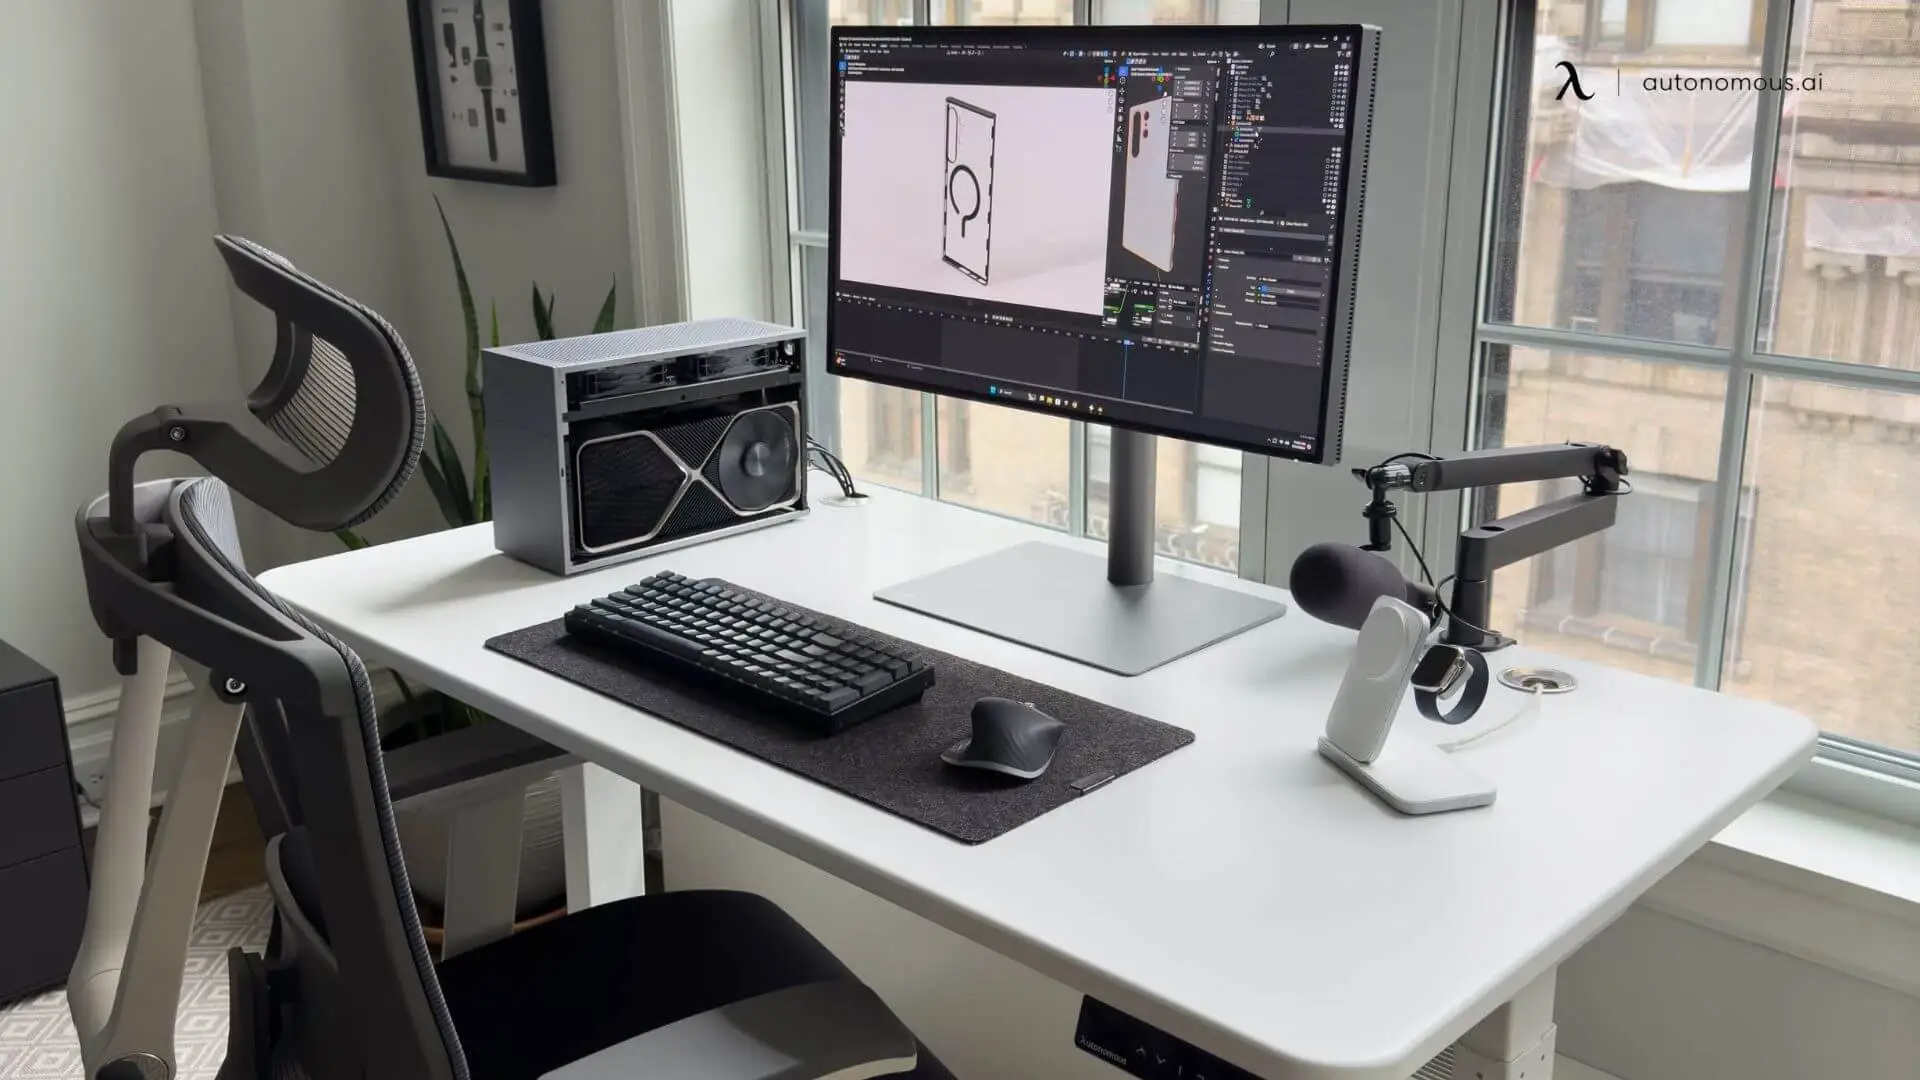
Here’s how I lay mine out for both filming and editing:
- Center: Monitor or laptop, on a riser if needed
- Left Side: Mic boom arm and lighting controls
- Right Side: Camera tripod (or tripod behind the desk if you're filming head-on)
- Behind: A clean or styled background, with optional RGB lights or props
This keeps everything within arm’s reach while leaving enough room for my keyboard, notes, and coffee (obviously).
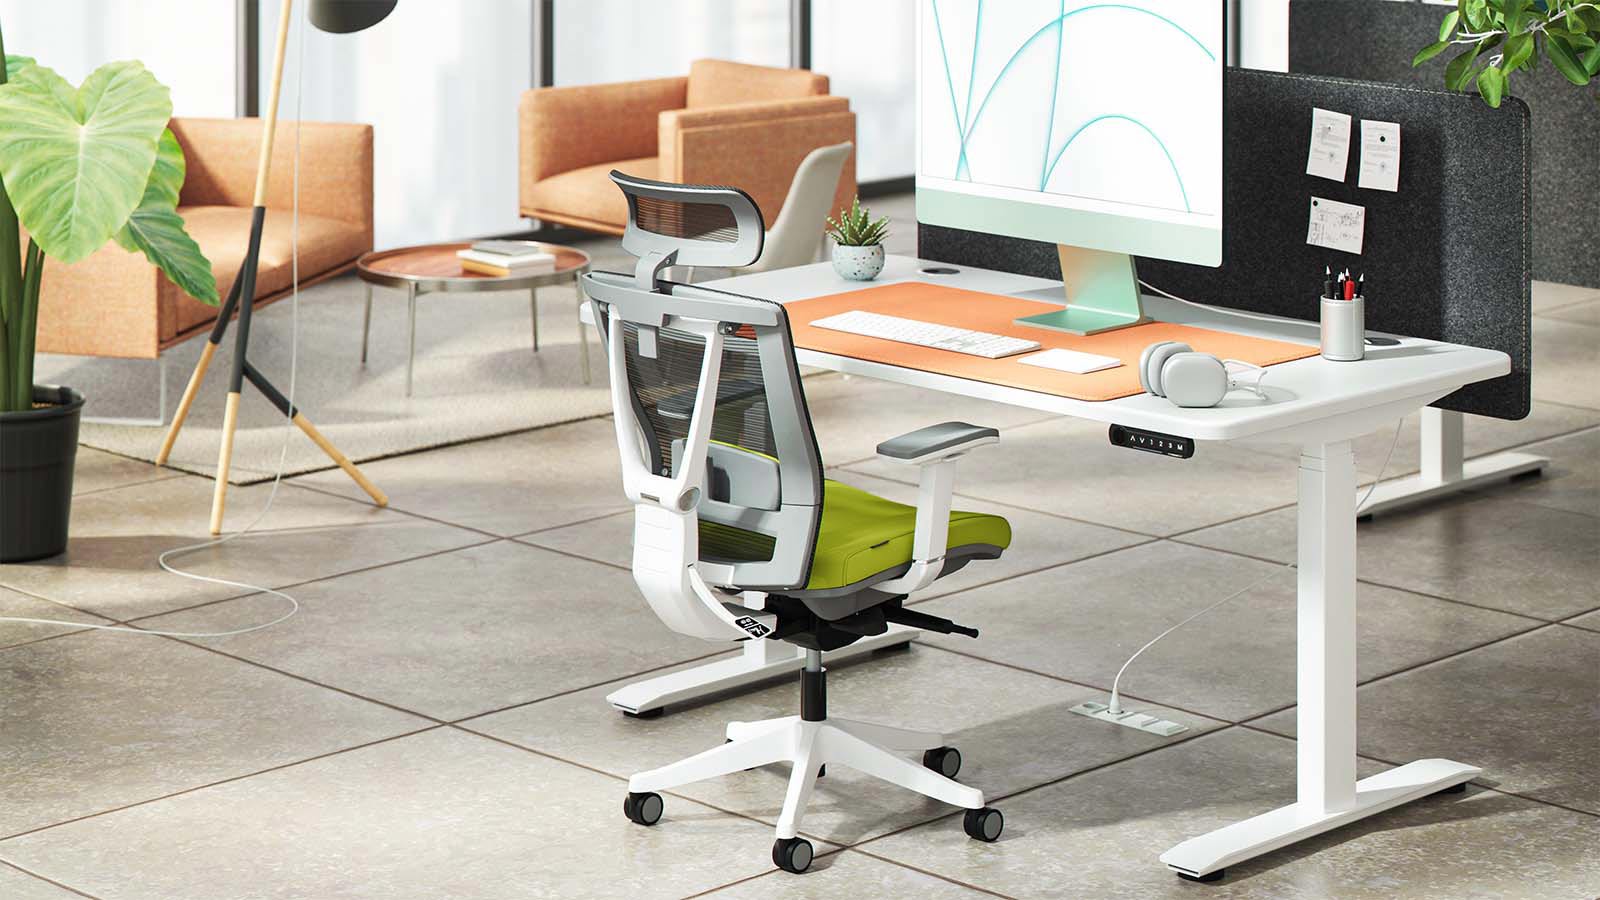
I tried using a basic chair at first, and my back hated me. If you're serious about content creation, get an ergonomic chair with lumbar support and adjustable features. Trust me—it’s one of the best investments you’ll make.
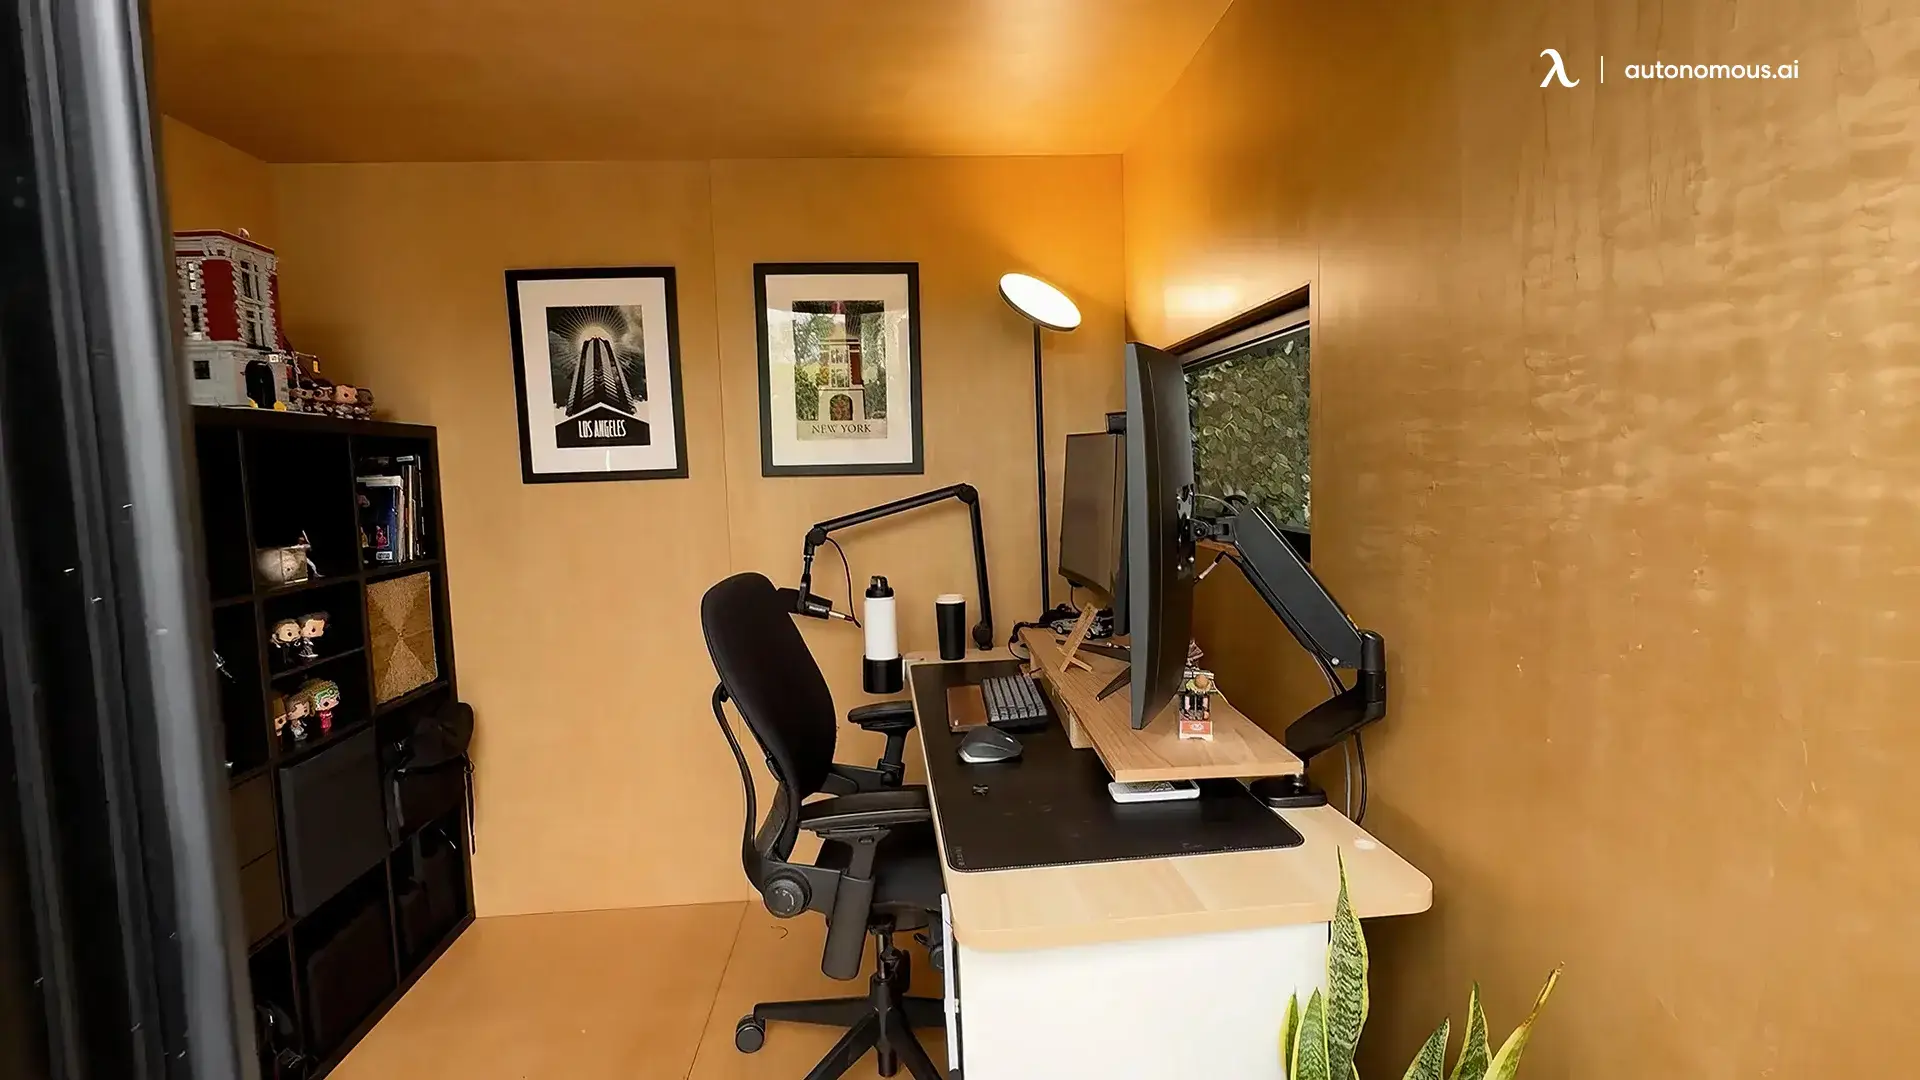
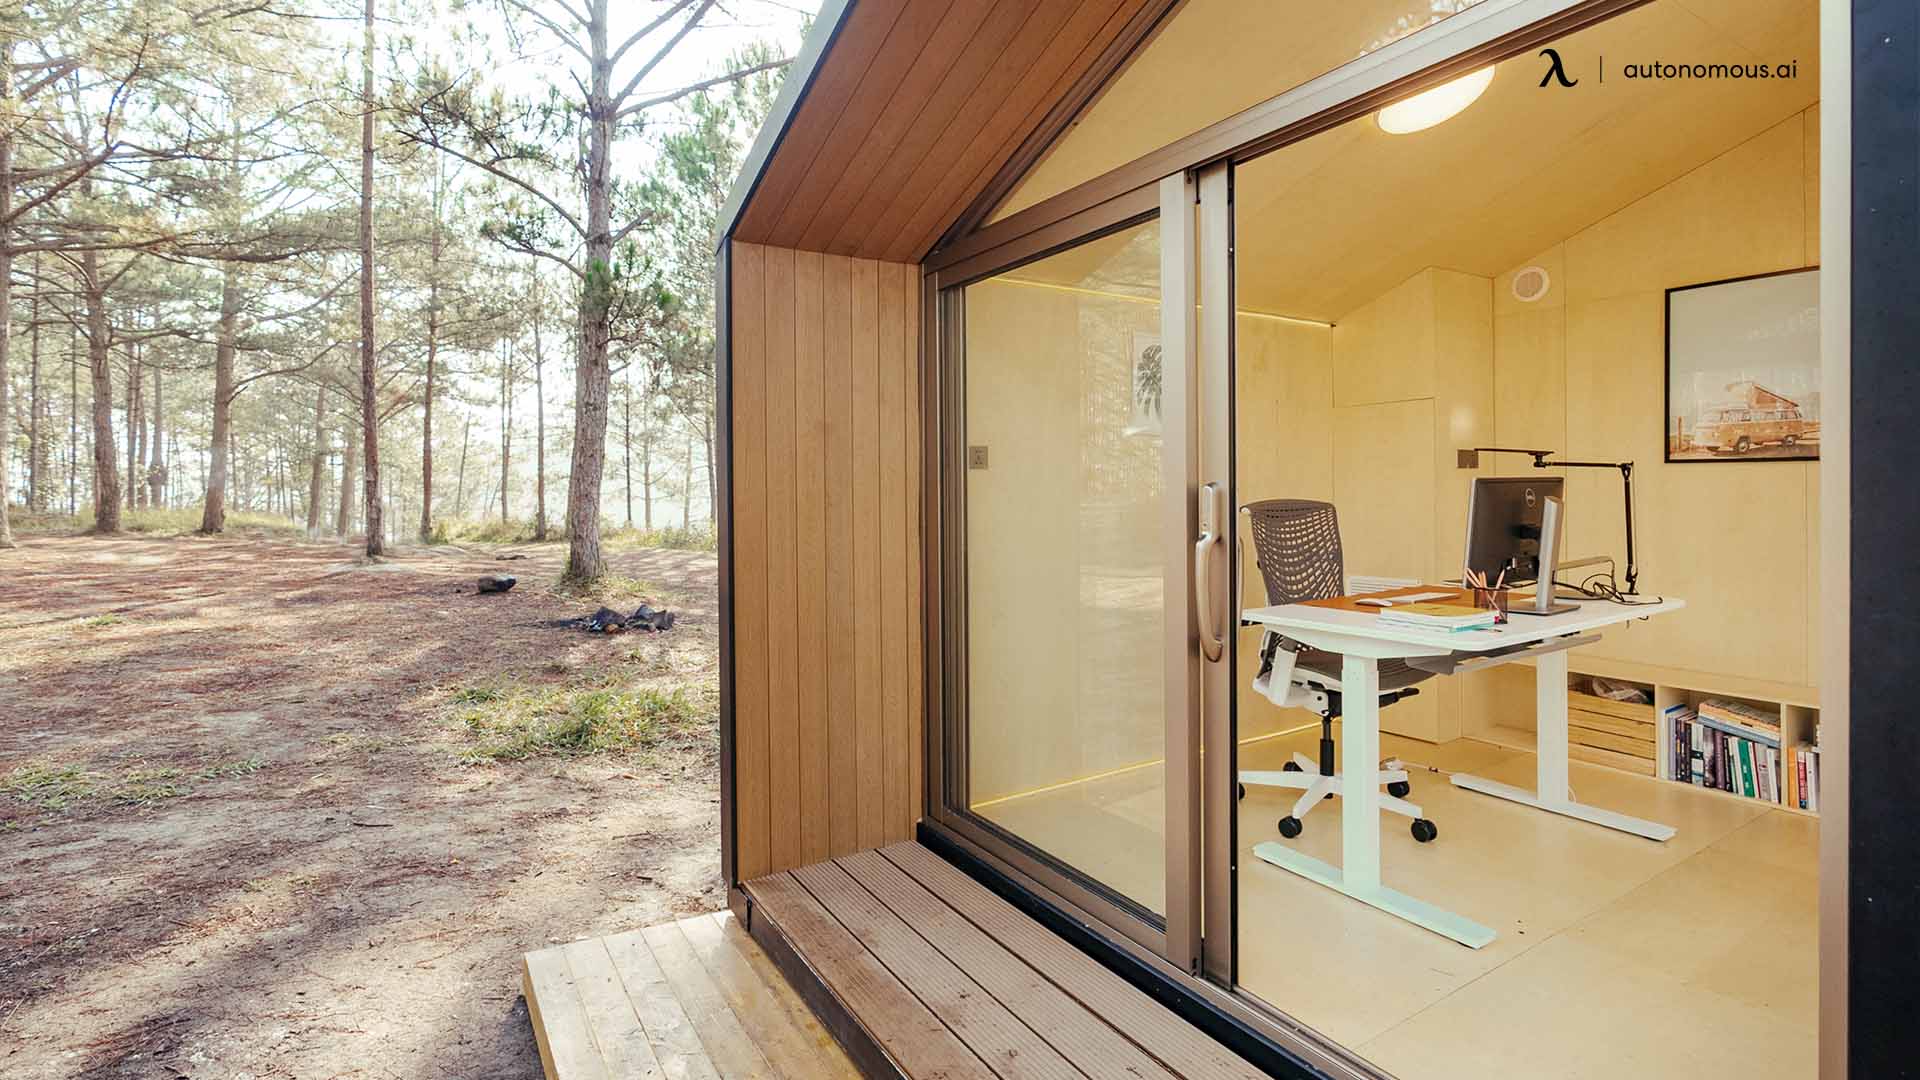
6. Creating a Distraction-Free Studio with the Autonomous WorkPod
If you’re serious about content creation—or just tired of filming around roommates, barking dogs, or kitchen noise—investing in a dedicated space might be the best move you can make. That’s where the Autonomous WorkPod comes in.
This isn’t just another shed. It’s a pre-assembled, modern backyard studio shed that’s designed for focused, uninterrupted work. For creators like me who wanted a permanent filming space outside the house, it’s a game-changer.
What Makes It Ideal for YouTube Creators?
The WorkPod checks all the boxes that make for the best YouTube studio setup:
- Privacy: Fully enclosed with sound-dampening walls—so no more worrying about street noise or echo from thin apartment walls.
- Control: You can fully control the lighting environment, which is key for consistent footage.
- Ready to Use: It comes wired with power outlets and ventilation, and you can furnish it with an ergonomic desk and chair, or even soft panel lights and background setups.
- No Permits Needed: The compact WorkPod Core (just 102 sq. ft) typically doesn’t require building permits, depending on your city.
My Favorite Part?
It separates “work” from “home.” Stepping into the Pod each morning feels like stepping into a studio—not just rolling out of bed and opening my laptop. It helped me stay focused, keep a consistent filming schedule, and totally level up the look and feel of my content.
For anyone building a simple YouTube studio setup but wants a long-term solution, this is worth considering. Yes, it’s an investment—but it pays off fast in focus, productivity, and creative freedom.
7. FAQs
How do I start a YouTube studio setup at home?
Start by picking a quiet, well-lit space. Use your phone or basic camera, add a simple lighting source, and invest in clear audio. You can grow your gear over time. Even a simple YouTube studio setup can look and sound professional with the right arrangement.
What’s the best YouTube studio setup for beginners?
The best setup for beginners includes:
- A clean background
- A USB mic for good audio
- A ring light or softbox for lighting
- Your phone or entry-level camera
Add a standing desk and ergonomic chair if you’ll be editing or filming often.
Can I create a small YouTube studio setup in my bedroom?
Absolutely. Many creators film in small bedrooms, closets, or even hallways. Focus on noise control, lighting, and background. Use vertical space to organize your gear and keep your YouTube studio desk setup clutter-free.
What is the best desk setup for YouTube content creation?
A solid YouTube studio desk setup should include:
- Enough space for your mic, camera, and monitors
- Cable management to reduce mess
- Adjustable height (for comfort while filming or editing). Pair it with an ergonomic chair and monitor riser for better posture.
Is there a budget YouTube studio setup under $500?
Yes. You can get:
- A basic USB mic ($40–$80)
- A ring light ($20–$50)
- A phone tripod ($15–$30)
- Foam panels for sound ($30–$50)
That leaves room for a decent chair or desk upgrade—plenty for a budget YouTube studio setup.
8. Conclusion
Building your YouTube studio setup at home doesn’t have to be expensive or overwhelming. Whether you’re working with a tight corner in your apartment or investing in a dedicated backyard WorkPod, the key is creating a space that supports your creativity, keeps you comfortable, and helps you stay consistent. And if you ever want a truly dedicated space, a small backyard office like the WorkPod Core takes your setup to the next level.
Start simple: use natural light, clean up your background, and grab a decent mic. As you grow, your setup can grow with you—from a basic tripod and desk light to a fully customized YouTube studio desk setup with ergonomic furniture and pro-level lighting. If you’re working in tight quarters, a small YouTube studio setup can still deliver big results when optimized for sound and workflow.
And if you’re ready to take things further, the Autonomous WorkPod is a serious level-up. It gives you the freedom to create, edit, and focus—without the interruptions of everyday life.
Whatever your budget or space, remember: content comes first. Gear helps, but consistency and passion are what really build a channel.