


- Newest
- Most viewed

How Much Does Claude Code Cost to Run in Parallel?
Claude Code cost climbs fast when agents run in parallel, because every session draws from one quota. The real per-day math and why the bill surprises you.
AI Workspace | Jul 27, 2026 792 views

What Is a Physical App Blocker? NFC Phone Locks 2026
AI Workspace | Jul 22, 2026 628 views

Opal App Review 2026: Cost, Free Tier, Alternatives
AI Workspace | Jul 20, 2026 863 views
What Is a GPU Server? A 2026 Guide
AI Workspace | Jul 20, 2026 1,173 views
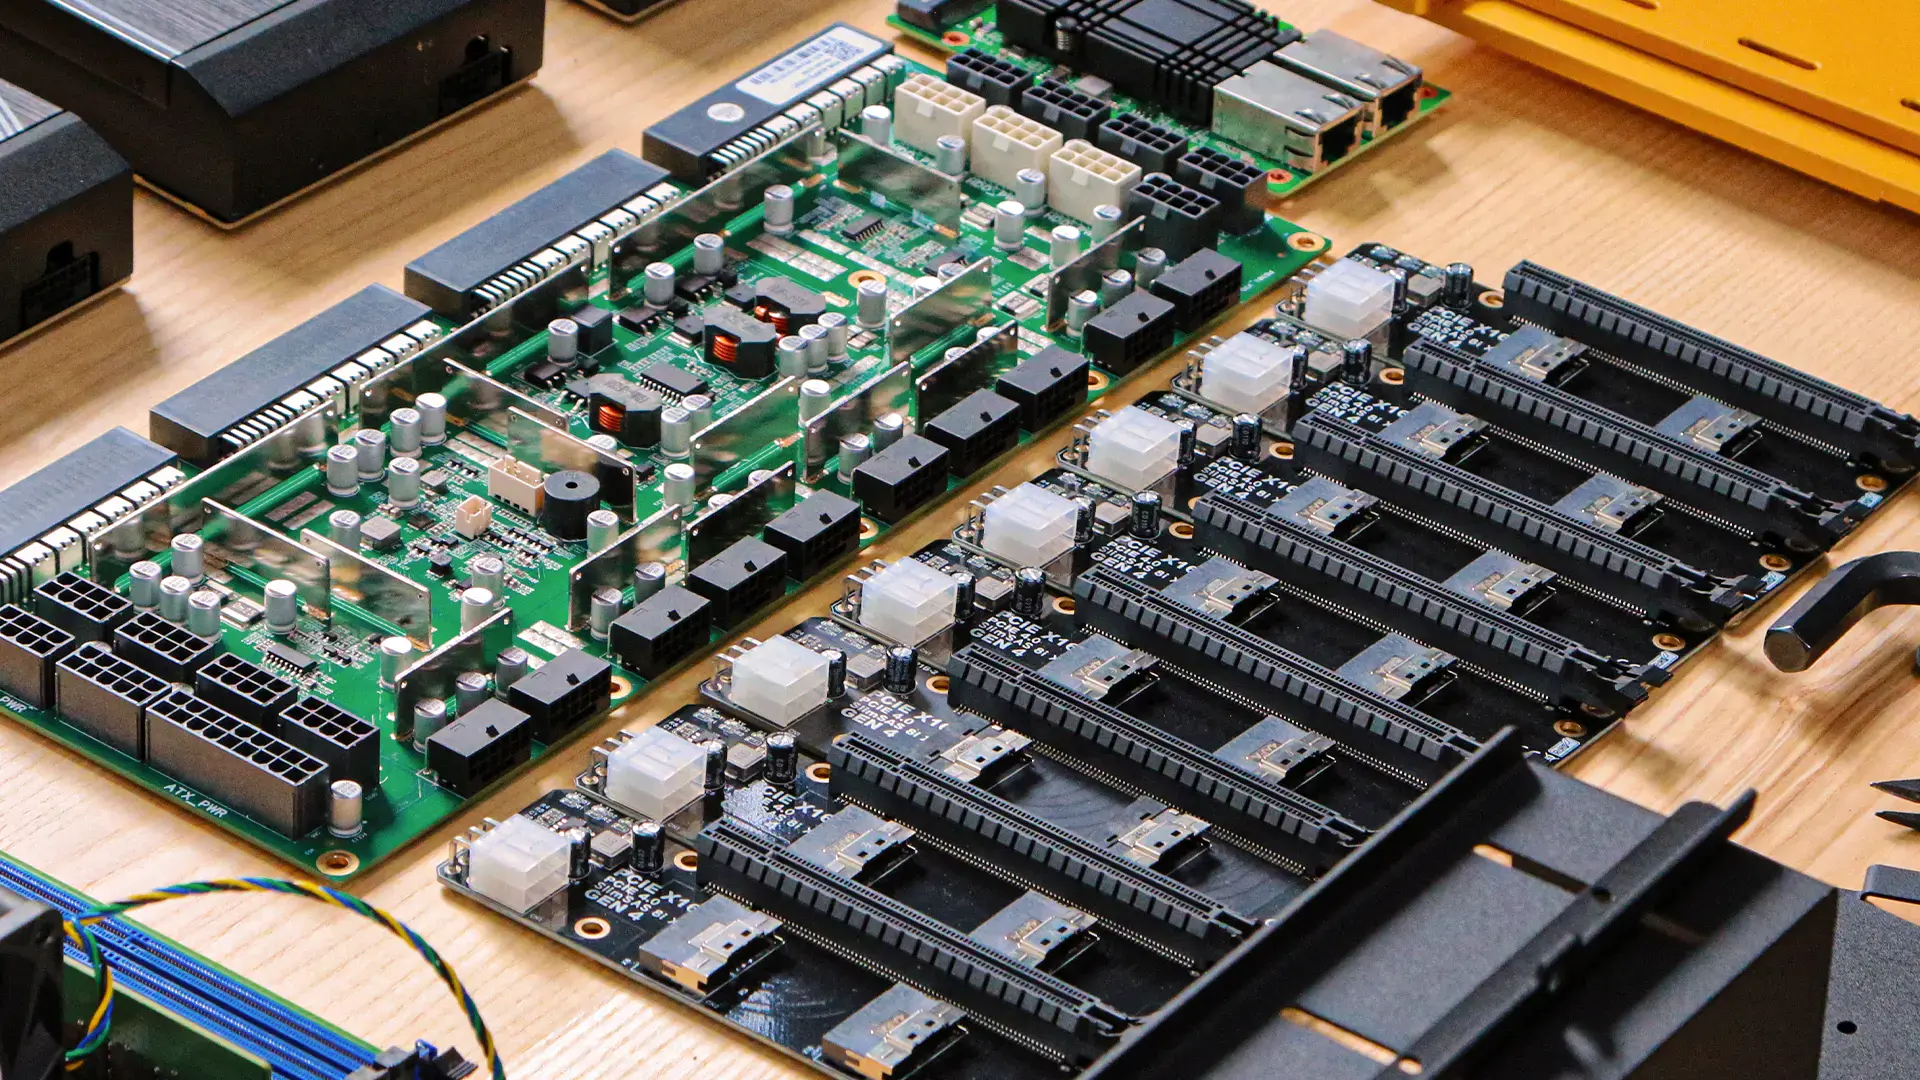
How to Build an 8x RTX 5090 GPU Server: 256GB VRAM
AI Workspace | Jul 17, 2026 1,333 views

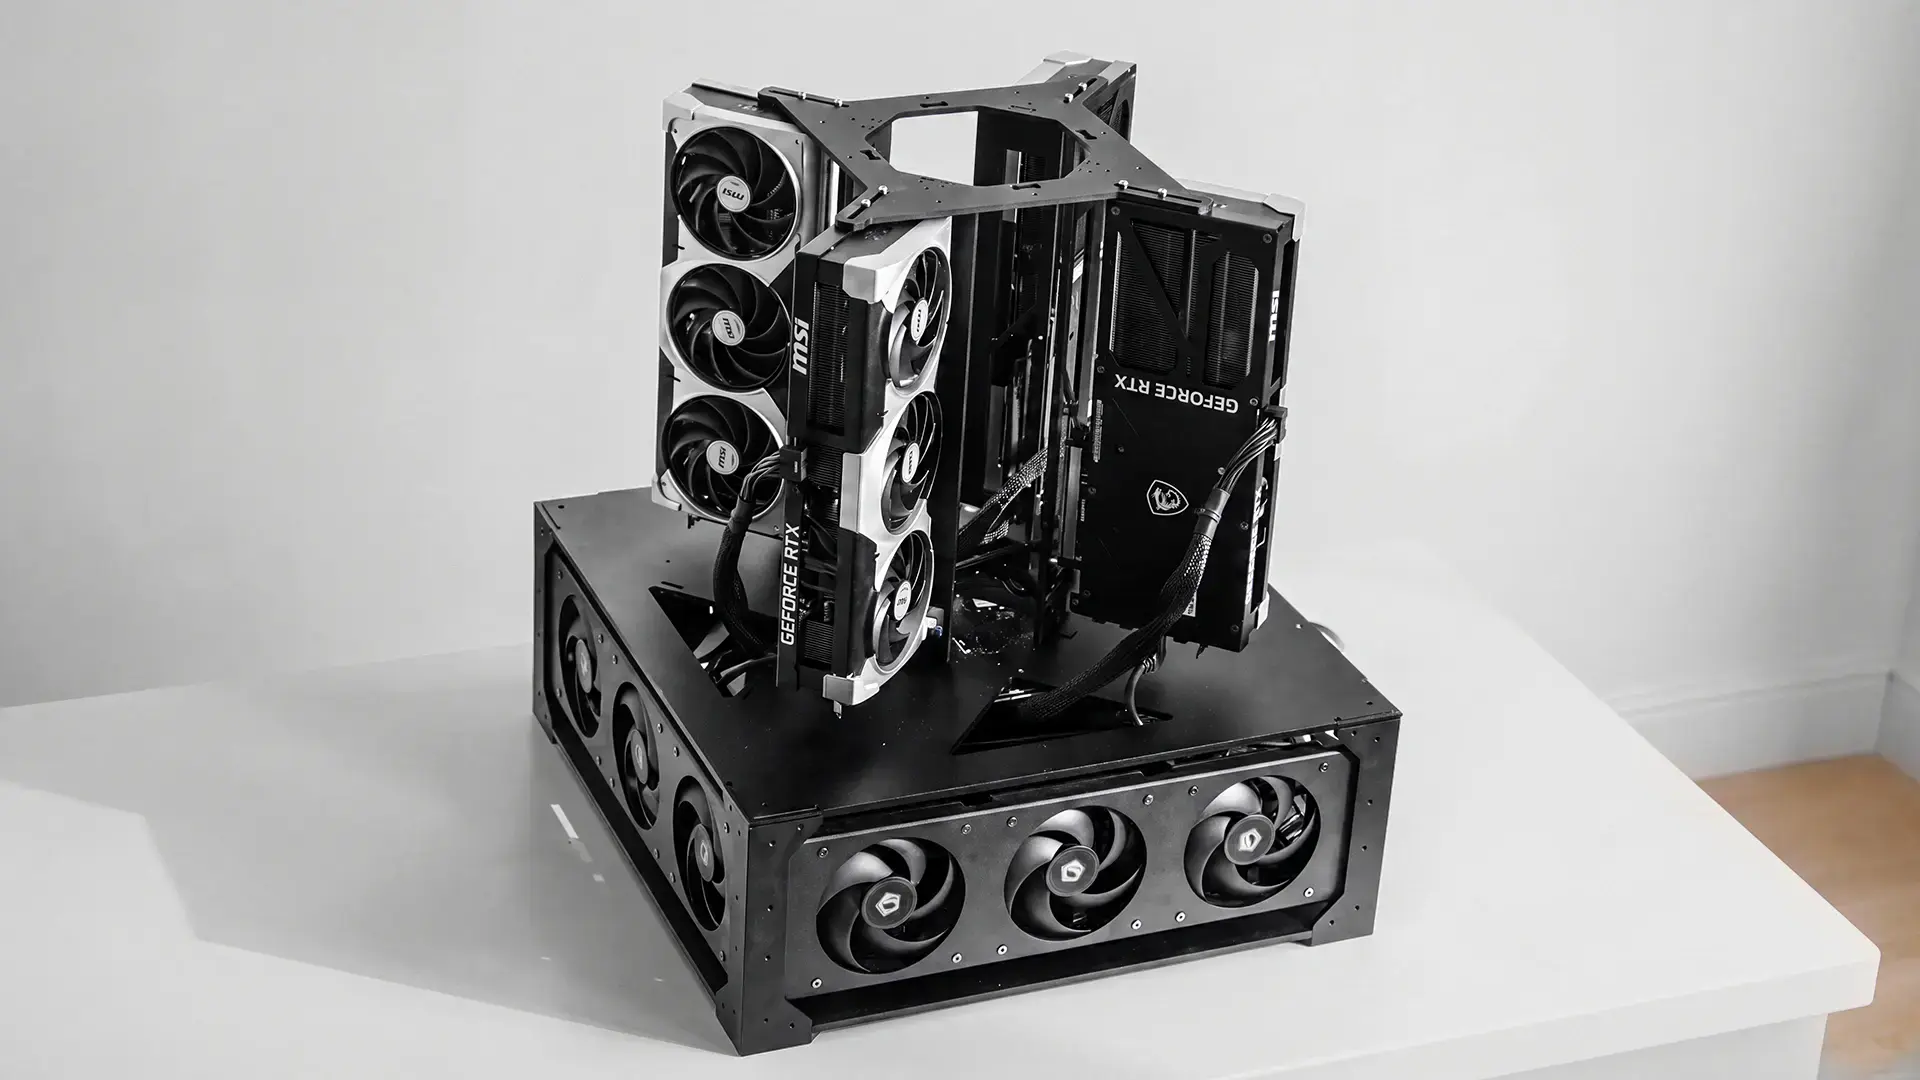
How to Build a 4x RTX 5090 128GB VRAM AI Workstation
AI Workspace | Jul 13, 2026 1,083 views

Local AI Agent: How to Run One on Your Own Hardware
AI Workspace | Jul 10, 2026 965 views
.webp)
Brick vs Bloom: Which NFC App Blocker Wins in 2026
AI Workspace | Jul 8, 2026 329 views

Run Multiple Claude Code Agents Without Losing Track
AI Workspace | Jul 8, 2026 626 views
.webp)
Claude Cowork vs OpenClaw: Which Should You Use?
AI Workspace | Jul 6, 2026 1,509 views
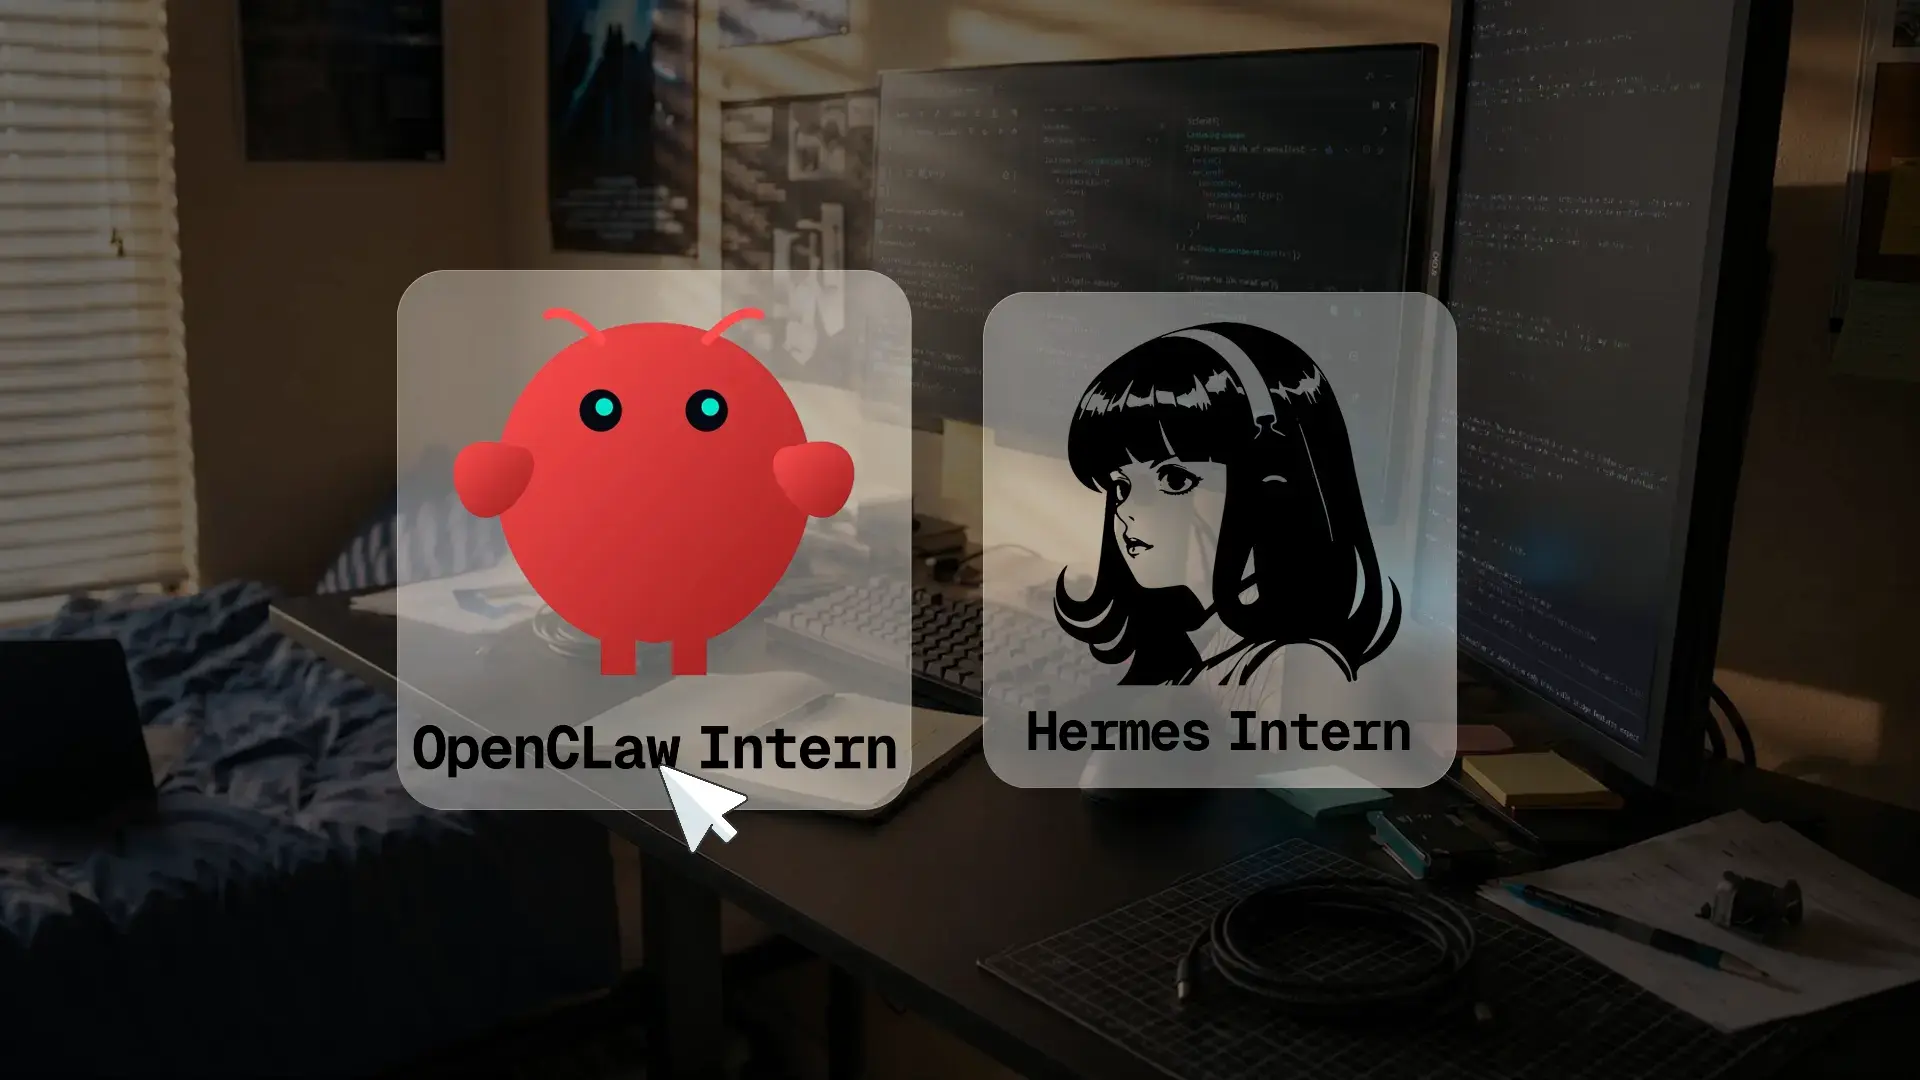
Hermes Agent vs OpenClaw: Which One Should You Run?
AI Workspace | Jun 24, 2026 1,981 views
.webp)
The 9 Best Petite Office Chairs for Short People 2026
Smart Products | Jun 22, 2026 39,169 views