


- Newest
- Most viewed
.webp)
Claude Cowork vs OpenClaw: Which Should You Use?
Claude Cowork vs OpenClaw, compared honestly: Cowork for desktop file work, OpenClaw for always-on chat delegation - plus the dedicated-device option no one mentions.
AI Workspace | Jul 6, 2026 1,169 views
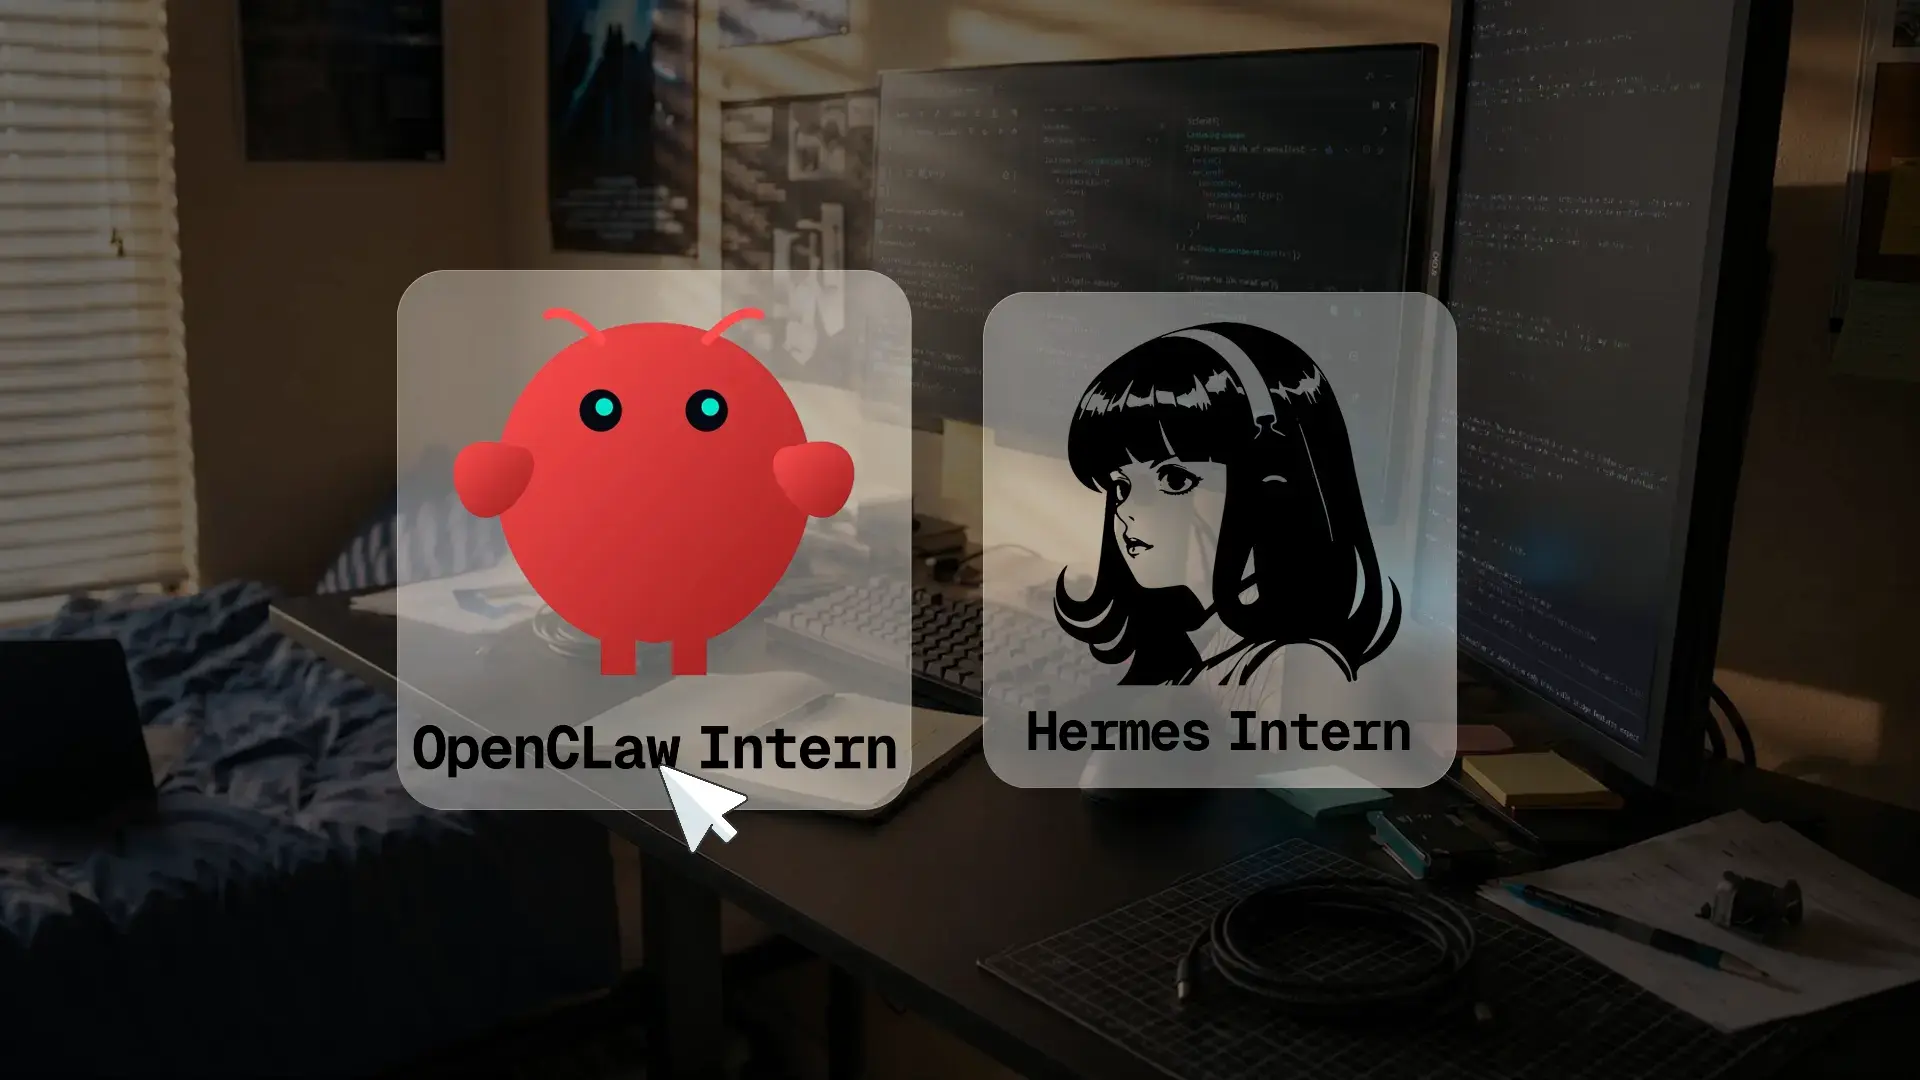
Hermes Agent vs OpenClaw: Which One Should You Run?
AI Workspace | Jun 24, 2026 1,614 views
.webp)
The 9 Best Petite Office Chairs for Short People 2026
Smart Products | Jun 22, 2026 38,813 views
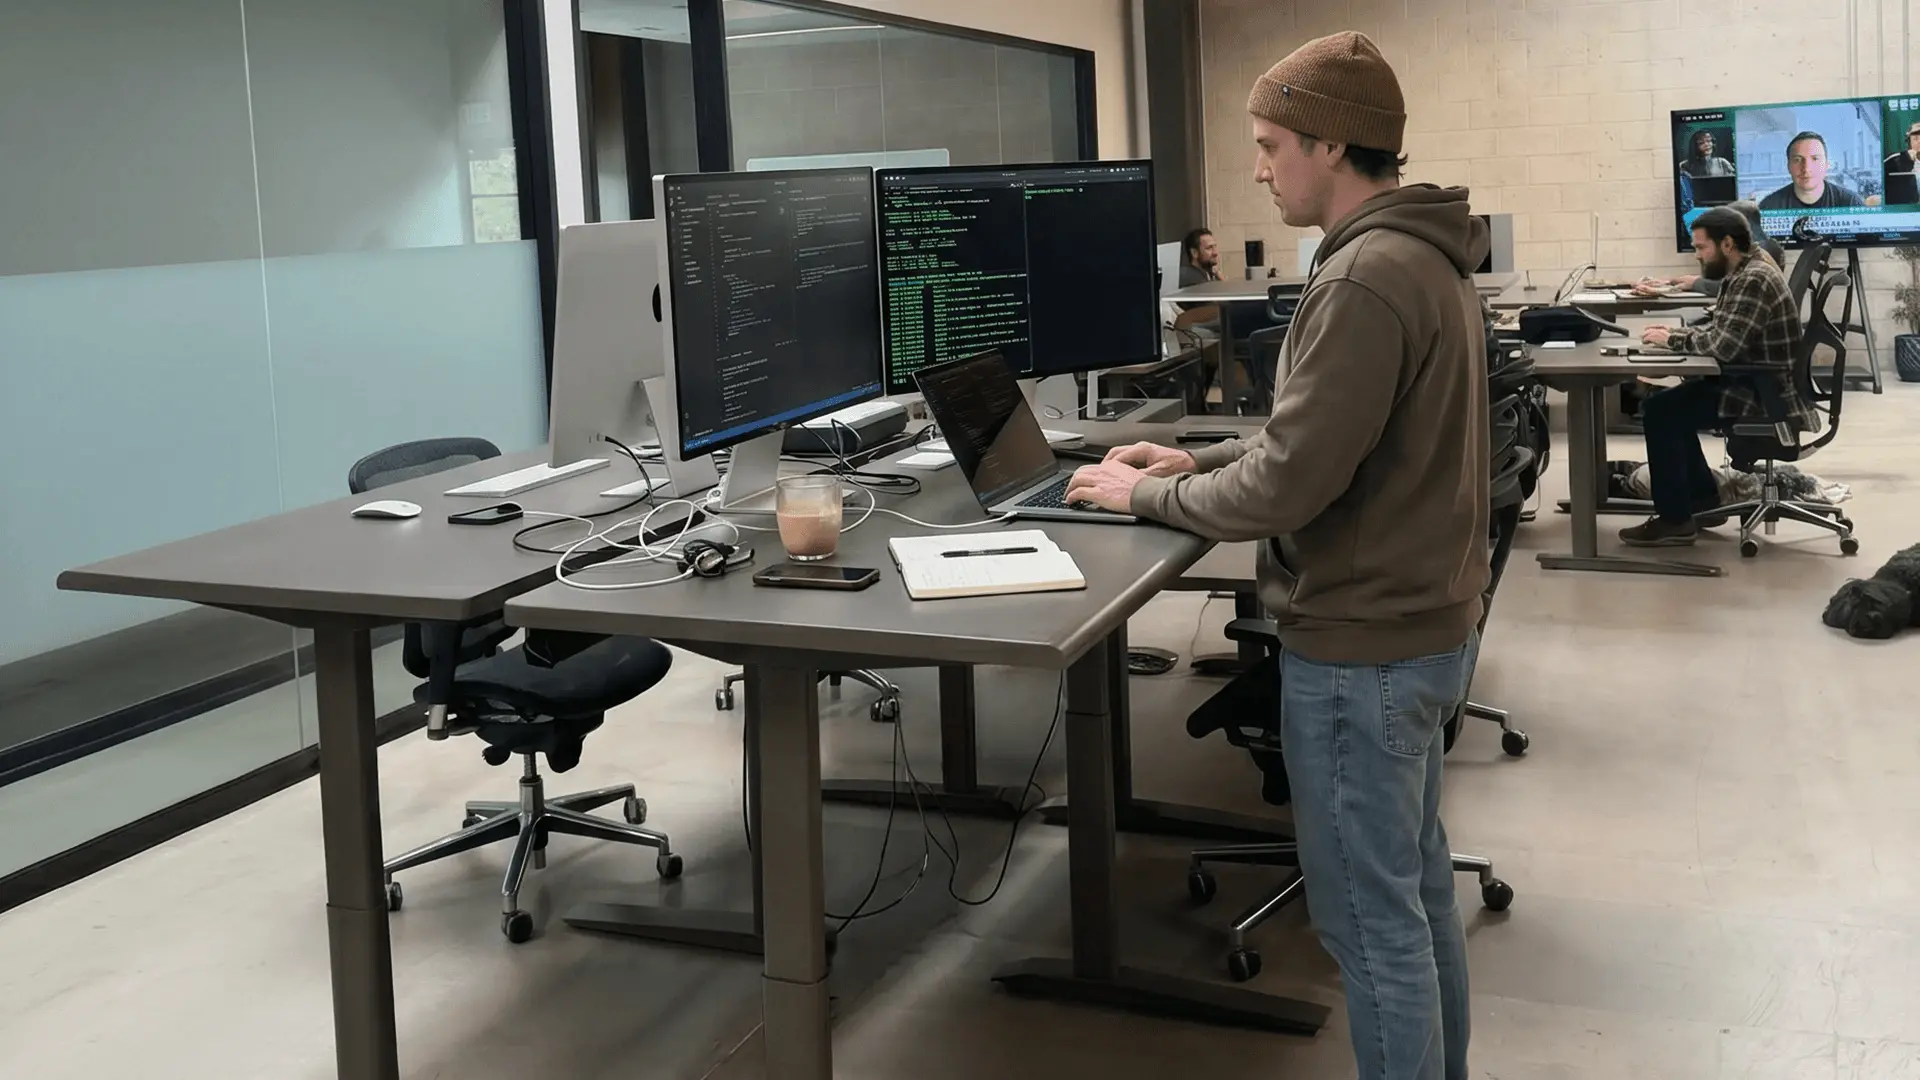
Autonomous Desk Pro Review: TÜV Rheinland Test Results
Smart Products | Jun 16, 2026 1,448 views
.webp)
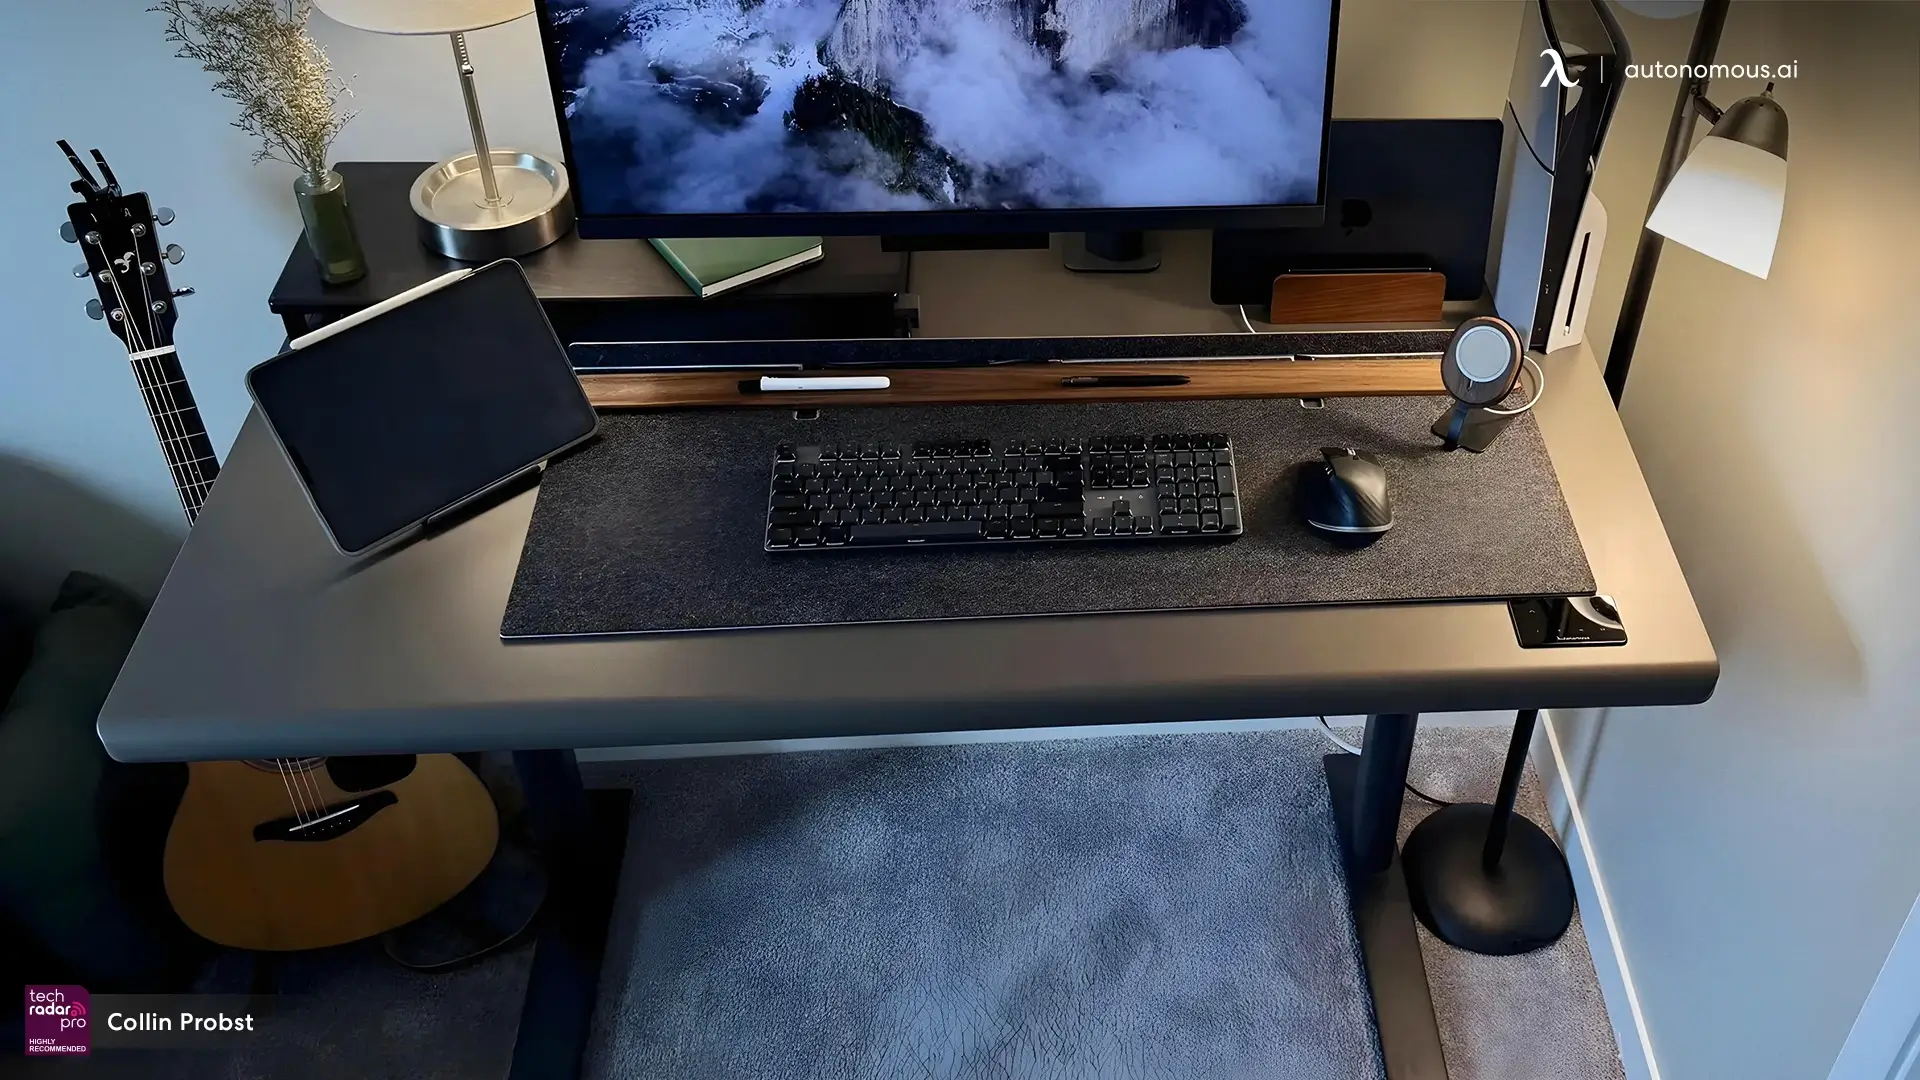
Standing Desk Home Office Setup: 6 Layouts That Work
Workplace Inspiration | Jun 15, 2026 7,867 views
.webp)
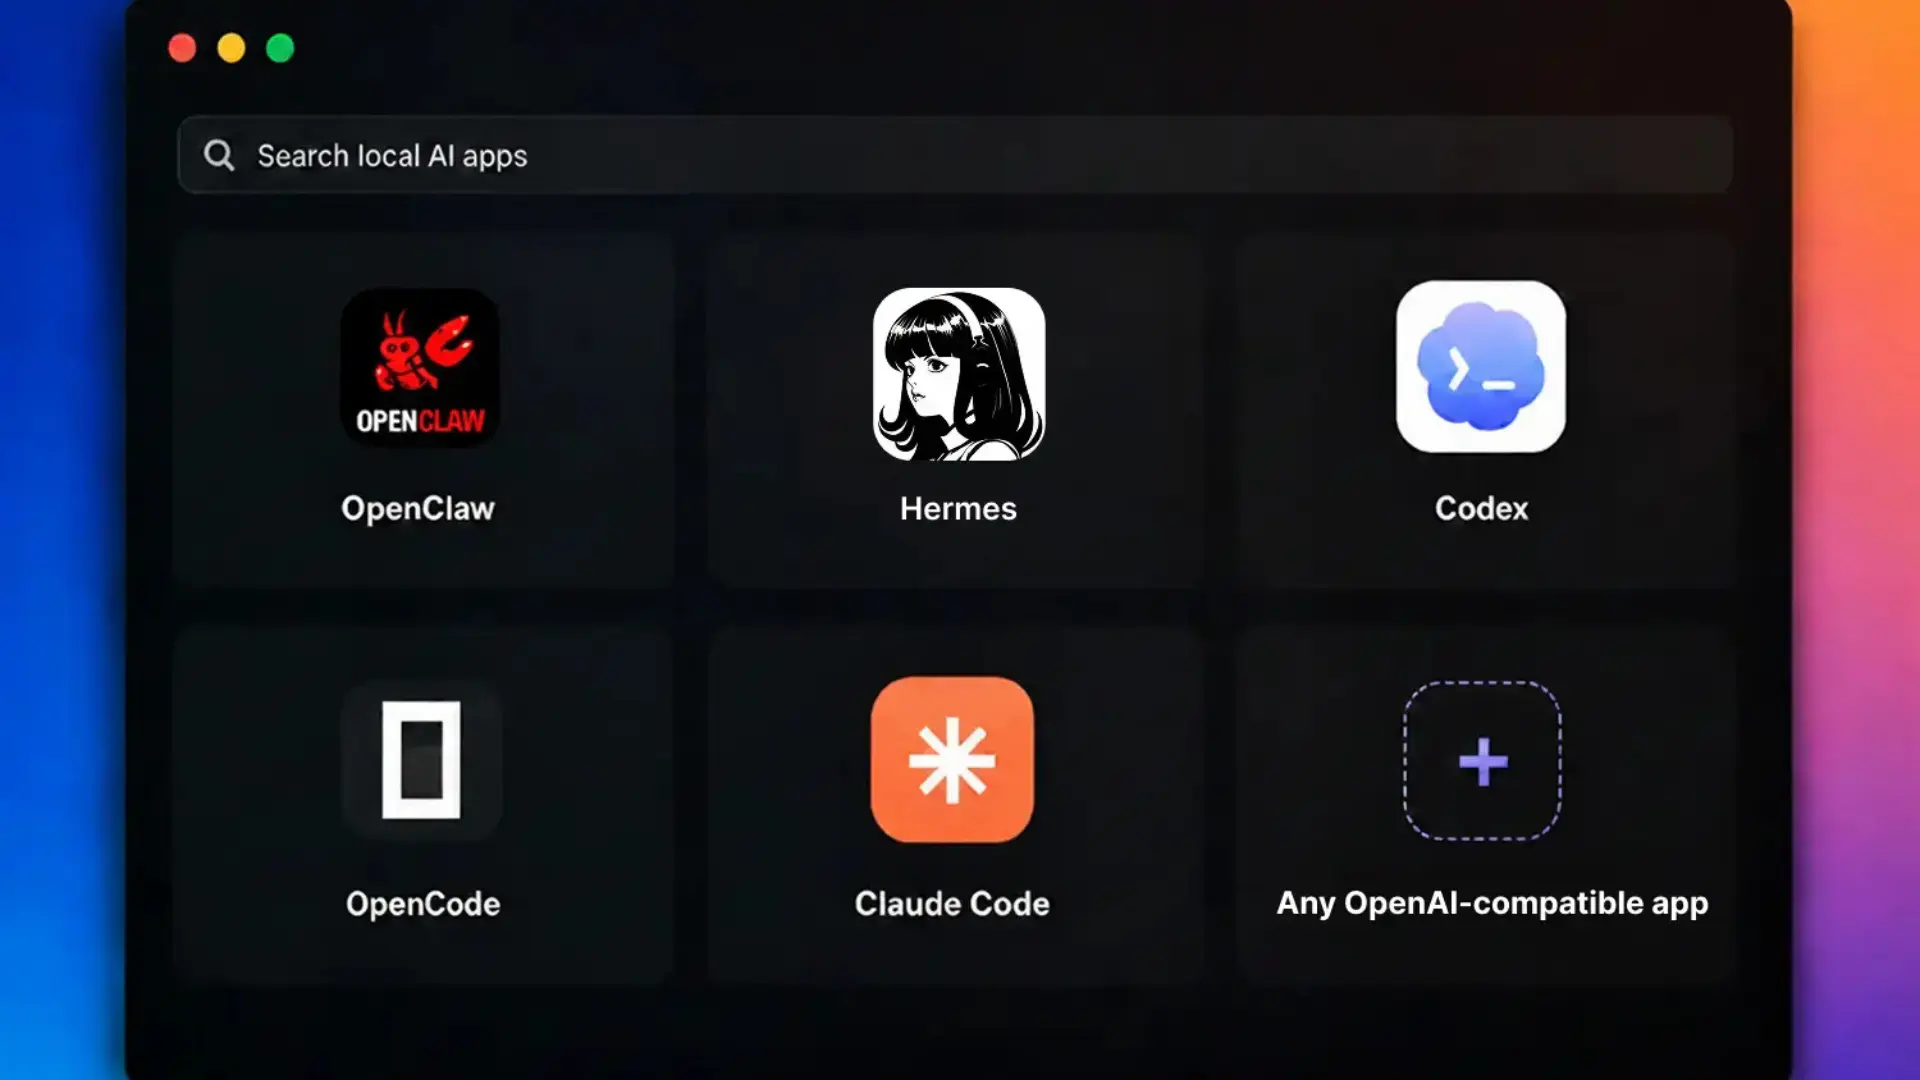
What Is OpenClaw? The OpenSource AI Agent, Explained
AI Workspace | Jun 15, 2026 3,768 views

What Is Hermes Agent, and What Should You Run It On?
AI Workspace | Jun 10, 2026 1,731 views
The 9 Best Standing Desks of 2026
Smart Products | Jun 8, 2026 6,586 views

Brick vs Autonomous Key: Same Lock, A Third The Price
AI Workspace | Jun 5, 2026 2,028 views
Hermes Agent Setup: How to Install It So It Actually Works
AI Workspace | Jun 3, 2026 1,081 views

Do Home Office Pods Make You More Productive?
Workplace Inspiration | Jun 3, 2026 17,104 views
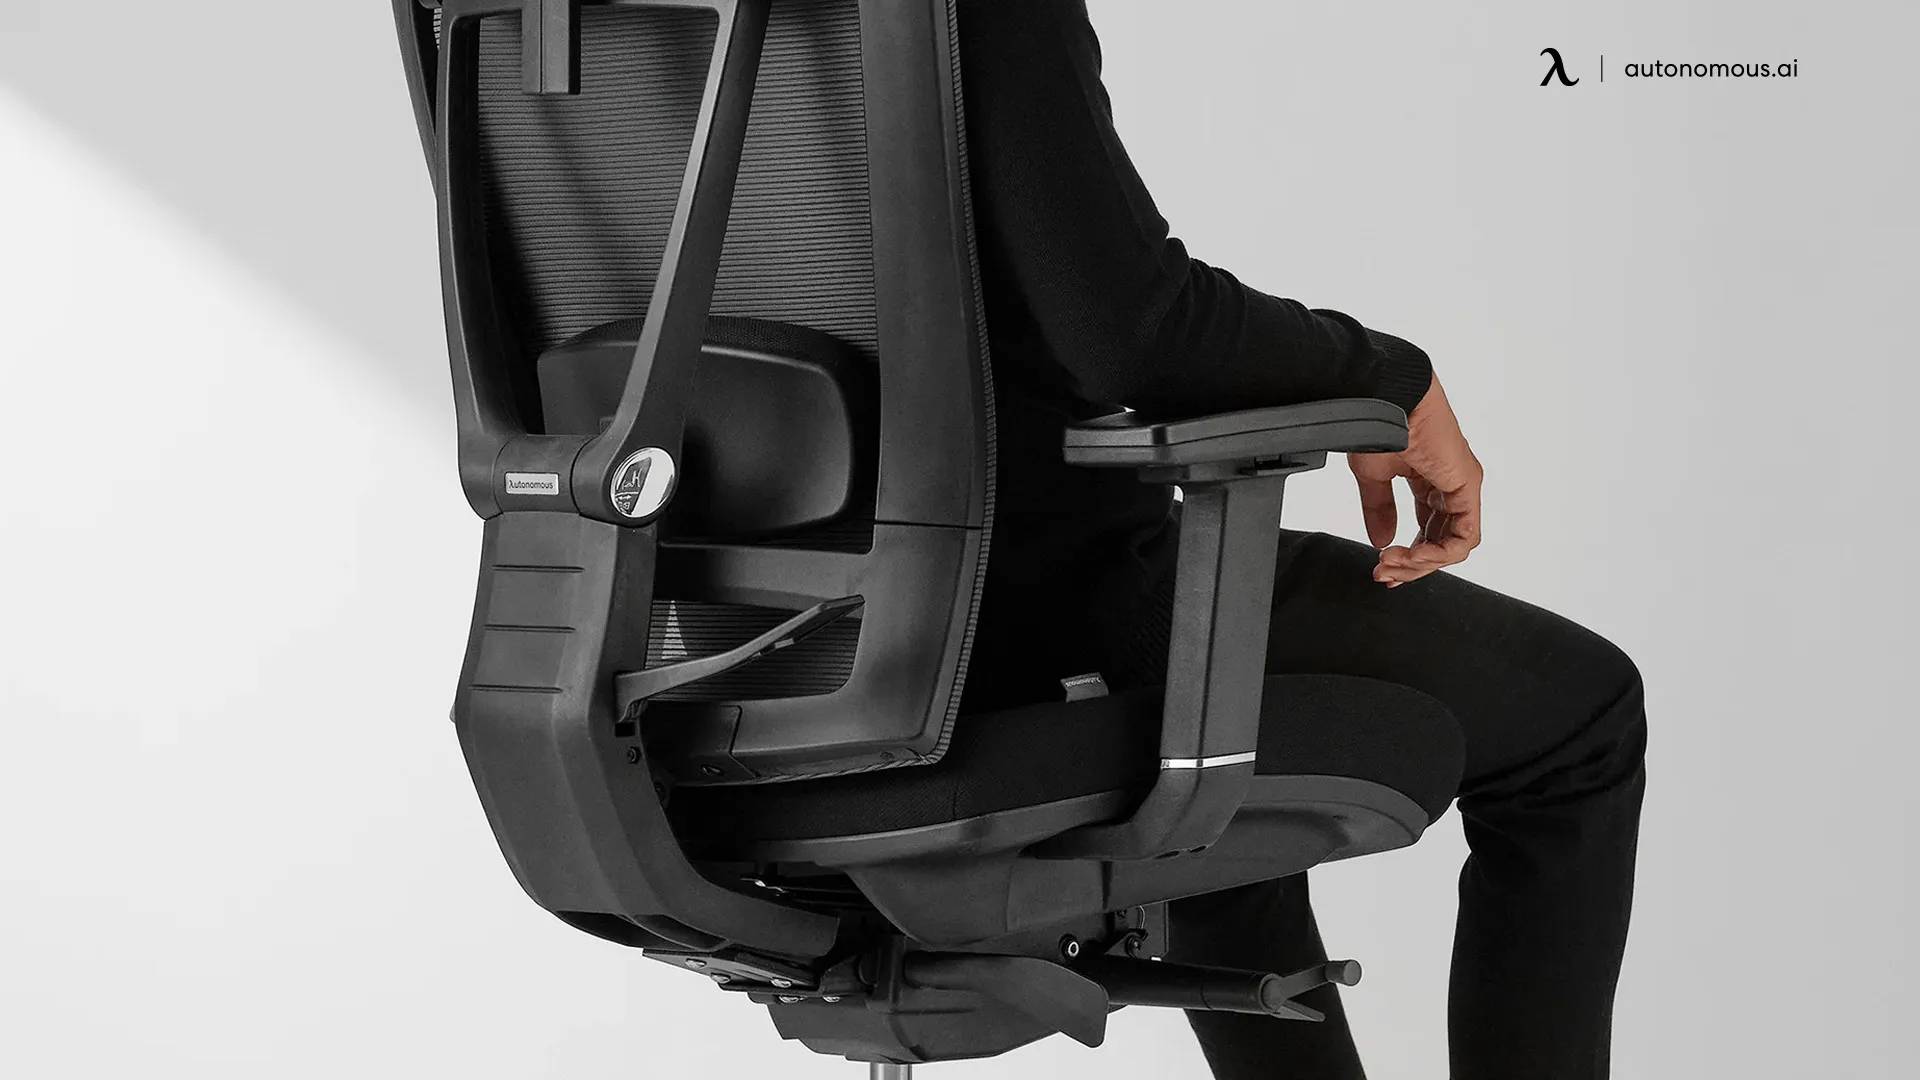
Where Should Lumbar Support Be Positioned?
Smart Products | Jun 3, 2026 72,208 views