


- Newest
- Most viewed
What Is a GPU Server? A 2026 Guide
A GPU server runs AI on parallel GPUs instead of CPUs. Learn what a GPU server is, what it's used for, and whether to rent, buy prebuilt, or build one.
AI Workspace | Jul 20, 2026 849 views
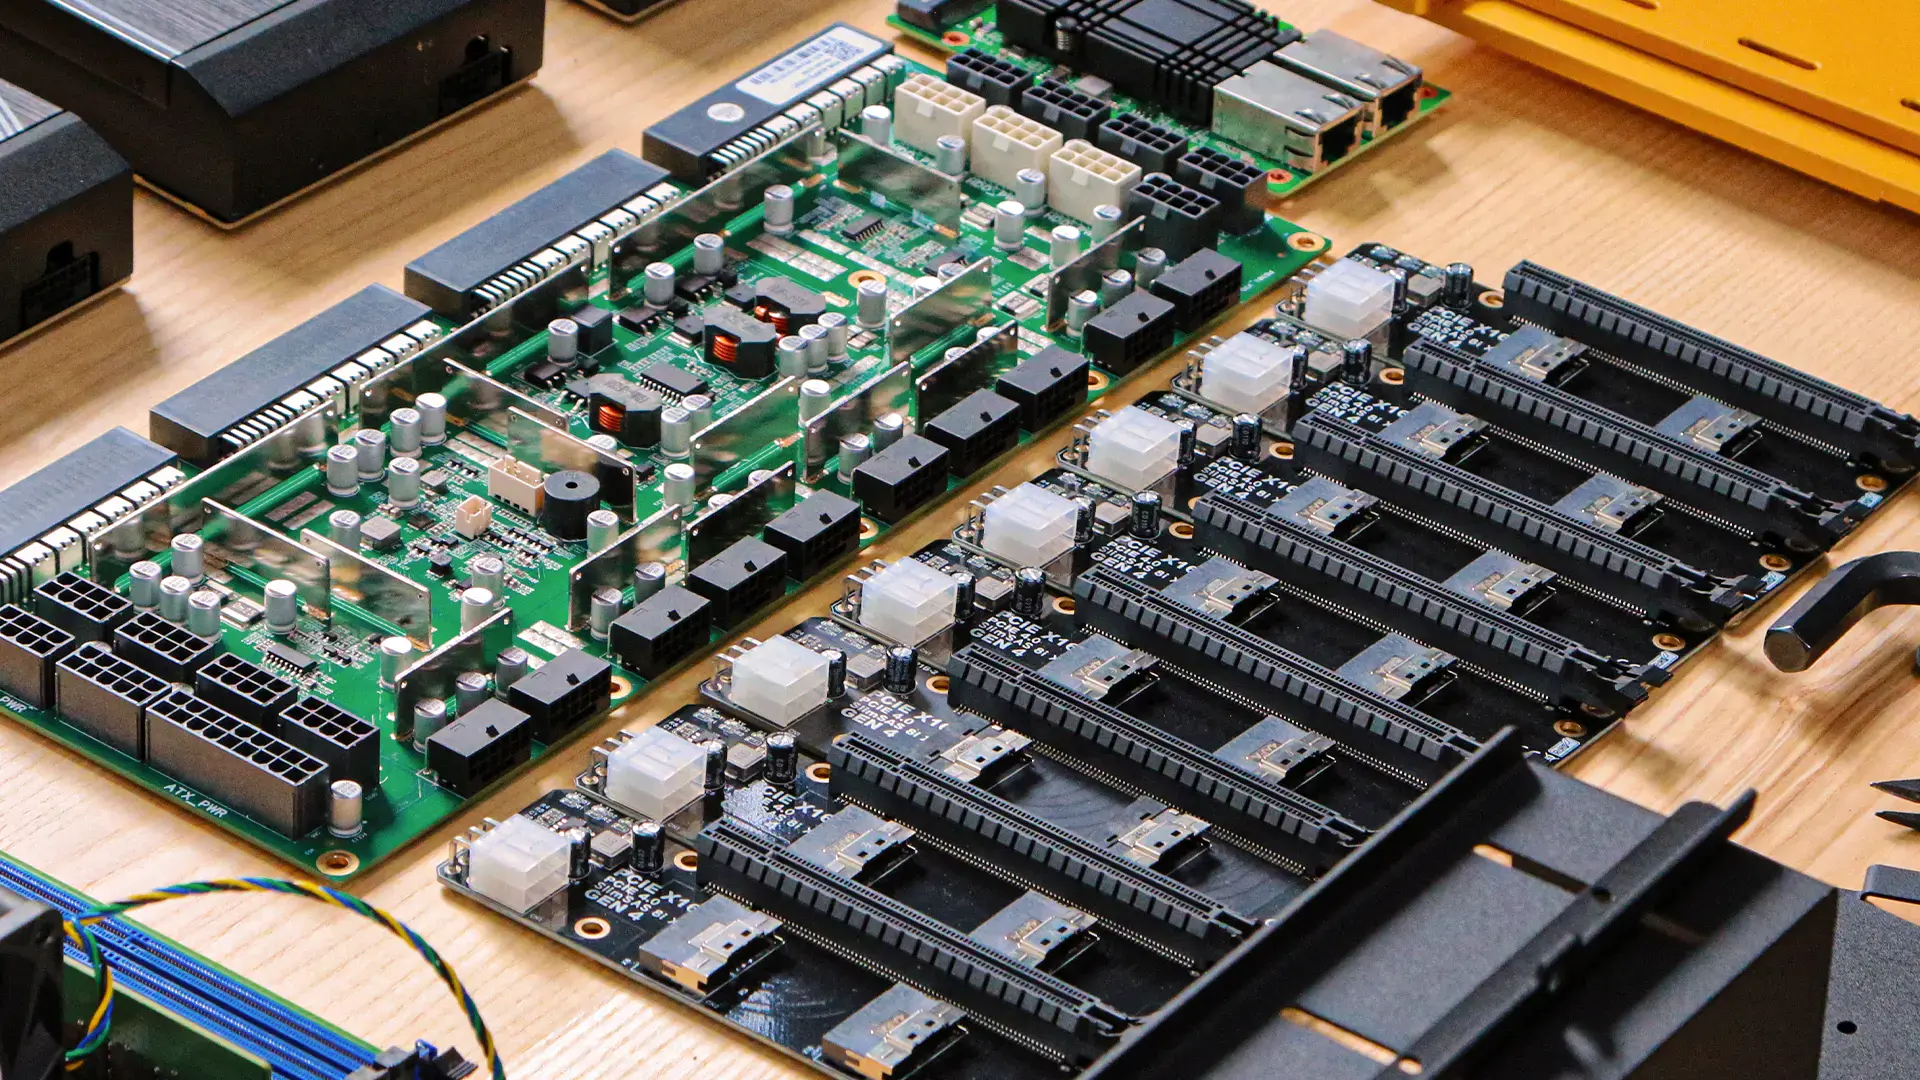
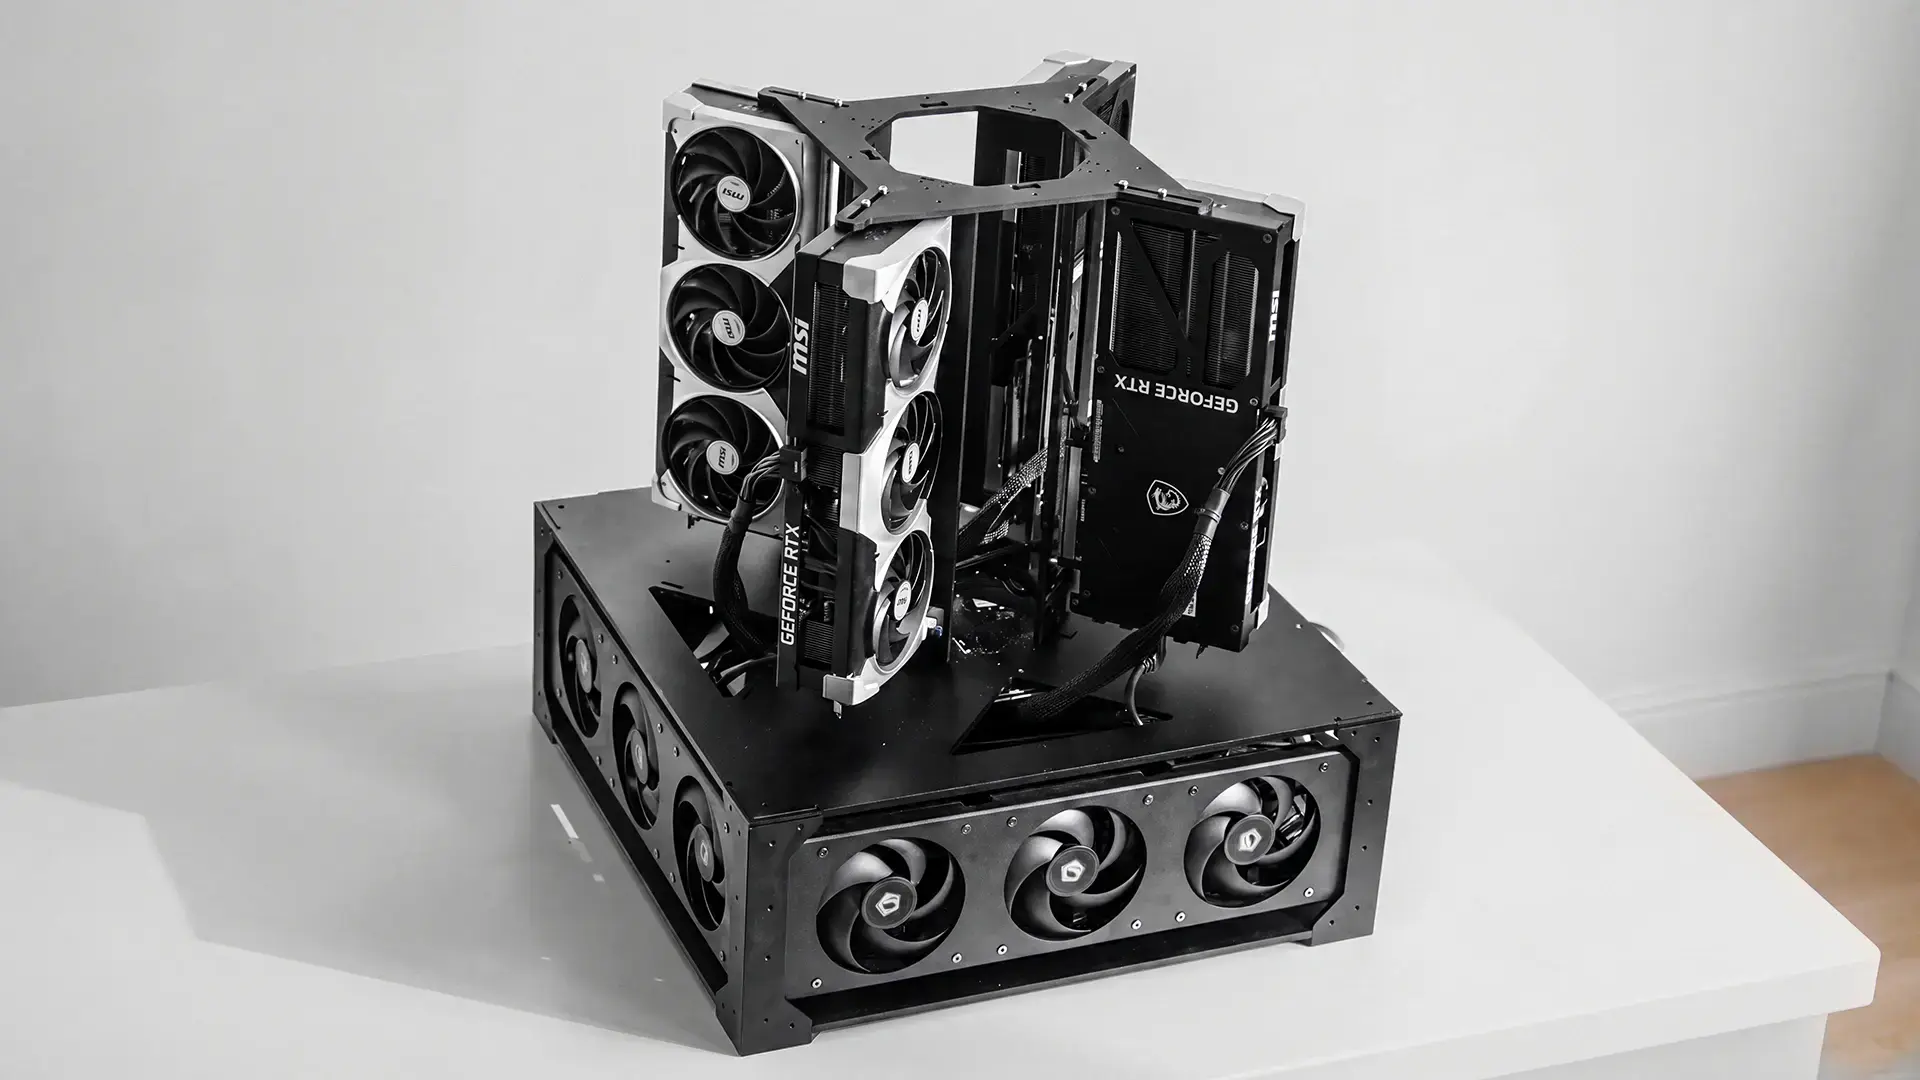
How to Build an 8x RTX 5090 GPU Server: 256GB VRAM
AI Workspace | Jul 17, 2026 991 views

How to Build a 4x RTX 5090 128GB VRAM AI Workstation
AI Workspace | Jul 13, 2026 756 views

Local AI Agent: How to Run One on Your Own Hardware
AI Workspace | Jul 10, 2026 673 views
.webp)
Claude Cowork vs OpenClaw: Which Should You Use?
AI Workspace | Jul 6, 2026 1,317 views
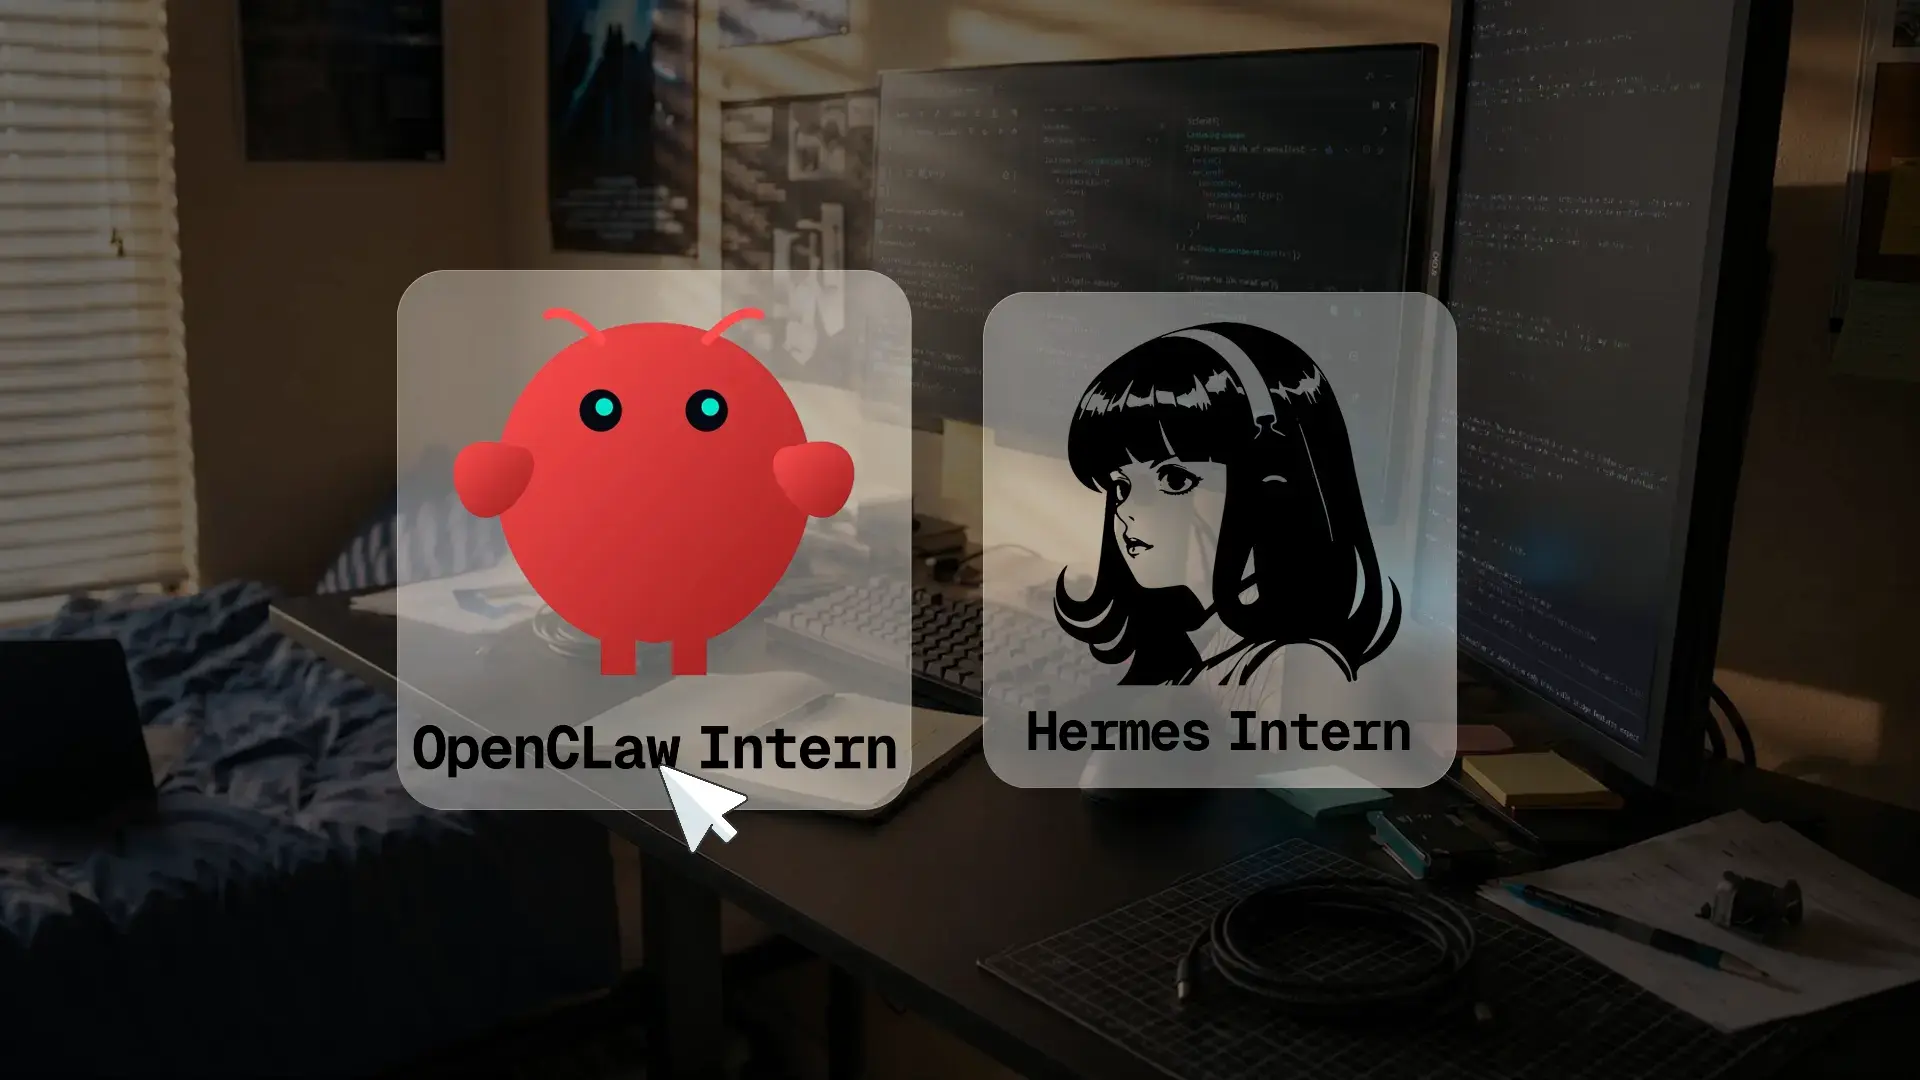
Hermes Agent vs OpenClaw: Which One Should You Run?
AI Workspace | Jun 24, 2026 1,747 views
.webp)
The 9 Best Petite Office Chairs for Short People 2026
Smart Products | Jun 22, 2026 38,902 views

Autonomous Desk Pro Review: TÜV Rheinland Test Results
Smart Products | Jun 16, 2026 1,527 views
.webp)
What Is OpenClaw? The OpenSource AI Agent, Explained
AI Workspace | Jun 15, 2026 3,943 views
.webp)
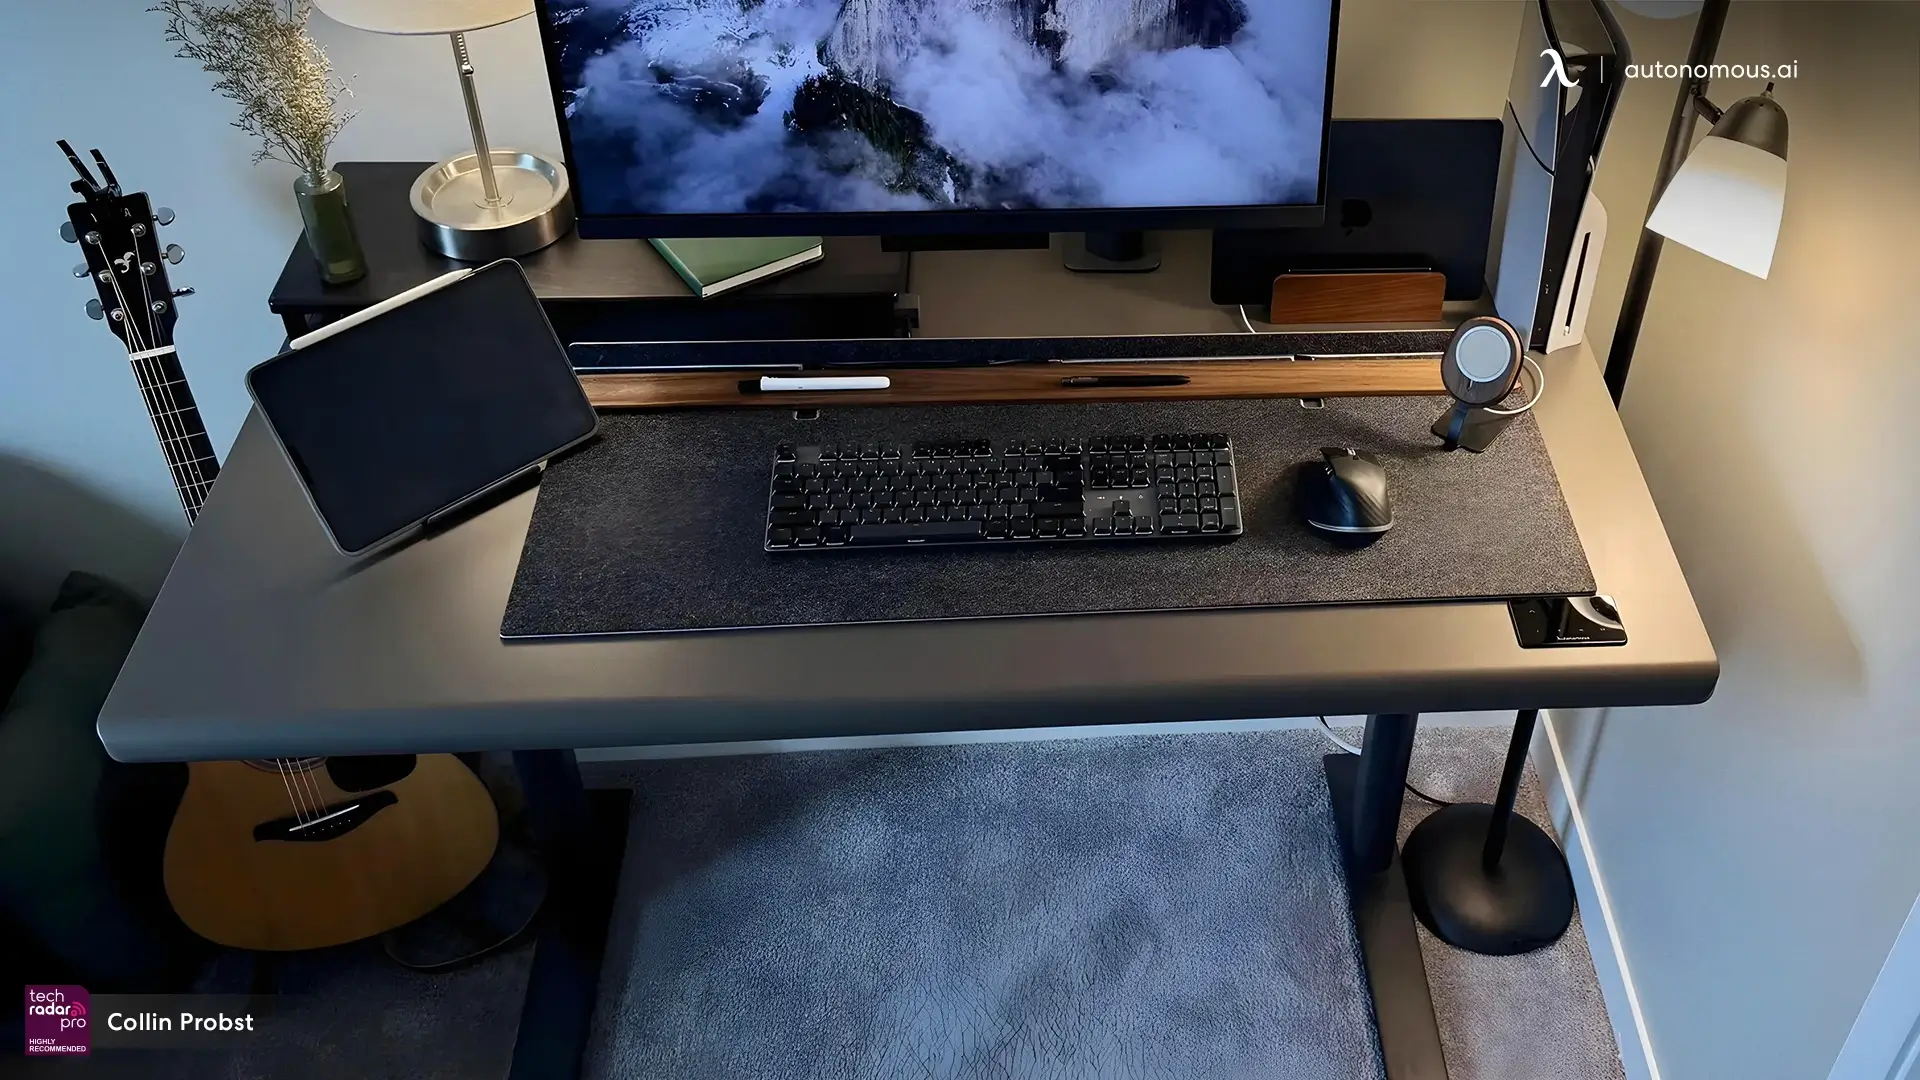
Standing Desk Home Office Setup: 6 Layouts That Work
Workplace Inspiration | Jun 15, 2026 7,954 views

What Is Hermes Agent, and What Should You Run It On?
AI Workspace | Jun 10, 2026 1,838 views
The 9 Best Standing Desks of 2026
Smart Products | Jun 8, 2026 6,700 views