Perfect Home Studio Setup: Guides & Essential Items
You may have seen a home studio setup before, and probably thought it was a relatively easy thing to get going. However, this is most certainly not the case. There's a lot of planning that goes into bringing it all together correctly.
The spending that you'll have to do is one thing, but you need to first know what you should be spending on and what kind of placement strategy you'll be using.
Today is all about helping you bring the home studio essentials you need together to ensure that you have the most productive and enriching experience possible.
Once you’ve finished, the whole idea should become a lot clearer.
Tips to Choose a Room for a Home Studio Setup
Even with some of the best pieces of equipment making up your small studio setup, things may end up not coming together correctly if the room isn't optimal.
Understand that no room is perfect, but the better the option you can find, the more likely your production value will be what you expect. Here are five elements you want to pay attention to as you create your home recording setup.
Size
You may think that a smaller room means better sound transition. However, acoustically, smaller rooms are incredibly counterproductive for your home music studio.
Beyond that, bear in mind that between your fixtures, computer accessories, and other items, you're going to require a reasonable space to place it all comfortably.
Therefore, the rule of thumb is that the more space you can get to record, the better. After all, it works out that much better for you if you have the space in your room to have a drum kit setup.
Dimensions
There are so many areas of life in which symmetry is a very good thing. It represents balance and precision. This is not the case where home studio setup ideas are concerned.
Why is this being said? Well, assuming your room shape features lines and edges and isn't circular, you're likely going to end up with one of two shapes. The first is a rectangle, and the second is a square.
By the principle of symmetry, you'd be inclined to think that the square is the one you should go for.
However, standing waves, which are terrible for your production value, will most certainly build up with such a shape. Therefore, an uneven width and length distribution is recommended.
Ceiling Height
The configuration recommendation here is quite simple. A lower ceiling is a worse ceiling. Why is this?
Mixing is adversely affected by a low height. Additionally, vertical reflections are another potential issue that can ruin the kind of production value you want.
For example, imagine that you are recording some vocals for a project. If that's the case and you have strong ceiling reflection happening, you're going to experience comb filtering, which will certainly not contribute positively to what you're trying to create.
Noise Level
If you've ever been in a studio environment before, you know that it's a quiet place. Microphone sensitivity, among other considerations, goes into maintaining an absence of noise, as it leads to a solid finished product.
If your setup is next to an AC unit, for example, the noise could pose a problem. It's even worse if external noise sources are permeating inward.
For example, if you can hear the cars outside as they drive by, the home music studio experience is not going to be the best.
Even if it's a studio setup for beginners, the room should always be as quiet as possible.
Room Surfaces
Vertical reflections were alluded to earlier, and their counterparts are just as bad. While one or a couple of reflective surfaces are acceptable, if it becomes excessive, you're not going to be getting the kind of sound quality you're looking for.
For example, if you have floor-to-ceiling windows on one side of the room, this would be a terrible place for you to be recording.
The floors are a consideration too. Carpeted wooden floors are highly recommended as high frequencies are easily absorbed. Note that when such frequencies are present in your recording, you get a muffled effect.
What Equipment You Need
Now that you know how to select the right room for your home studio setup, it's time to turn your attention to the kind of equipment that you need to pull it off successfully.
Microphones
A solid microphone is a core piece of a great audio experience. In many cases, newer studio owners use cardioid microphones as they accept sound from the front and reject sound from the rear.
Some microphones allow you to change acceptance direction, allowing for 360-degree sound acceptance, front and back acceptance, side-to-side acceptance, etc.
Among the options you can consider are the Movo microphone or the Sabinetek wireless Bluetooth microphone. Movo also has a solid smartphone video kit that you can use to vlog your studio experience!
Audio Interface
The audio interface simply allows you to connect multiple channels and sources to your computer. This may include your headphones, speakers, drums, etc.
Typically, the preference is to go for a USB audio interface. There's no need to start on a large scale but ensure that the preamps converters can meet your needs.
Standing Desk
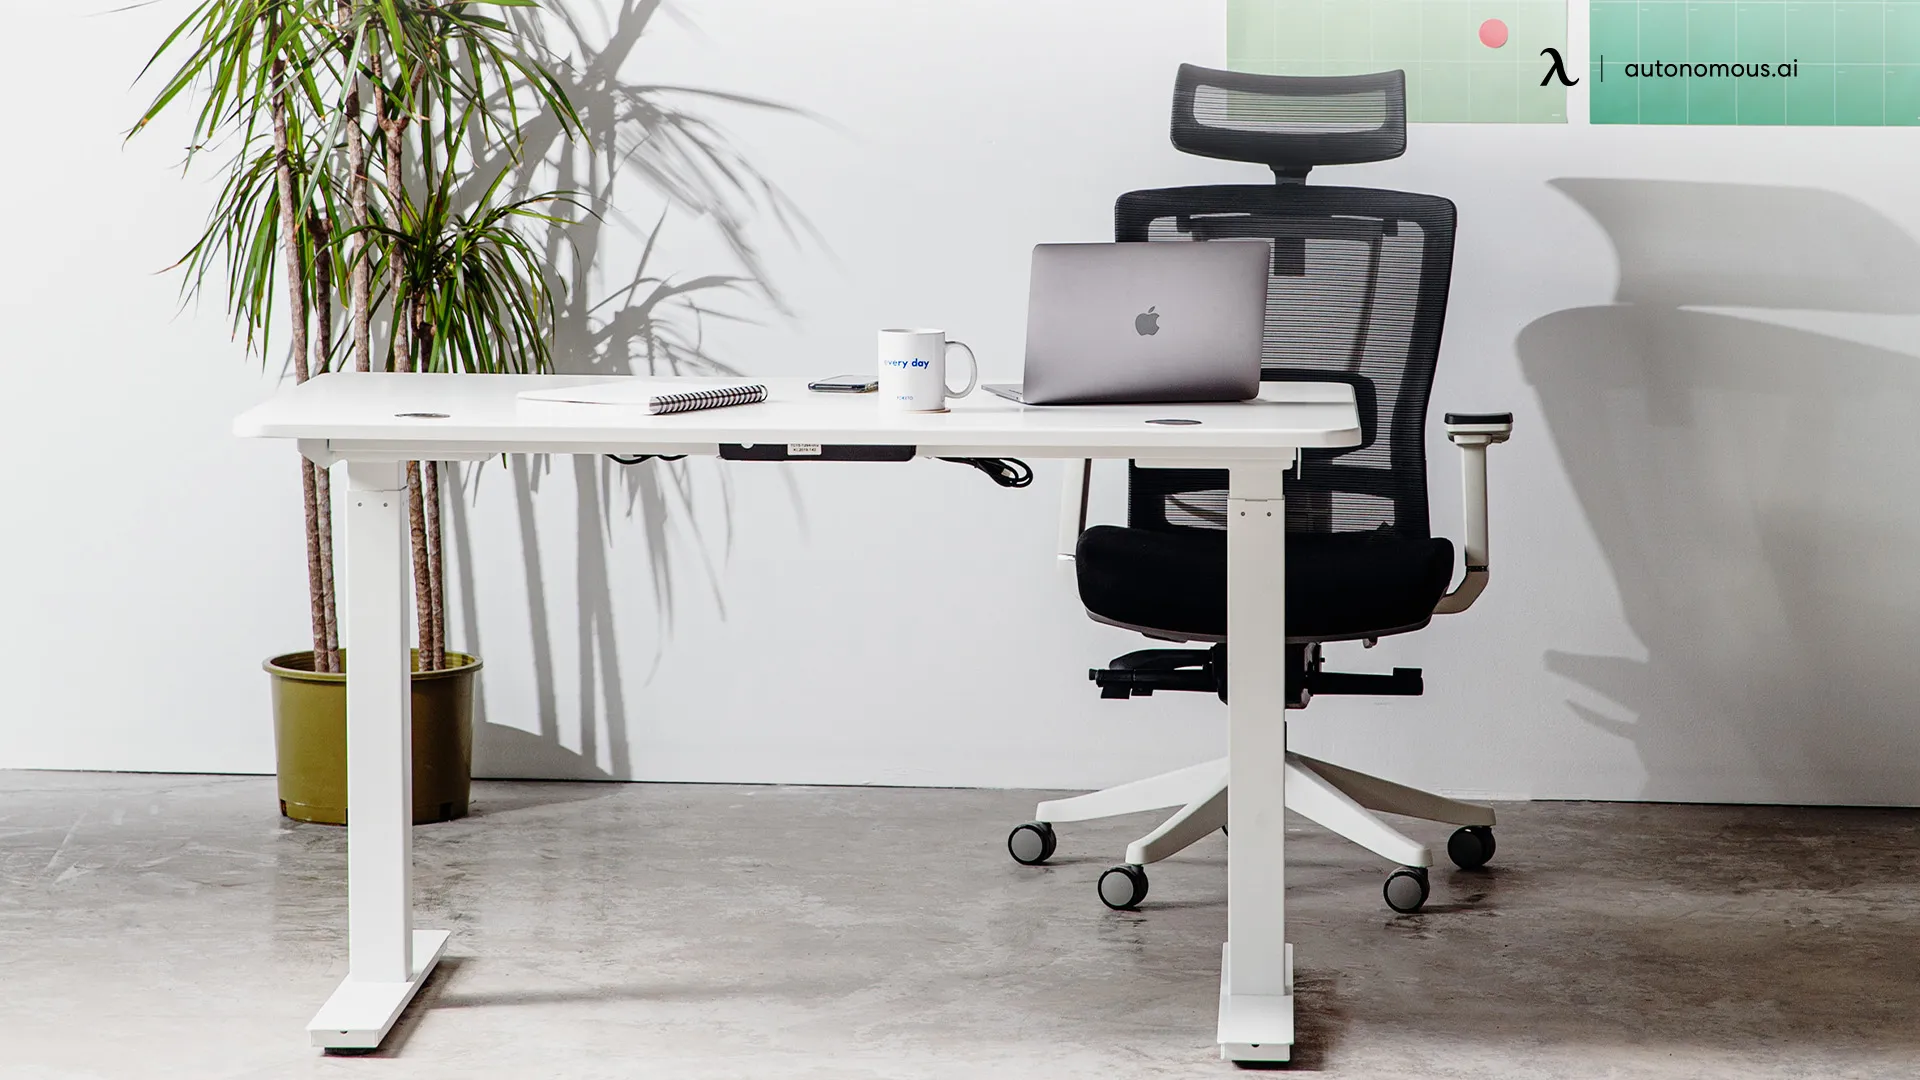
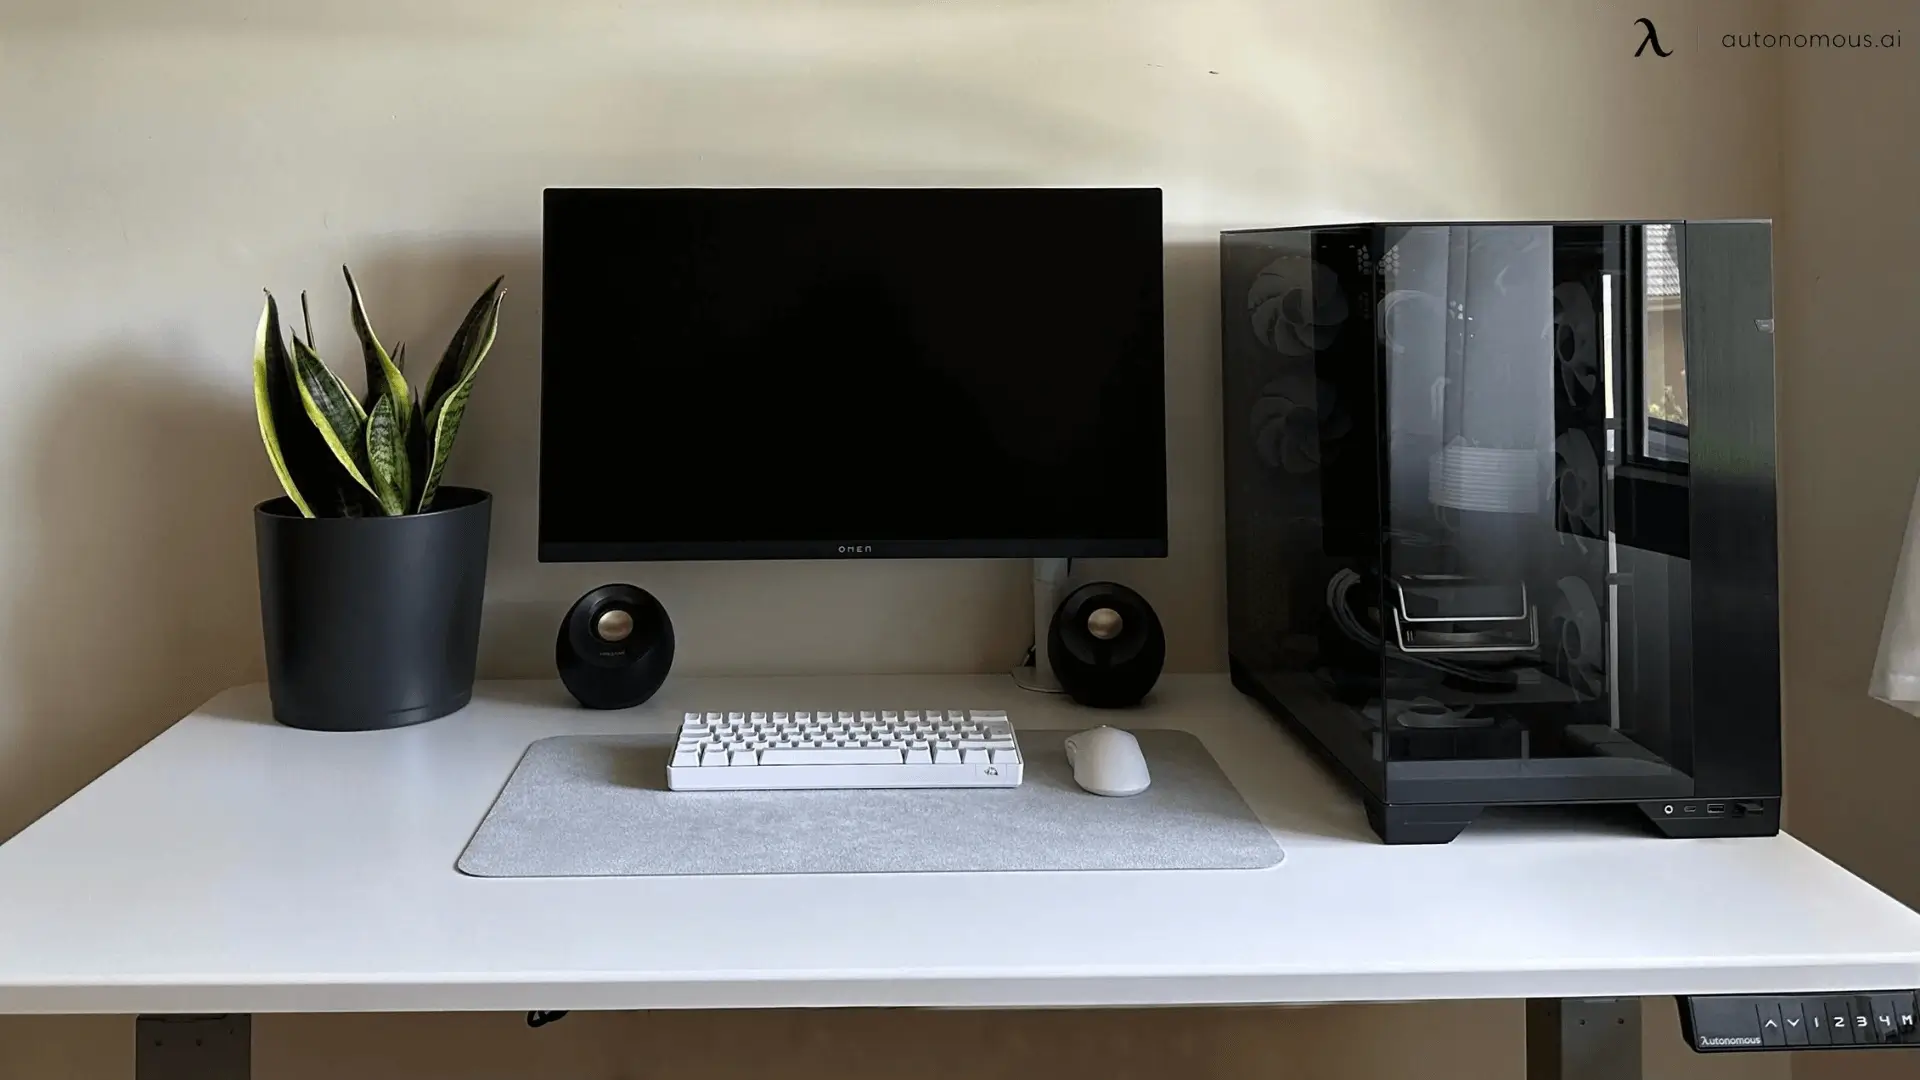
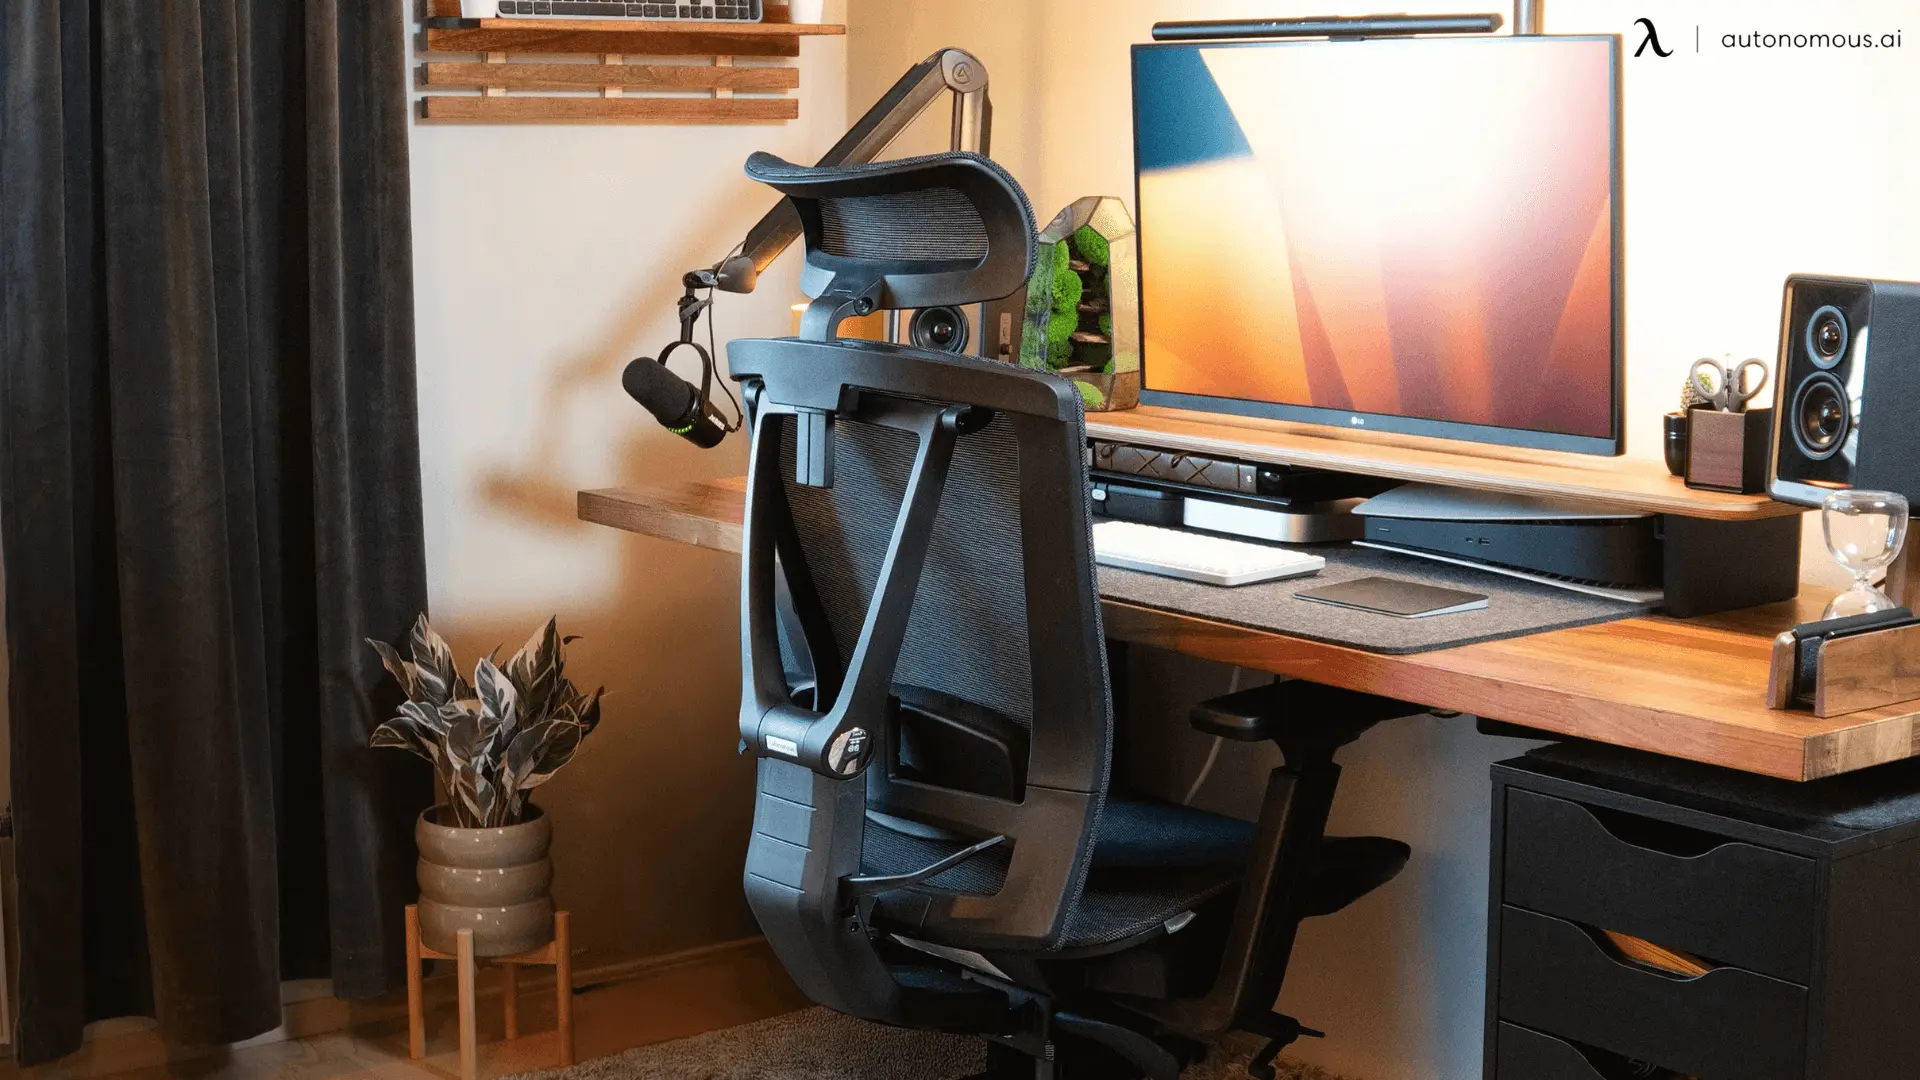
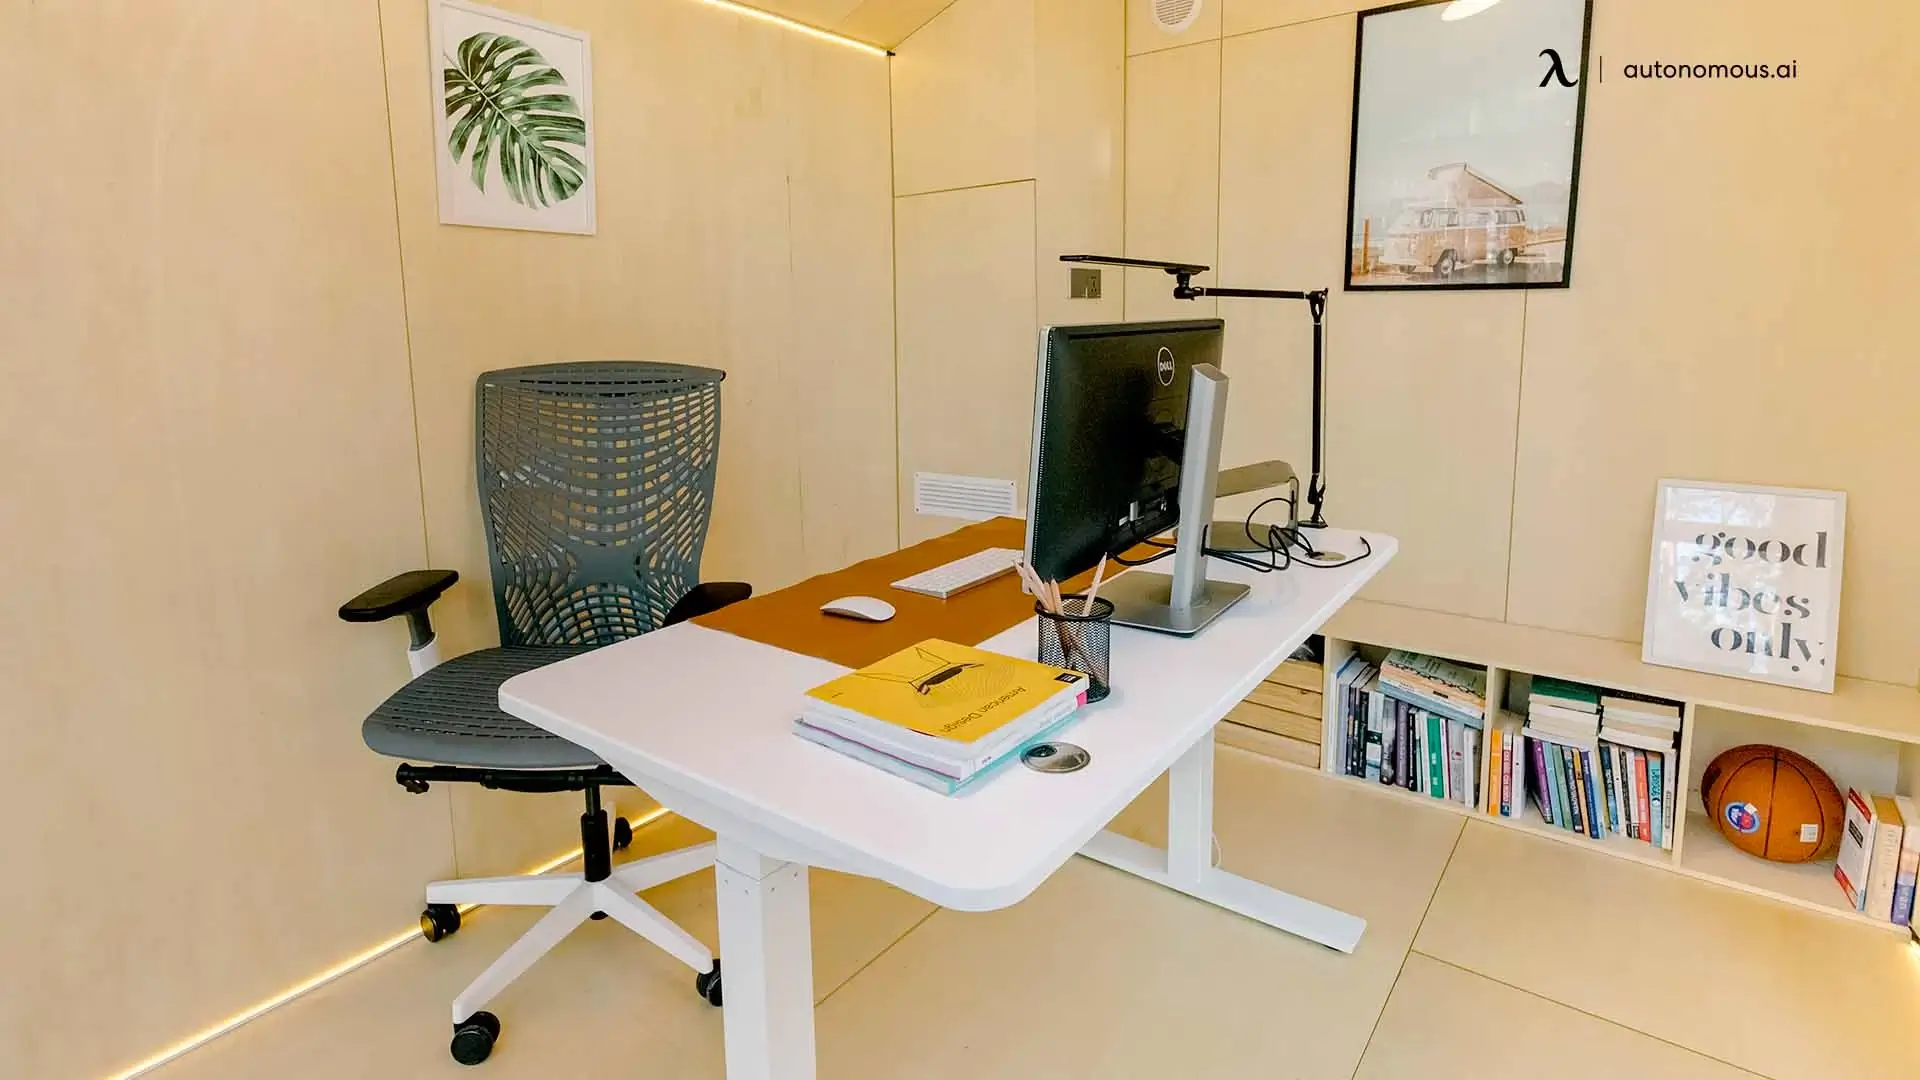
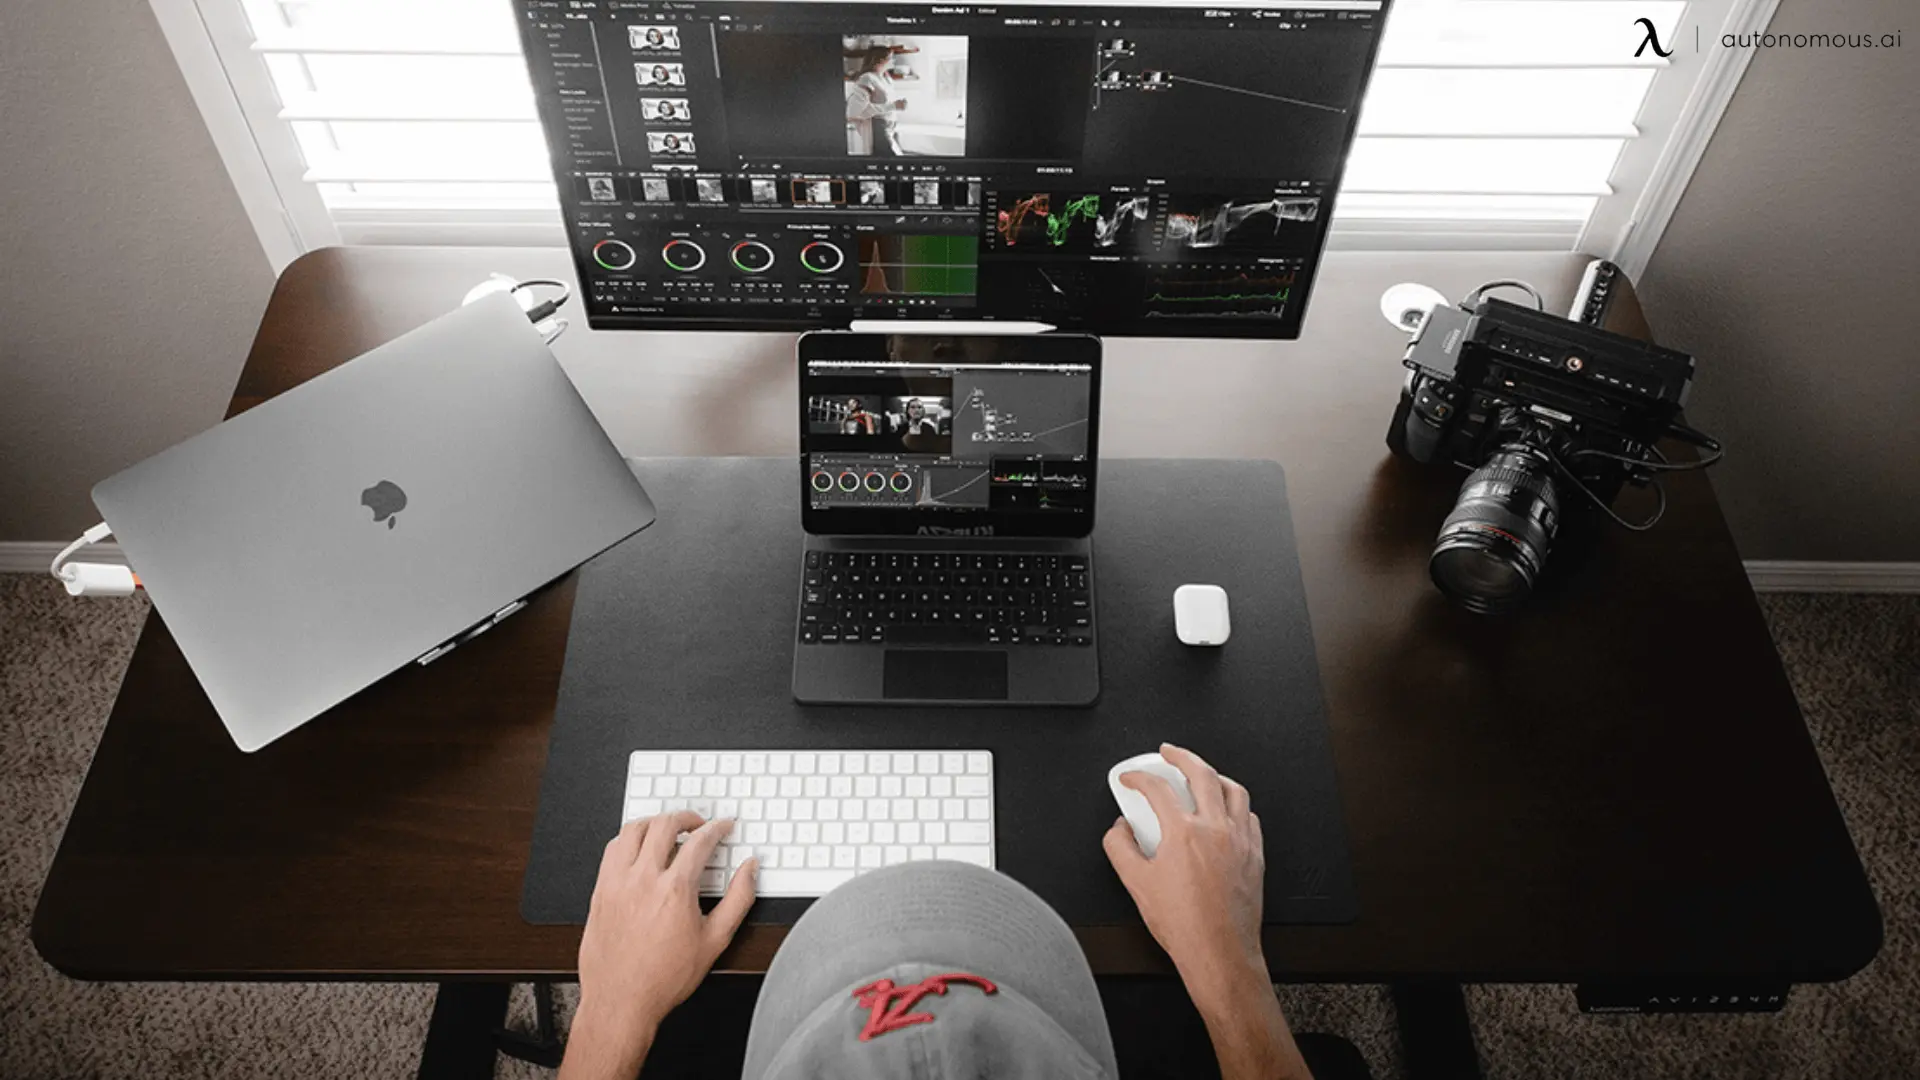
Your desk is going to be housing much of your equipment and accessories, so the one you choose must be sturdy, meet the required weight capacity, and fit in with the home music studio aesthetic that you're trying to achieve.
A small standing desk from Autonomous or the Aoke wireless charging desk should fit the bill extremely well.
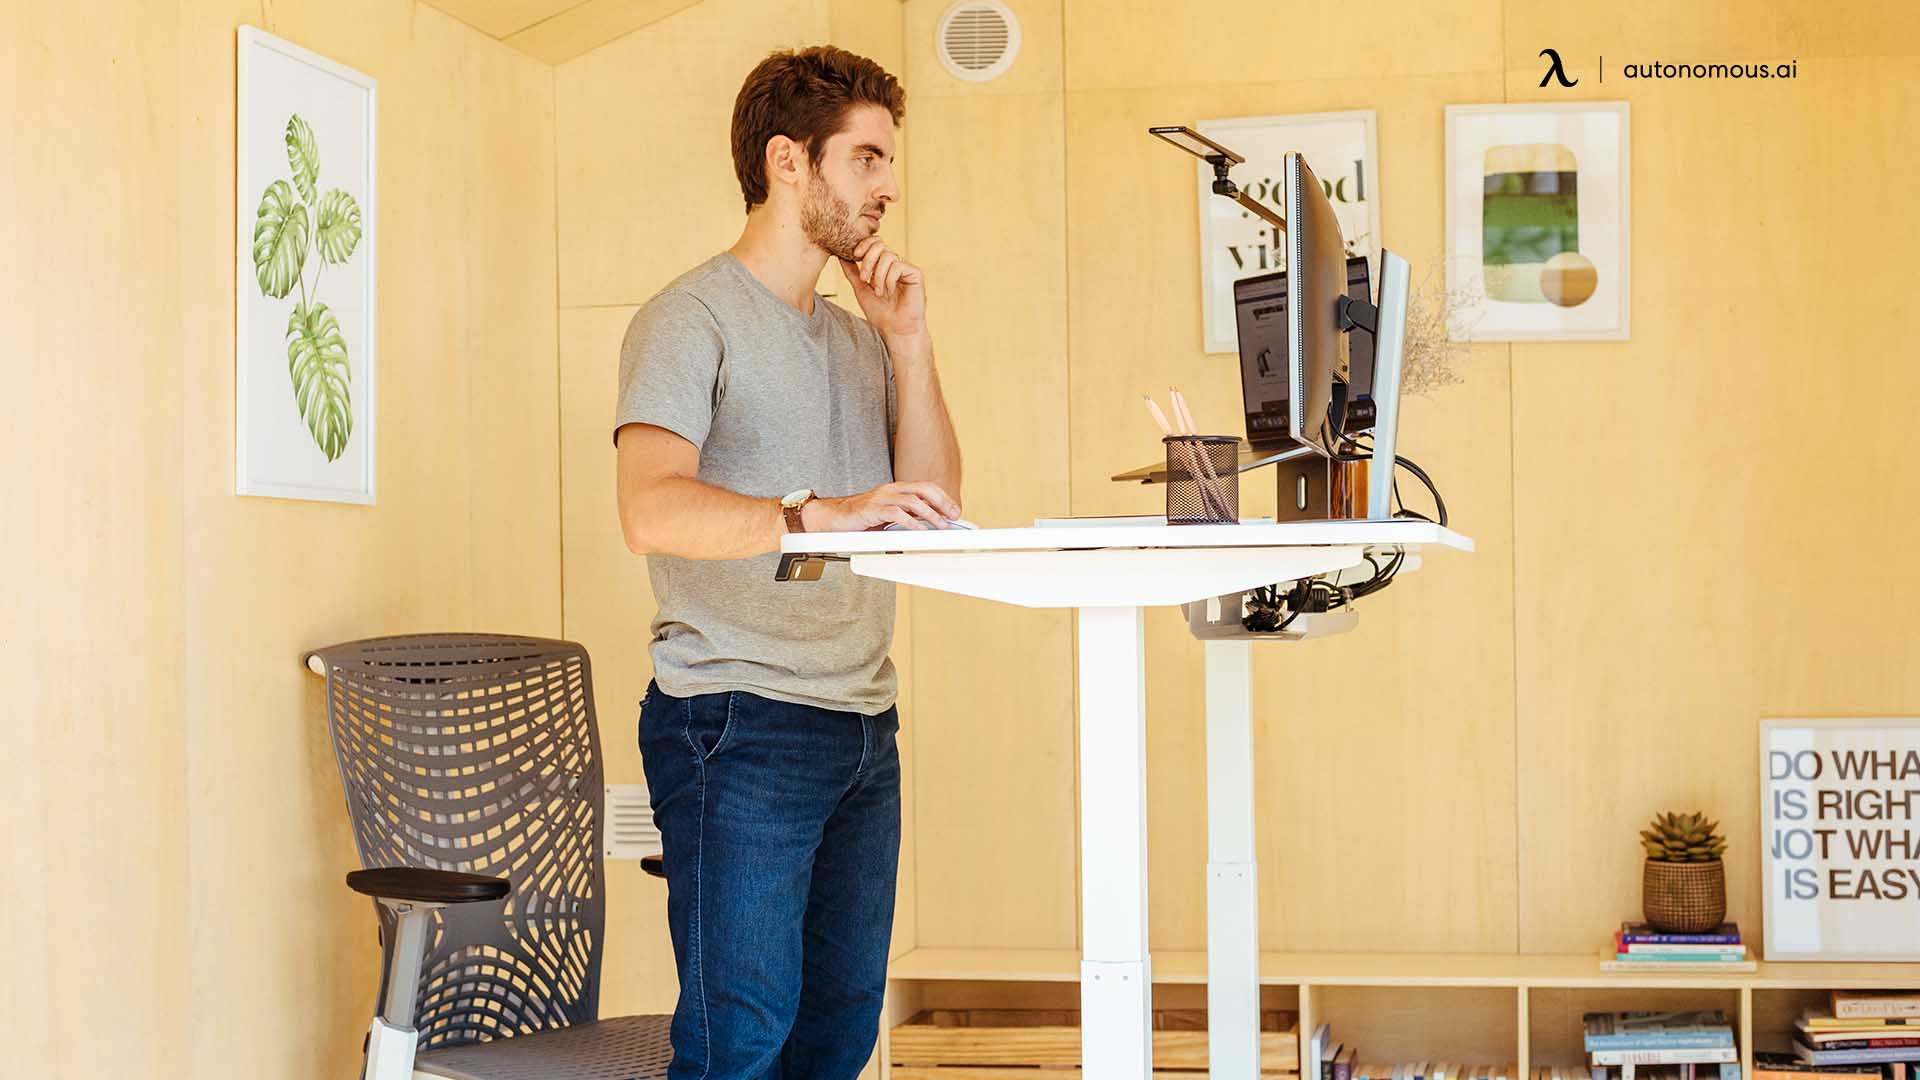
You'll notice that both are standing desk options, and this kind of recommendation is by design. After all, you could be at the desk for a while. Therefore, it's in the interest of your health that you have a table that allows for sit-stand sessions.
Microphone Stand
A microphone stand is another essential. You should most certainly not be holding your microphone in your hand. Additionally, while a boom arm is convenient, you run the risk of introducing unwanted audio into your production with the vibration that a simple accidental touch can cause.
If you prefer a boom arm, then at least get a shock mount to lessen the impact. Nevertheless, the recommendation here is to grab a microphone stand. A ratio of one stand to each mic works well.
Microphone Cables
You only need a balanced XLR cable in small studio setup. There is no reason to go too crazy with it. Settle somewhere between cheap and expensive, and you should end up with quality cables that work well.
Headphones
One cannot emphasize the importance of a good pair of headphones to your home studio setup enough. You can choose from two types, which are open-back headphones and closed-back headphones.
Ideally, you want one of each eventually. The open-back variation is meant for mixing, while the closed-back variation is better for recording or monitoring. However, if you need to mix on the fly in a public area, the closed-back headphone can support you in a pinch.
If you can only afford one first, take the closed-back one. Again, they can be used for mixing. In a small music studio, simply use a reference track and mix at a low volume until you get an open-back option.
Pop Filter
Plosives are terrible for your recordings. Thankfully, pop filters are incredibly adept at preventing them from happening. The best part is these filters are inexpensive, so improving your recording quality on this front should be a straightforward and cheap task.
Monitor Speakers
Your standard hi-fi speakers color sound, which means you're not hearing it in its true state. However, monitor speakers yield a flat response, which means getting that unfiltered version becomes possible.
You may be wondering what is stopping you from doing your mixing with nothing more than your headphones. Realistically, you can, but it requires a wealth of experience to do so.
Therefore, getting yourself a pair of monitor speakers is a highly recommended initiative. However, if you want to start with a quality option at a lower price, consider the Treblab HD77 Bluetooth Speaker.
Acoustic Treatment Equipment
Rooms have a natural reverb effect. With good acoustic treatment, you can reduce or eliminate it. Fiberglass panels or foam are often used to achieve this effect.
The former is preferred and can be purchased easily. However, if you want to save yourself some cash, you can make your own fiberglass panels.
Additionally, you may find that your low-end is a little on the unbearable side. If so, some bass traps should help you tremendously.
How to Place Monitor Speakers
The effectiveness of your monitors highly depends on their placement. For example, because of the bass ports you will find on their rear, placing them directly against a wall will partially negate their capabilities. Look at your user manual and try to position them at the minimum distance from the wall.
The speakers will be some distance from the front wall and some distance from the side walls. Like the dimension distribution, you don't want these distances to be equal as you’ll build up standing waves.
If you have a larger room, position the speakers along the longest wall as you want to reduce reflections into your ears. However, don't do this if it means your listening position is over halfway across the width of the small studio setup.
That's because if your head is either halfway between the floor and ceiling or halfway between the front wall and back wall, you will have a very noticeable loss in bass.
There should technically be an equilateral triangle between the speakers and your head position. In other words, the distance between each endpoint should be the same.
Speakers are typically designed to be angled inwards, so point them towards your ears and not straight ahead. Additionally, do not put them on their sides.
Tips for Room Setup
Here are some quick tips to help you get the best possible home recording setup.
Use Movable Panels
Moveable panels mean that you can adjust them to meet your recording requirements. For example, you may want to reduce reflections from an opposing wall by placing one of them in front of a guitar cab.
You Don’t Want a Dead Room
A room that's dead is just as bad as one that is a little bit too lively. This speaks to the level of reflective or diffusive surfaces around. If you overtreat the room, there will be too much absorption and the room will be dead. For example, do not cover both your ceilings and walls with carpet.
No Foam
Many people use foam for acoustic treatment. Stick to fiberglass panels instead. While the foam is affordable, it's only good for high-frequency treatment. In most cases, you need the most help on your low end, which is where fiberglass shines.
Room Split
Consider splitting your room into. One will live with no absorption or treatment, while the other side is for your mixing. Absorber panels can be placed at the corners and walls nearest to the speakers, as well as at the first reflection points.
Final Remarks
That was certainly a laundry list of information for you to absorb about putting your home studio setup together. Obviously, there are more granular and advanced topics that form a part of the complete picture, but what you got here was a pretty good starting place.
Try to retain the four categories of information independently. Start with your room selection first, gather your equipment, place your monitor speakers well, and then pay attention to the final set of tips for quality-of-life improvements.
Once you do all that, then your home music studio should be good to go.
Stay connected with us!
Subscribe to our weekly updates to stay in the loop about our latest innovations and community news!
Spread the word