
Useful Office Chair Assembly Instructions for Everyone
Table of Contents
So, you've finally bought an ergonomic chair and are excited to use it finally. However, it has come disassembled, and you have no idea of how to start assembling it. No need to worry anymore – this post will teach you to assemble an office chair.
Most office chairs and gaming chairs include an instruction manual that should guide you through each step of the process. However, the instructions included are often quite complicated to follow by most people. Still, reading the manual isn't necessary for you to learn how to assemble an office chair.
You won’t need too many things to start with the assembly of your desk chair. Find a 12 mm open-end wrench, gather all the components of your office chair, and you can get started.
Office Chair Assembly Instructions
Firstly, unbox your office chair. Make sure to strip the plastic out of all the parts if they have it. Organize the parts so you can easily identify them once you start building the chair. Now, let’s start building the chair with our task chair assembly instructions:
1. Connecting the seat to the mechanism
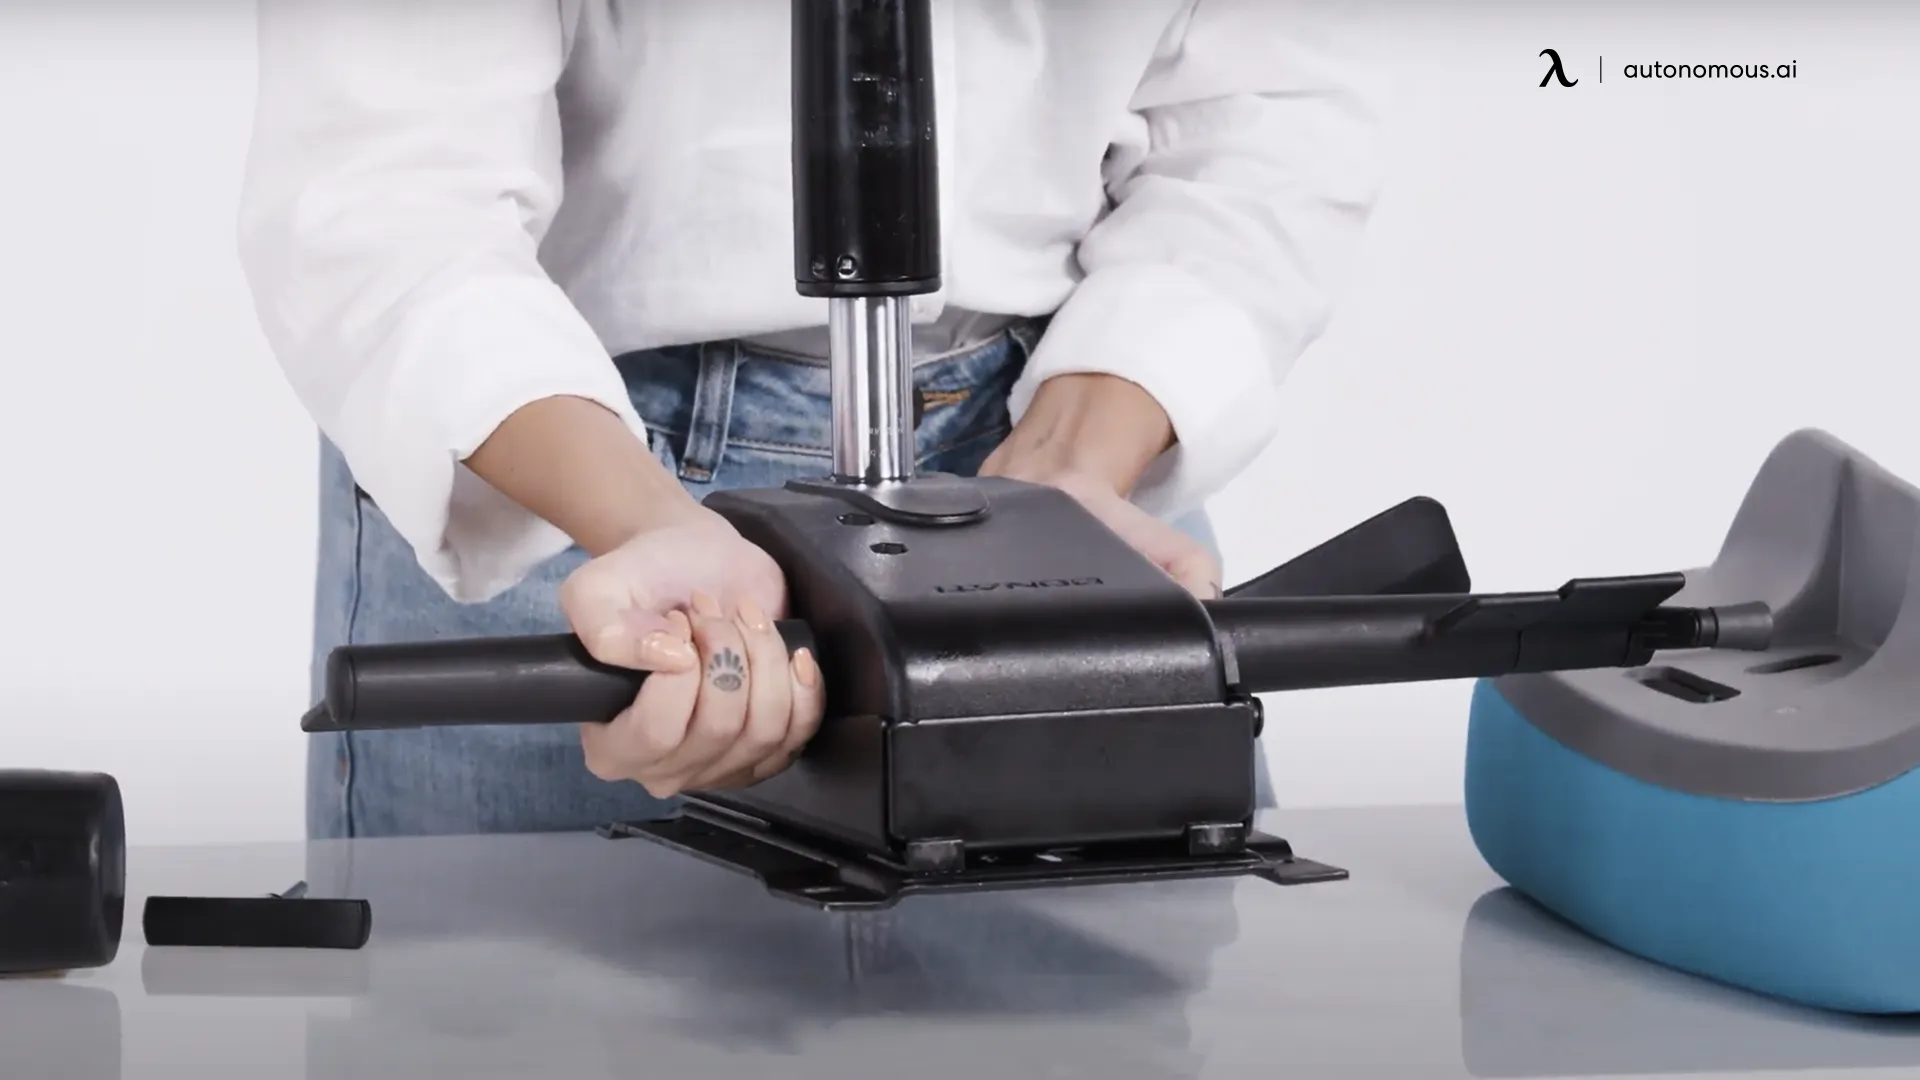
Firstly, you'll need to connect the seat with the chair's main mechanism. You should find a few screw head bolts in the box (typically, there are four). Proceed to start bolting the mechanism with the seat. Do it as tightly as possible, as this part will support most of the weight when you're seated.
Turn the chair upside down, and slide it back onto the mechanism. Once you do, please bolt everything as tightly as possible to make sure nothing falls over.
2. Attach the armrests
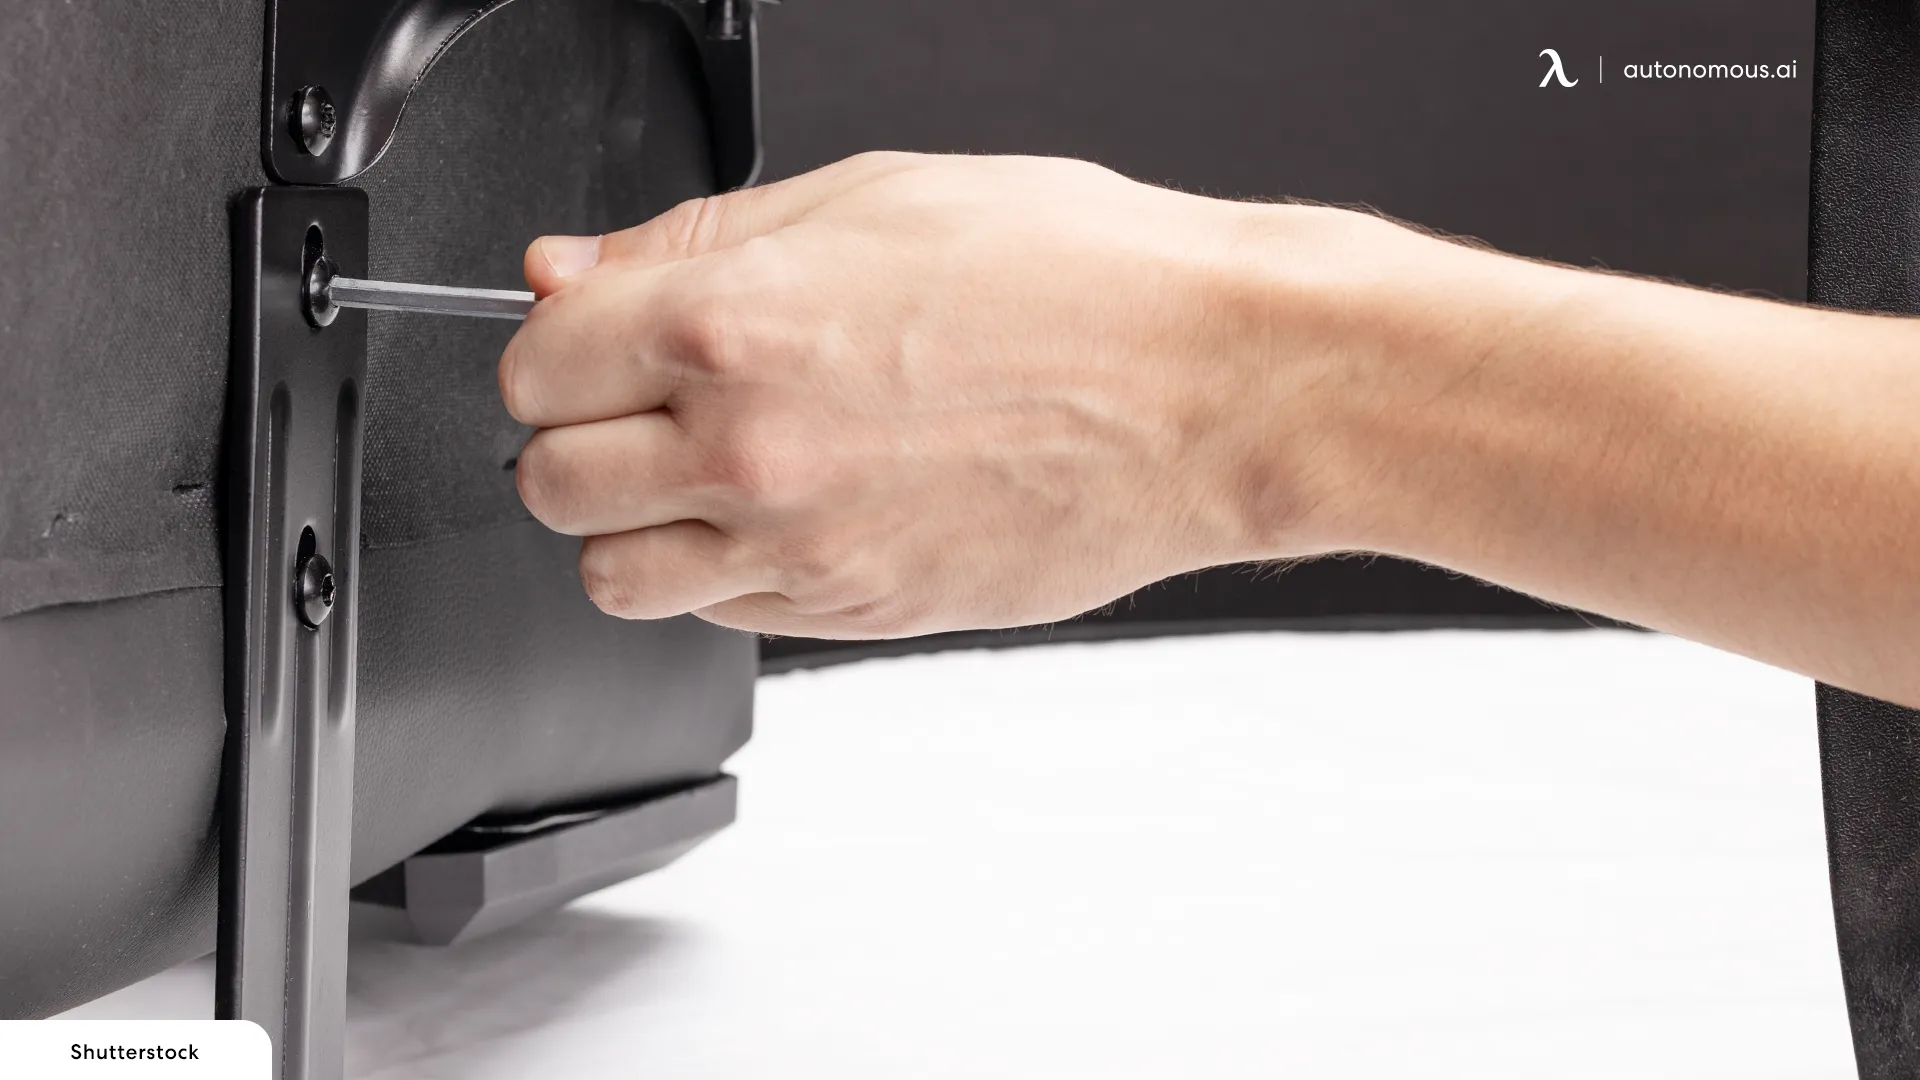
If you see the underside of your ergonomic white office chair, you’ll find that there are a few holes around the sides of the seats. That’s where you will attach the armrests. You should have four extra bolts, two for each armrest, so you can attach them safely to the chair.
3. Connect the casters
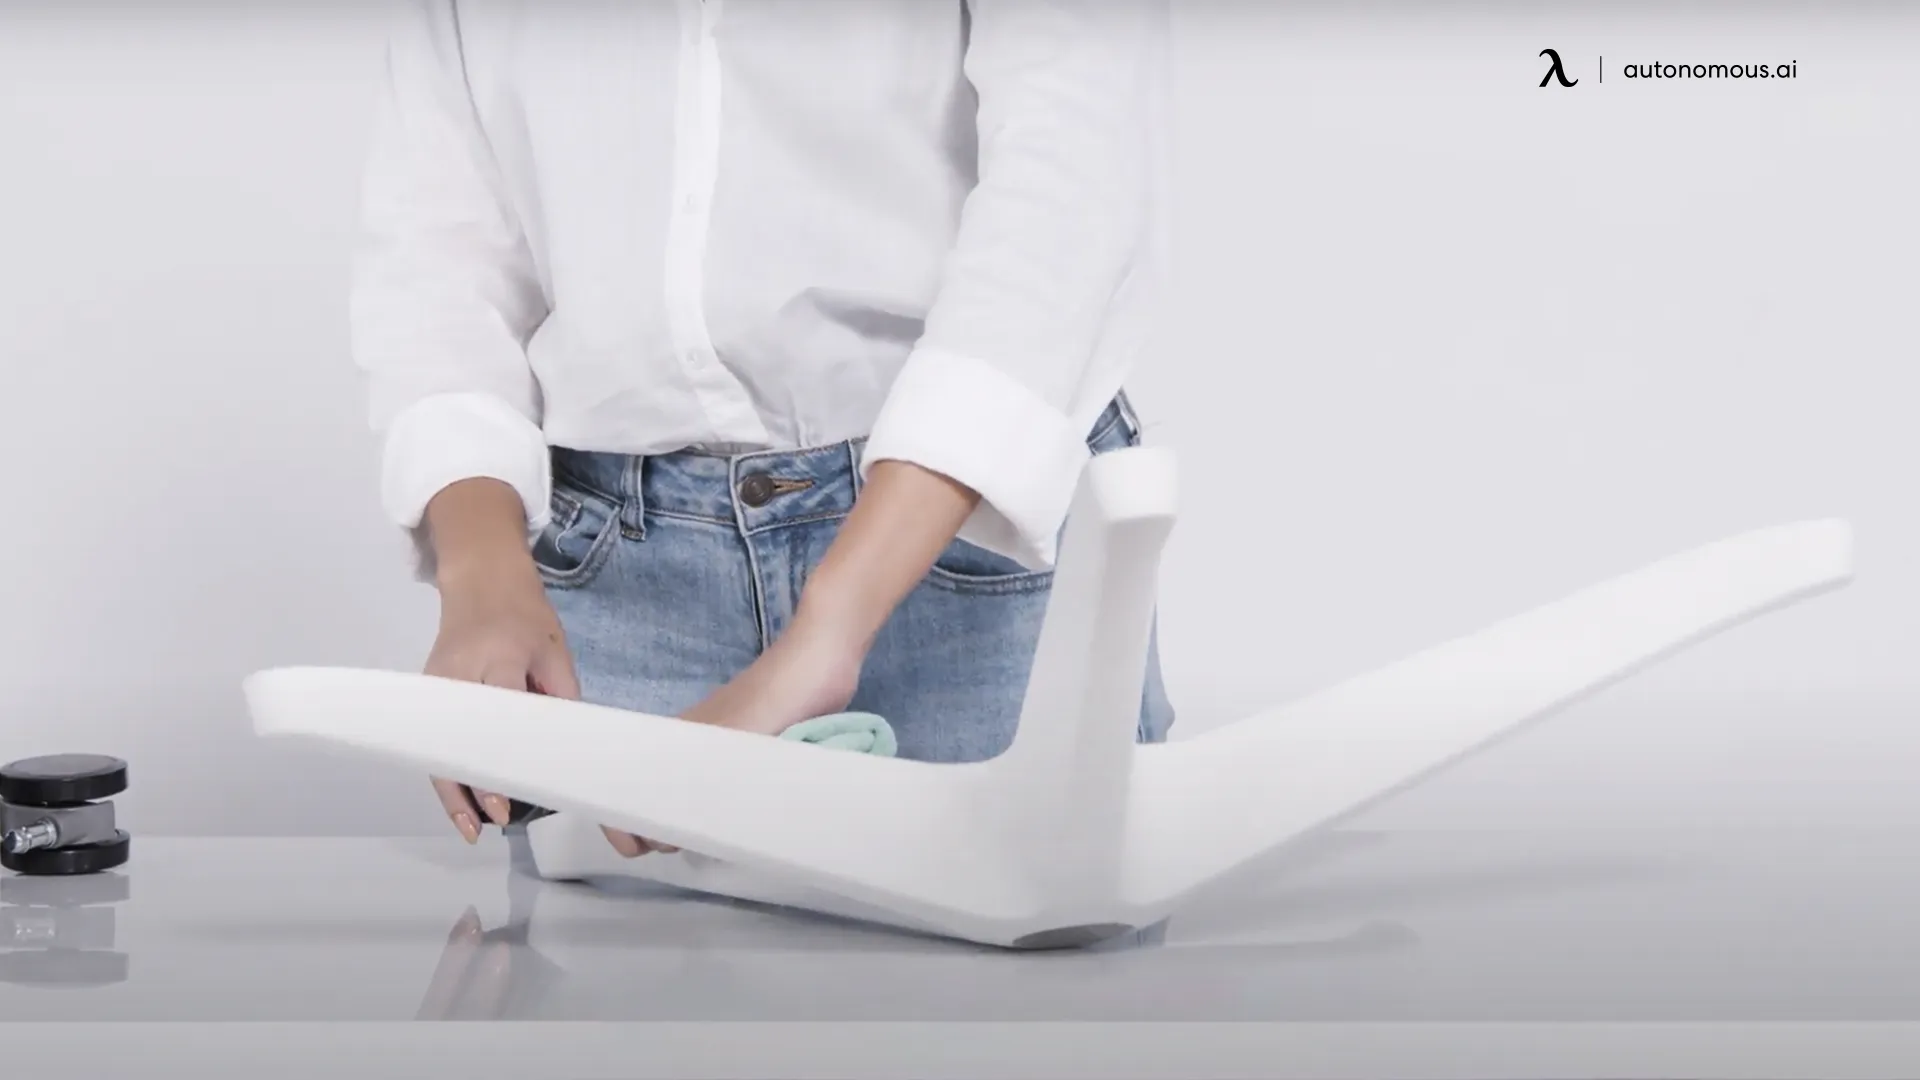
Next up, grab the five-star base of your new chair and the casters. You must apply pressure to each caster while connecting them to the base. Do it until you hear a click, which means that the caster has been successfully connected to the chair.
4. Connect the gas strut on the chair to the mechanism
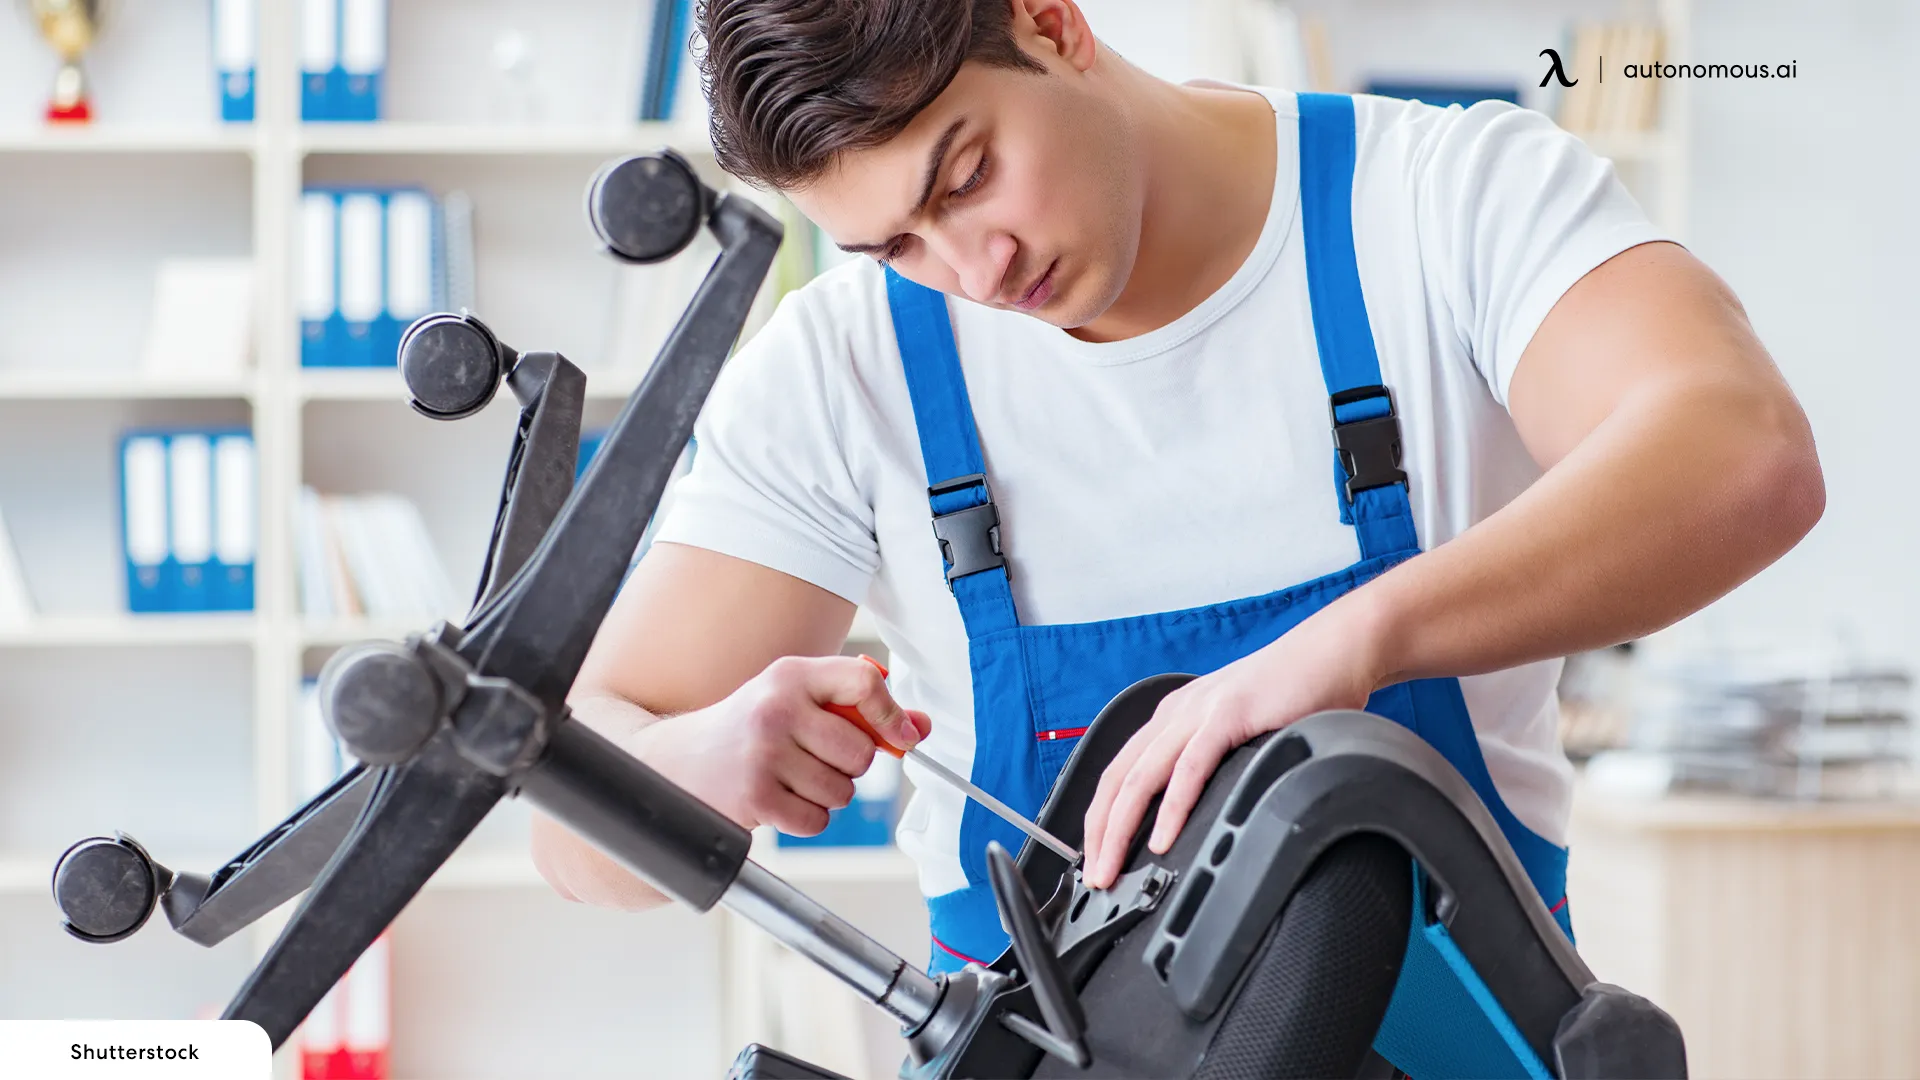
First, find the gas strut cover and place it on the gas strut. Then, attach the whole unit to the five-star base. Next up, connect the chair mechanism to the five-star base, and your chair should be fully-assembled now.
5. Attach the accessories
.webp)
If you have bought an office chair with a headrest or a footrest, for instance, you should attach them to their respective areas. The headrest goes in the backrest, while the footrest might be attached to the underside of the seat.
6. Inspect the chair
The last step is making sure that everything has been tightly attached and that you haven't missed any bolts. If everything is okay, you're now free to use your chair as you please!
Autonomous Employee Purchase Program
If you're interested in acquiring a new office chair for your home office, you can now obtain it at a special price, thanks to the Autonomous Employee Purchase Program.
Our employee purchase program allows workers from certain companies to upgrade their home offices and employers to upgrade their main facilities at a low cost. This program's main purpose is to help people improve their comfort and wellness while working from home, allowing them to obtain high-quality office furniture at affordable prices.
The Autonomous Employee Purchase Program includes but is not limited to:
- Office chairs, such as light blue office chairs or reclining ergonomic chairs
- Standing desks and standing desk mats
- Office accessories
It is important for all of us to look after our health while we’re working. Including ergonomic furniture in your workstation can help you reduce the risk of work-related injuries, back pain, and neck pain, among many other physical complaints that could compromise your productivity and wellness in the long run.
FAQs
1. How to disassemble an office chair?
If you want to disassemble your office chair for whatever reason, all you need to do is follow these steps:
- First, dismantle the wheels to prevent the chair from moving.
- Disconnect the five-star base from the chair.
- Disassemble the headrest, armrests, and other accessories.
- Now, unscrew and unbolt all the fixtures so you can separate the seat from the backrest and the base.
Some parts of the chair, like the gas strut, are quite complicated to take out. You may have to put some extra effort into fully disassembling that part of the chair. Overall, here we have described how you can disassemble most office chairs in the market.
2. How to assemble office chair wheels?
Assembling your office chair wheels is uncomplicated. All you need to do is apply some pressure into the cavities you’ll find in the five-star base for each wheel. Introduce them and add start “pressing” them until you hear a “click.” That will indicate that the wheel is finally connected to the base.
3. Is it hard to assemble an office chair?
It’s not complicated, but it can take you some time if you have never assembled an office chair before. It may take you anywhere from 30 minutes to one hour.
4. What tools do you need to assemble a chair?
You don’t need too many tools to assemble an office chair, maybe a wrench. Other than that, the chair comes with everything you need to attach its parts and build it.
Final Thoughts
There are tons of office chairs in the market. Some companies offer to send you your office chair fully assembled, but it's more common for companies to offer disassembled office chairs along with an instruction manual.
It takes you less than one hour to assemble your office chair and make it functional. You don’t need too many tools to build your office chair, except a wrench. This article has described the general steps you must follow to build most chairs in the market.
If you ever need to remove or replace the base of your office chair for maintenance or upgrades, check out this guide on how to remove the office chair base for detailed instructions.
.svg)


