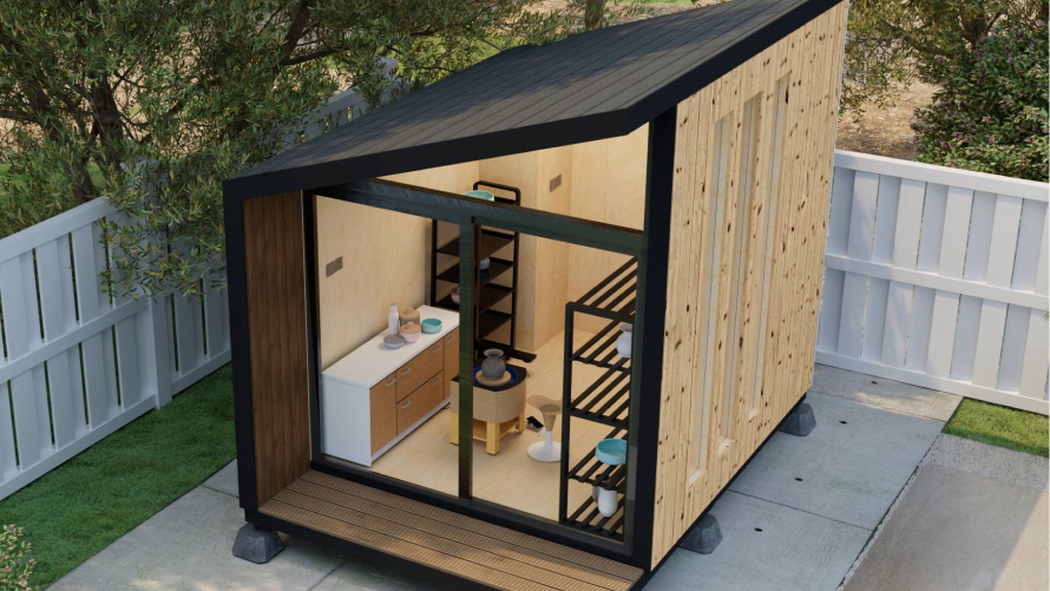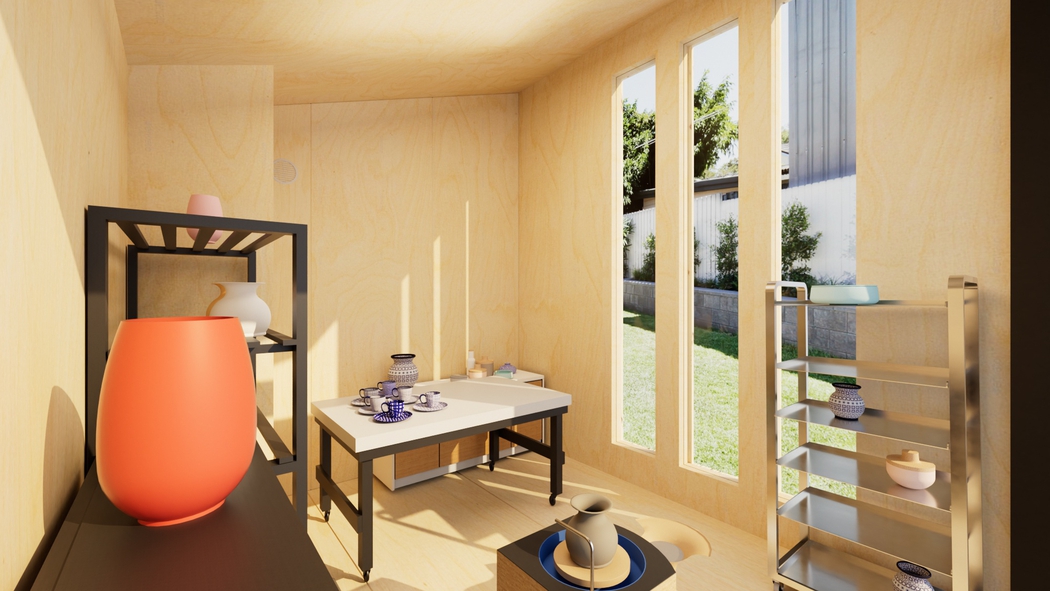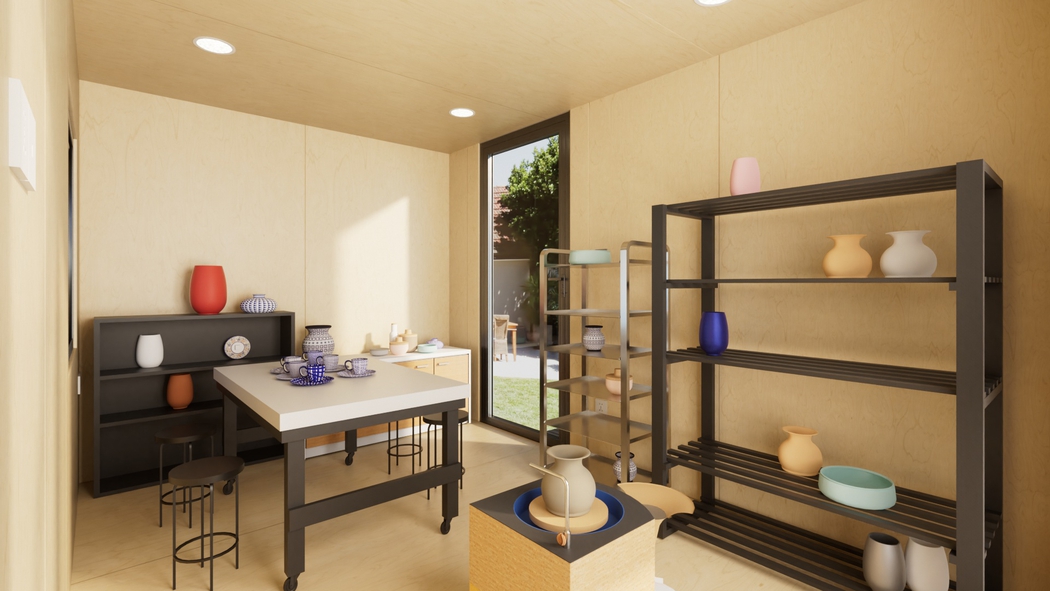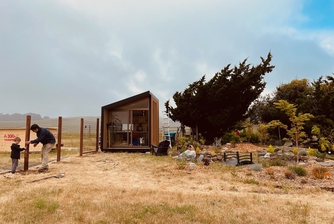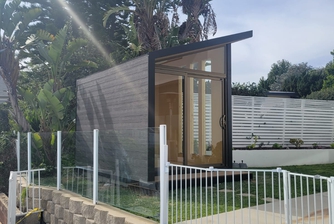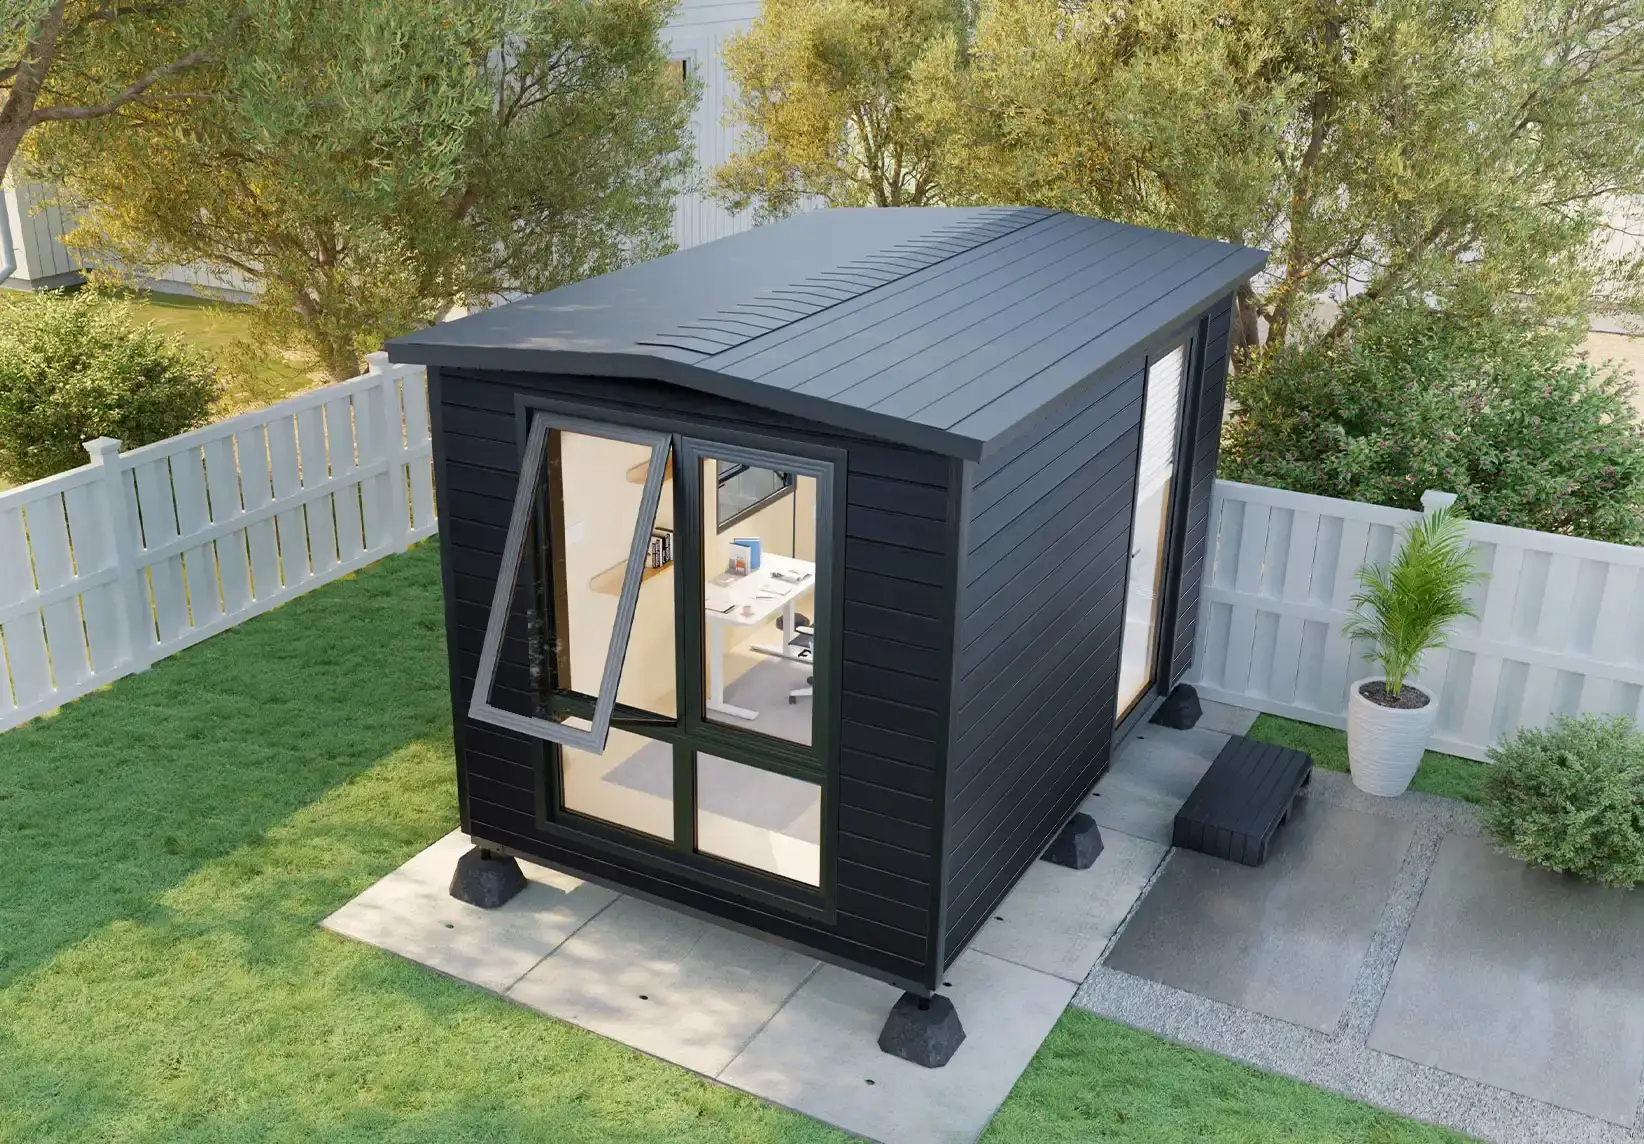
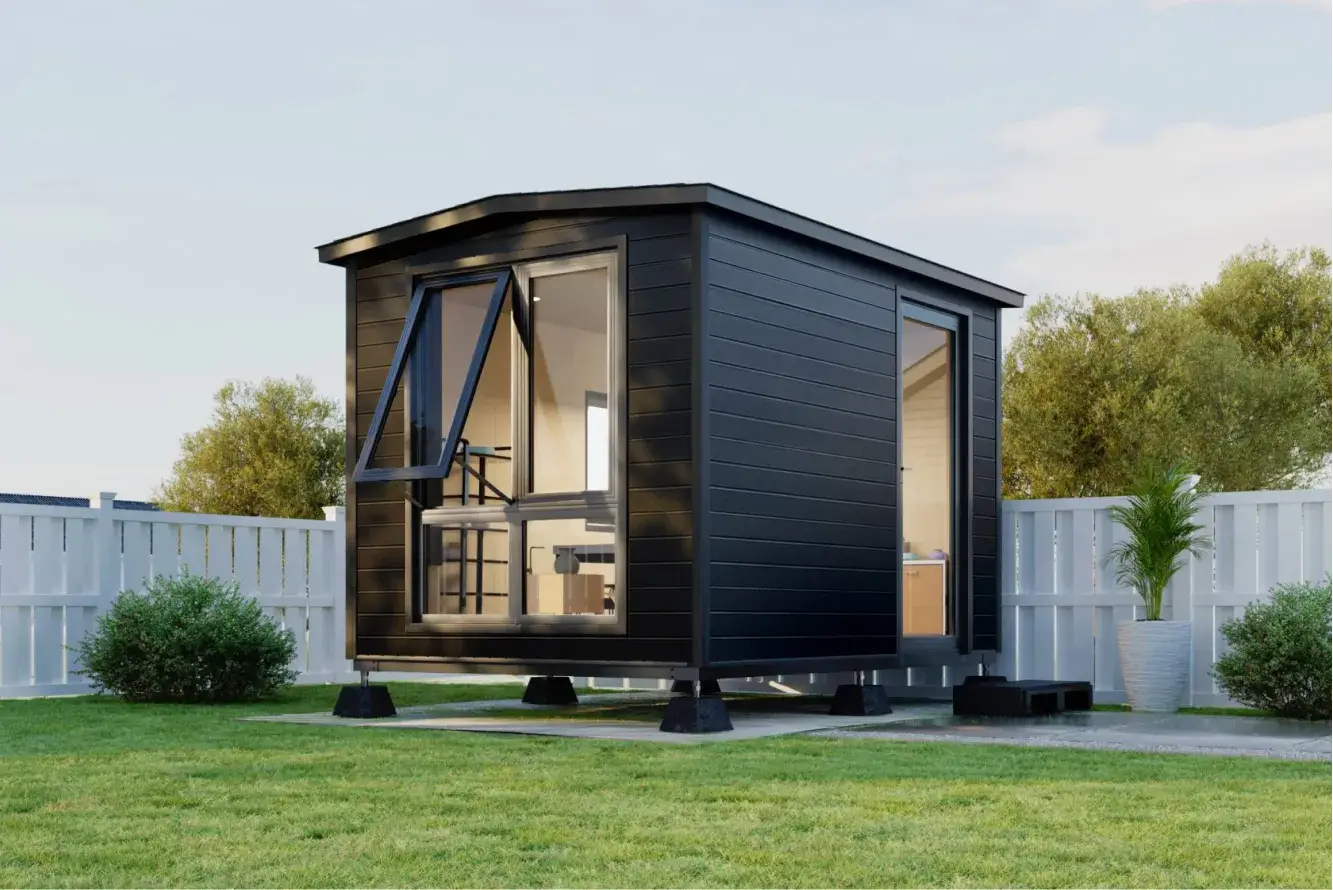


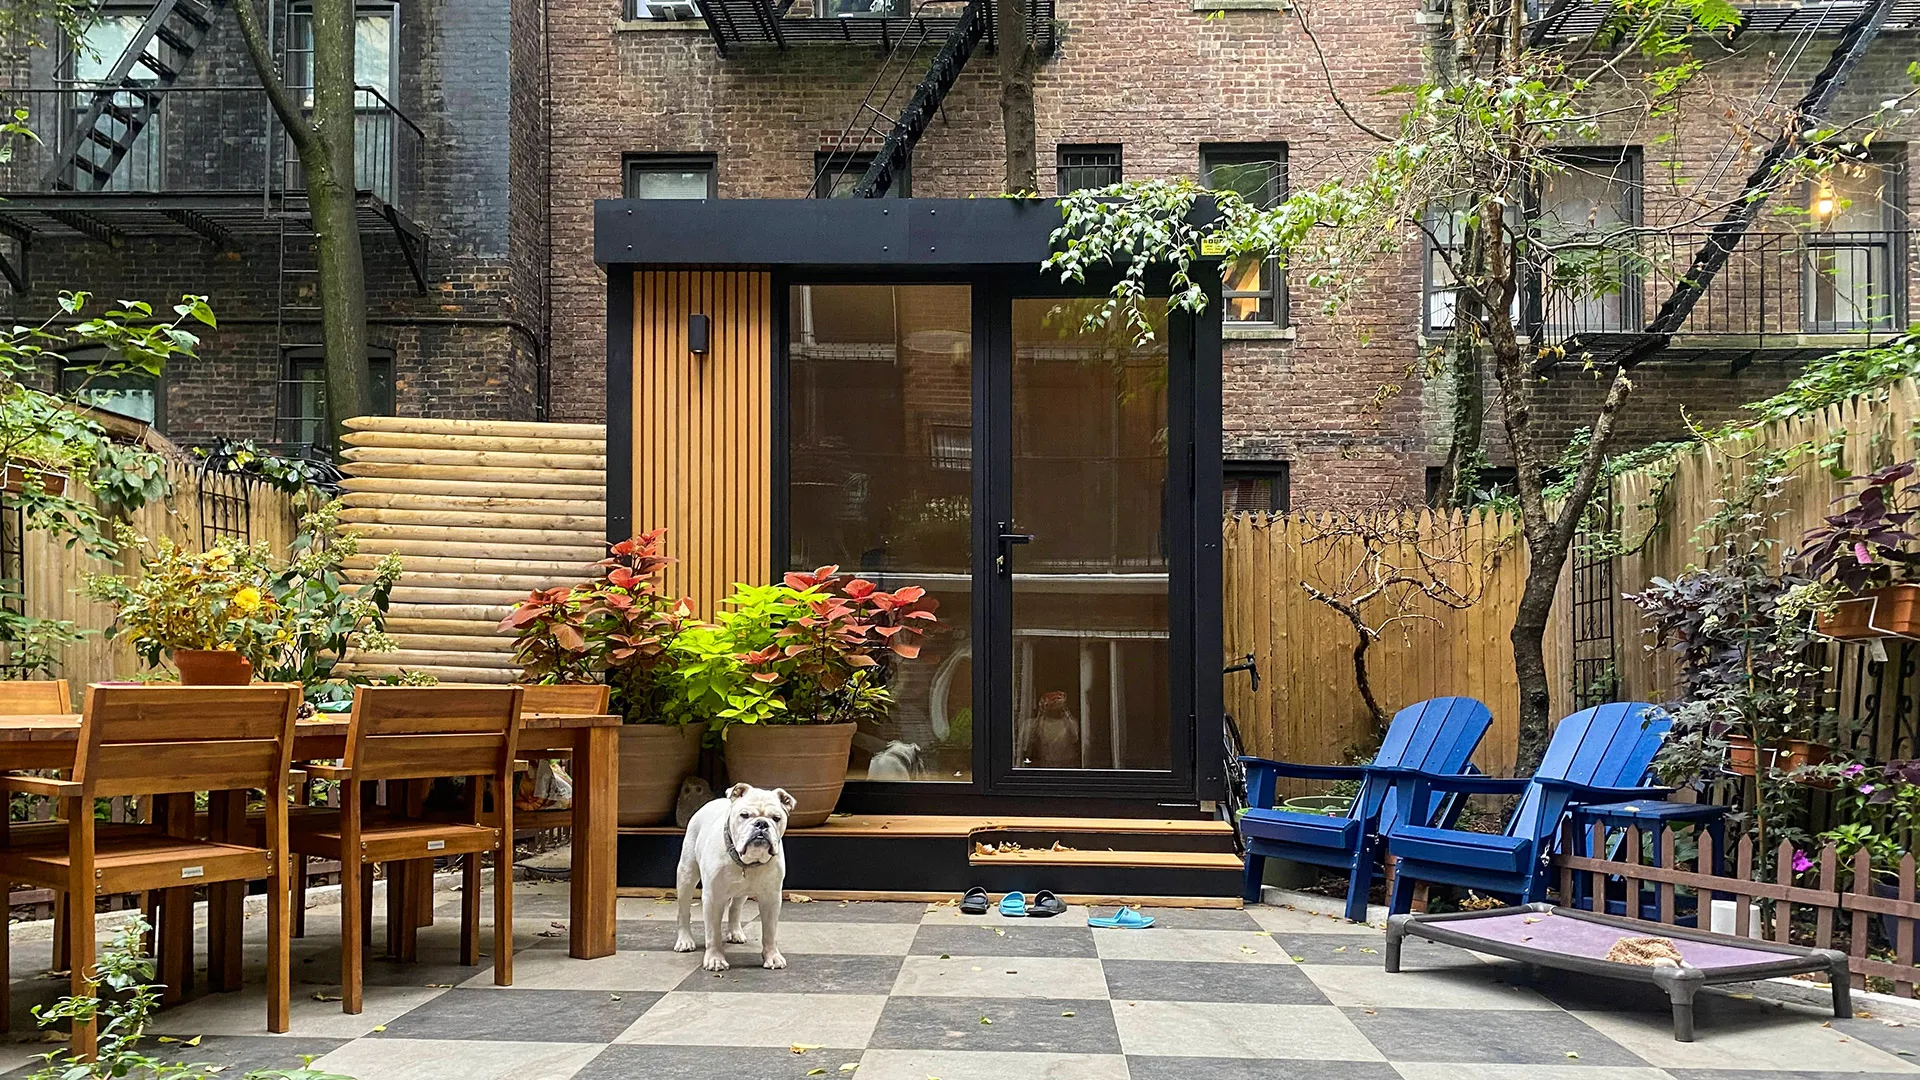

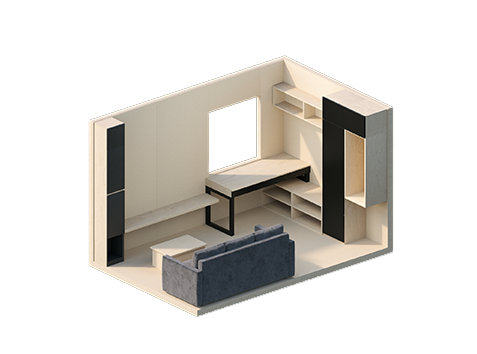

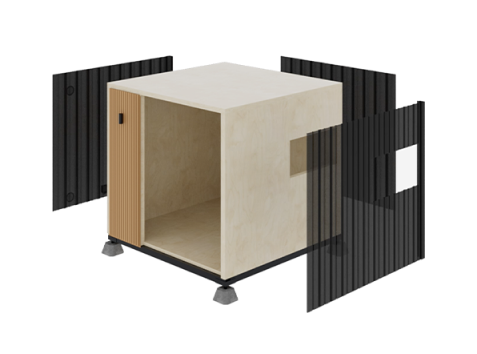

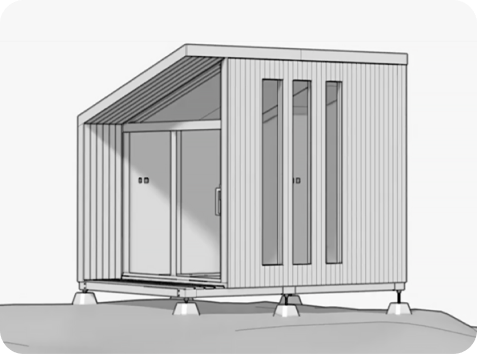
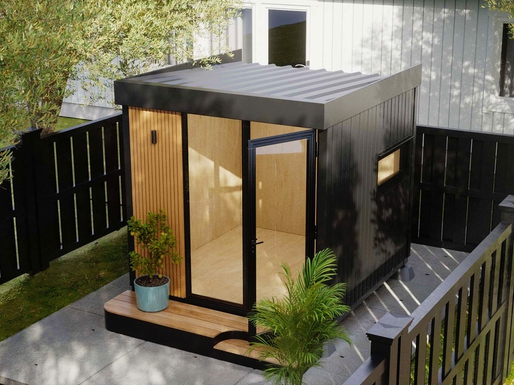
A pottery shed is a place to show your creativity and build something attractive and unique for your home and modern backyard ideas. However, most people are worried about the overall cost the whole setup may incur. This problem can be solved with smart designing and buying only the necessary equipment required. Let’s get all the steps to properly set up your home pottery studio with the list of the right equipment to buy.
How to Set up Pottery Shed
The first step is to properly plan your space by allotting certain places for each piece of equipment. Space allocation is an essential step that not only makes more equipment accommodated but also helps you make your outdoor pottery shed more efficient. To set up your pottery efficiently, make sure to use one of the following spaces: Spare room - Garage - Outhouse - Summer house - Basement - Shed. If you set your pottery shed in a backyard tiny house, barn, or shed, you will have to set up an electricity connection. Without an electricity connection, you won't be able to run an electric pottery wheel or any other equipment or ADU appliances. This would leave you with options such as treadle wheel or kick wheel, which are time-consuming and difficult to operate. Make sure to ask your electricians about the power requirements before setting up the connection. Water is essential for making potting shed, so it would be better to have a sink in your studio. It is not essential as you can use buckets for water supply, but building one would make things a lot easier.While working, you would need at least a bucket of water to wash your equipment and rinse your hands. So, when you build a sink, make sure to attach sink traps, as the clay from your hands can build up in your drains and block it over time. You will need to empty the attached sink traps only once a week.
Equipment to Buy for Pottery Shed
Wheel
The wheel is the first thing that you need for your home pottery studio setup. If you go for the budget options, a pottery wheel would cost around $200. However, the price can rise up to $1000 or more depending upon the model you choose. Top brands in the market include Skutt, Shimpo, and Brent. A good brand allows you to handle much more clay and are much easier to use. We highly recommend using Shimpo VL Whisper or Brent C Potters Wheel.
Workbench
For the workbench, the best material you can use is medium-grade plywood. The ideal size for a medium-sized pottery shed would be 4 by 8. Moreover, you can also cut the sheet to make the size of the workbench smaller. However, make sure to cover it with heavy canvas and stretch it tight. The canvas requires re-stretching every now and then, but it ensures that you have a perfect surface for clay preparation.
Kilns
Kilns are another essential item you would need for your backyard pottery studio. Kilns can be a bit expensive, but don't worry, you can also buy second-hand ones, which would work just fine. Firing your potting shed in a kiln is not as difficult as it may seem, but make sure you learn how to use them. Once you have prepared yourself to buy one, make sure you have enough space to accommodate them, as they are pretty space-consuming.
Damp room & Glaze area
For damp pieces, you should have a separate damp room. This would keep the unfinished pots away from the finished ones. The best way to build a separate storage for the damp is to use a wooden or metal shelf and wrap the sheet of plastic around it. Many people prefer pre-made powders over mixing them to prepare their own glaze. If you are one of those, who like to be a bit more creative and adventurous, make a separate area primarily for making glaze. You need five-gallon buckets that work quite well to hold the mixed glazes.
Tools to Buy
Here are some of the tools you need to buy to make sure that you make the most creative pots in your shed: Needle tool - Wooden triangle rib - Sherrill mud tools, rubber ribs - Sponge - Knife - Ruler - Glazing tongs - Turntable - Paint brushes.
.svg)

