
/https://storage.googleapis.com/s3-autonomous-upgrade-3/static/upload/images/new_post/a-z-guide-for-diy-motorized-desk-2864-1632234799465.jpg)
If you have investigated getting a standing desk, you have probably learned they are not cheap. Therefore, many people choose to create a DIY motorized desk as an alternative.
While certain choices, such as standing desk converters that sit on top of an existing desk, can be as low as $150, most standing desk hardware options start at $200 and go up from there, with full stand-alone workstations costing between $400 and $1000.
Although standing desks are becoming more affordable, there are some DIY sit-stand desk alternatives that can save you money without sacrificing quality.
Why Should You Build Your Own?
There are a variety of reasons to tackle a project on your own, but the majority of DIYers build their own standing desks to save money. However, some options may wind up costing far more than comparable alternatives.
Aside from saving money, some people prefer to create their own desks to add a personal touch. When you build your own standing desk you can choose your own materials, colors, and finish. You may also have a particular scenario at work or at home that prevents you from purchasing large desks due to space or budgetary constraints.
Consider These Factors While Building a Stand-up Desk on Your Own
Before you start looking for DIY standing desk ideas, there are a few things to consider regarding standing desks:
- Costs - Keep in mind that standing desks, particularly standing desk converters, are getting increasingly affordable. Depending on the materials required, the cost of building your own might well outweigh the cost of simply purchasing a standing desk.
- Ergonomics - Many standing desk firms spend a lot of time and money researching ergonomics and making sure their products are pleasant. An ergonomic desk and chair can assist people to maintain excellent posture. It is easy to ignore these characteristics when creating your own standing desk design.
- Transitioning from a sitting to a standing position - This is a crucial issue when designing your own standing desk. While some people can stand for long periods of time, it is usually not very sustainable. Transitioning from sitting to standing provides more movement diversity, which is a crucial practice for maintaining a healthy work balance
- Consider your ideal desk height - If you are thinking of building your own standing desk, be sure you are familiar with your workplace ergonomics. In other words, the height of the typing surface should be just below your elbow bend
Plan Your DIY Height Adjustable Desk

When constructing your own DIY sit-stand desk, keep the following points in mind. There are additional decisions to be made along the road, such as the materials to use, whether to use an existing plan or create your own and so on:
What is Your Budget?
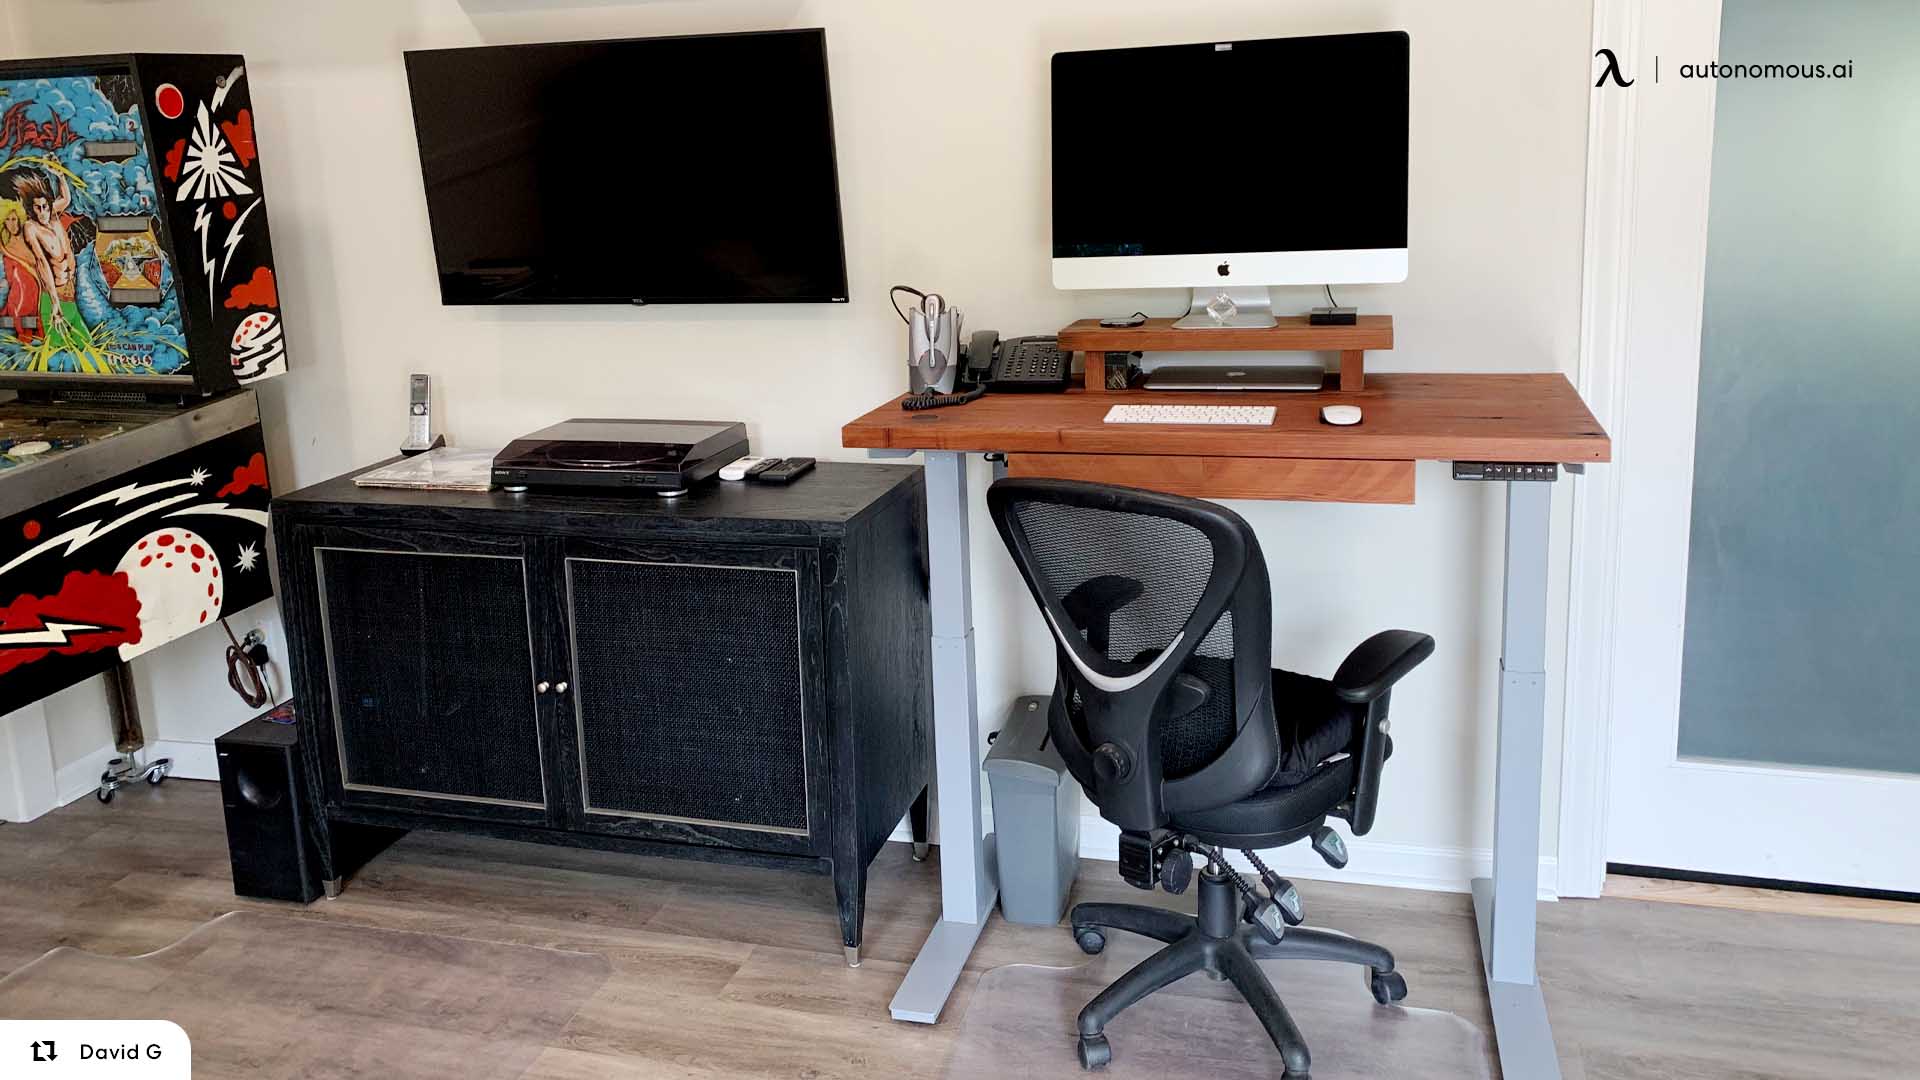
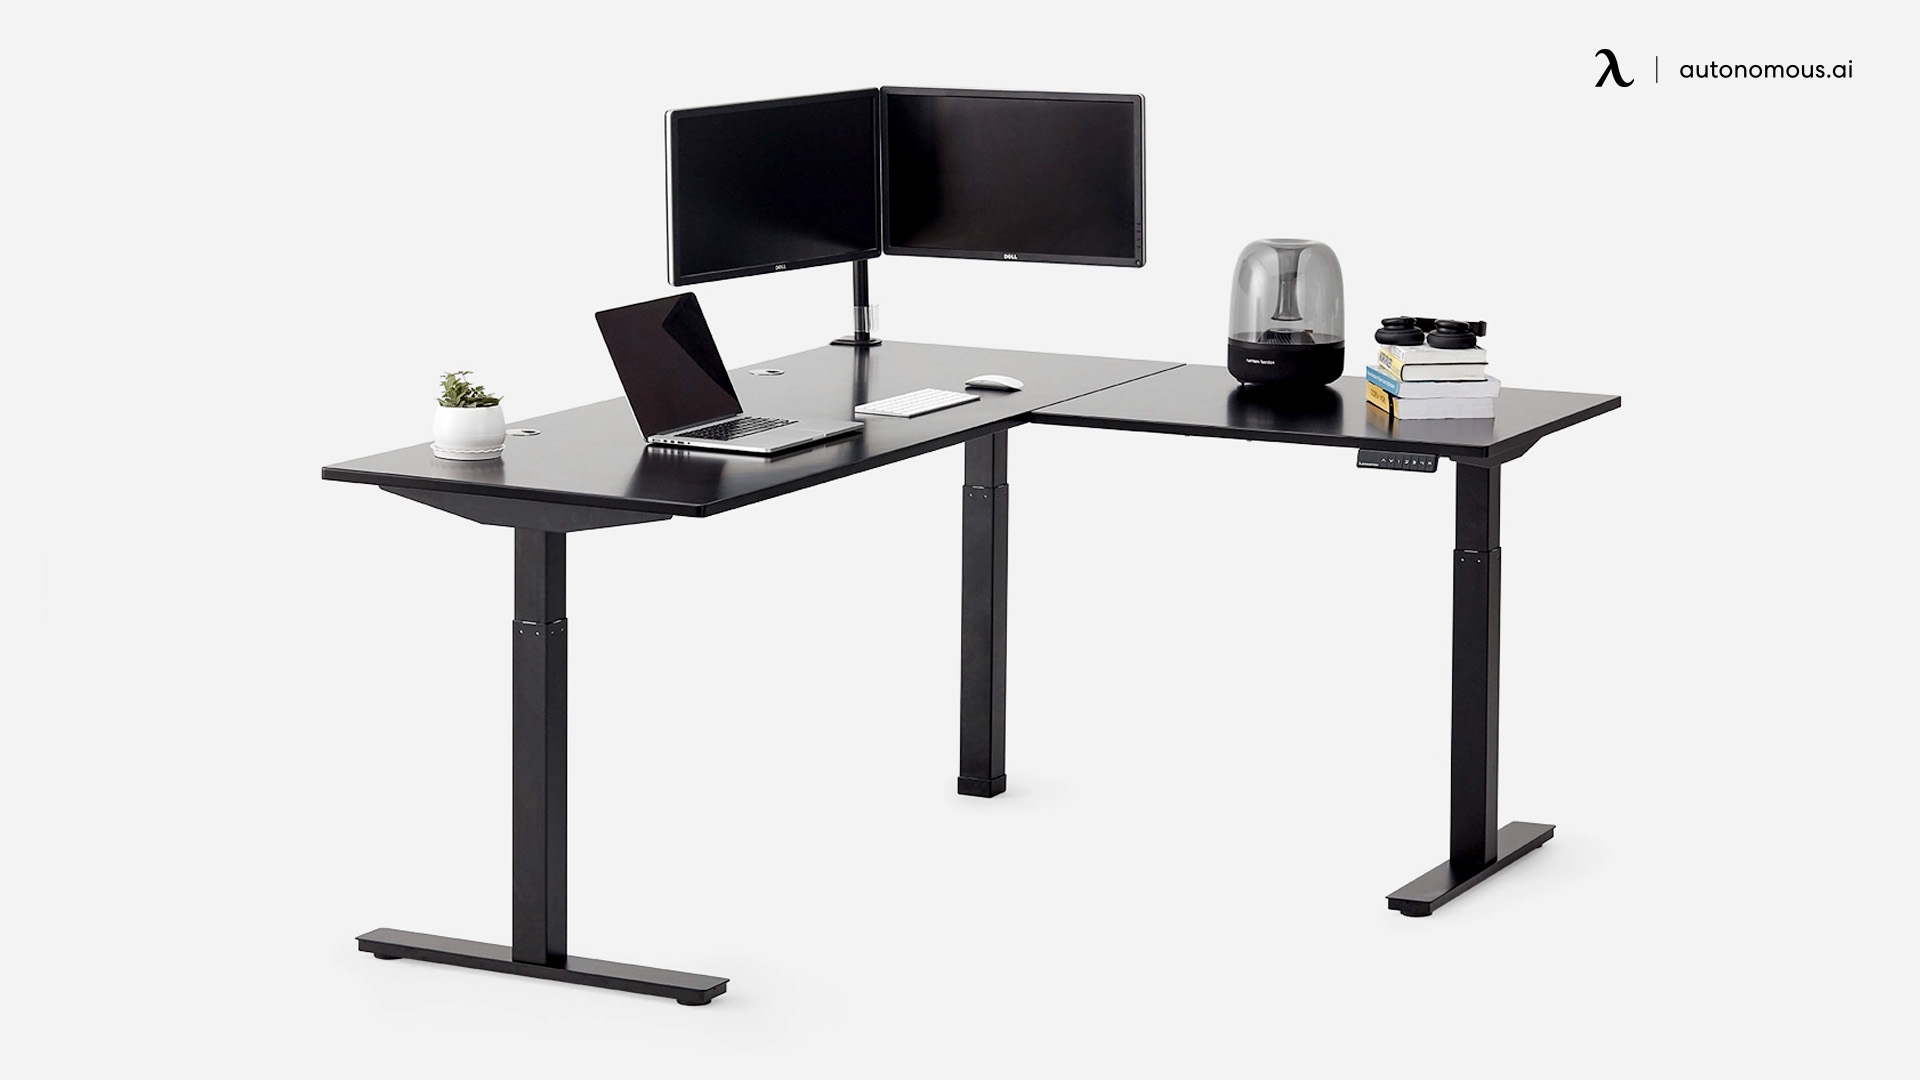
Some people choose a DIY motorized desk project to save money, while others prefer to create things themselves. They may want something superior to what is available in stores and something far more customized, such as a DIY gaming desk or DIY L-shaped desk.
It is important to establish your budget before beginning construction to ensure you have enough to complete the project.
Is It Necessary for It to Be Adjustable?

Are you certain you require an DIY motorized desk? You do not need much more than a few milk crates and an old door to lay across them if you are on a budget and only want to try out a standing desk to see whether you enjoy it. In that instance, it's just a regular desk that's a little taller.
You can also utilize your present desk but add extra height to the monitor, keyboard, and mouse by placing these items on a box or small stand. It eliminates the inconvenience of constantly adjusting your desk if you can have separate desks for sitting and standing.
However, if you're going to be rotating from sitting to standing at this one work location on a regular basis, it's a good idea to pick a design that is simple to change.
Is It Better to Use a Crank or a Motor?
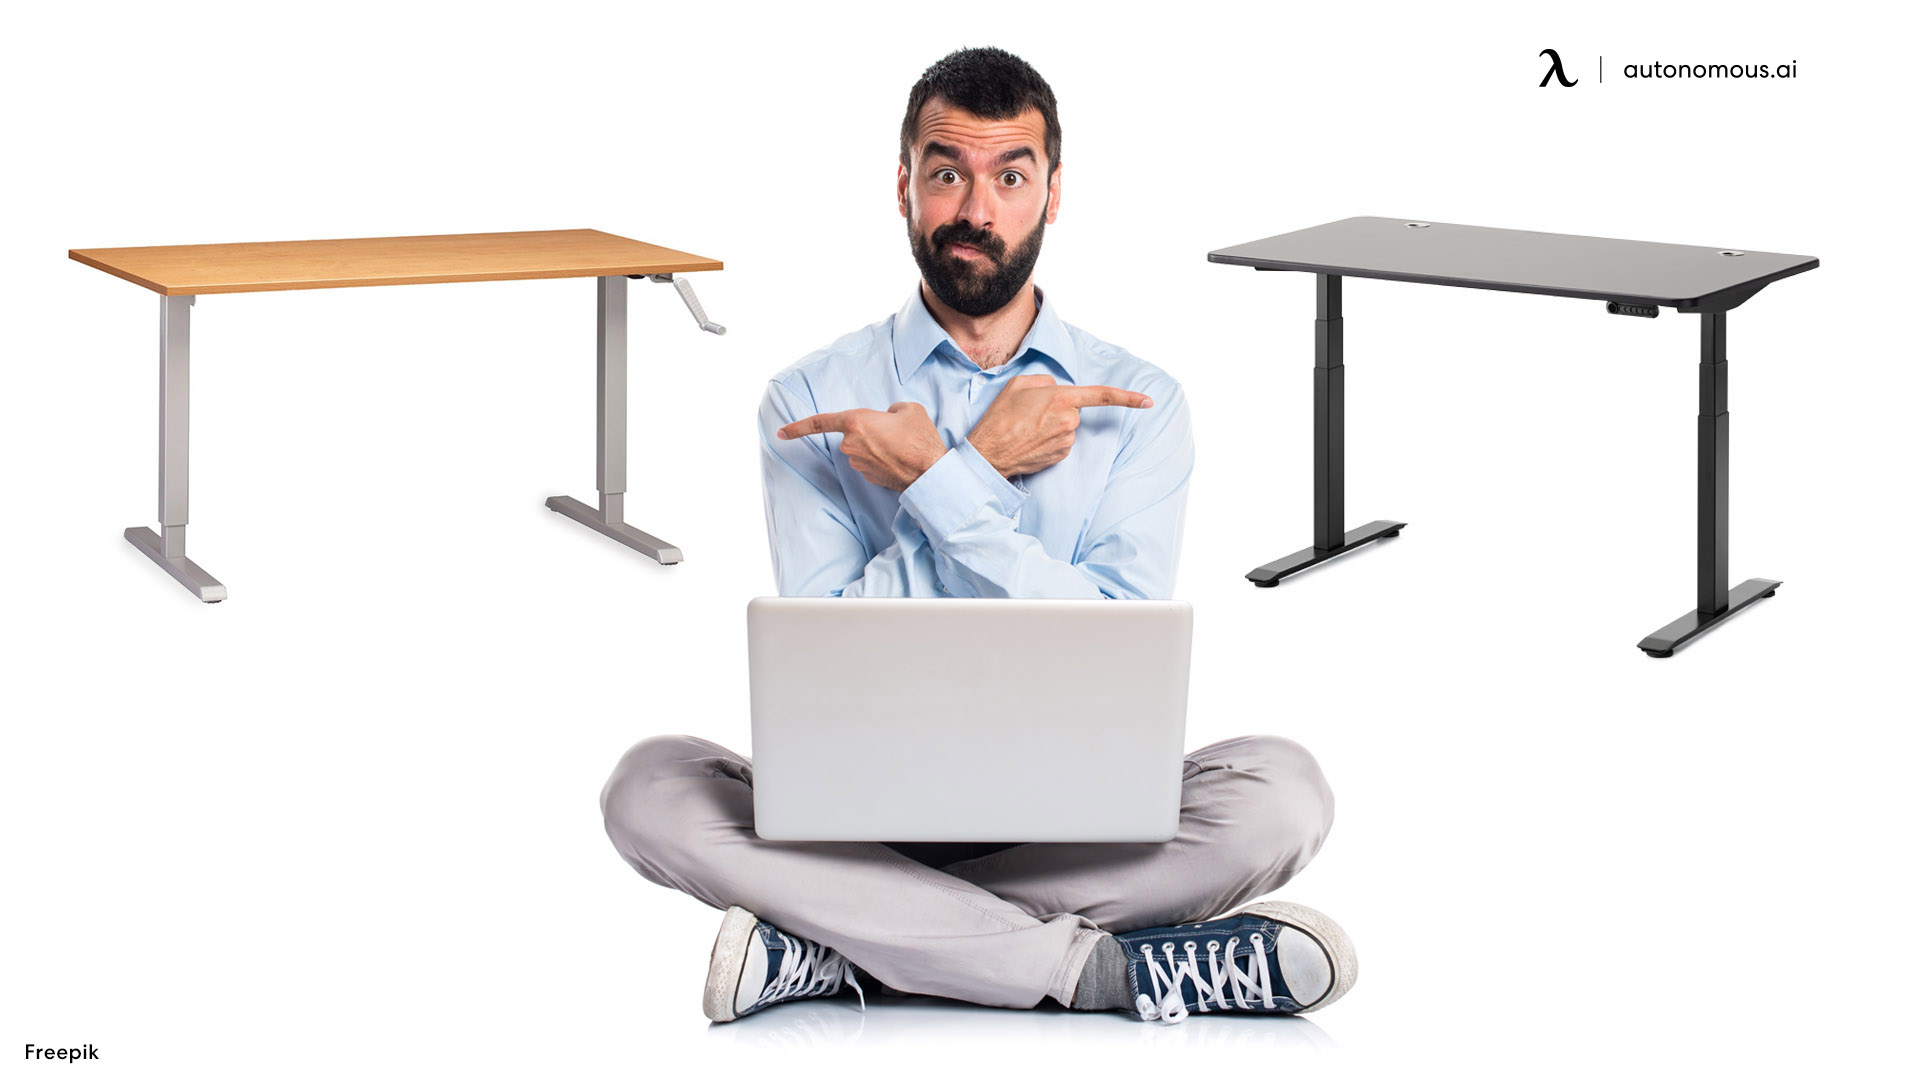
The cranks function great, and the adjustment takes around 30 seconds. It may save you money, but is it worth it for the money you may save? Both approaches have advantages and disadvantages.
- Crank: Because it does not require a plug or electricity, it frees up an outlet. There are no electrical parts used for a crank hence, there is no possibility of them breaking. Standing desks with a crank are more inexpensive and adaptable. The main disadvantage is that it takes a little longer to calibrate and requires some effort. A crank can wear out with time, but if you are not using it a thousand times every day, it should last a long time.
- Motorized: These are a little more expensive, but they provide a smoother, simpler way to rise and drop your DIY electric desk. Some may wonder how much of a DIY project it is to just place a table on a motorized base, but it all depends on how hands-on you want to be.
Consider Materials, Size, and Other Factors
Think about the materials you would like to use and where you would like to put your desk, and so on.
The body of your desk may most likely be composed of robust metal if you pre-purchase the frame. Because your desk is adjustable, if you decide you do not like standing to work, you can simply lower it and use it as a standard desk.
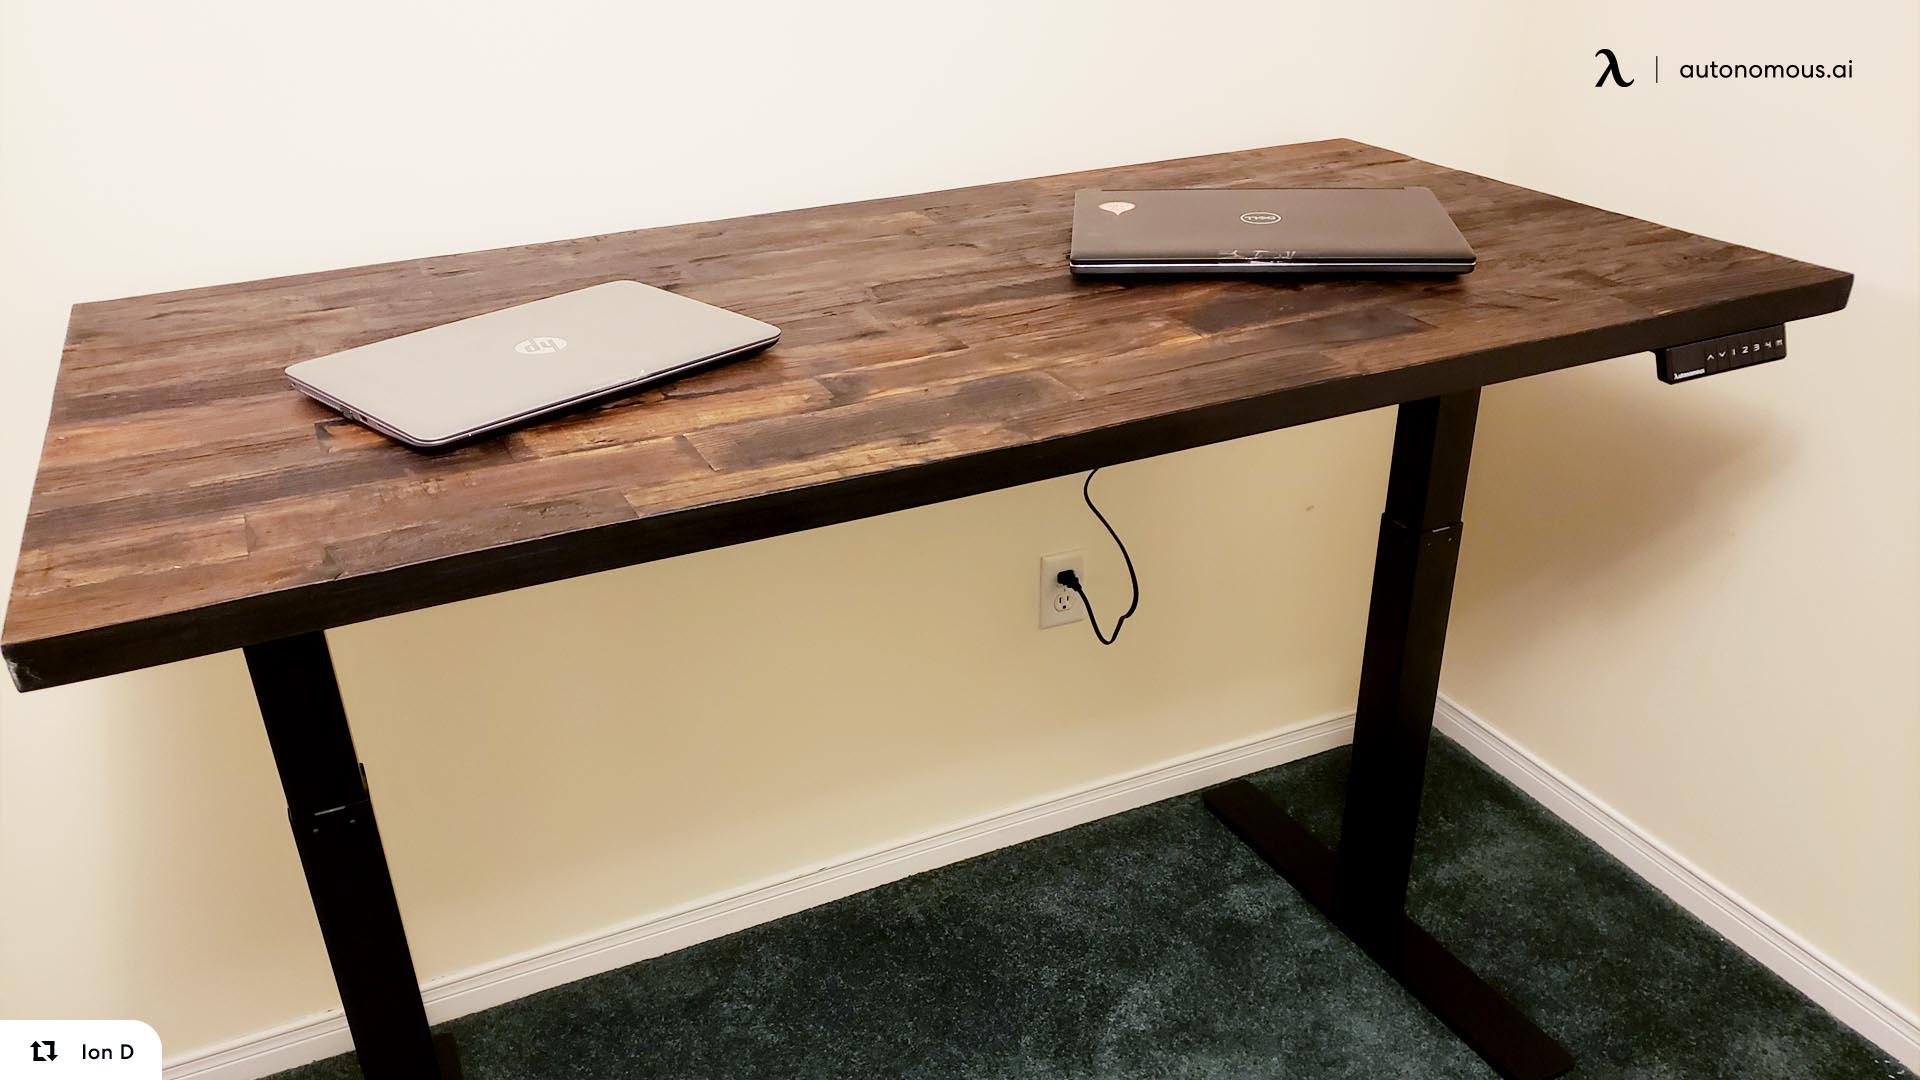
You also need to decide on a desktop. The tops for various standing desk frames are unique, but you may use anything if it is the proper size. You may not be able to attach it to the base using the current holes, but you may be able to work something out, especially if the top is robust.
The traditional choice is wood; however, glass tabletops can also be used. Make sure it was designed to be used as a desk; you do not want to repurpose a window and accidentally break it along with your equipment. Anything sturdy enough to sit on top of your DIY adjustable desk structure can be used.
You may also use a couple of small adhesive rubber nubs to keep everything in place. If you are using wood, you may simply screw or glue it in place.
Consider how much space you need on your workstation before choosing a DIY motorized desk frame or cutting board. If you are buying a frame, how much weight can it support? Is your tower going to be on your desk, along with massive, hefty speakers, many monitors, and other office equipment? Do you just need a laptop?
If you do not need a lot of space, a tiny standing desk should suffice; it just needs to be a couple of feet broad. You may need something much bigger if you have a larger setup and want everything on the desk. If you plan on creating a substantial-top for it, you need a premium base.
Make sure you account for the weight of the desktop in construction weight calculations. It might easily add dozens of pounds, especially if you are working with solid hardwood.
You may probably lean against your desk from time to time as well, because standing for lengthy periods of time may be exhausting, especially if you are not used to it. Be sure to account for this extra weight when designing the blueprint for your standing desk.
The DIY motorized desk should be at least 50 to 75 pounds of leeway to allow for your tower, monitors, leaning, and other factors
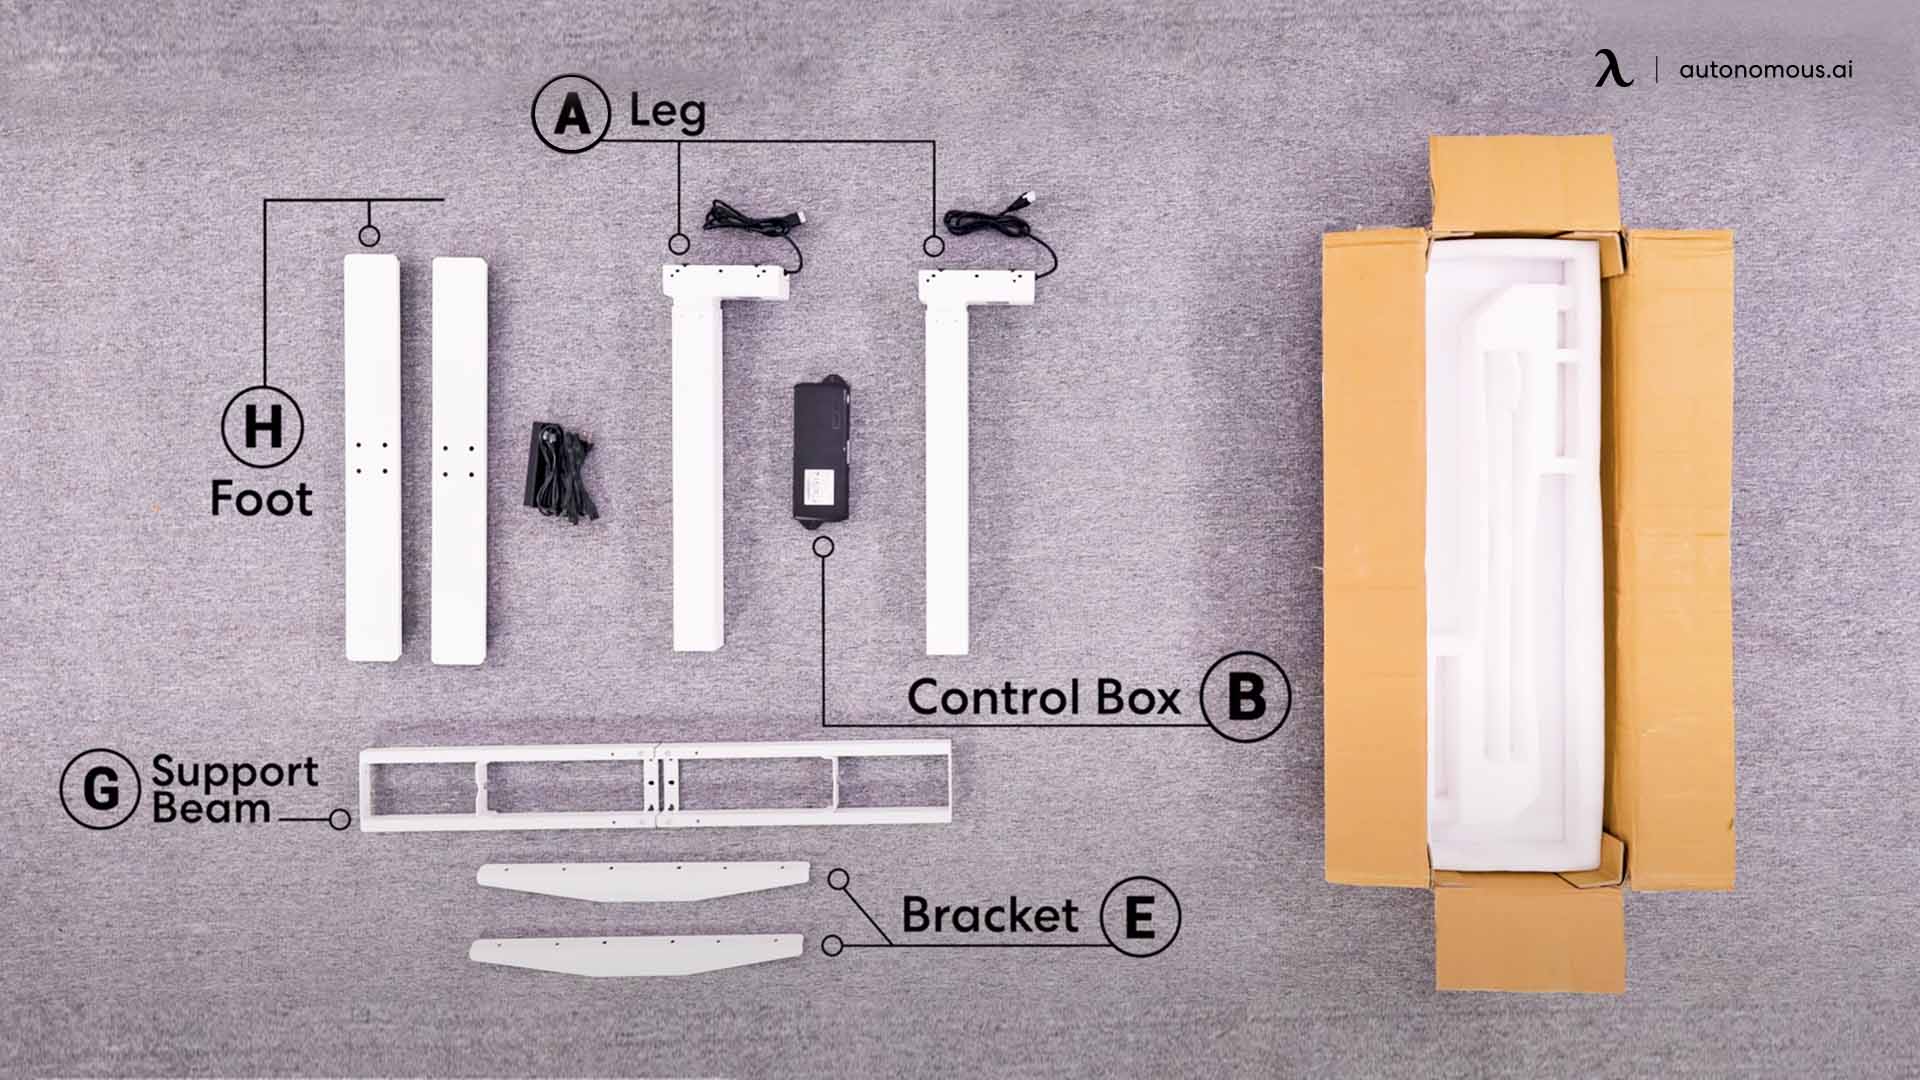
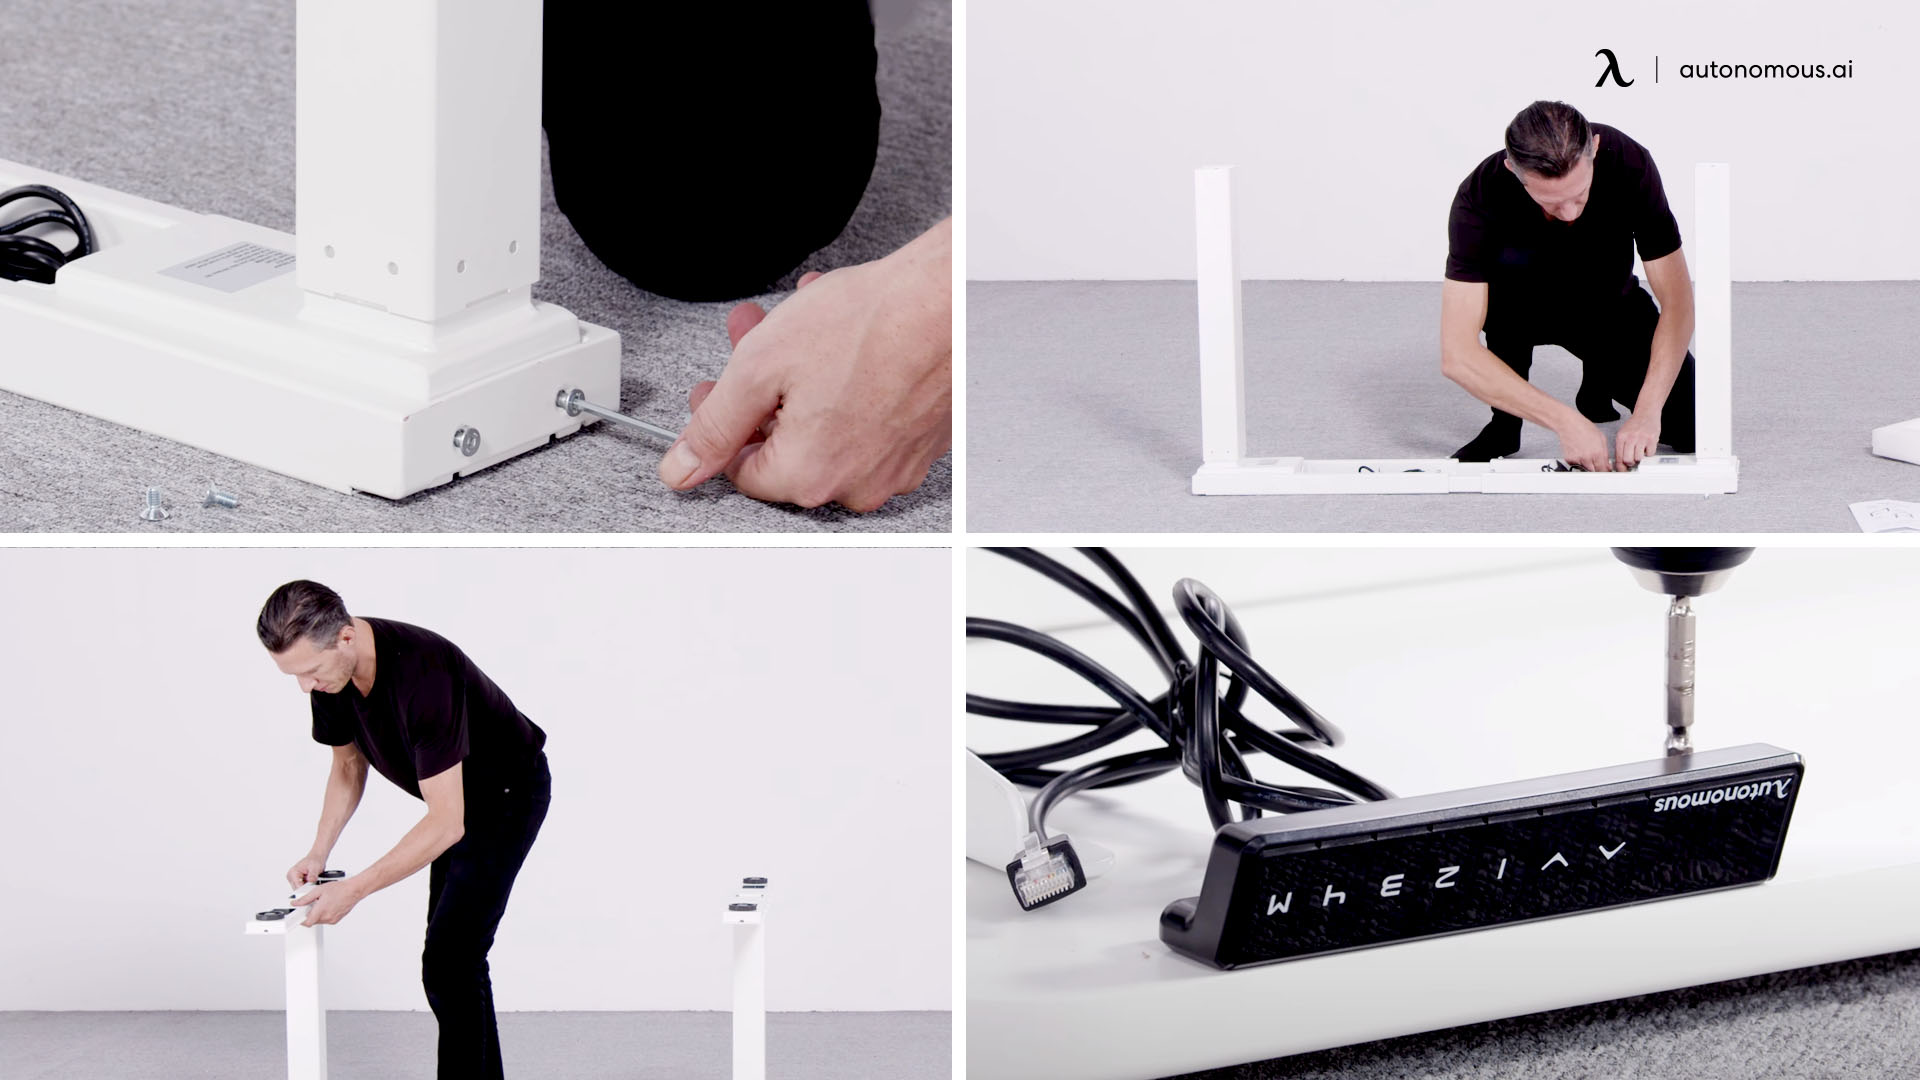
Assemble Your Adjustable Desk
If you decide to buy a pre-assembled desk base, follow the directions that come with it to put it together. Assembly should be quite simple because there are just a few DIY sit-stand desk parts and they all fit together exactly as you would expect.
Constructing Your Own DIY Standing Desk
It is time to start building now that you have finalized your plans and know exactly what you want. If you are utilizing a DIY motorized desk frame and just putting a board on top, the technique is dead simple.
The process is more involved if you are making a custom frame and top for your desk. You can use a piece of plywood or similar flat board. Alternatively, you can go all out and glue, clamp, and cut oak or another beautiful wood for a luxurious look.
- Glue your lumber together - The following stage entails lining up and gluing together planks of lumber, sanding them, and then cutting them to the exact measurements. This is the finest way to construct a gorgeous desktop that is both robust and long-lasting, as well as a lot more fascinating than plywood or MDF. It takes a lot more effort, but isn't that what DIY motorized desk projects are all about? You may spend more than a simple desktop and it can take much longer, but you may get something unique, constructed to your exact specifications, and that can last a lifetime
- Cutting - Once the glue has dried, cut the wood to the exact length and size you desire. Hopefully, everything was meticulously calculated ahead of time. Even if one of them appears to be straight enough, it's a good idea to cut at both ends to ensure they are exactly flat and aligned
- Sanding - Now is the time to plane and sand the tabletop's surfaces and sides. Take your time with this stage; it is worth it to use a variety of grits to achieve flawlessly smooth sand, and smoothing the top is also important for a great completed product. You may have stuff on this table, and you may be moving your arms and hands around it, so anything that sticks out may upset you. It is important to catch these uneven surfaces before staining and installing as rectifying this may require extra time and effort.
- Staining and sealing - At long last, it is time to paint or stain your wood. Remember that it is simpler to go darker than it is to go lighter. However, if you are undecided, start with something light because you can always darken it afterward. You must determine if you want to match your room's current aesthetic and have your DIY motorized desk blend in, or whether you want to go with a color or stain that contrasts what is currently there. There are arguments to be made for both styles, but if you are going to go to the trouble of making this DIY electric desk, why not make it the focal point of the room?
Add the Finishing Touches to Your Homemade Adjustable Standing Desk
Making sure your DIY sit-stand desk is stable and level, figuring out a cable management system, possibly installing a discreet wireless charger station for your gadgets, and selecting where you want everything to sit are the finishing touches.
If you have speakers on your desk, acquire a foam pad to put underneath them to direct the sound towards your ears. This prevents it from bouncing off the desk and lowering audio quality.
Final Thoughts
As you may have noticed, there are numerous approaches to this project. You may manufacture a static tall desk frame or purchase a kit to make it adjustable.
Buying a DIY motorized desk frame with an integrated adjustable mechanism that either cranks, or utilizes a motor is the easiest option.
Going premium and customizing your DIY adjustable standing desk to your exact specifications is the most time-consuming way. This is a significant amount of effort, but if done correctly, it might become an heirloom piece passed down over the years.
You can get a lot of use out of your DIY adjustable standing desk for years to come, regardless of whether this is a huge or small DIY electric desk project.


/https://storage.googleapis.com/s3-autonomous-upgrade-3/production/ecm/230914/bulk-order-sep-2023-720x1200-CTA-min.jpg)
Restez connecté avec nous !
Abonnez-vous à nos mises à jour hebdomadaires pour rester au courant de nos dernières innovations et de l'actualité de la communauté !
Intéressé par un placement de lien ?
/https://storage.googleapis.com/s3-autonomous-upgrade-3/static/upload/images/new_post_author/admin-1.png)