


A Step-by-Step Guide to DIY Your Ferrofluid Speaker
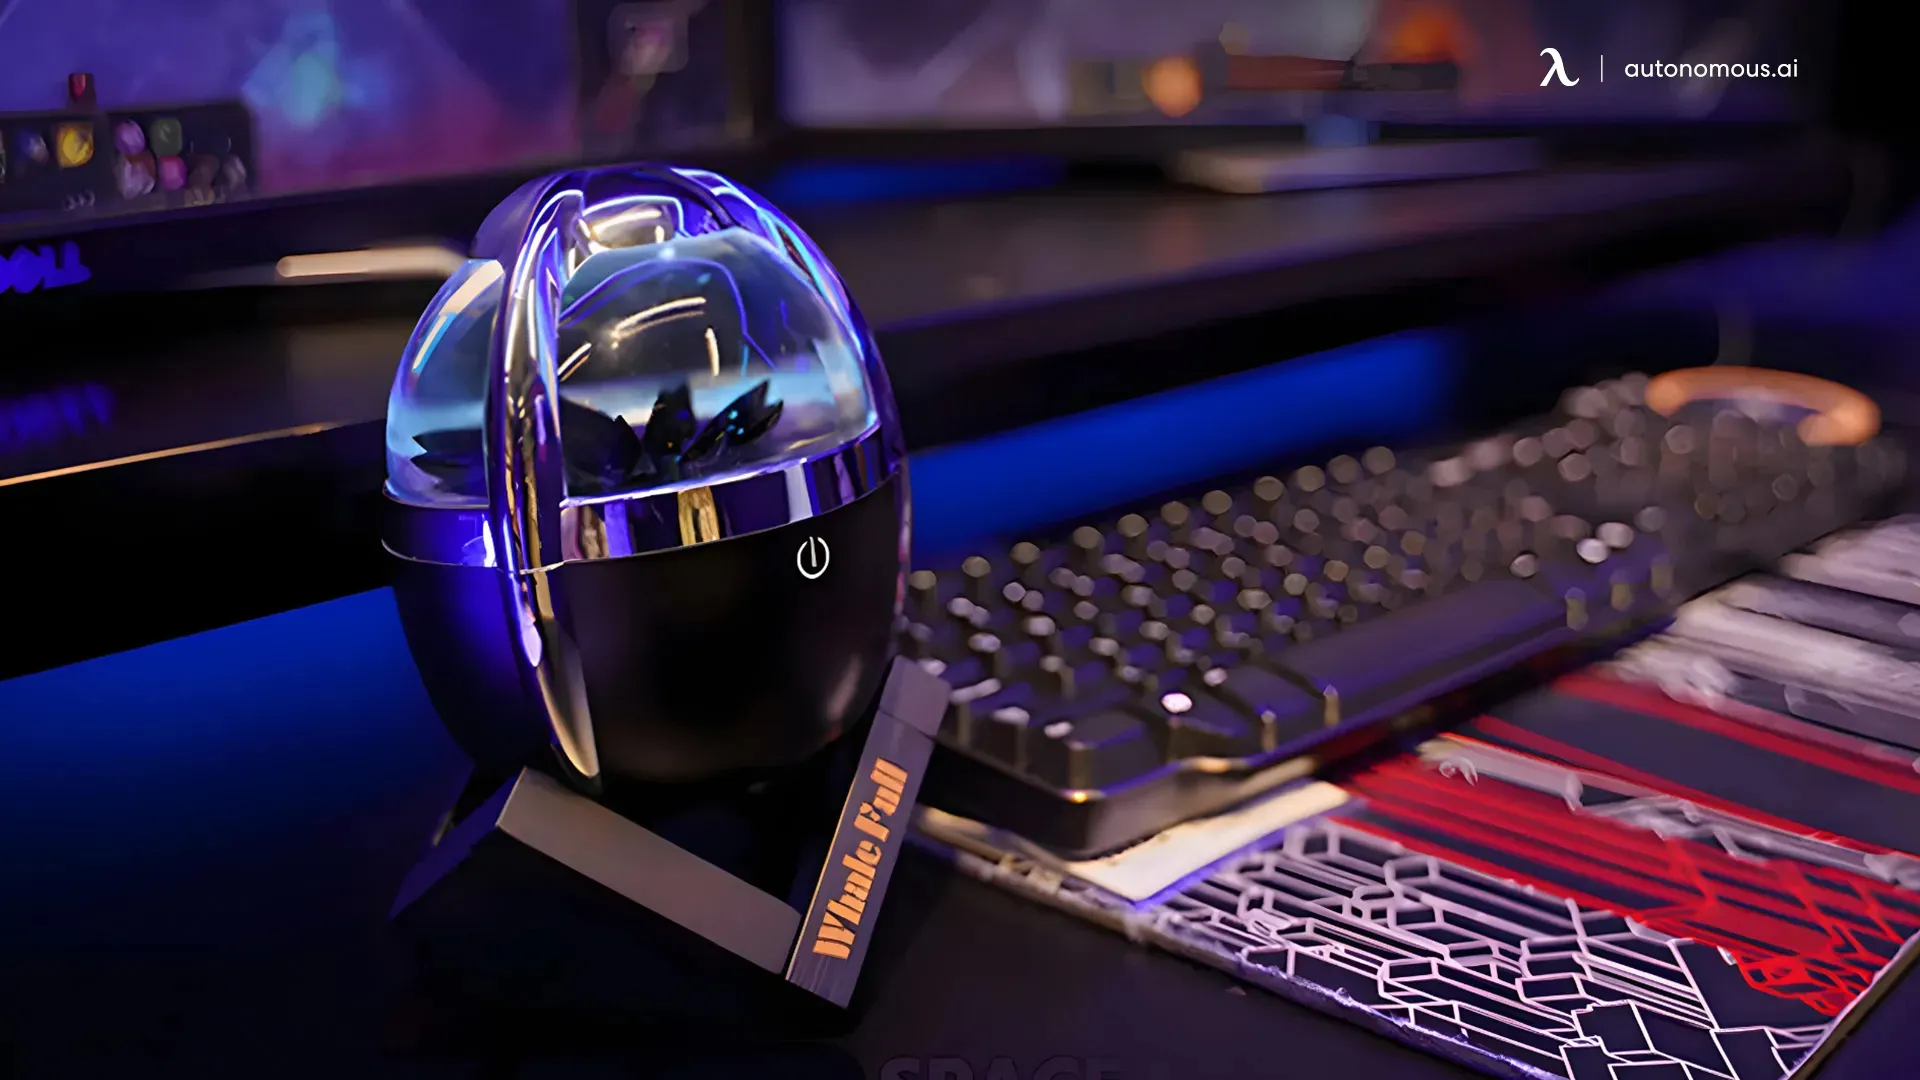
Table of Contents
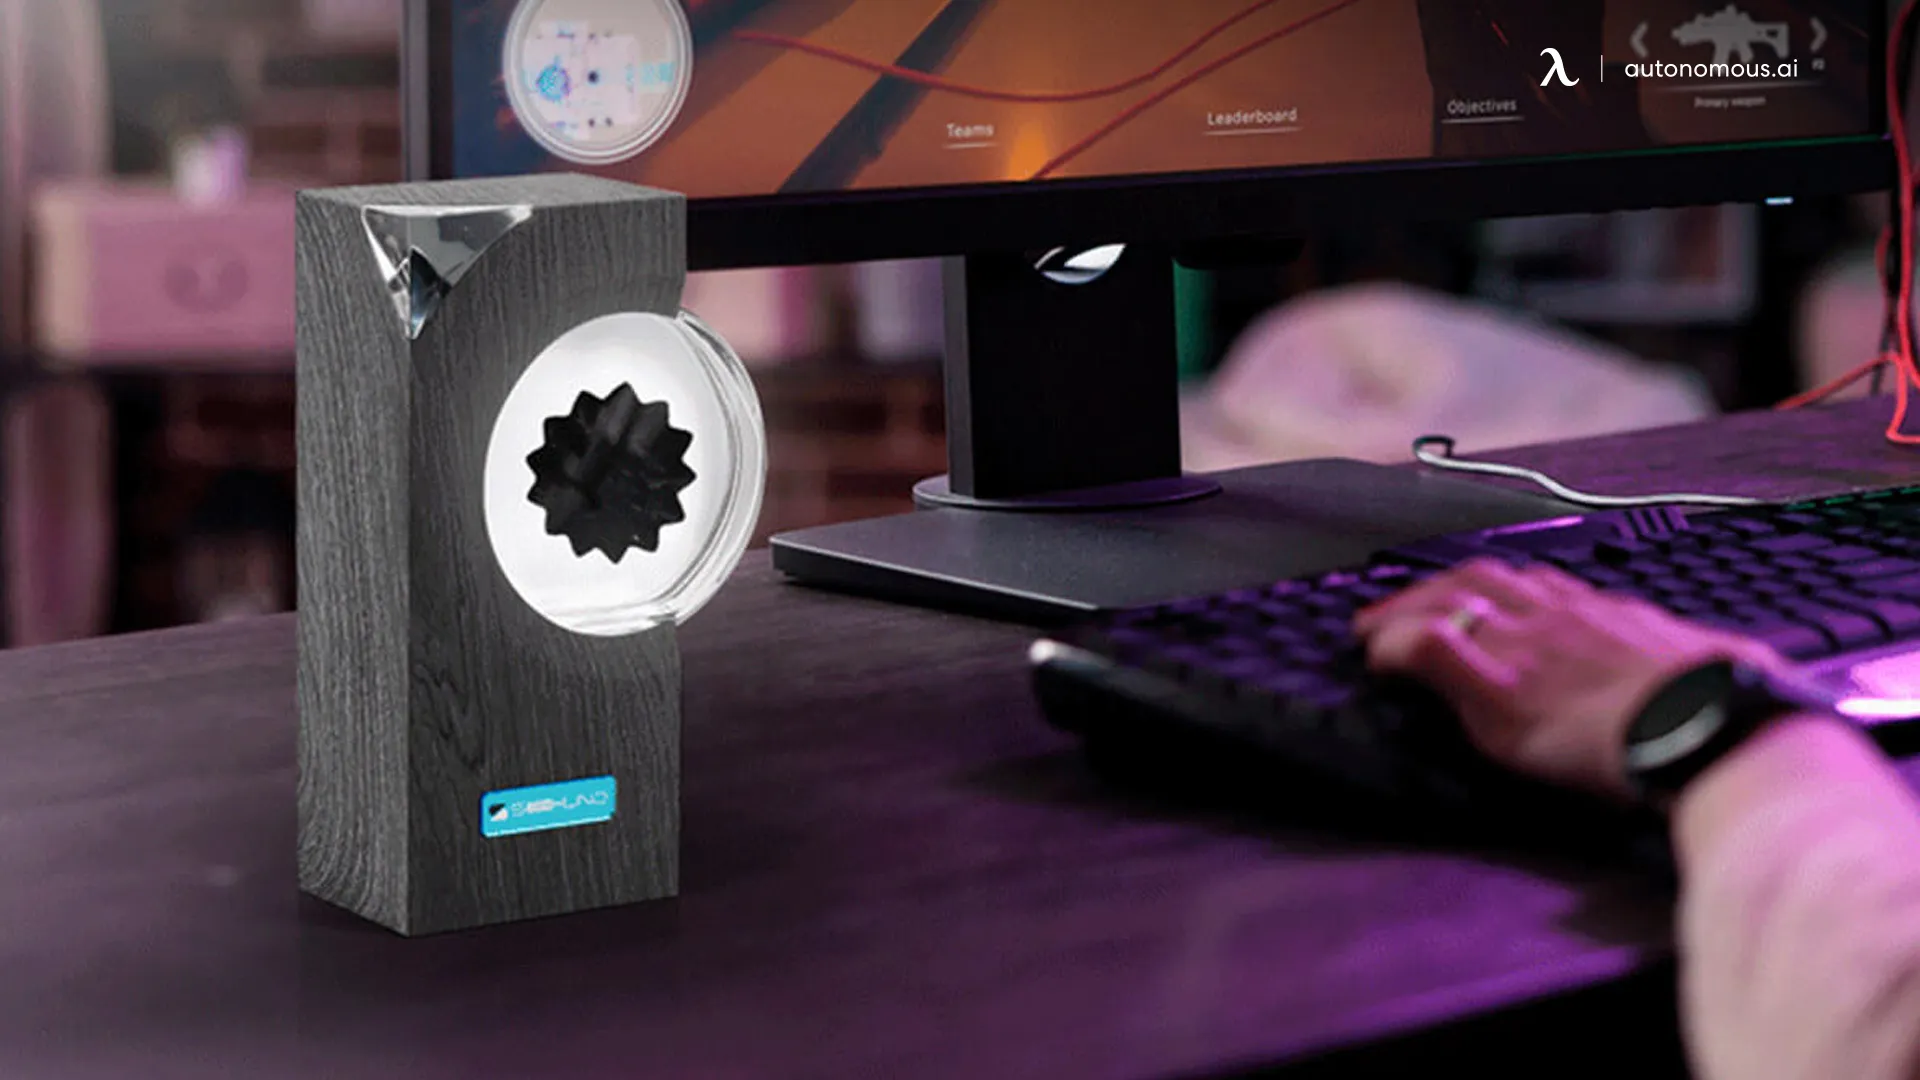
Some people love to go the extra mile when it comes to decorating their desks, workspaces, or gaming rooms. There are tons of unique desk accessories that you can choose to make it a space that tells you, "Yes, this belongs to me," whenever you step into that room. One of the best computer accessories that you can have is a Ferrofluid speaker, which not only works as an audio device it might also be a good decorative item you can use to add a bit more personality to your room.
If you’d like to replace your current wireless speaker, a Ferrofluid speaker DIY project might be a good idea. Not only will you feel satisfied building a speaker that actually works, but you will also have one of the best desk accessories for men, created by yourself.
Take a look at this DIY Ferrofluid speaker guide and find out how to complete such a venture without losing your head!
How to Make a Ferrofluid Speaker
Before you start, you'll need to gather all the materials to make sure that you're able to build the whole device. These are the main three components that you can’t miss out:
- wireless speaker module and speakers: You’ll need the module to connect the device via wireless, and the speakers for the sound.
- Ferrofluid: This is the magnetic fluid that will dance to the music.
- Electromagnet: You’ll utilize this to influence the Ferrofluid with the music’s beat.
The rest of the materials you’ll need include audio jacks, a microphone board, capacitors, assorted resistors, wires, a write cutter, and a custom Aurdino. In addition to these materials, it is also recommended to get yourself CAD software – such as corel draw or Eagle CAD – so that you can design the speaker and the circuit.
Now, follow the below guide to get started with the assembly.
Step 1: Speaker Assembly
You should’ve gotten at least two speakers. You must solder the wires into the nodes of the speakers, connecting them to the ports of the pre-constructed wireless amp module. Don’t forget to also connect wires to the 5V and GND ports as well as connecting those parts to the battery, or the speakers won’t work. If you’ve connected everything well, then you should be able to connect the speakers to any device that’s compatible with wireless.
Step 2: Connect the Microphone and the Electromagnet
Next up, you’ll need to connect the microphone to the Arduino – which can be DIY. The main purpose of the Arduino is to control the electromagnet, as the microphone detects the volume of the audio and turns it on or off accordingly.
Step 3: Wiring
Be sure to follow the correct routine while connecting the wires on the circuit, which you should have previously created in Corel Draw. The microphone should be connected to the GND, 5V, and audio output, while the electromagnet requires you to follow a more specific schematic to make sure it works as intended - which is why it is recommended to draw the whole thing on CAD software.
Step 4: Set up the Electromagnet Control
It’s time for the Arduino to shine. You should make sure to write values to the electromagnet based on the music’s decibel level, which is converted into values from 0-250 using a MAP function.
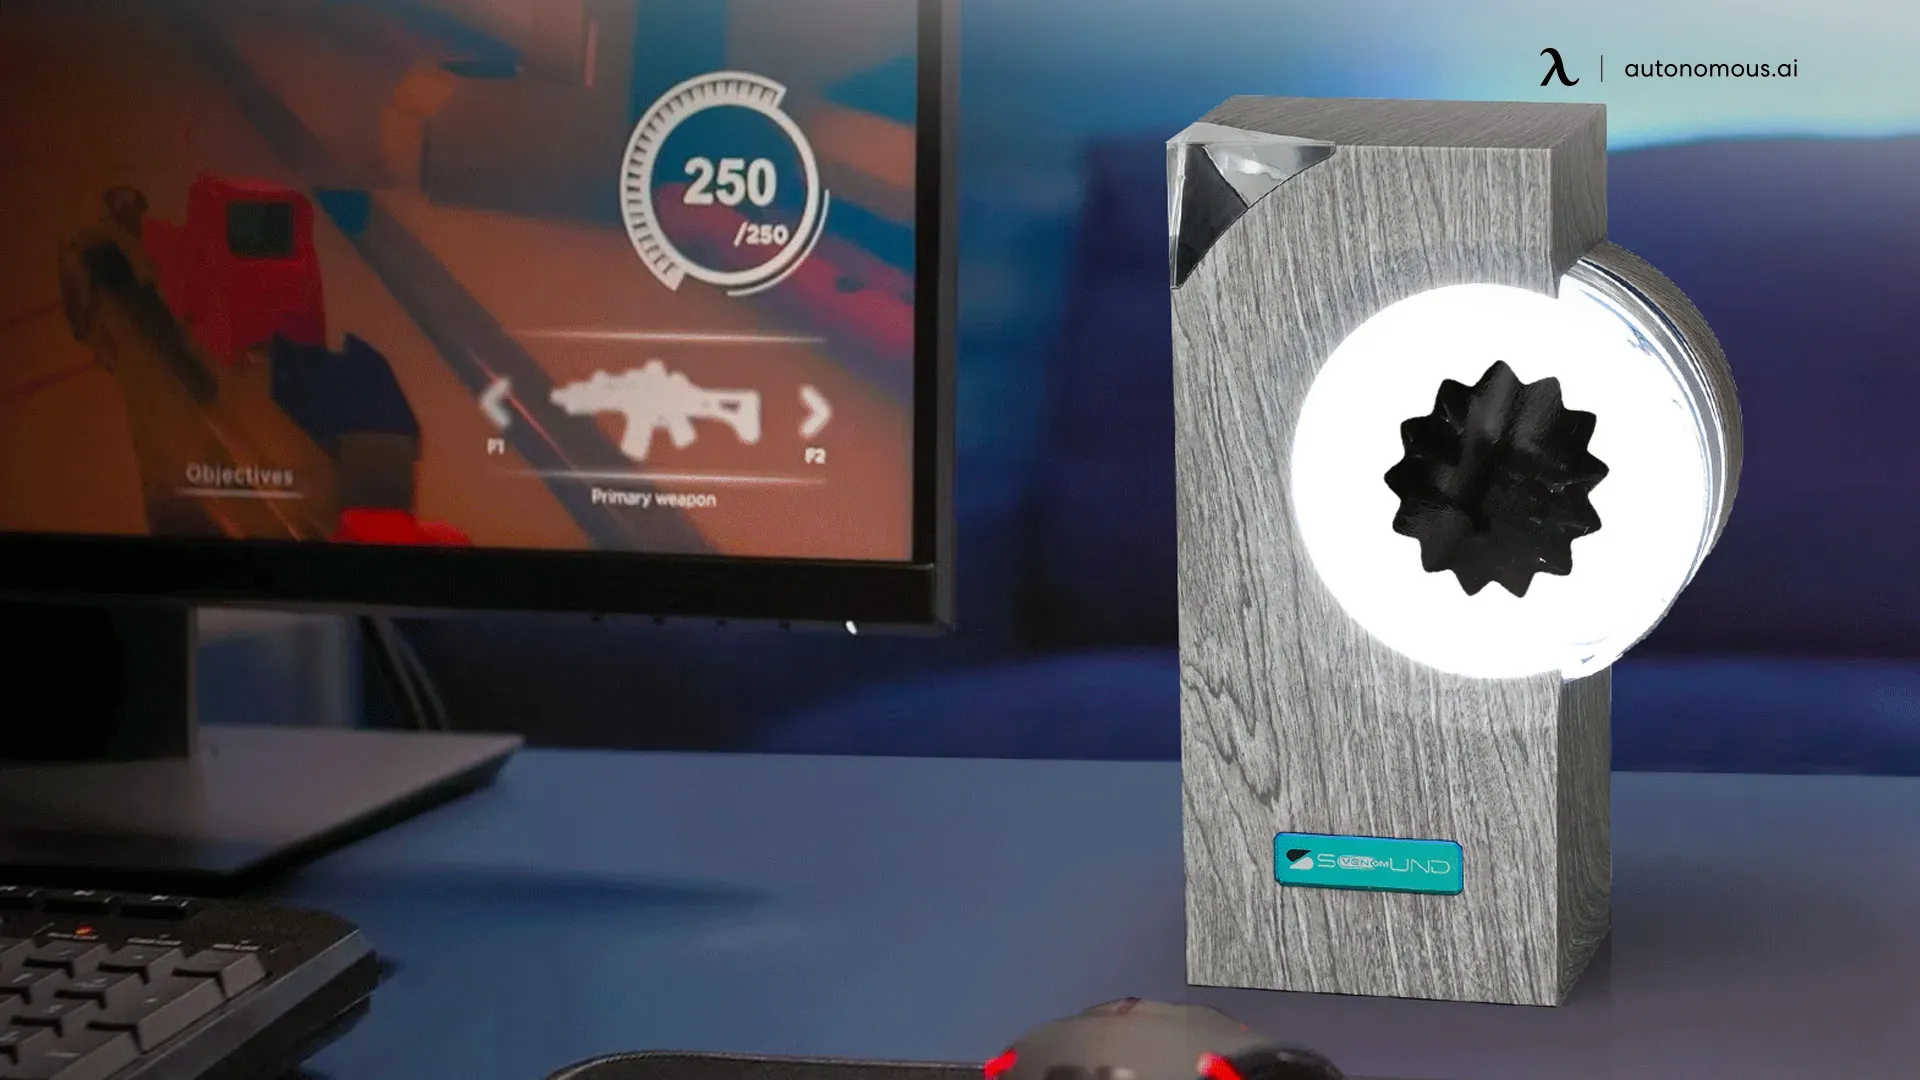
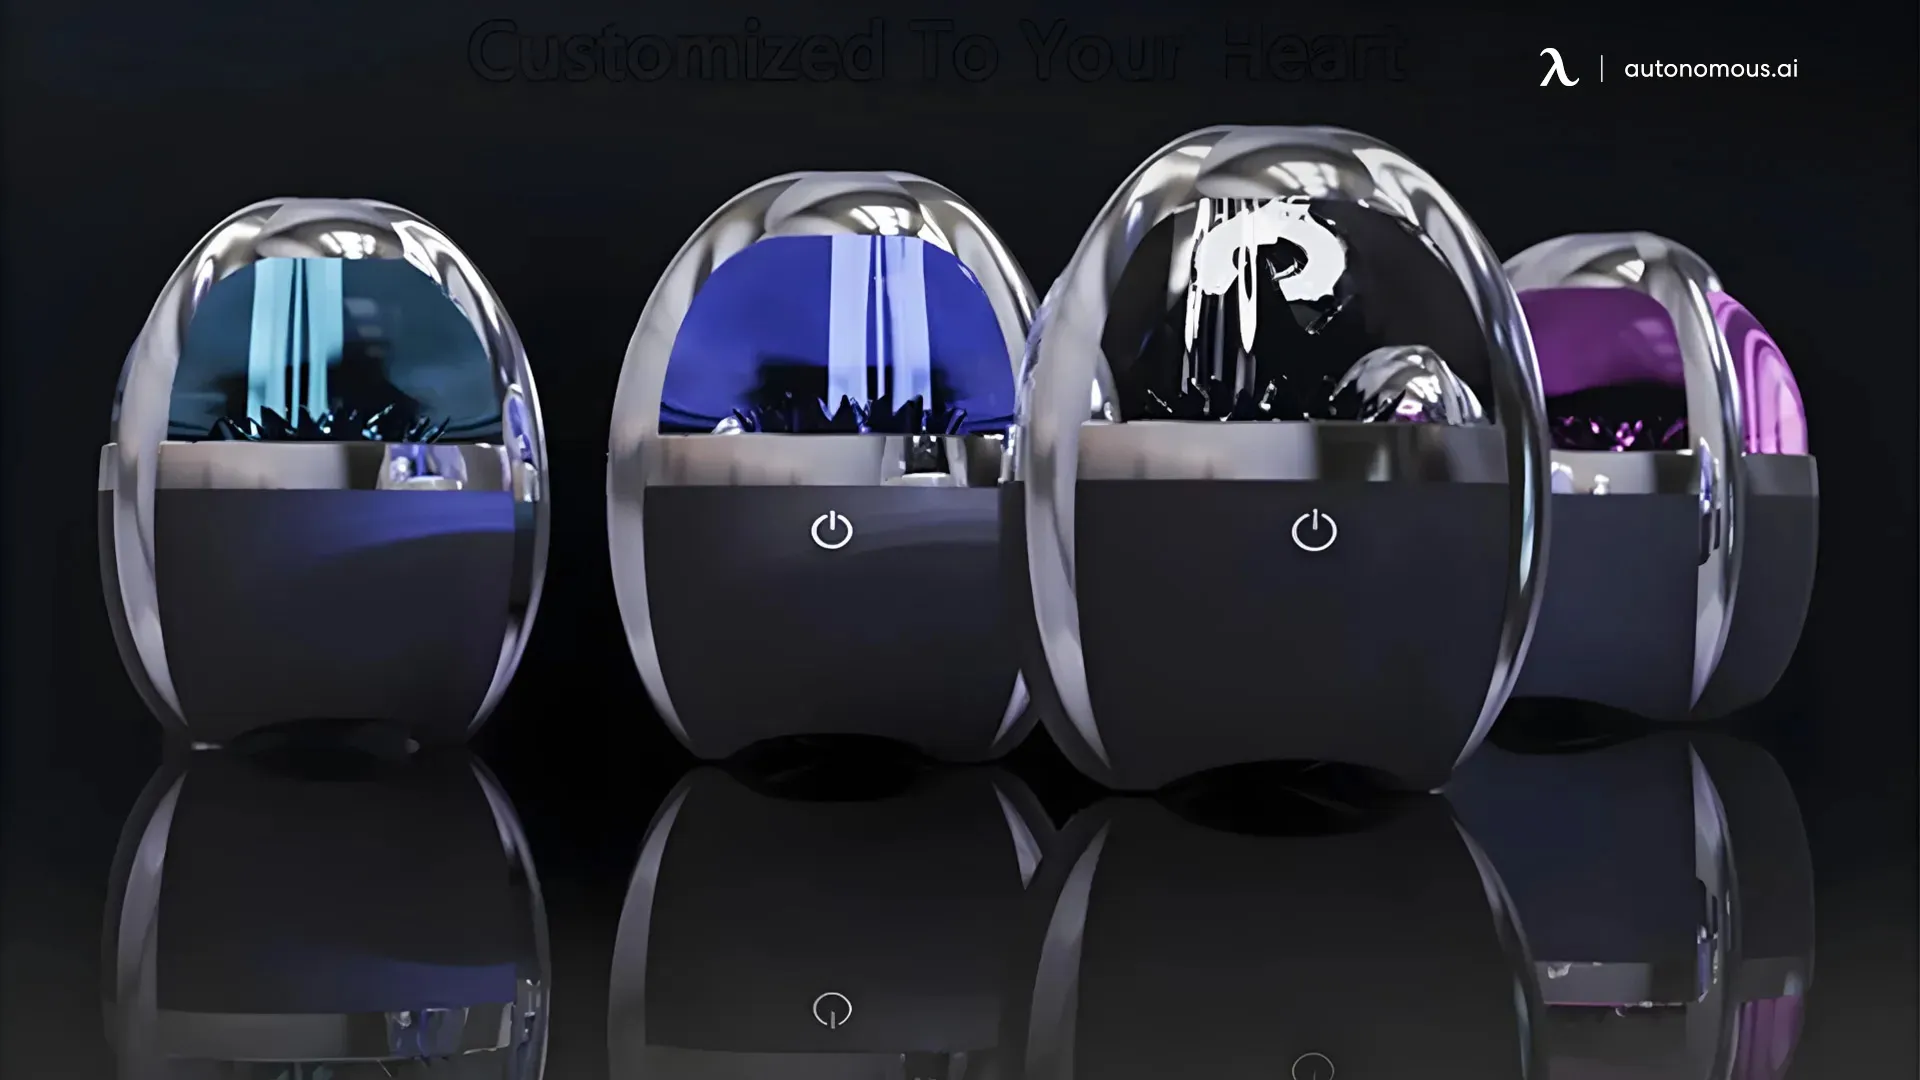
Step 5: Ferrofluid
At this point, the whole project should start taking shape. You can get an acrylic box and fill it with Ferrofluid, which should be a custom emulsion, as it will minimize the box's staining. You should place the electromagnet behind the box for it to have the desired effect.
Step 6: Final Assembly
Once everything is connected as it should, you can then place all of the connected parts into a container. It can be anything DIY that works, although if you want to make it even more “DIY,” you can use a laser cutter to make the whole thing. It’s easier if you use the traditional cube shape, but it also depends on your preferences and the way you’ve assembled the internal circuits. You should make sure that the electromagnet is positioned correctly before closing the box if you want to make sure that it influences the Ferrofluid as the music plays.
Step 7: Test
Once you've put everything where it should be, the next step should be to test the whole thing. Be sure to connect your new speaker to your phone or computer, play some music, and see how the Ferrofluid reacts. If it doesn't have the desired effect, open up the box and verify that the electromagnet is positioned correctly. You should also make sure that the wiring is well-placed to discard any potential failures in the future. If everything has been correctly done, you should be able to use your new DIY Ferrofluid speaker without problems!
Conclusion
This guide contains simplified steps for completing a Ferrofluid speaker DIY project. However, if this is your first time completing such a device, be sure to familiarize yourself with certain concepts so that everything goes smoothly.
If you're not sure where to find the correct pieces of this puzzle, you can go to your local electronics store and ask for all the materials mentioned on the list. The store's staff should be able to provide you with everything you need or at least tell you where you can find certain things if they don't have them available at the moment.
Once your new speaker is complete, you should be able to have a lot of fun with it and see how the Ferrofluid reacts to the sound of your favorite songs. It can definitely be one of the best computer accessories you can ever make for a unique gaming room or workspace.
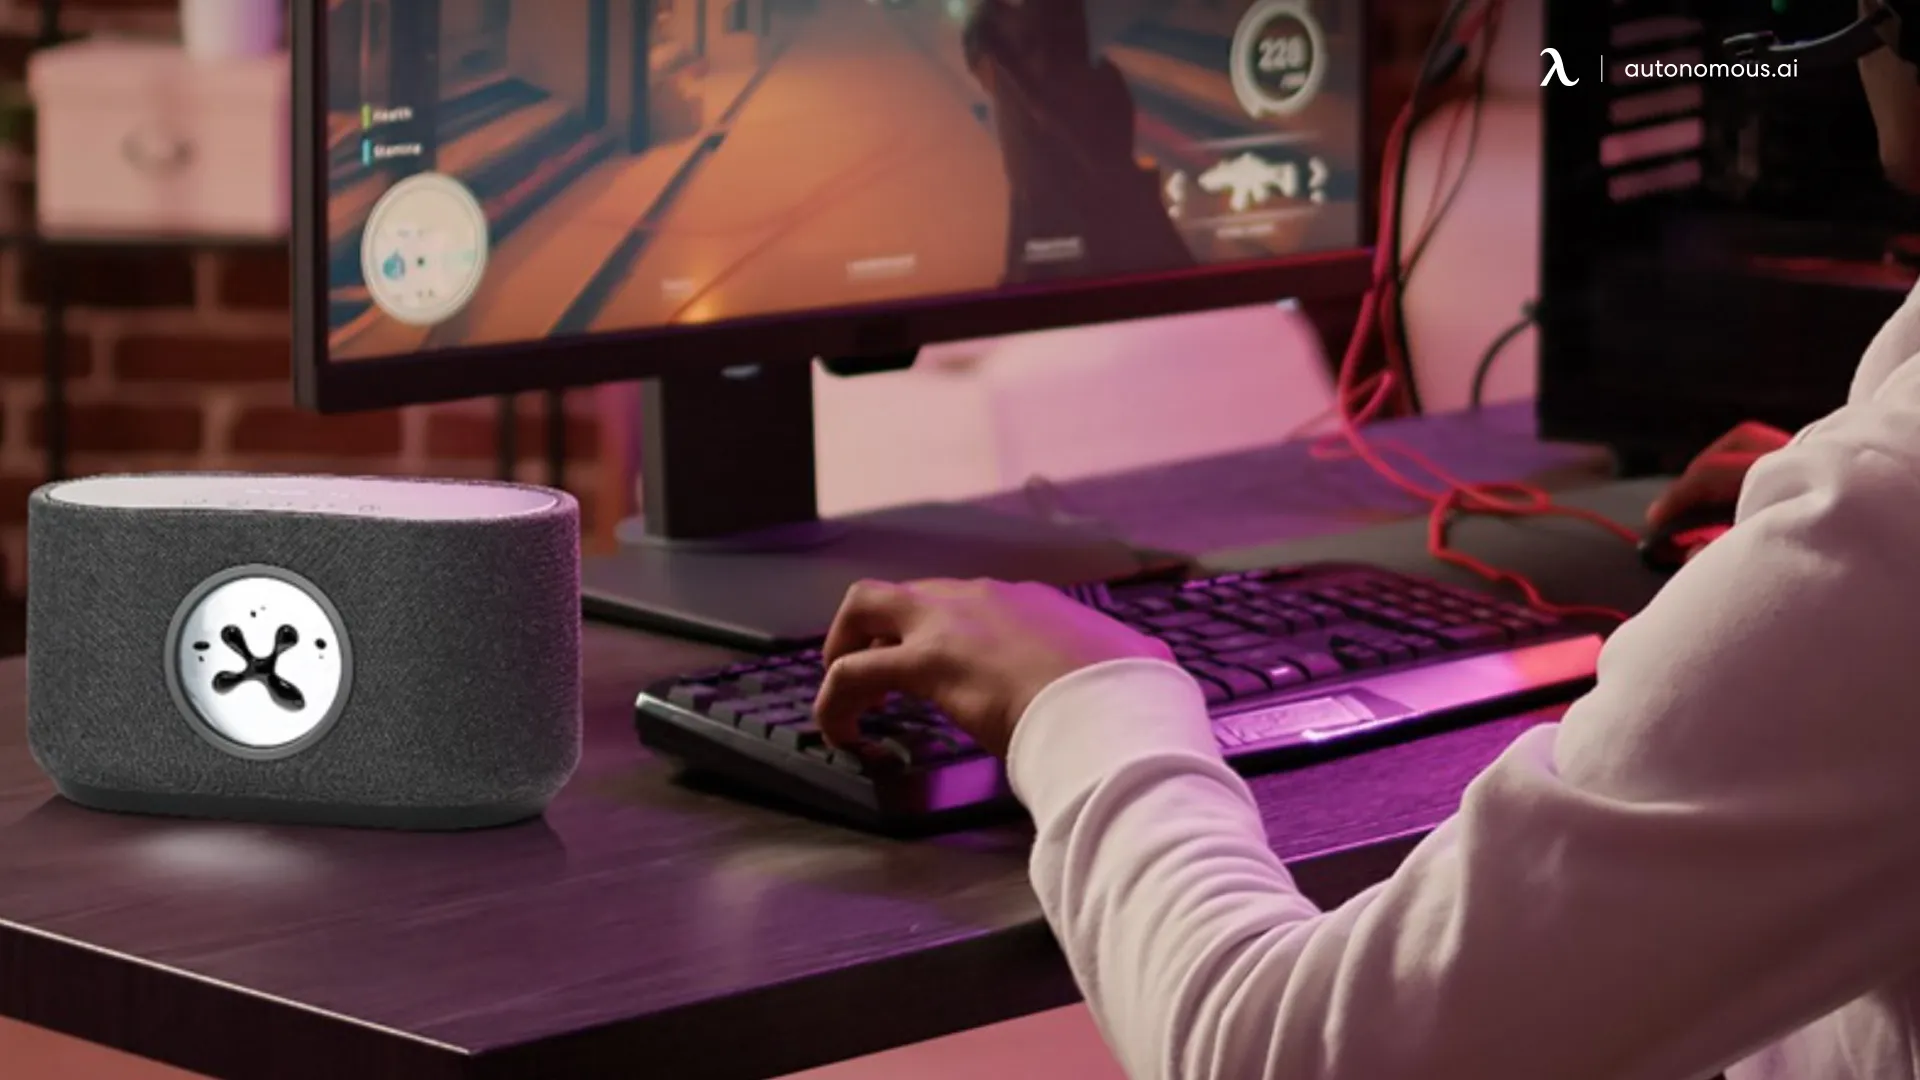
If you’re not fully satisfied, remember that tons of brands sell high-quality wireless speakers, such as Sovenomund. You can also learn how to make a Ferrofluid display if you’re still feeling crafty!