Apple Mac Mini Dual Monitor Setup Guide
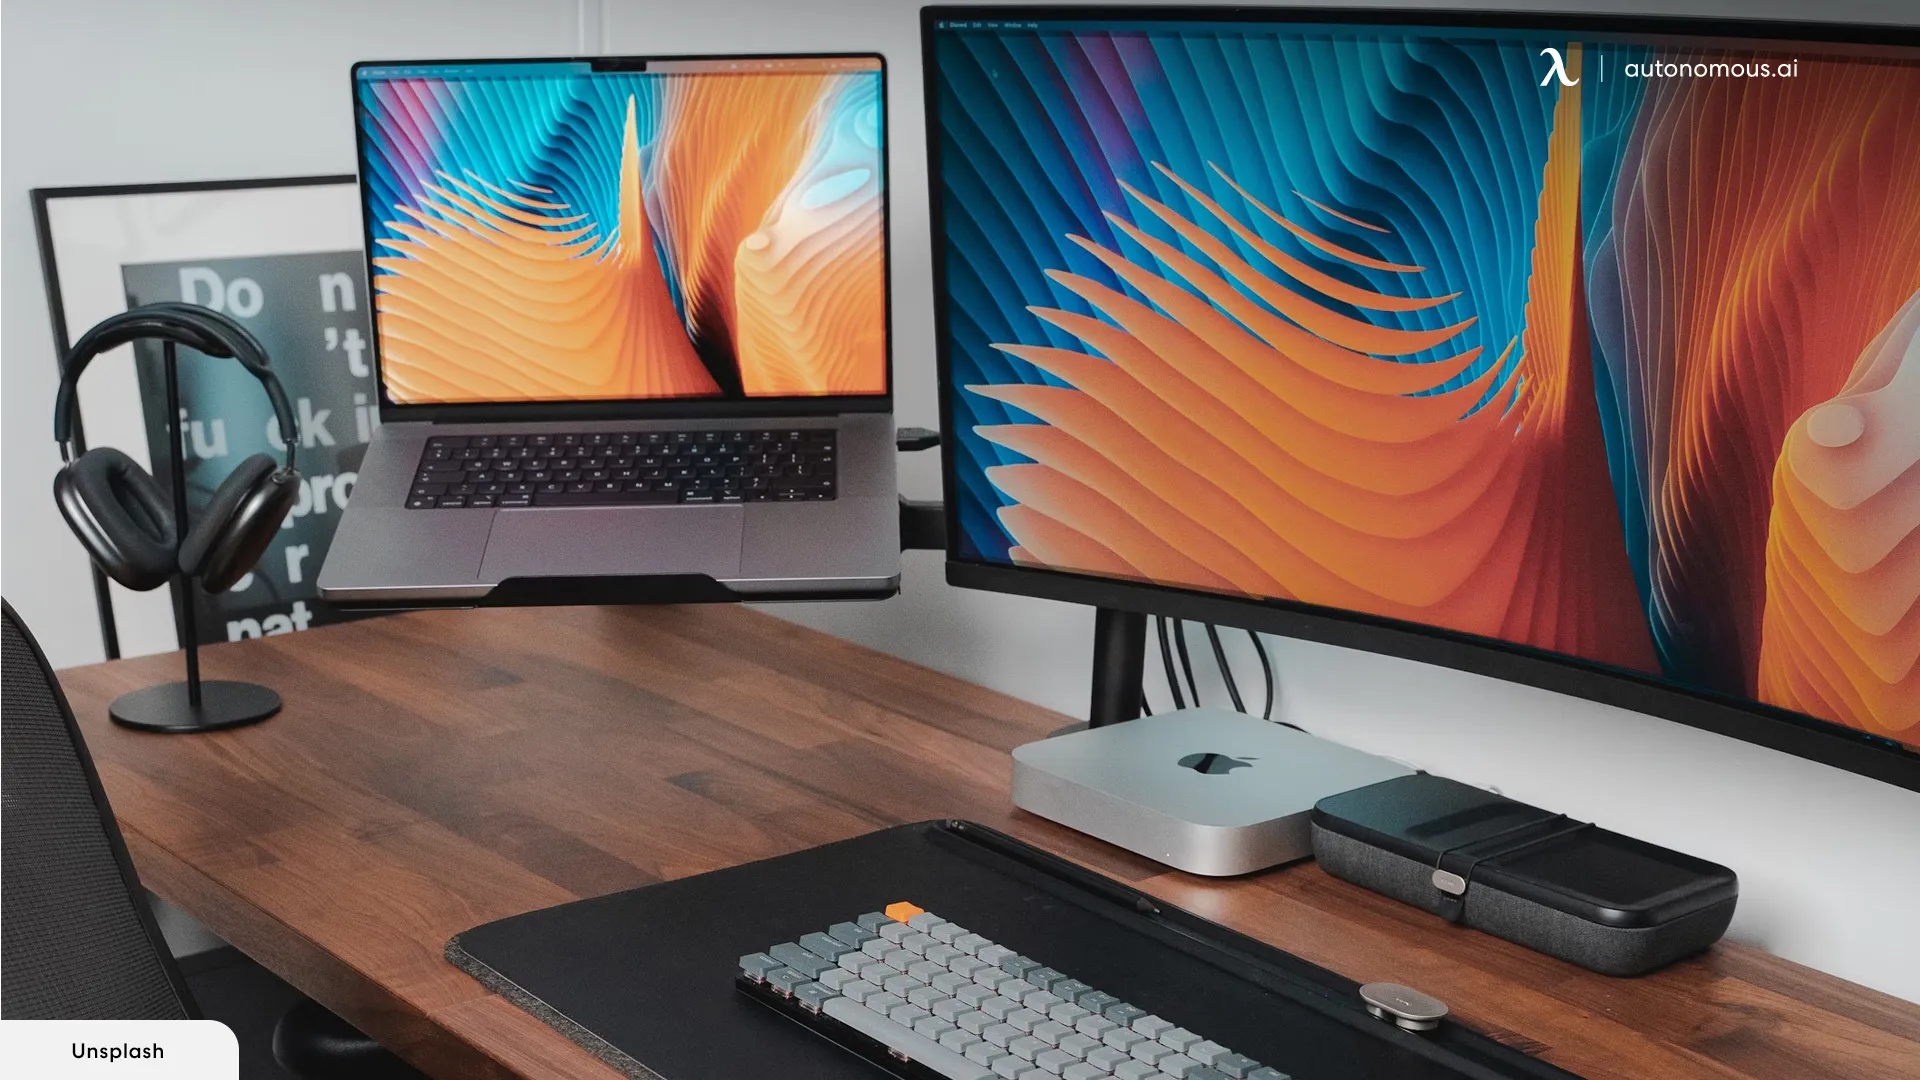
Table of Contents
Welcome to our guide on Apple Mac mini dual monitor setup, we provide simple, easy-to-follow instructions. You could be an artist, a person who works from home or someone who loves doing several things at the same time. This guide takes you through every stage of the Mac mini M2 dual monitor setup. Forget about not having enough space at your workstation, and enjoy having more screen area. With our expert advice, you will be able to create a hassle-free dual monitor Mac Mini desk setup quickly. Join us as we help you unlock the full potential of your Mac mini.
Hardware Requirements for a Mac Mini Dual Monitor Setup
Before diving into the setup process, it's essential to ensure you have the necessary hardware.
Mac Mini Specifications
Ensure your Mac Mini model supports dual monitors. The latest Mac Mini models, including those with the M1 and M2 chips, support dual monitors:
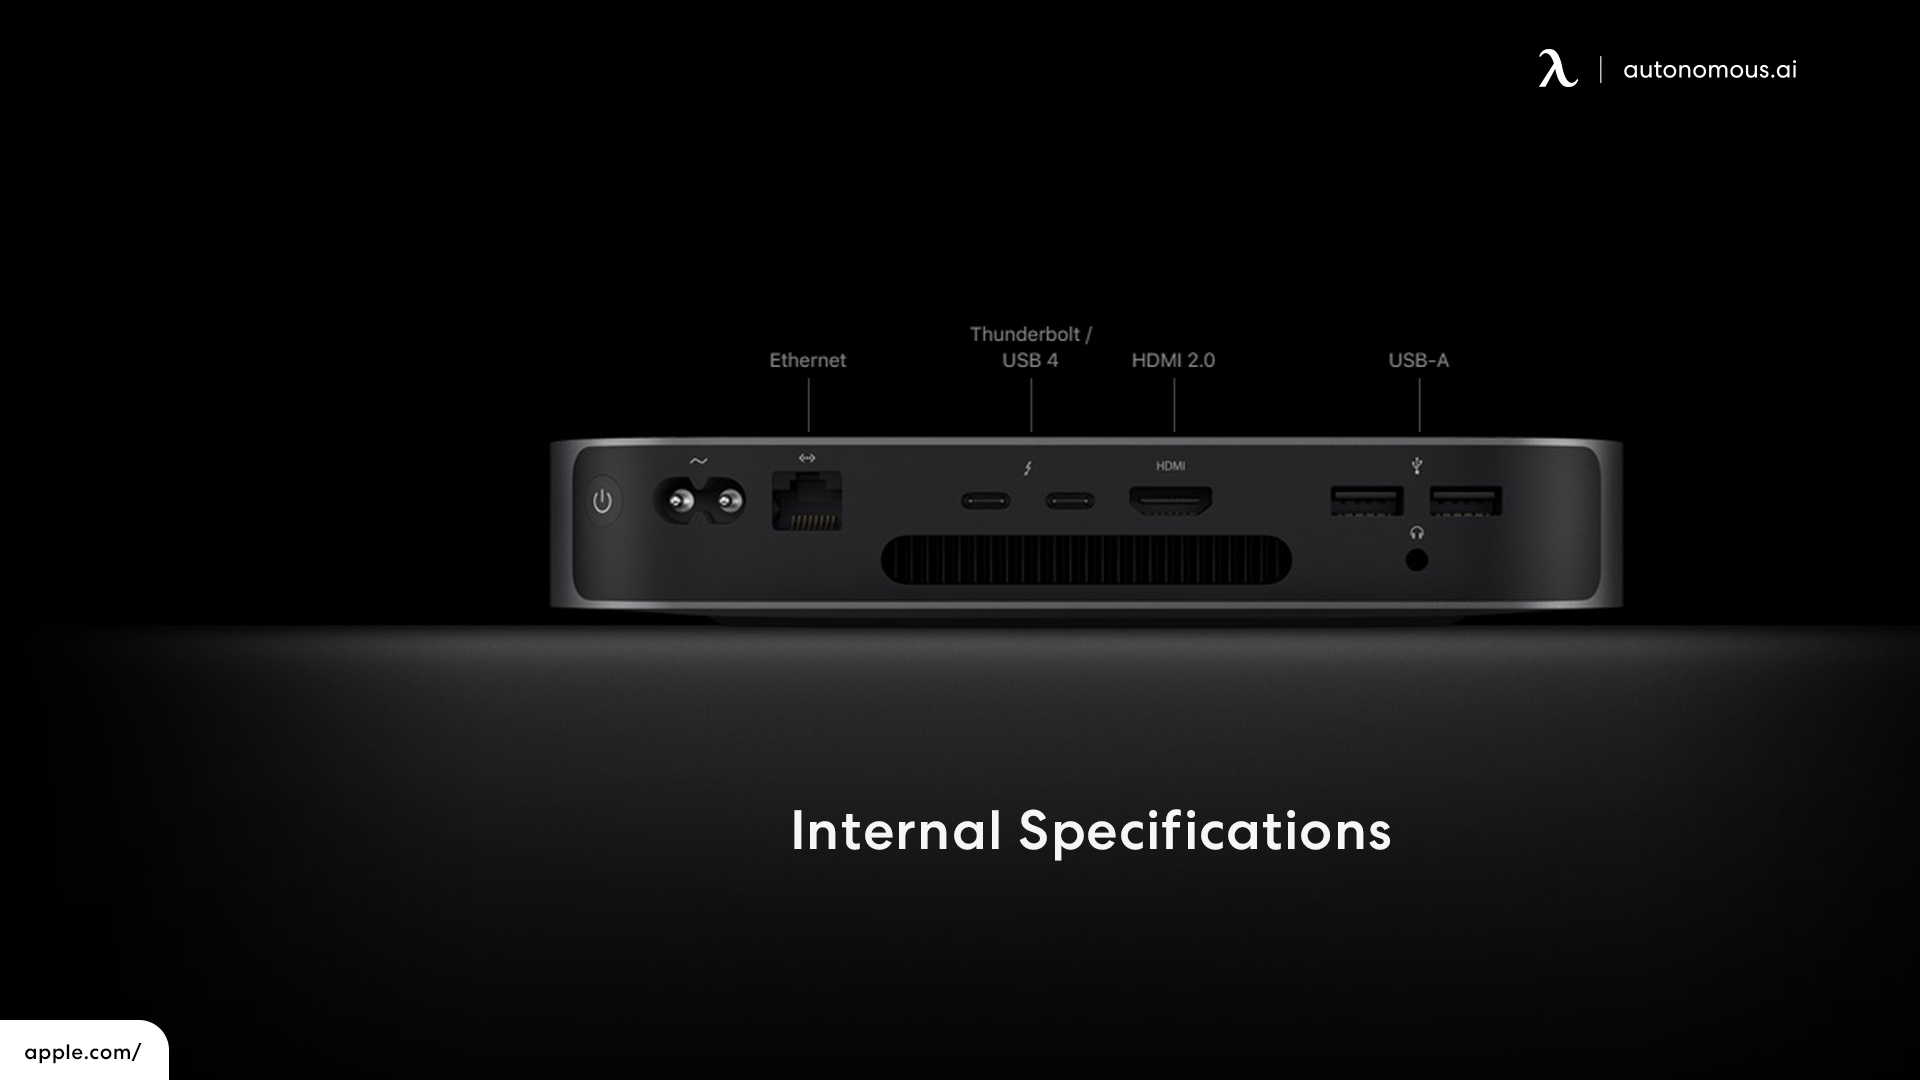
- Mac Mini (M2, 2023): Supports one display up to 6K via Thunderbolt and one display up to 4K via HDMI.
- Mac Mini (M1, 2020): Supports one display up to 6K via Thunderbolt and one display up to 4K via HDMI.
- Mac Mini (2018): Supports two displays up to 4K via Thunderbolt 3 (USB-C) and HDMI 2.0 ports.
Monitors
Choose monitors that match your needs and budget. Consider the following factors:
- Resolution: Higher resolution monitors (4K or 5K) offer better clarity and more screen real estate.
- Size: Ensure the monitors fit comfortably on your desk and match your ergonomic requirements.
- Connectivity: Check if the monitors have the necessary ports (HDMI, USB-C, Thunderbolt) to connect to your Mac Mini.
Cables and Adapters
Depending on your monitor's connectivity options, you may need specific cables and adapters:
- HDMI Cable: For connecting to the Mac Mini's HDMI port.
- Thunderbolt 3 (USB-C) to DisplayPort/HDMI Adapter: For connecting monitors via the Thunderbolt 3 ports.
- USB-C to USB-C Cable: If your monitor supports USB-C connections.
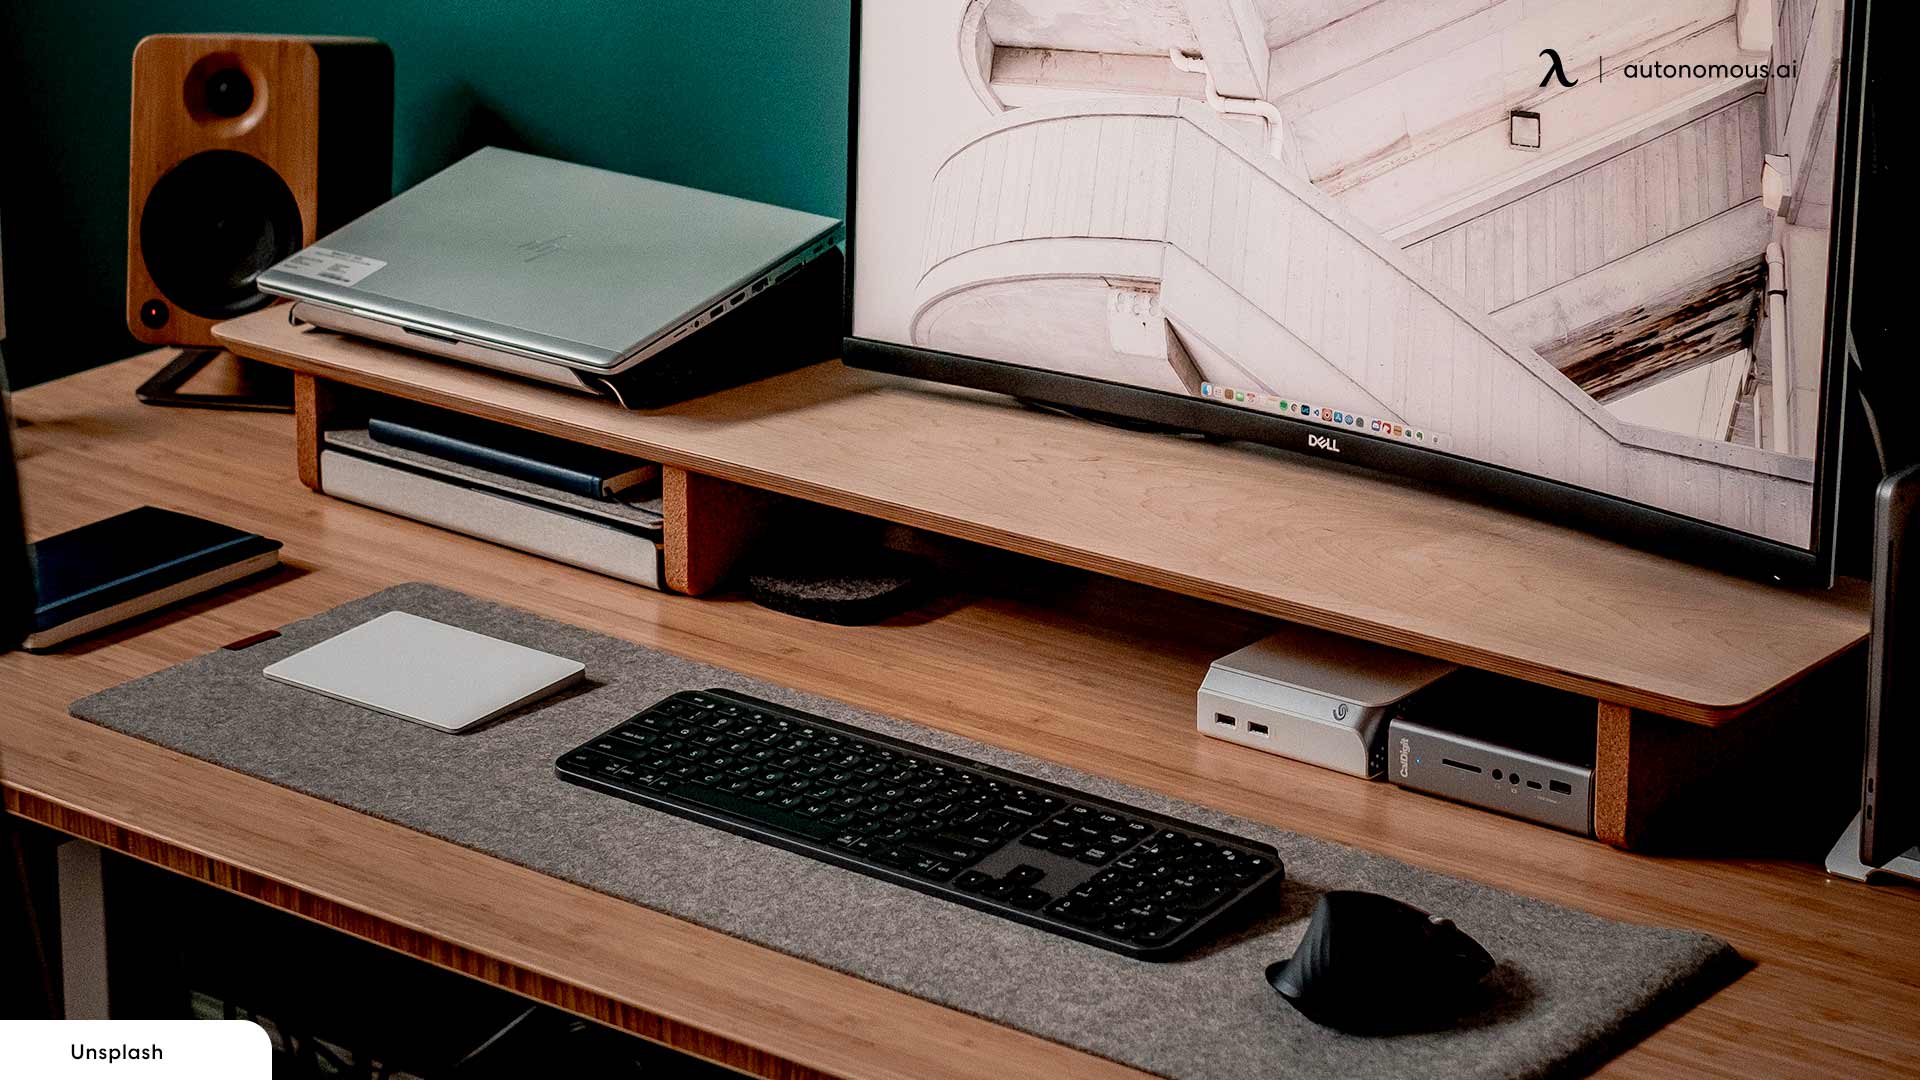
Additional Accessories
Consider additional accessories to enhance your setup:
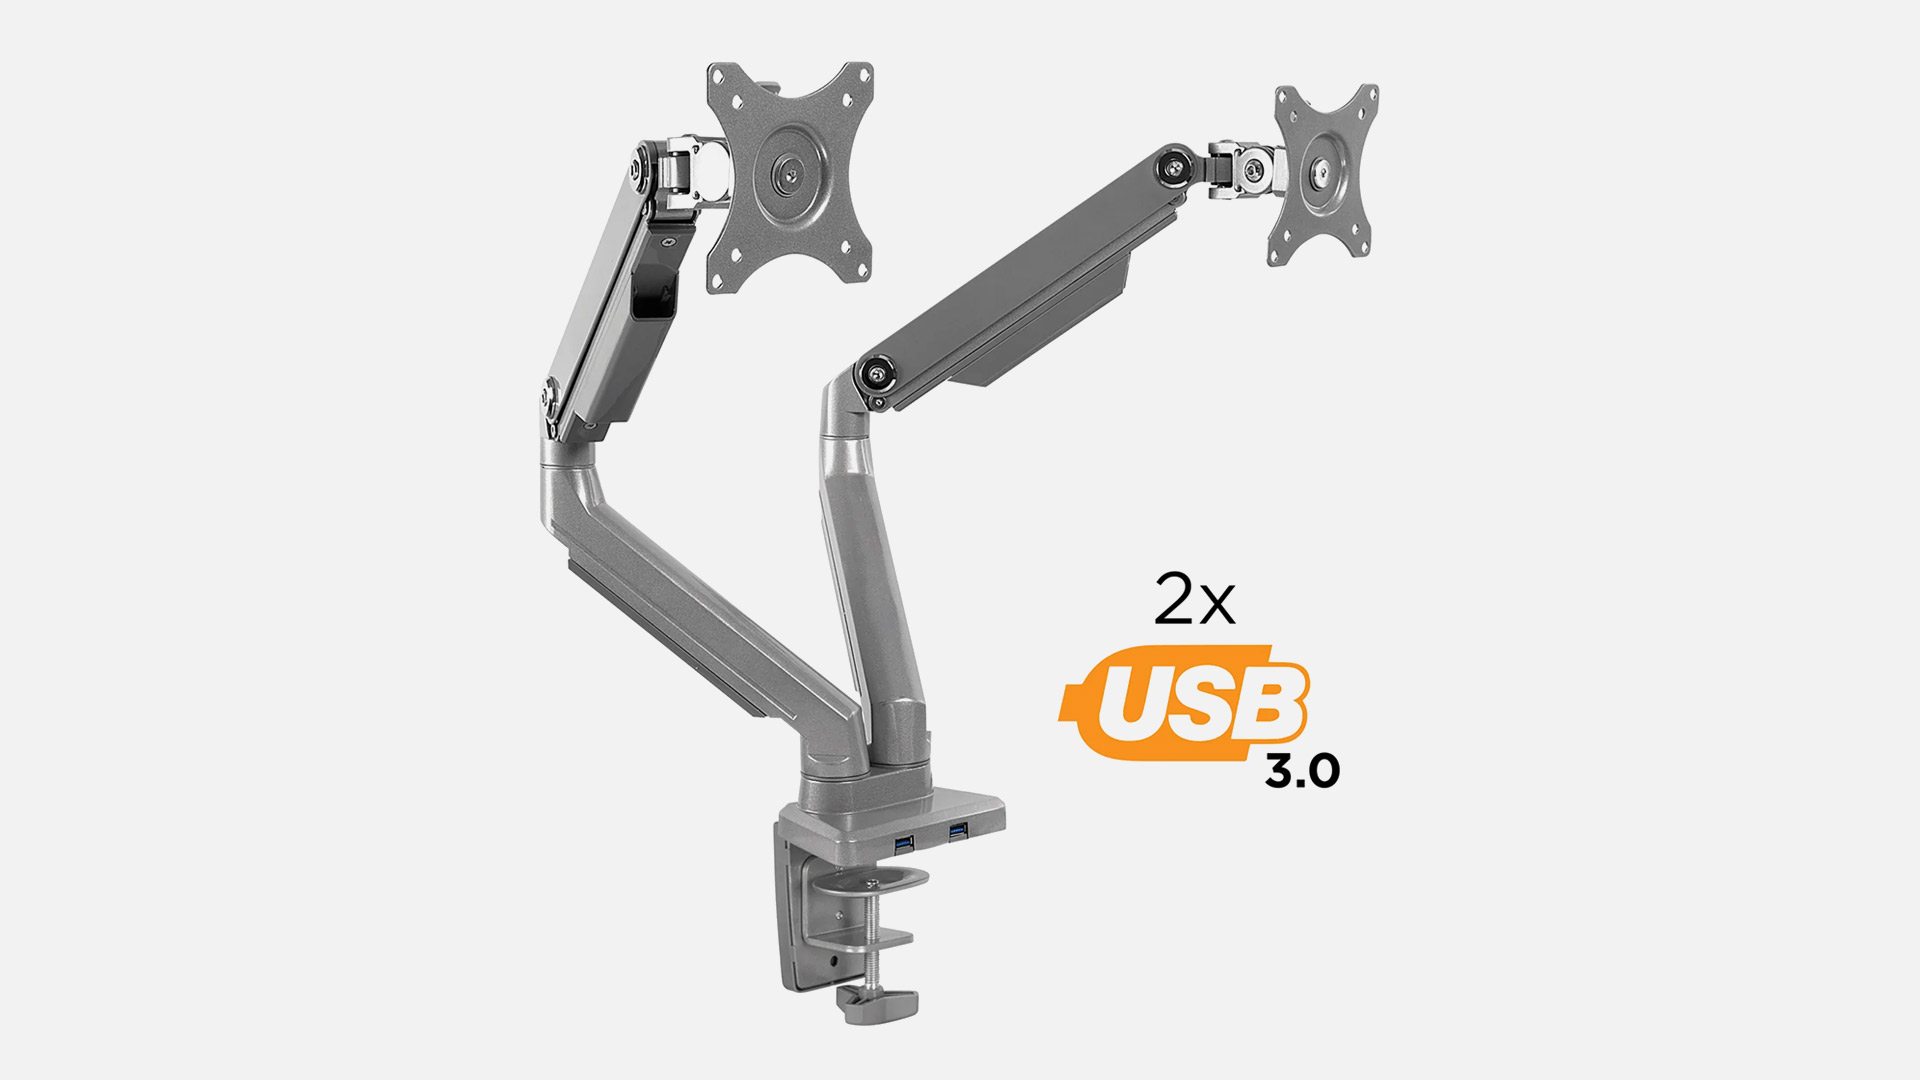
- Monitor Stands or Mounts: To position your monitors at an ergonomic height.
- Docking Stations: To expand connectivity options and simplify cable management.
- External Keyboard and Mouse: For a more comfortable and efficient workflow.
Guide on Setting Up Your Mac Mini Dual Monitor
Once you have all the necessary hardware, follow these steps to set up your dual monitor system.
Step 1: Connect Your Monitors
- Turn Off Your Mac Mini: Before connecting the monitors, ensure your Mac Mini is turned off to avoid any potential damage.
- Connect the First Monitor:
- If using an HDMI monitor, connect it to the Mac Mini's HDMI port using an HDMI cable.
- If using a USB-C or Thunderbolt monitor, connect it to one of the Thunderbolt 3 ports using the appropriate cable.
- Connect the Second Monitor:
- If the second monitor uses HDMI, connect it using a Thunderbolt 3 (USB-C) to HDMI adapter.
- If using a second USB-C or Thunderbolt monitor, connect it to the remaining Thunderbolt 3 port.
- Turn On Your Monitors: Power on both monitors and ensure they are set to the correct input source.
Step 2: Configure Display Settings
- Turn On Your Mac Mini: Once both monitors are connected and powered on, turn on your Mac Mini.
- Open System Preferences: Click on the Apple menu in the top-left corner of the screen and select "System Preferences."
- Select Displays: In the System Preferences window, click on "Displays."
- Arrange Displays: Click on the "Arrangement" tab to arrange your monitors. Drag and drop the monitor icons to match the physical layout of your monitors on your desk. This step ensures your cursor moves seamlessly between screens.
- Adjust Resolution and Scaling: In the "Display" tab, you can adjust the resolution and scaling options for each monitor to match your preferences.
Step 3: Optimize Your Workspace
- Set Primary Display: In the "Arrangement" tab, drag the white menu bar to the monitor you want to set as your primary display. This monitor will show the macOS menu bar and Dock.
- Configure Additional Settings:
- Night Shift: Enable Night Shift to reduce blue light exposure in the evenings, which can help reduce eye strain.
- Color Profile: Choose a color profile that matches your monitor's specifications for accurate color reproduction.
Step 4: Customize Your Setup
- Desktop Backgrounds: Customize each monitor with different desktop backgrounds to personalize your workspace and make it easier to differentiate between screens.
- Mission Control: Use Mission Control to organize your open windows and virtual desktops. Assign specific applications to open on specific monitors for a more organized workflow.
- Third-Party Apps: Consider using third-party applications like Magnet or Rectangle to manage window positioning and snapping more effectively.

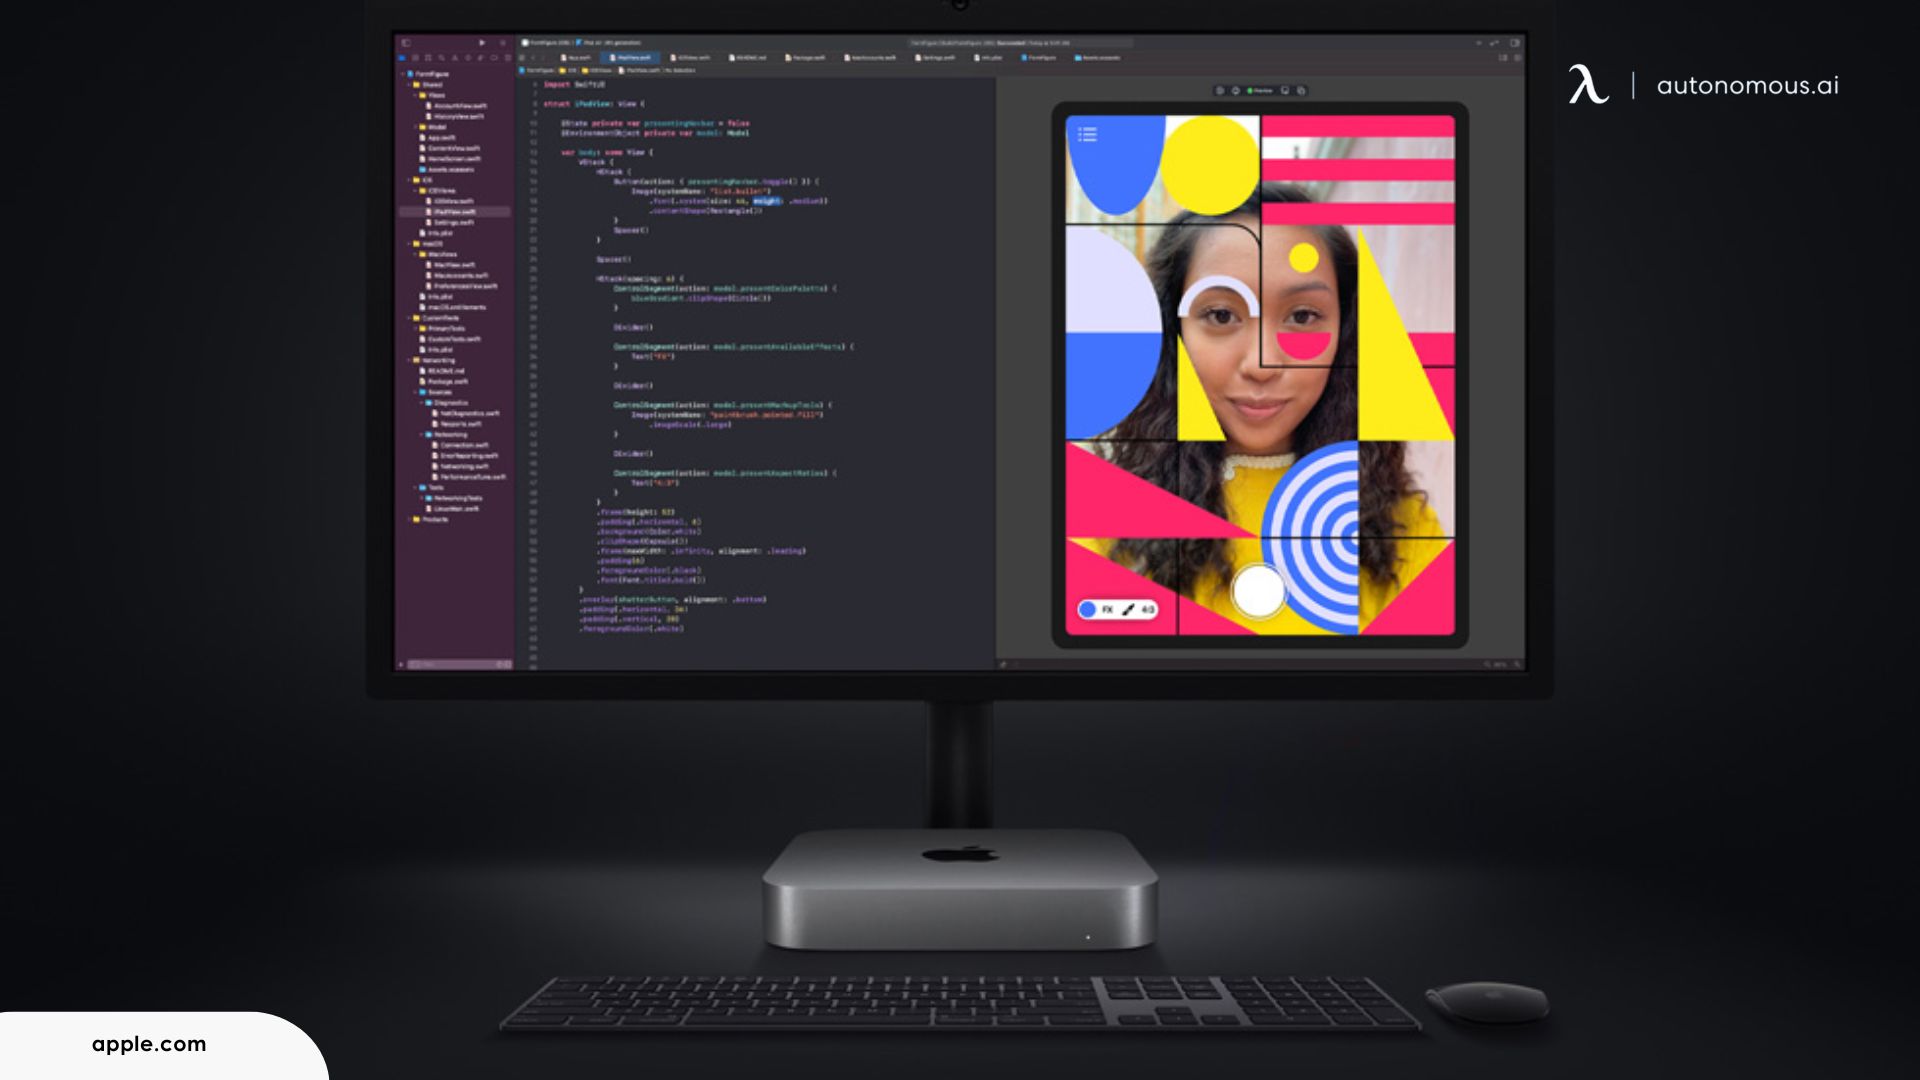
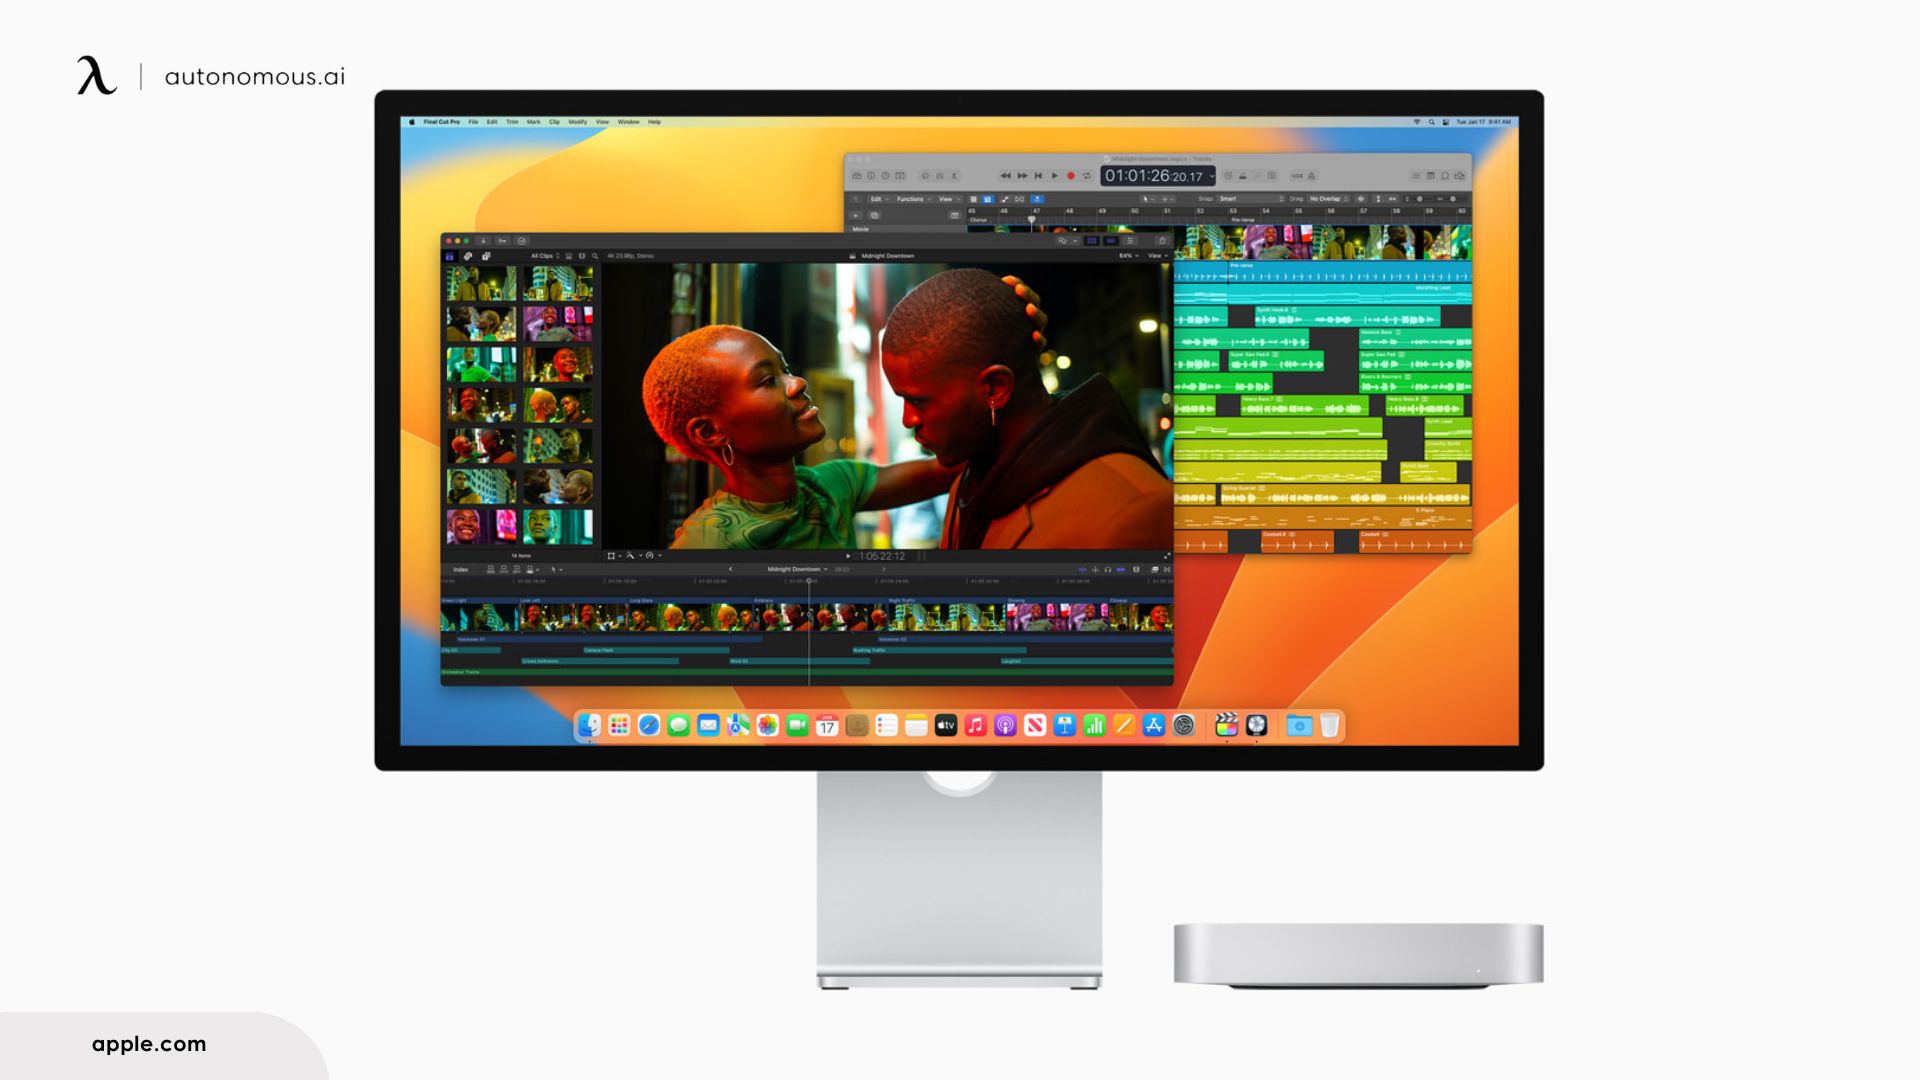
For Apple Mac Mini M2
The Apple Mac Mini M2 is a compact yet powerful device that can transform your workspace with a dual monitor setup. Whether you're a professional seeking more screen real estate, a creative needing additional space for your tools, or a multitasker looking for better efficiency, setting up two monitors can greatly enhance your productivity. This guide will walk you through everything you need to know to set up and configure a dual monitor setup on your Mac Mini M2.
- Turn Off Your Mac Mini M2: Ensure your Mac Mini M2 is powered down to prevent any electrical damage during the setup process.
- Connect the First Monitor:
- HDMI Connection: Use an HDMI cable to connect your first monitor to the HDMI port on the Mac Mini.
- USB-C/Thunderbolt Connection: If your monitor supports USB-C or Thunderbolt, use the appropriate cable to connect it to one of the Thunderbolt 4 ports on the Mac Mini M2.
- Connect the Second Monitor:
- HDMI Connection via Adapter: If using an HDMI monitor, you may need a Thunderbolt 4 to HDMI adapter to connect to the remaining Thunderbolt port.
- Direct USB-C/Thunderbolt Connection: For USB-C or Thunderbolt monitors, connect directly to the remaining Thunderbolt 4 port.
- Turn On Your Monitors: Make sure both monitors are powered on and set to the correct input sources.
- Power On Your Mac Mini M2: Once all connections are secure, turn on your Mac Mini M2.

Configuring the Display Settings:
- Open System Preferences: Click on the Apple icon in the upper left corner of your screen and select "System Preferences."
- Select Displays: In the System Preferences window, click on "Displays."
- Arrange Displays: Go to the "Arrangement" tab to configure the positioning of your monitors. Drag the monitor icons to align with your physical setup.
- Set Resolution and Refresh Rates: Adjust the resolution
Key Differences Between Mac Mini M2 and Earlier Models
Here is a summary of the key differences and setup considerations for dual monitor configurations on the Mac Mini M2 and earlier Mac Mini models in a table format:
| Feature/Aspect | Mac Mini M2 (2023) | Mac Mini M1 (2020) | Mac Mini (2018) |
|---|---|---|---|
| Display Support | 1 display up to 6K (Thunderbolt) and 1 display up to 4K (HDMI) | 1 display up to 6K (Thunderbolt) and 1 display up to 4K (HDMI) | 2 displays up to 4K (Thunderbolt 3 and HDMI) |
| Thunderbolt Ports | Thunderbolt 4 | Thunderbolt 3 | Thunderbolt 3 |
| HDMI Port | HDMI 2.1 | HDMI 2.0 | HDMI 2.0 |
| Port Performance | Faster data transfer, better peripheral support, higher power delivery | High data transfer, good peripheral support | High data transfer, good peripheral support |
| Primary Monitor Connection | Thunderbolt 4 (up to 6K resolution) | Thunderbolt 3 (up to 6K resolution) | Thunderbolt 3 (up to 4K resolution) |
| Secondary Monitor Connection | HDMI 2.1 (up to 4K resolution) | HDMI 2.0 (up to 4K resolution) | HDMI 2.0 (up to 4K resolution) |
| Advantages | Superior connectivity, support for higher resolutions and refresh rates | Good performance, supports high-resolution displays | Adequate for dual 4K displays, good for general use |
| Setup Tips | Use Thunderbolt 4 and HDMI 2.1 for best performance and resolution | Use Thunderbolt 3 and HDMI 2.0, configure settings in System Preferences | Use Thunderbolt 3 and HDMI 2.0, configure settings in System Preferences |
This table provides a clear comparison of the dual monitor setup capabilities and considerations for the Mac Mini M2 and earlier models, highlighting the key differences in connectivity, display support, and overall performance.
How to Position 2 Monitors for Ergonomics?
Positioning two monitors for ergonomic comfort is crucial for long-term health and productivity. Set the monitors at eye level to avoid neck pain. The middle of each monitor should line up with how you sit. Stay an arm's distance away from the screens to stop your eyes from straining. Tilt the monitors a bit inwards to lessen glare and reflections. Buy an adjustable monitor arm or mount for your monitor so you can change its height and angle as you like.
Pair your multi-monitor setup with ergonomic chairs and adjustable standing desks to ensure proper alignment of the body, minimizing the risk of musculoskeletal issues.
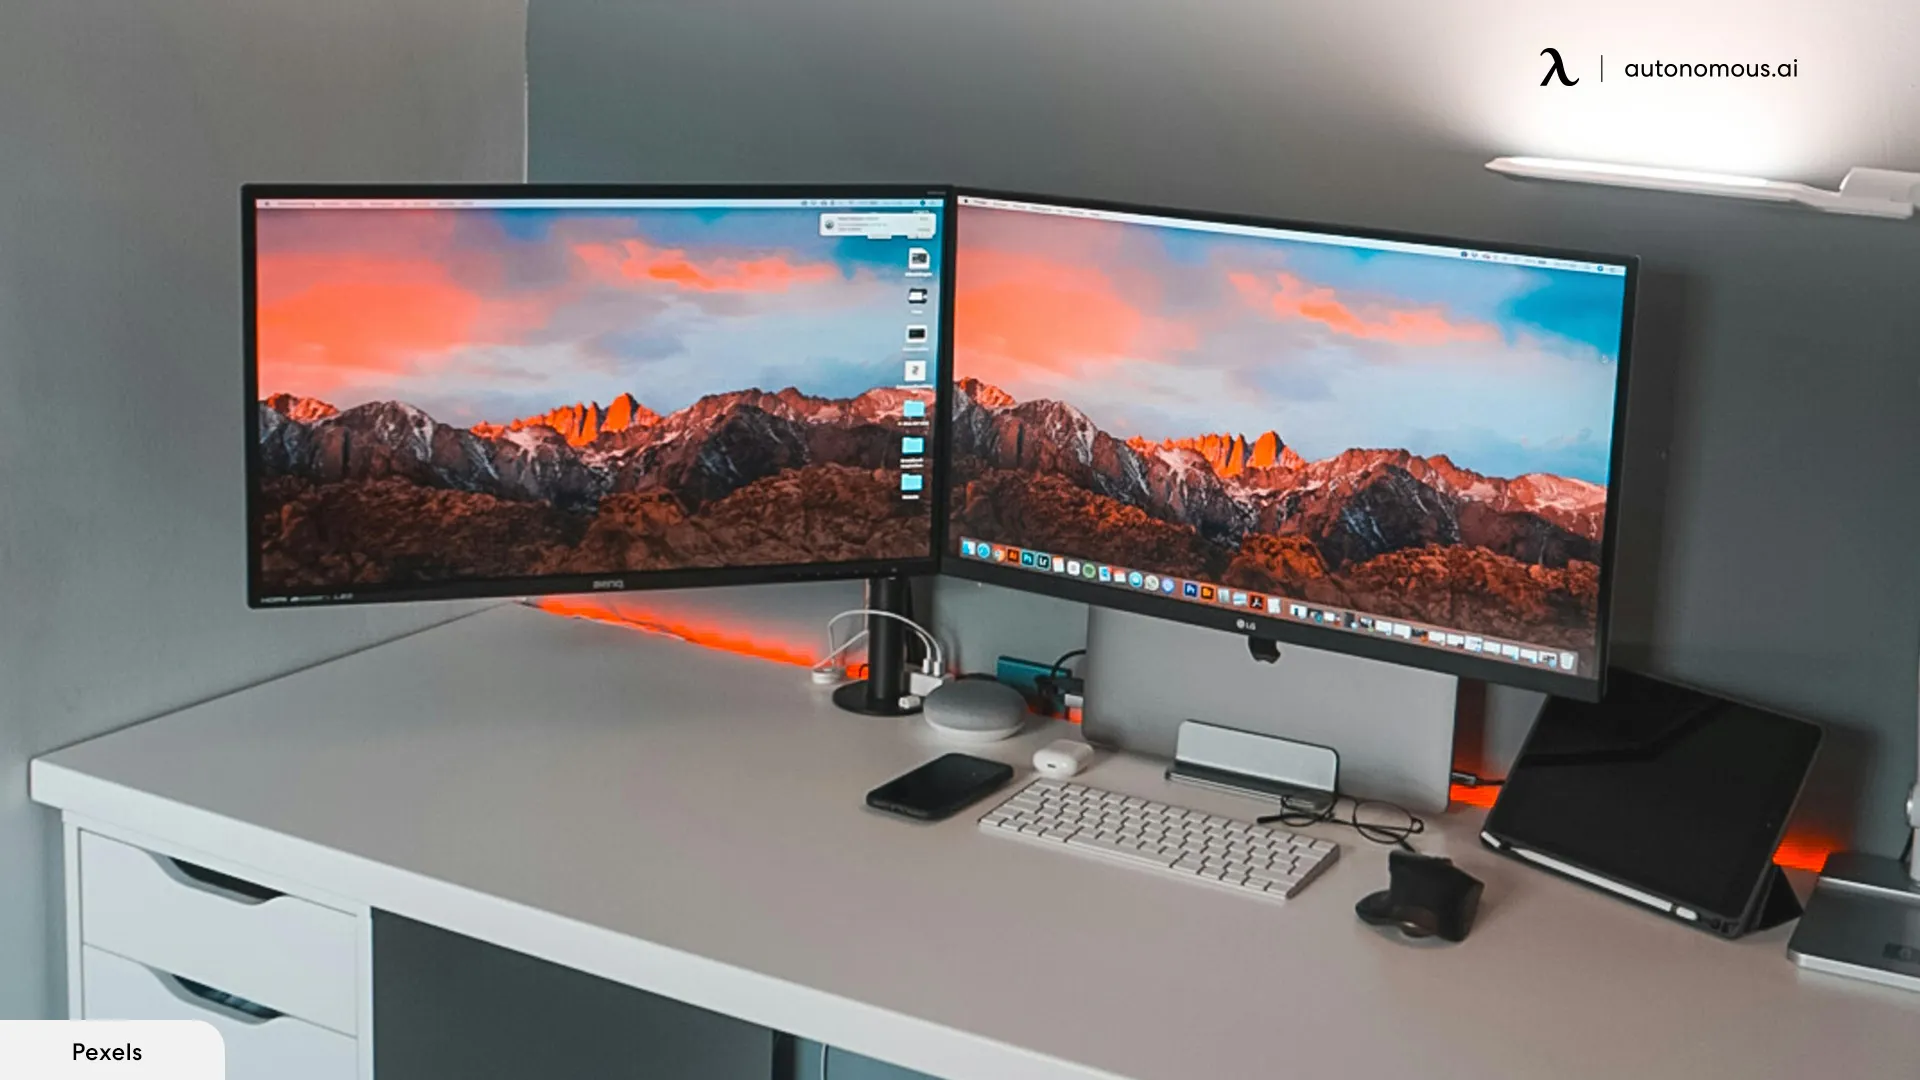
Dual Monitor Setup Ideas
1. Dual Ultrawide Monitor Setup
The dual ultrawide monitor setup has two broad monitors next to each other. This gives a large viewing area across what you can see. It helps do many things at the same time by offering a lot of screen space for all tasks. It is useful for many professional activities and also for entertainment.
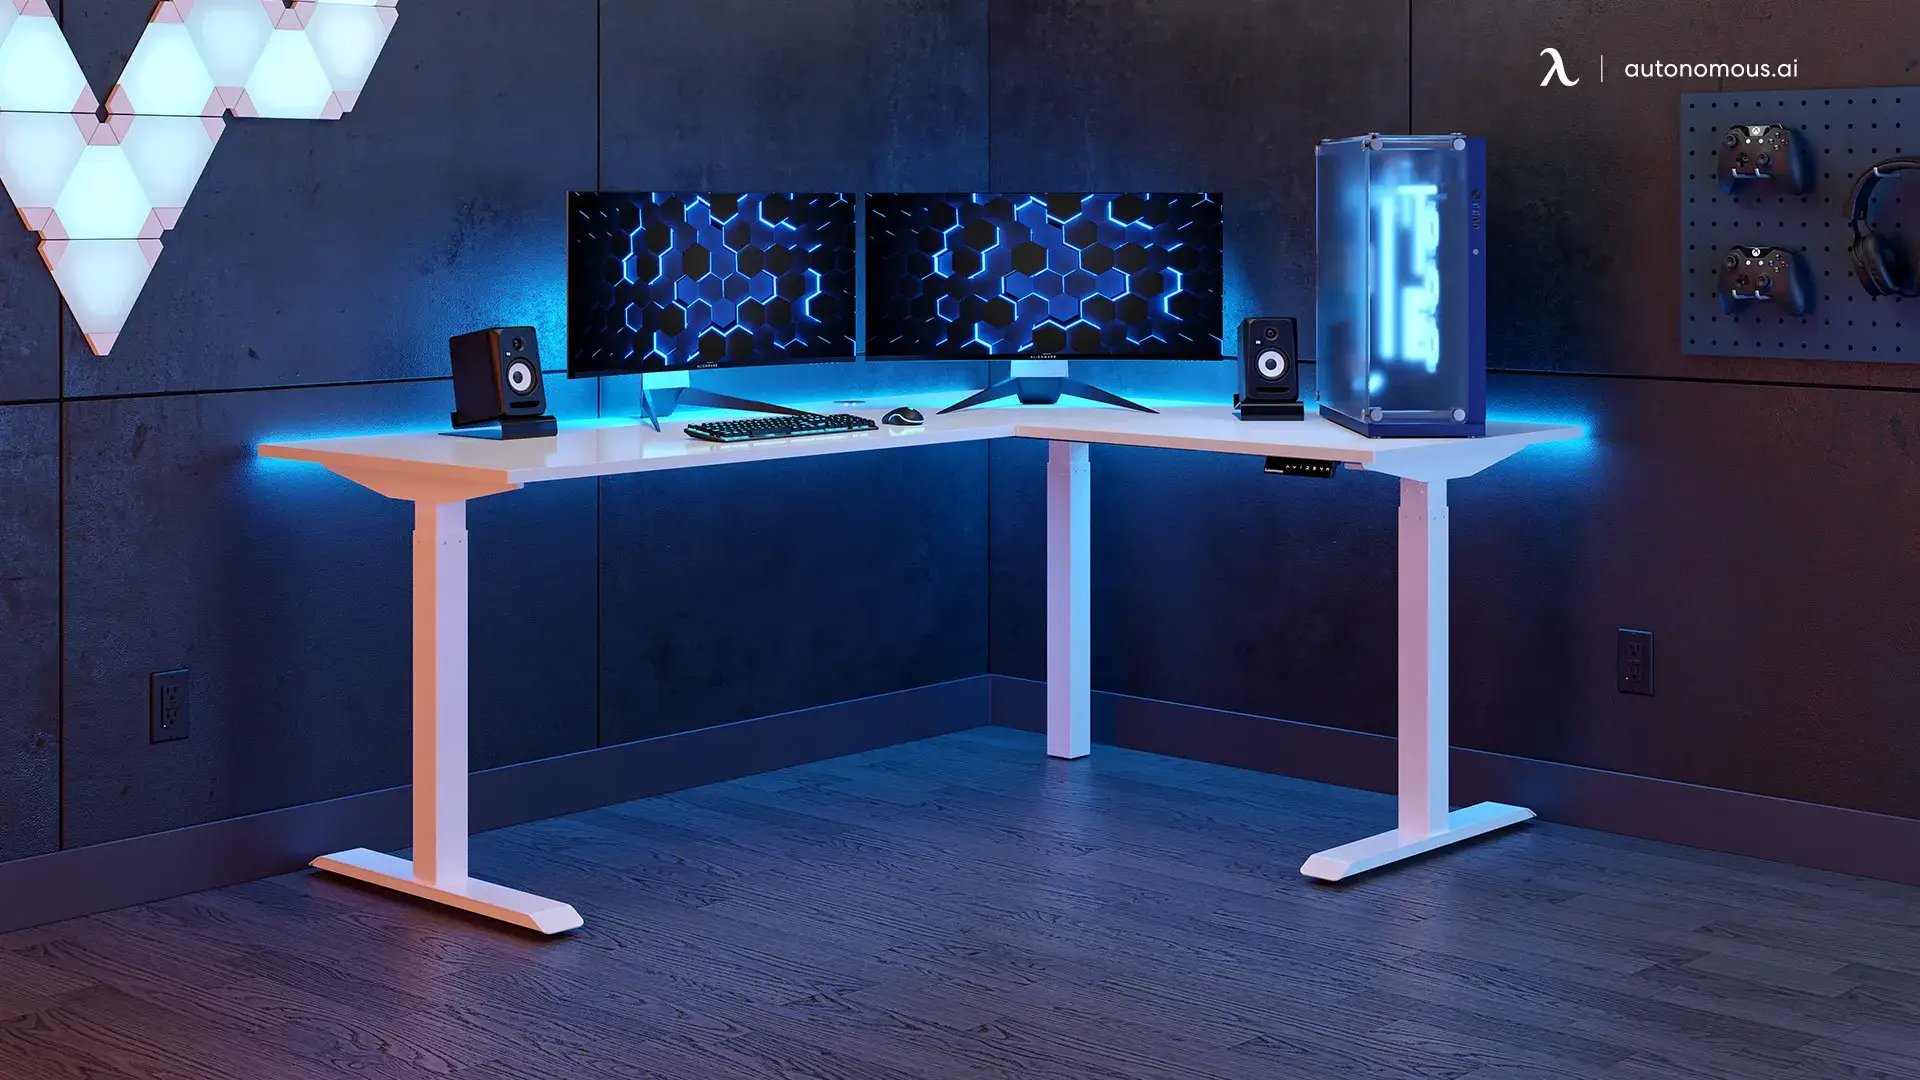
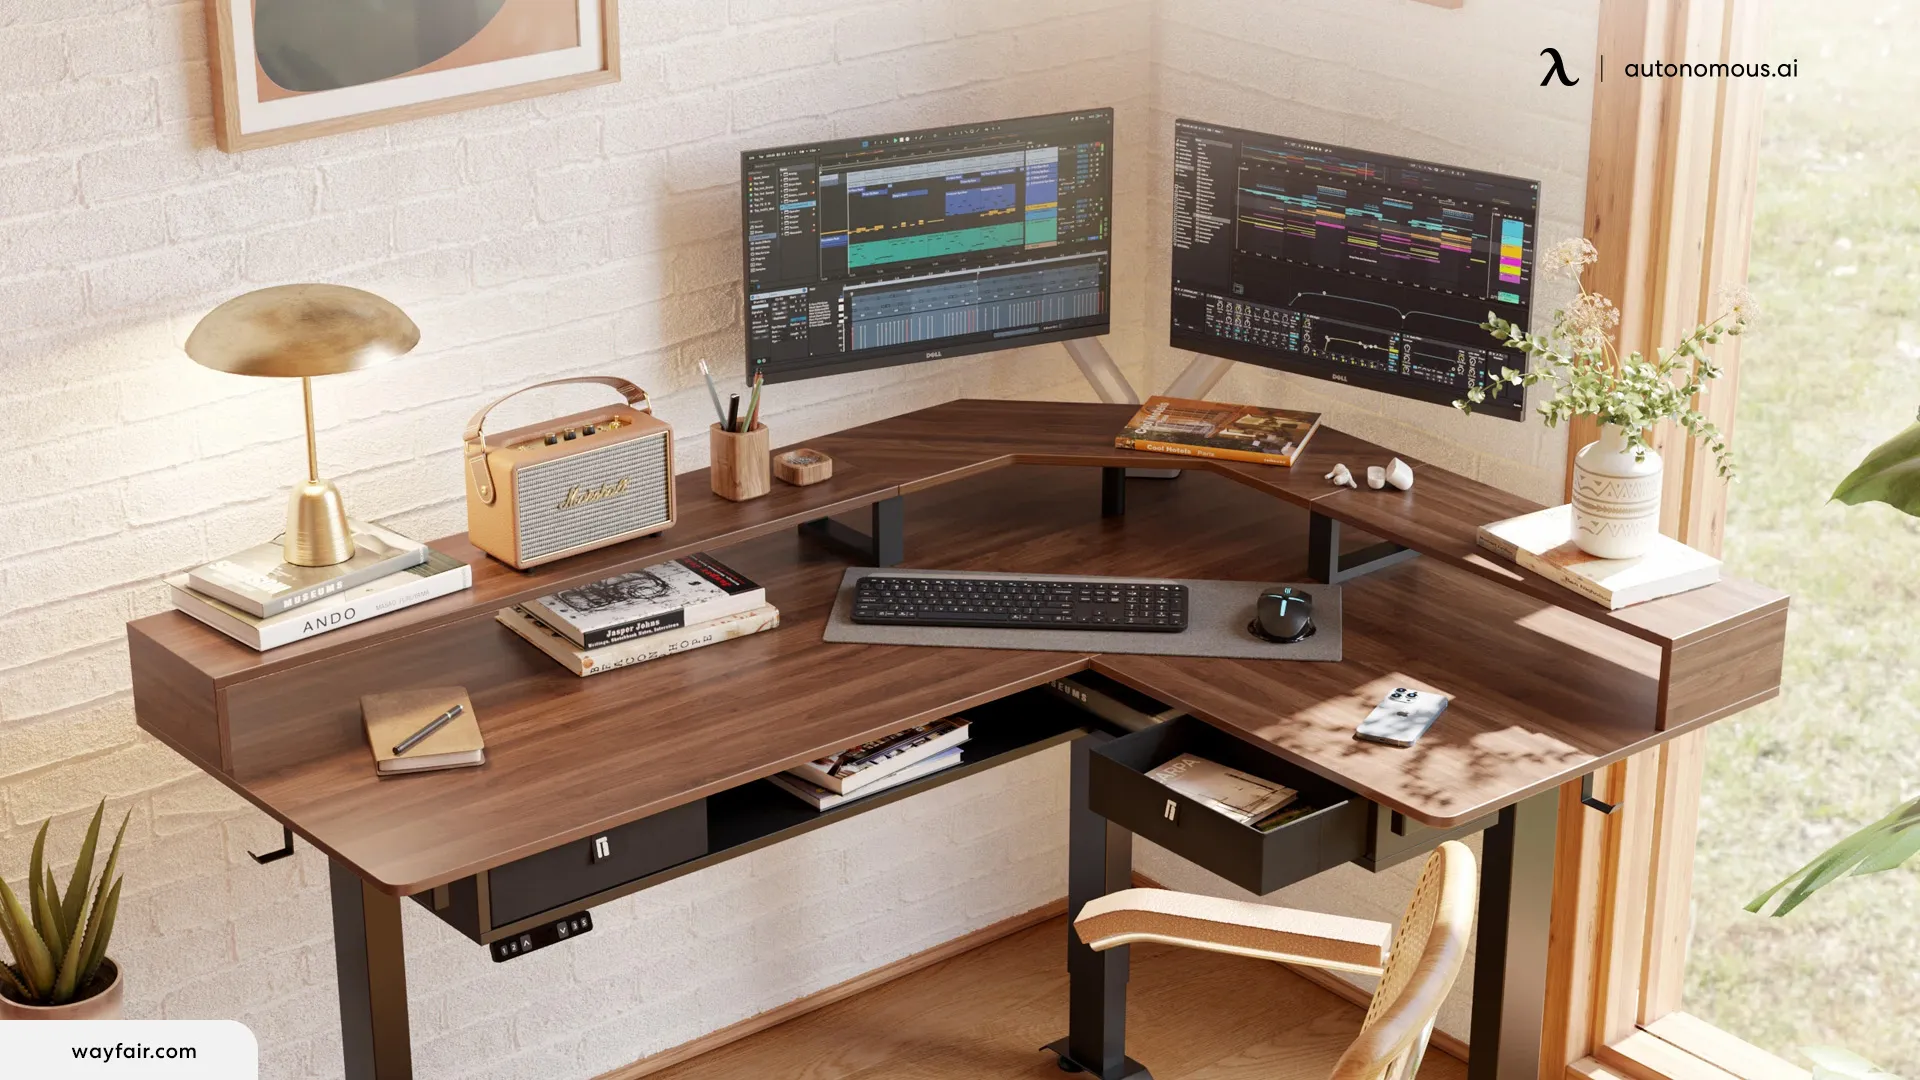
2. L-shaped Desk Monitor Setup
For the L-shaped desk monitor setup, two monitors are set up on an L-shaped desk, one on each side. This setup uses corner space well and gives flexibility for doing many tasks at a time. The L-shaped setup creates better organization and efficient task management, and promotes ergonomic comfort.
3. Stacked Setup
In the stacked setup, two monitors are set up vertically, one monitor is above the other one. This way of setting up two screens helps use vertical space well. This multiple-monitor setup idea is great for users who do not have a lot of desk space. It's especially good for jobs that need you to see or compare content vertically.
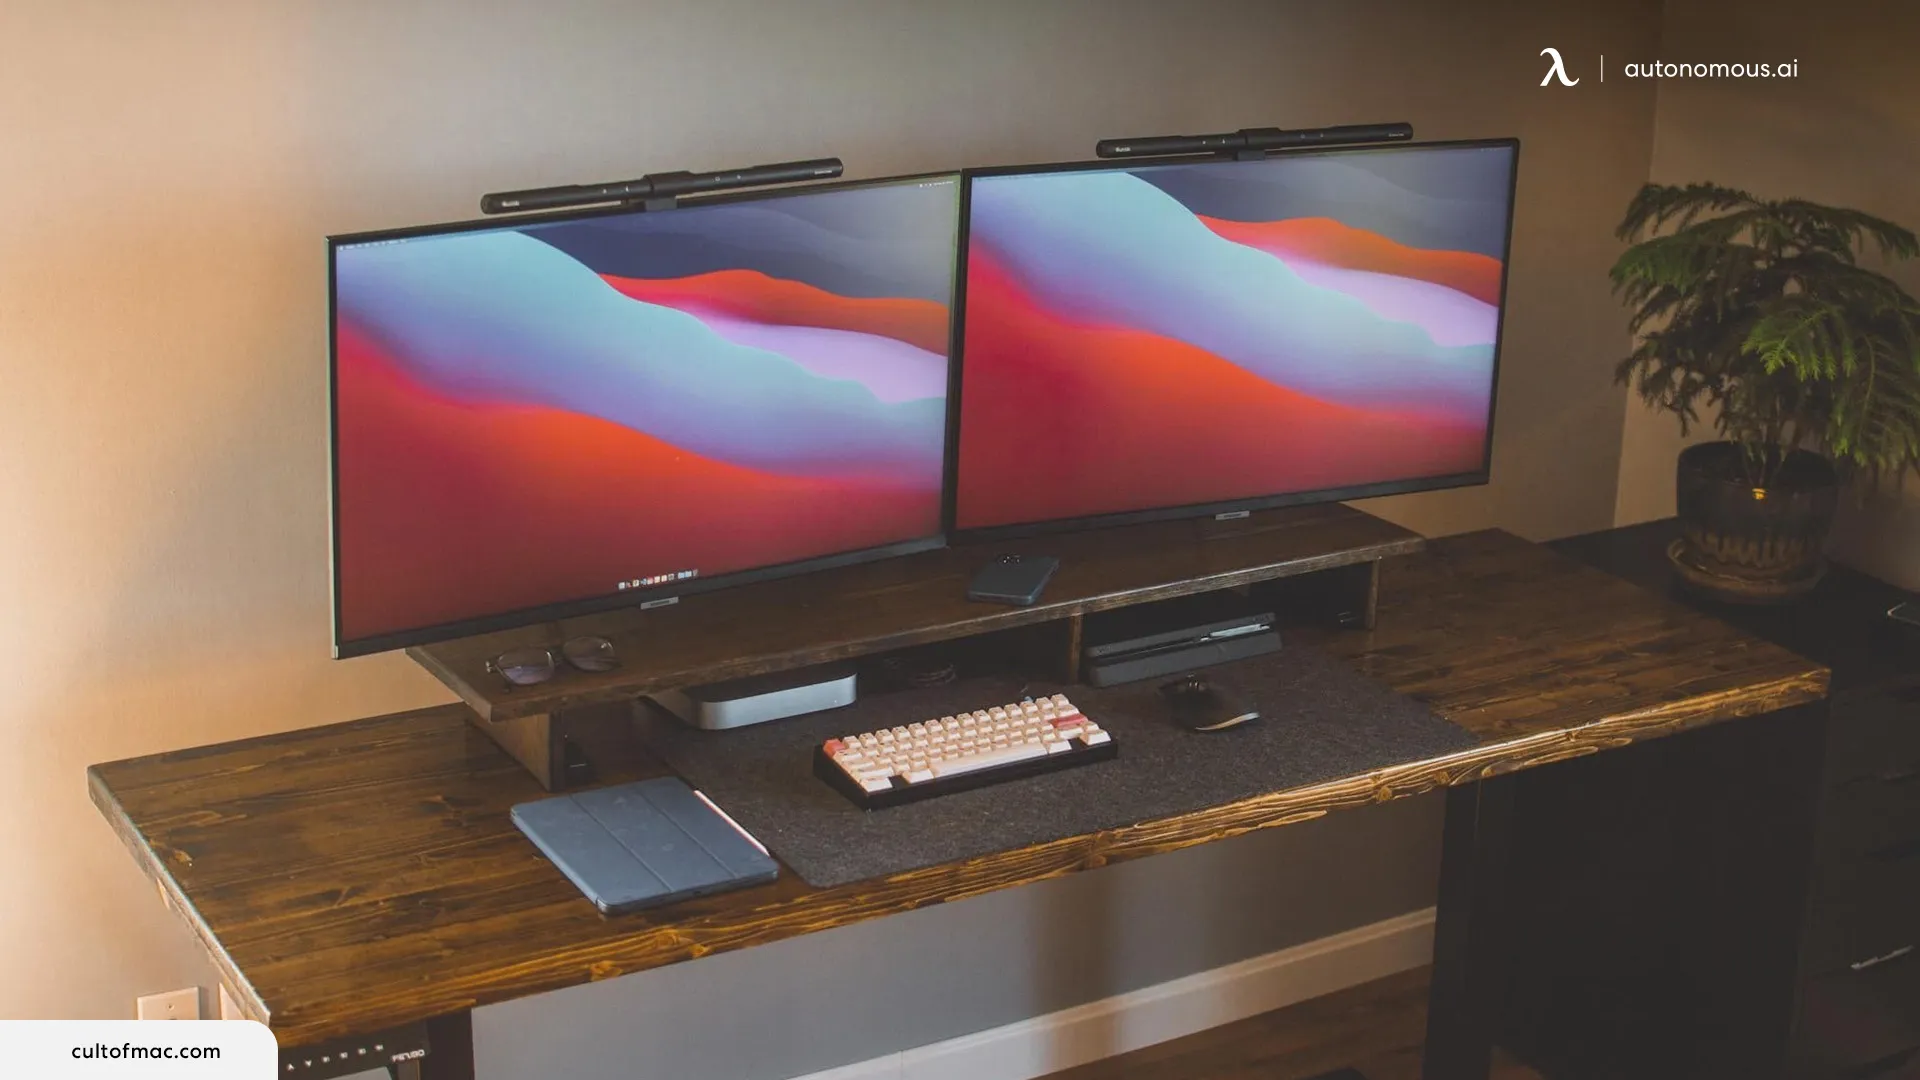
4. Vertical Dual Monitor Setup
The vertical dual monitor setup has two styles. You can place two monitors in portrait mode or mix it up with one landscape and one portrait. Users can change between portrait and landscape modes to get the best viewing angles for any content type. It is perfect for professionals working in design, coding, and document editing.
Setup Ideas for Different Use Cases: Mac Mini Dual Monitor
Setting up multiple monitors with your Mac Mini can transform your workspace, making it more efficient and productive. Whether you're a professional, a creative, a gamer, or someone working from home, a dual monitor setup can cater to various needs. Here, we will explore several setup ideas tailored to different use cases, ensuring you get the most out of your Mac Mini dual monitor setup.
1. Professional Workstation
A professional dual monitor setup on a Mac Mini is perfect for tasks that require multitasking, such as programming, data analysis, or business management.
- High-Resolution Monitors: Use two 4K monitors to ensure clear and crisp display quality.
- Ergonomic Stands: Position the monitors at eye level to reduce neck strain.
- Docking Station: Use a docking station to connect additional peripherals like a keyboard, mouse, and external storage.
Ideal Arrangement:
- Primary Monitor: Place your primary work applications (e.g., coding environment, spreadsheets) on the main monitor.
- Secondary Monitor: Use the second monitor for reference materials, communication apps, or supplementary tools.
This setup maximizes efficiency by keeping essential tools and applications within easy reach, allowing seamless multitasking.
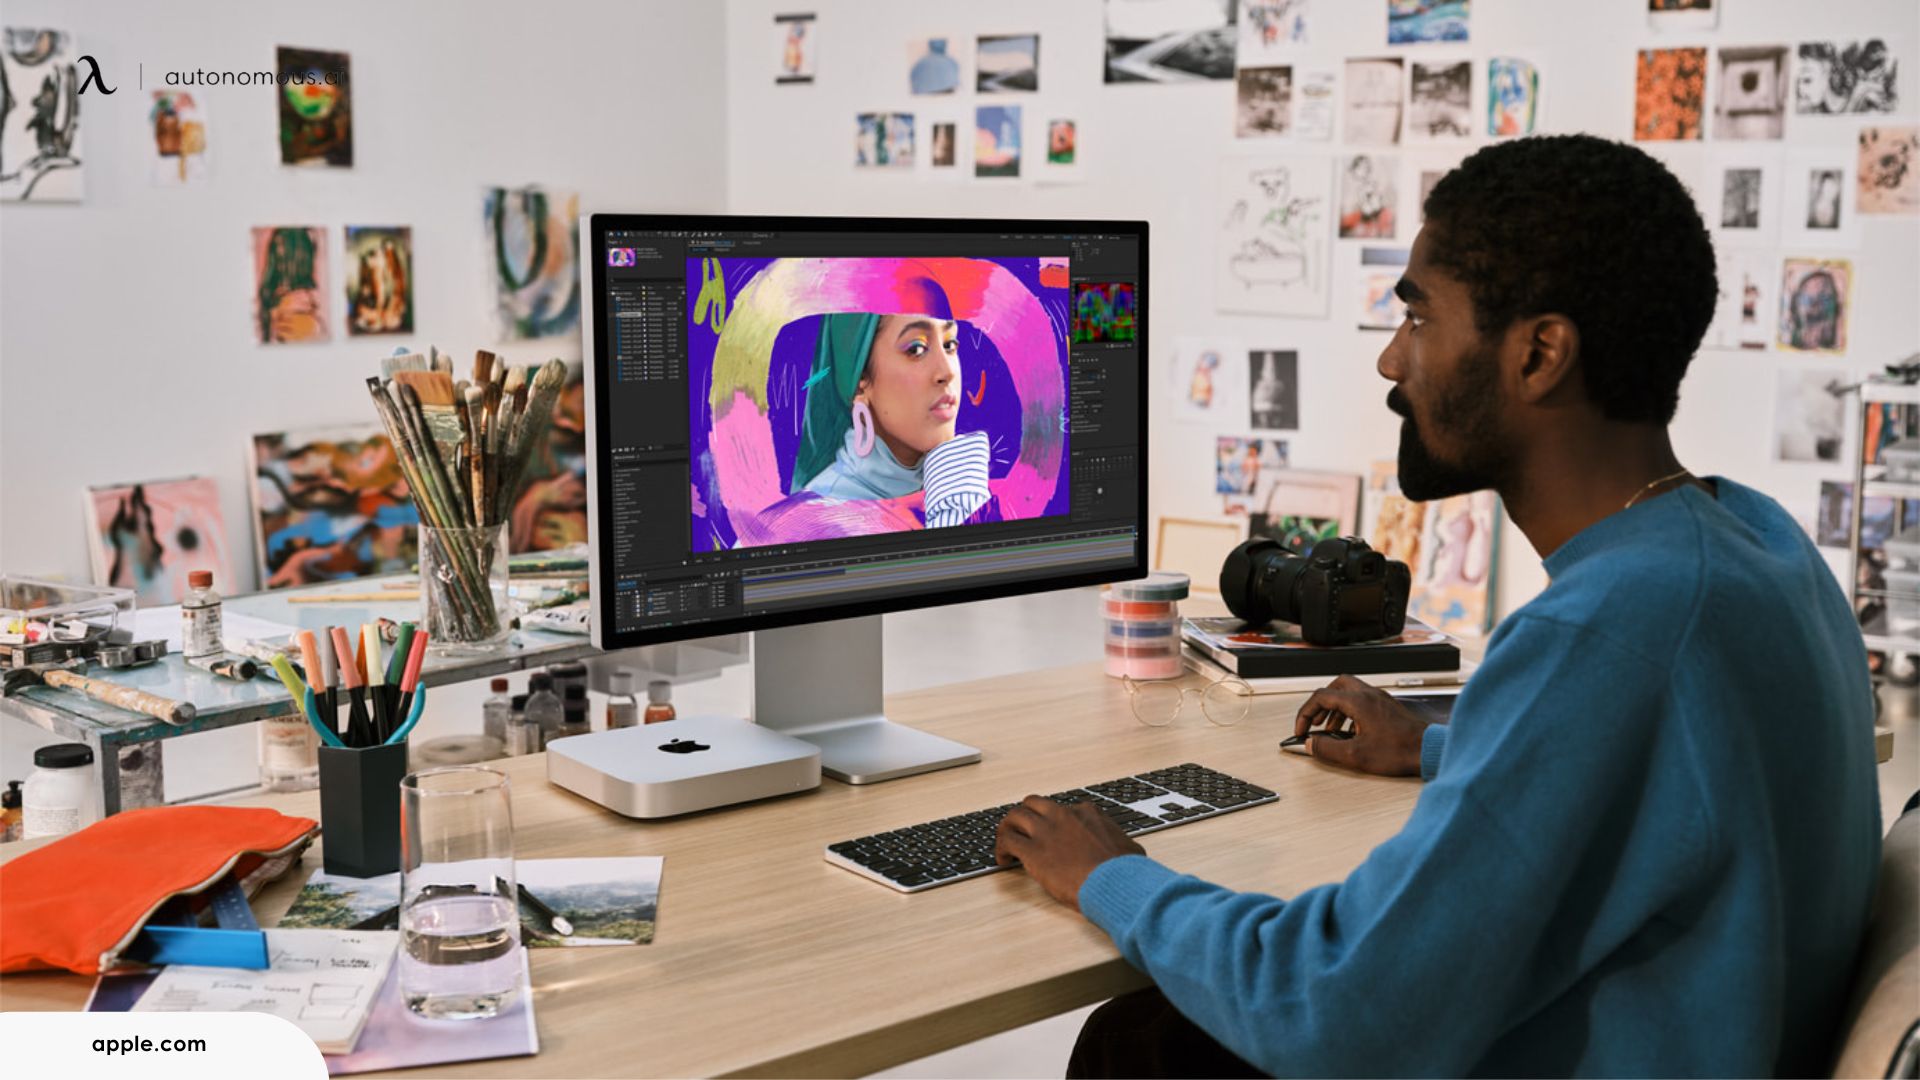
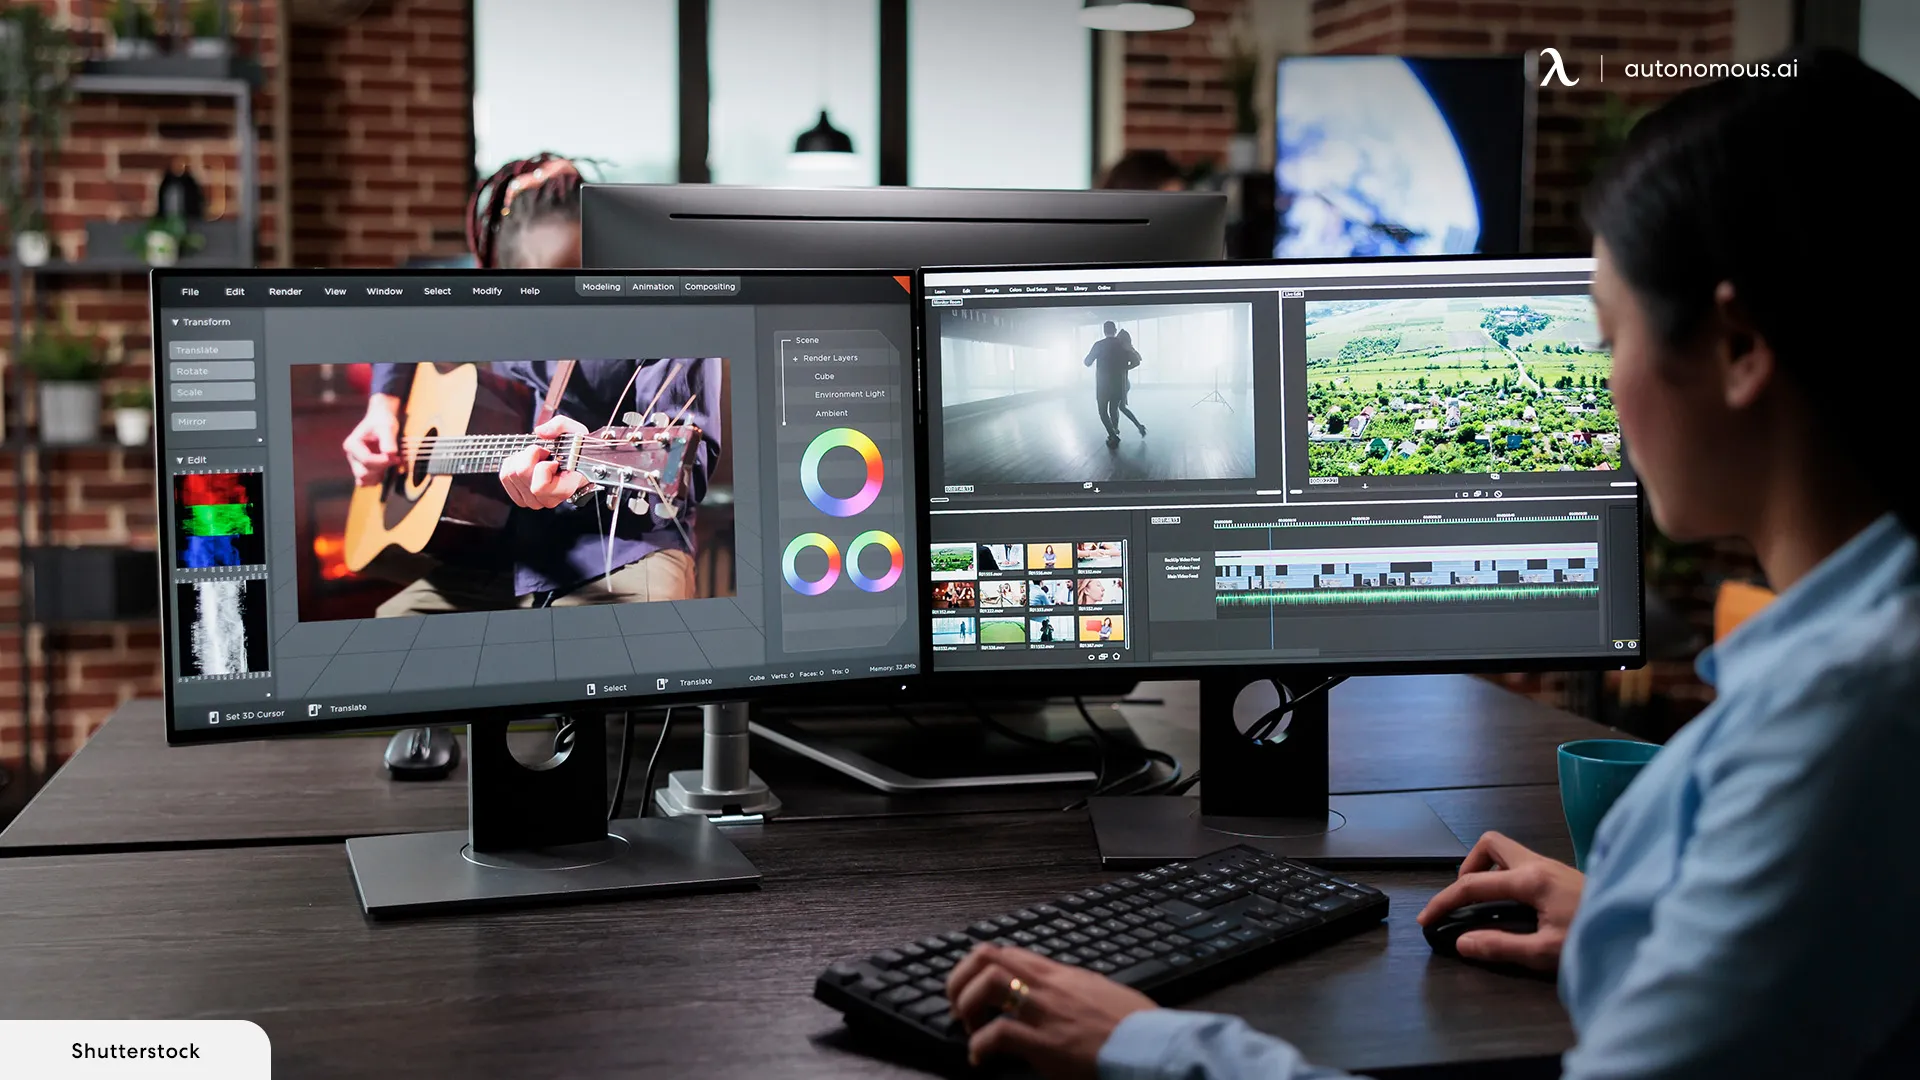
2. Creative Studio
For creatives, a dual monitor setup can greatly enhance productivity by providing ample space for tools, palettes, and the main canvas.
- Color-Calibrated Monitors: Choose monitors with good color accuracy and calibration capabilities.
- Wide-Screen Monitor: Consider using a wide-screen monitor as one of the displays for better visual workspace.
- Graphic Tablet Integration: If you use a graphic tablet, ensure it fits comfortably within your dual monitor layout.
Ideal Arrangement:
- Primary Monitor: Use one monitor for your main creative work area, such as a canvas or video timeline.
- Secondary Monitor: Place your tool palettes, reference images, and other secondary applications on the second monitor.
This configuration allows creatives to maintain a clean and organized workspace while keeping essential tools readily accessible.
3. Gaming and Streaming
A dual monitor setup can enhance your gaming experience by allowing you to play on one screen while managing streaming software or chat on the other.
- High Refresh Rate Monitors: Use at least one monitor with a high refresh rate for smooth gaming.
- Vertical Orientation: Consider placing one monitor in a vertical orientation for better chat and stream management.
- Cable Management: Ensure good cable management to avoid clutter and enhance your gaming experience.
Ideal Arrangement:
- Primary Monitor: Use the primary monitor for gaming.
- Secondary Monitor: Use the second monitor for streaming controls, chat windows, or additional content.
Gamers can enjoy an immersive experience while maintaining control over their streaming and communication tools.
4. Remote Work Setup
For those working from home, a dual monitor setup can help keep work organized and improve efficiency.
- Webcam Placement: Ensure one of the monitors has a webcam at eye level for video conferences.
- Office Tools: Use a docking station to connect office tools like printers, scanners, and external drives.
- Lighting: Ensure good lighting for video calls and extended work sessions.
Ideal Arrangement:
- Primary Monitor: Use one monitor for your main work tasks.
- Secondary Monitor: Use the second monitor for email, communication apps, and video conferencing.
This setup supports a professional remote work environment, making it easier to manage tasks and communications efficiently.
Whether you're setting up a Mac Mini dual monitor system for professional work, creative projects, gaming, or remote work, each configuration can be tailored to meet specific needs. By choosing the right monitors, arranging them effectively, and optimizing your workspace, you can significantly enhance your productivity and overall experience. Embrace the power of multiple monitors with your Mac Mini and create a setup that best suits your work style and requirements.
Conclusion
By now, you know how to create an Apple Mac mini dual monitor setup. You have made your workspace larger, boosted productivity, and opened up more creative and efficient ways of working. There's no task too big with your new dual monitor setup on Mac mini M2. Look for more ways to personalize it and improve how you work. Continue finding out more about what your Mac Mini's twin monitors can do.