Vertical Dual Monitor Setup: Step By Step Guide
With the passage of time and modernism in the workplace, the screens are becoming wider and covering more viewing angles. Particularly a curved screen, which offers certain benefits over a flat-screen but one limitation you can come across is that curved screens don't allow you to use them as a horizontal or vertical dual monitor setup. Many things come to our minds as we talk about a multi-monitor setup. But a rare thought would be to mount your screens vertically instead of horizontally.
In today's world, when everyone works on a computer and a laptop, the necessity for a second vertical monitor setup develops over time. Strangulation and frustration can set in quickly when an employee works on many tabs simultaneously on a single desktop. Arranging two displays is essential for individuals who like to multitask. You may use dual monitors on any current laptop computer setup.
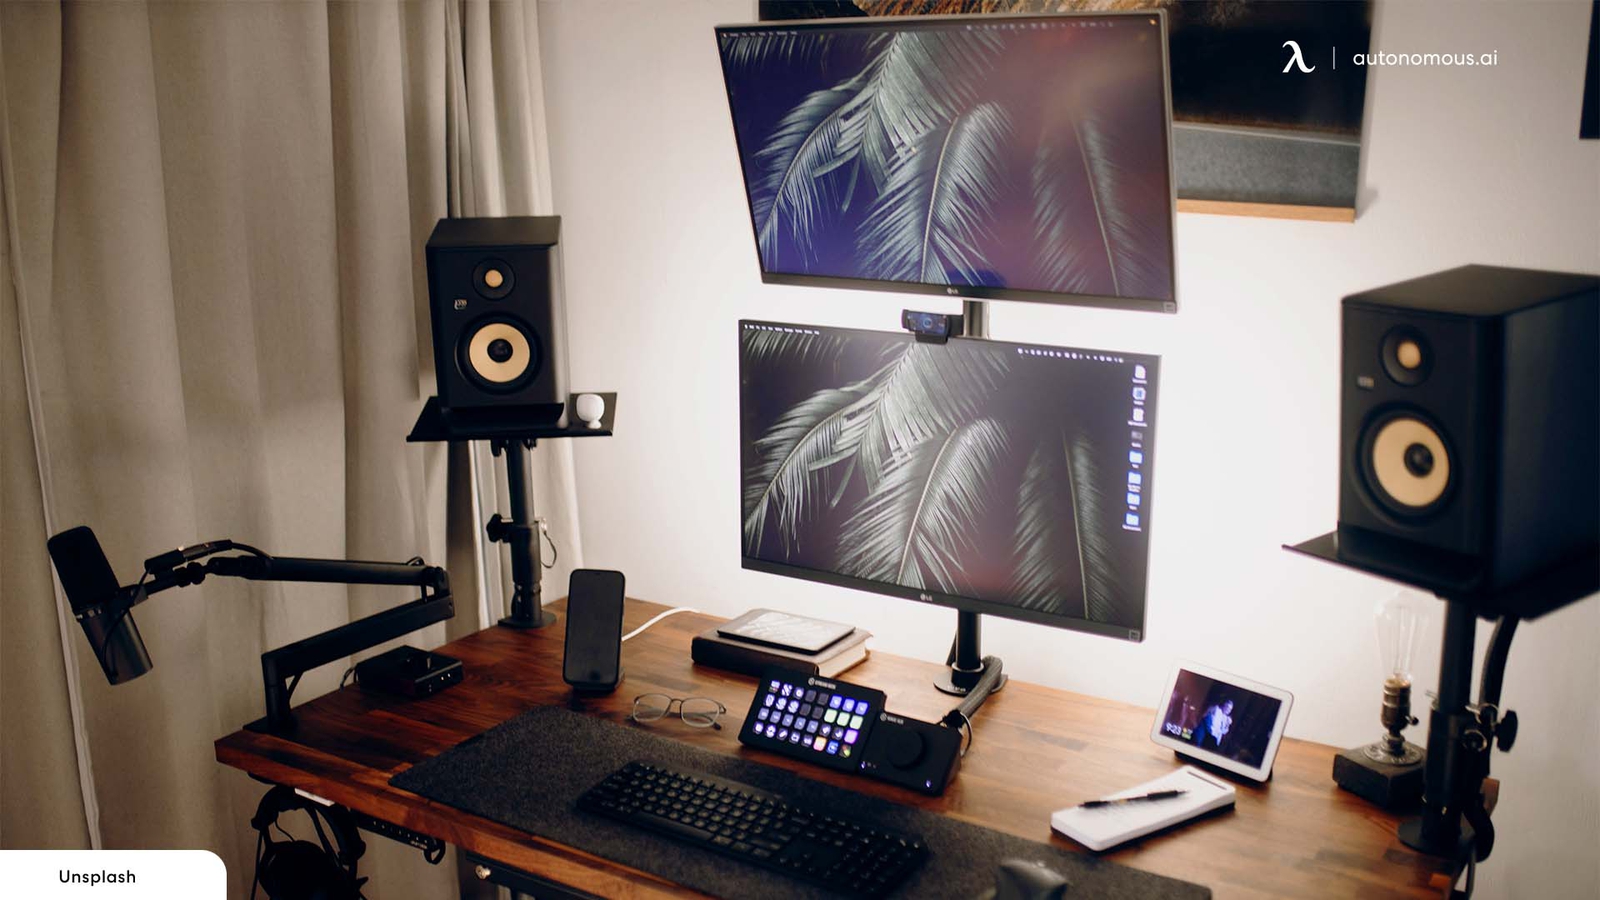
A dual vertical monitor setup is aimed to increase efficiency without having you compromise too much. A 2 portrait monitor setup simply does better than a dual monitor arm mounted side by side. Creating a dual monitor setup one vertical might be a new concept as we don't find many 3 monitor mounts made for this job.
All that is required is a vertical dual monitor setup. It isn't going to be a waste of money. It will only increase efficiency and production. Let's look at the differences between a vertical and horizontal monitor arrangement before moving on to the dual monitor purchasing list. In this article, we will review a detailed laptop and monitor setup for a vertical screen plan.
The Difference Between Horizontal vs. Vertical Monitor Setup
There are several compelling reasons to choose a vertical display over a horizontal one. You may easily add a vertical monitor to make a spectacular dual-screen arrangement if you currently have a horizontal screen. To make the comparison easy, we have listed below a bunch of vertical monitor benefits that you can hardly find in any horizontal monitors.
Expanded Screen View
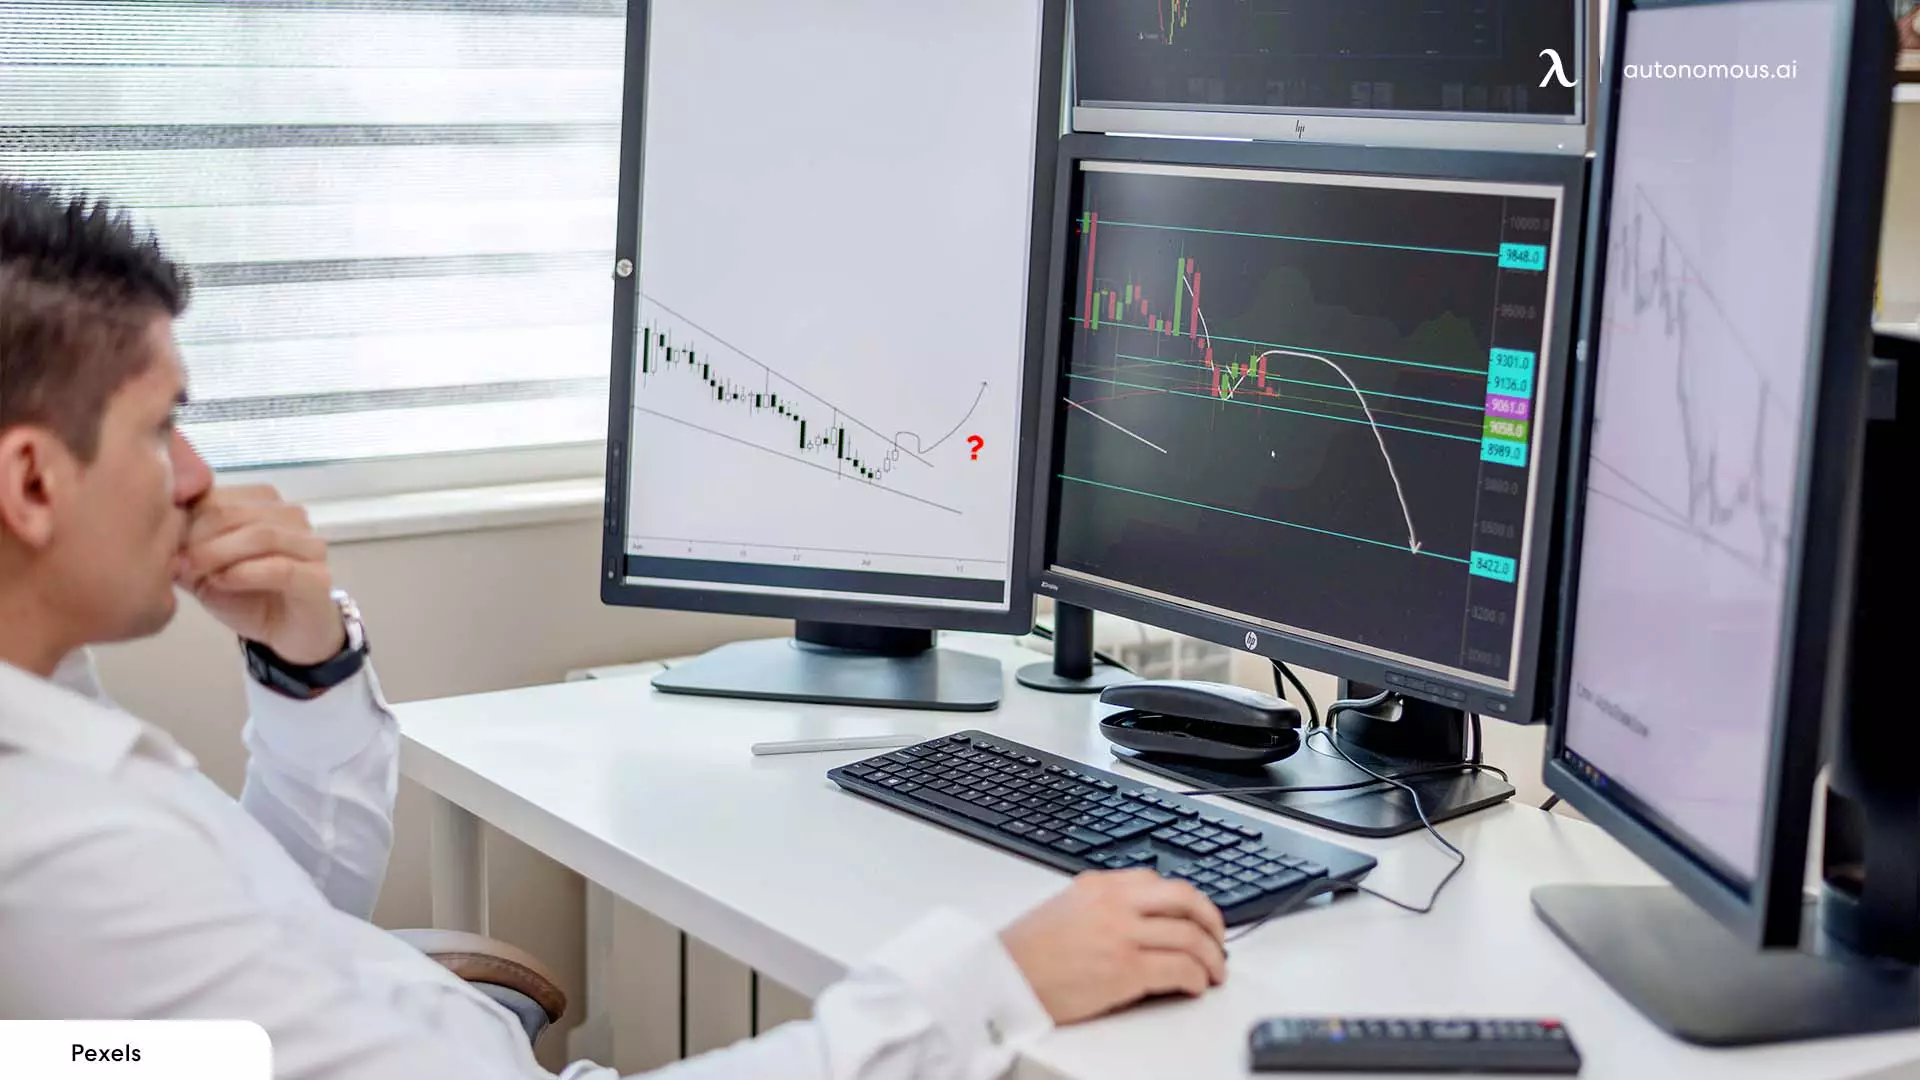
With a portrait monitor setup, there is much more room on display for writing, algorithms, and other media formats. On a vertical display, you might fit more text pages at once than on a horizontal display. A horizontally arranged monitor's text layout is always side-to-side. Thus only a few sections of the text are displayed on display. On the other hand, a vertical display essentially corrects this by arranging the text from top to bottom. You may now view over 200+ lines instead of merely 40-50 rows. As a result, obtaining a vertical display is a win-win situation for folks who want to scan a large amount of data.
Productivity Improvements
Browsing pages might be tedious for folks whose jobs need them to check codes. Once you view more stuff on the same screen, the amount of time you spend scrolling is substantially reduced. Furthermore, becoming able to view more functions increases efficiency. It applies to any job that requires long-form material reading or authoring. A can evaluate many codes at once, allowing them to assess a large number of codes and make required modifications all at once. On the other hand, a proofreader may check more pages of dialogue in one sitting and scan the document twice or thrice with an increase of 300 percent.
A lot of Time is Saved with a Vertical Monitor

Because your eyes don't get tired as early, you can concentrate on your work for longer periods, improving your overall productivity. Whenever the screen is vertically aligned, the spectrum of visual acuity is greatly reduced, allowing you to scan more material in less time frame. When you switch to a vertical orientation, you may swiftly do various tasks. It may, nonetheless, only pertain to a few occupations that require a lot of analyzing, such as checking codes, correcting texts, reading records, and writing long scholarly articles.
It's Simple on the Eyes, Neck, and Wrist
When objects are arranged from top to bottom, your neck naturally lifts in a vertical position to scan them, reducing neck discomfort. This approach, comparable to reading a book, appropriately puts text, signage, or arrival/departure panels. When viewing horizontally, your eyes shift from left to right in a constant movement. As a result, the larger the screen, the more room your eyes should have to move. Although it may cause your eyes to strain for additional focus, vertically arranged screen eye motion makes the text seem shorter and faster, preventing your eyes from straying further. Therefore, scrolling less relieves stress on your hand and wrists.
Top Monitor Arms for Vertical Monitor Setup
For someone who wants to set up a dual vertical monitor setup, a monitor arm comes in handy because of its many advantages. To begin with, they can assist you in creating a more ergonomically designed workstation by letting you place your display at the different optimal heights for correct posture and line of vision. Furthermore, the finest monitor mounts may significantly aid in the organization of messy workstations. Here is how you can learn how to set up a vertical monitor. Here are a few options:
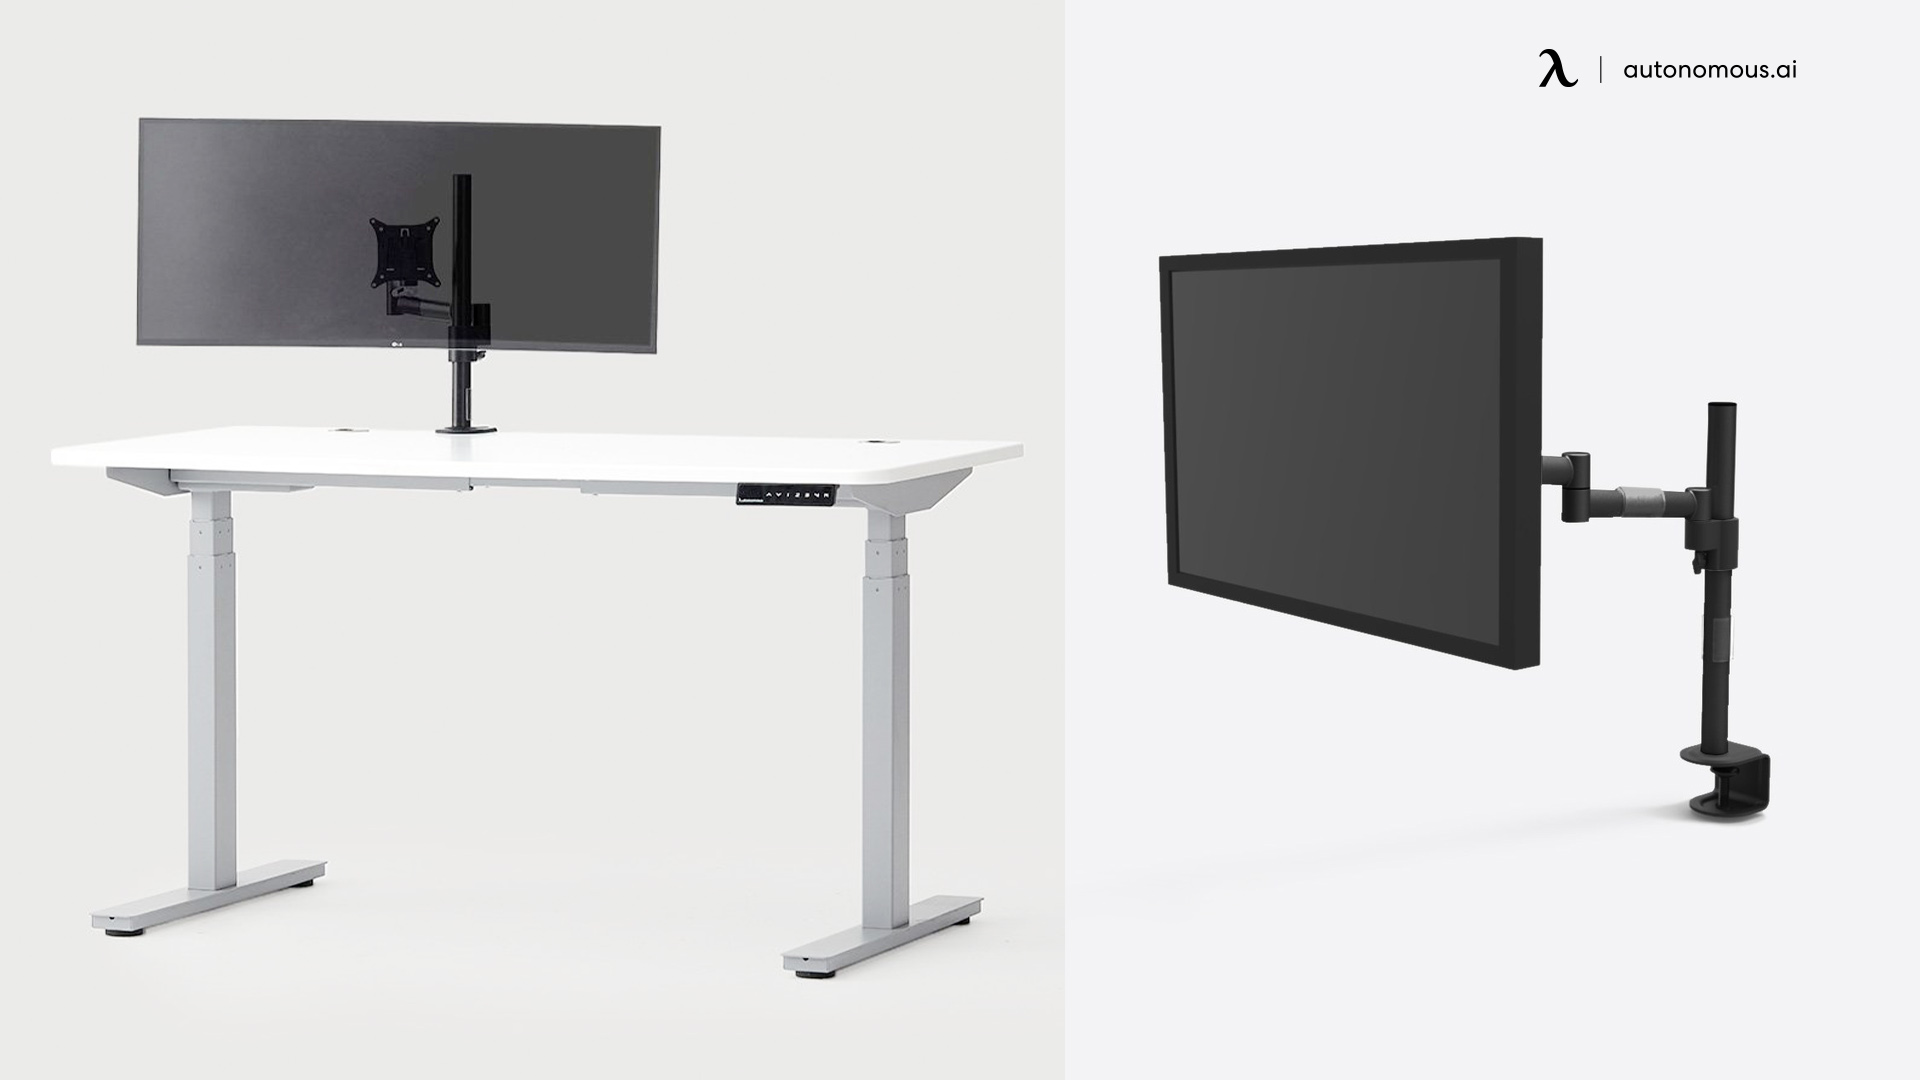
1. Autonomous monitor arm
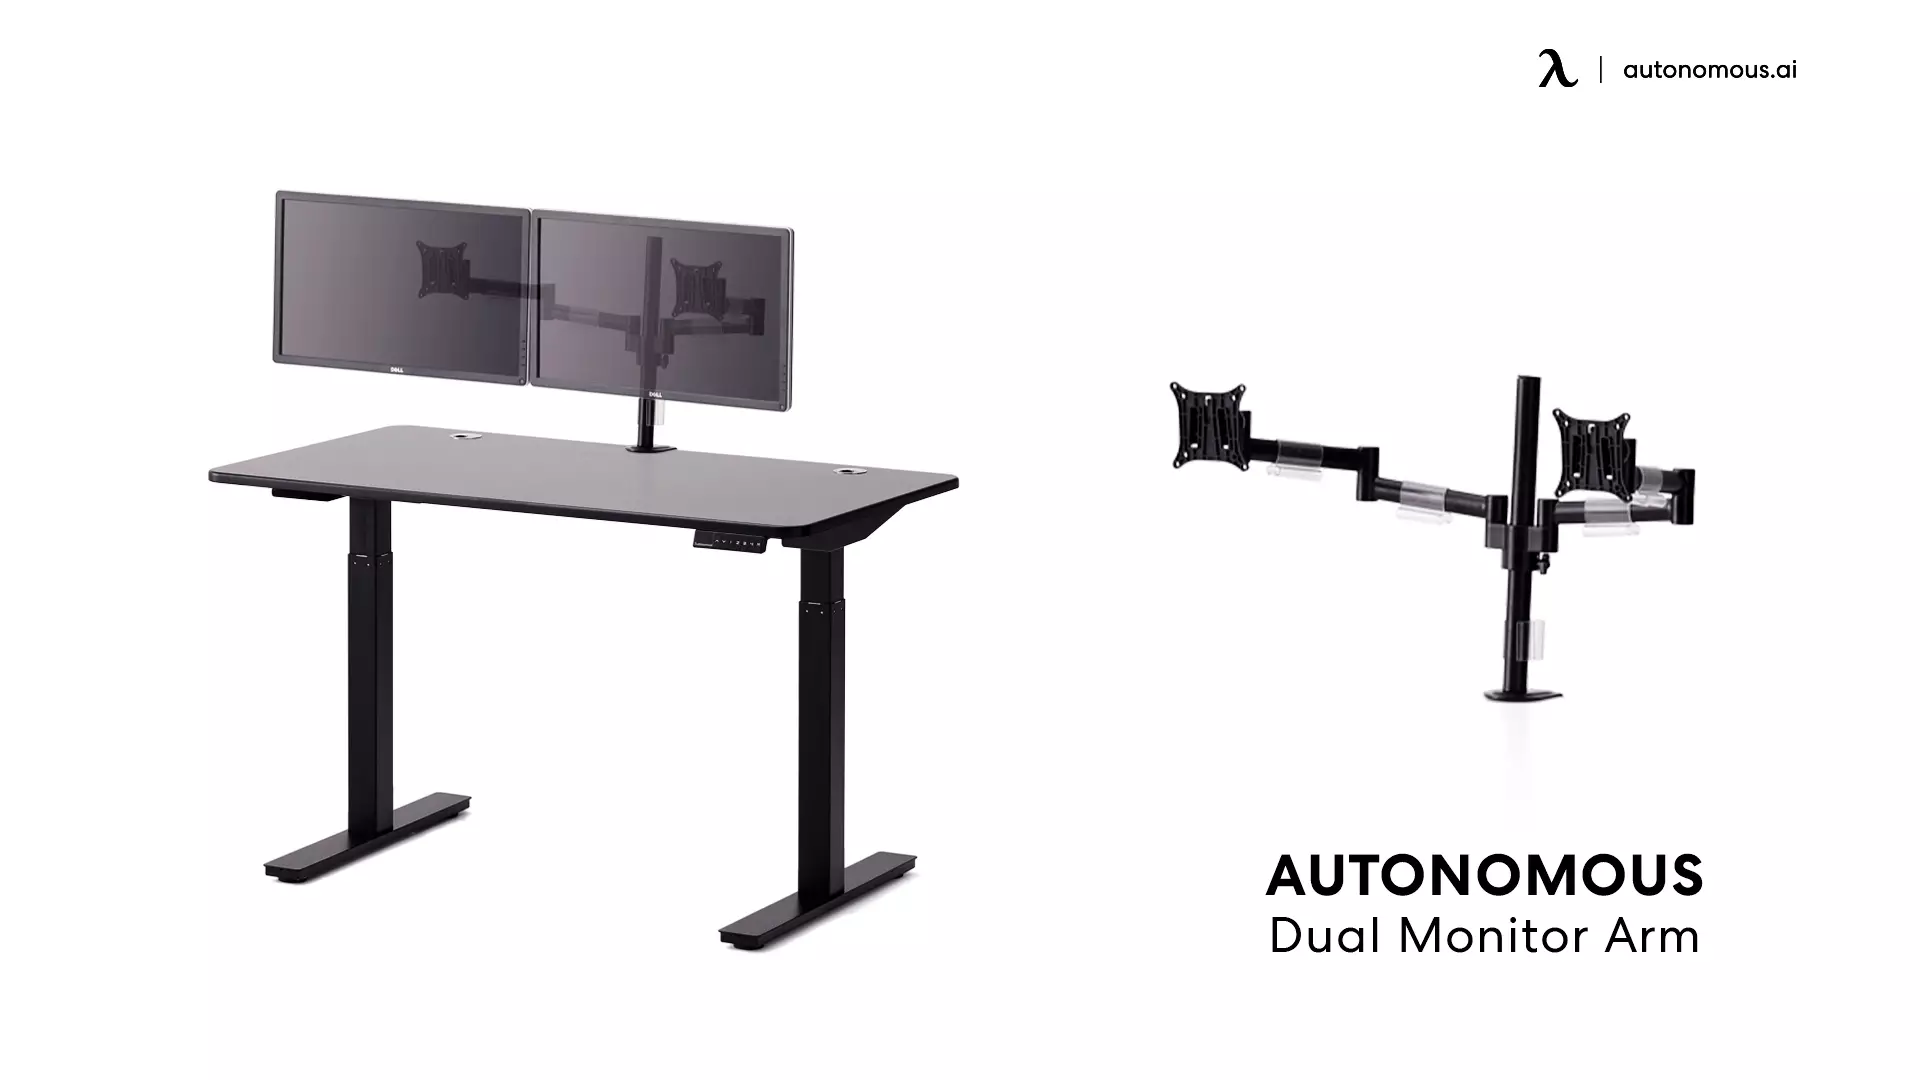
This monitor arm is made from premium alloy material that can move and tilt up to 360 angles. The arm holds a monitor perfectly well. Moreover, it supports your monitor arranged at any angle, thanks to its flexibility. This monitor arm is perfect for triple monitor setup ideas.
2. Laptop and Monitor Stand by Mount-It!
With altitude adjusting and swinging arms, this standing desk converter with dual monitor mount is a flexible pole monitor stand. Featuring tilt, rotation, and spin mounting, it is just articulated desk support for notebooks and displays. Wiring features are built into both extremities to keep all wires organized.
3. Triple Monitor Arm by Mount-It!
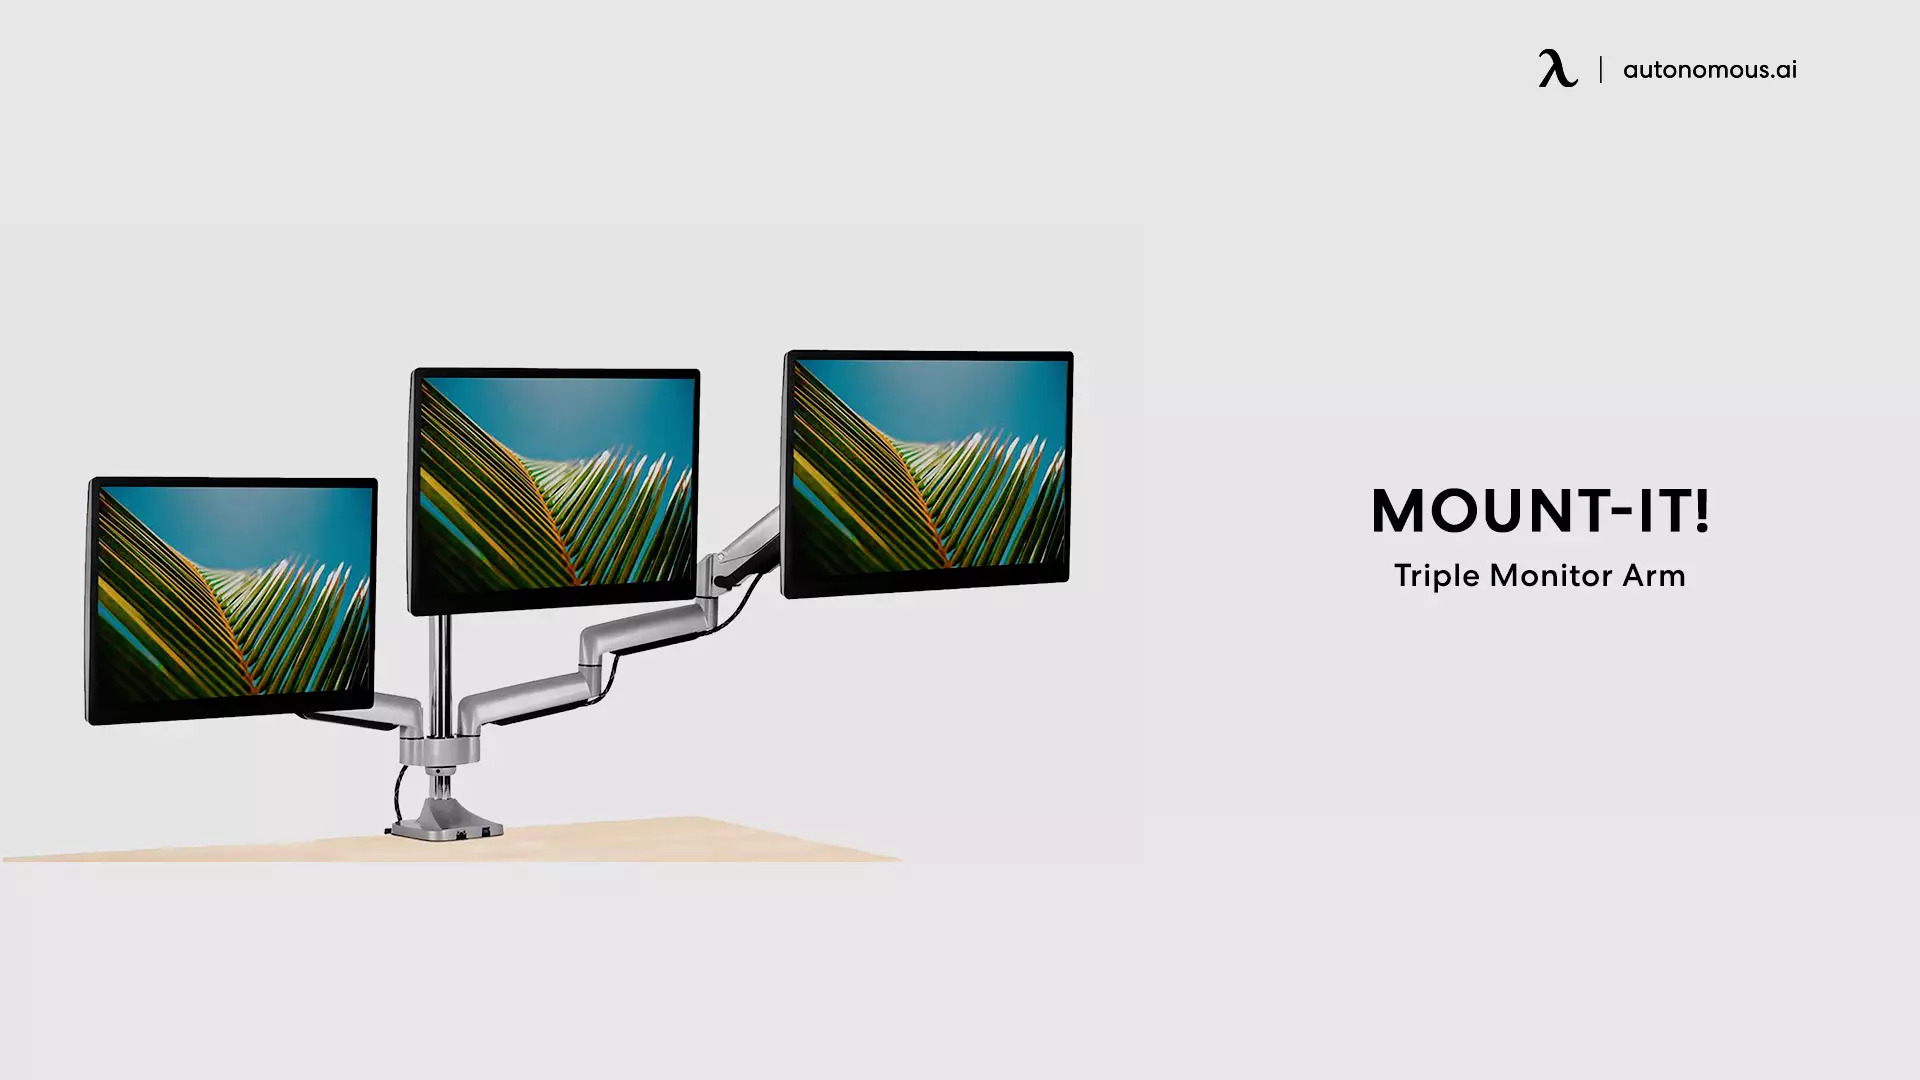
Here is another product for your vertical monitor setup. The triple display stand is equipped with counter-balanced hydraulic lift arms for easy modifications. It's also composed of heavy-duty aluminum alloy, incorporating power cord management to keep your connections hidden.
4. Dual Elevated Workstation by Mount-It!
This monitor mount is perfect for any dual MacBook monitor setup required. With this dynamic stand-up desktop converter, you could double your display while improving your wellness. Throughout the day, the flexible gas-spring mount enables straightforward adjustments. The height-adjustable keyboard tray and dual-monitor arm attachment were also created with space in mind. Whenever you need more workspace, you may shift the components to the sides of your table.
5. Electric Monitor Riser by Mount-It!
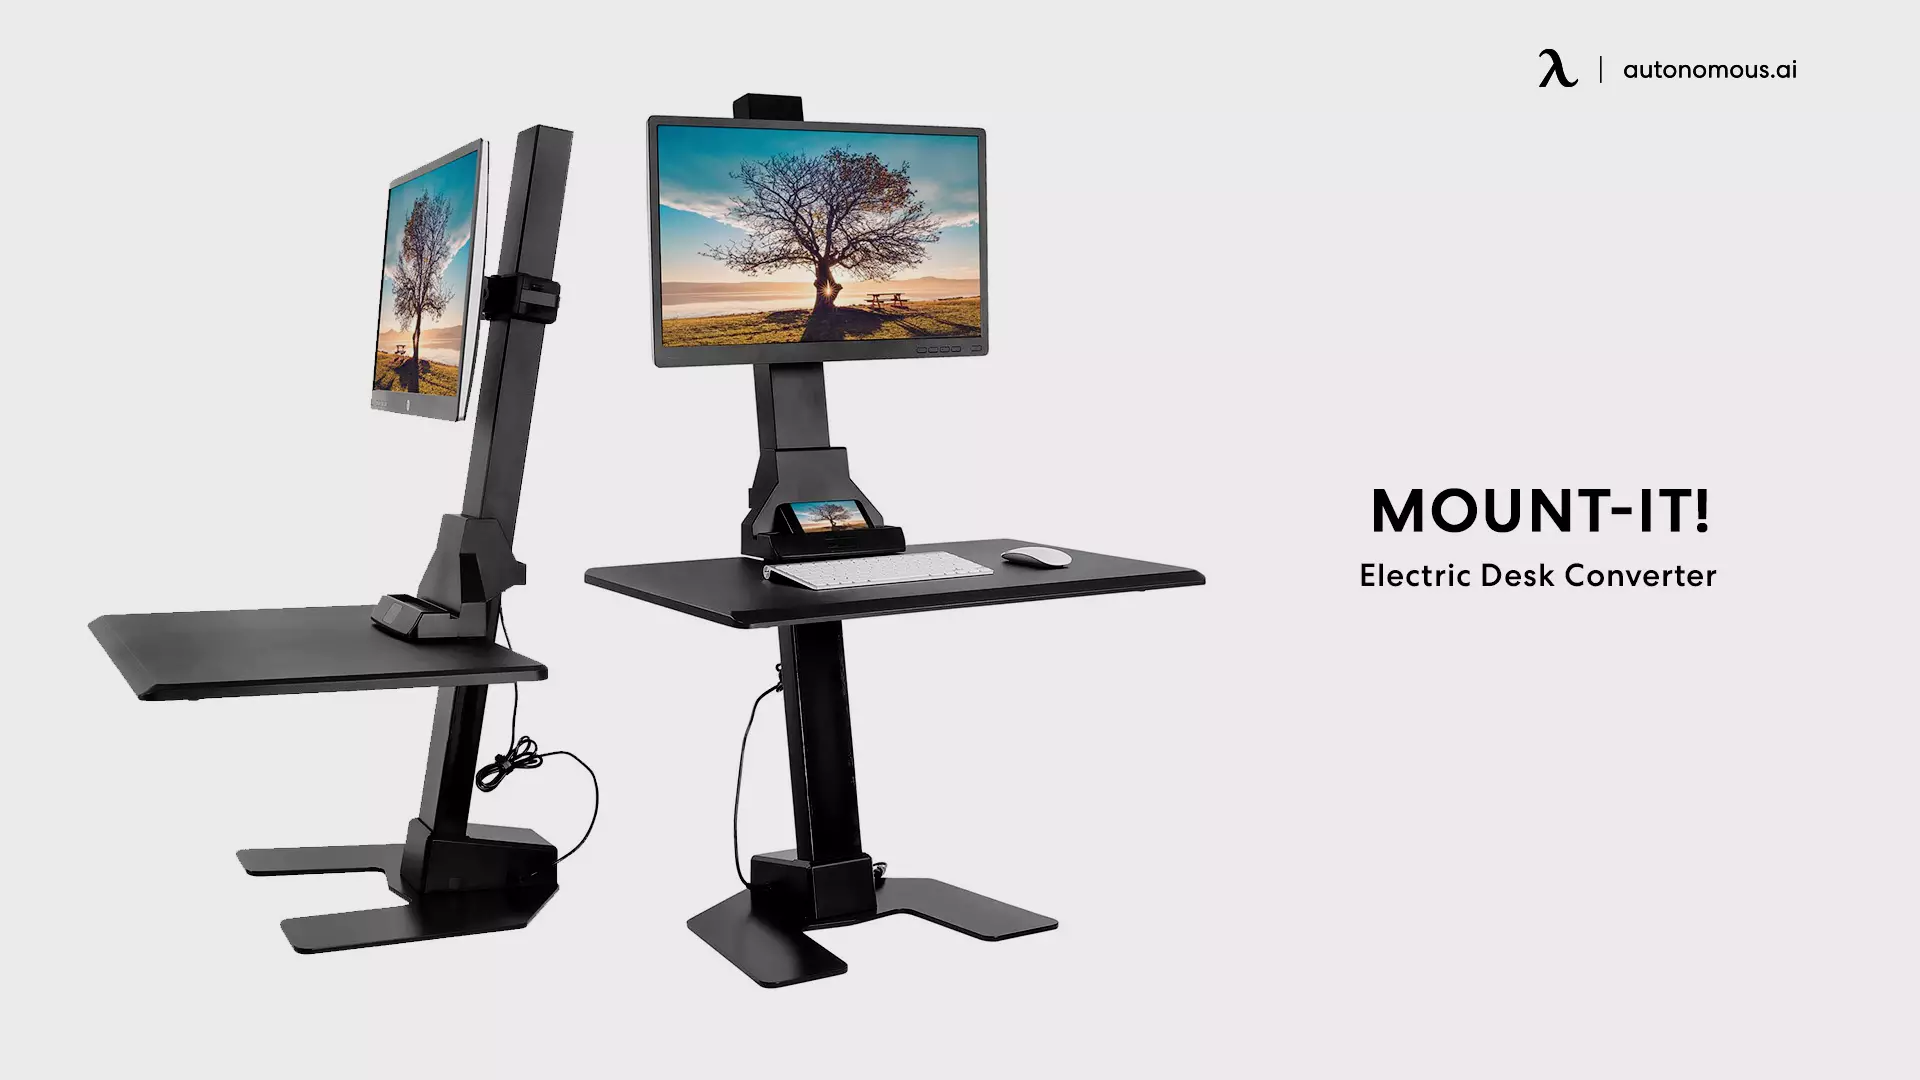
This is the Mount-It! motorized standing desk converter that attaches to a sit/stand desk and holds any monitor securely. Moreover, with its ergonomic build, this laptop and monitor setup can be moved anywhere.
6. Sit-Stand Desk Converter with Dual Monitor Mount by Mount-It!
The Mount-It! Dual Monitor Stand Setup is an exceptional monitor mount with amazing movement. This sit-stand converter allows you to go from sitting to standing in moments. The seamless down and up to height changes from 6.25 inches to 16.5 inches which have been made possible by the gas spring system, enabling you to choose the appropriate height.
How to Set Up A Vertical Monitor
Setting up a multi-screen requires the best monitor arm in the center or even the monitor arm side of the desk. This availability and choice of using a monitor arm allow the multi-screen setup to be created easily. However, compared to a horizontal setup, a vertical setup has this challenge where you cannot easily find many monitor mounts for the said job.
And considering the benefits of a vertical mounting system, this setup serves as an ideal choice for coders and programmers and for all those who have limited space and want to increase their working area. A detailed step-by-step guide is to establish a vertical laptop desk stand and monitor mount.
Choosing the Right Monitor
'
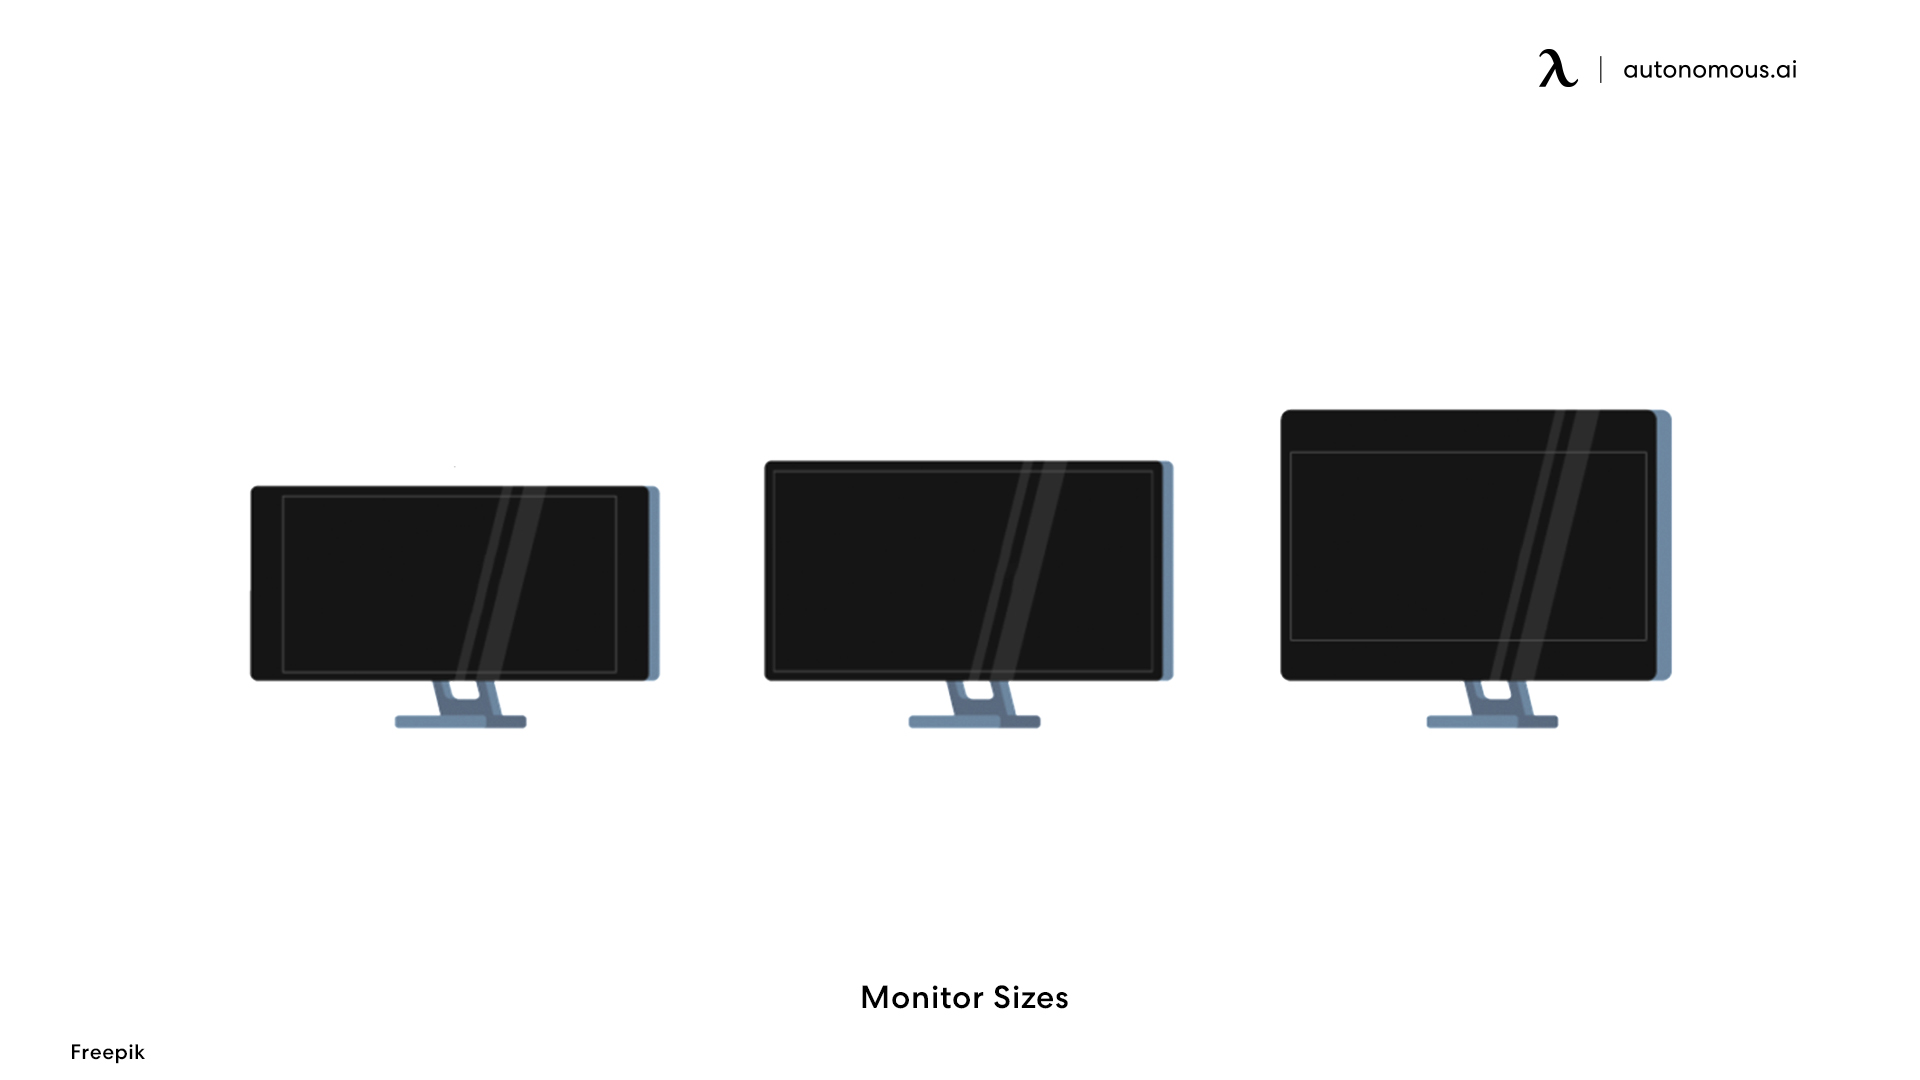
This is the foremost step of creating a workstation, whether or not you are planning a multi-screen setup. The right monitor will allow you to improve efficiency and also save time while working. Especially for a vertical screen setup, choose a high-resolution monitor. Any rating near 1080p or higher is suitable for the job.
Then you need to check if your monitor offers the feature of vertical rotation. If it doesn't, you might require a separate vertical mount setup. Secondly, in the case of wall-mounted screens, you must ensure that the clamps behind offer a vertical rotation, so you don't need to replace the existing clamps.
Rotate your Screen
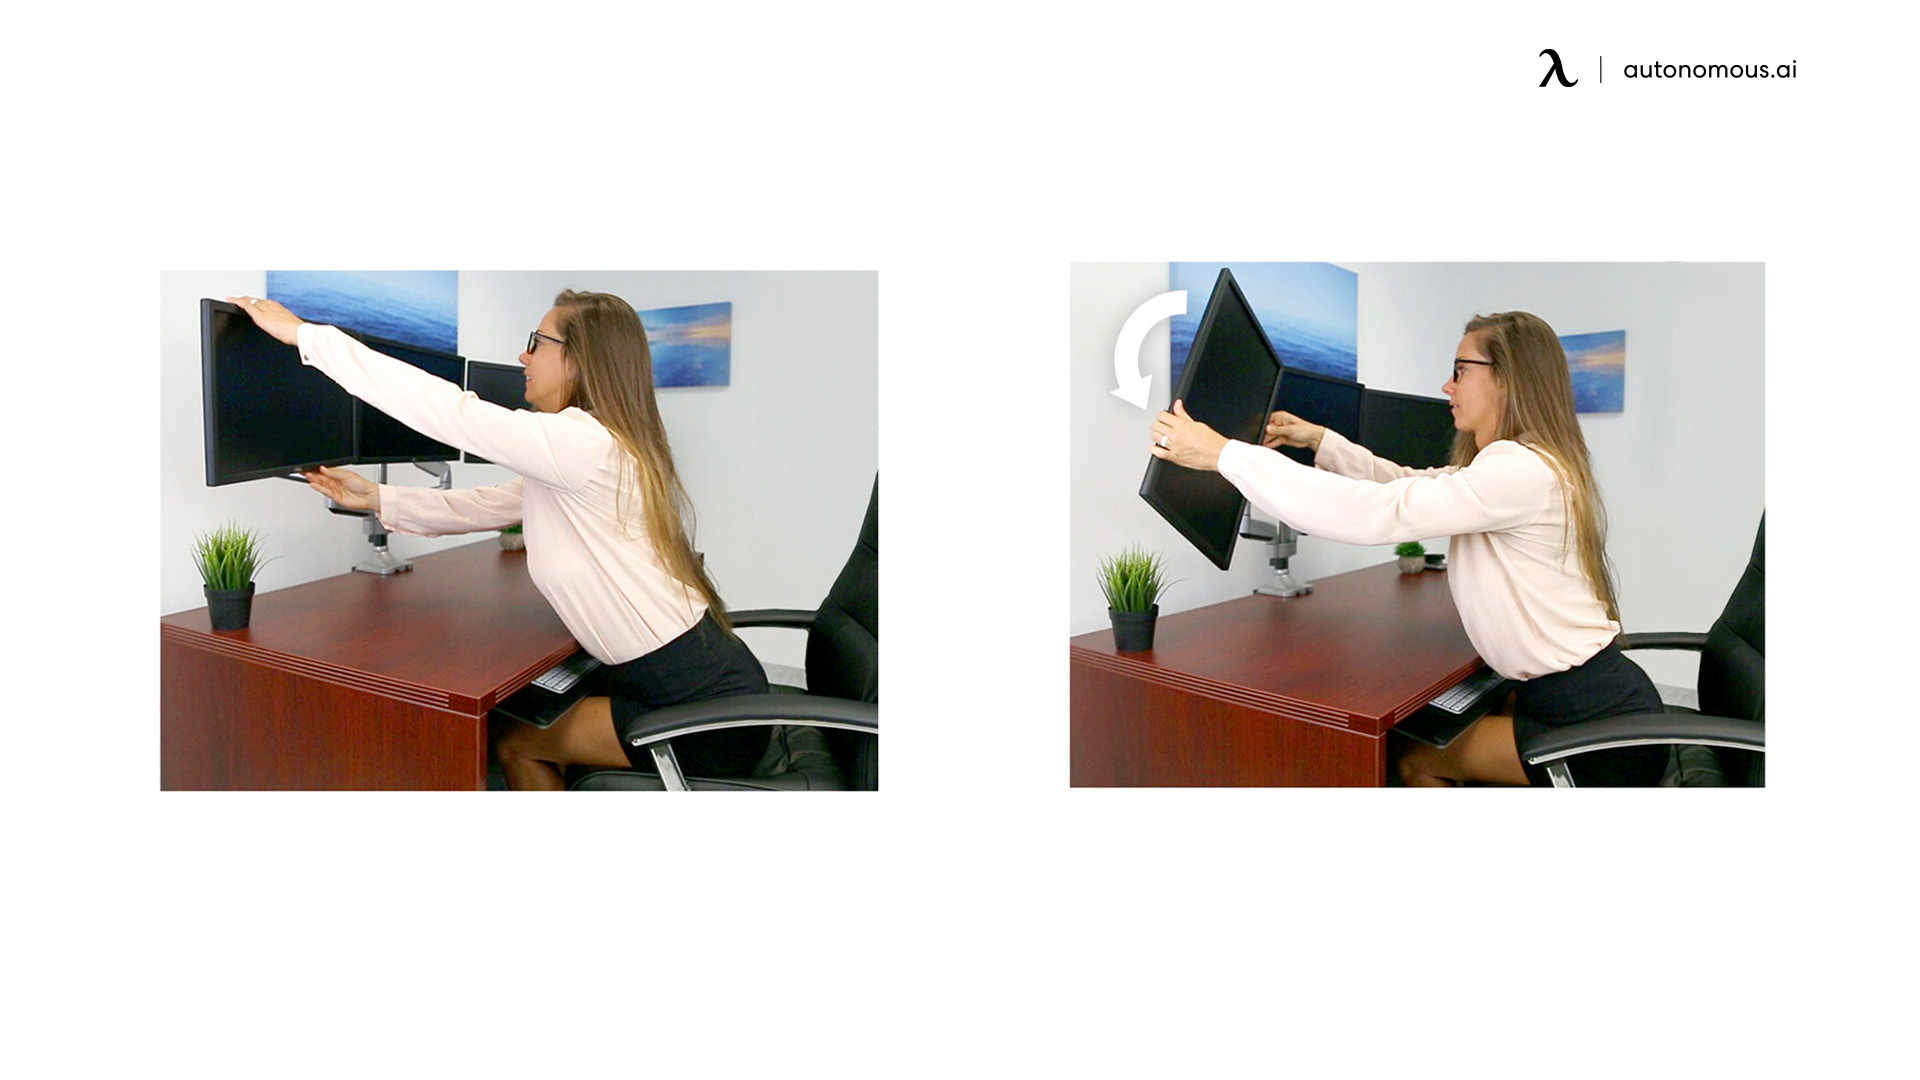
The second step is to rotate the screen physically to form a 90 degrees angle with the previous position. You can rotate the screen clockwise or anticlockwise based on your preferred angle.
Display Settings
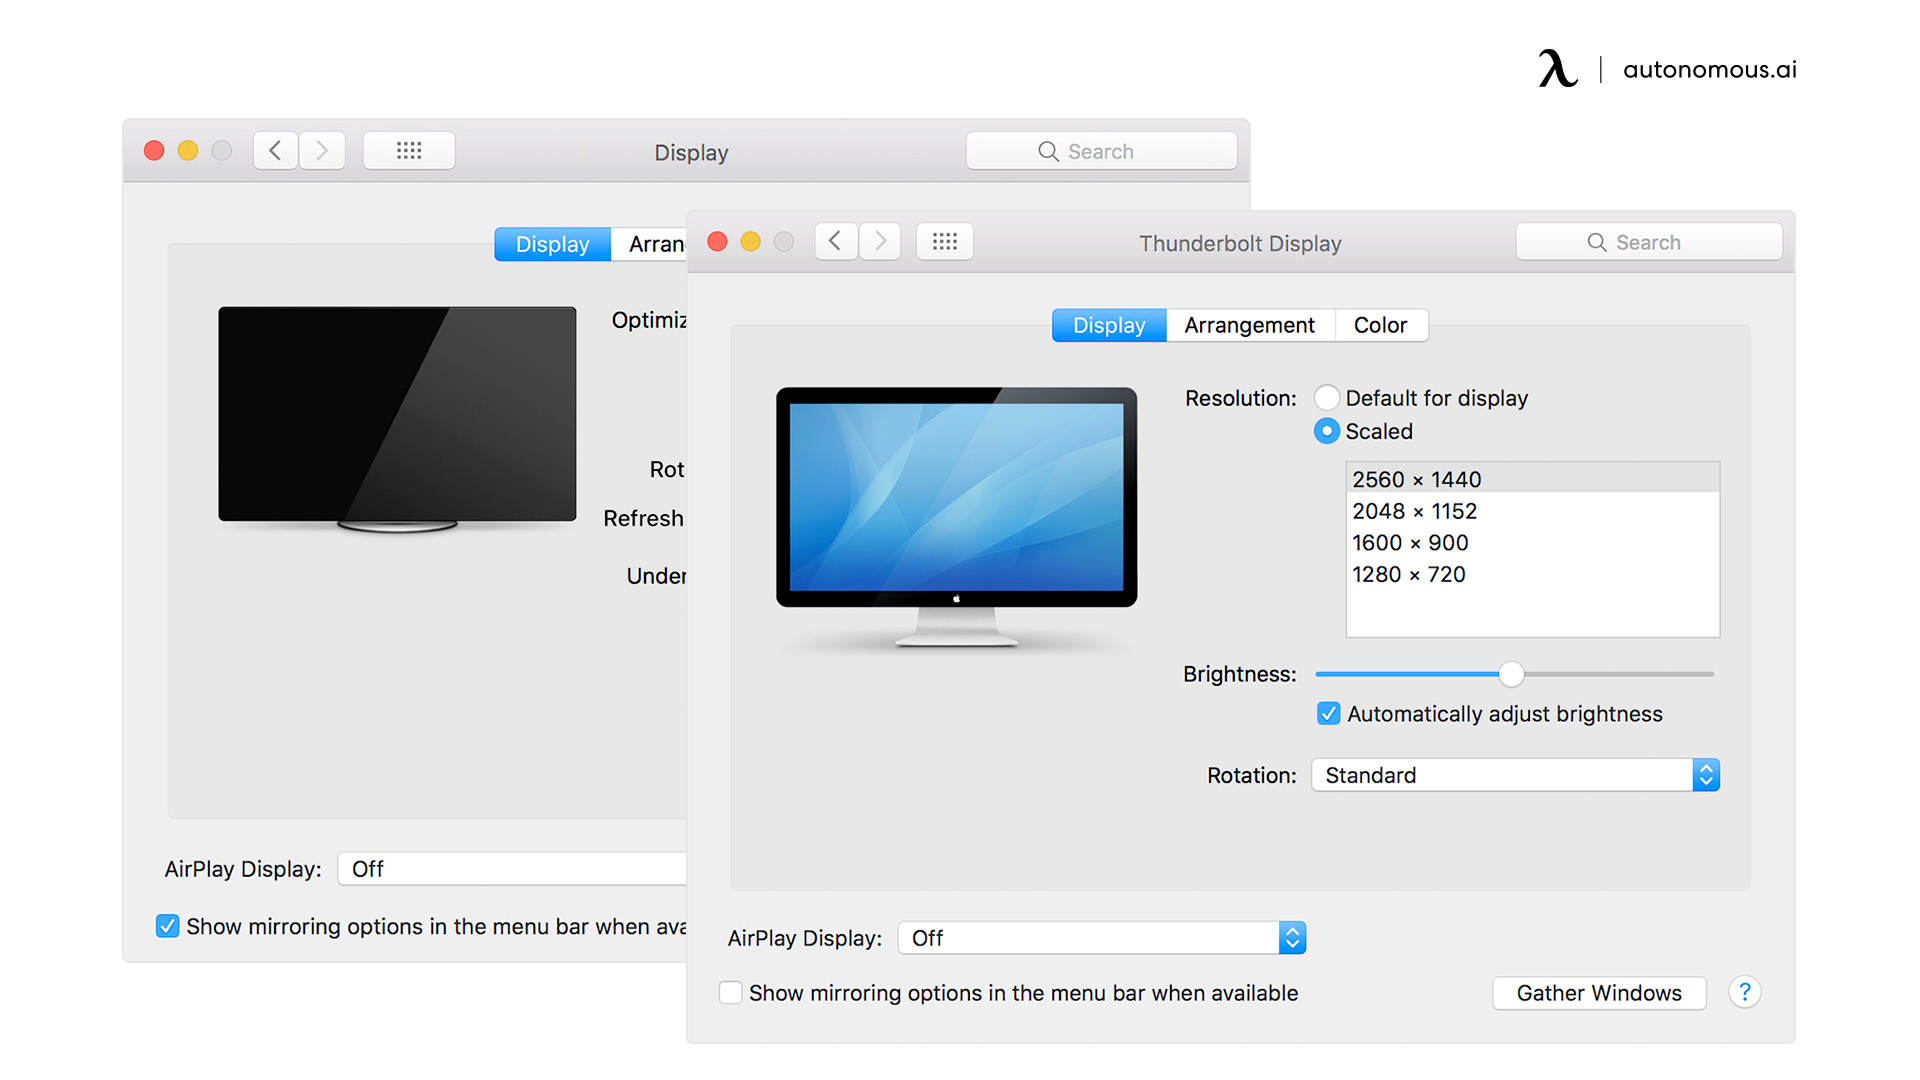
Once you have physically rotated the screen, you need to rotate the contents on the screen. This is easy to achieve. Press the right-click on your mouse anywhere on the screen. Then click the display settings on the list. The display chooses the portrait mode and rotates the screen orientation to 90 degrees clockwise or anticlockwise.
When you select Portrait mode, a window will appear, asking if you wish to preserve current display settings. If you're satisfied with the rotation, click Keep Changes. Then make sure the vertical orientation you have set up is working just fine. Do this by running one or a few applications you will be using regularly.
Why Should You Use A Vertical Dual Monitor Setup?
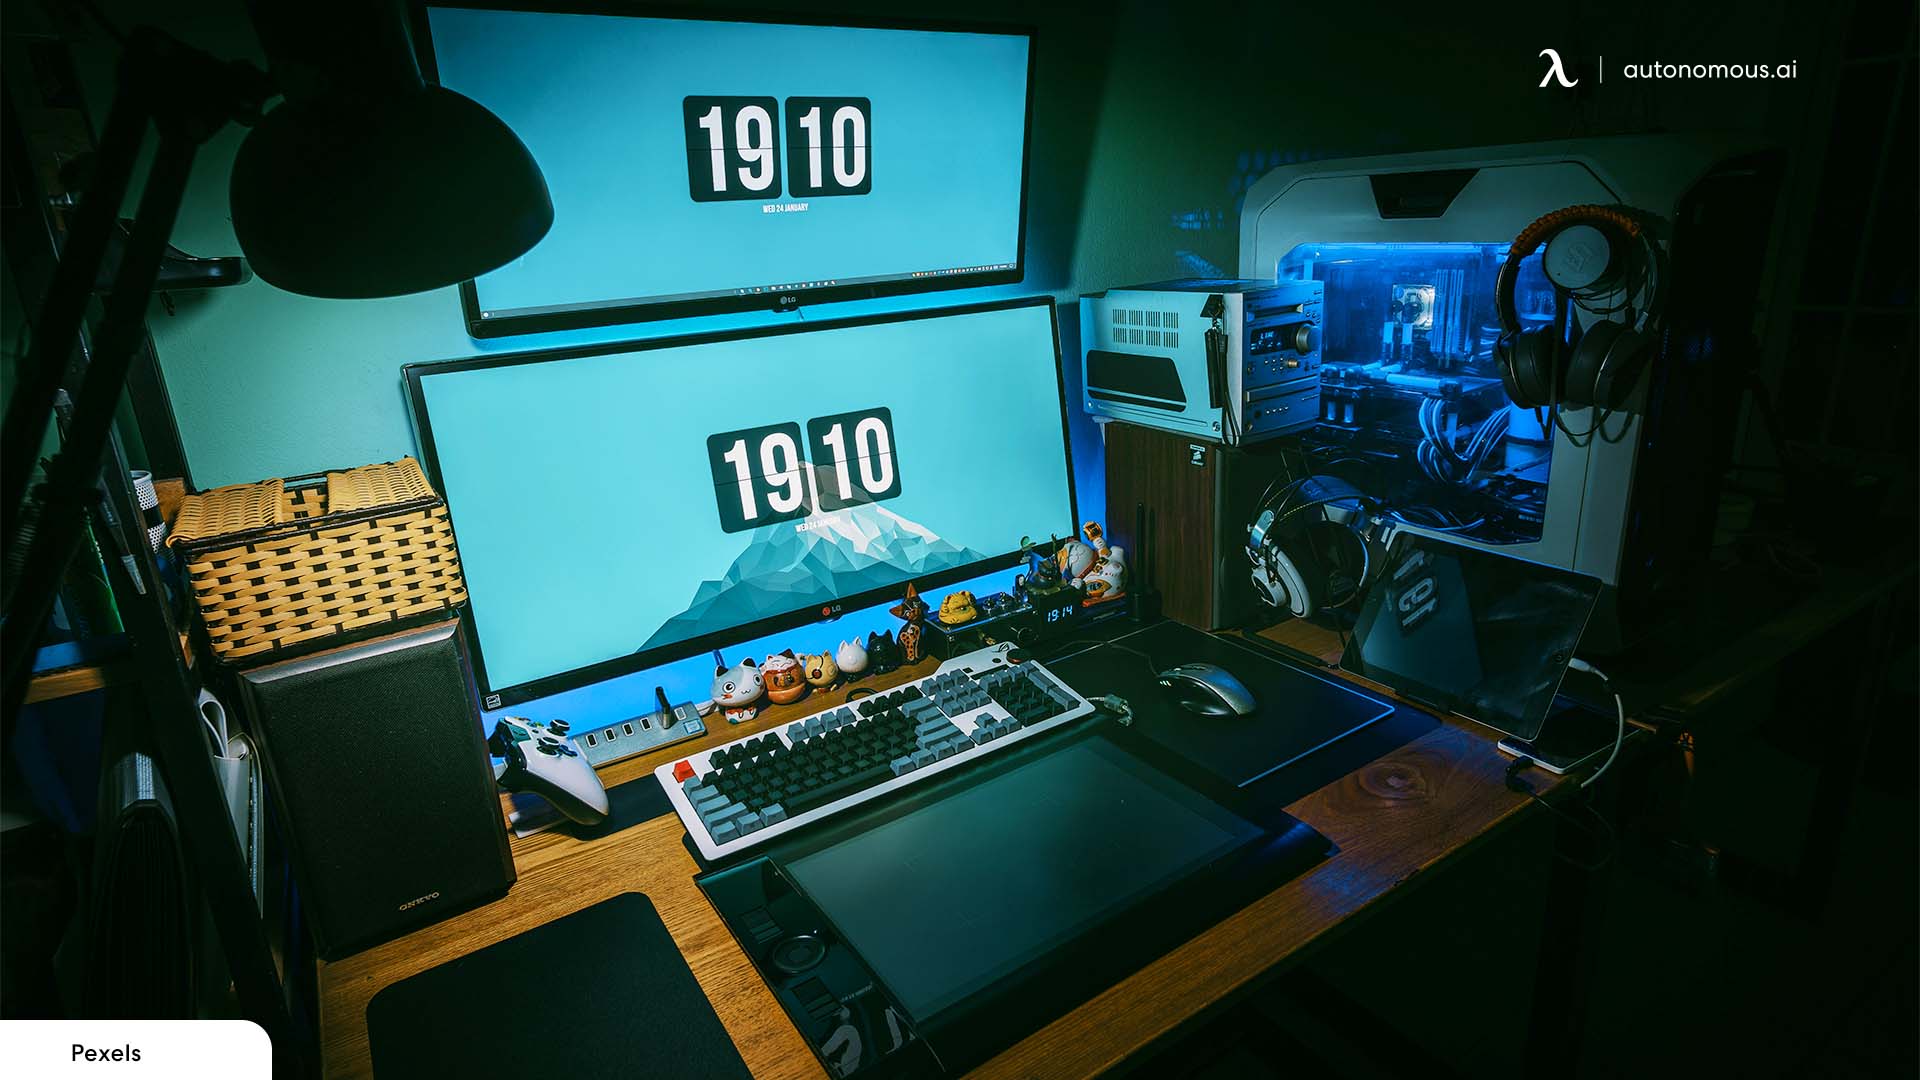
A vertical monitor setup offers many pros compared to a horizontal dual monitor setup. The need and application of vertical multi-monitor suits only a certain group of people. This is essentially applicable for programmers and coders who need a longer screen orientation than a wider screen orientation.
Vertically stacked monitors also eliminate scrolling, which is pretty helpful for a coder. Here are some other pros of using a multi-monitor setup in a vertical mode.
- Because the screen is vertical, it provides greater vertical space, which allows you to read more text with less scrolling.
- Many applications do not use the entire horizontal screen, leaving a lot of space to the left and right. In this scenario, the vertical monitor makes better use of the screen.
- Vertical monitor setups also save the amount of space on your desk, making your workstation ideal for a wider range of applications and making things easier for tiny rooms.
- If you're a coder or you're looking at a large amount of text, it'll help you get more done. You can focus better if you don't scroll as much.
What Are Some Limitations of a Vertical Monitor Setup?
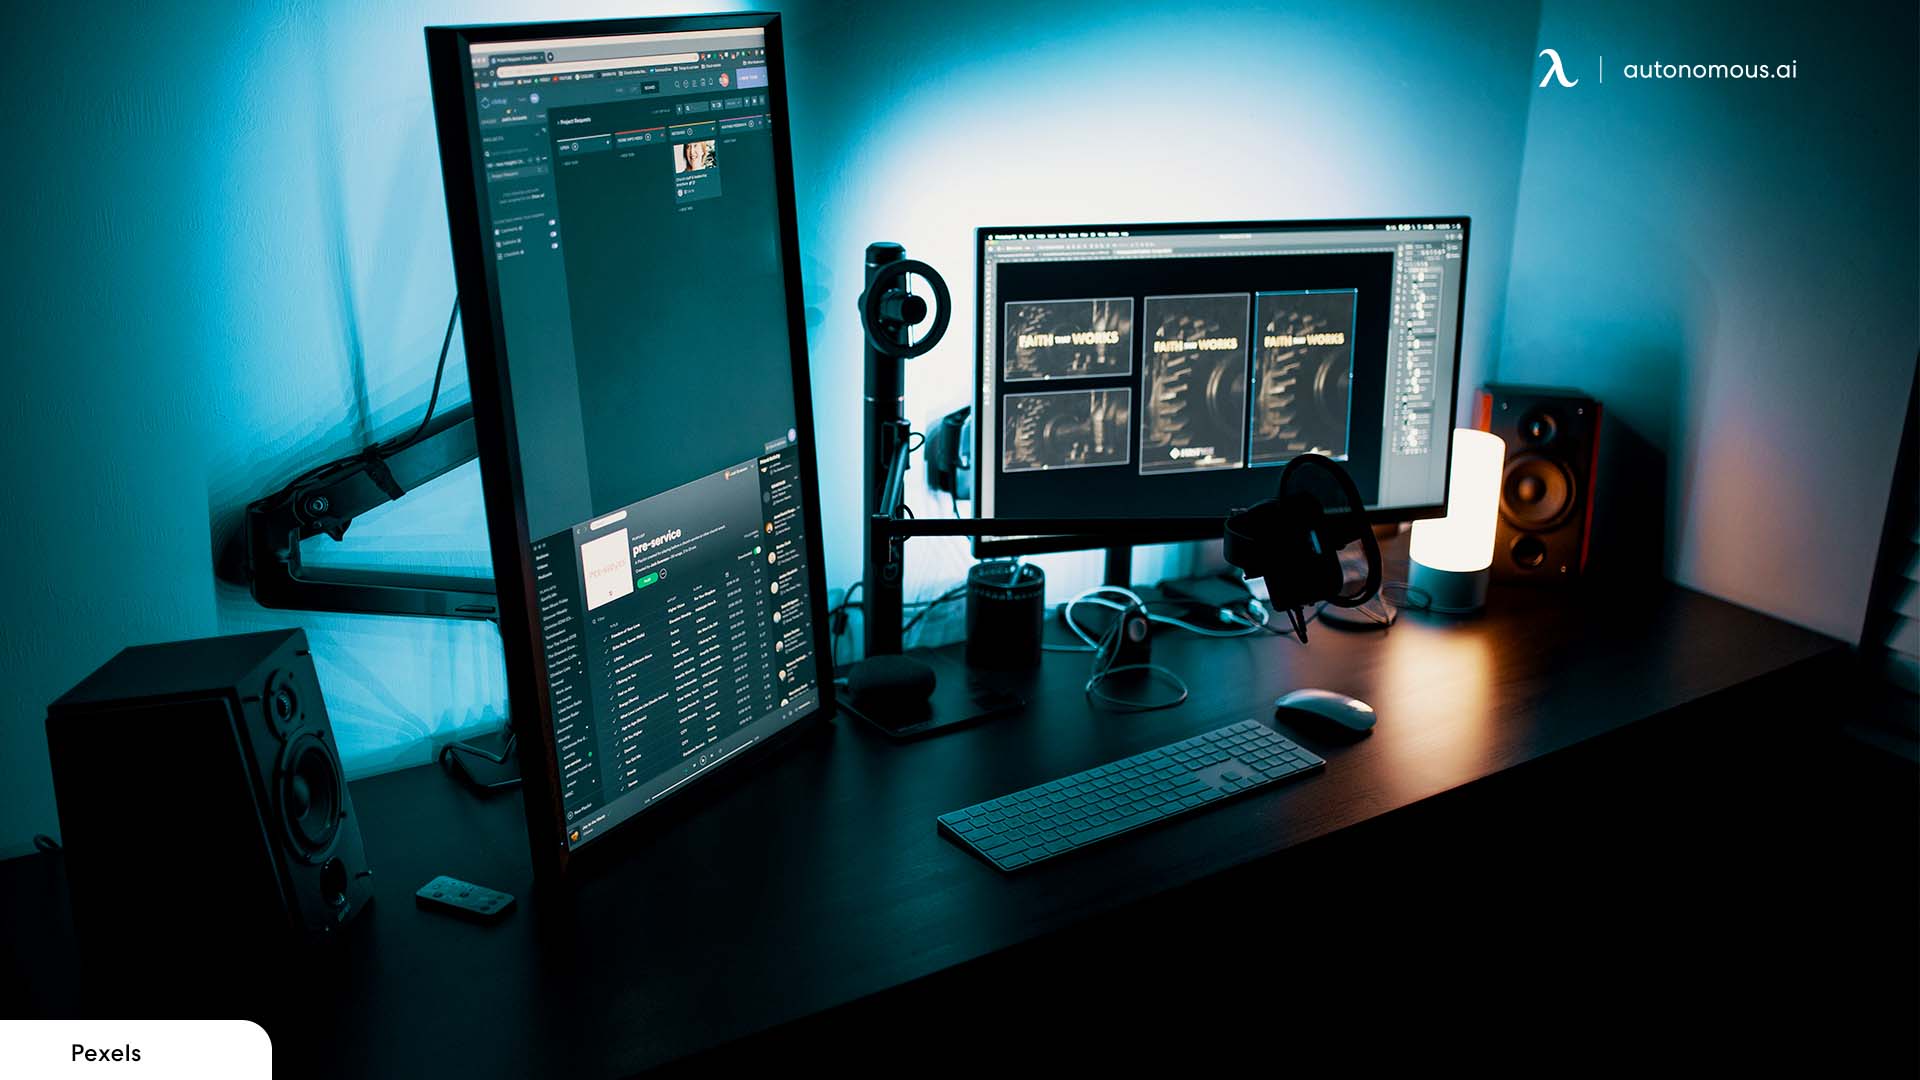
Like any other thing or solution, a vertical monitor setup has its own set of limitations. A vertical monitor mounting is expensive because you need special monitor mounts that can do the job in many cases.
Using a vertical monitor mount is expensive and weird for people who are not habitual of multi-screens at all. Hence, if you opt for a dual-screen system, it is always better to start horizontally. Vertical monitors can also put a strain on your neck if you have to tilt your neck and viewing angle upwards for most of the day.
Lastly, vertical monitors aren't ideal for a primary system; they are often used as a secondary monitor where the main monitor is mounted horizontally.
Applications of a Vertical Monitor
Compared to a horizontal monitor setup, vertical dual monitor systems also have a unique set of applications that will do the job well if used for the right purposes. A vertical monitor setup is essentially good for students because you get a larger mode of view and don't need to scroll often. Vertical monitors also allow the notes to be opened in a longer view making it easier to check out more content at once.
Secondly, the same type of screen orientation is also beneficial for content creators who need to review the longer view of their work in one glance. By using a vertically stacked system, they can take in a longer paragraph at a time without feeling the need to scroll.
Also, because you can view all of your layers at once while working in Photoshop, the screen is more simply structured for graphic designers. Illustrators can now see what they're working on more clearly.
Spread the word
.svg)

