Full Guide to a Clean Office Desk for Hygienic and Productive Workflow
Table of Contents
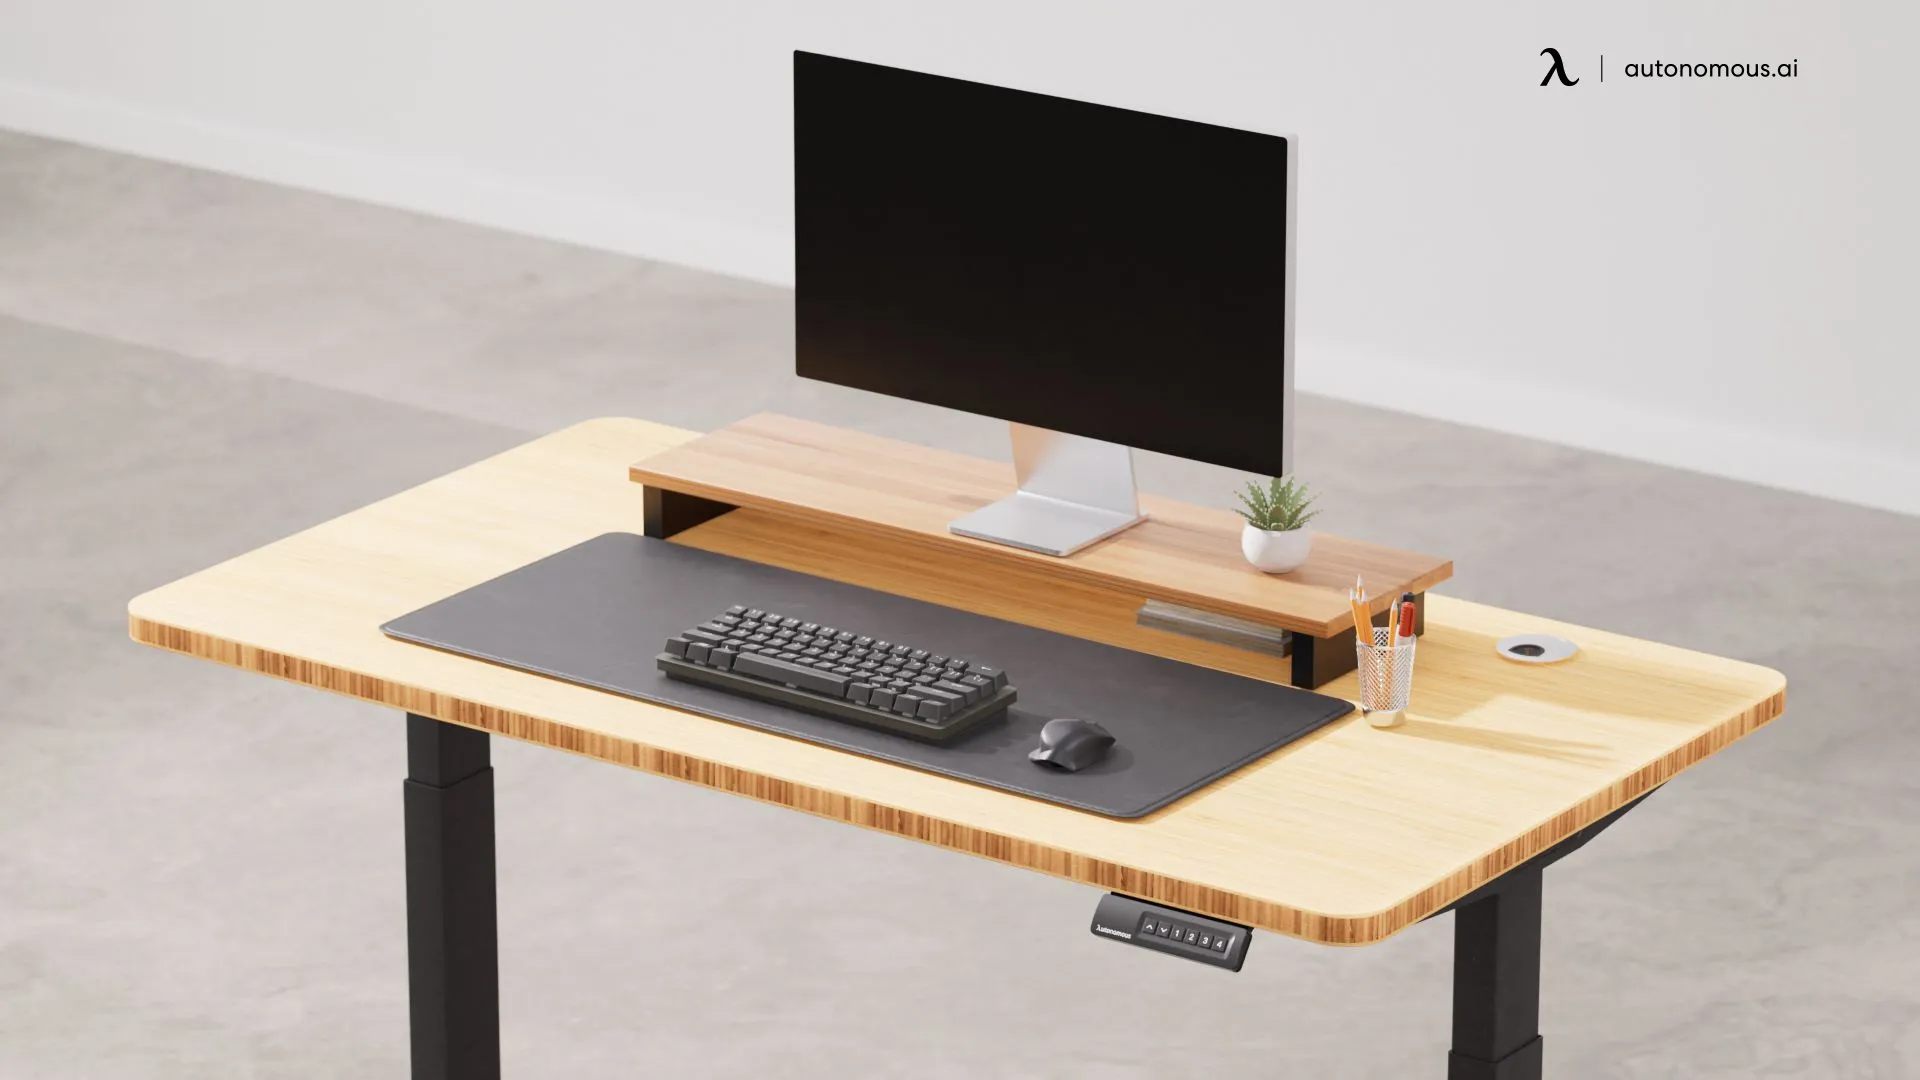
A clean office desk is almost a staple to any productive workspace. Your desk is the center of your operations, and having a messy or disorganized one can throw off what should be a smooth workflow. Though cleaning sounds like the type of thing that should be straightforward, you must think about it where your office desk is concerned, since you want to organize things based on the way you work best.
Before you think about how to keep your desk clean, you must consider getting it to a state of cleanliness. Once it becomes clean, then the rest is a matter of working on your habits to ensure that they align with maintaining an organized workspace.
Why Do You Need to Clean Your Office Desk?
So, what does a clean computer desk have to do with productivity? What makes it such a staple? Even if your desk is untidy, how does that affect capabilities that reside within you? You'd be surprised to know how much difference a clean desk makes and the benefits that come with having one. Consider the following:
- There's a health implication to an office desk that only continues to get dirty progressively. You don't have to think about it too much to realize that an office is a place that is conducive to heavy traffic. People are always passing through, and desks are often occupied. The result is a gradual buildup of unwanted bacteria, leading to a host of health conditions. While a clean desk doesn't eliminate the risk, it minimizes it by a very respectable margin.
- Even when you take dust and dirt out of the mix, clutter can be a problem. The human brain is designed to focus better when things appear smooth and organized. When your desk is disorganized, focusing on the things that matter becomes much harder, which often leads to procrastination or reduced productivity.
- Think about the image that you create based on your office desk. You may not look at it this way, but the condition of your desk is a glimpse into what your life looks like. Even if you are an organized person, a messy desk does not send that impression to your colleagues. On the flip side, even a disorganized person can score brownie points for maintaining a clean workspace.
- Sensitive information and items often farm a massive part of the desk cable clutter that you see. Therefore, leaving things in a disorderly manner means not always taking time to secure the critical elements. A clean office desk means fewer security concerns in this regard.
This is anything but an exhaustive list, meaning there are other benefits to think about that aren't highlighted here.
Cleaning Your Office Desk Step-by-step
At this point, you should understand what makes it so essential to ensure that your desk remains clean. How do you go about creating a clean and organized office desk? The steps below should clear things up.
Step 1 - Clear Your Desk
Before you can dive into the cleaning process, you need to give yourself a baseline to work with. You can't apply your favorite chemical desk cleaner on a surface that facilitates equipment, files, and whatever desk accessories may be necessary for your work. So, your first order of business is to remove everything that lies atop the desk.
You want to be careful as you do this since you don't want to be creating extra work for yourself. Taking note of where you're putting various items can't hurt. It may be worthwhile to use some empty cabinet space or boxes to facilitate the process. Whatever you have that can function as a temporary storage space should do the trick.
At the end of this phase, your desk is supposed to be empty. The only thing that should be on it is dust, which is going to be addressed very soon. Remember to be careful as you remove your hardware since you don't want to damage anything. If you're unsure how to disconnect the various components, it may be a good idea to have one of the IT staff members assist you.
Step 2 – Separate Trash From Useful Items
Before turning your attention to the desk again, sort through all the items that you've removed. The idea here is to separate necessities from trash, which only bolsters your efforts in creating a clean office desk. People often end up with a mounting pile of various item types that remain on their desks unnecessarily.
This problem gets to such an extreme degree for some people that disposing of the non-essential items is enough to get their office desks to a clean state (meaning organizing wasn't even necessary). Take a long and thoughtful look at everything you've removed and consider what you truly need. Don't try to make excuses to hold on to something that can go. Technically speaking, the more things that you get rid of, the easier this process becomes. Then, the more you clean office desk, the better productivity you get.
You may also want to come up with a system that you stick to at this point. The categorization principles that you develop here can come in handy to maintain the cleanliness that you want.
Once you've completed separating everything, dispose of the items that are supposed to be discarded immediately. You don't want them to interfere with your train of thought or what you're trying to accomplish.
Step 3 – Disinfect the Desk Surface
Now it's time to start working on getting the desk surface to prepare it for the items you are going to be putting on it. Make sure you know how to clean desk areas that come with different requirements. Some office desks have a unique composition, which means there are various materials at play. Cleaning them effectively is not always a standard process, so remember to pay attention to that.
In most cases, using a cloth and your desk cleaner solution should be enough to remove the dust and whatever other impurities may be at play. It also helps to have a secondary piece of cloth that you can use to keep things dry as you proceed. Though the disinfectant was designed to minimize and eliminate bacteria and other microorganisms, moisture is conducive to attracting dirt.
Remember to pay attention to more than just the tabletop. Though it's the part of the desk that you use the most, you do come into direct or indirect contact with the other areas, so you want to take care of them too. For example, if your desk has desk drawers, the handles should be a point of focus during your disinfecting
Step 4 – Organize Your Useful Items
With the trash out of the picture, everything that remains should fall under the umbrella of useful items in your desk setup. Now is an excellent time to organize them. Using a category system is a good idea here. It helps you locate everything quickly enough when you are ready to put the desk back together.
Doing so can also help you make better placement decisions too.
Step 5 – Clean Your Hardware
You don't want to create a situation where you've disinfected your desk, gotten it clean, and then undo all your work by placing dirty items on top of it. Remember that the desk is not the only component in the equation that can capture dust.
Your hardware is one of the worst offenders here. Components, such as your curved computer monitor, are liable to have a dusty exterior, even when it doesn't appear that this is the case. It's up to you to ensure that the items are all clean before returning them to their clean office desk space.
This is another area in which you need to pay attention to specific needs as you clean. Take your keyboard, for example. If you wipe the keyboard's surface with your disinfectant solution, you are barely scratching the surface of the problem that the keyboard has where dust and impurities are concerned.
Most of your genuine worry lies beneath the keys, Which means you must find a way to clean such a difficult-to-reach area. The keys on many conventional keyboards are detachable, so some people resort to removing all their keys before starting the cleaning process.
It's a laborious method, but it's the one that many have found to work for them. A more efficient way of going about it is to use compressed air in a can. The can works much like your typical aerosol can, but the opening accommodates a slim nozzle that allows you to focus a powerful stream of air In one direction. Doing so allows you to force all the unwanted dust, particles, and other impurities out of the keyboard.
Step 6 – Decide on Keeping or Changing Your Setup
It's almost time to re-populate your desk, and there's only one more thing for you to think about. Do you think the layout that you had before you started the cleaning process is a convenient one? If not, what kind of changes do you want to make? For example, you may have kept many different office desk accessories atop your desk in the past.
After thinking it over, you may have concluded that a minimalist desk setup is a much better and more efficient way of laying things out. Making such considerations also comes with further thoughts that you must process effectively. The minimalist desk setup would mean that all the equipment and accessories that you typically kept close by for convenience are mostly no longer going to be present.
What system could you put in place to ensure that everything is still reachable with little administrative effort? Maybe you could utilize your closest desk draw as an extension of your desk space for this reason. You get to keep things out of sight, but they're still easy enough for you to reach on-demand.
Alternatively, you may decide that the way you had things before was excellent and there's no need for you to make any changes. If so, you can put everything back on the desk, but ensure that you keep it as neat and as tidy as possible.
Step 7 – Put Things Back Together and Maintain a Clean Office Desk
Now, all the thinking you had to do to achieve this clean space is behind you. Based on the planning that you've done, you can now start placing things on the desk again. In the previous step, you would have conceptualized the layout you intend to go with this time around, so you need only stick to the plan.
From this point, you can go ahead and start using your desk again as usual. However, if your cleaning requirement came from too much clutter being present, you are going to need to make a change to prevent that from being the case again.
Maintenance is the name of the game here, and you are going to feel very satisfied and fulfilled from doing it successfully.

Some Equipment Considerations
There's no denying that the clean computer desk is a positive thing to have going for you in your workspace. However, it's not the only thing that contributes to a productive and comfortable experience as you work. You must also pay attention to the equipment that you are using to ensure it meets the functional and health-based needs that you may have.
For example, an office standing desk would be a worthwhile investment if you don't already have one. Standing desks have taken the modern office by storm, and there's no surprise in that when you consider the practical nature of having one and not subjecting your body to an overly sedentary routine.
An ergonomic chair should complement that desk with a host of supportive features to make sitting both comfortable and practical. Using the two, you should practice getting into the habit of implementing sit-stand sessions as a regular part of your workday.
Doing so can keep chronic health issues and pains away, and it can also make you fulfilled and productive. So, remember to think about the composition of your office space as much as you do it's cleanliness. Both are two pieces of a complete puzzle that can revolutionize the way you work.
.svg)


