Rooftop Shed: Load Limits, Permits and How to Build One
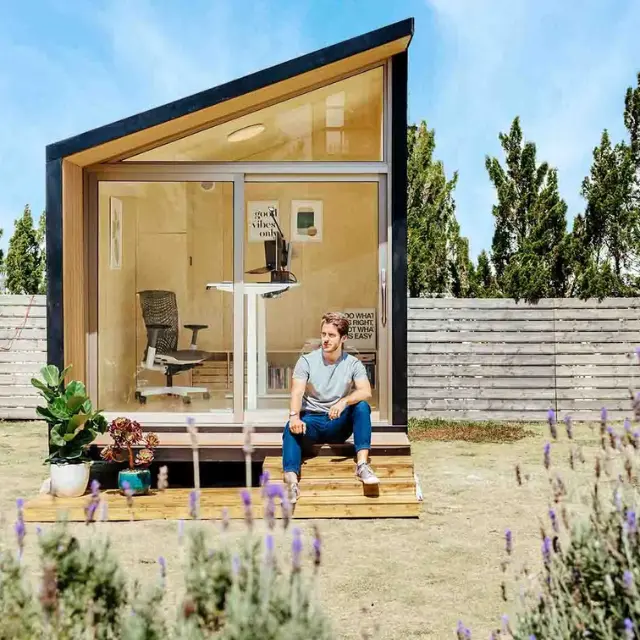
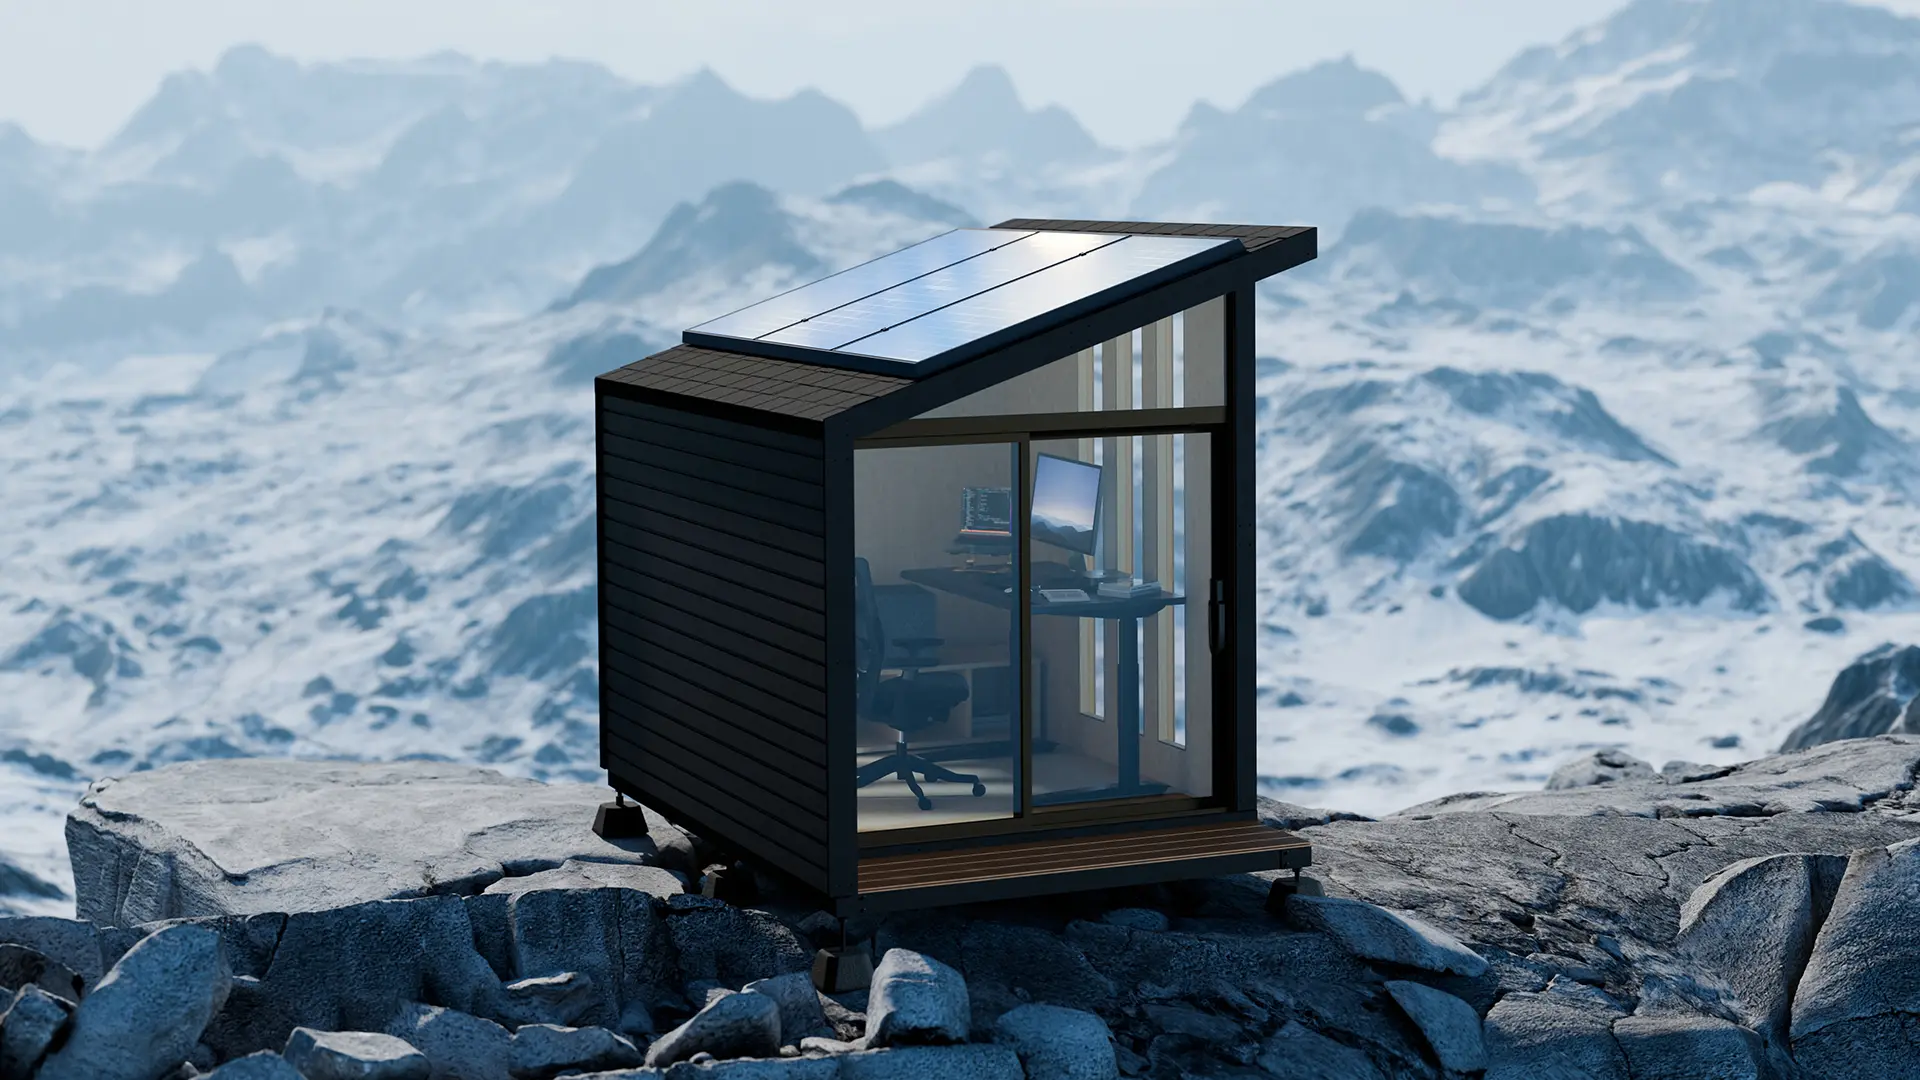
Before you plan a rooftop shed, the question to answer is not what it will look like but what your roof can carry. A shed on a roof deck is a permanent dead load on a structure that was designed for people and furniture, and the difference between a build that is fine and one that damages the deck below is usually a few hundred pounds. This guide covers the load check to run first, what permits a rooftop structure needs, and how to build one light enough to be safe.
Will your roof take the weight of a shed?
Most residential roof decks are designed for a live load of 40 pounds per square foot or less, and a small timber shed with its contents lands between 15 and 30 pounds per square foot spread over its footprint. That usually works. What does not work is anything involving concrete, masonry, or a heavy tile roof.
Run these three checks before you buy materials.
Find out what the deck was designed for.
A roof deck rated for occupancy is not the same as a roof rated for a permanent structure. The design load is on the original drawings, and if you do not have them, this is a job for a structural engineer rather than a guess. The cost of that consultation is small next to a repair.
Work out your footprint load, not your total weight.
A 300-pound shed on a 4x4 base concentrates 19 pounds per square foot. The same shed on four point feet concentrates all of it into four small areas, which is how deck membranes get punctured and joists get overloaded locally. Spread the load with bearers or pads.
Add the things people forget.
Snow, water in a full water butt, stored tools, and anyone standing inside all count. In snow country the seasonal load can exceed the shed itself, and regional ground snow loads are set under ASCE 7.
Keep it light: timber frame, sheet siding, and a light roof covering. Skip the concrete floor, skip masonry, and skip clay or slate.
Do you need a permit for a rooftop shed?
A rooftop shed is far more likely to need a permit than a backyard one, because it changes an existing structure rather than sitting on the ground next to it. The size exemptions that cover garden sheds are written for detached accessory buildings at grade and generally do not apply to something anchored to a roof.
Expect a plan check that looks at the load path, the anchoring method, and how you are penetrating the roof membrane. If the building is a condo, a duplex, or anything with shared structure, the HOA or the building's insurer will usually have a say before the city does. Waterproofing is the detail that gets refused most often, because every fixing through a membrane is a future leak until it is flashed properly.
How to Build a Rooftop Shed
1. Add Insulation
The key to making a shed functional year-round is proper insulation. Whether you're using your shed as a workspace, study area, hobby room, or relaxation space, insulation provides thermal comfort, waterproofing, and noise reduction. It helps regulate temperature extremes, keeping your shed cool in summer and warm in winter, while also preventing moisture buildup and drafts.
If sound privacy is a concern-especially for remote work, music production, or video conferencing-insulation can also provide soundproofing benefits. A soundproof office pod for home is a great example of how effective insulation and acoustic design can create a quiet and distraction-free environment.
For those looking to install bathroom facilities in their shed, insulation becomes even more crucial to protect plumbing from extreme temperatures. A well-insulated office shed with a bathroom ensures comfort and efficiency in all seasons.
There are multiple insulation options available, with spray foam insulation being one of the best choices for sealing gaps and improving energy efficiency. If you want a cozy and well-protected space, explore different shed insulation techniques to enhance both comfort and functionality.
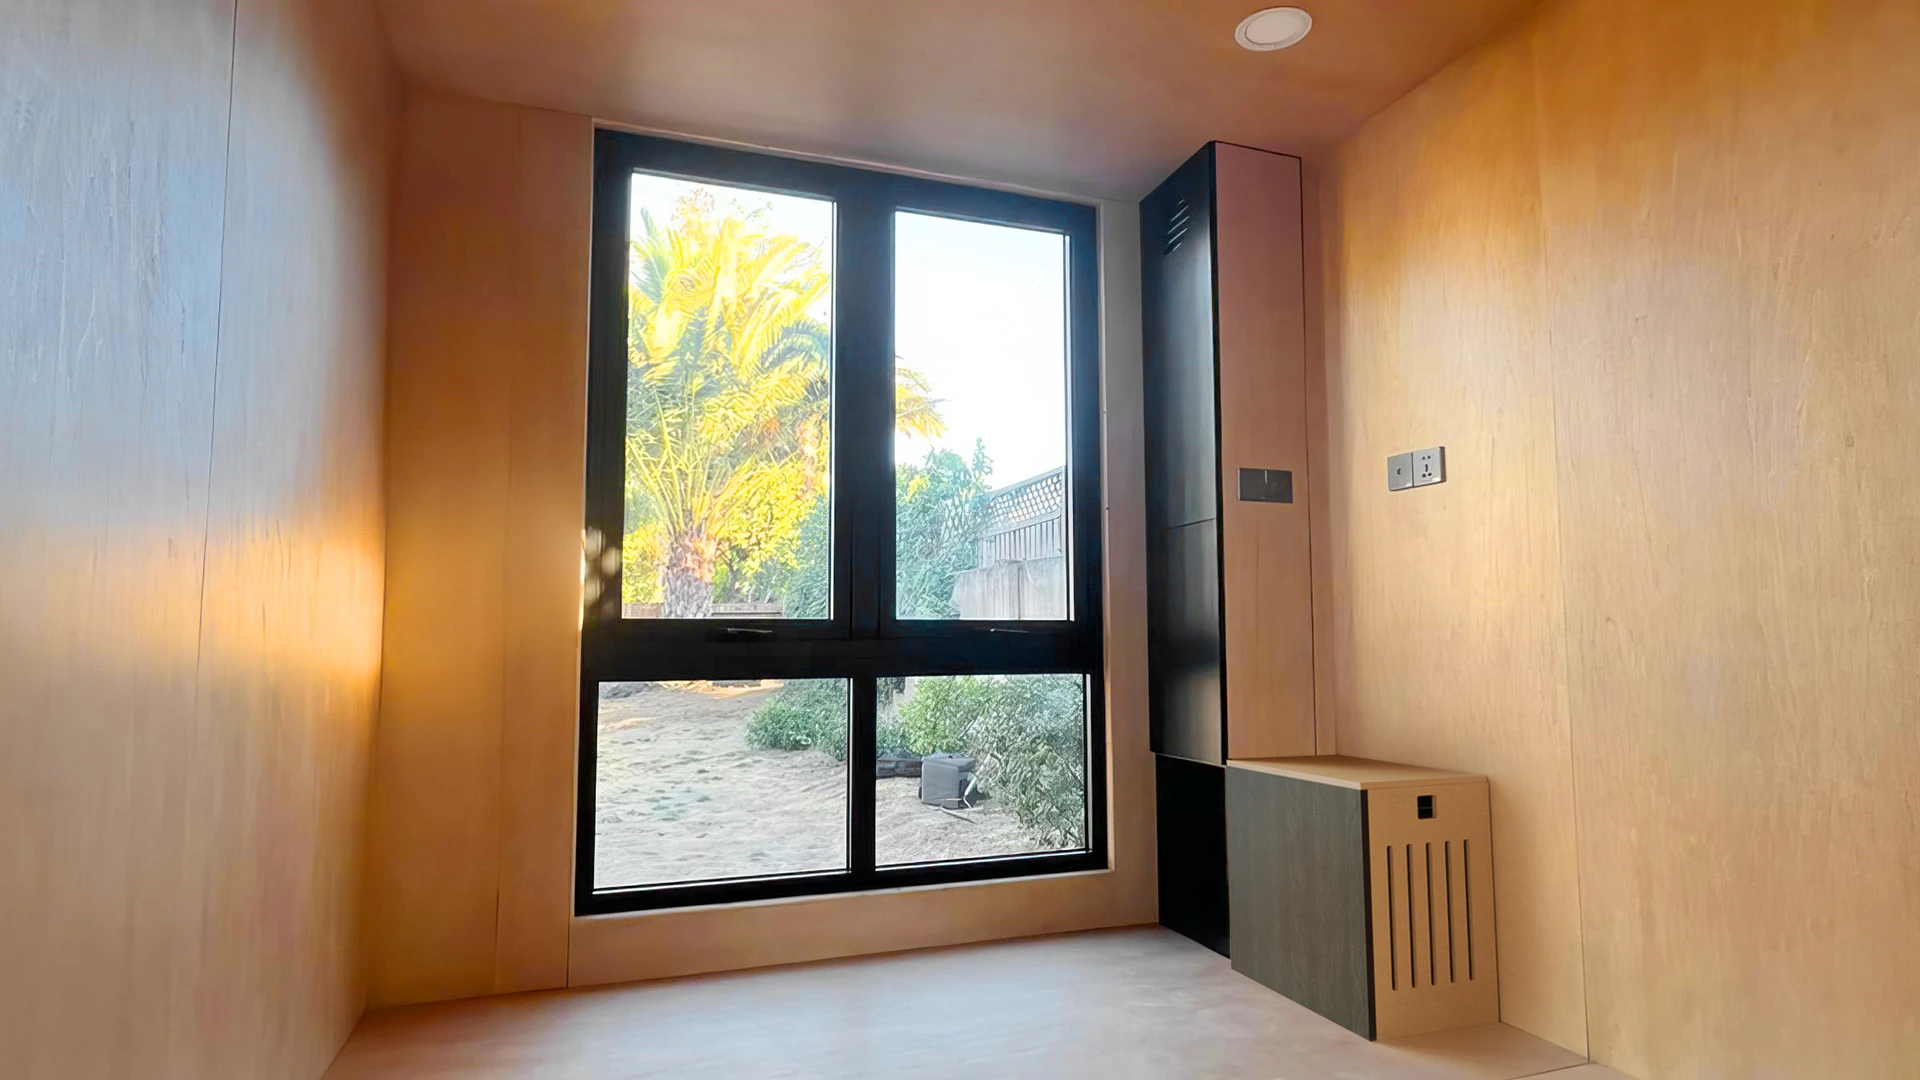
2. Concrete Floor
When it comes to shed flooring, concrete stands out as one of the most durable and reliable options. While shed roofs are commonly made from wood, fiberglass, or metal, the foundation plays a crucial role in ensuring the structure’s longevity. A concrete floor provides stability, moisture resistance, and durability, making it a top choice for backyard sheds.
Unlike wooden platforms, which may warp or degrade over time, a concrete slab is low-maintenance and resistant to pests, rot, and heavy loads. It’s also an ideal choice for sheds that will house heavy equipment, gym setups, or long-term storage. Surprisingly, if you pour the slab yourself, the cost is often comparable to a wooden platform while offering significantly better longevity.
For those exploring different flooring options, check out these outdoor shed floor ideas to find a solution that best fits your needs. If your existing shed floor is damaged, a step-by-step guide to shed floor replacement can help you restore stability and extend the life of your shed. Whether you're starting fresh or upgrading an existing structure, a concrete floor ensures a solid foundation that lasts for years.
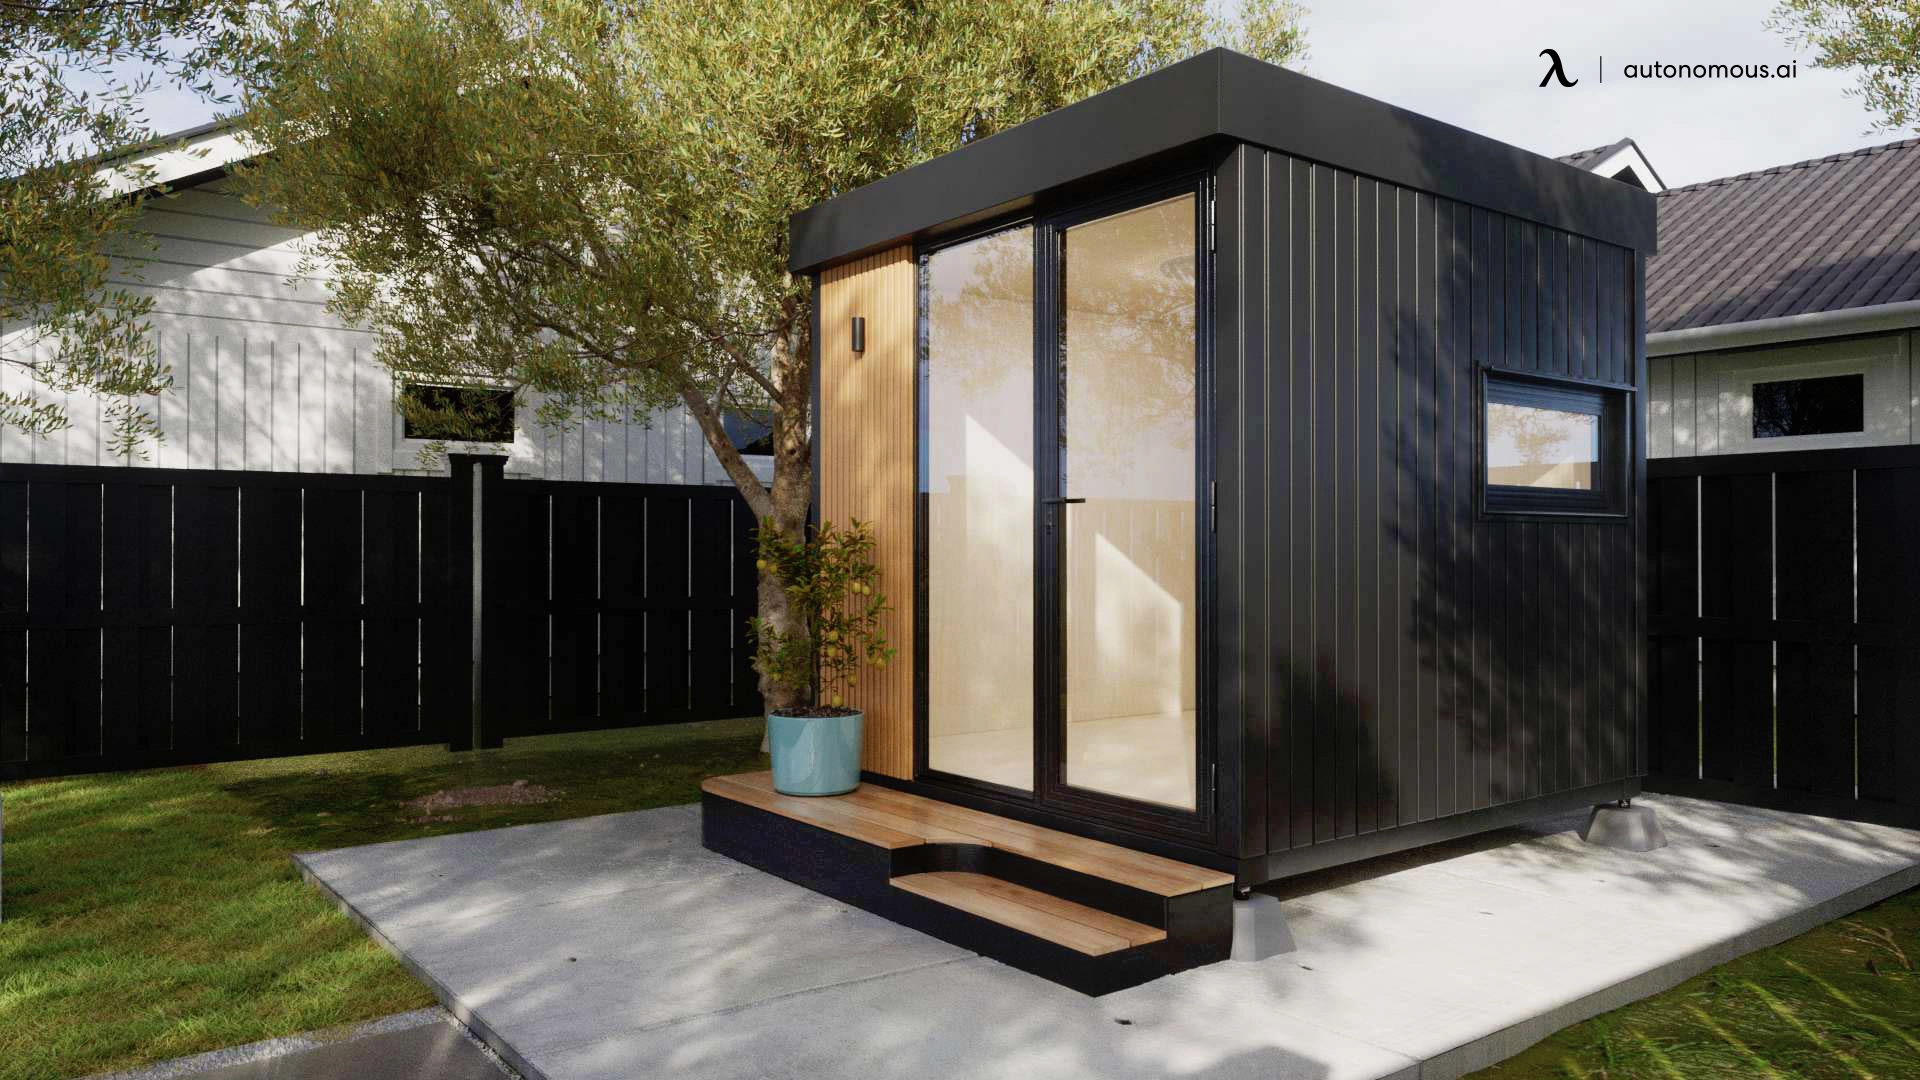
3. Take Precise Measurements
When you are squaring up the floor and walls of your shed, resist the urge to be careless. You'll be haunted by an off-square beginning for the duration of the project, from doors and windows to trim and roofing. Measure diagonally across the opposing corners of the form boards for a concrete slab. Once the diagonal measures are equal, modify the shapes. For a wood platform floor, repeat the process. Before setting up the walls to install sheet siding, measure diagonally and square them up before nailing the siding on.
4. The roof Trusses
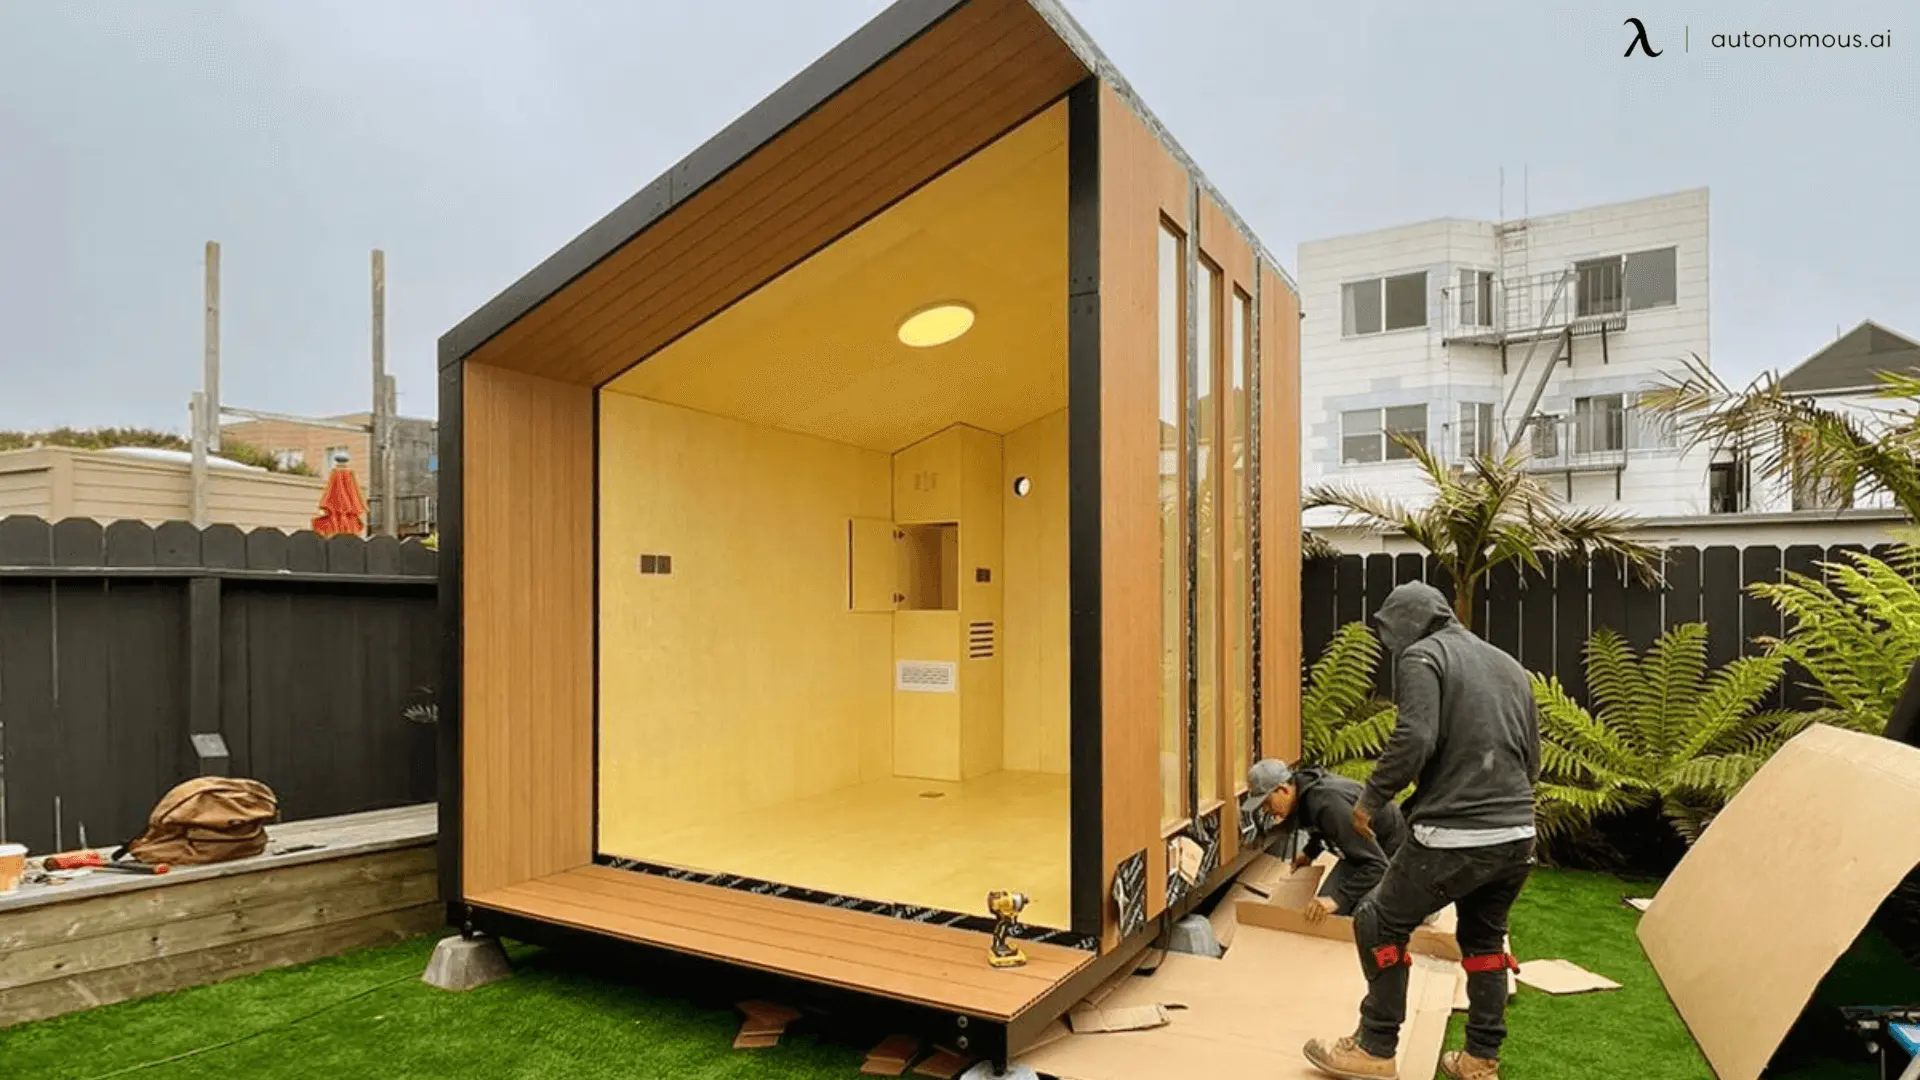
Before you go on next with the best roof style, you need to build roof trusses for your shed where the entire roof would be set. Though this one is a given, and one cannot ignore the importance of roof trusses or the roof skeleton, the roof trusses' design, quality, and style will impact how long your rooftop shed lives.
One truss is required every two feet while learning how to create a shed roof, generally speaking. The cost will be roughly half of this if you make your own. Site-built truss framework is joined together with plywood gussets that are screwed and bonded to the joints.
5. Choose a Style
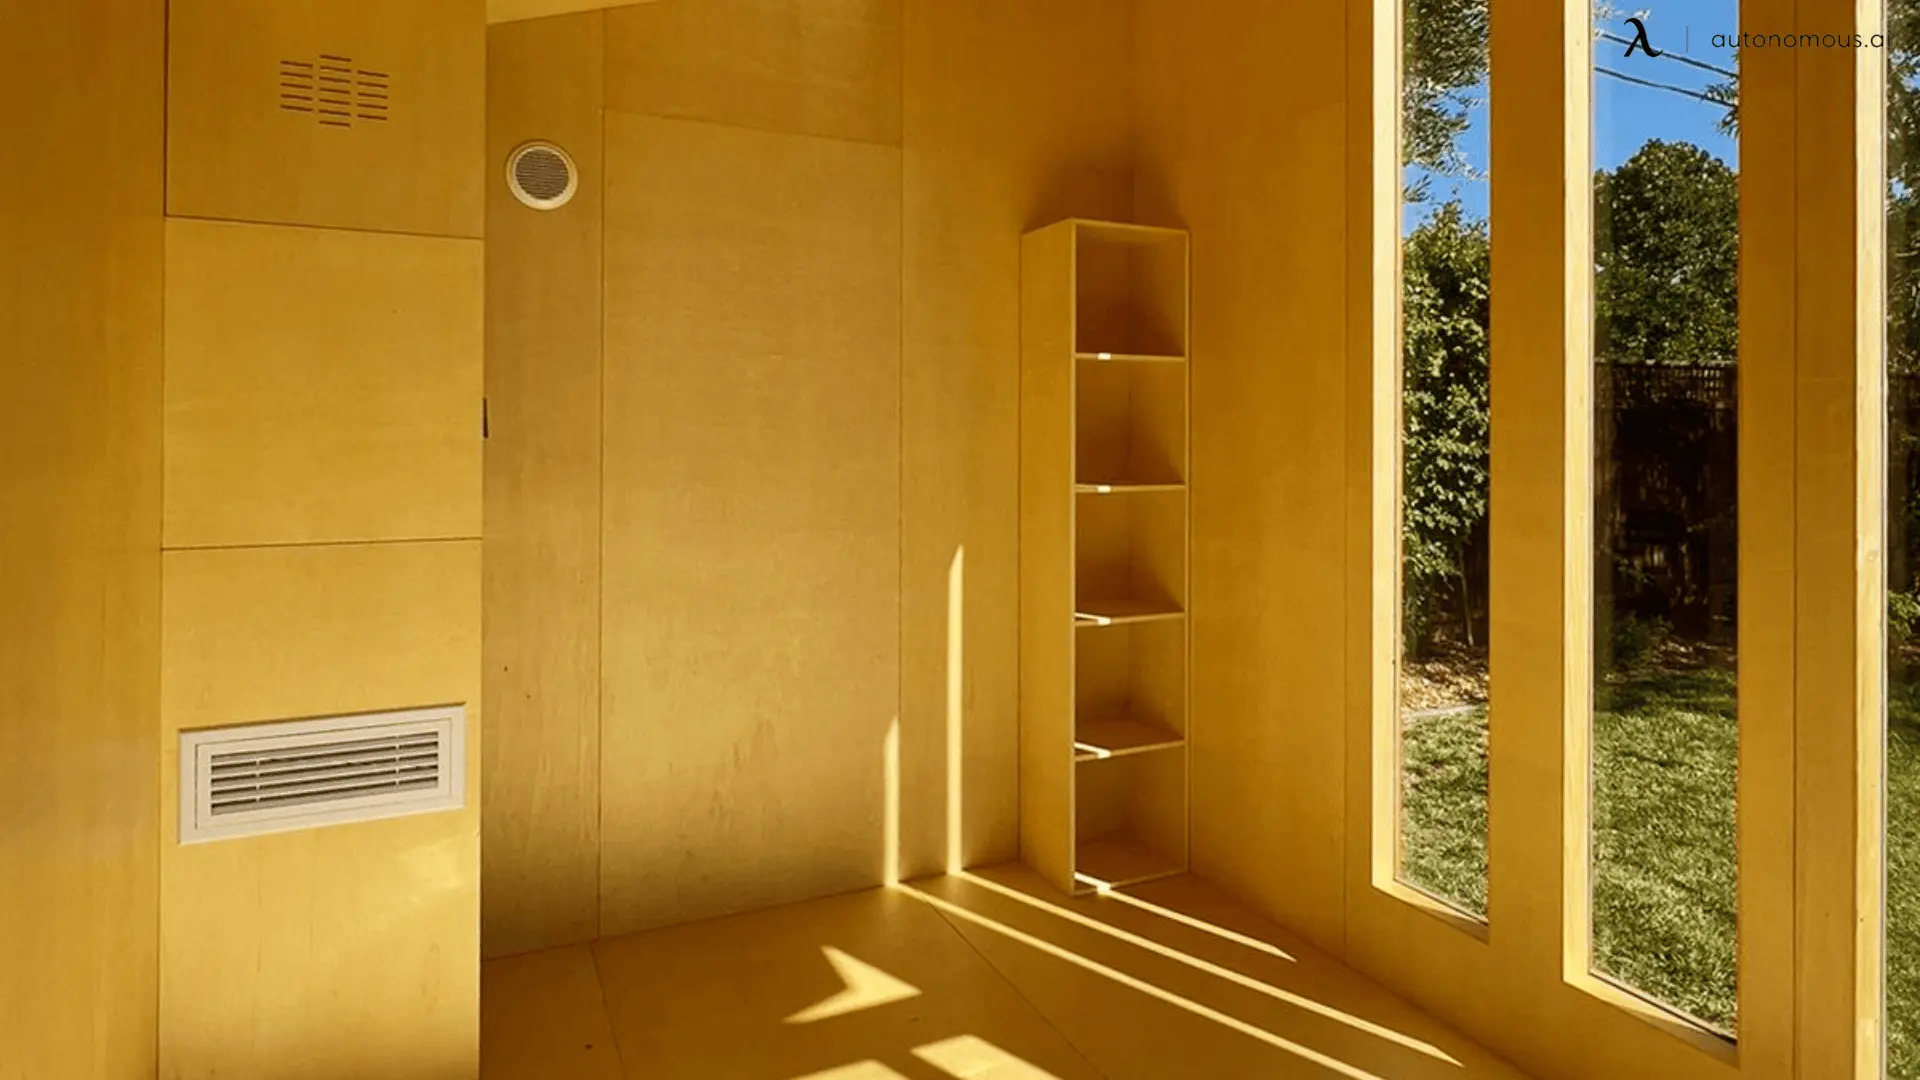
The first step in designing a rooftop shed is to plan and choose a style that fits your needs. With various rooftop shed designs available, factors like construction, planning, cost, and raw materials will differ based on your choice.
When selecting a style for an indoor office pod or a studio office shed, looks aren’t the only consideration-practicality, insulation, and durability are just as important. If your goal is to block noise and weather changes, an insulated privacy pod may be ideal. For those focused on maximizing workspace, a tiny office shed can provide a compact yet efficient layout.
The type of shed roof you choose plays a major role in durability and weather resistance. Common rooftop styles include:
- Gable Roof: Features a symmetrical sloped design, great for areas with heavy rainfall or snow.
- Gambrel Roof: Often used in barn-style structures, offering extra headroom and storage space.
- Skillion Roof: A simple, single-sloped design that’s ideal for sheds due to its ease of construction and water drainage.
For those considering a long-term workspace, a prefab home office offers pre-designed solutions that balance style, insulation, and functionality. Whatever style you choose, ensuring proper planning and material selection will help create a durable and comfortable space for work or leisure.
6. Determine the Slope
As mentioned before, a roof shed usually has a slope to it so the rainwater, snow falling on it, or any dirt or dust doesn't accumulate on the surface of the material and damage it continuously. The slope design also adds to the aesthetics of the rooftop and will give a classic look from afar. But it is important to determine the right level of slope to determine a proper look and a sturdy design. If you are purchasing built pods like the Autonomous pods, then some of them offer sloped options as well.
But for your DIY project, the rule is to build a shed with a slope of three in twelve. This means that for every twelve inches, the rise in the roof should be three inches for the design to be sturdy and durable.
7. Add Overhangs
The front of your rooftop shed should be equally protected, but as we speak about keeping your shed safe, it is wise to protect all four sides, and an overhang is the best way to do so. Therefore, it is important to think about adding overhangs to the ends of your shed while it is being built. Overhangs are more labor- and resource-intensive, but they offer some rain and snow protection, which means less painting and upkeep. Furthermore, overhangs give you a spot to install decorative brackets and look better.
8. Doors and Windows
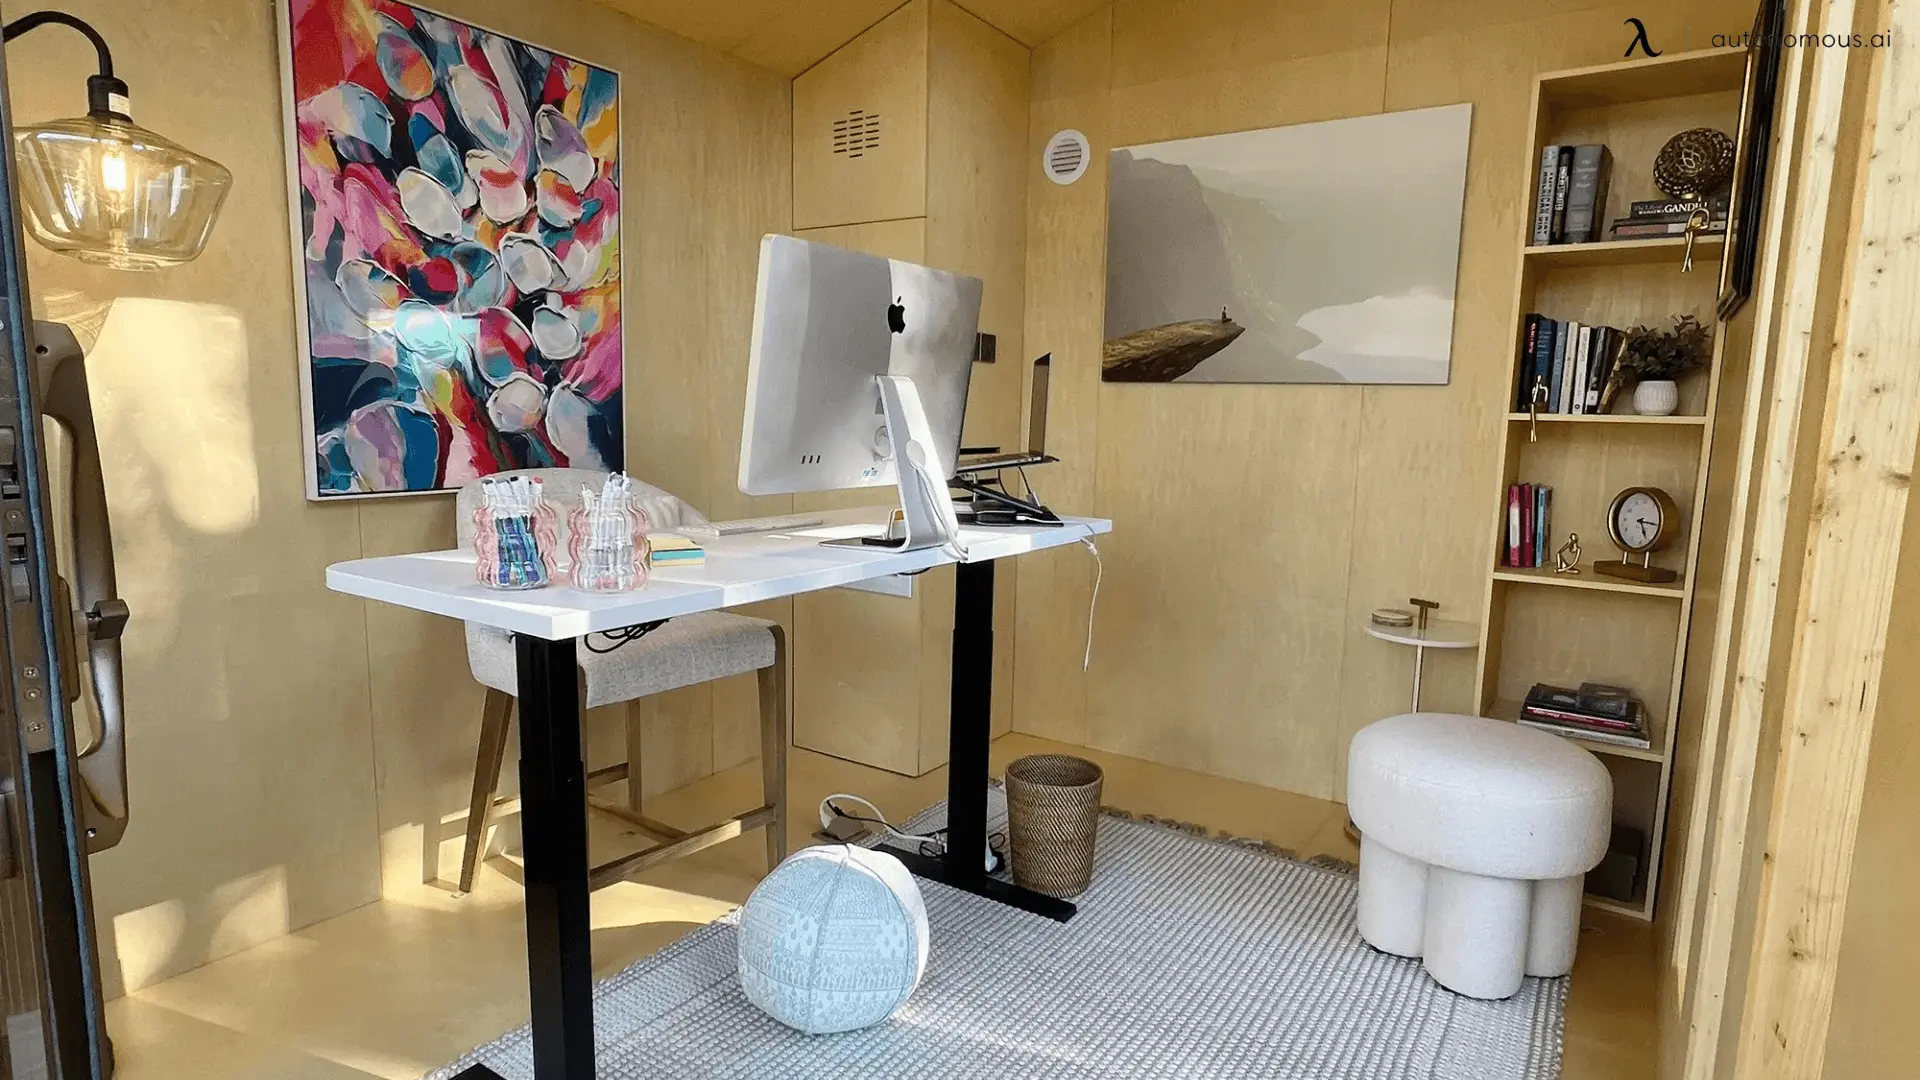
There are various benefits of planning a rooftop shed with lots of windows and a sufficiently sized door. First, it looks great. Secondly, it reduces the raw material cost which would have been used in building the walls and thirdly your shed will have a pleasant open view which will make it as natural as possible.
The fresh air and natural light can make the whole space user-friendly, and if you are planning to use it for a home office setup, then there is no better place to work than in the presence of natural light. And when it comes to choosing the right windows, we recommend the barn sash windows as they are cost-friendly and also have the right design for a shed.
FAQs
Can you put a shed on a rooftop?
Yes, if the roof was designed to carry the load and you keep the shed light. Timber-framed sheds spread 15 to 30 pounds per square foot over their footprint, which most occupiable roof decks handle. Concrete floors, masonry walls and tile roofs are what push a rooftop shed past safe.
How much weight can a roof deck hold?
Most residential roof decks are designed for 40 pounds per square foot of live load or less, but the only reliable number is the one on your building's drawings. A rooftop shed adds permanent dead load rather than live load, which is assessed differently, so confirm with a structural engineer before building.
Do I need a permit to build a shed on my roof?
Usually yes. The permit exemptions that cover small backyard sheds are written for detached structures at grade and do not extend to something anchored to an existing roof. Expect a plan check covering load path, anchoring, and roof membrane penetrations, plus HOA approval in shared buildings.
How do you anchor a shed on a roof without leaking?
Anchor into structural members and flash every penetration, or avoid penetrations entirely by using a ballasted or free-standing frame on protection pads. Any fixing through a roof membrane is a leak until it is properly flashed, and membrane repairs on an occupied roof are expensive.
What is the best floor for a rooftop shed?
A timber deck on bearers, not concrete. A 4-inch concrete slab weighs around 50 pounds per square foot on its own, which exceeds the design live load of many residential roof decks before the shed is even built. Spread the load with bearers rather than point feet.
Is a rooftop shed cheaper than a backyard shed?
No, it is usually more expensive for the same size. The structure costs the same, but you add engineering sign-off, permitting, waterproofing detail, and the cost of getting materials onto the roof. A ground-level build avoids all four.
.webp)