DIY Sleeping Pods: Easy Way for Beginners
Table of Contents
Sleep deprivation has become quite common among remote workers. Sleeping less than seven to eight hours and burning midnight oil has become usual. You might be working from your bedroom or living room. In such a case, the boundaries between your work hours and resting hours get blurred; thus, your sleeping pattern suffers. So, you need a sleeping pod to work on your sleeping routine.
We all know that it is vital for you to stay productive at work if you wish to increase your efficiency. However, this is not possible if you don’t get adequate sleep. An irregular sleeping pattern can affect your focus in the short run and your health in the long run.
Your sleeping time gets impacted when you work where you should be relaxing, or you don't have any specified place to relax without any interruptions. This is where the sleeping pods enter the picture.
However, the typical sleeping pod price is not something that every remote worker can pay. The good thing is that you can create a DIY sleeping pod if you know the right steps. A DIY sleeping pod is something that anyone can afford. That’s why we think it will be helpful if we share a detailed guide on setting up a sleeping pod.
As you read further, you will find everything that you need to know about the sleeping pods. From the basics like what is a sleeping pod to details like how they work and the steps to create one yourself, you will find everything here. So, let's start with the first question regarding the basics of the sleeping pod.
What Is a Sleeping Pod?
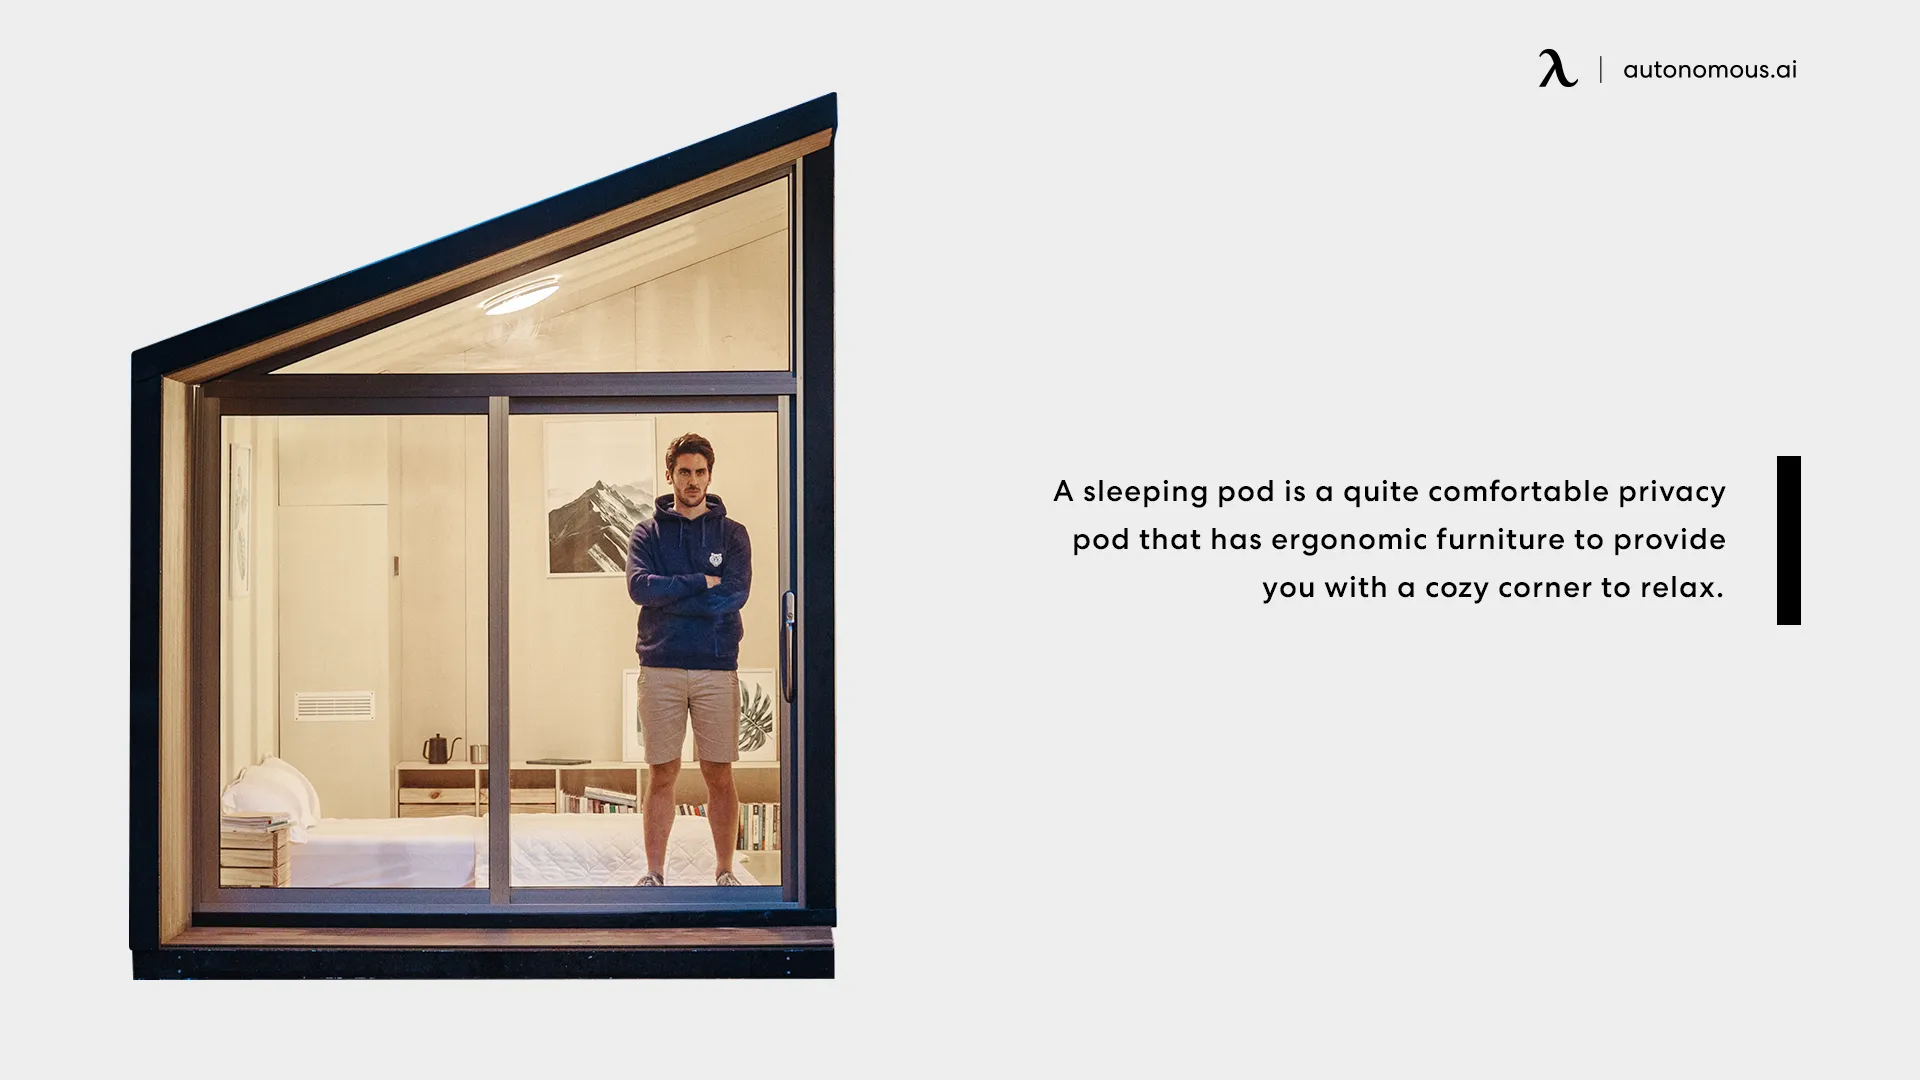
A sleeping pod is a quite comfortable privacy pod that has ergonomic furniture to provide you with a cozy corner to relax. These pods are ideal for power naps and boosting energy levels on a busy day. The sleeping pods are usually of two types.
One comprises the box-shaped single-room compartment that resembles the capsule hotels of Japan. The other has a zero-gravity C-shaped lounger placed in a large dome to maintain darkness and provide a private pod to relax.
The average sleeping pod price is between $8,000 - $12,000. They have a degree of customization that lets you add features like calming background music, timers, and other helpful additions. However, every luxurious addition costs you dollars. The good thing is that you can add these features to your self-designed pods too.
How Do Sleeping Pods Work?
Sleeping pods are designed to offer features that can help you have a better sleep. When you overwork, your muscles get under a lot of strain. So, one thing that the sleeping pods ensure is that they offer you the utmost comfort.
They provide you with ergonomic support, a low-light environment, soothing sounds, and a timer to help you monitor your sleep.
All these features ensure that your muscles relax, and you get a good time napping or sleeping as per the part of the day. With that, your performance at work and health improves significantly.

How to Build a Sleeping Pod Yourself – Step by Step
We know that you must be excited to learn how you can build a sleeping pod on your own. So, here is a step-wise guide to constructing a DIY sleeping pod.
1. Select The Type of Your Sleeping Pod
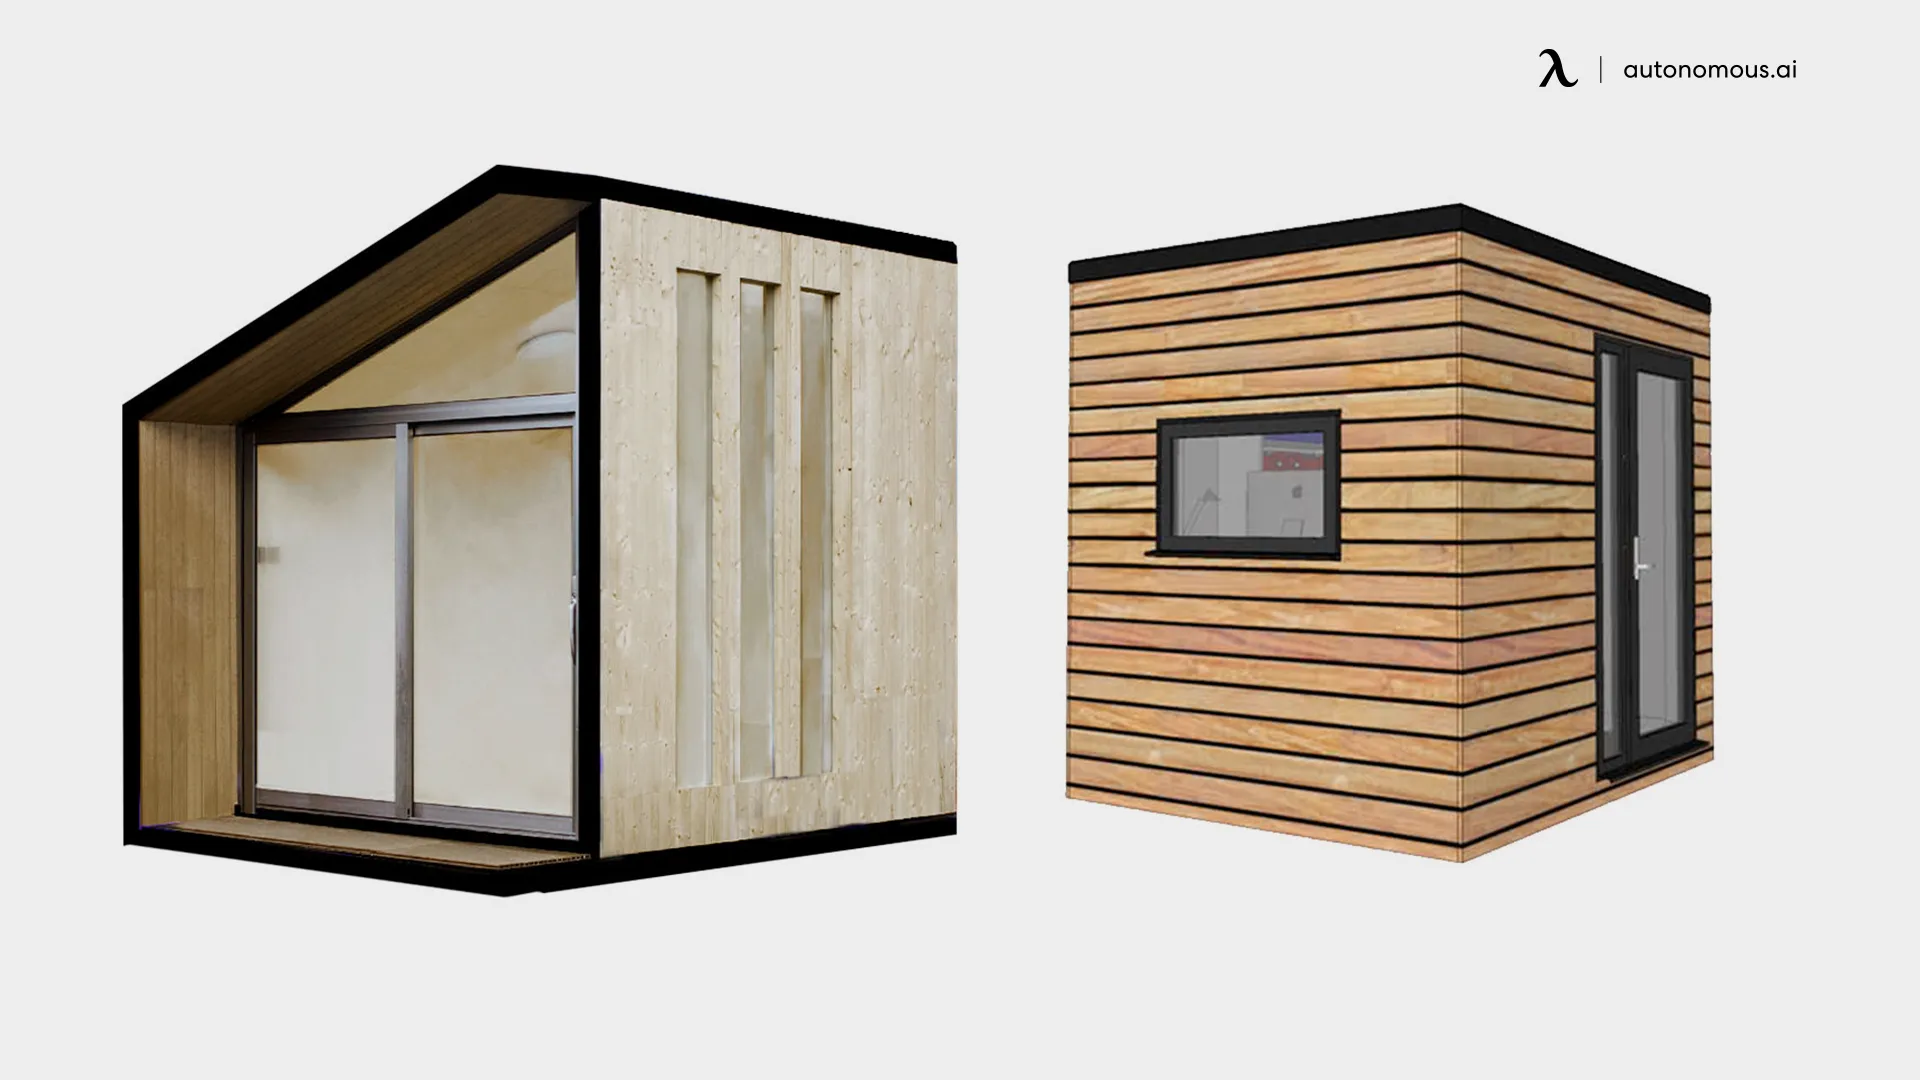
It always begins with planning, so think of which sleeping pod design would be easier to build for you. We discussed two types above; one resembled the Autonomous Pod while the other was a dome-shaped sleeping pod. The selection is based upon your discretion, so plan for whichever option you find more suitable.
2. Choose the Most Comfortable Spot
Your sleeping pod should not be somewhere near your workspace, as workspaces are usually bright and comparatively noisy. So, think of a place that would be the most comfortable spot for placing your sleeping pod. This space should be in a low-lit isolated area. However, if you cannot find any such spot, you should be prepared to add curtains in your sleeping pod to limit light and use denser materials for building the pod to enhance sound isolation.
3. Pen Down Your Designs and Plans
As you have selected the type of sleeping pod by now, the next important thing to do is pen down the layout before the final execution. Before you hammer the woods to make a sleeping cabin, you should have its design on paper. Mapping your layout and estimating the area covered by your pod will help you evaluate how many tools and building materials you will need.
4. Select the Materials for Making the Frame and Exterior of Your Sleeping Pod
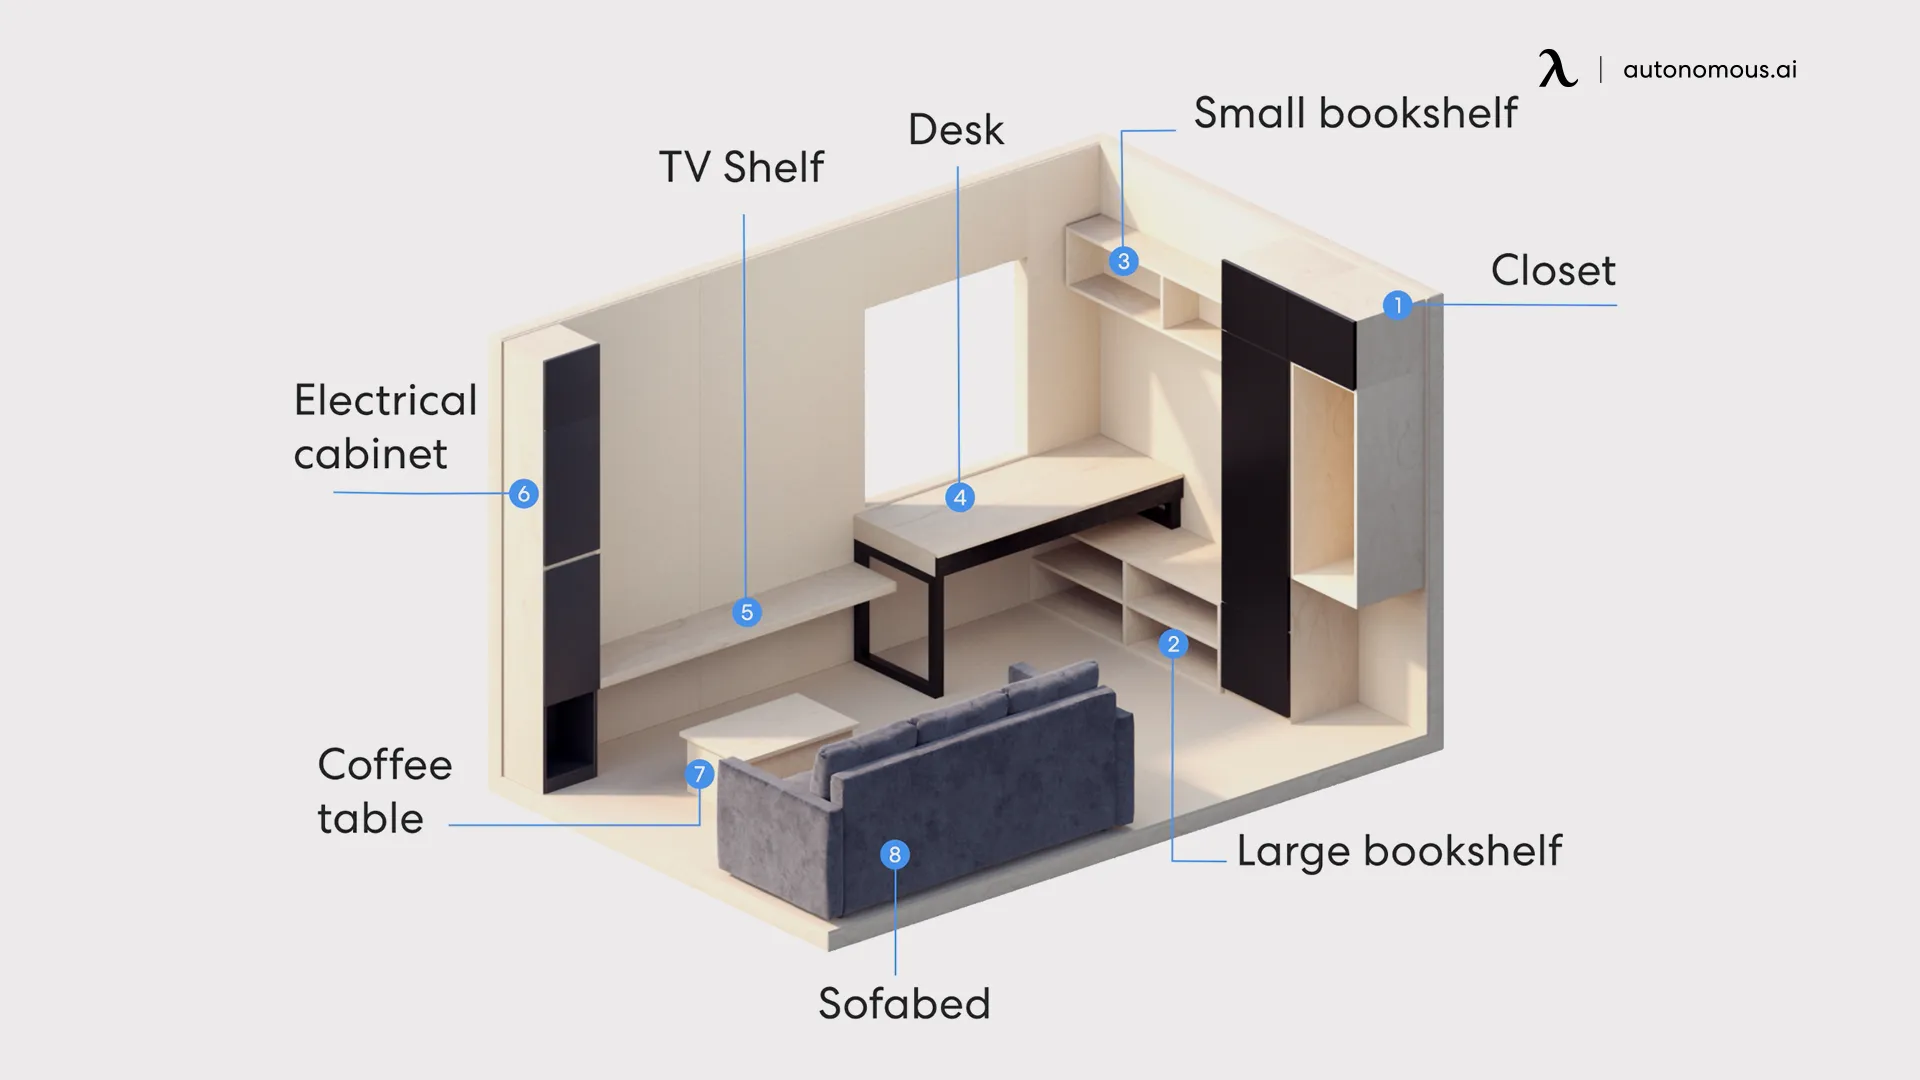
Once the plan is on paper, you must collect the materials you will need for the final execution. Typically, you need plywood, flooring panels, bead board, and drywall as the basics for building any sleeping pod. In addition, you must have an adequate supply of fixtures like door handles, windows, or any compartment panel you wish to add.
This is also the time when you evaluate which mattress and sheet you would like to have. Typically, people with a stiff budget go for inflatable mattresses, but there is an option of going for the ergonomic ones too.
5. Create the Frame and Build Your Bed Box
The fifth step is about screwing and hammering the plywood to construct a bed box that is large enough to accommodate your mattress. This box may look like one of the indoor office pods that do not look congested and suffocating.
6. Install the Relevant Fixtures like HVAC
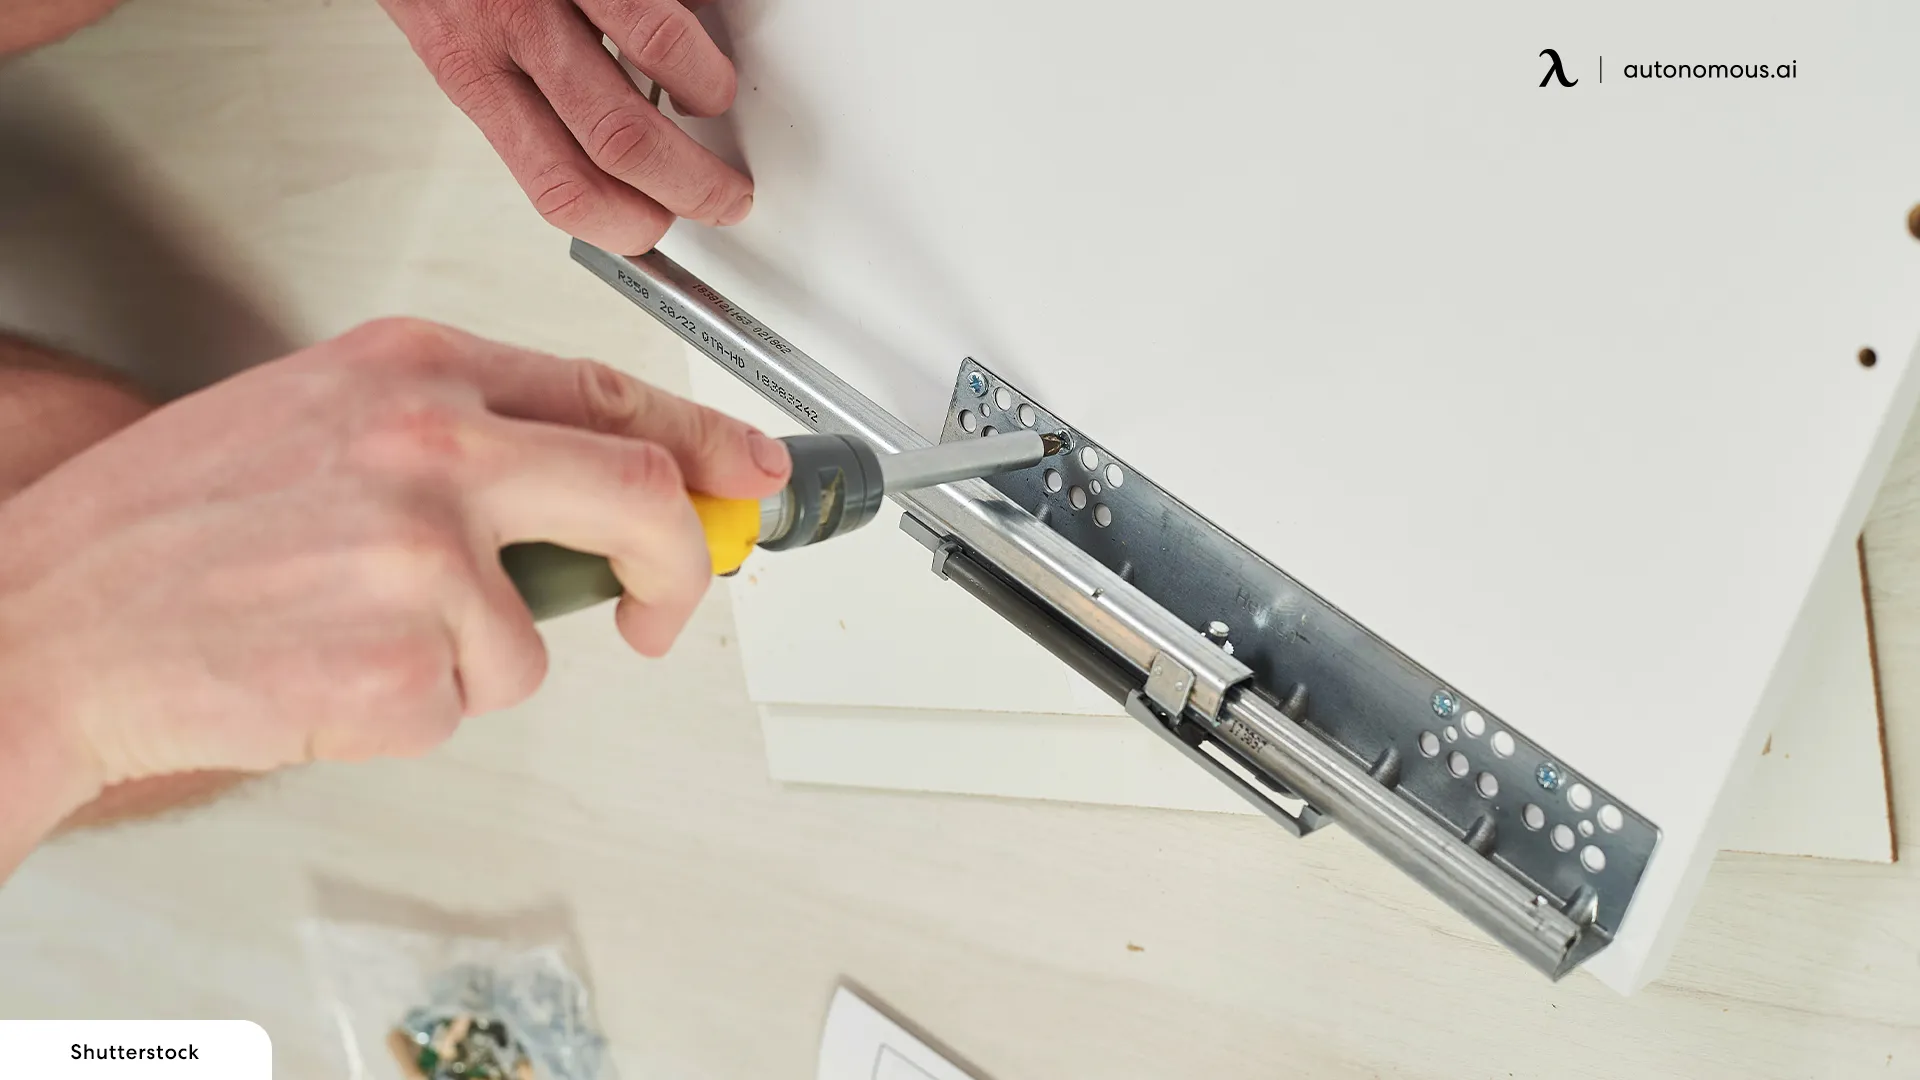
Electrical fixtures are a must for a sleeping pod. It is vital to install the HVAC to ensure the sleeping pod is well-ventilated. If the temperature is an issue in your sleeping pod, you may think of building windows right when you were building the bed box.
7. Slither In!
Once you have done that, all that is left is placing the mattress and slithering in your extra cozy DIY sleeping pod.
Just like you created a sleeping pod, you can get a prefab office too. We have that available in our online store. In addition, you may find office accessories on the Autonomous online store as well.
Why Choose Autonomous WorkPod
The Autonomous WorkPod distinguishes itself from other brands by providing a comprehensive setup that includes a foundation and is easy to assemble within 2-3 days. The cost of the WorkPod covers essential elements such as windows, a door, and lifestyle interior features. The table below offers a detailed cost comparison between the WorkPod and other brands, showcasing the superior value and convenience of choosing the WorkPod.
Accessory Dwelling Units (ADUs) are versatile structures that can serve various purposes, from guest houses to home offices. One innovative use for an ADU is converting it into a DIY sleep pod. This transformation can provide a serene retreat for rest and relaxation, making the most of the space you have. Whether you’re seeking a quiet retreat for naps, meditation, or uninterrupted sleep, a sleep pod in your ADU can transform your space and improve your overall well-being. Enjoy your peaceful new haven!
.svg)

