How to Install a Monitor Arm
A monitor arm is one of the cheapest upgrades you can make to a desk setup. It frees the surface, gets the screen to actual eye level, and stops your neck from doing the work your chair won't. The install isn't hard - the in-box instructions just aren't great. Here's the working version.
Before you start
Check VESA. Look at the back of your monitor for four threaded holes in a square pattern. Common spacing: 75 × 75 mm or 100 × 100 mm for monitors under 32", 200 × 100 or 200 × 200 mm for larger. No VESA pattern? You'll need an adapter bracket first.
Check weight. Most arms handle 4.4–19.8 lb (2–9 kg). Weigh your monitor without the stand. A 32" curved monitor often runs 18–22 lb on its own - if you're at the top of the arm's rating, the gas spring will struggle to hold position over time. Size up.
Check desk thickness. Clamp and grommet mounts have a range, usually 0.4"–3.0". A thick solid-wood desk can exceed this. Measure before you order.
The three mount types
Mount | How it attaches | Best for |
Clamp | Squeezes the desk edge between two plates | Most desks, renters, anyone who moves often |
Grommet | Bolts through a hole in the desk | Permanent installs, heavier monitors, cleaner look |
Wall mount | Anchors into wall studs | Maximum desk clearance |
Most installs are clamp mounts. Grommet is the upgrade if your desk has a grommet hole and you want a cleaner finish. Wall mount is the specialty option.
What you'll need
The arm and its hardware. Allen wrenches (usually included). Phillips screwdriver. Tape measure. A second person for the monitor lift - recommended, since dangling a 20-lb screen one-handed while threading a bracket is how things crack. Time: 15–30 minutes for single, 30–60 for dual.
Step-by-step: clamp mount
- Assemble the post and arm. Connect the post to the clamp base. Slide the arm onto the post and secure with the locking collar or set screw. The arm should rotate freely when you're done.
- Position the clamp. Hold it at the desk edge where you want the monitor, with the post extending upward. Avoid clamping over a beveled edge or molding - it won't sit flush.
- Tighten the clamp. Turn the knob clockwise until firm. Don't over-tighten. Laminated and MDF tops crack before clamps slip.
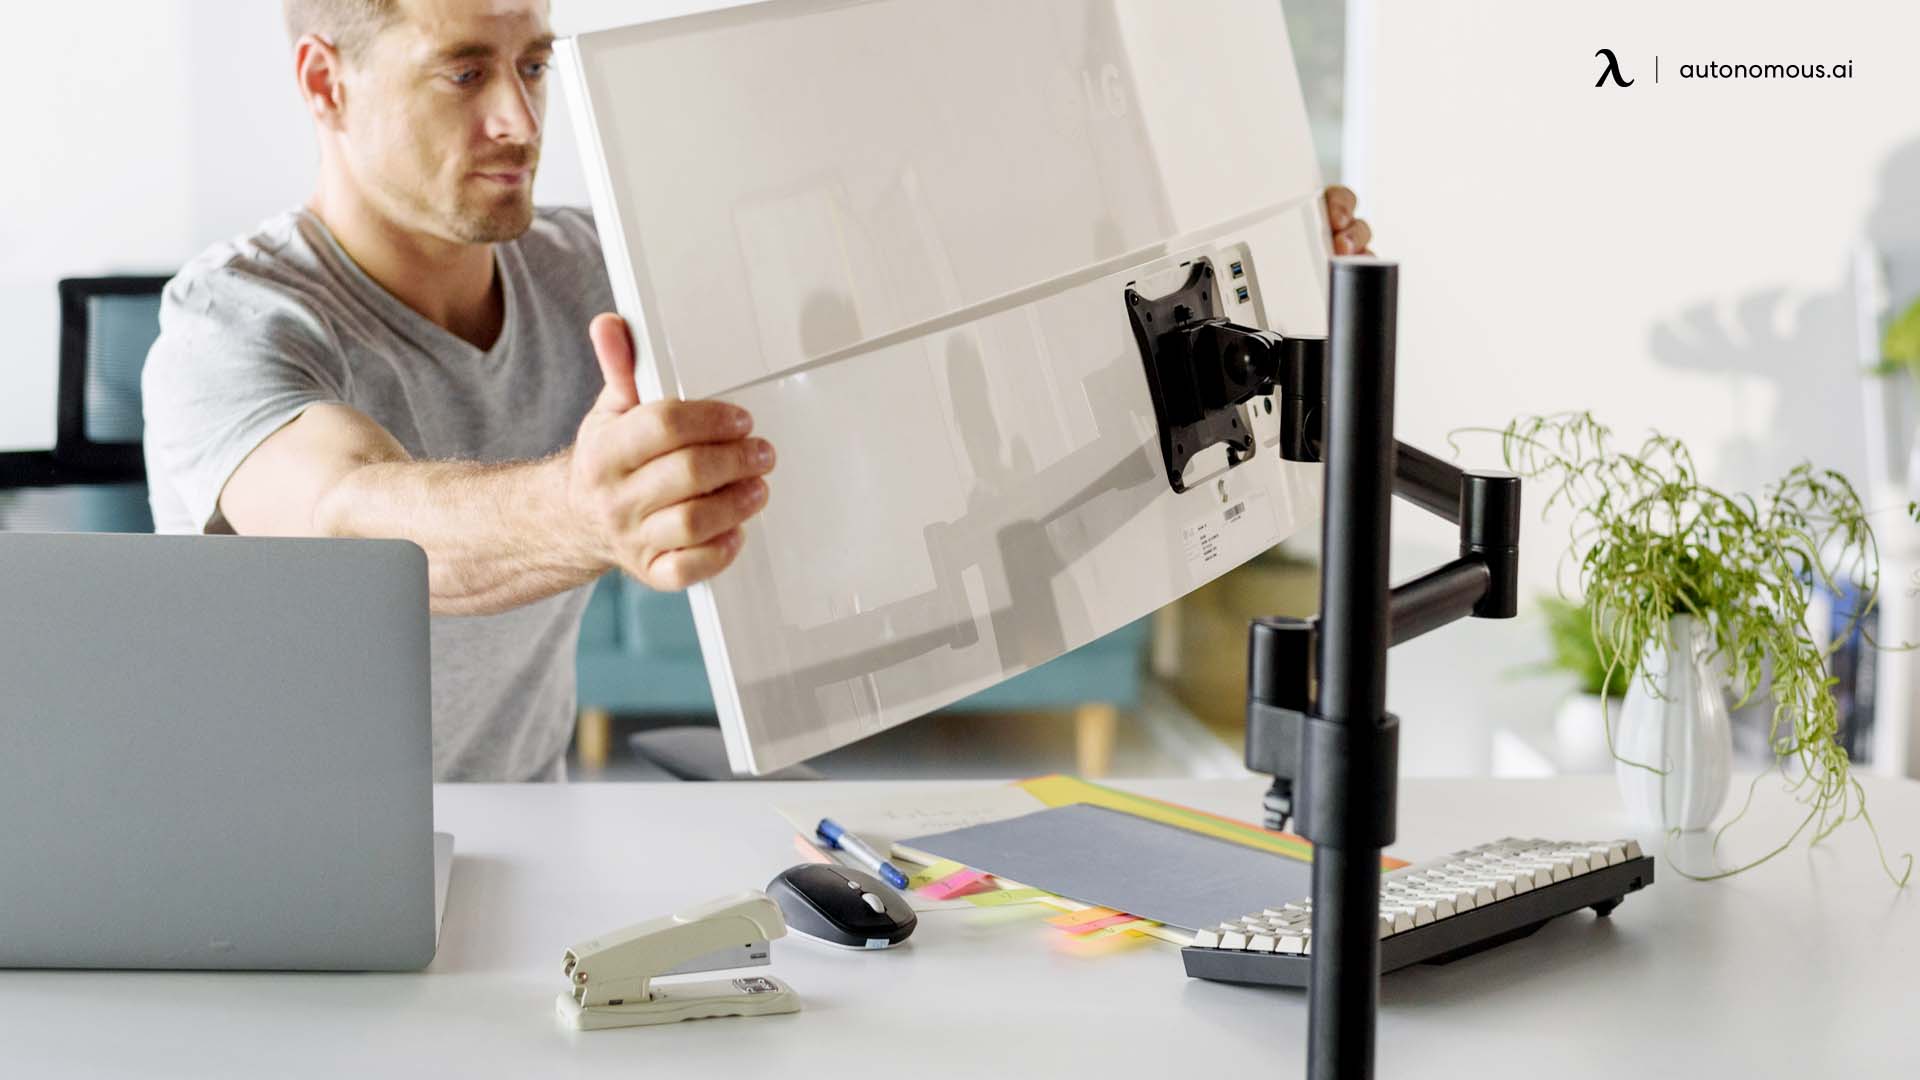
- Attach the VESA plate to the monitor. Lay the monitor face-down on a towel. Line the plate up with the four VESA holes and secure with the included screws and spacers. Most VESA mounts are recessed - use the spacers. Check the "top" arrow.
- Hang the monitor on the arm. Slide the VESA plate down into the arm's mounting bracket. Most arms use a slot-and-lock - there's a small screw or pin that locks the plate in place. Don't skip this. Without it, the monitor will eventually slide off.
- Tension the gas spring. Out of the box it's set low. If the monitor sags when you let go, tighten. If it floats up, loosen. The tension screw is at the main joint, accessible with the included Allen wrench. Small turns - adjustment is gradual.
Grommet and wall mount variations
Grommet: Steps 1, 4, 5, 6 are identical. The difference is the base. For an existing grommet hole, drop the threaded bolt through, attach the backing plate from below, tighten by hand then with a wrench. For a hole you're drilling, measure the bolt diameter and use a hole saw - most arms need 0.5"–0.8".
Wall mount: Find a stud (drywall anchors alone won't hold any monitor over ~15 lb). Drill pilot holes into the stud. Bolt the wall plate to the stud with lag screws. Attach the arm, then follow steps 4–6.
Dual monitor arms
Same install. The trick: set both arms at the same height on the post before attaching either monitor. Leveling a 22-lb monitor while adjusting arm height with one hand is the part where things break.
Cable management
Most arms have a channel along the arm and down the post for routing cables. Route them before you start using the monitor - doing it after is much harder. For the cables that drop to the power strip, an under-desk tray keeps the floor clean. The Autonomous cable tray is steel, 35 lb rated, anti-rust - enough for a power strip plus the cable bundle.
Troubleshooting
Arm sags after a week. Gas spring tension dropped, or the monitor is too heavy for the rating. Tighten the tension screw. If it still won't hold, you need a higher-rated arm.
Clamp slips. Usually a glass or polished laminate desk. Cut a piece of rubber drawer liner to sit between the clamp and the desk.
Arm wobbles when you type. Loose post-to-base connection. Re-seat the post and re-tighten.
Monitor drifts to one side. A specific joint's friction tension is loose. Tighten the screw at that joint - each one has its own tension.
FAQs
Will a monitor arm fit any monitor?
Any monitor with a VESA pattern on the back. Common patterns: 75×75 mm or 100×100 mm. Monitors without VESA need an adapter bracket first.
How much weight can a monitor arm hold?
Most handle 4.4–19.8 lb. Check the spec sheet and weigh your monitor without its stand. Top of the rating still works but the spring will fatigue faster.
Clamp or grommet?
Clamp is more flexible - no drilling, easy to move. Grommet is cleaner and more secure for heavier monitors if your desk already has a hole.
Do monitor arms damage desks?
A clamp with rubber padding doesn't mark the desk. Over-tightening cracks laminated tops. Wall mounts leave drywall holes if removed.
How long does install take?
15–30 minutes single, 30–60 dual, 45–75 wall mount. Most time goes into cable routing and tension adjustment, not the structural install.
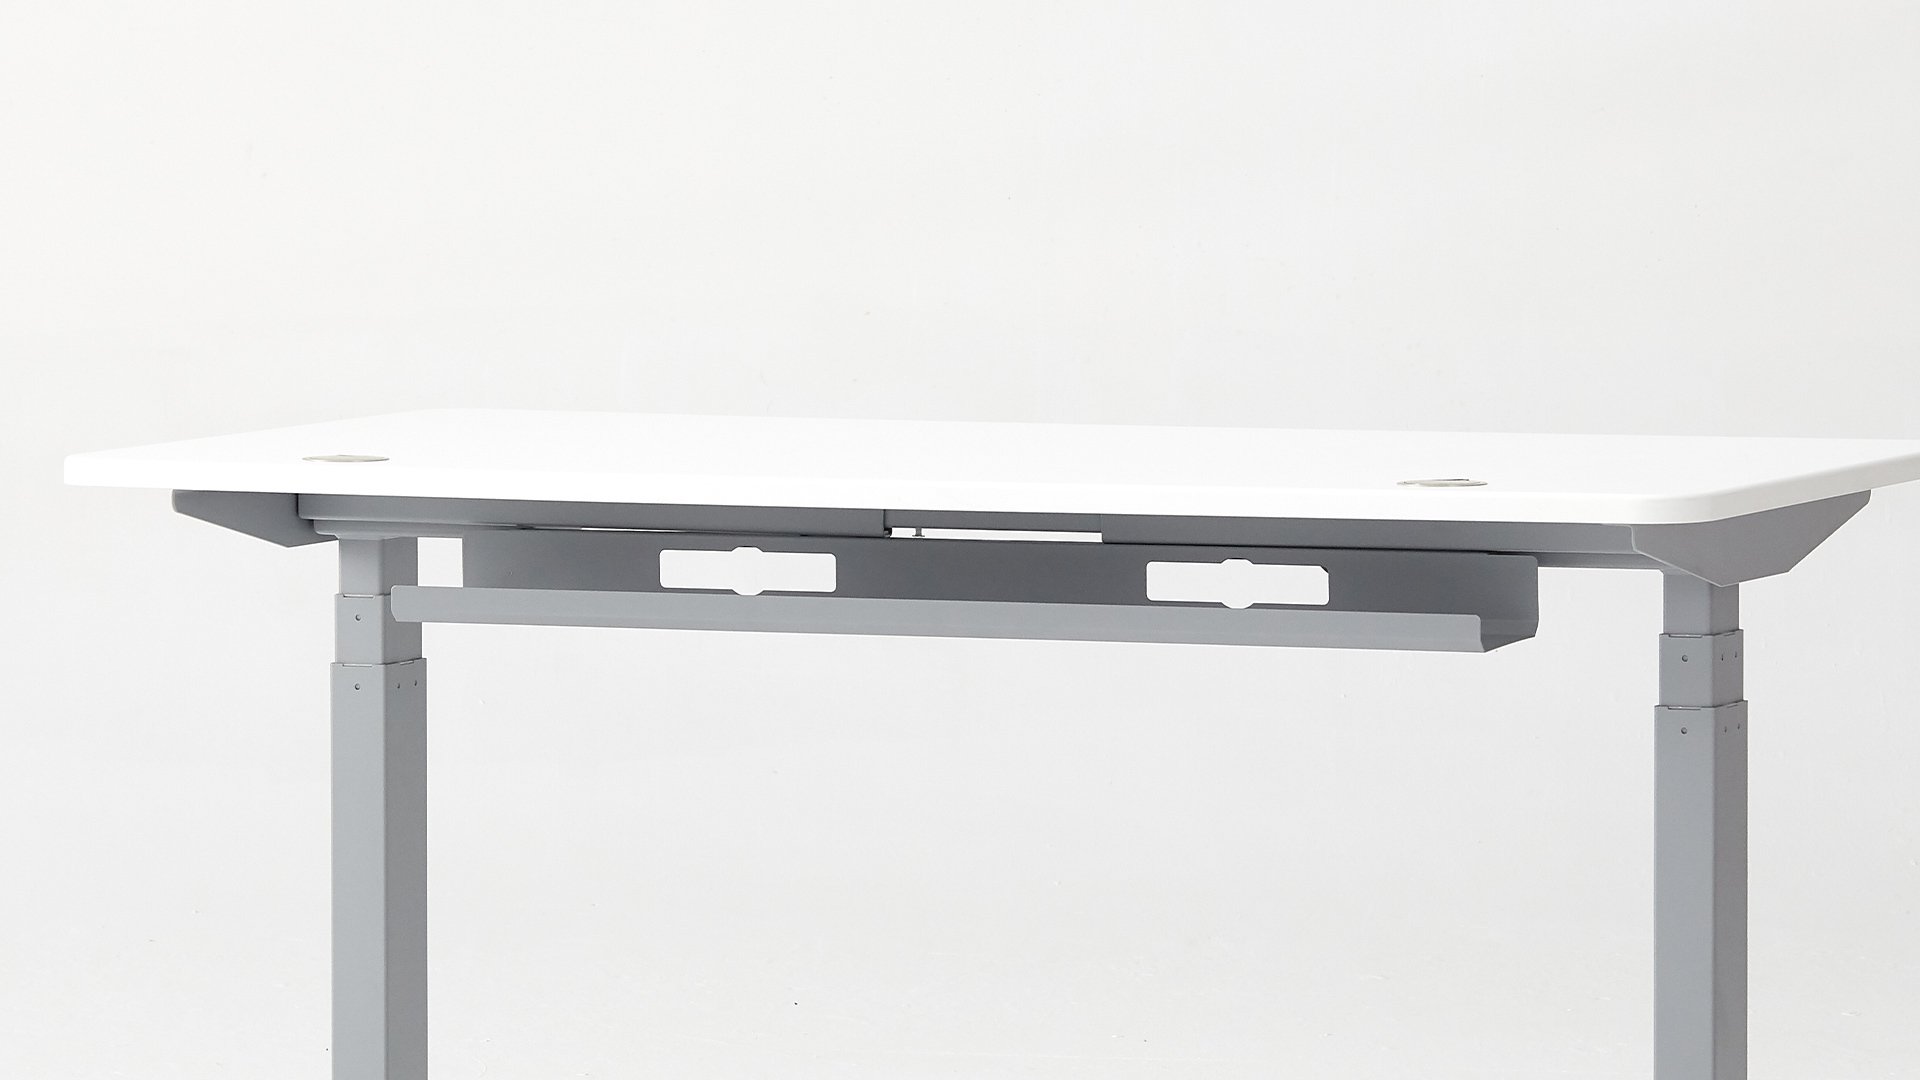
After the install
A monitor arm pairs best with a height-adjustable desk - once the monitor floats, raising and lowering the desk lets the screen track to eye level whether you're sitting or standing. The Autonomous Desk 2 both ship with grommet holes pre-drilled and dual-motor lift, which makes the install cleaner than retrofitting onto a fixed desk.
The arm itself takes about 20 minutes. The cable management takes about as long. Get both right and you won't think about it again.