Ultimate Guide To Small Home Photography Studio Setup
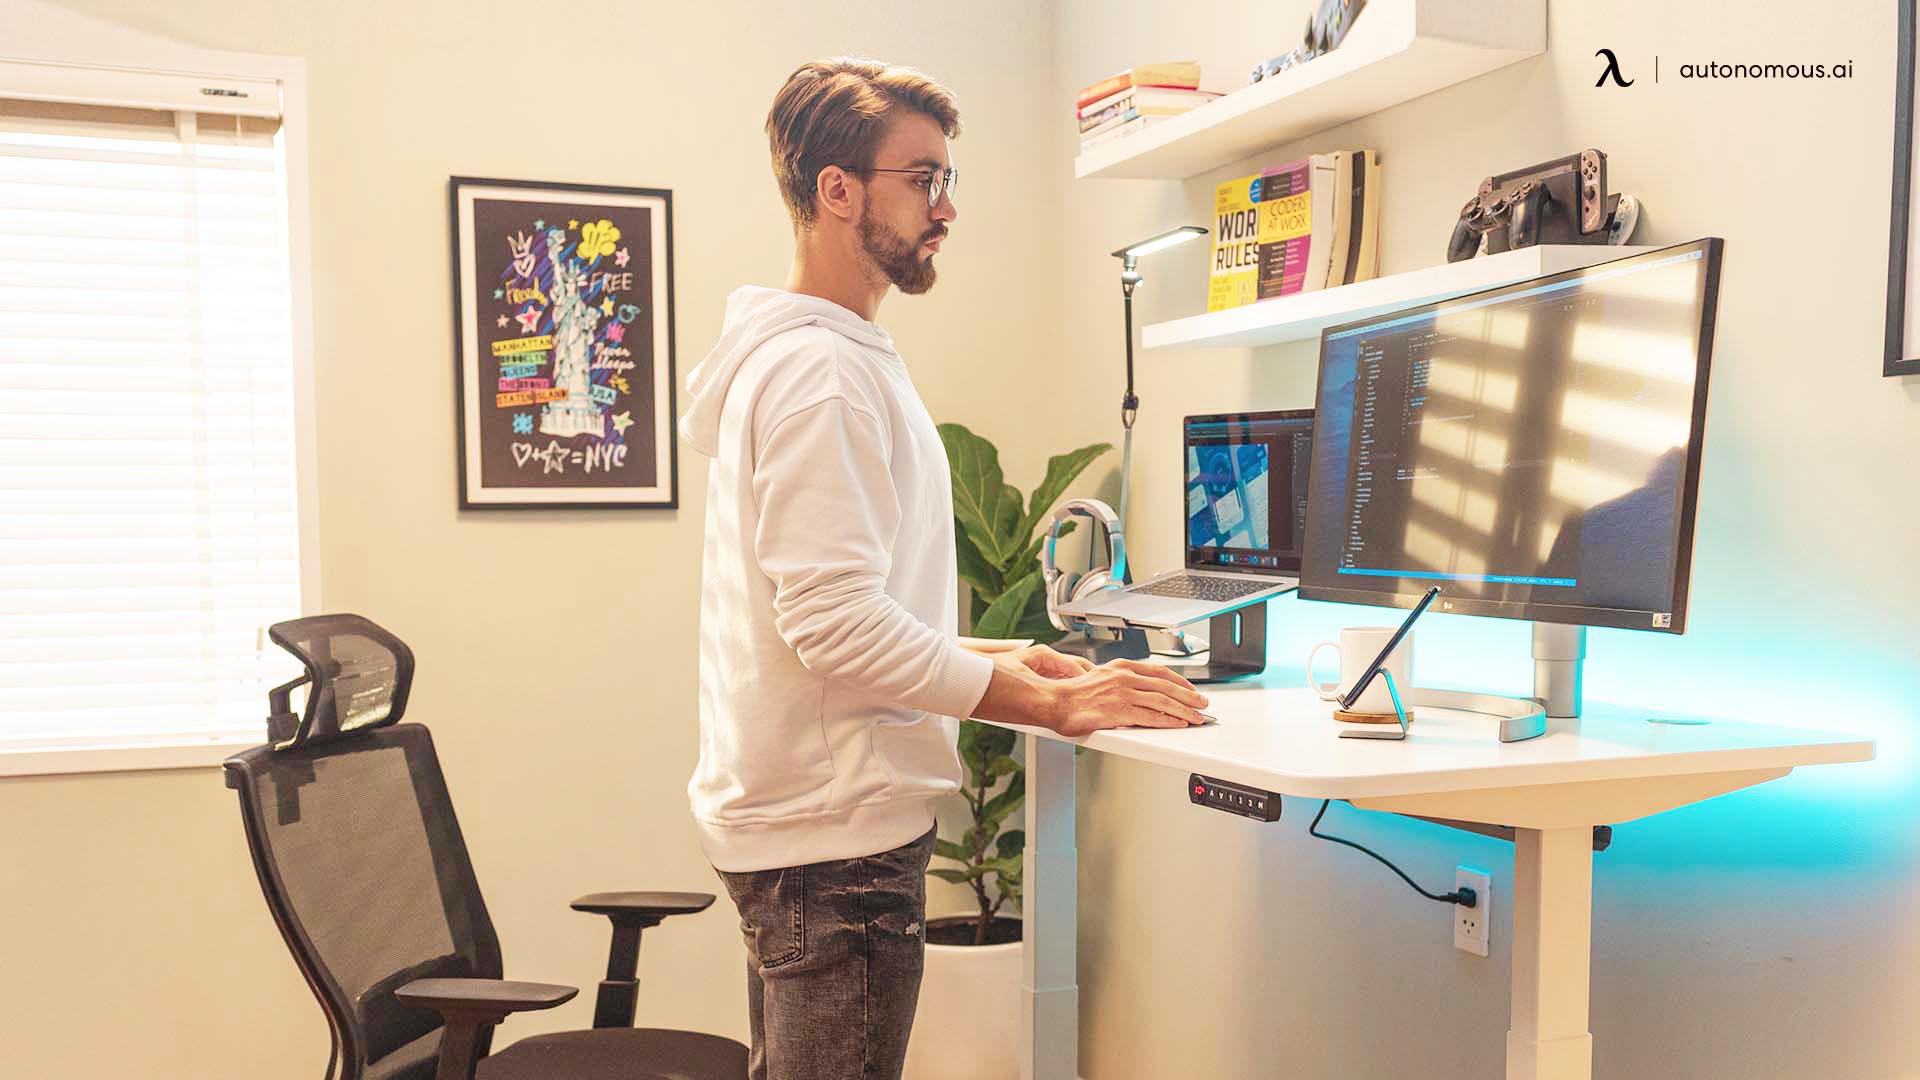
Table of Contents
Setting up a small home photography studio doesn’t have to be complicated—or expensive. Whether you're diving into product photography, portrait sessions, or social media content creation, all it really takes is a thoughtful small photography studio setup, the right gear, and a little creativity with your space.
Even a spare corner in your bedroom can turn into a professional-looking studio with the right small photography studio setup ideas and equipment.
Here’s everything you actually need to get started with your small home photography studio setup—without overwhelming your space or your wallet.
Finding Your Space: It’s All About The Corners
One of the first hurdles in creating a small home photography studio is selecting the right space. While it might seem like you need a dedicated, spacious room, the reality is that many photographers make the small photography studio setup ideas work in just a small corner or nook.
Here’s how to approach choosing your perfect spot:
1. Ideal Small Space Options
- A Spare Bedroom or Living Room Corner:
If you have an extra room or a spacious corner in your living room, this can easily become your shooting zone.
Make sure to measure the space—aim for at least 5x7 ft so you can move around freely.
- Walk-in Closet:
Don’t underestimate a closet. With a little reorganization, it can easily accommodate a backdrop and a light setup. Plus, it’s an out-of-the-way space when not in use.
- Basement Or Garage Nook:
If you have a basement or garage with sufficient lighting, you can transform it into an ideal small home photography studio with minimal investment.
When considering small photography studio ideas, look for spots that have good natural light or a way to add lighting without making the space feel too cramped.
2. Considerations For The Perfect Spot
- Natural Light:
Look for a space with easy access to natural light, especially if you plan to use window light for your shots. Big windows are perfect for soft, diffused light for your small photography studio setup ideas.
- Access To Power:
Ensure the space has access to power outlets, as most photography equipment requires electricity, especially lights and backdrops.
- Floor Space:
Even a small space can work if you plan your layout well. Just ensure there’s enough room to set up a camera, lights, and your backdrop.
Choosing the right space for your small photography studio ideas depends on your shooting style. If you shoot portraits, you’ll want a bit more room for background distance. For tabletop photography, even a small space can do wonders.
The Gear That Actually Matters
While setting up a small home photography studio, managing your budget for equipment is just as important as choosing the right gear. Understanding industry standards like Product Photography Pricing can help you plan your investment more effectively and avoid overspending on lighting, cameras, and studio essentials.
Here are the must-have essentials for an efficient, small home photography studio setup:
1. Camera And Tripod
For many home photographers, the camera might already be in hand. But if you’re starting from scratch, you’ll want a camera that can shoot in manual mode for the most flexibility.
- Camera Options:
DSLRs and mirrorless cameras are ideal for their manual controls and high image quality. However, even a smartphone with a good camera and manual settings can suffice for beginners or social media creators.
- Tripod:
Stability is key in photography. A good tripod will prevent camera shake and allow for longer exposures and sharper shots.
Look for one that’s compact and lightweight, but still sturdy enough to hold your gear. A tripod with adjustable legs is a bonus for working in tight spaces or shooting at different angles.
Pro tip: If you plan on shooting flat lays (top-down shots), consider a tripod with an extendable arm, which allows you to shoot directly above your subject.
.webp)
2. Lighting: Your Best Investment
Lighting is one of the most important factors when it comes to photography. Without the right light, even the most expensive gear won’t make much of a difference.
You don’t need to buy an expensive lighting kit to start. Here are some options that will work in the small photography studio setup ideas:
- Softbox or LED Panel Lights:
A softbox provides soft, diffused light, which is perfect for portrait photography in your small home photography studio ideas.
LED panels are more compact, lightweight, and energy-efficient, making them ideal for smaller spaces.
(1)(2).png)
- Ring Lights:
A ring light is another great option for your small home photography studio ideas, especially for portrait photography or social media content. These are compact, easy to use, and create beautiful, even light on your subject’s face.
Quick fix: If you don’t have a softbox, try using a piece of parchment paper or a white cloth to diffuse light from any lamp or LED panel.
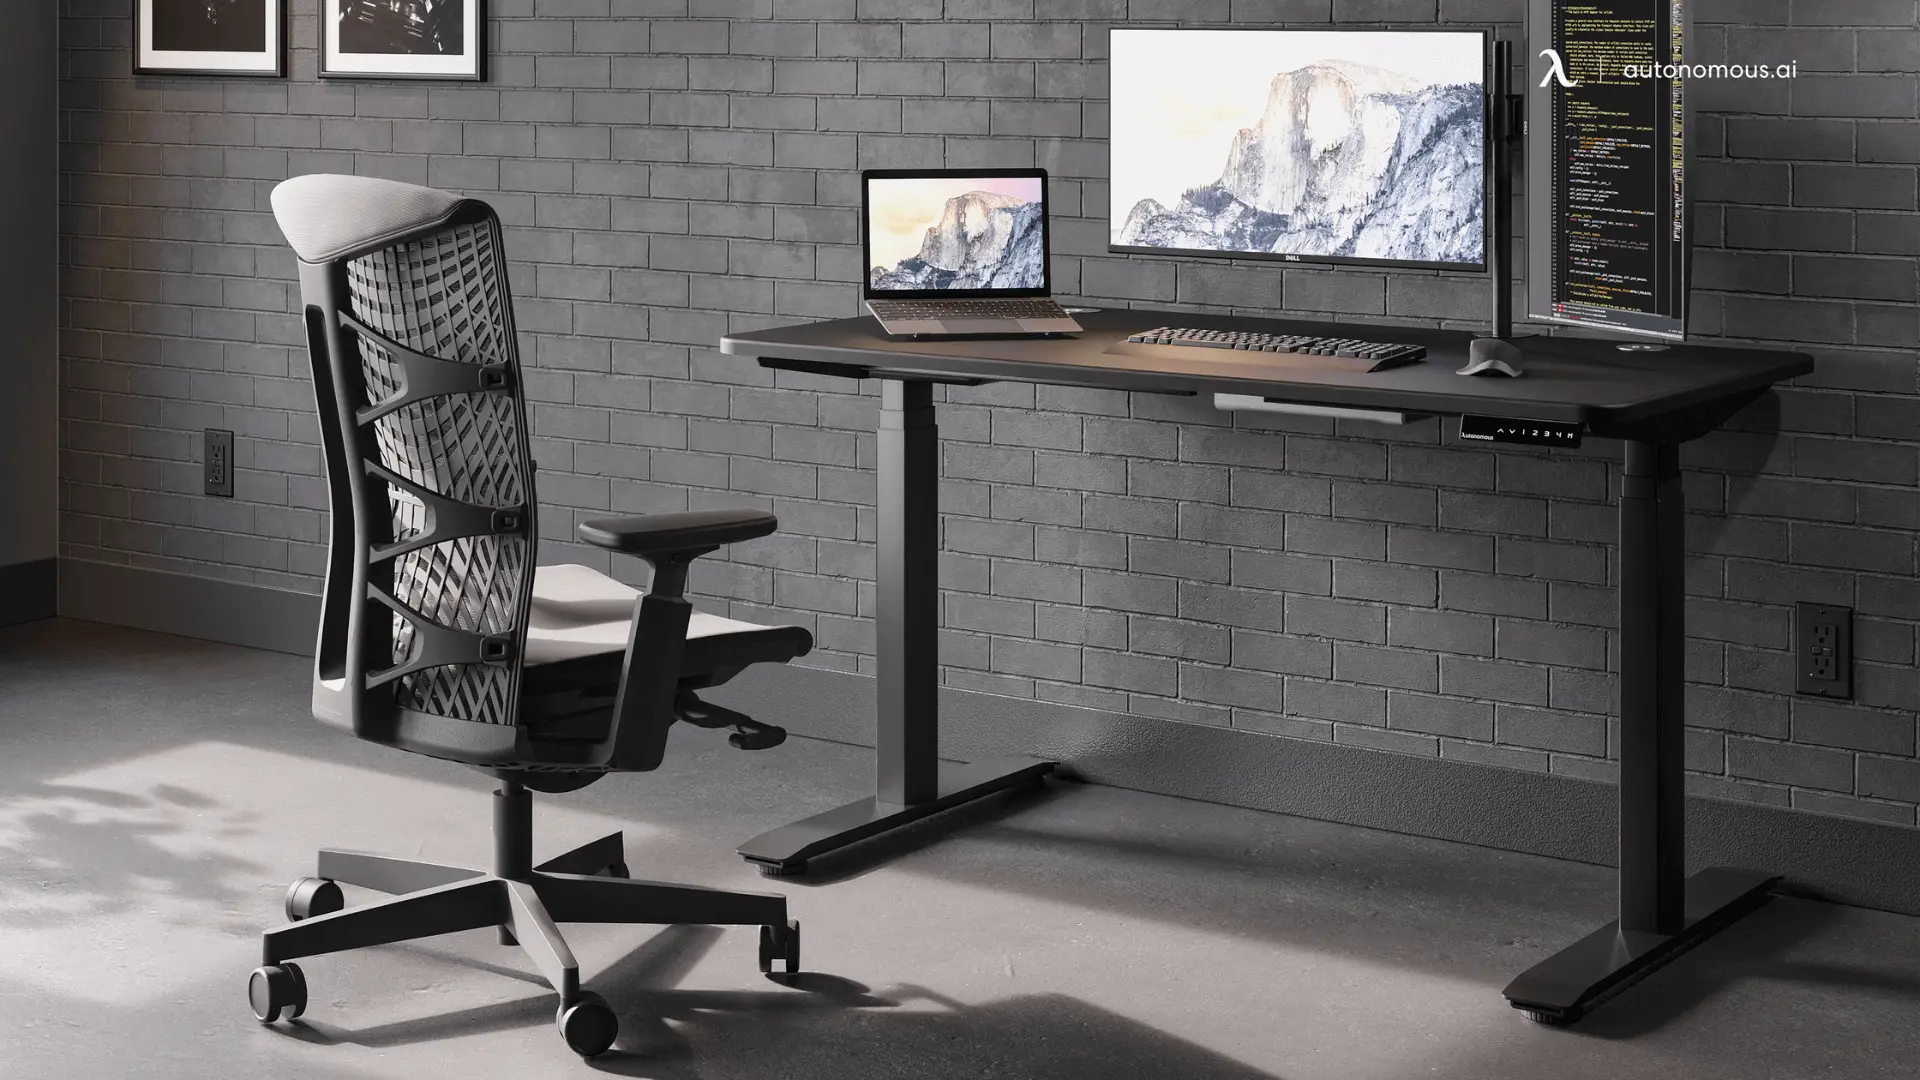
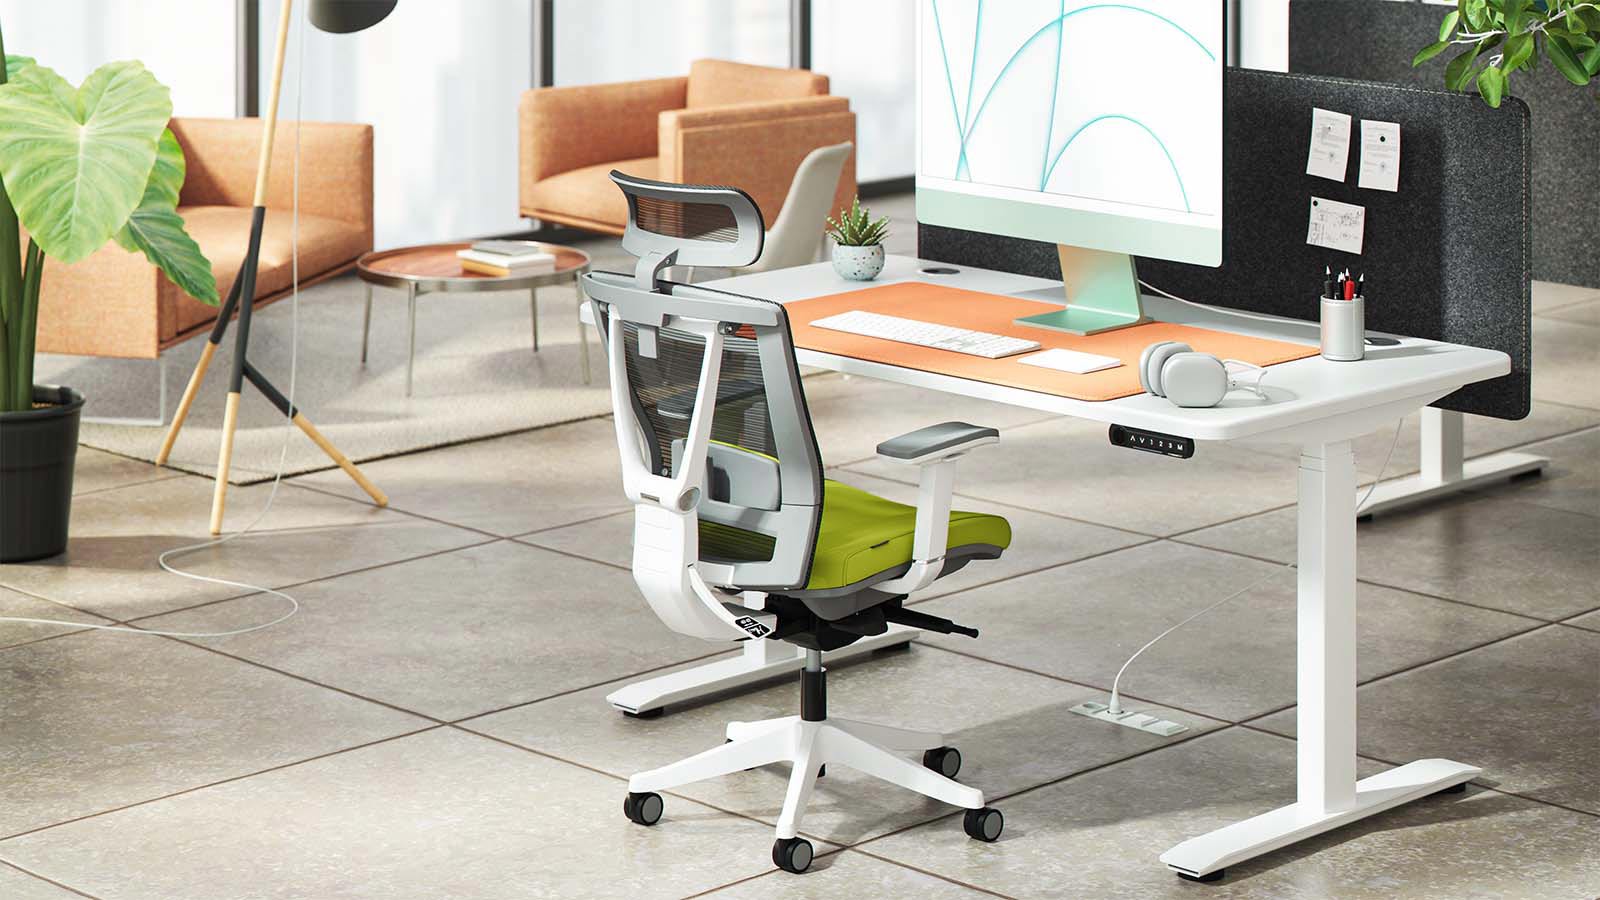
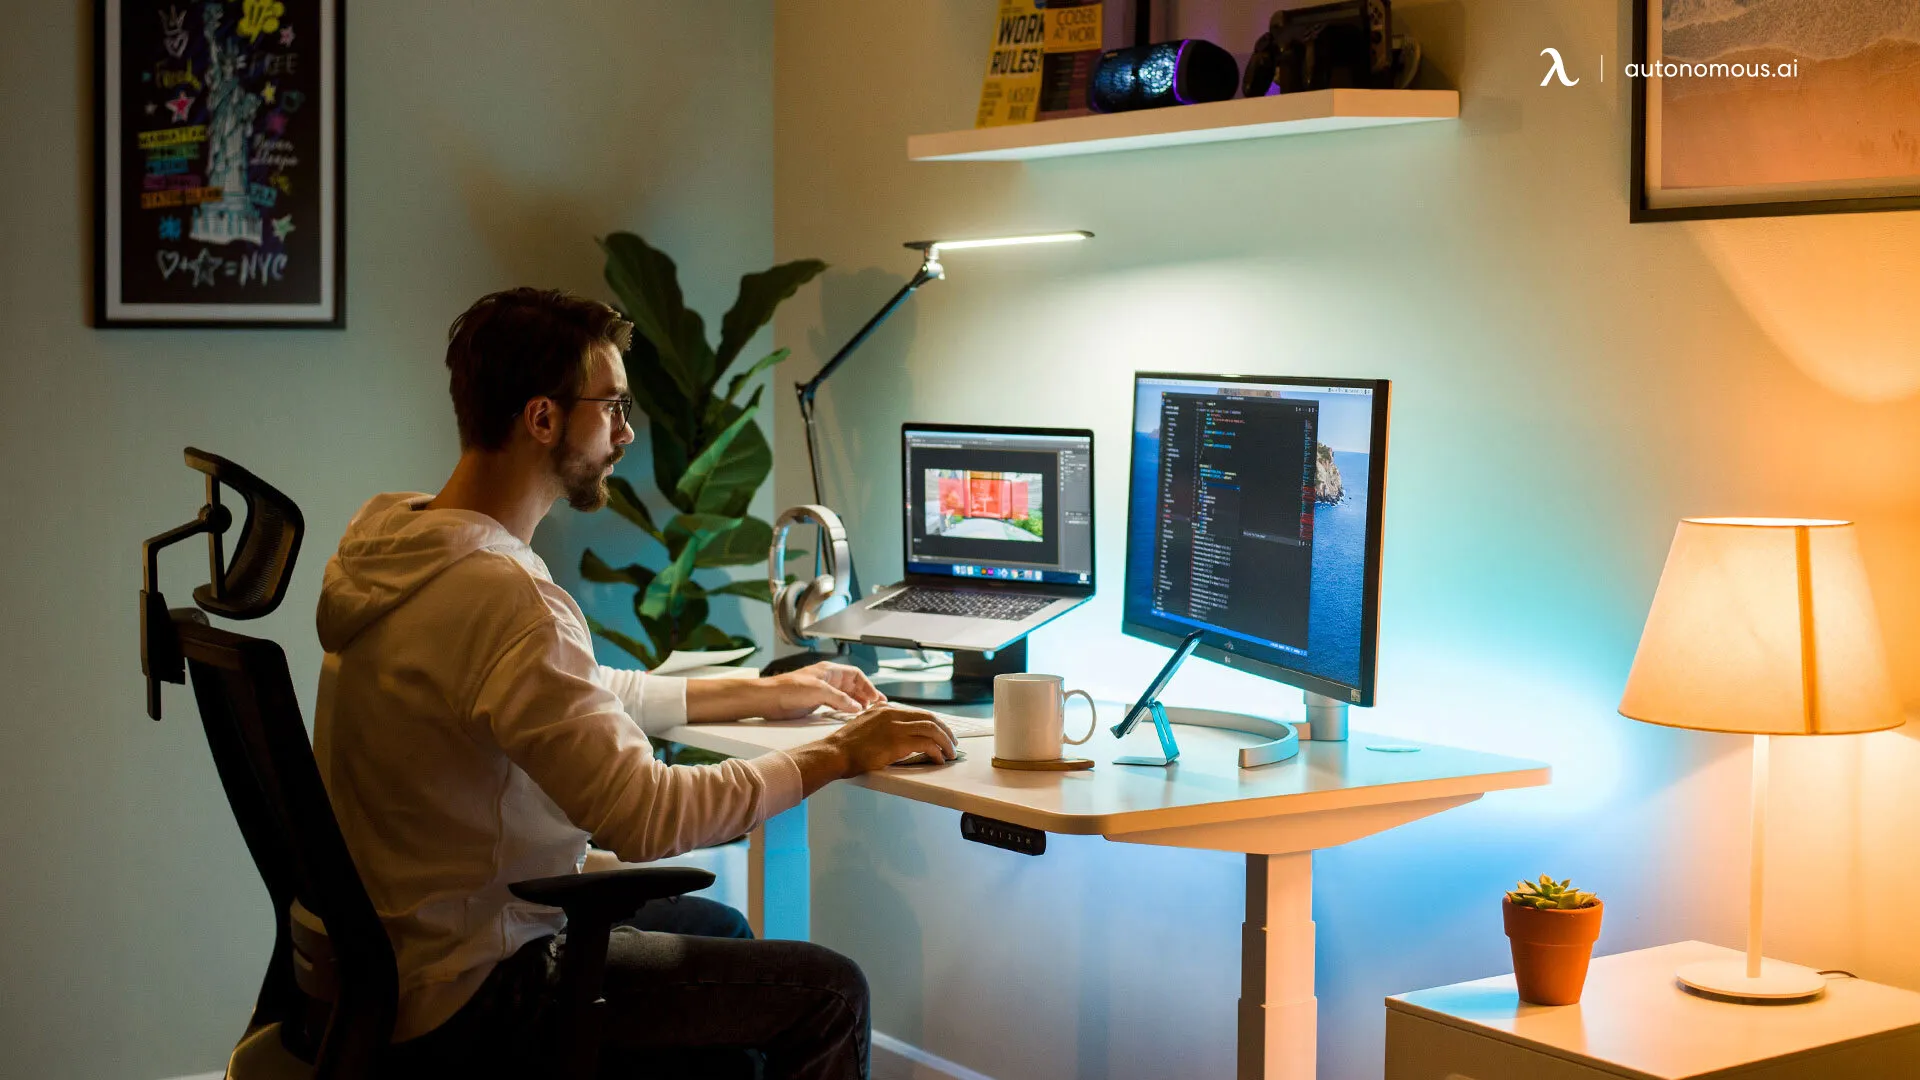
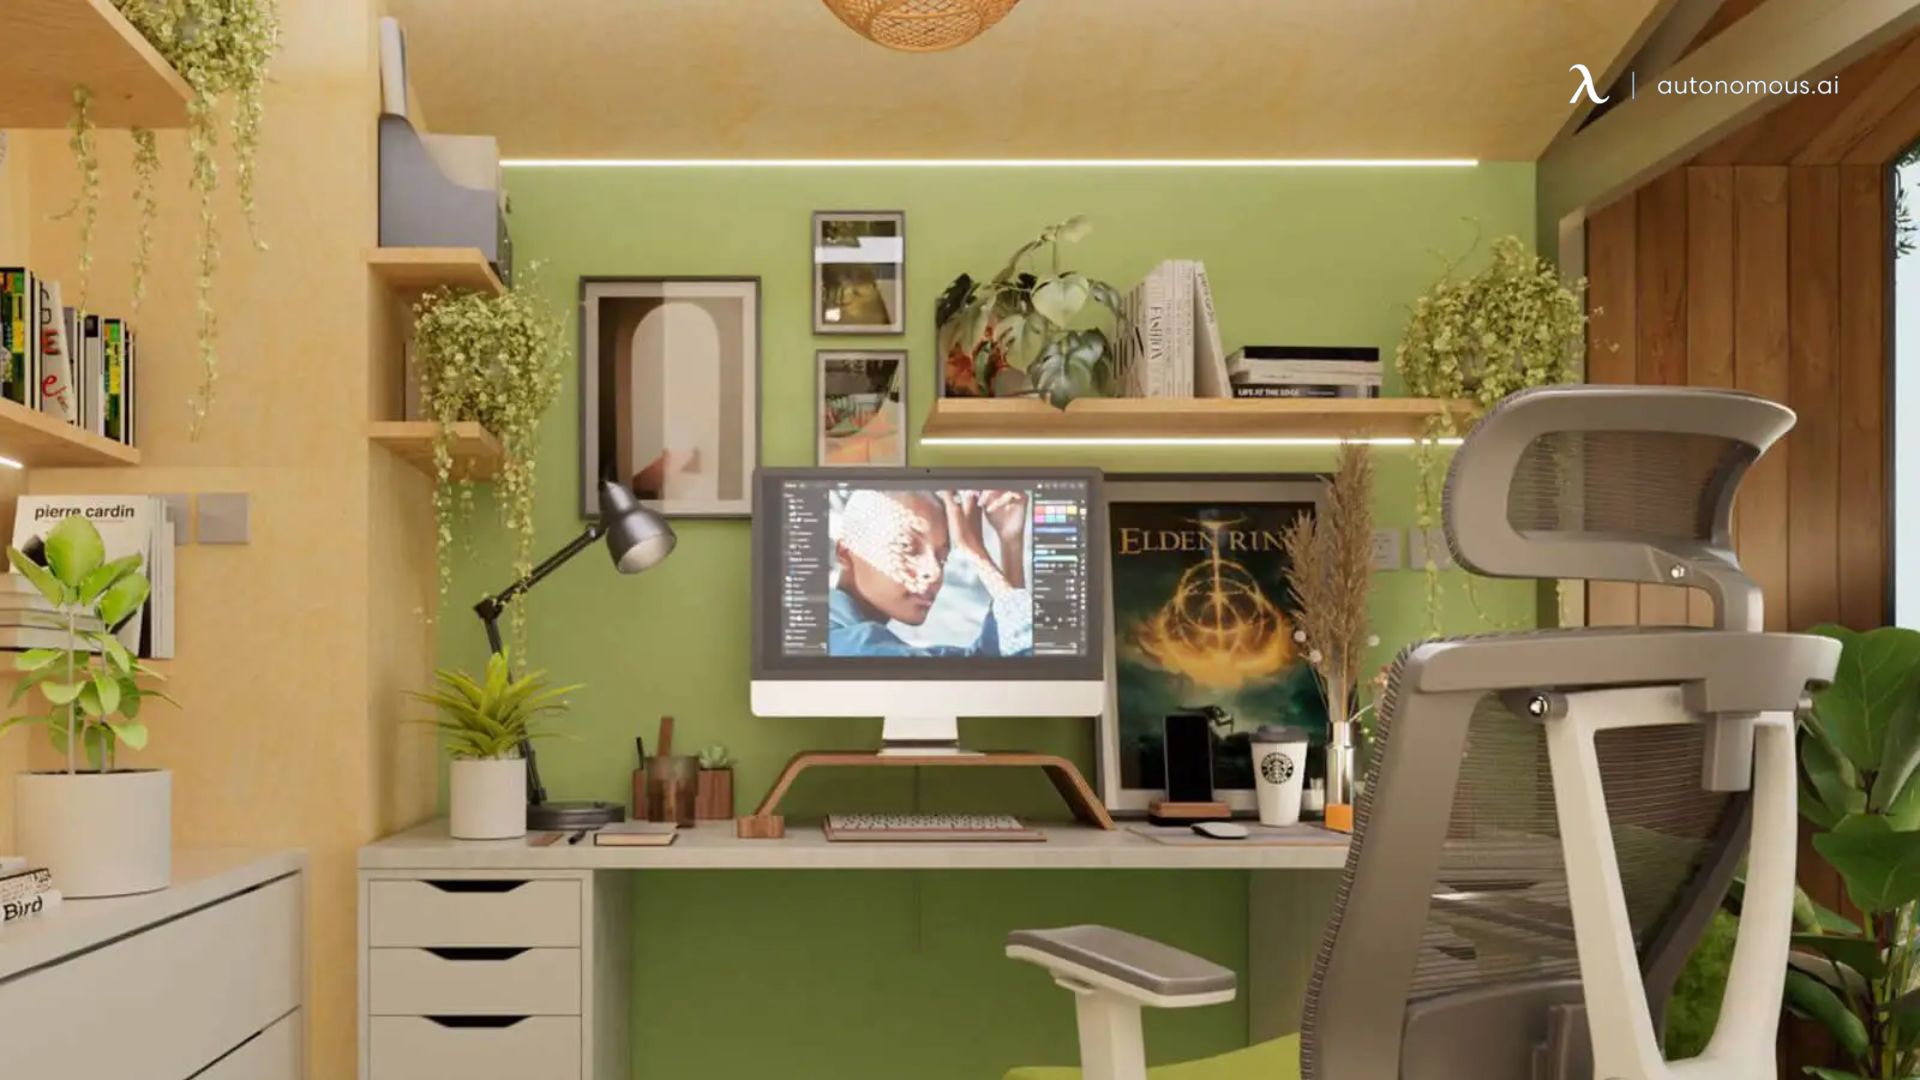
3. Your Desk Setup: The Control Center
Your desk setup doesn’t just serve as a workspace for editing photos—it can also be a functional part of your shooting setup. Whether you're working with a compact desk or setting up a more expansive area, a productive desk setup is essential for efficiency.
Here’s what to keep in mind when selecting the ideal desk for your small photography studio setup:
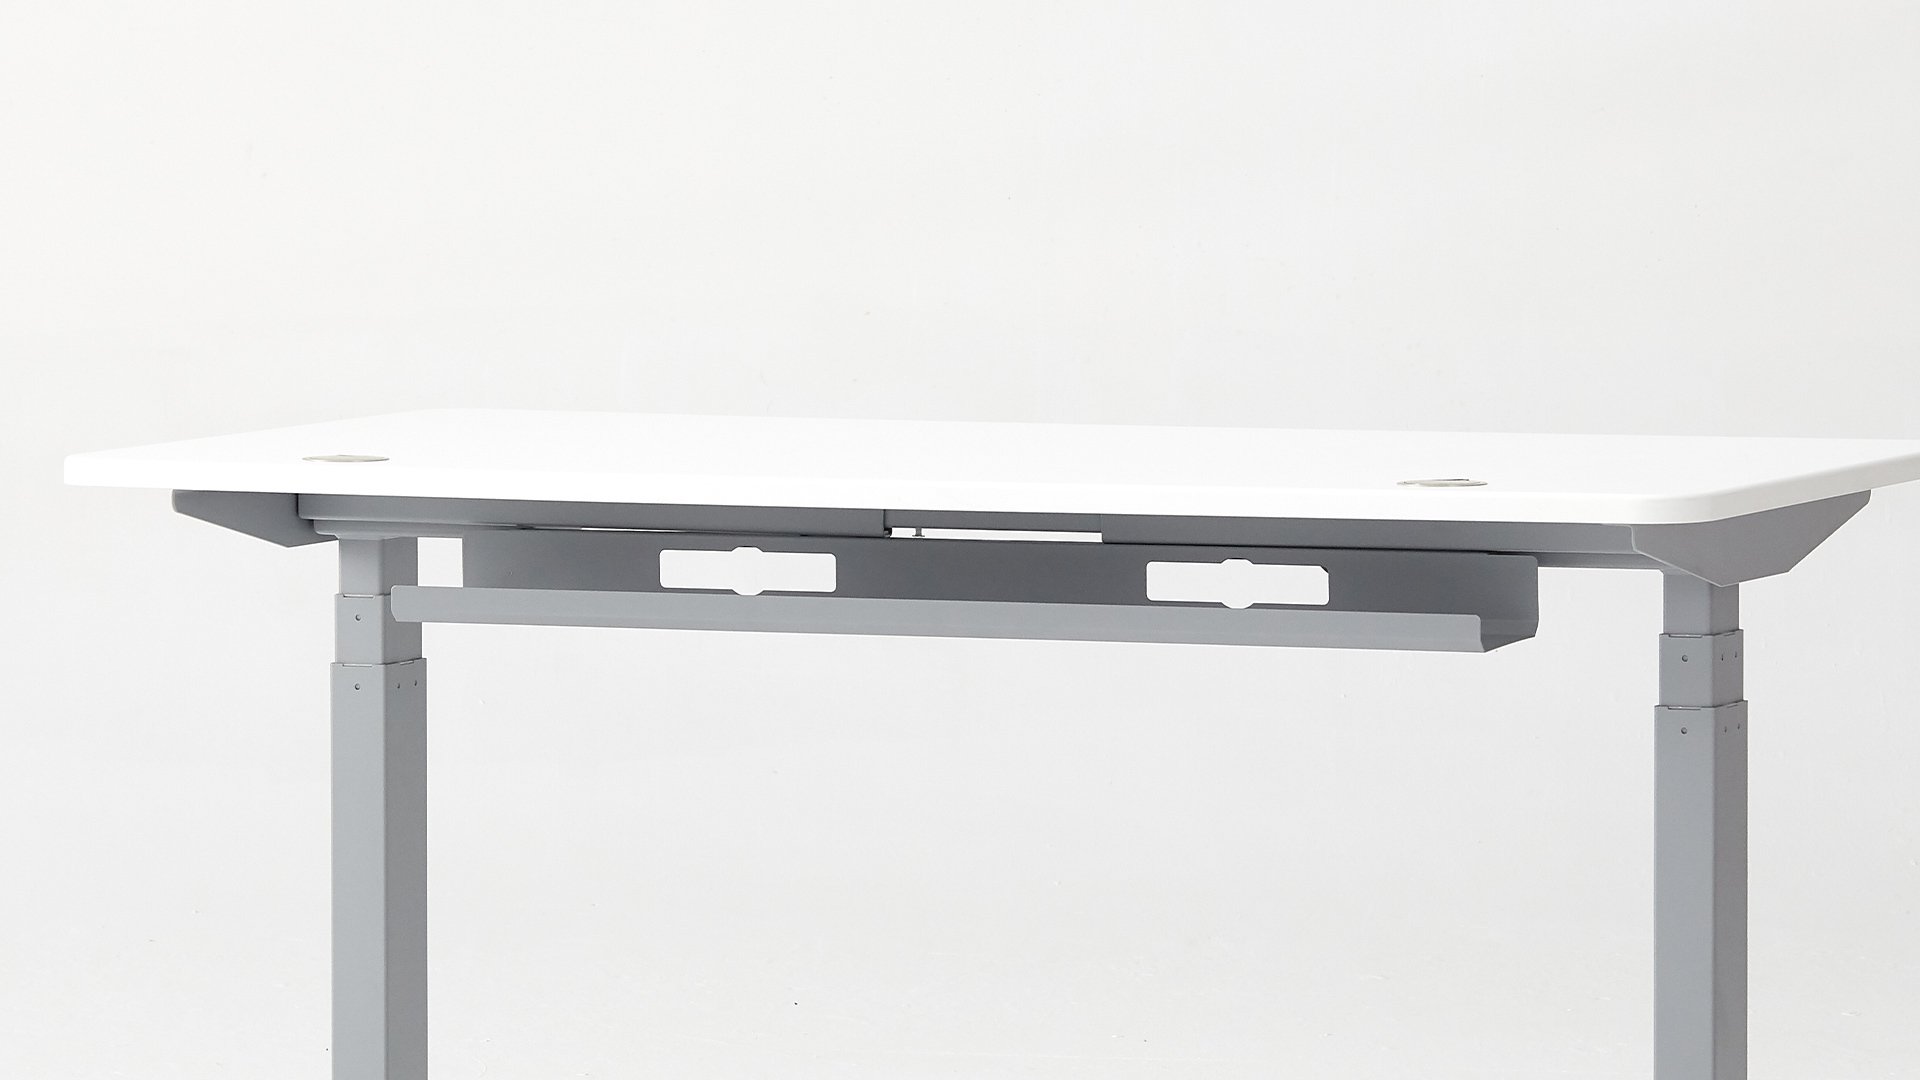
- Size:
A desk that’s 40-60 inches wide should give you enough space for your camera, a light stand, and even some props or backdrops. If you’re working in a really tight space, a small desk or foldable table will work just fine.
To learn more about choosing the right desk dimensions for your needs, check out our guide on desk dimensions.
- Sturdy Build:
Make sure the desk is sturdy enough to hold your camera and equipment. You don’t want your tripod or gear wobbling during a shoot.
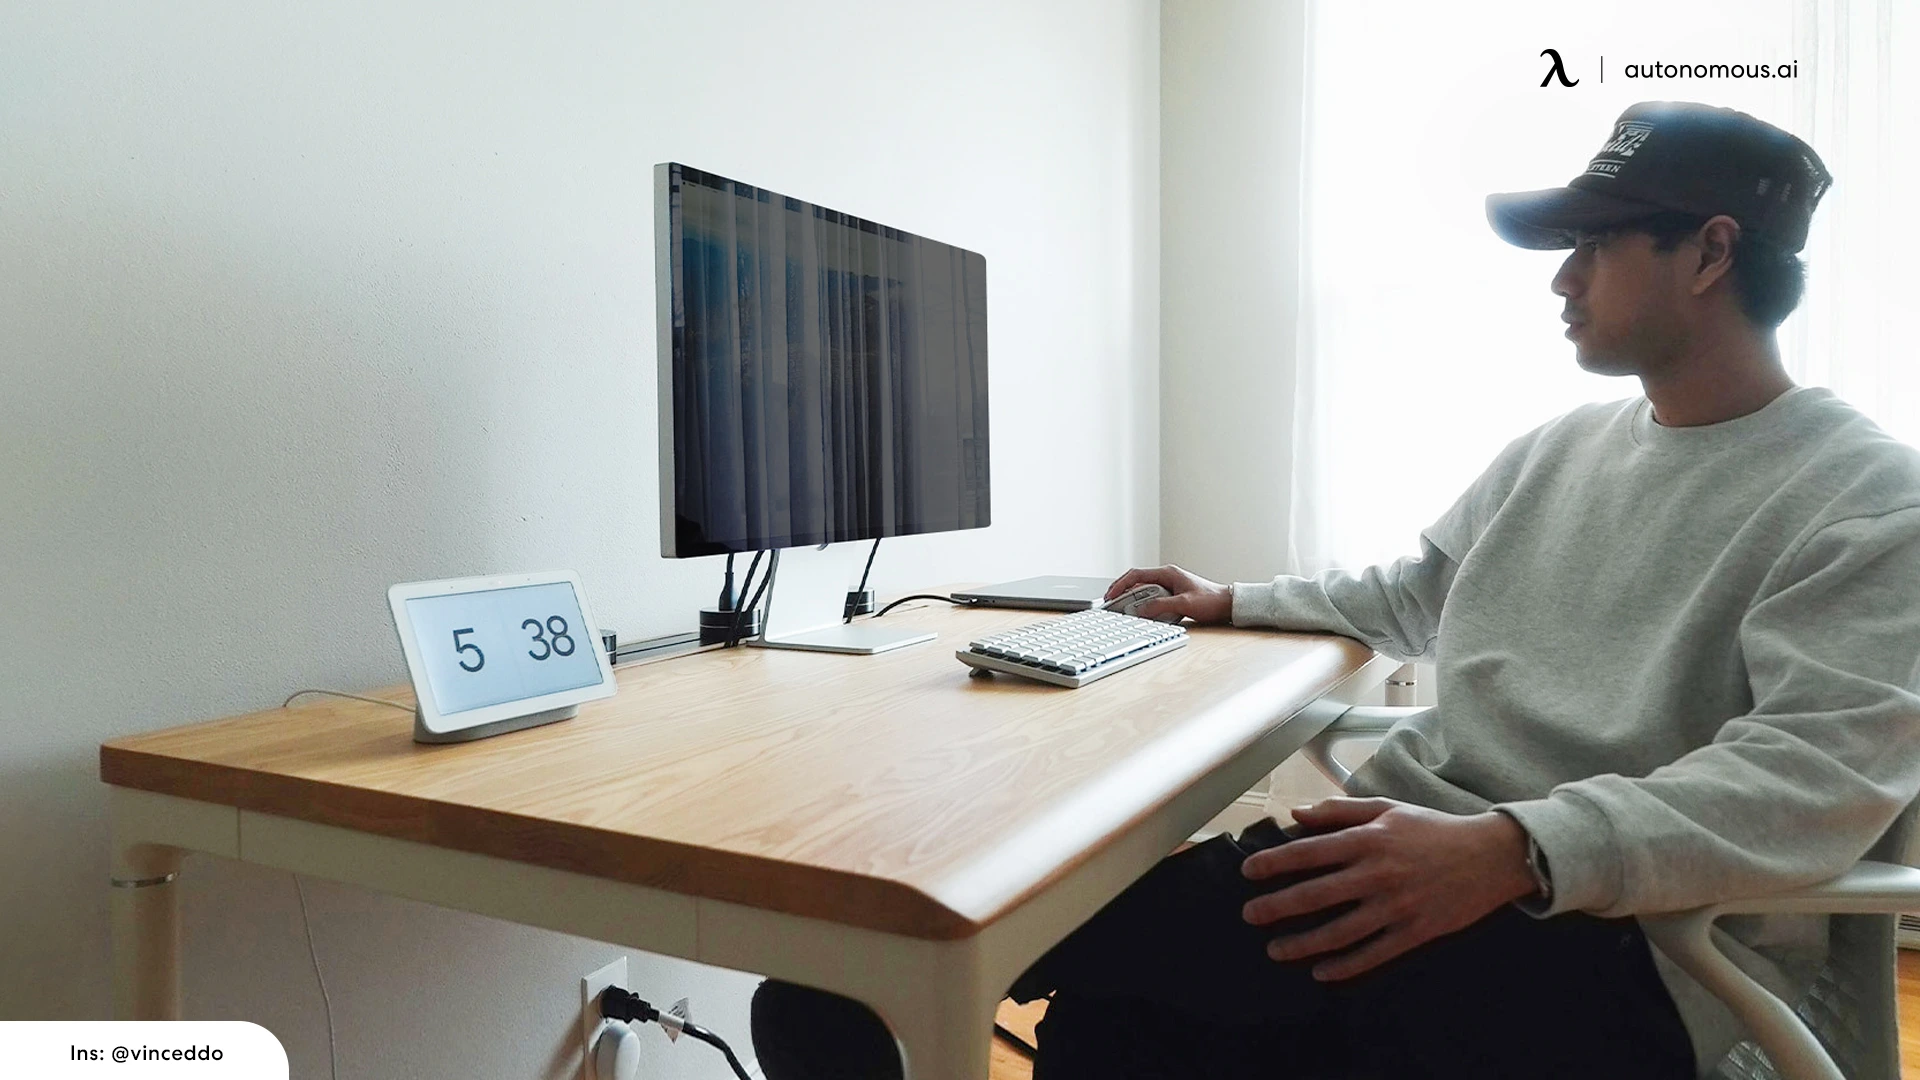
- Height Adjustable (optional):
A standing desk is great for shooting from above or when you’re doing flat lay photography. Being able to raise and lower the desk can also improve your posture if you’ll be sitting for long editing sessions.
For a budget-friendly option, check out our picks of affordable standing desks that provide both comfort and functionality without breaking the bank.
.jpg)
While your desk setup is important, investing in a comfortable and ergonomic office chair is just as crucial. If you’ll be spending long hours editing or reviewing shots, having an ergonomic chair can make all the difference in your comfort and productivity.
Look for features like:
- Lumbar support to maintain your spine’s natural curve
- Adjustable height for proper desk alignment
- Armrests to reduce shoulder strain during editing
- Breathable fabric to keep you comfortable for long periods
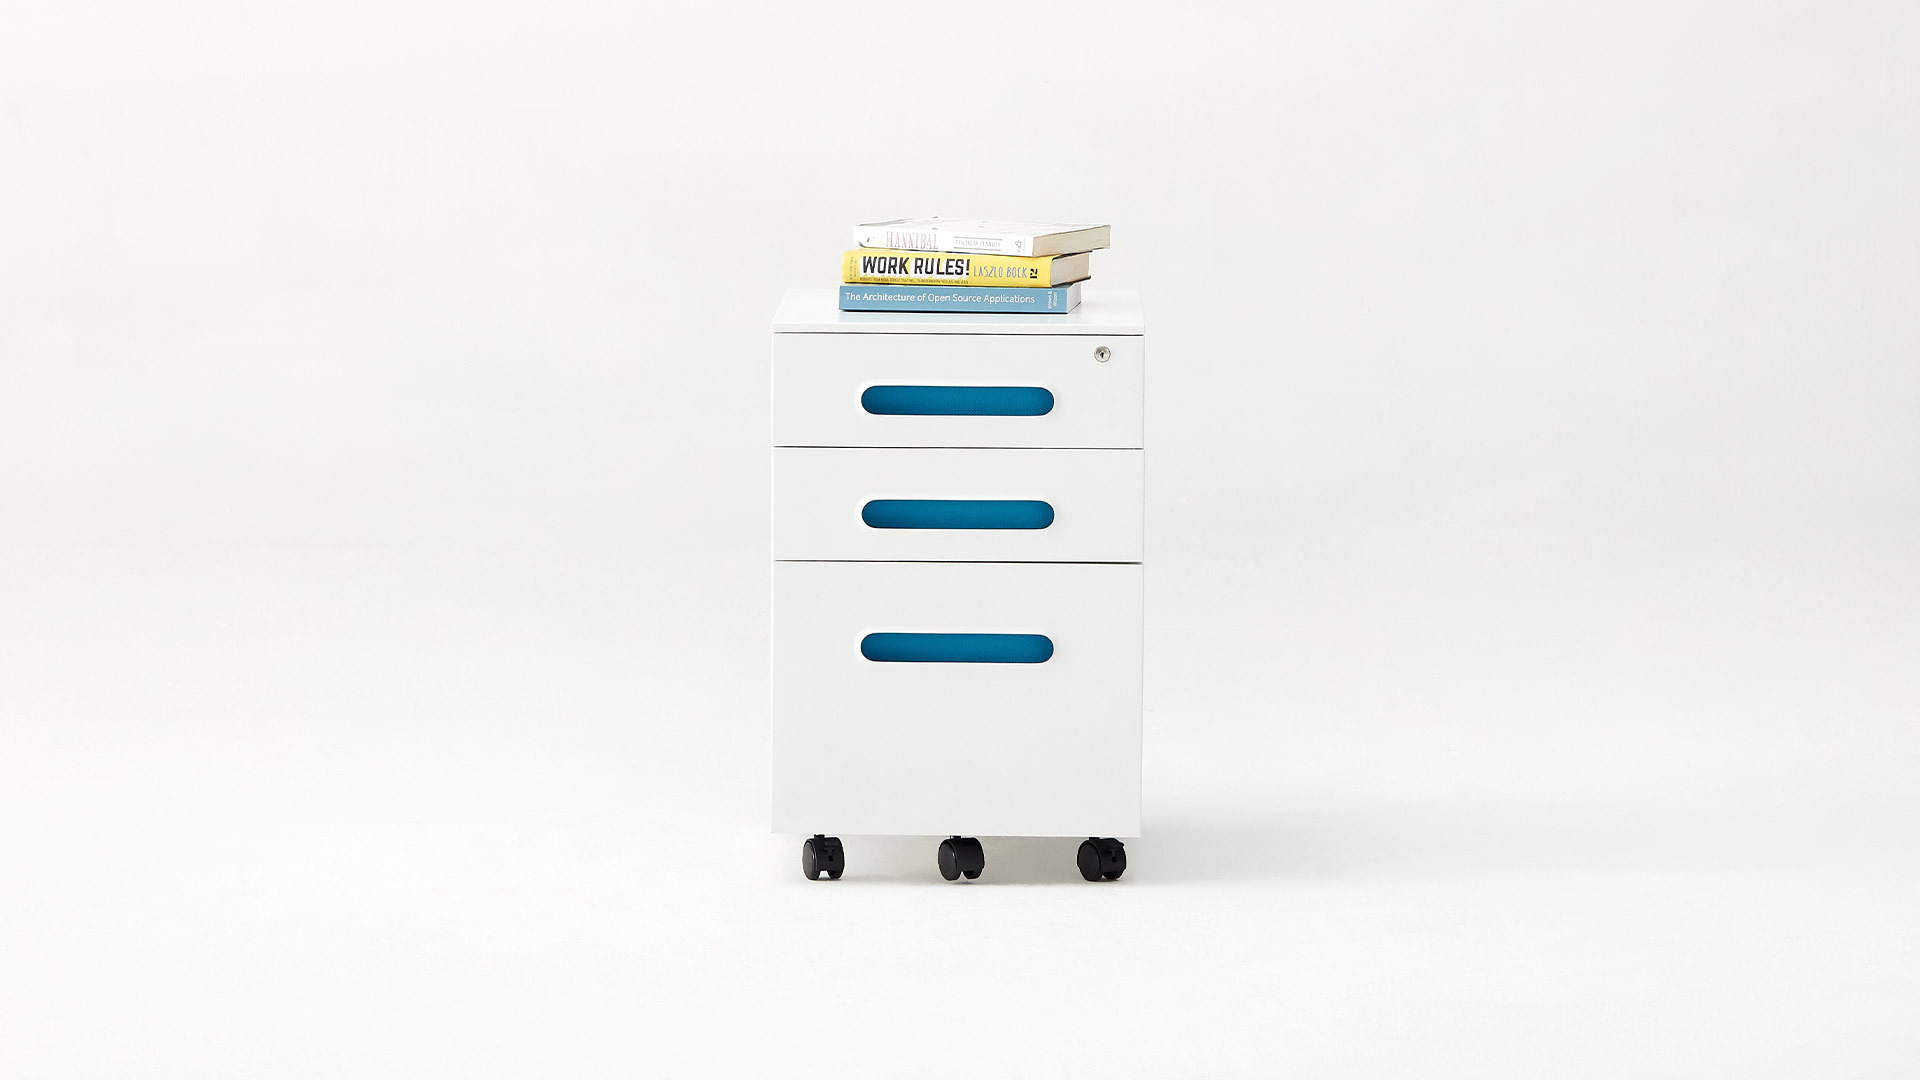
Here are some desk setup tips to keep your desk organized in a small home photography studio:
- Cable Management:
Photography gear often involves a lot of wires. Invest in cable management solutions like cable trays or Velcro straps to keep your space organized and clutter-free.
- Storage:
Make use of filing drawers, shelving, or rolling carts to store your gear, props, and accessories. Keeping your small home photography studio neat will save you time and energy.
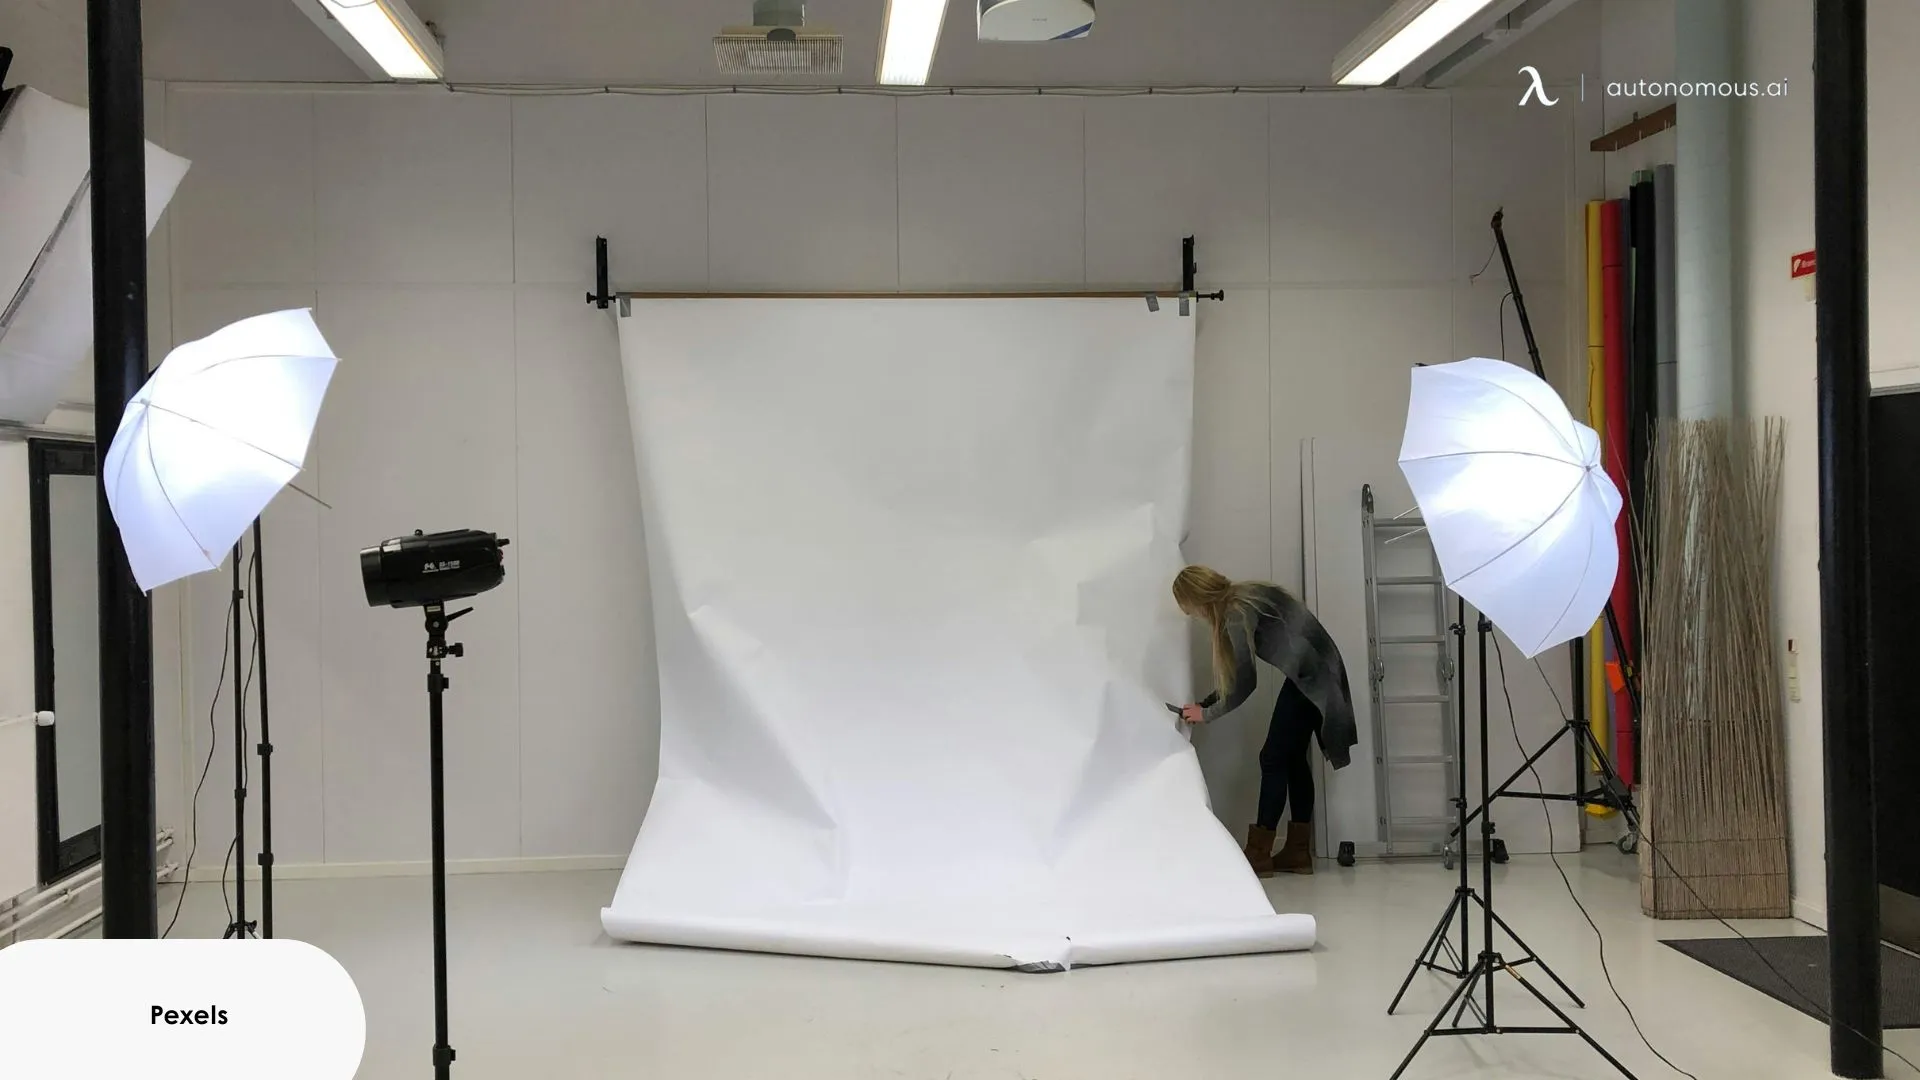
4. Backdrops: Simple But Effective
Your backdrop doesn’t have to be complicated or expensive. The goal is to have something neutral and versatile that helps highlight your subject.
- Collapsible Backdrops:
These are portable and easy to store. Look for neutral colors like white, gray, or black for maximum flexibility. Some options come with two sides—white on one side, black on the other—for different looks.
- Tension Rods & Curtains:
For a more DIY solution, tension rods placed across a doorway or alcove can hold curtains or fabric backdrops. This is perfect for saving space while still providing a seamless backdrop.
- Poster Paper or Foam Boards:
If you’re doing tabletop photography, poster paper or foam boards are affordable, lightweight options that can act as backdrops or reflectors.
Pro tip: For product shots, use a sweep backdrop (a continuous background that curves down from the wall to the floor) to eliminate any harsh lines and create a seamless look.
5. Other Handy Tools
Along with your main gear, you’ll need a few accessories to make your small photography studio setup ideas even more efficient:
- Reflectors:
Use reflectors to bounce light back onto your subject and fill in shadows. A 5-in-1 reflector kit can help you create different lighting effects. If you’re in a pinch, a large piece of white foam board works just as well.
- Clamps And C-Stands:
These will help you secure backdrops, lights, and modifiers. They’re versatile and easy to use, even in tight spaces.
- Extension Cords:
If your outlets are far from your shooting area, you’ll need extension cords or power strips. Make sure they’re rated for heavy use.
.jpg)
- Storage Solutions:
Small storage bins, rolling carts, or wall-mounted shelves are perfect for keeping your gear organized and accessible.
Tips For Small Photography Studio Setup
When you're working in a small photography studio setup, it’s essential to keep things organized and efficient.
Here are some space-saving tips that will help you maximize every inch of your small studio while keeping things simple and accessible for beginners:
1. Go Wireless Where Possible
Minimize the mess and maximize your studio’s flexibility by opting for wireless gear wherever possible:
- Wireless triggers for your camera and flashes
- Bluetooth lights that can be adjusted remotely
- Wireless microphones for video recording sessions
Not only does this reduce the number of cords and cables, but it also makes your setup more mobile and easier to adjust as needed.
Additionally, don’t forget about desk accessories that can further enhance your workflow and organization. For more ideas, check out our guideline for the must-have office desk accessories.
.webp)
2. Keep The Floor Area Clear
With limited space, keeping the floor clear is crucial for maintaining a clean, organized work environment. Here are some tips:
- Use a tall tripod or light stands:
This helps avoid spreading them across the floor. You can find models that have adjustable heights and can fit neatly in the corner.
- Use multi-functional furniture:
A desk with built-in drawers can store your camera gear or accessories, eliminating the need for extra storage units.
- Store your backdrop on a tension rod:
This takes up less room than a full backdrop stand, and you can tuck it out of the way when you’re not using it.
3. Create Zones For Different Tasks
Efficiency is key to saving space in your small home photography studio. Create designated zones for each task to keep things organized:
- Shooting Zone:
Set up a small, clear area where you can easily move your gear around. This might include your camera, lights, and backdrop.
- Editing Zone:
If possible, set up a separate desk or corner for editing photos and videos. This keeps your work separate from the shooting area and reduces clutter.
- Storage Zone:
Have a space for props, accessories, and lighting equipment that are easy to reach but hidden from the main areas.
Creating clear zones will allow you to stay organized and not feel cramped while working.
4. Keep Backdrops Simple And Multi-Purpose
Instead of investing in multiple backdrops that require large storage space, choose versatile, multi-use options:
- Neutral-colored collapsible backdrops:
White, black, or gray are great for almost any shoot and can be folded up to save space.
- Clothing racks with fabric:
You can easily hang fabric on a clothes rack, and when you need a new look, just swap the fabric.
- DIY options:
A large piece of fabric or poster board works well for tabletop photography and can be tucked away when not needed.
By sticking to a few versatile options, you can keep your backdrop choices minimal but still get a variety of looks.
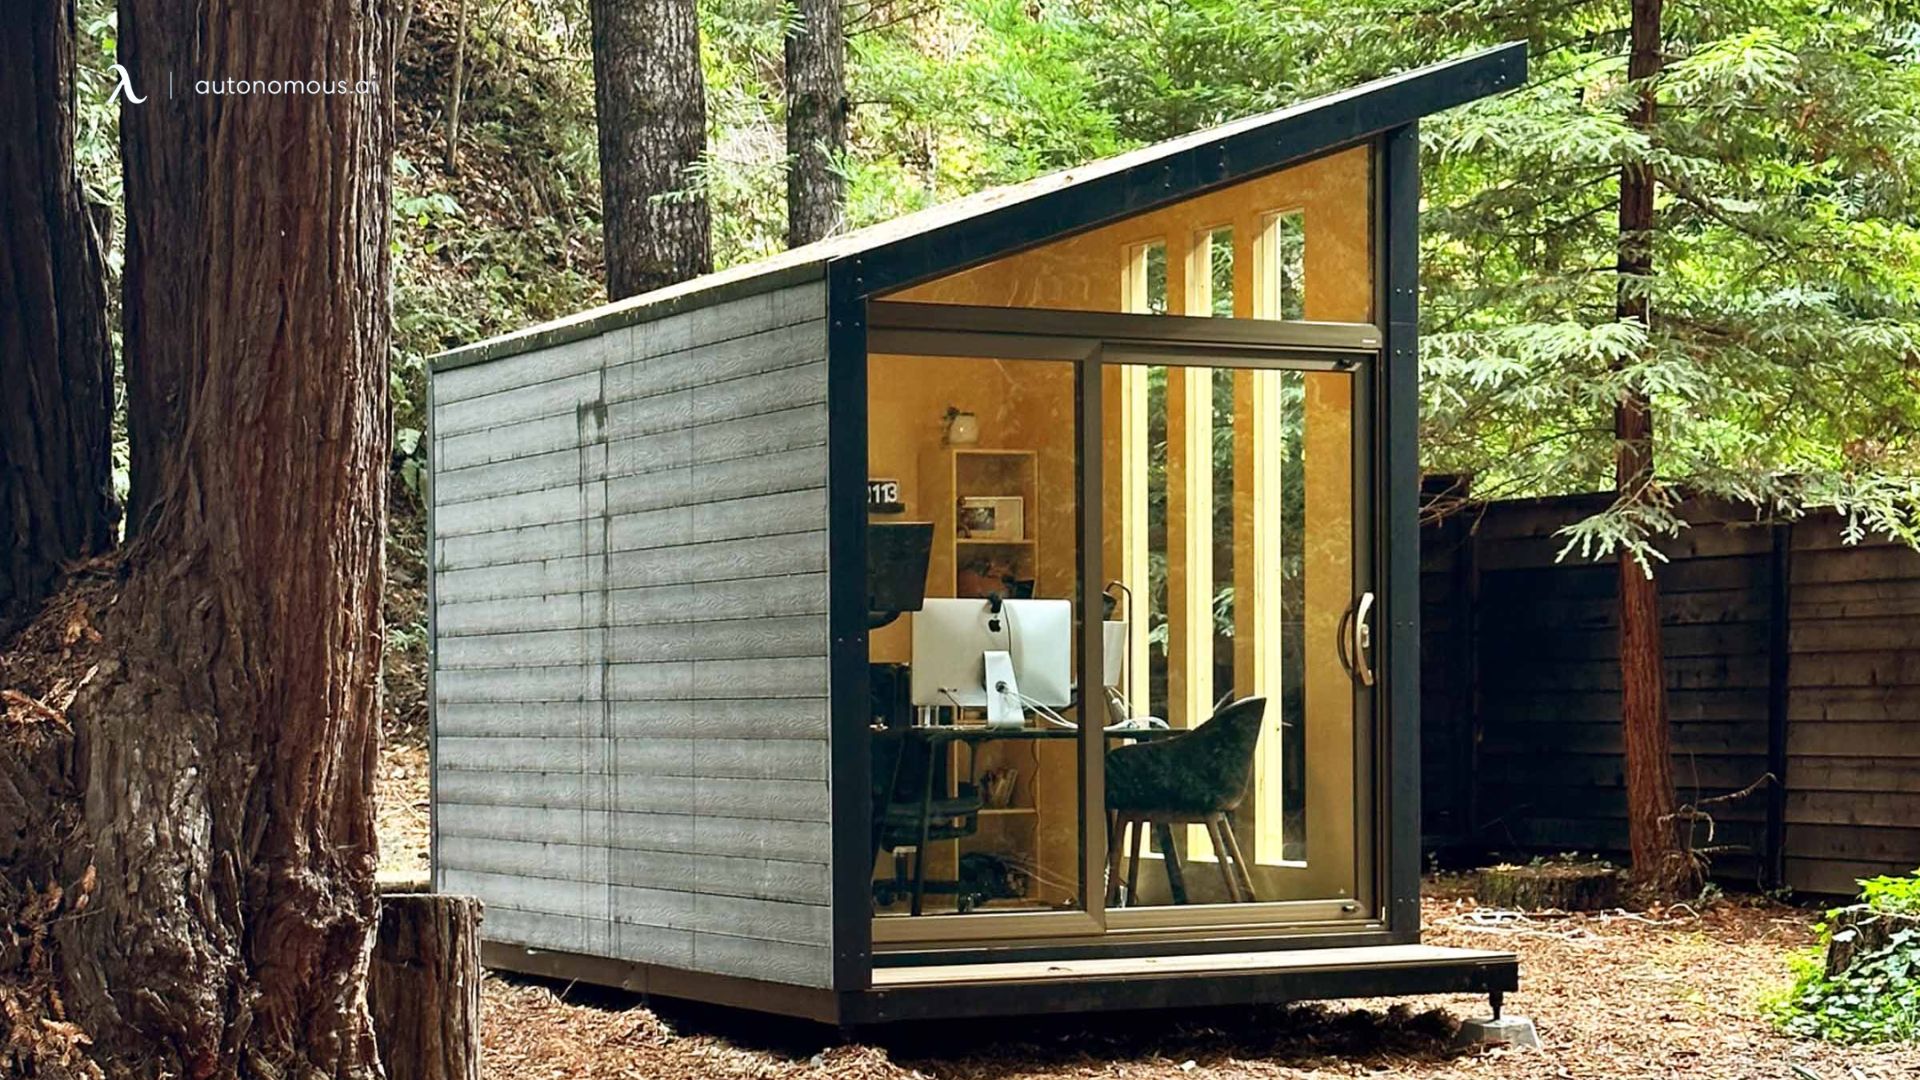
Create Your Ideal Photography Studio With An ADU
If your space feels a bit too cramped to set up a small home photography studio, consider using an Accessory Dwelling Unit (ADU).
ADUs, sometimes referred to as backyard studio sheds, are small, self-contained living spaces that can be built in your backyard. They offer the perfect balance between creating a dedicated space for your photography business and maintaining privacy and separation from your home.
1. Why An ADU Could Be The Right Fit
- Extra Space:
ADUs can provide a larger area for your studio setup, offering room for multiple backdrops, more equipment, and a comfortable working environment without crowding your living space.
With a 102 sq ft floor area, you’ll have plenty of room to work with your gear, and even add a small backyard office or editing station if needed.
- Dedicated Studio Environment:
Having your photography studio separate from your home means fewer distractions and a quieter, more professional environment for photo shoots.
This is especially beneficial if you plan to run your business from home and want to keep things organized and separate.
- No Need For Renovations:
Unlike a traditional home renovation, building an ADU is often quicker and less invasive. Many modern ADUs are designed to be assembled with minimal construction, making them a relatively low-hassle option.
Plus, these studio office sheds can be customized to fit your photography needs, with options for built-in lighting, electrical outlets, and storage.
- Increased Property Value:
Adding an ADU to your property can not only serve as your photography studio but also increase the value of your home.
It’s a great investment, especially if you ever decide to sell your property in the future.
2. Things To Consider
- Zoning And Permitting:
Before you get started, check with your local zoning laws to ensure you're allowed to build an ADU on your property. Some areas may require permits, so it's essential to do your research first.
- Budget:
While ADUs are generally more affordable than building an entire home addition, they do come with a cost.
If you're struggling to find space inside your home or simply want a more professional, private space for your small home photography studio, a backyard art studio might be the perfect solution.
FAQs
1. What is the minimum size for a photography studio?
A 5x7 feet space is generally sufficient for a basic photography studio, especially for portraits or product photography.
For tabletop setups, even less space may work. The most important factor is ensuring enough room for your camera, lights, and backdrops.
2. Can I run a photography studio from home?
Yes, you can! Many photographers successfully set up studios in small spaces, like a corner of a room or a walk-in closet. With the right equipment, you can create a professional studio setup in your home with limited space and budget.
3. How much would it cost to build a photography studio?
The cost of building a photography studio can range from $300 to $1,000 for a small home setup, including a camera, tripod, lighting, and backdrops.
If you're renting a space or purchasing higher-end gear, the costs can go higher.
4. What’s the best lighting for small studios?
LED softboxes or ring lights are great for small spaces. They provide soft, diffused light and are adjustable to your needs.
5. How do I store my gear in a small studio?
Use wall-mounted shelves, rolling carts, and storage bins to keep everything organized and within reach. The more vertical space you use, the more floor space you’ll have.
6. What background colors work best in a compact studio?
Neutral colors like white, black, and gray are versatile and work well in small studios. You can easily change the mood with fabric or paper backdrops.
Conclusion
Creating a small home photography studio is all about using your space wisely and choosing the right gear. With a solid camera setup, efficient lighting, and minimal clutter, your space will be ready for any type of shoot, from portraits to product photography.
Keep your small photography studio setup organized and flexible, and you’ll be able to shoot professional-quality images without ever leaving home.