Electrifying Backyard Retreat: Running Electricity to a Shed
Table of Contents
Welcome to the ultimate guide that will turn your ordinary backyard shed into an electrifying oasis! Are you tired of your shed being just a storage space? Imagine having a cozy outdoor office where you can be productive, an outdoor wood shed with a touch of rustic charm, or even your own private outdoor man cave for relaxation and entertainment.
We have gathered modern backyard ideas that will inspire you to create your dream outdoor space, whether you have a tiny house backyard or a spacious garden. Get ready to discover the power of running electricity to a shed and unlock the full potential of your backyard with a versatile backyard studio.
How to Run Electricity to a Shed: Transform Your Backyard Retreat
Do you have a neglected shed in your backyard, longing to be more than just a storage space? Imagine converting it into a stylish and functional backyard retreat where you can unwind, work, or pursue your hobbies. With a little bit of electrical work, you can bring your vision to life! This comprehensive guide shows you the step-by-step process of running electricity to your shed, making it a cozy and inviting space you'll love to spend time in.
What You'll Need?
Before we learn how to get electricity to a shed, gather the necessary materials and equipment:
- A permit from your local electrical inspector: Ensure compliance with safety regulations and local building codes.
- A length of electrical wire: Choose the appropriate gauge wire to suit your power needs.
- A conduit (optional): If you opt for an above-ground wiring setup, a conduit will protect the wire from the elements.
- Electrical outlets: Decide on the number and location of outlets to suit your shed's purpose.
- Tools (wire strippers, screwdriver, etc.): Essential tools for a successful electrical installation.
Step 1: Plan Your Installation
Begin by carefully planning your shed's electrical installation:
- Determine the location of electrical outlets: Strategically place outlets for easy access and functionality.
- Route of the electrical wire: Decide whether you'll run the wire above ground or underground.
- For above-ground wiring: Use a conduit to secure the electrical wire along the side of your house and shed.
- For underground wiring: Dig a trench and bury the wire at least 18 inches below the ground to protect it.
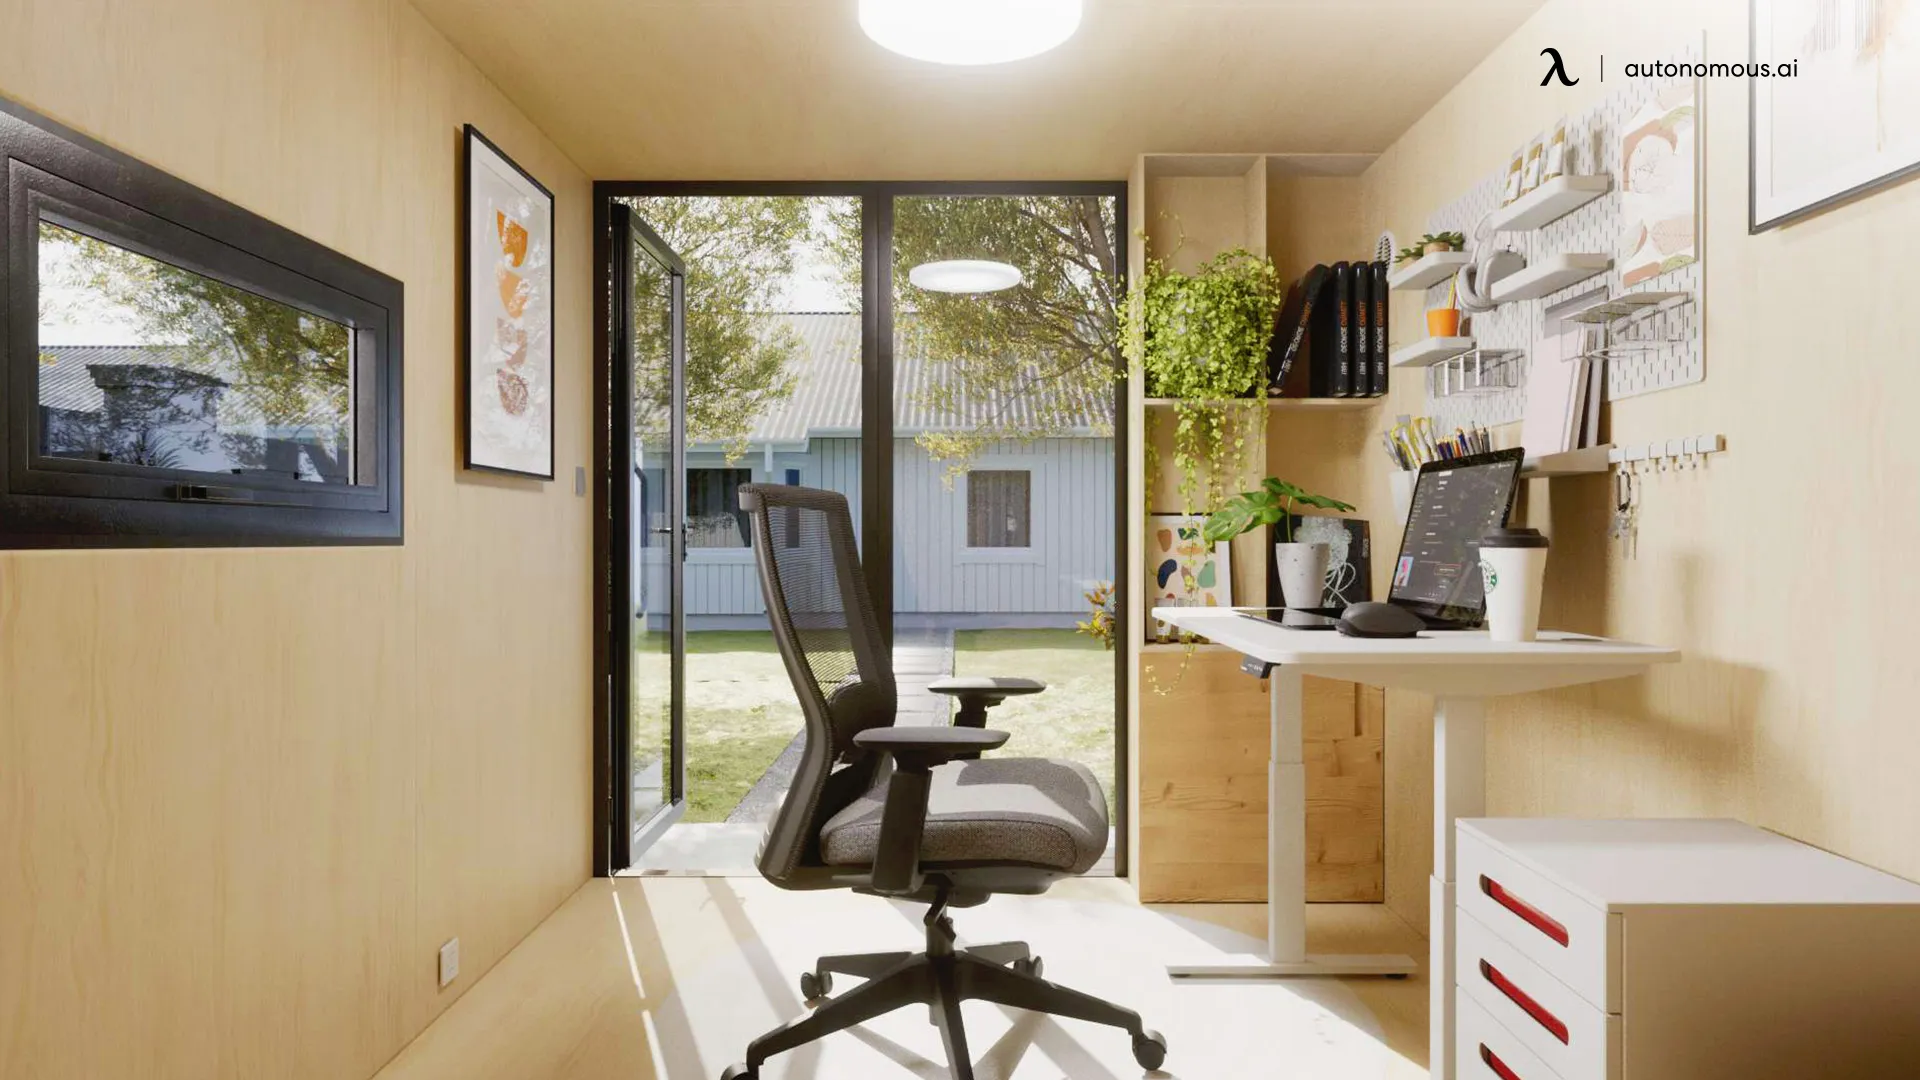
Step 2: Run the Electrical Wire
With your plan in place, it's time to start running the electrical wire:
- Above-ground wiring: Use a staple gun to secure the wire to the designated locations, following the conduit's path.
- Underground wiring: Carefully lay the wire in the trench and cover it with soil, ensuring it's buried at the appropriate depth.
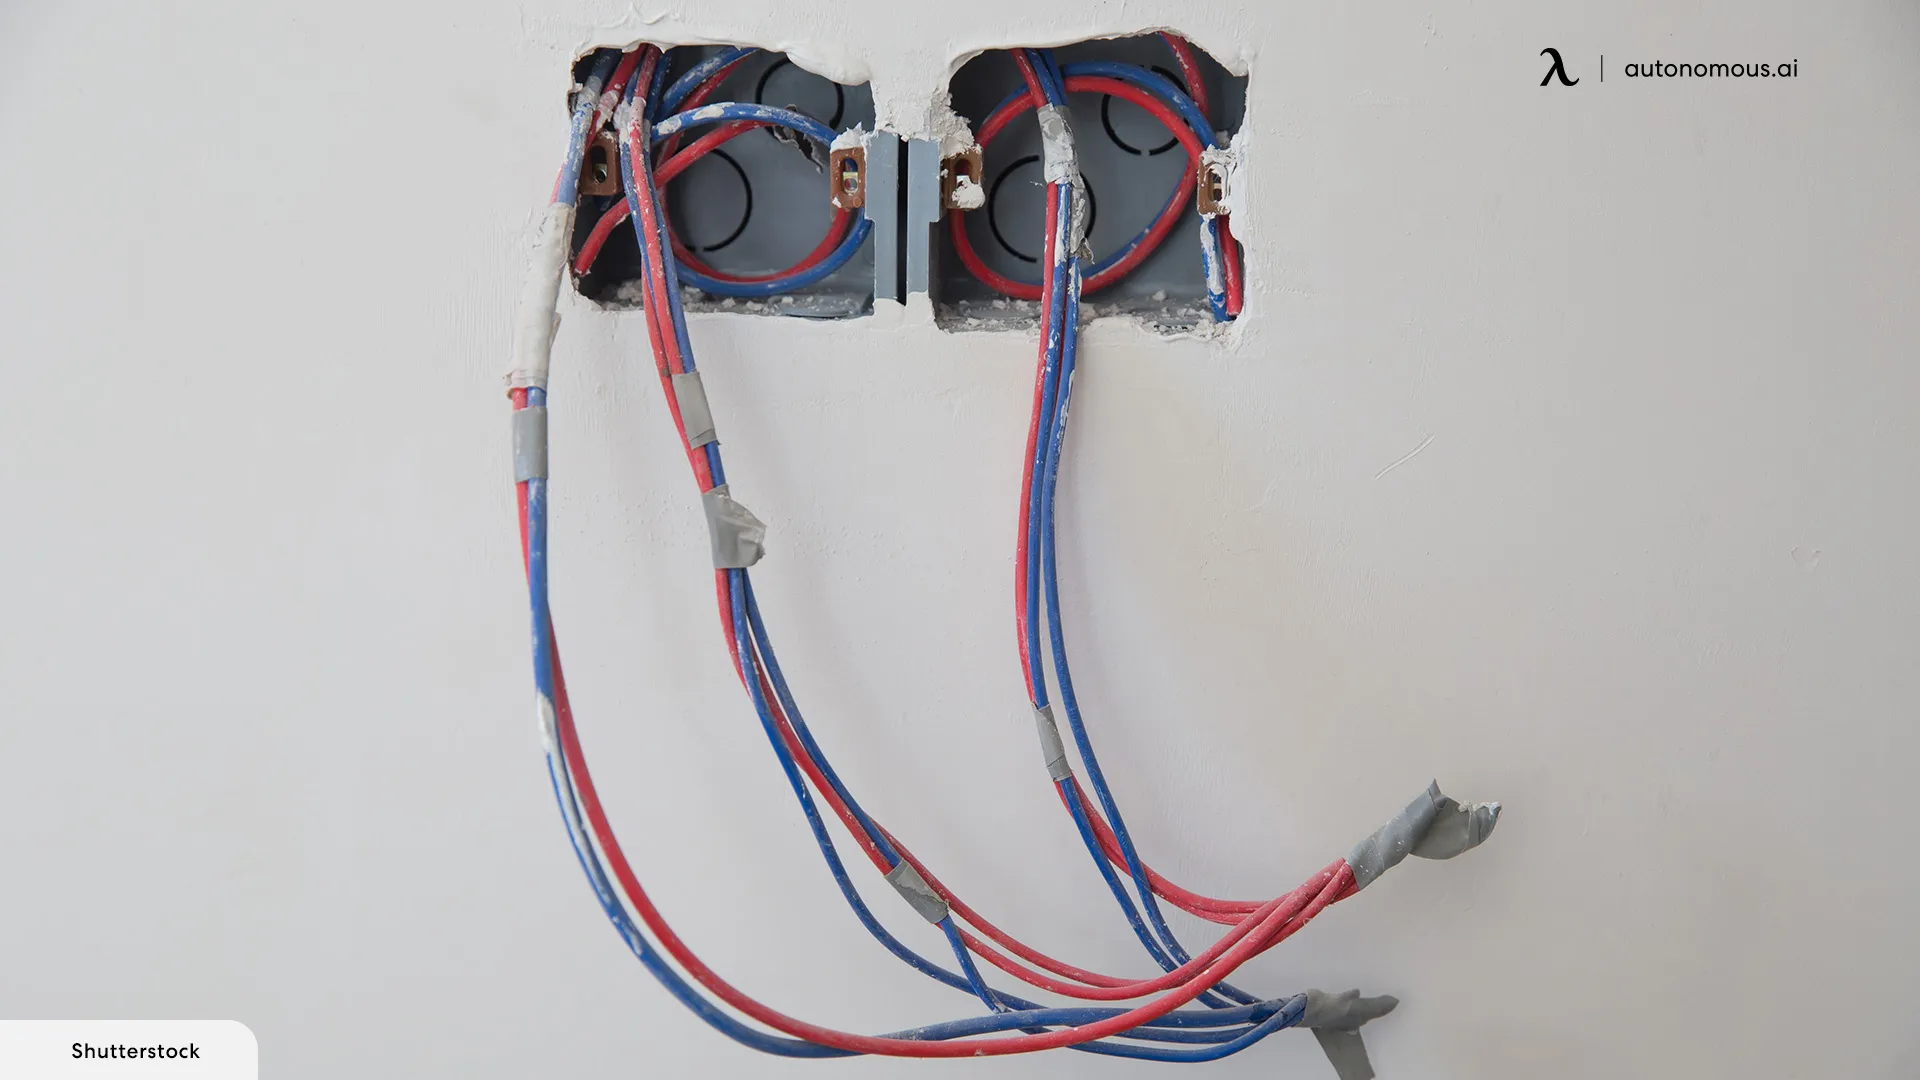
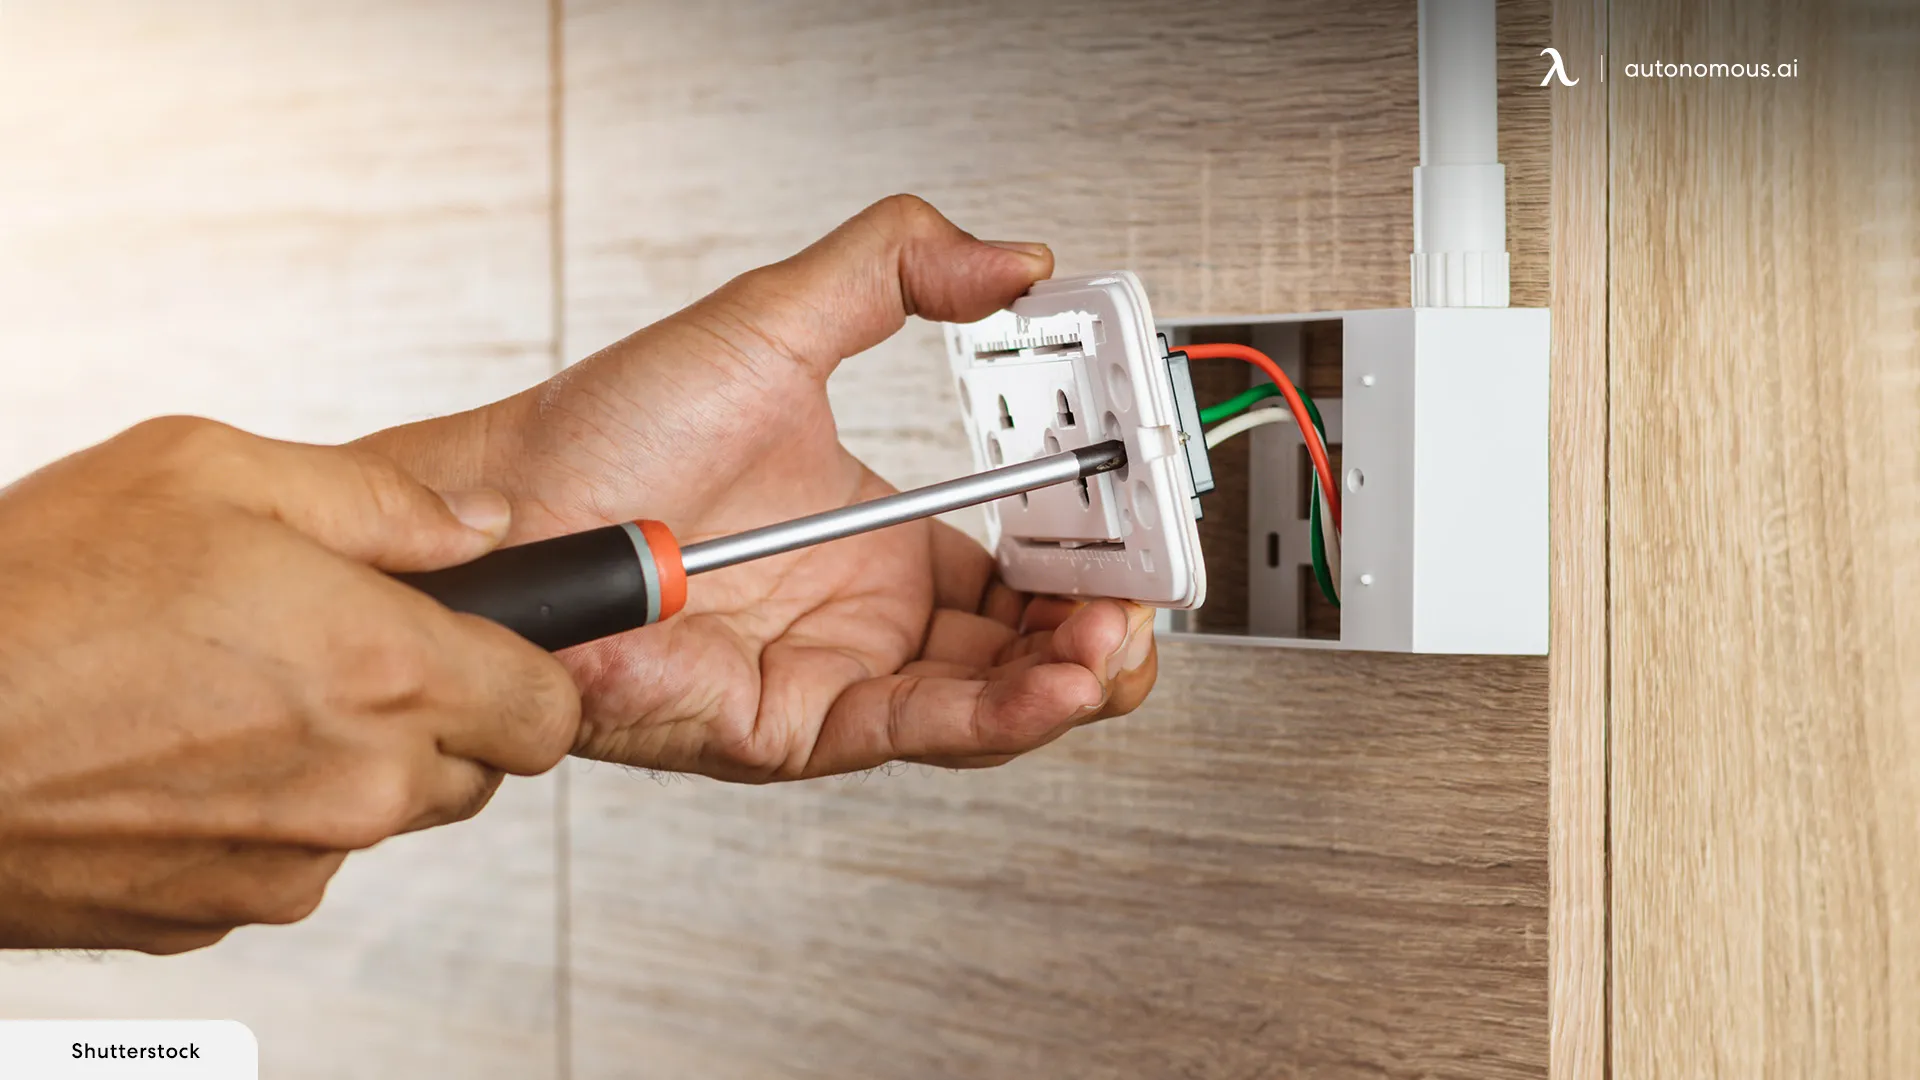
Step 3: Install the Electrical Outlet(s)
Now that the wire is in place, proceed to install the electrical outlet(s):
- Follow the electrical code guidelines for safe and proper installation.
- Choose weather-resistant outlet covers to protect them from outdoor elements.
Step 4: Test the Installation
With the installation complete, it's crucial to test the setup before regular use:
- Plug in a lamp or a small appliance to each outlet to ensure they're functioning correctly.
- Check for any loose connections or signs of electrical issues.
Tips for a Successful Installation
- Hiring an electrician: If you need more confidence in your electrical skills, feel free to hire a licensed electrician to handle the installation for you. Your safety is paramount.
- Following the electrical code: Adhering to electrical codes and safety standards ensures a safe and reliable installation.
- Regular maintenance: Periodically check your shed's electrical setup for any signs of wear or damage and address them promptly.
Or Go Solar with WorkPod Solar
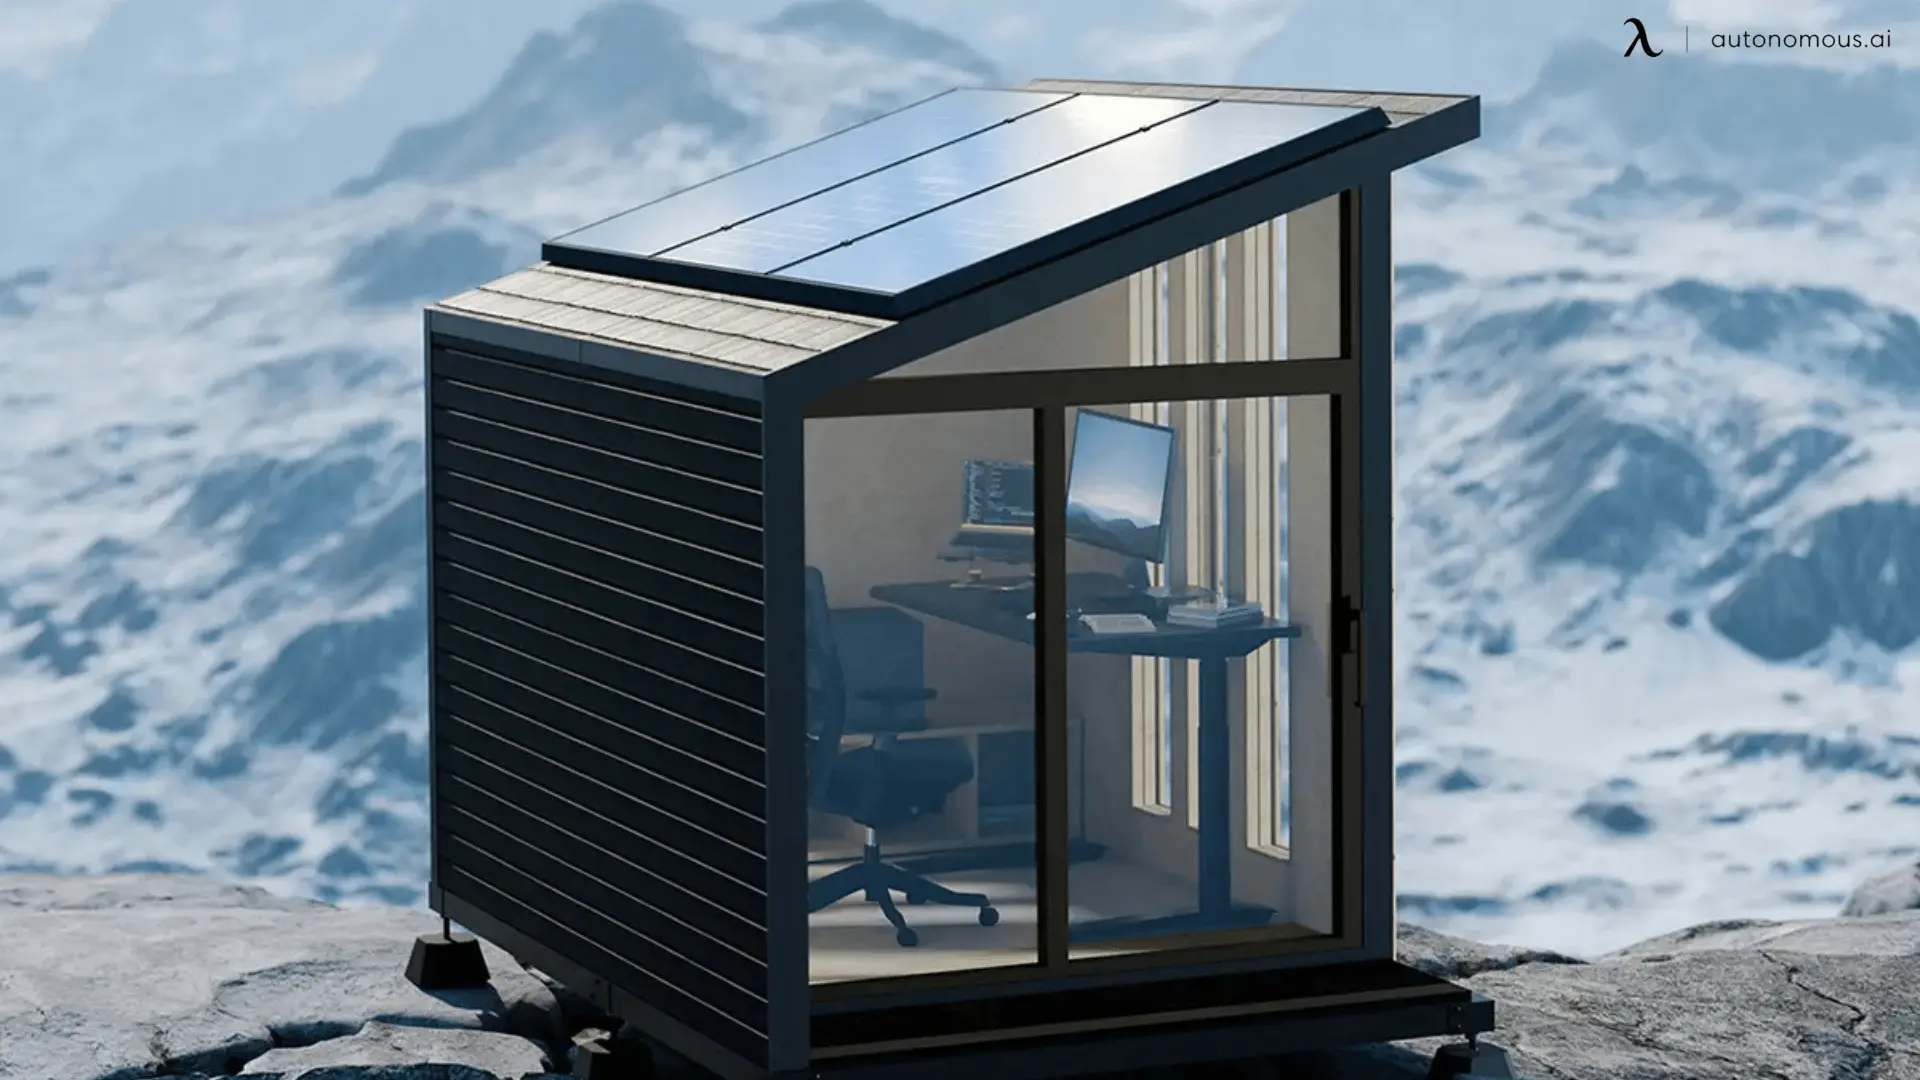
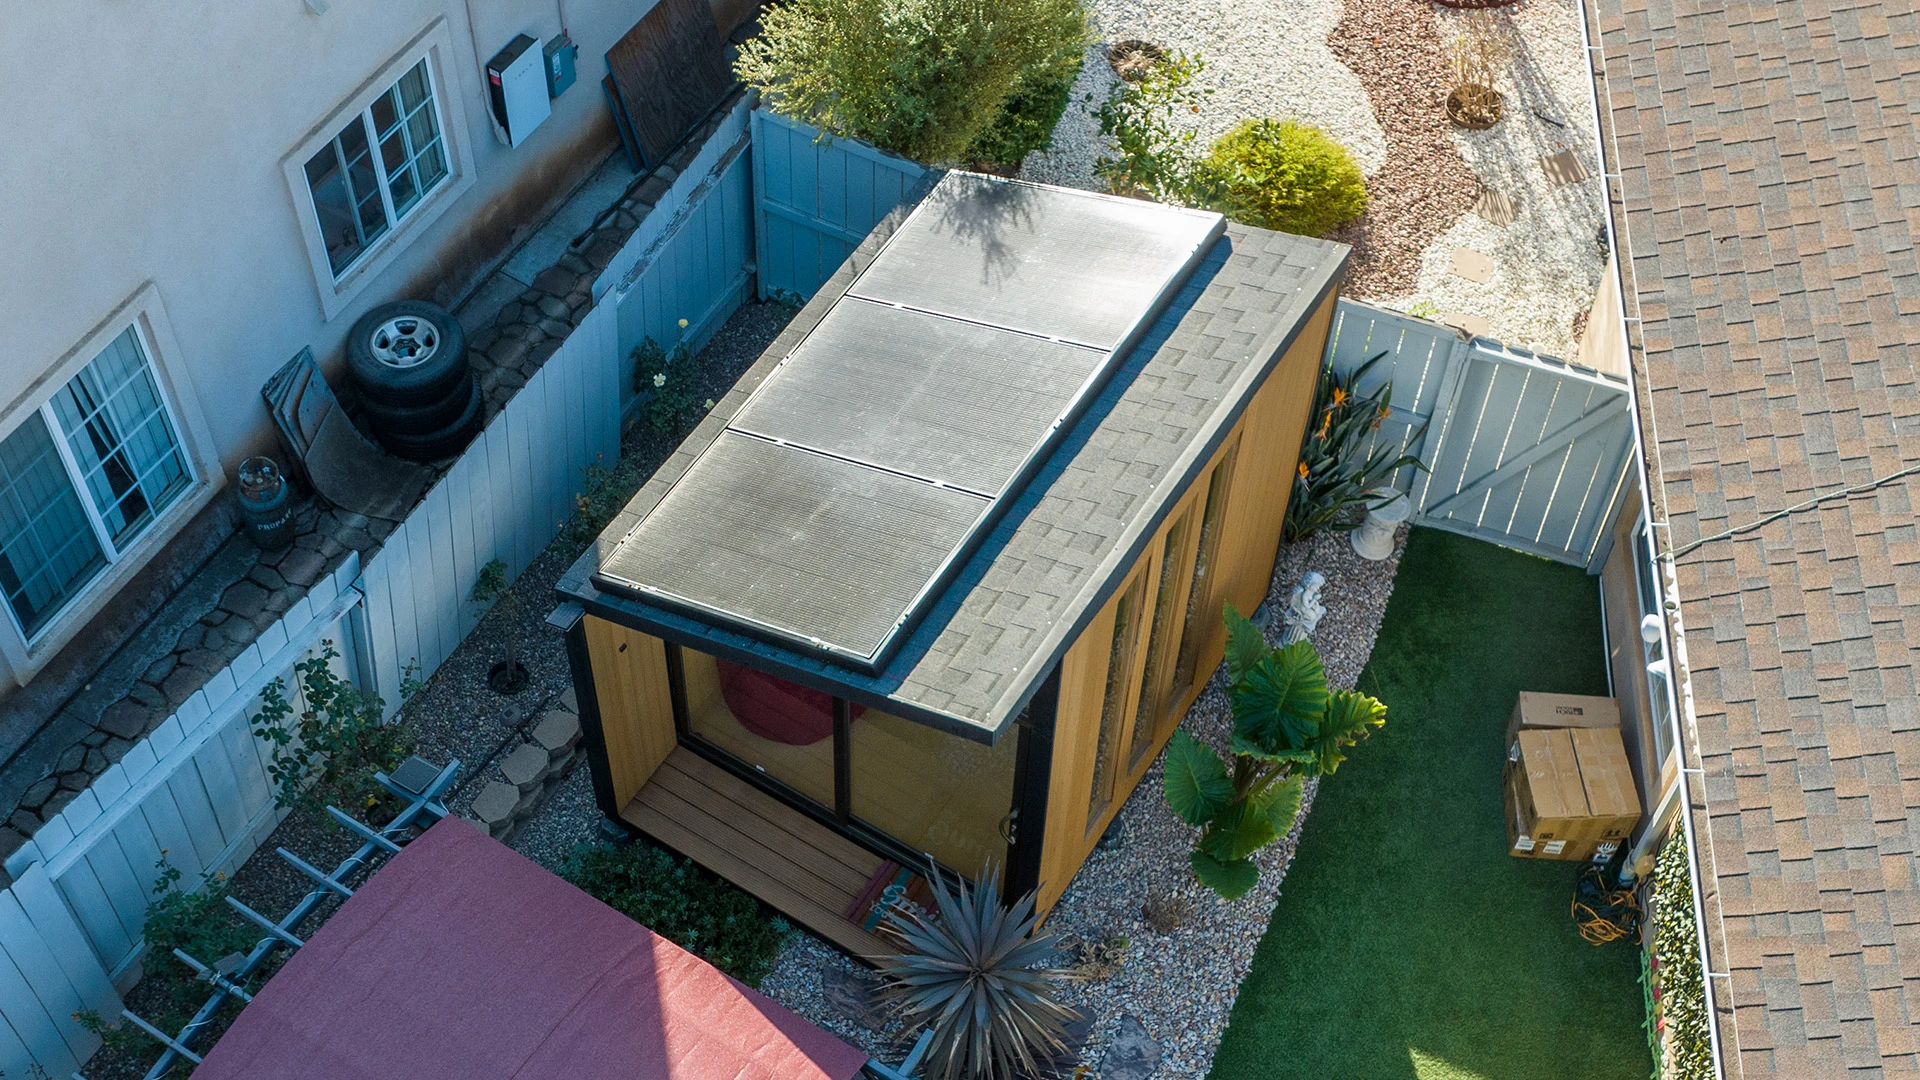
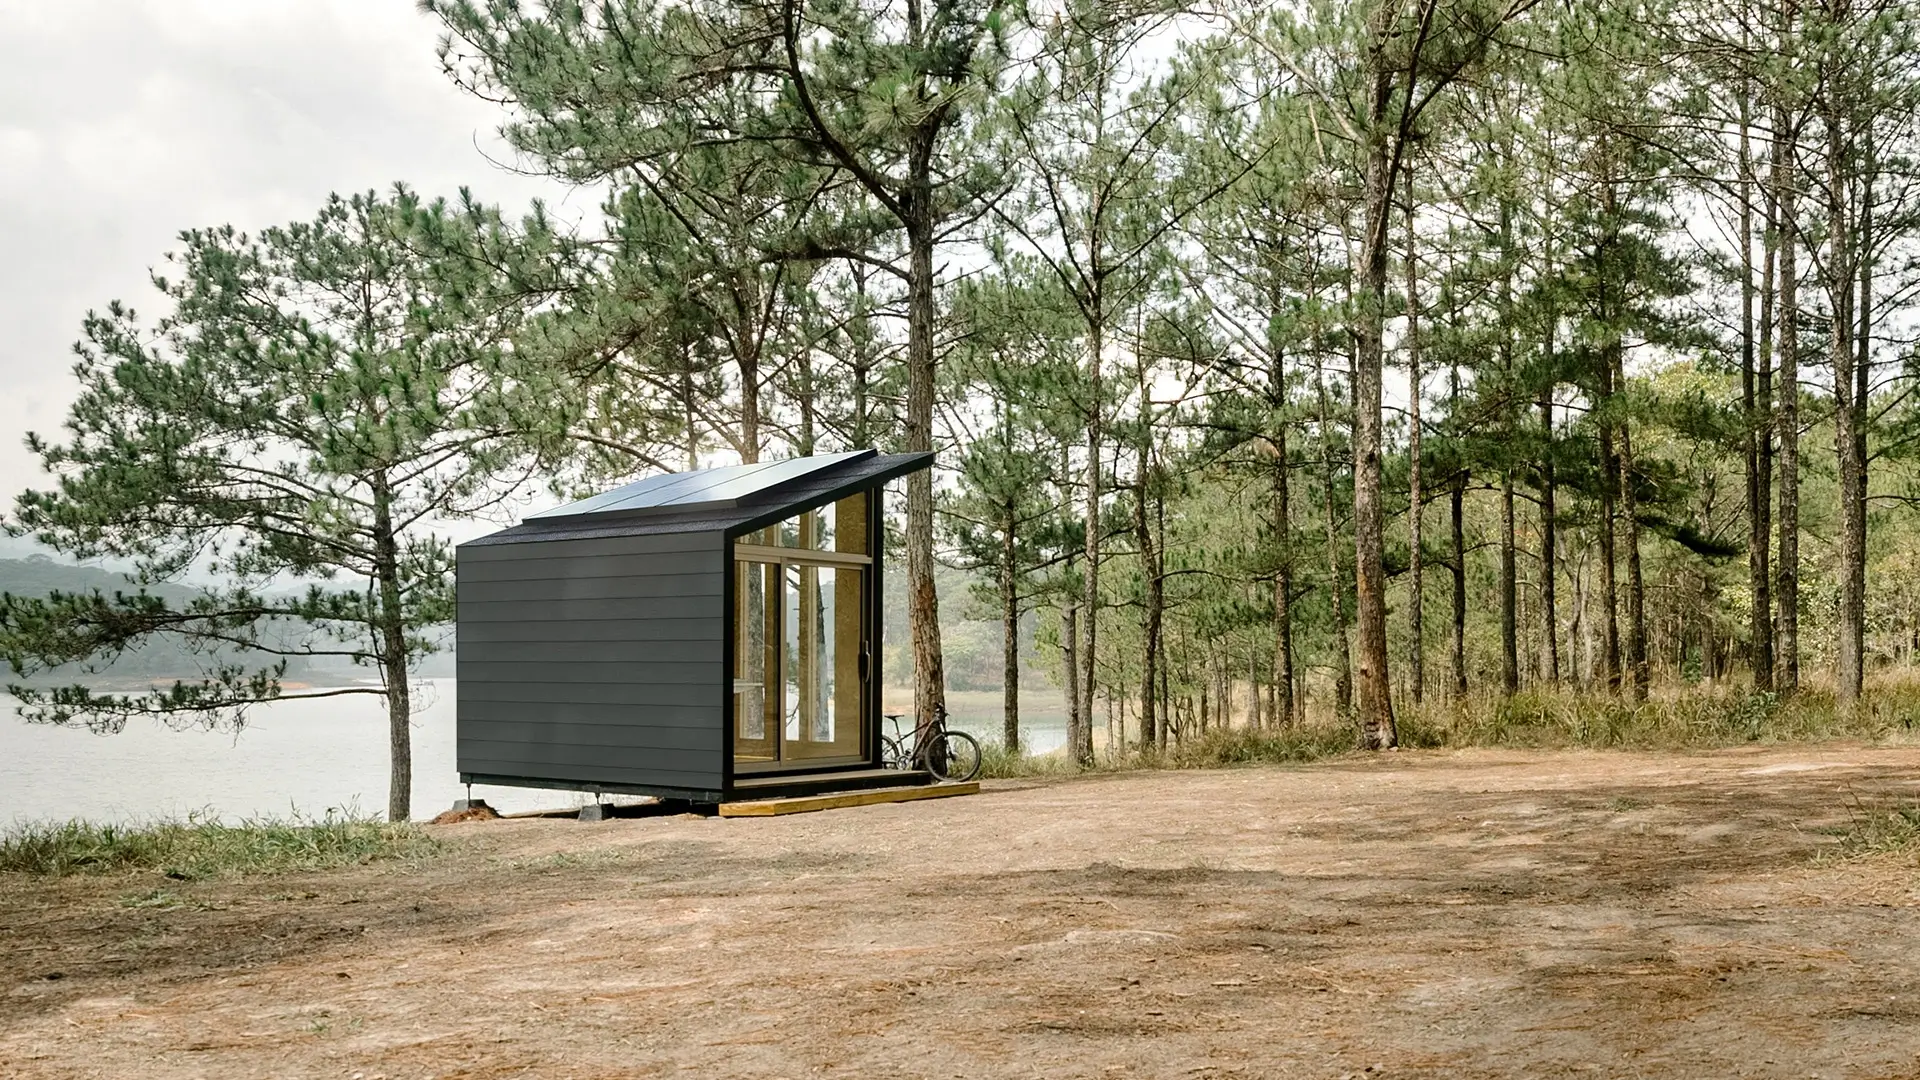
If running electricity to your shed sounds complicated or costly, consider a ready-made solution like the WorkPod Solar. Designed for effortless setup, this off-grid backyard retreat comes with a built-in solar energy system that eliminates the need for trenching, wiring, or permits.
What Makes WorkPod Solar a Great Alternative?
- Plug-and-Play Convenience: Forget the hassle of running wires—WorkPod Solar’s integrated system includes solar panels, an inverter, and a 10.2kWh battery. Just set it up, and you’re ready to go.
- Permit-Free: At 102 sq. ft., WorkPod Solar doesn’t require permits, making it a perfect choice for quick installation.
- Eco-Friendly Energy: Powered entirely by renewable energy, it’s a sustainable option that saves you money in the long run.
- Comfortable All Year Round: With thermal insulation and soundproofing, it’s more than just a shed—it’s a private, climate-controlled space.
For those looking to electrify their shed without the complexities of wiring, WorkPod Solar is the modern, hassle-free solution.
Why Choose Autonomous WorkPod
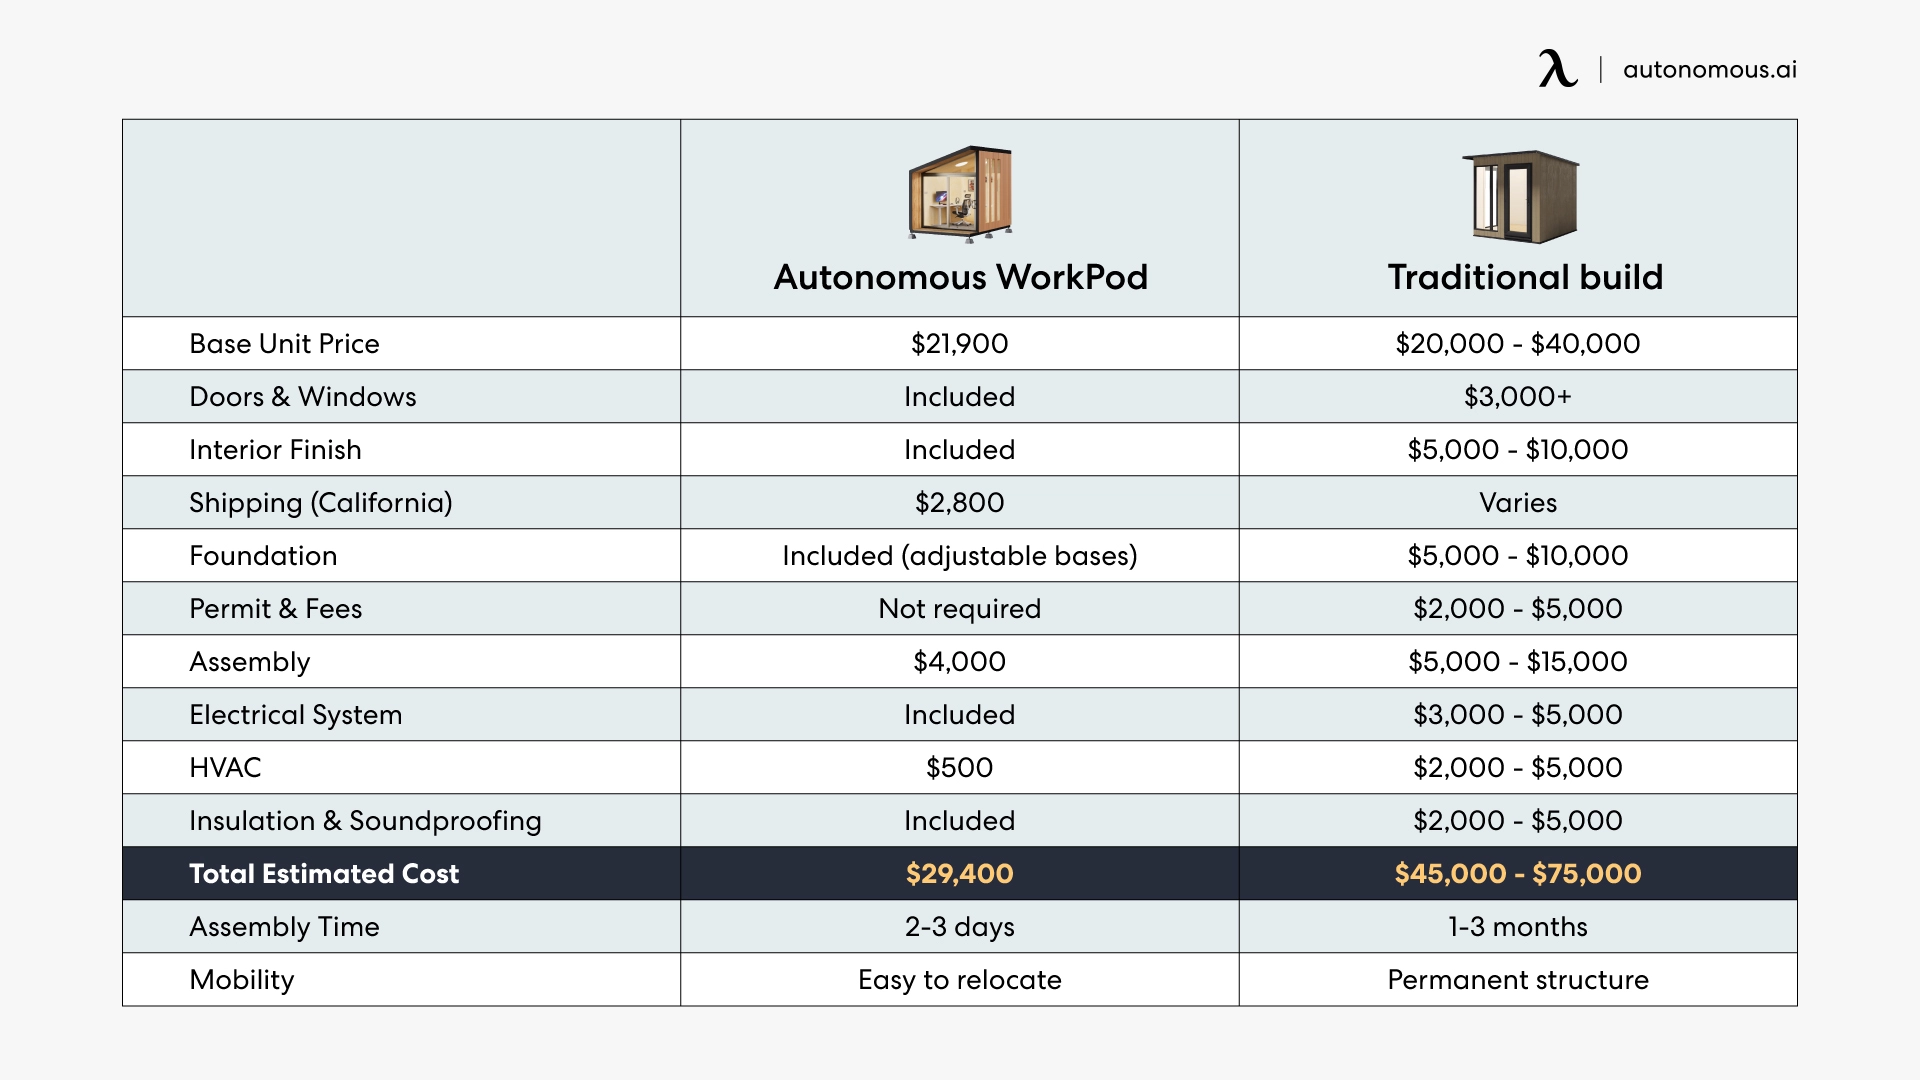
The Autonomous WorkPod distinguishes itself from other brands by providing a comprehensive setup that includes a foundation and is easy to assemble within 2-3 days. The cost of the WorkPod covers essential elements such as windows, a door, and lifestyle interior features. The table below offers a detailed cost comparison between the WorkPod and other brands, showcasing the superior value and convenience of choosing the WorkPod.
FAQs
1. How much is it to run electricity to a shed?
The cost of running electricity to a shed can vary depending on factors like the distance from the main house, the installation method (above ground or underground), and local labor rates. On average, it could range from $500 to $2,000 for a basic installation. However, for a more accurate estimate, it's best to consult a qualified electrician who can assess your specific needs and provide a detailed quote.
2. Can I run electrical from the house to the shed myself?
While it is possible to run electrical from the house to the shed yourself, it is essential to prioritize safety and adhere to electrical codes. If you have experience and knowledge, you can attempt it as a DIY project. Otherwise, hiring a licensed electrician ensures a professional and safe installation.
3. Are there any specific requirements for running electrical from the house to the shed?
Yes, there are specific requirements to ensure a safe and compliant installation. Local building codes, permits, and regulations must be followed. Additionally, using the right type of electrical cables and conduit (if applicable) is crucial for protecting the wiring from outdoor elements.
4. Can I use the electrical outlets in the shed for small outdoor sheds?
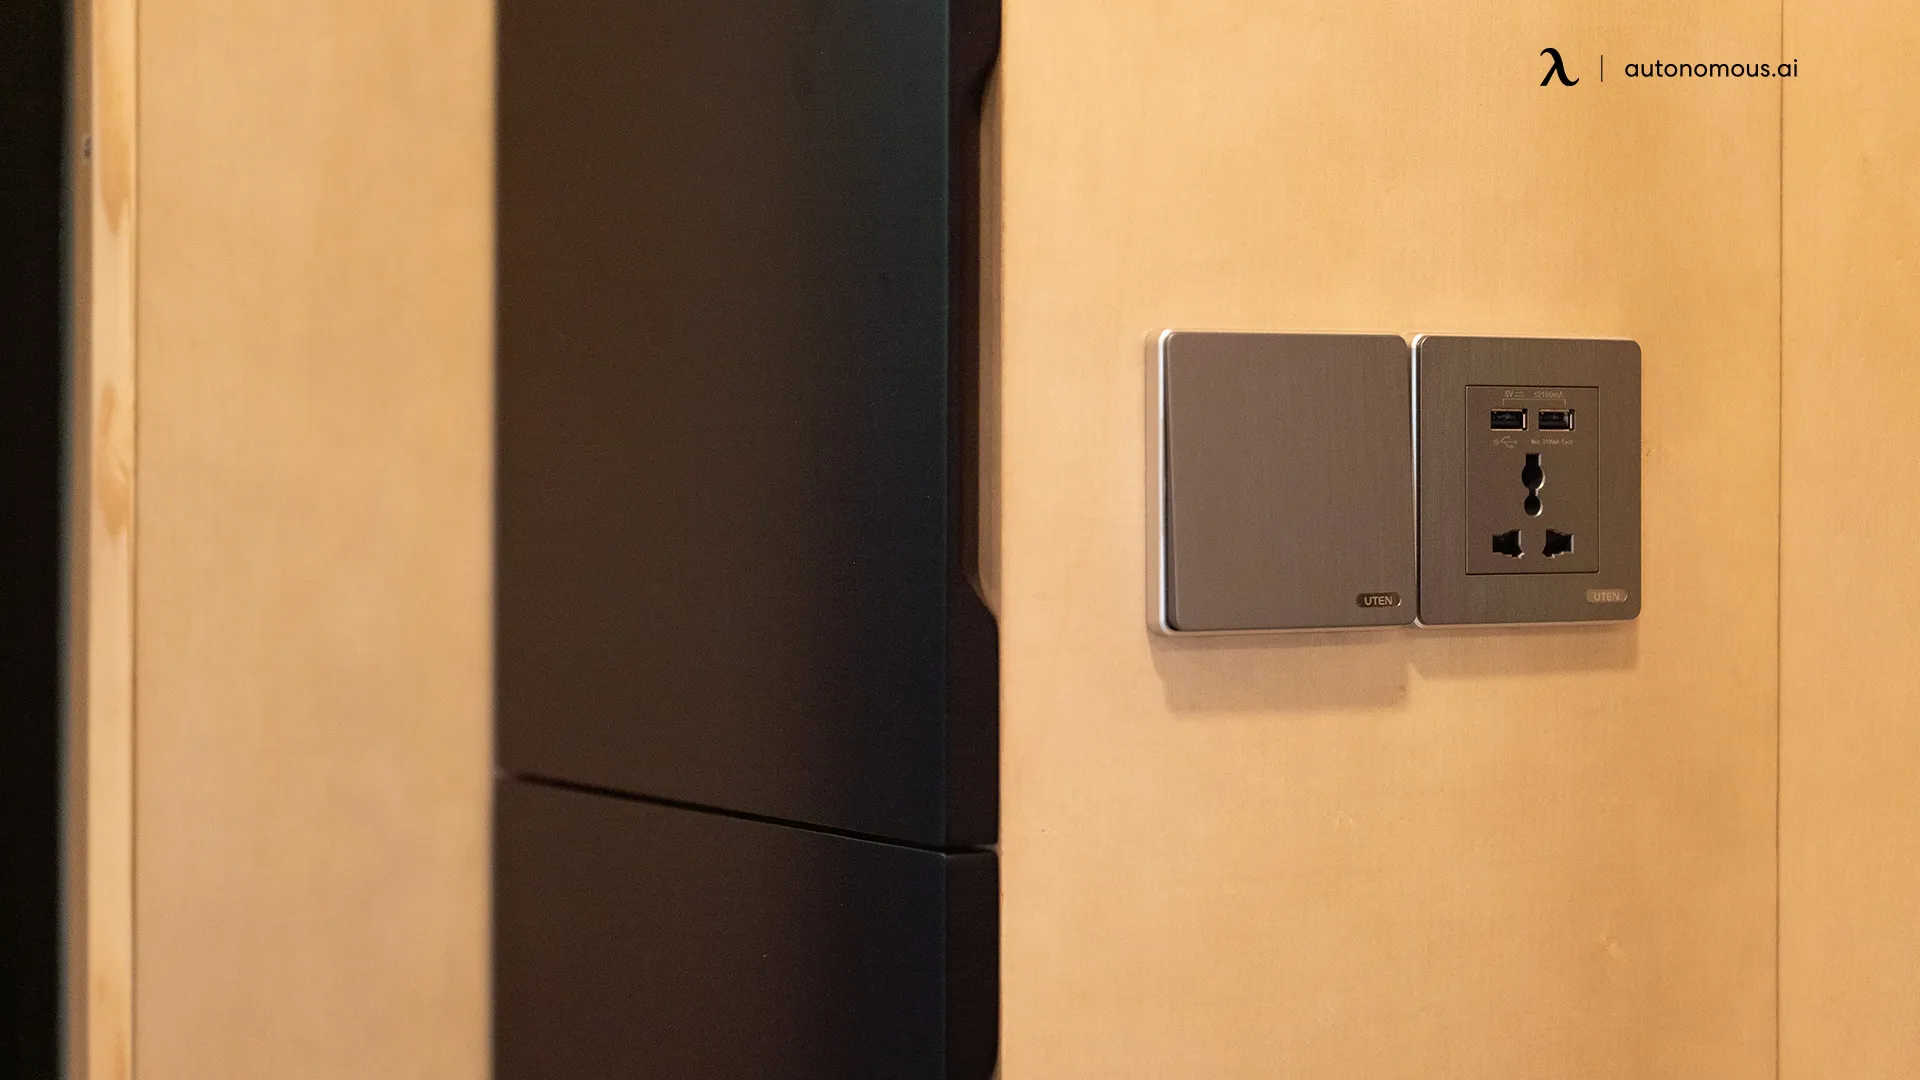
Yes, you can use the electrical outlets installed in the shed for small outdoor sheds. Ensure that the electrical system in the shed is appropriately designed to handle the power needs of the devices you intend to use.
5. Is running electricity to a shed worth the investment?
Absolutely! Running electricity to a shed significantly enhances its functionality and potential uses. It can transform your shed into a versatile space for various activities, such as an outdoor office, studio, or relaxation area. The investment can add value to your property and improve your overall living experience.
Conclusion
By now, we hope you have learnt how to run electricity to your shed! With options like running power to the shed from the house or how to run power to a shed above ground, your once-neglected shed has transformed into a versatile backyard retreat.
Embrace the convenience, creativity, and possibilities this electrified space offers. Now, enjoy your new backyard haven to the fullest!
Spread the word
.svg)


