Office Chair Settings Guide: How To Adjust Every Chair
.webp)
Table of Contents
- Step-by-Step Universal Chair Adjustment Sequence
- Office Chair Settings For Popular Brands
- 1. Autonomous ErgoChairs
- 2. Staples Office Chair
- 3. IKEA Office Chair
- 4. Serta Office Chair
- 5. Steelcase Office Chair
- 6. SIHOO Ergonomic Office Chair
- 7. Aeron Office Chair
- 8. Hbada Office Chair
- 9. Uline Office Chair
- 10. Ticova Ergonomic Office Chair
- 11. Efomao Desk Office Chair
- 12. Fern Office Chair
- 13. KERDOM Office Chair
- Matching Office Chair Settings To Common Pain Points
- FAQs
- Conclusion
Your office chair is more than just a seat — it’s the foundation of your 8 hour desk chair, comfort, and productivity. The right office chair settings can help you avoid fatigue, reduce pain, and support your focus throughout the day. The wrong settings? They can leave you with backaches, neck strain, and a serious drop in performance.
This office chair guide combines two essentials: a universal office chair adjustment guide, covers brand-specific settings, and addresses common pain points.
Whether you’ve just unboxed a new chair or want to improve your current setup, these ergonomic office chair instructions will walk you through every step.
Step-by-Step Universal Chair Adjustment Sequence (Works For Any Chair)
Getting the right office chair settings is about more than comfort — it’s about creating an ergonomic seating position that supports your body through long hours of work, reduces strain, and keeps you energized.
If you’re unfamiliar with how ergonomic features work, it can help to first understand what is an ergonomic chair is and how its design supports the body. Understanding this concept will make it easier for you to adjust your chair’s settings for optimal comfort and long-term well-being.
The office chair adjustment guide below is universal, meaning it works for most models and can be followed alongside your specific office chair instruction manual for brand-specific controls.
Here’s how to fine-tune yours for optimal support.
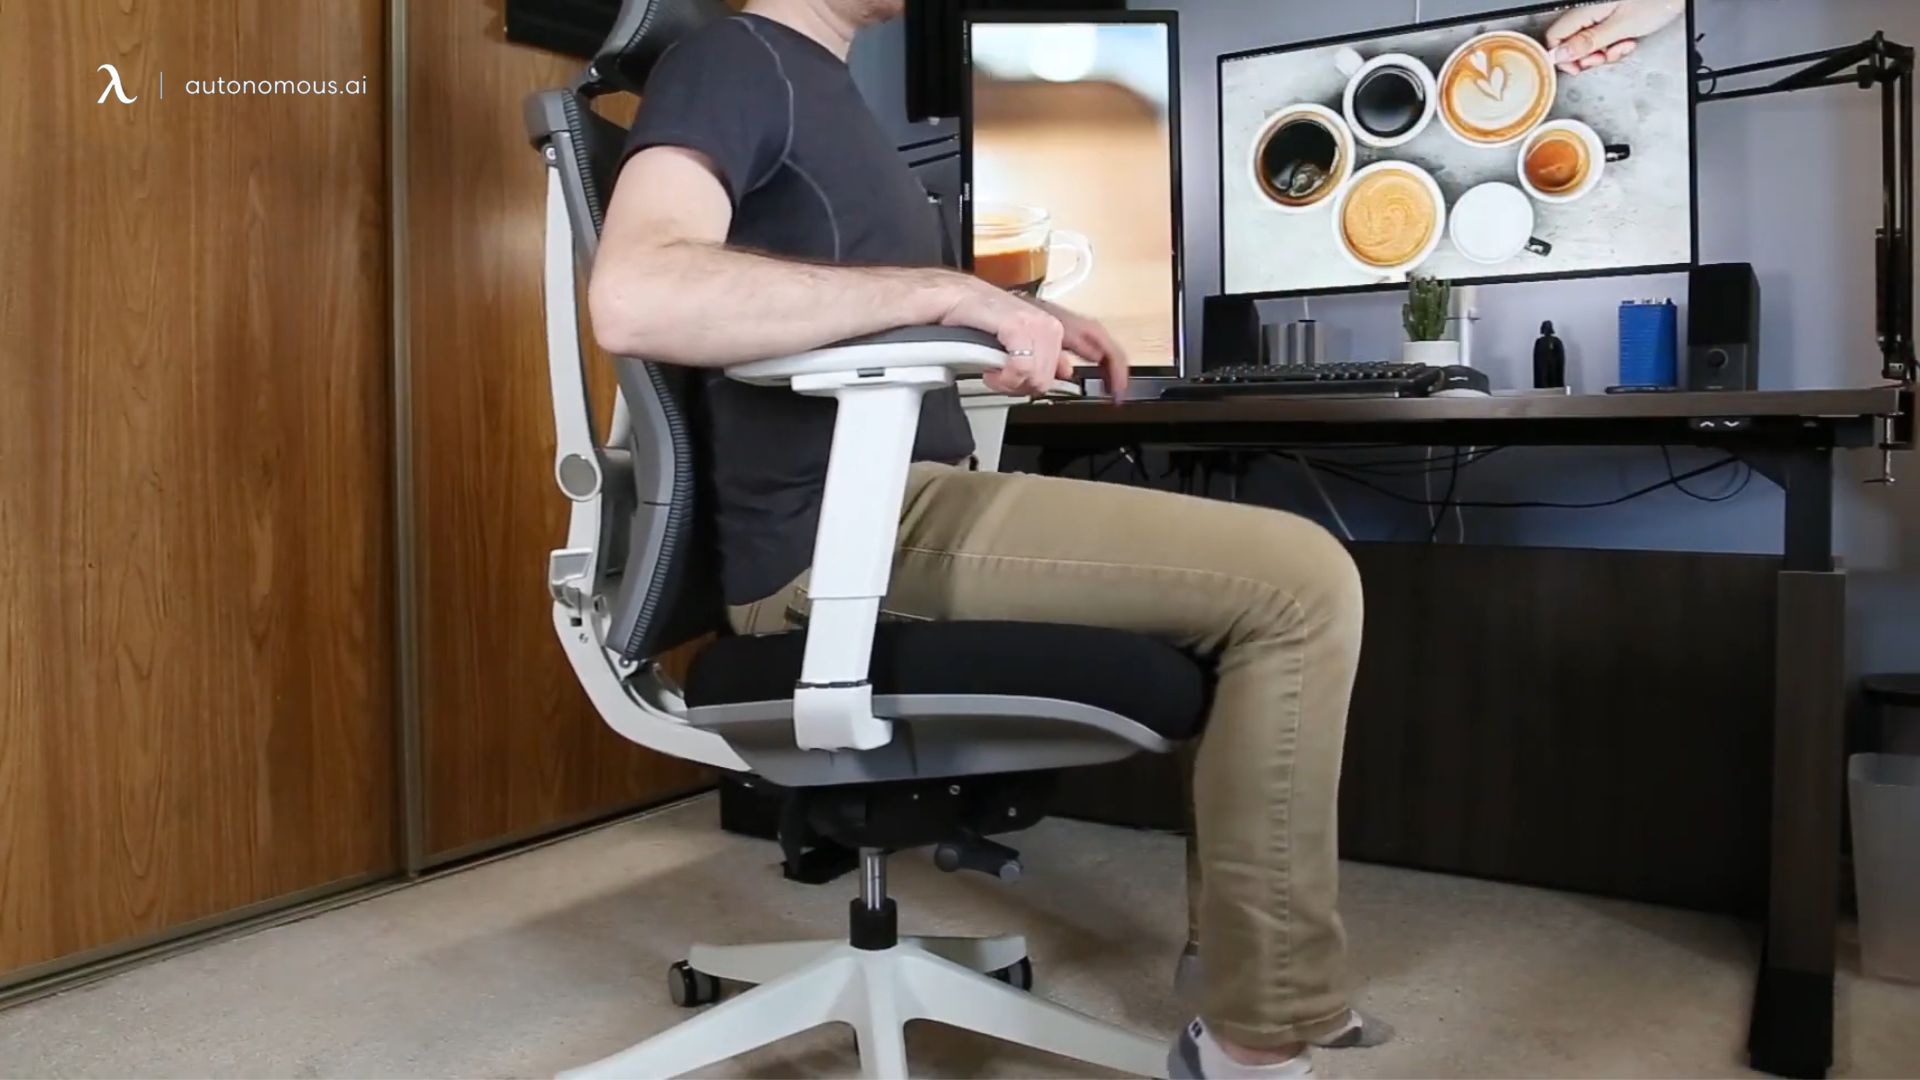
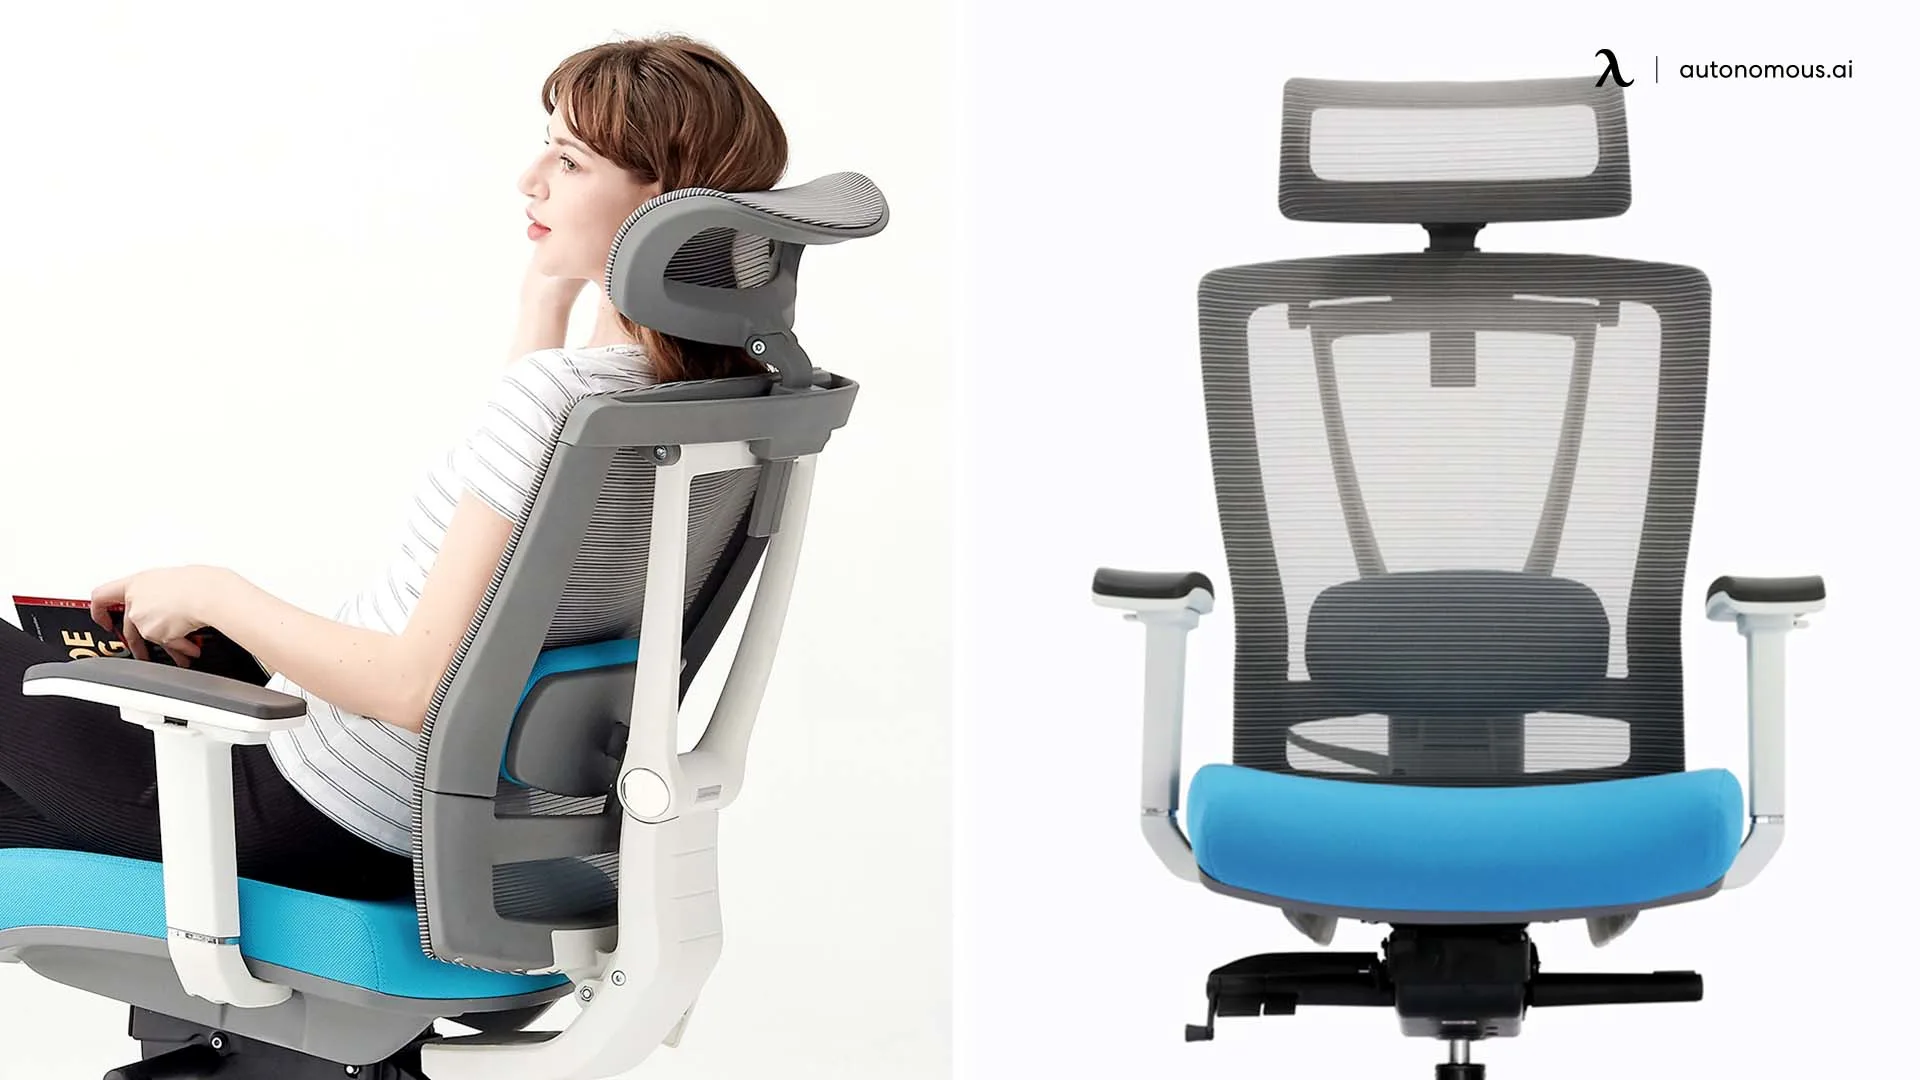
1. Seat Height – The Foundation of Good Posture
According to ergonomic office chair instructions, start by adjusting your seat height so your feet are planted firmly on the floor, with knees bent at roughly a 90-degree angle. Your hips should sit just slightly higher than your knees.
This ideal office chair height promotes healthy blood flow and keeps your lower back in a neutral position. If your feet don’t touch the floor, use a footrest to prevent pressure under your thighs.
In cases where the chair cannot be raised high enough to meet your desk or posture needs, you can explore solutions like an office chair height extender to achieve proper alignment.
2. Seat Depth – Support Without Compression
Slide your seat forward or back until there’s about a two- to three-finger gap between the edge of the seat and the back of your knees. This distance provides full thigh support without cutting off circulation.
Office chairs with adjustable seat depth make this easy; if your chair doesn’t have that feature, you may need to rely on cushions for fine-tuning.
.webp)
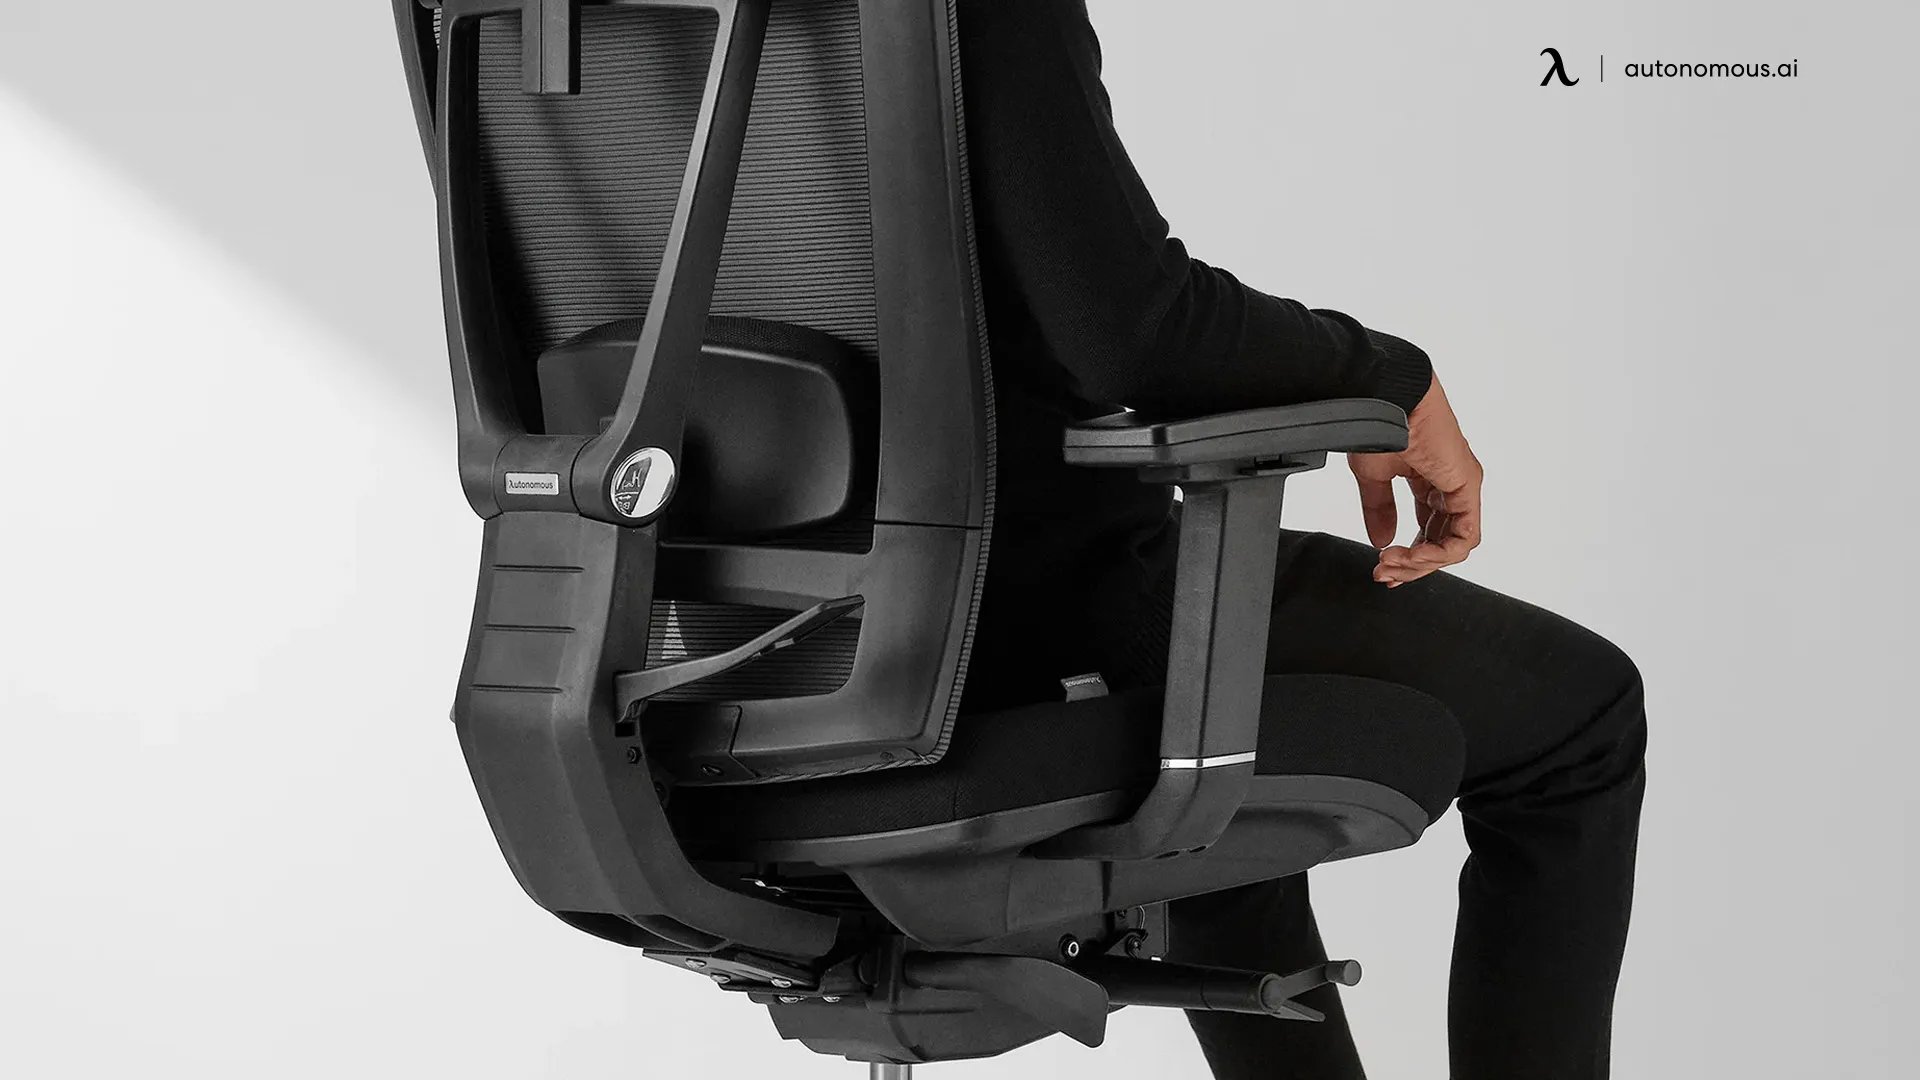
3. Lumbar Support – Maintaining The Spine’s Natural Curve
Your lumbar spine naturally curves inward, and a properly adjusted lumbar support should match that curve exactly. Raise or lower the lumbar pad until it fits snugly into your lower back, offering gentle but firm support.
Too high, and it will push your upper back forward; too low, and it won’t support the curve at all.
4. Backrest Recline – Finding The Right Angle For Your Tasks
For focused tasks like typing, keep your backrest at about 100–110 degrees so you’re upright but relaxed. For reading, calls, or casual brainstorming, a 110–120 degree recline can relieve spinal pressure.
If your chair offers a multi-position recline feature, similar to a reclining office chair, experiment with different angles to see which one best supports your posture for each type of task. The key is to maintain contact with the backrest at all times so your muscles aren’t doing the support work.
5. Tilt Tension – Smooth, Balanced Movement
Tilt tension controls how easily your chair reclines. Set it so you can lean back smoothly without feeling like you’ll tip over, but also without having to push hard against the backrest. Understanding different office chair tilt mechanisms can help you fine-tune this feature for your chair type.
A balanced setting encourages micro-movements, which prevent stiffness and keep your core engaged.
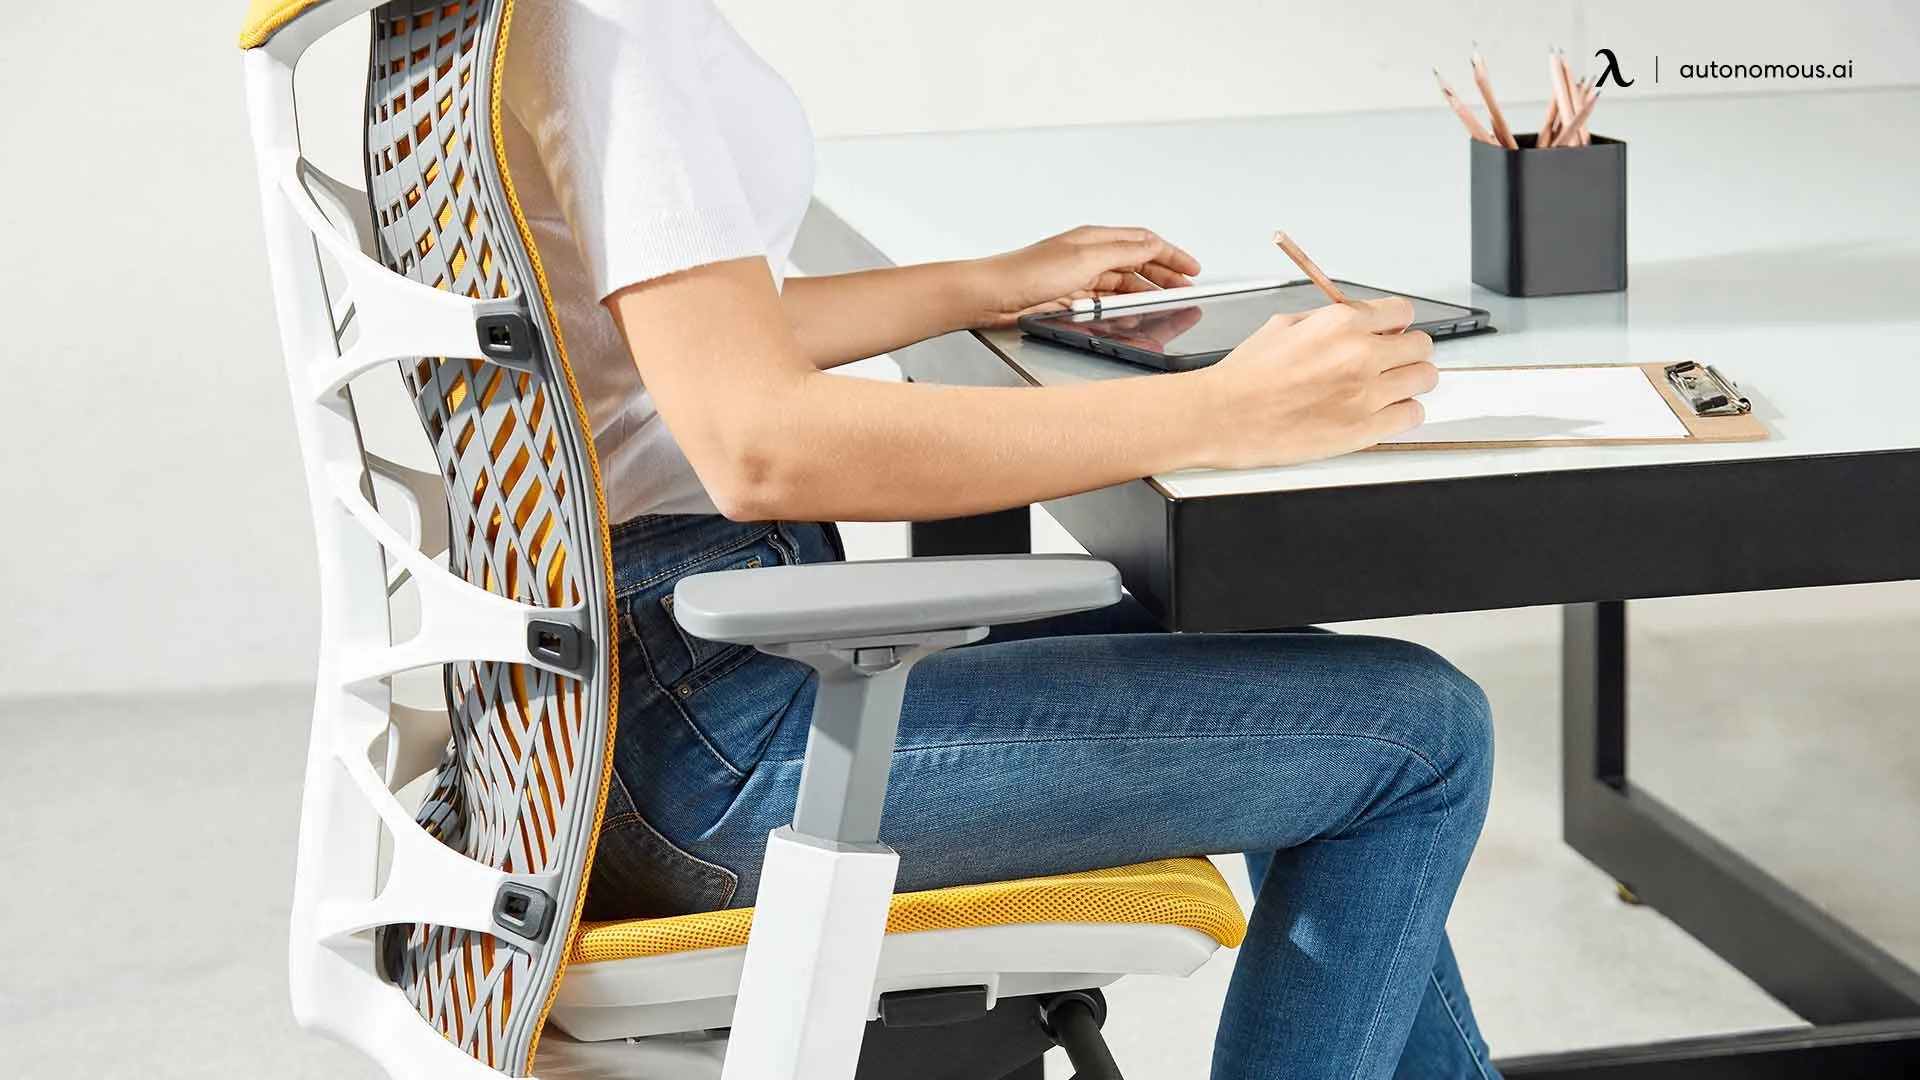
6. Armrest Position – Supporting Your Shoulders And Wrists
Raise or lower your armrests until your elbows rest at about a 90-degree angle and your shoulders feel relaxed. Armrests should also be close enough to your body so you don’t have to reach outward.
If your armrests adjust in width, angle, or depth, fine-tune them to keep your wrists straight while typing or using a mouse. Using an ergonomic office chair with adjustable arms can make these adjustments easier and ensure proper support for different tasks throughout the day.
.webp)
7. Chair-To-Desk Alignment – Completing The Setup
Once your chair is adjusted, make sure it works with your ideal desk height and monitor placement. Your screen should be at or slightly below eye level, and your forearms should rest parallel to the floor when typing.
If the desk is too high and can’t be lowered, raise your chair and use a footrest to keep your lower body supported.
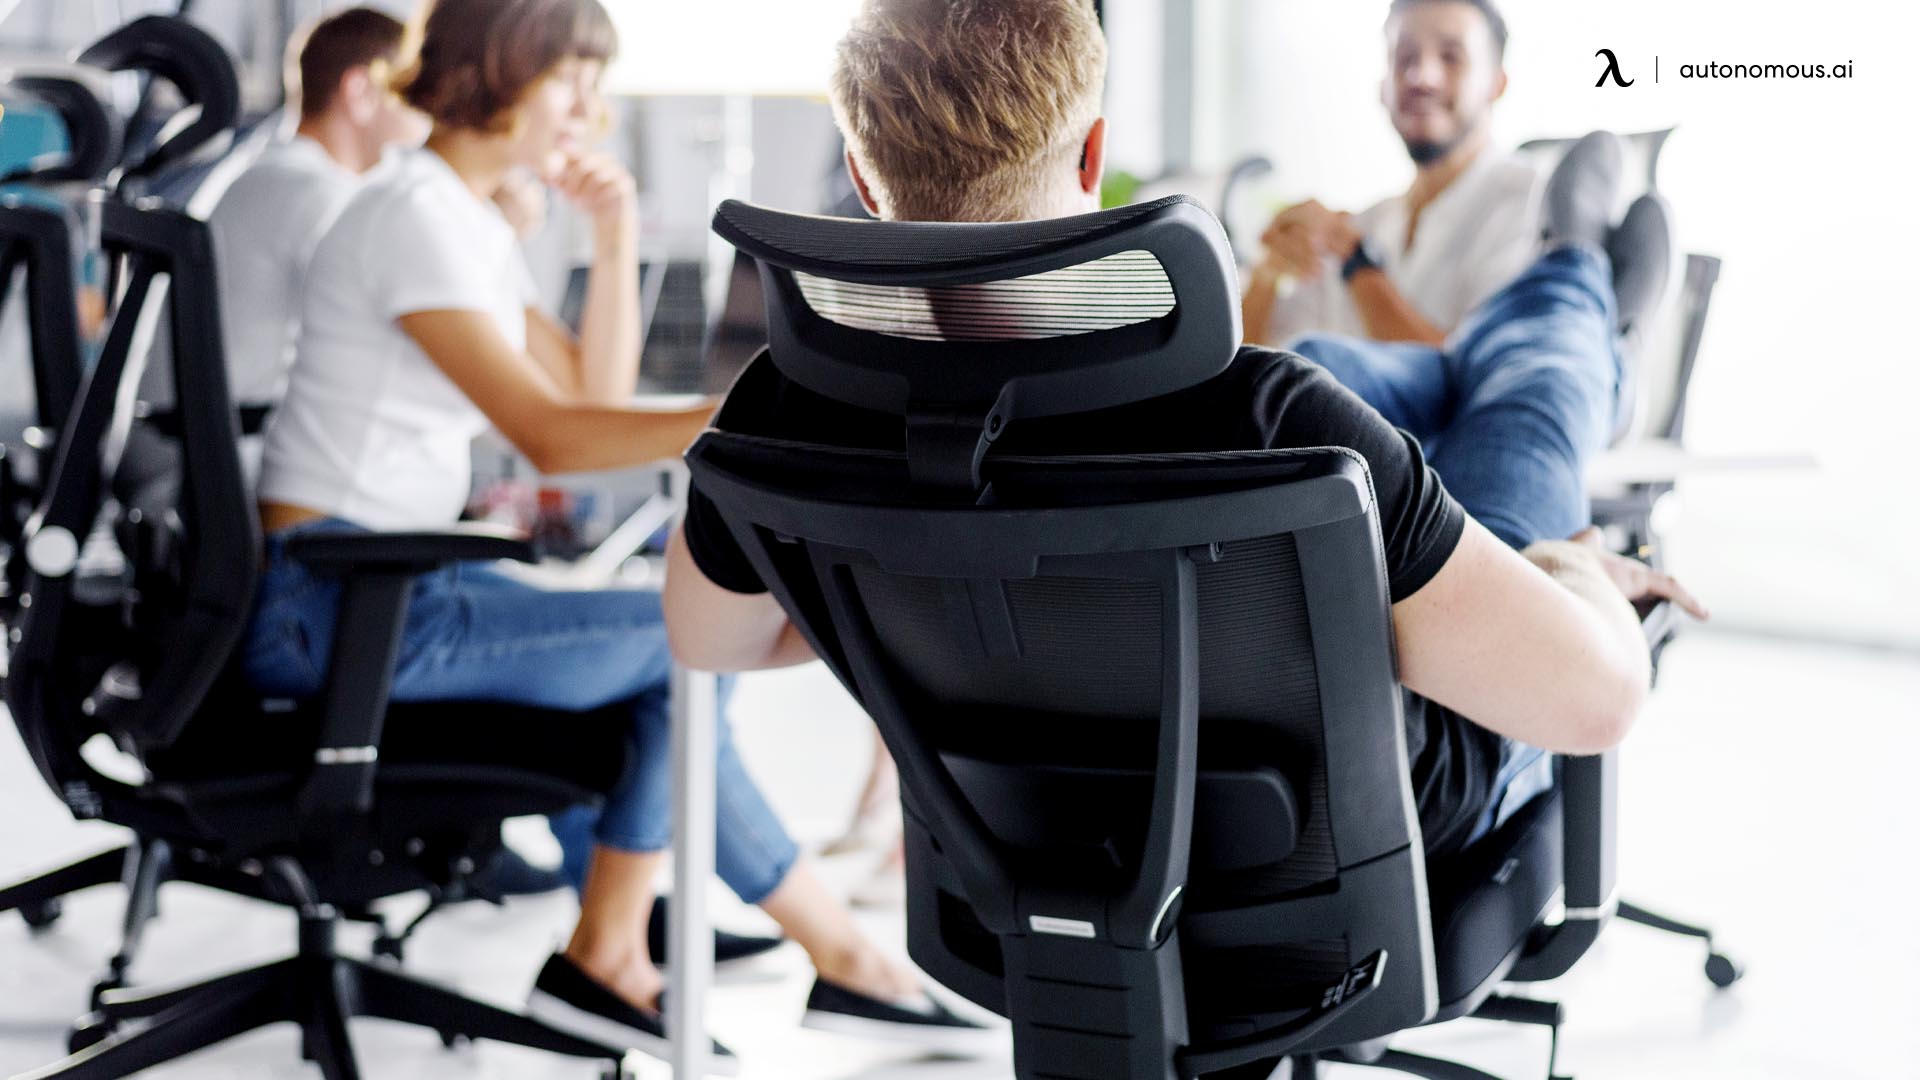
Office Chair Settings For Popular Brands
While the universal adjustments apply to most models, each office chair brand has its design quirks, control placements, and signature features. This is where your office chair instructions can help you locate and fine-tune settings more precisely.
Understanding these differences can help you get the most out of your investment — and achieve ergonomic comfort faster.
Here’s a quick-reference guide for setting up some of the popular office chairs.
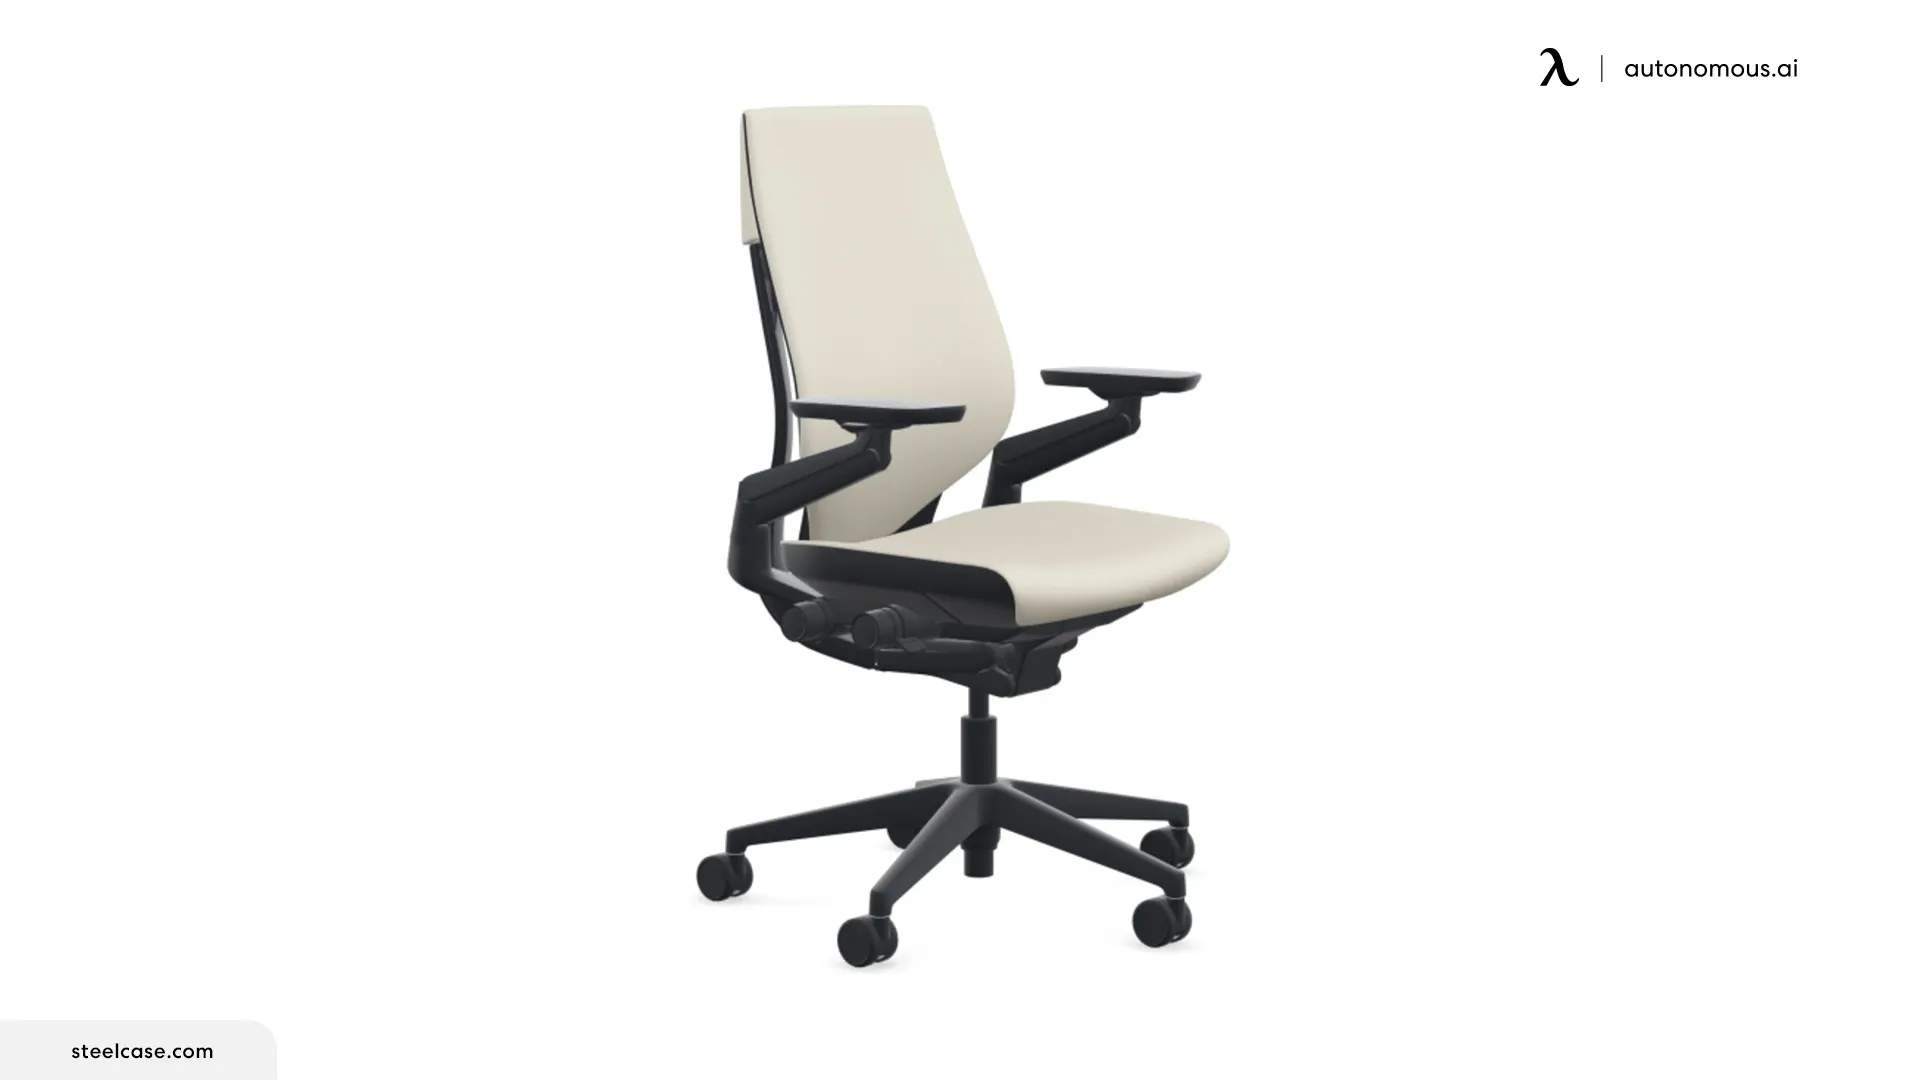
1. Autonomous ErgoChairs
- ErgoChair Pro
Set seat height for flat feet and hips slightly above knees. Adjust seat depth to leave a 2–3 finger gap behind knees. Recline to 110° for daily work and fine-tune tilt tension for smooth movement. Match lumbar support to your lower back curve and position the headrest so it supports the neck without pushing forward.
For a full step-by-step setup, see the ErgoChair Pro adjustment guide.
.webp)
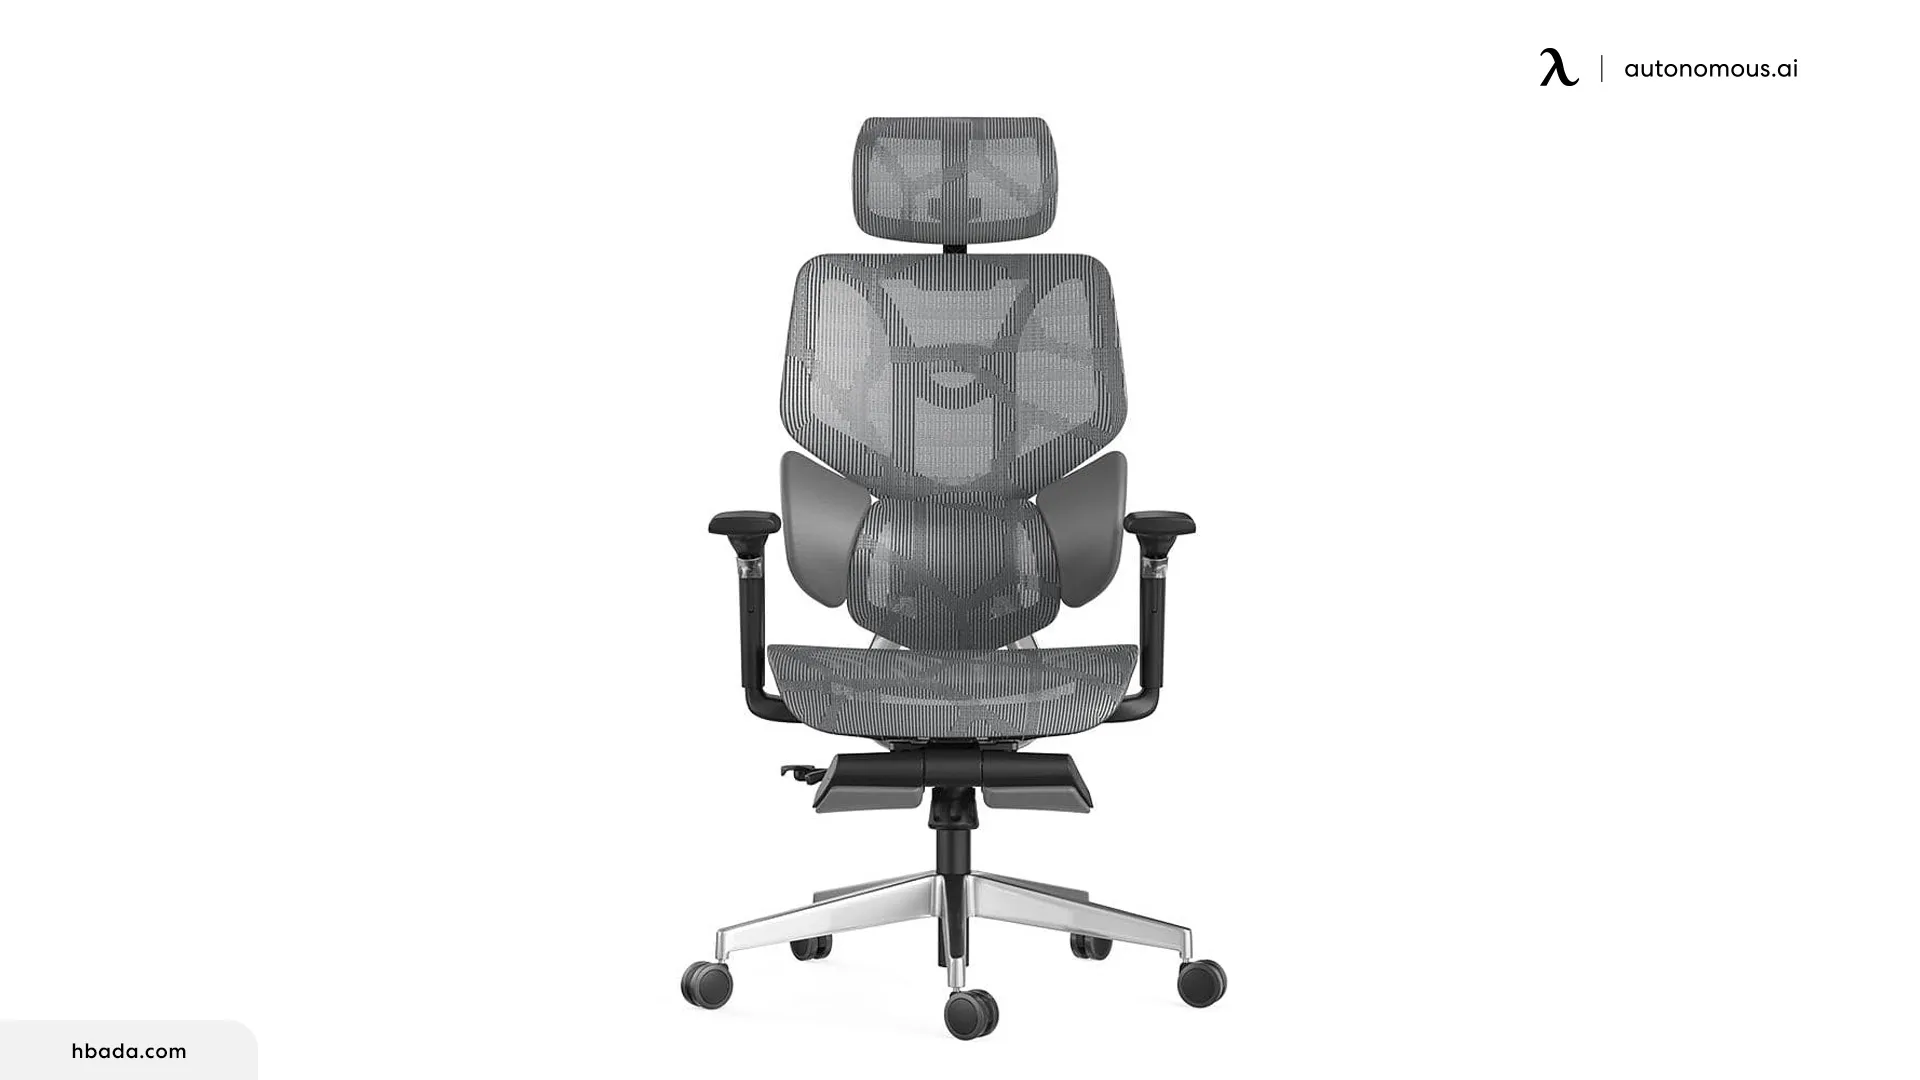
- ErgoChair Ultra 2
Start with seat height to align knees at 90°. Adjust the adaptive lumbar until it meets your natural curve. Use the flexible recline range (100°–120°) for task changes and dynamic tilt for micro-movements. Position armrests to keep elbows close and wrists straight, and set the headrest for comfortable neck support during recline.
For complete adjustment instructions, refer to the comprehensive ErgoChair Ultra 2 adjustment guide.

2. Staples Office Chair
Many models feature a synchro-tilt mechanism — adjust tilt and seat movement to keep your hips open while leaning back. Use built-in lumbar pads for gentle lower spine support.
3. IKEA Office Chair
Focus on aligning seat height with desk level for balanced wrist and shoulder posture. Their backrests often allow angle locking, ideal for steady support during long typing sessions.
4. Serta Office Chair
These chairs emphasize cushioning — balance comfort with posture by adjusting recline resistance so the plush padding doesn’t encourage slouching.
5. Steelcase Office Chair
Leverage the brand’s responsive recline by allowing weight-activated movement. Adjust seat depth for proper leg support without knee pressure and set arms for fluid transitions between typing and phone use.
6. SIHOO Ergonomic Office Chair
Use the integrated lumbar dial for fine-tuned lower back contact. Combine the adjustable headrest with moderate recline for neck relief during reading or calls.
7. Aeron Office Chair
Tailor the PostureFit SL system to match your lumbar shape, then set the tilt limiter to control your recline range without losing back support.
8. Hbada Office Chair
Flip-up arms are key here — keep them down for desk work to support arms, then raise them to move closer to your workstation or store the chair.
9. Uline Office Chair
Utilize their upright tilt-lock setting for precision tasks, switching to a free recline for relaxation without sacrificing stability.
10. Ticova Ergonomic Office Chair
Adjust the multi-angle headrest for close neck support, then fine-tune arm height and rotation for keyboard or drawing work.
11. Efomao Desk Office Chair
As a high-back model, focus on adjusting the top section for head alignment, especially when reclining to reduce neck strain.
12. Fern Office Chair
Position the flexible lumbar wings to hug your lower back, then adjust recline tension to accommodate frequent position changes.
13. KERDOM Office Chair
Optimize armrest width for natural shoulder alignment, especially when switching between typing and writing tasks.
Understanding how to adjust each chair model ensures everyone gets the most ergonomic benefit possible, whether in a home office or a shared workspace. Outfit your entire team with comfort that lasts by choosing Autonomous bulk office chairs — perfect for giving every workstation consistent support and quality at scale.
Matching Office Chair Settings To Common Pain Points
The right office chair settings can do more than keep you comfortable — they can actively prevent or relieve common workplace aches. Many normal office chair guidelines focus on initial setup, but ongoing tweaks based on comfort feedback are just as important.
Here’s how to fine-tune your chair to address specific issues:
1. Lower Back Pain
Why it happens: Lack of proper lumbar support or sitting with a rounded lower back.
Adjustments to try:
- Raise or lower lumbar support until it fits snugly into the natural curve of your lower spine.
- Recline your backrest slightly (around 110°) to reduce disc pressure while keeping your back in contact with the support.
- If your chair doesn’t have adjustable lumbar support, use a small cushion or lumbar pillow.
Extra Tip: Check lumbar position every few days — small shifts over time can affect your posture without you noticing. For a detailed explanation of where lumbar support should be positioned, consider how different positions affect spinal alignment.
2. Neck And Shoulder Strain
Why it happens: Armrests too low or too high, forward head posture from low screens.
Adjustments to try:
- Raise armrests so your elbows are bent at 90° and your shoulders stay relaxed.
- Bring armrests closer to your body if possible to prevent shoulder hunching.
- Adjust your headrest (if available) so it supports the base of your skull without pushing your head forward.
Extra Tip: Pair proper armrest height with monitor adjustments so you’re looking straight ahead, not down.
3. Hip Discomfort
Why it happens: Seat pan too high, hard seat material, or seat depth too long.
Adjustments to try:
- Lower the seat height so your hips are just slightly above your knees, with feet flat on the floor.
- Adjust seat depth so there’s a 2–3 finger gap behind your knees.
- Add a cushion if the seat padding is too firm.
Extra Tip: Avoid perching on the front edge of the seat — this shifts pressure to your hips and thighs.
4. Knee Pressure Or Leg Numbness
Why it happens: Seat edge pressing into the back of the legs or poor circulation from sitting too long.
Adjustments to try:
- Shorten the seat depth so the edge doesn’t press into your knees.
- Lower the seat height slightly to reduce downward pressure on your thighs.
- Take micro-breaks to stand, stretch, and improve circulation.
Extra Tip: An office footrest can be a game-changer if your desk height forces you to keep your seat higher than ideal.
5. Wrist And Forearm Pain
Why it happens: Armrests set too low or far apart, wrists bent during typing.
Adjustments to try:
- Raise armrests so your wrists stay straight while typing or using a mouse.
- Move armrests inward so elbows stay close to your torso.
- If your chair doesn’t adjust inward, move your keyboard and mouse closer to your body.
Extra Tip: Combine proper armrest settings with a negative-tilt keyboard tray for neutral wrist positioning.
FAQs
1. How to set up your office chair correctly?
Each model has unique controls, but the general ergonomic office chair instructions are:
- Adjust the seat height so your feet are flat on the floor and your knees are at about 90°.
- Leaving a 2–3 finger gap between the seat edge and the back of your knees.
- Adjust lumbar support to fit the natural curve of your lower back, and set armrests so your elbows are at 90° with your shoulders relaxed.
2. What is the best setup for an office chair?
The best setup supports your posture and reduces strain. Your hips should be slightly above your knees, your lower back should be supported by the lumbar rest, and your arms should rest comfortably with wrists straight when typing. Reclining the backrest slightly (around 100–110°) can also help reduce spinal pressure.
3. Is it better to have your office chair high or low?
Neither extreme is ideal. The correct height allows your feet to rest flat, with thighs parallel to the floor and hips just above knee level. Too high can cause leg pressure; too low can strain your hips and lower back.
4. What should the chair backrest be set up to give maximum support to?
Your backrest should support the natural S-curve of your spine, especially the lumbar region (lower back). It should allow you to maintain contact with the chair while sitting upright or slightly reclined, without forcing your shoulders forward.
.jpg)
5. How do I know what office chair is right for me?
Look for a chair with adjustable seat height, seat depth, lumbar support, armrests, and tilt tension. Choose one that matches your body proportions and work style, and ideally test it for comfort before committing.
Understanding office chair dimensions can also help ensure the chair fits your body correctly for long-term comfort.
6. What are the ergonomic instructions for office chairs?
Key ergonomic office chair instructions often include:
- Seat height: feet flat, knees at 90°
- Seat depth: 2–3 finger gap behind knees
- Lumbar support: aligned with lower back curve
- Armrests: elbows at 90°, shoulders relaxed
- Backrest: recline 100–110° for most tasks
7. What are the instructions for an ergonomic chair?
Each ergonomic chair has its controls, but the general steps are: adjust height, set seat depth, align lumbar support, adjust backrest recline and tension, position armrests, and fine-tune headrest if available. Refer to the specific brand’s office chair instruction manual for specific control placements.
Conclusion
Your office chair isn’t just a place to sit — it’s the foundation of your daily comfort, focus, and long-term health. Learning how to fine-tune office chair settings means you’re not leaving your posture, energy, and productivity to chance.
By starting with the universal ergonomic office chair instructions, tailoring your setup to your specific chair model, and addressing common pain points proactively, you can create a workspace that works with your body instead of against it.
The right office chair adjustment guide is simple but powerful: it reduces strain, keeps your energy steady, and helps you get more done with less discomfort.
Whether you’re upgrading a single desk or an entire floor of workstations, these adjustments help create healthier, more productive environments. Upgrade your workspace at scale with Autonomous bulk office furniture packages — designed to equip every employee with a comfortable, ergonomic setup while keeping budgets in check.