Best DIY Monitor Stand Ideas for Cheap and Ergonomic Setups
Quick answer: A DIY monitor stand can be made using simple materials like wood, crates, PVC pipes, or even stacked books to raise your screen to eye level. The goal is to improve posture, reduce neck strain, and create a more comfortable workspace without spending much.
Table of Contents
If your monitor sits too low, you probably feel it—neck tension, slouching, and constant repositioning throughout the day.
That’s exactly what a DIY monitor stand fixes.
Instead of buying an expensive setup, you can build one yourself using everyday materials. A well-built DIY monitor stand raises your screen to eye level, improves posture, and frees up desk space.
This guide walks through the best ideas, what actually works, and how to choose the right setup based on your desk, budget, and needs.
What makes a good DIY monitor stand?
A good DIY monitor stand lifts your screen to a comfortable height, stays stable under weight, and fits your workspace.
The goal is simple:
- your eyes should align with the top third of the screen
- your monitor should sit about an arm’s length away
- your setup should feel natural without forcing posture
If your stand doesn’t meet these, it won’t solve the problem—even if it looks good.
Best DIY Monitor Stand Ideas
The best DIY monitor stand depends on how much space you have, how much weight your monitor needs support for, and whether you want a temporary fix or a long-term solution.
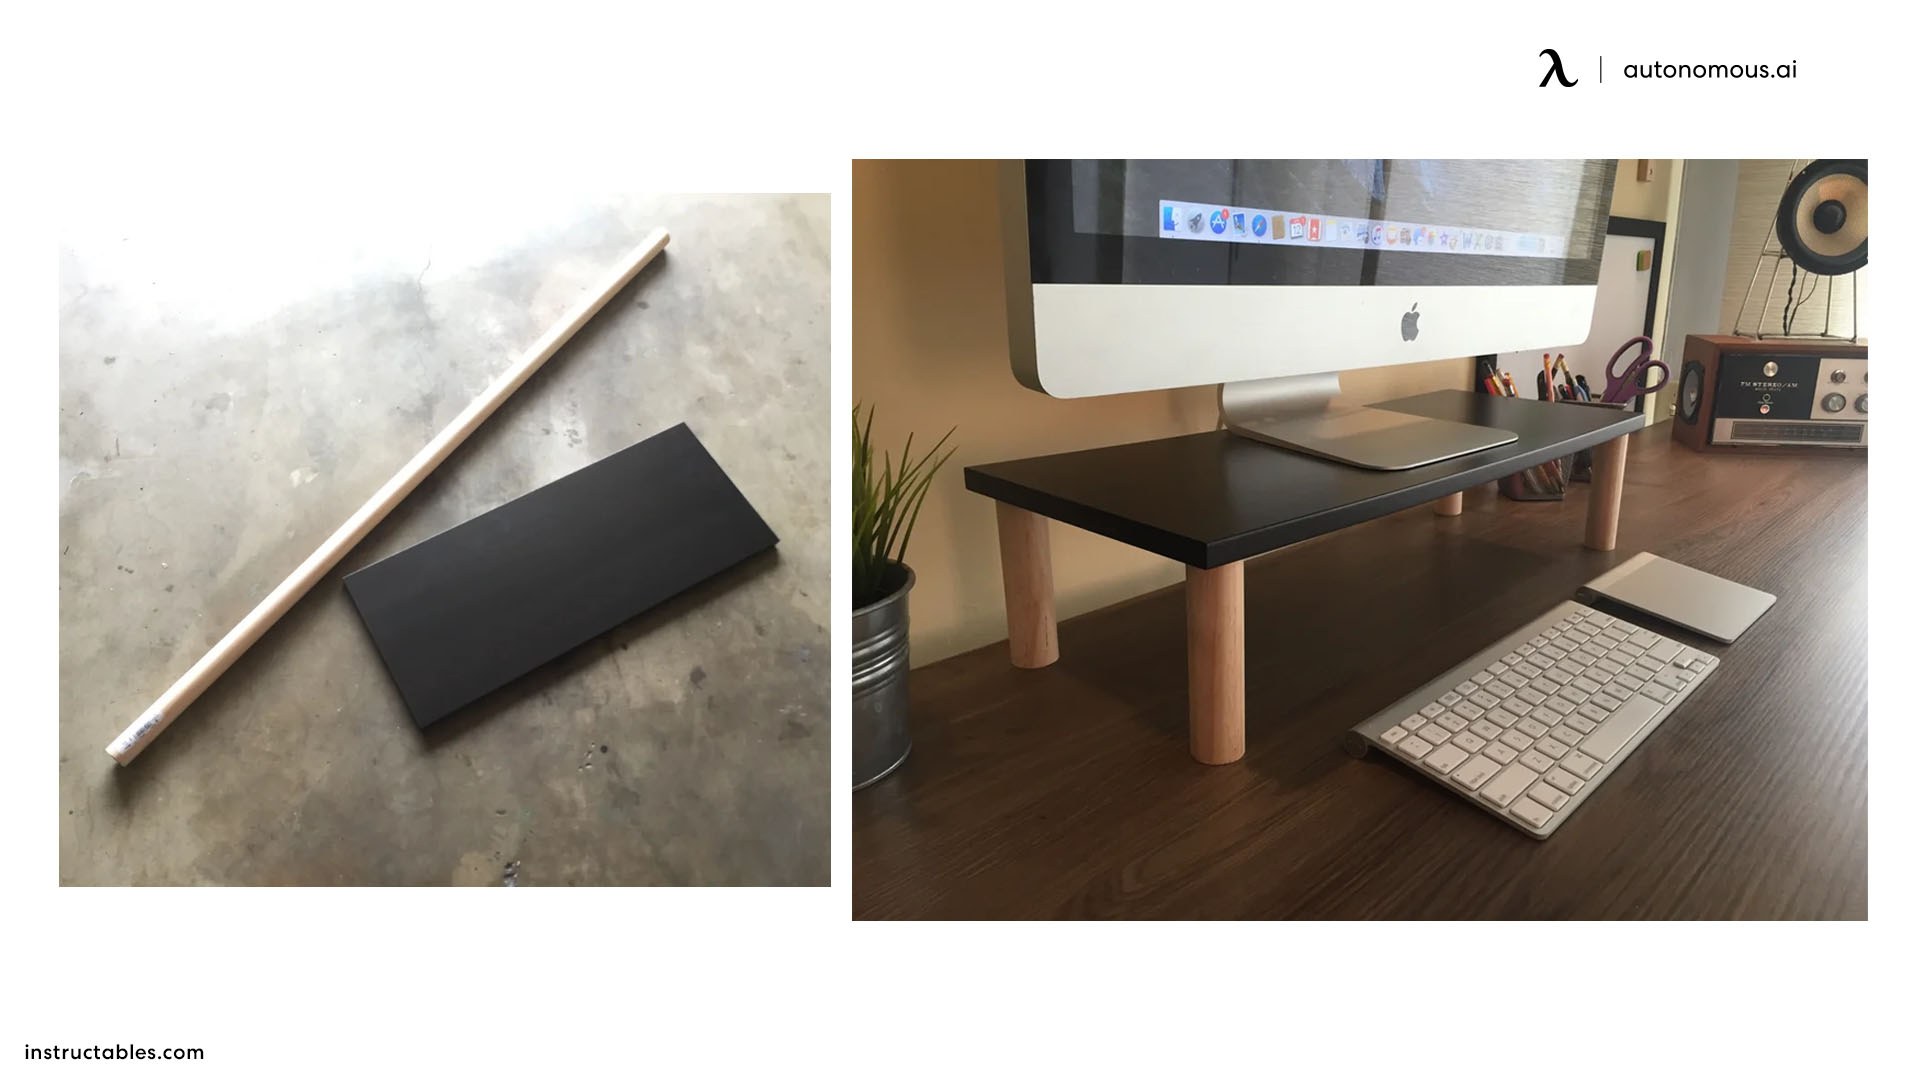
1. Wooden riser
A wooden riser is one of the most practical DIY monitor stand ideas because it is stable, simple to build, and easy to customize. It works well for everyday desk setups and can be sized to fit one monitor or widened for a dual monitor layout.
2. PVC pipe stand
A PVC pipe stand is a lightweight and low-cost option that works well for beginners. It is easy to adjust by changing the pipe length, which makes it useful if you want a custom monitor height without using heavy materials.
3. Repurposed wooden crates
Wooden crates are a simple DIY monitor stand solution if you want extra storage under the screen. They raise the monitor while also giving you space for notebooks, small accessories, or desk supplies.
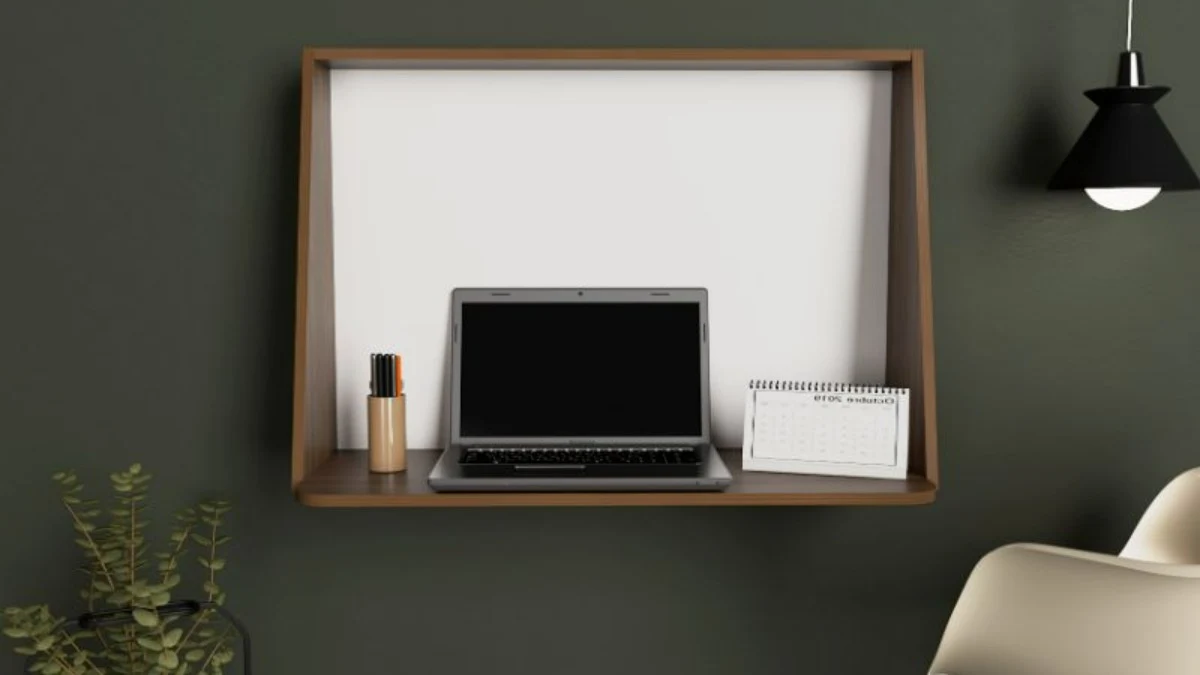
4. Wall-mounted shelf
A wall-mounted shelf works well if you want to free up desk space completely. This setup keeps the monitor elevated without adding a stand footprint on the desk, but it only works if the wall and mounting hardware can safely support the weight.
5. Concrete block stand
A concrete block stand is one of the most stable options for a DIY monitor stand. It is heavier and less flexible than other ideas, but it works well if you want a solid base and do not need to adjust the setup often.
6. Adjustable stand with repurposed parts
An adjustable stand made from old furniture parts or hardware is useful if you want more flexibility in height or angle. This idea works best for people who like to tinker and want a more customized setup than a fixed riser can offer.
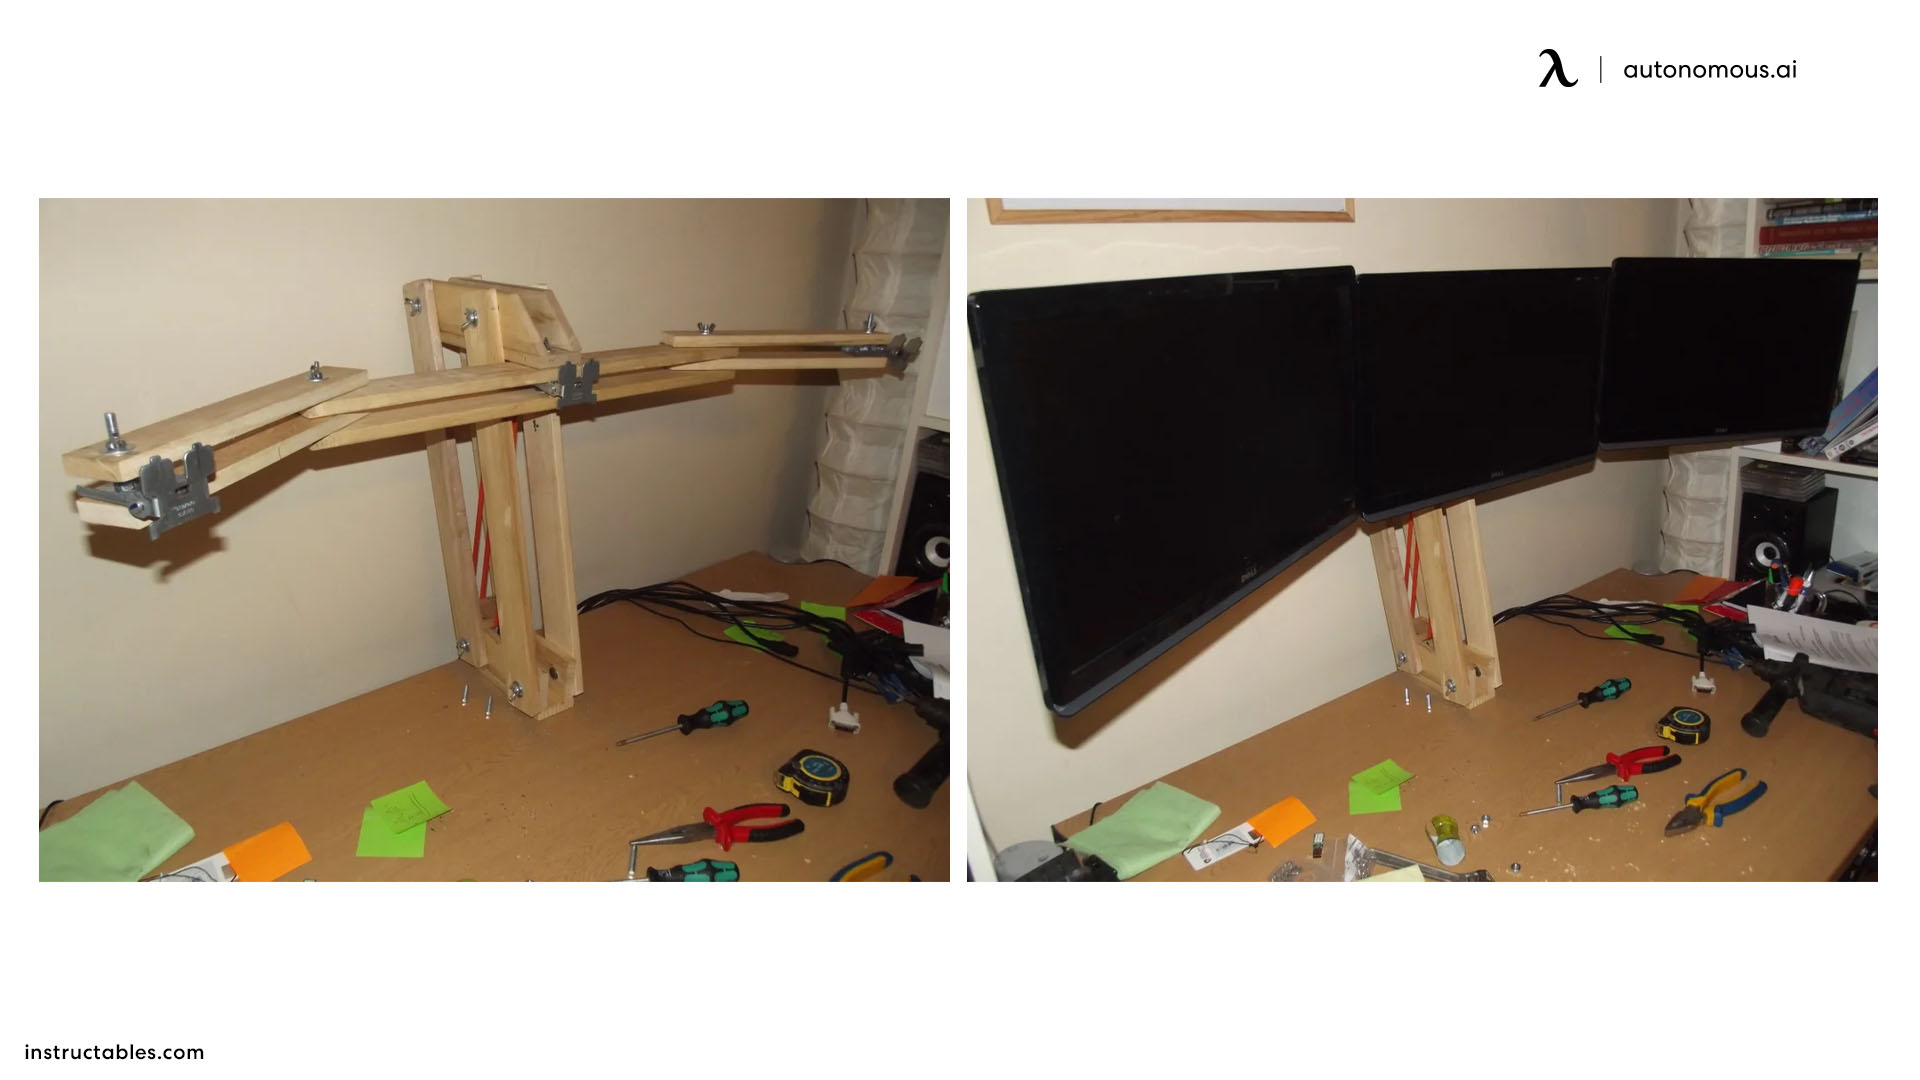
7. DIY dual monitor stand
A wide wooden platform or reinforced riser works best for a DIY dual monitor stand because it keeps both screens at the same height. This is a better choice than using two separate stands when you want a cleaner and more balanced setup.
8. Wooden monitor arm
A wooden monitor arm is a more advanced DIY option for users who want to lift the screen off the desk and gain more control over positioning. It can work well when built properly, but it requires stronger joints and better planning than a basic riser.
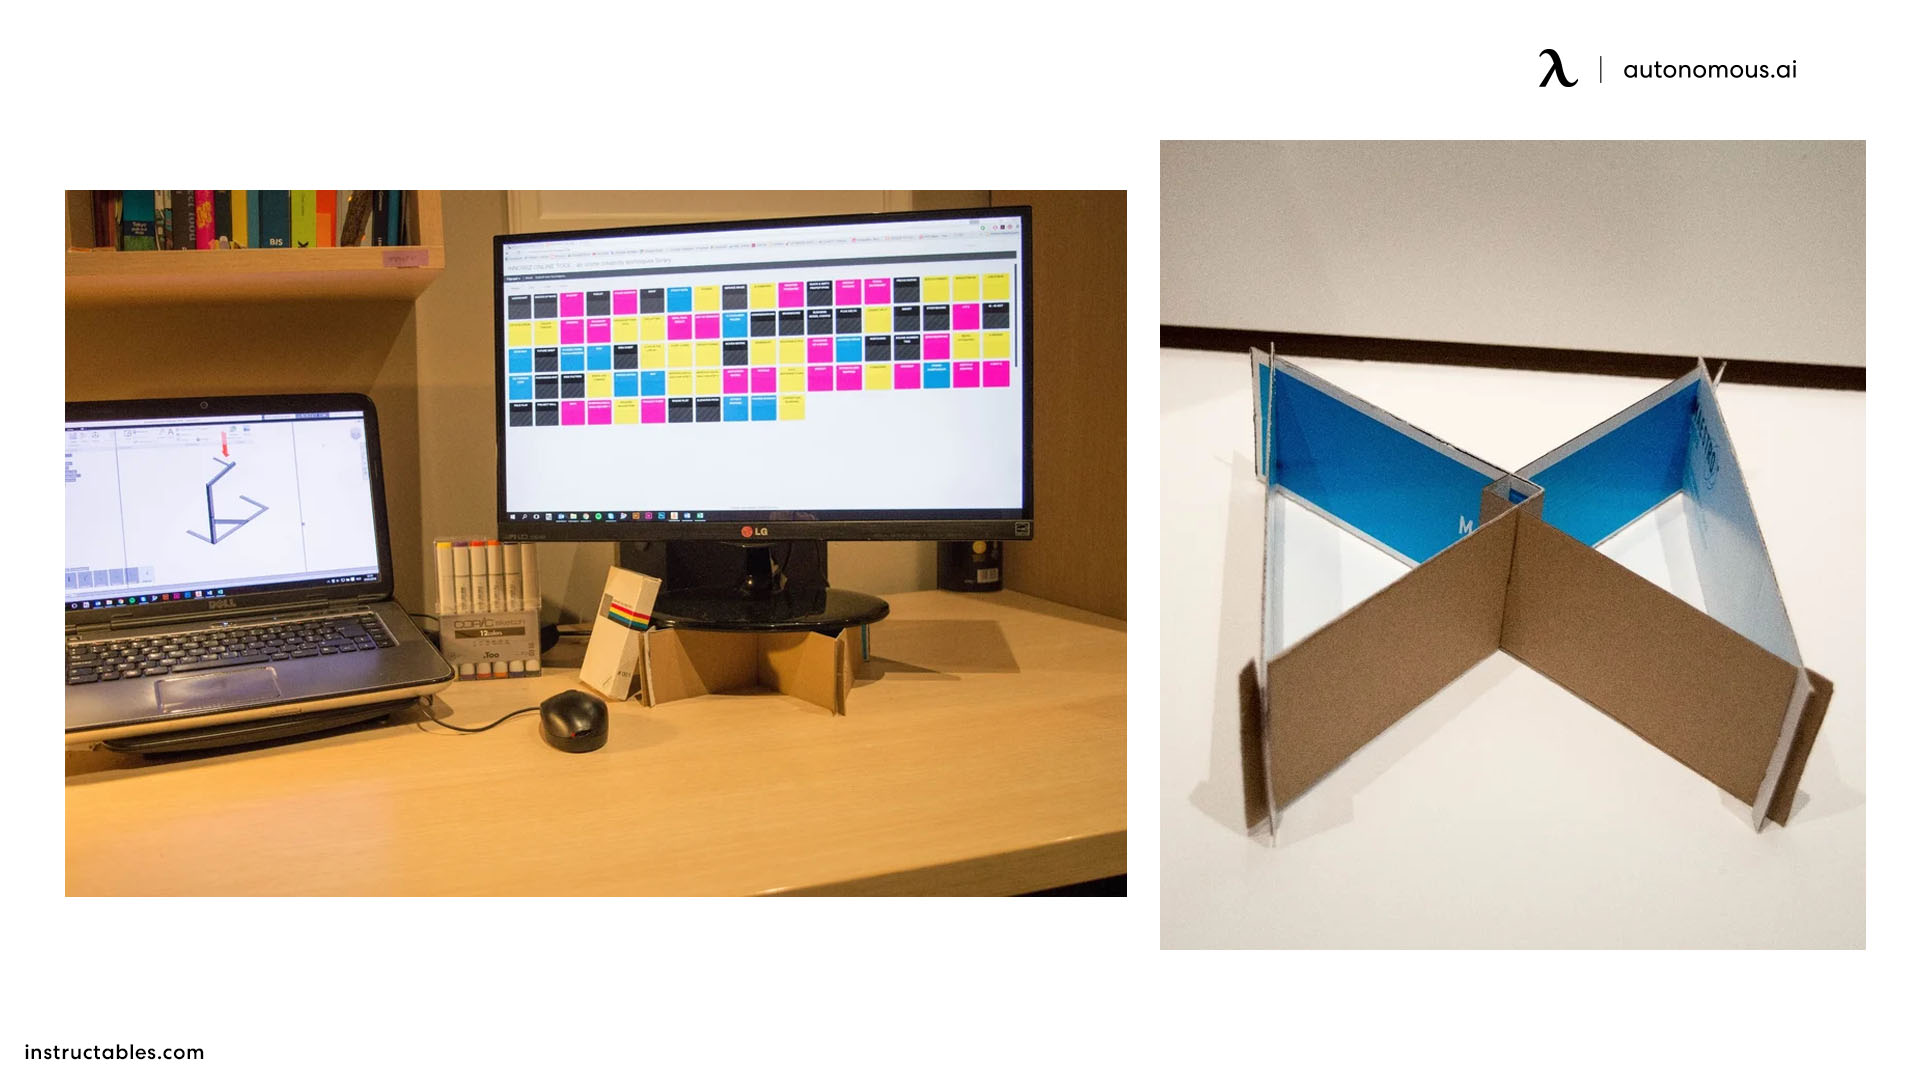
9. Cardboard stand
A cardboard stand is a temporary DIY monitor riser that can work in a pinch. It is cheap and easy to assemble, but it needs reinforcement and is not a reliable long-term option for heavier monitors.
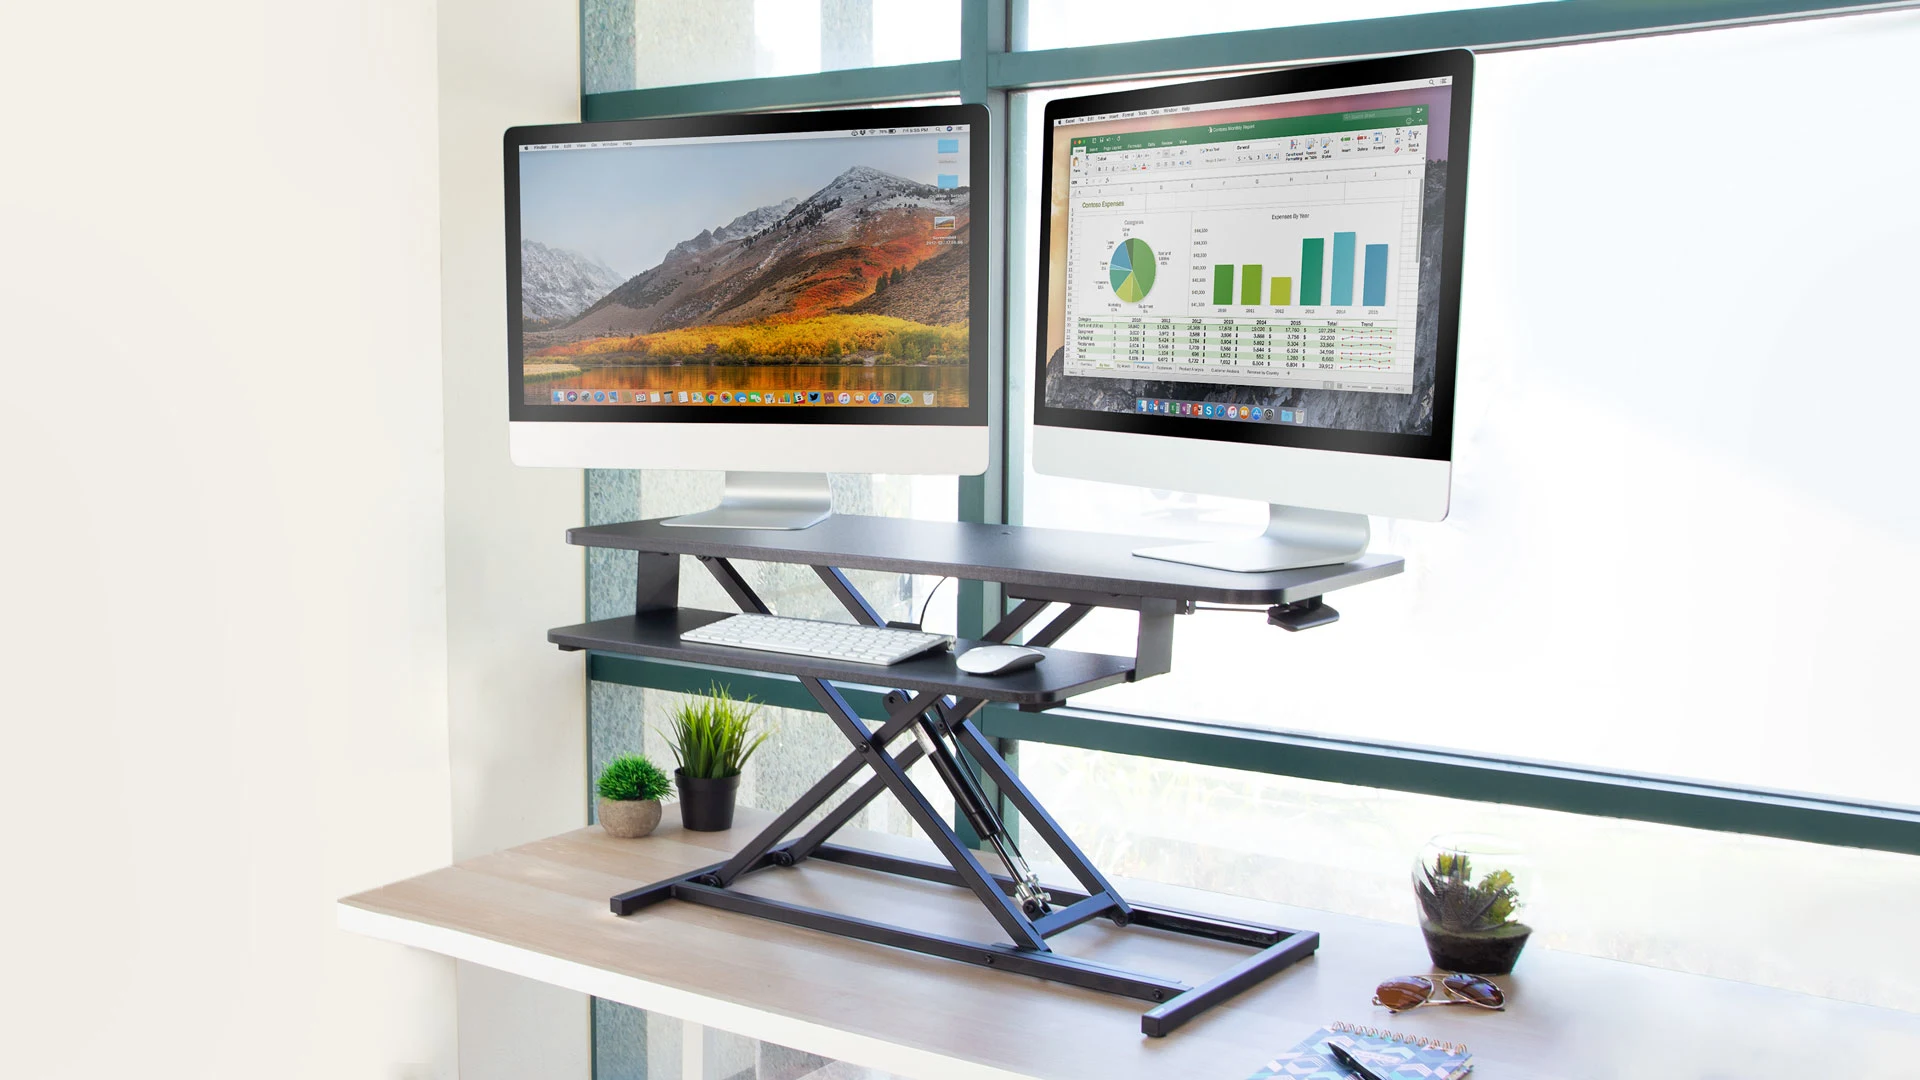
10. Standing desk converter
A standing desk converter can also function as a DIY monitor stand if your goal is to raise the screen and create a higher working position. It works best for users who want a larger platform rather than a compact riser.
11. Paper stack riser
A stack of paper is the simplest possible monitor riser idea. It can help test the right viewing height before building something more permanent, but it is best treated as a short-term fix rather than a finished setup.

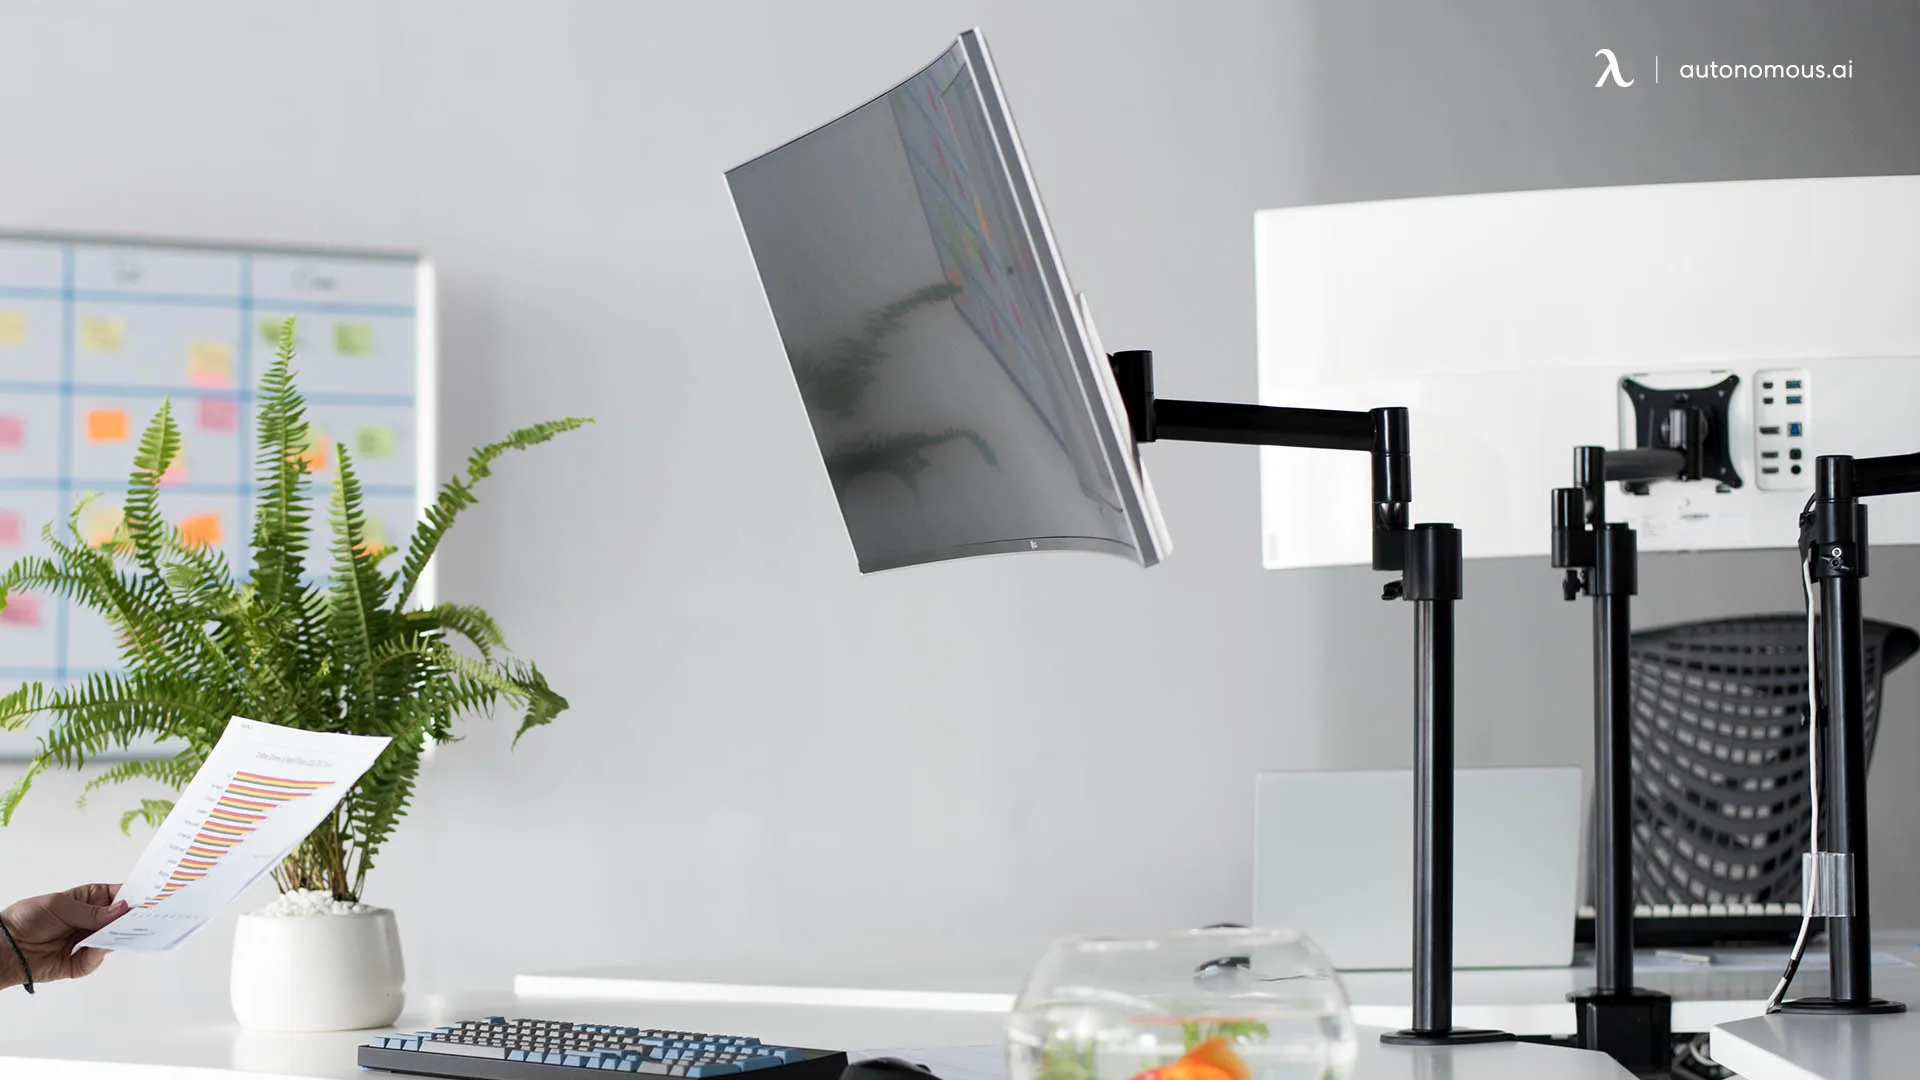
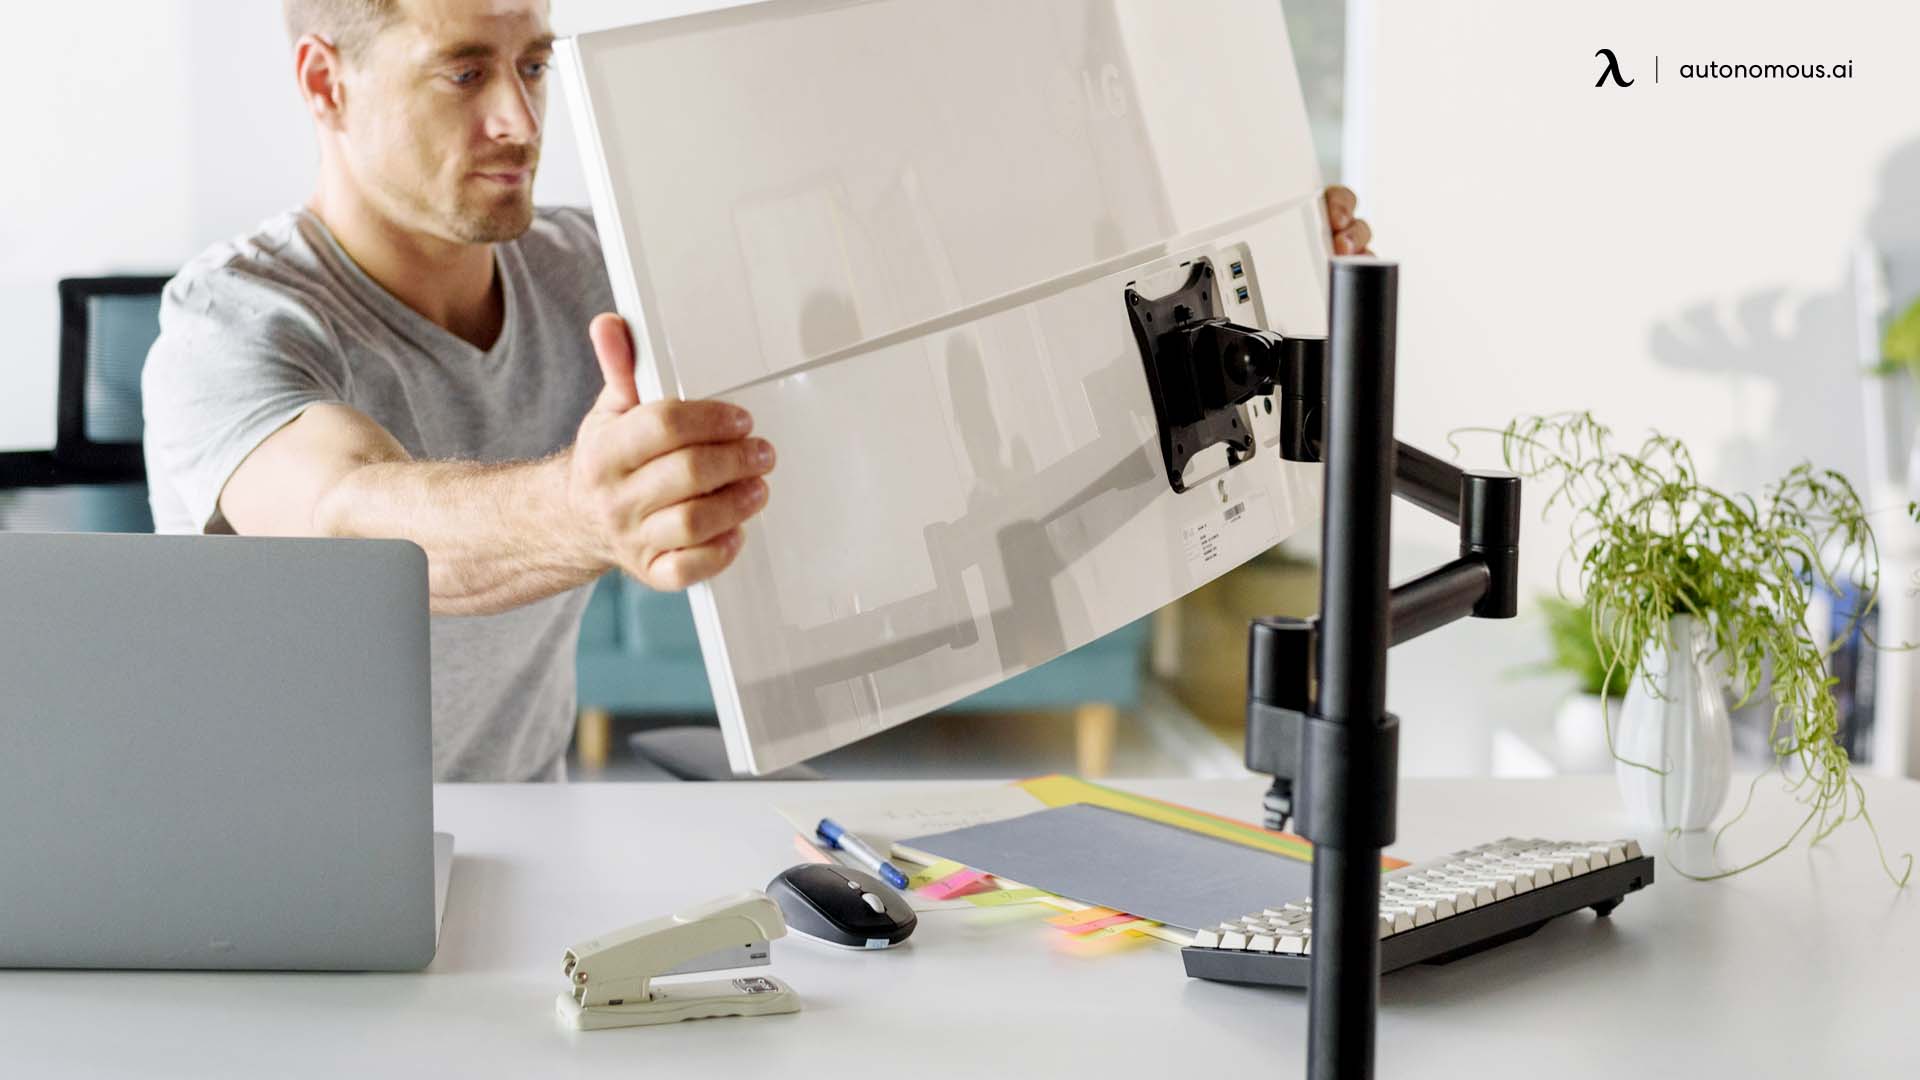
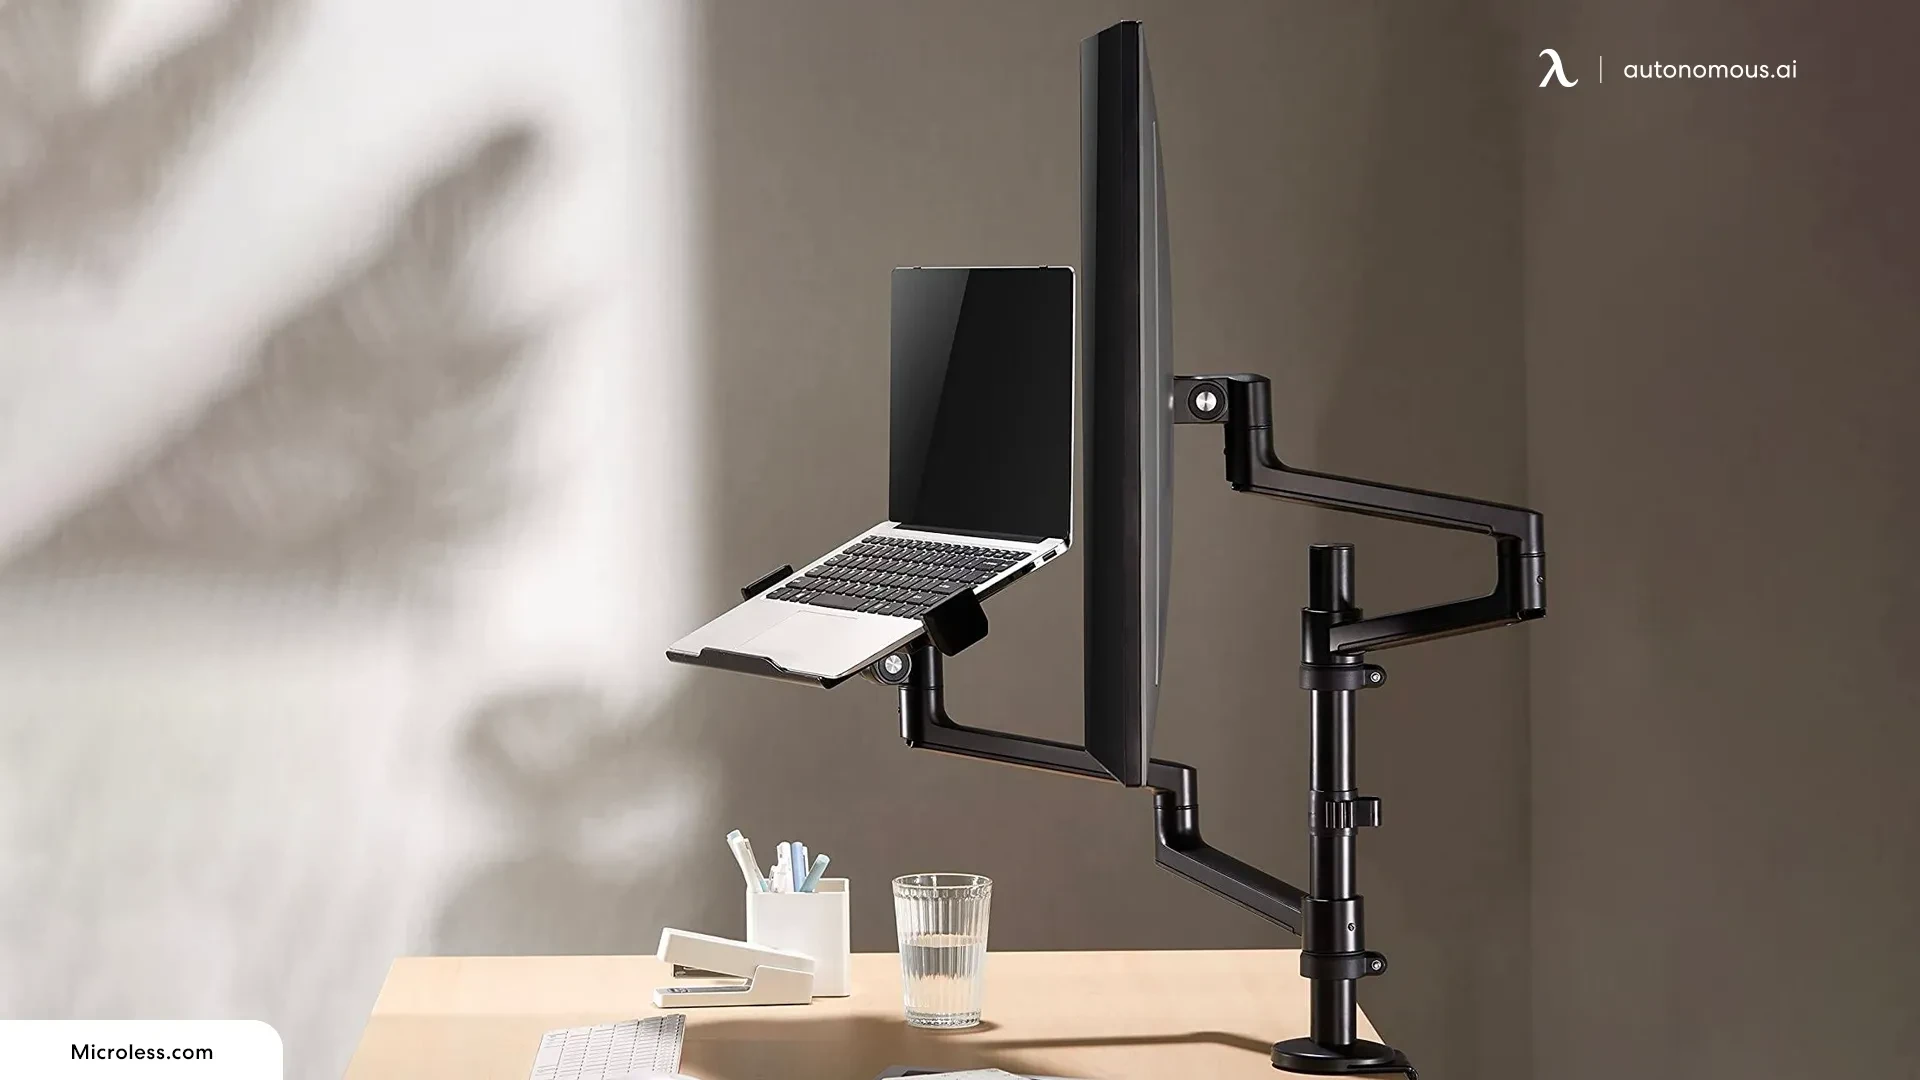
12. DIY monitor mount
A DIY monitor mount is the most space-saving option because it removes the monitor from the desk entirely. It is best for users who need a cleaner workspace and are comfortable with more advanced installation.
How to make a DIY monitor stand ergonomic
A DIY monitor stand only works if it improves your posture.
- Set the correct height:
The top of your monitor should be at or slightly below eye level. This keeps your neck in a neutral position and reduces strain. This matters even more in an L-shaped desk dual monitor setup, where screen alignment can shift more easily across the desk.
- Maintain proper distance:
Keep your monitor about an arm’s length away. Too close causes eye strain. Too far leads to leaning forward. This is harder to maintain when using the best way to set up dual monitors on a small desk, where spacing is more limited.
- Ensure stability:
Your stand should not wobble or shift. If it moves when you type or adjust your screen, it needs reinforcement. Stability matters more on a dual monitor standing desk, where movement can expose weak support.
- Align multiple monitors:
If you use more than one screen, keep them at the same height. Uneven positioning leads to constant posture adjustments. This becomes more noticeable on a standing desk for 3 monitors, where alignment directly affects comfort.
Common DIY monitor stand mistakes
Many DIY setups fail because of simple issues.
- Too low or too high: Incorrect height defeats the purpose of the stand. Always measure before building.
- Weak materials: Flimsy materials can collapse or shift over time. Always test your stand with weight before using it.
- Ignoring ergonomics: A stand that looks good but feels uncomfortable is not useful. Function should always come first.
Is a DIY monitor stand worth it?
A DIY monitor stand is worth it if you want a low-cost way to improve your workspace.
It works best when:
- your current monitor height is uncomfortable
- you want to save money
- you prefer custom solutions
However, if you need:
- advanced adjustability
- multi-monitor arms
- frequent repositioning
a professional monitor arm may be a better option.

FAQs
What is the best DIY monitor stand?
The best DIY monitor stand for most people is a simple wooden riser because it is stable, easy to build, and works for most desks. If you need something cheaper or more temporary, PVC or repurposed crates can also work well.
How do I make a DIY monitor stand?
You can make a DIY monitor stand by raising your screen with a stable platform made from wood, PVC, crates, or other strong materials. The goal is to bring the monitor to eye level and keep the base secure enough to support the screen safely.
What can I use as a DIY monitor riser?
A DIY monitor riser can be made from wood boards, crates, concrete blocks, PVC pipe, or even reinforced cardboard for temporary use. The best option depends on how much weight your monitor has and whether you want storage under the stand.
Is a DIY monitor stand safe?
A DIY monitor stand is safe if it can support the monitor’s weight without wobbling or shifting. Before using it daily, test the structure carefully and make sure the base stays stable under load.
What is the cheapest DIY monitor stand?
The cheapest DIY monitor stand is usually made from cardboard, paper stacks, or materials you already have at home. These can work as short-term solutions, but wood or PVC is usually better for long-term use.
What is the easiest DIY monitor stand for beginners?
A wooden crate stand or simple PVC riser is usually the easiest DIY monitor stand for beginners. Both are low-cost, require minimal tools, and can be assembled quickly.
How high should a DIY monitor stand be?
A DIY monitor stand should raise the screen so the top of the monitor sits at or slightly below eye level. This helps reduce neck strain and keeps your posture more natural during long work sessions.
Can I build a DIY dual monitor stand?
Yes, a DIY dual monitor stand works best when built as one wide, stable platform rather than two separate risers. This keeps both monitors at the same height and makes the setup feel more balanced.
Is a DIY monitor arm better than a DIY monitor stand?
A DIY monitor arm gives you more flexibility because it can adjust height and angle more easily. A DIY monitor stand is usually simpler, more stable, and easier to build for most people.
What are the best monitor riser ideas for small desks?
The best monitor riser ideas for small desks are wall-mounted shelves, compact wooden risers, or narrow crate-based stands. These options lift the monitor while preserving desk space underneath.
Final answer
A DIY monitor stand is one of the simplest ways to improve your workspace without spending much.
Whether you use crates, wood, PVC, or repurposed materials, the goal stays the same—raise your monitor to eye level, keep your setup stable, and make your workspace more comfortable to use every day.