.webp)

ChatGPT remembers your financial information. Claude knows your next big ideas. Gemini sees your inbox. You're not using AI. You're exposing yourself to corporations.
A Personal AI Computer keeps your prompts and data on your own hardware. You host open source models like Qwen, DeepSeek, and MiniMax. You run your own agents like openclaw, Hermes by Nous Research, or write your own with LangChain. No cloud. No leash. Private. Fast.
Here's how to build one.
Part 1: The Build
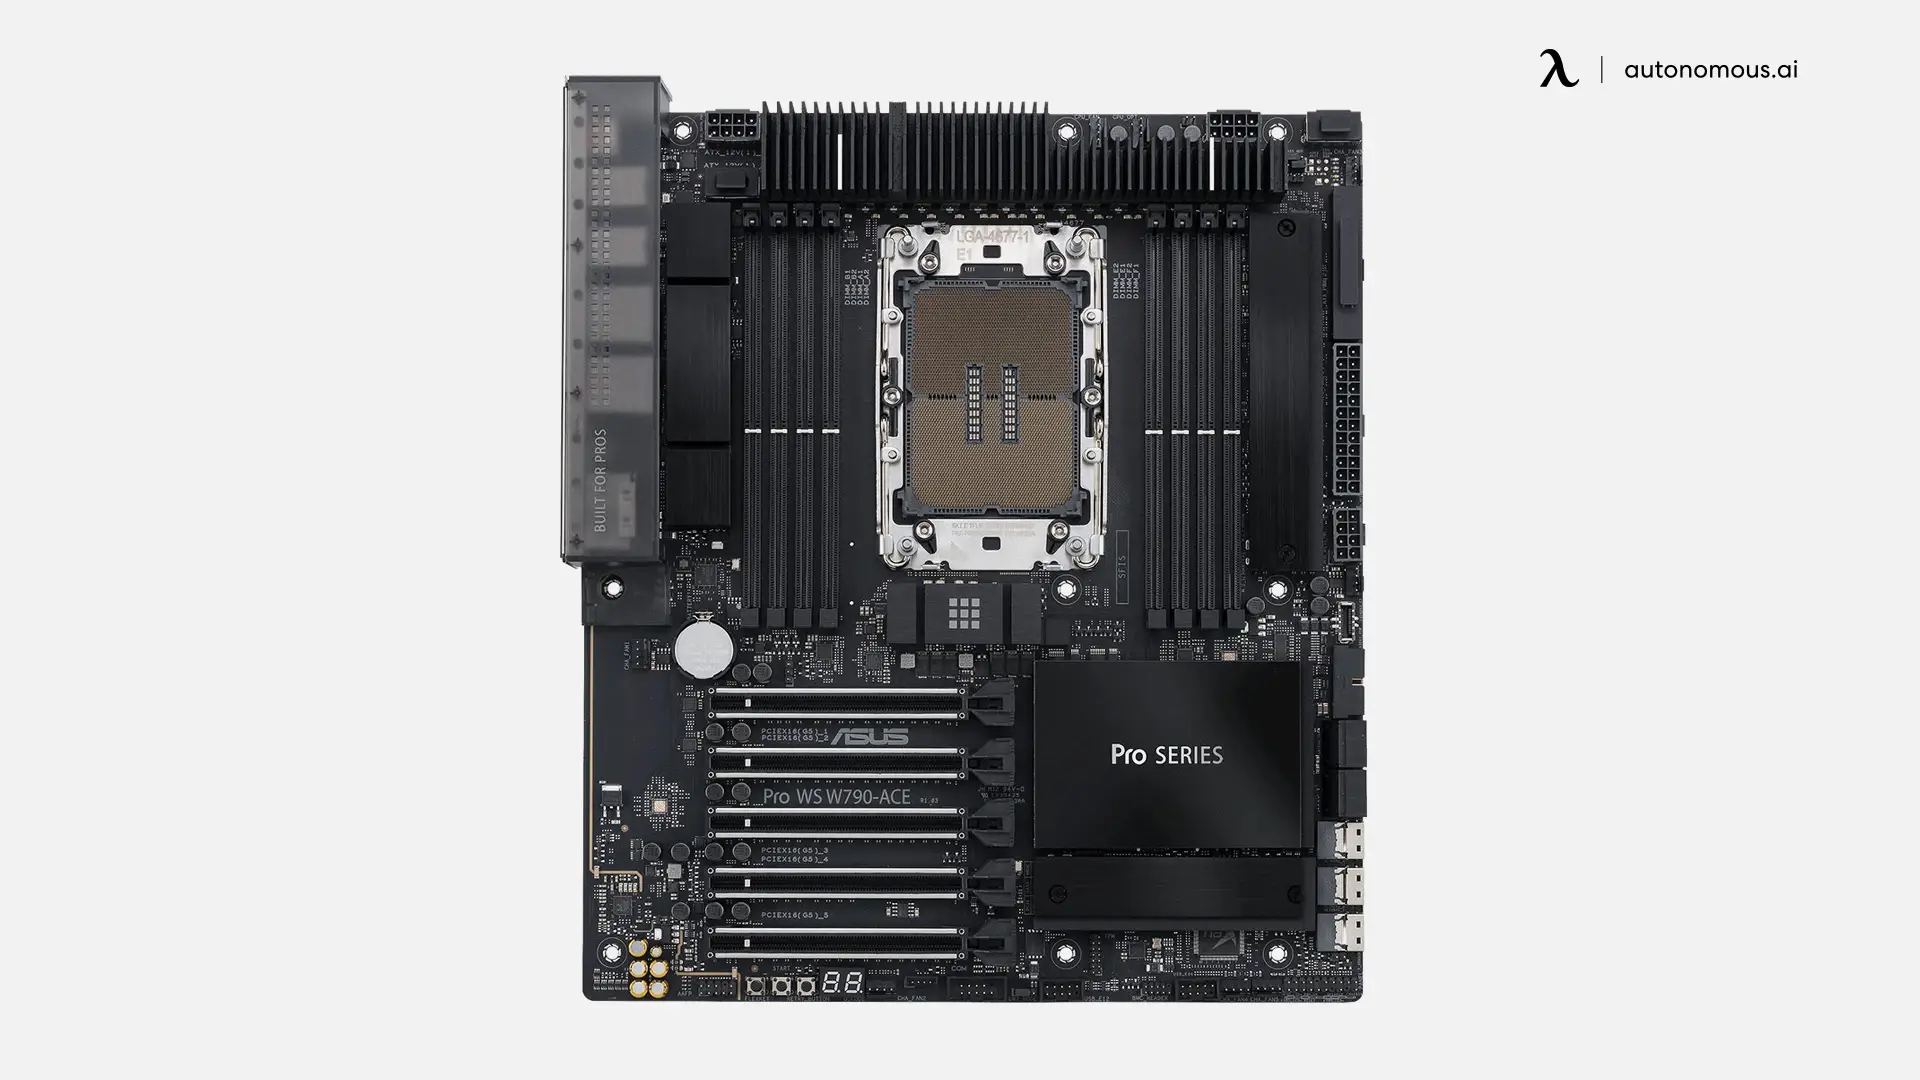
1. Motherboard: ASUS Pro WS W790-ACE
A workstation board with LGA 4677 socket and PCIe Gen5 x16 slots for both GPUs at full speed. Lane count is what matters for multi-GPU, not core count. This board gives you the lanes.
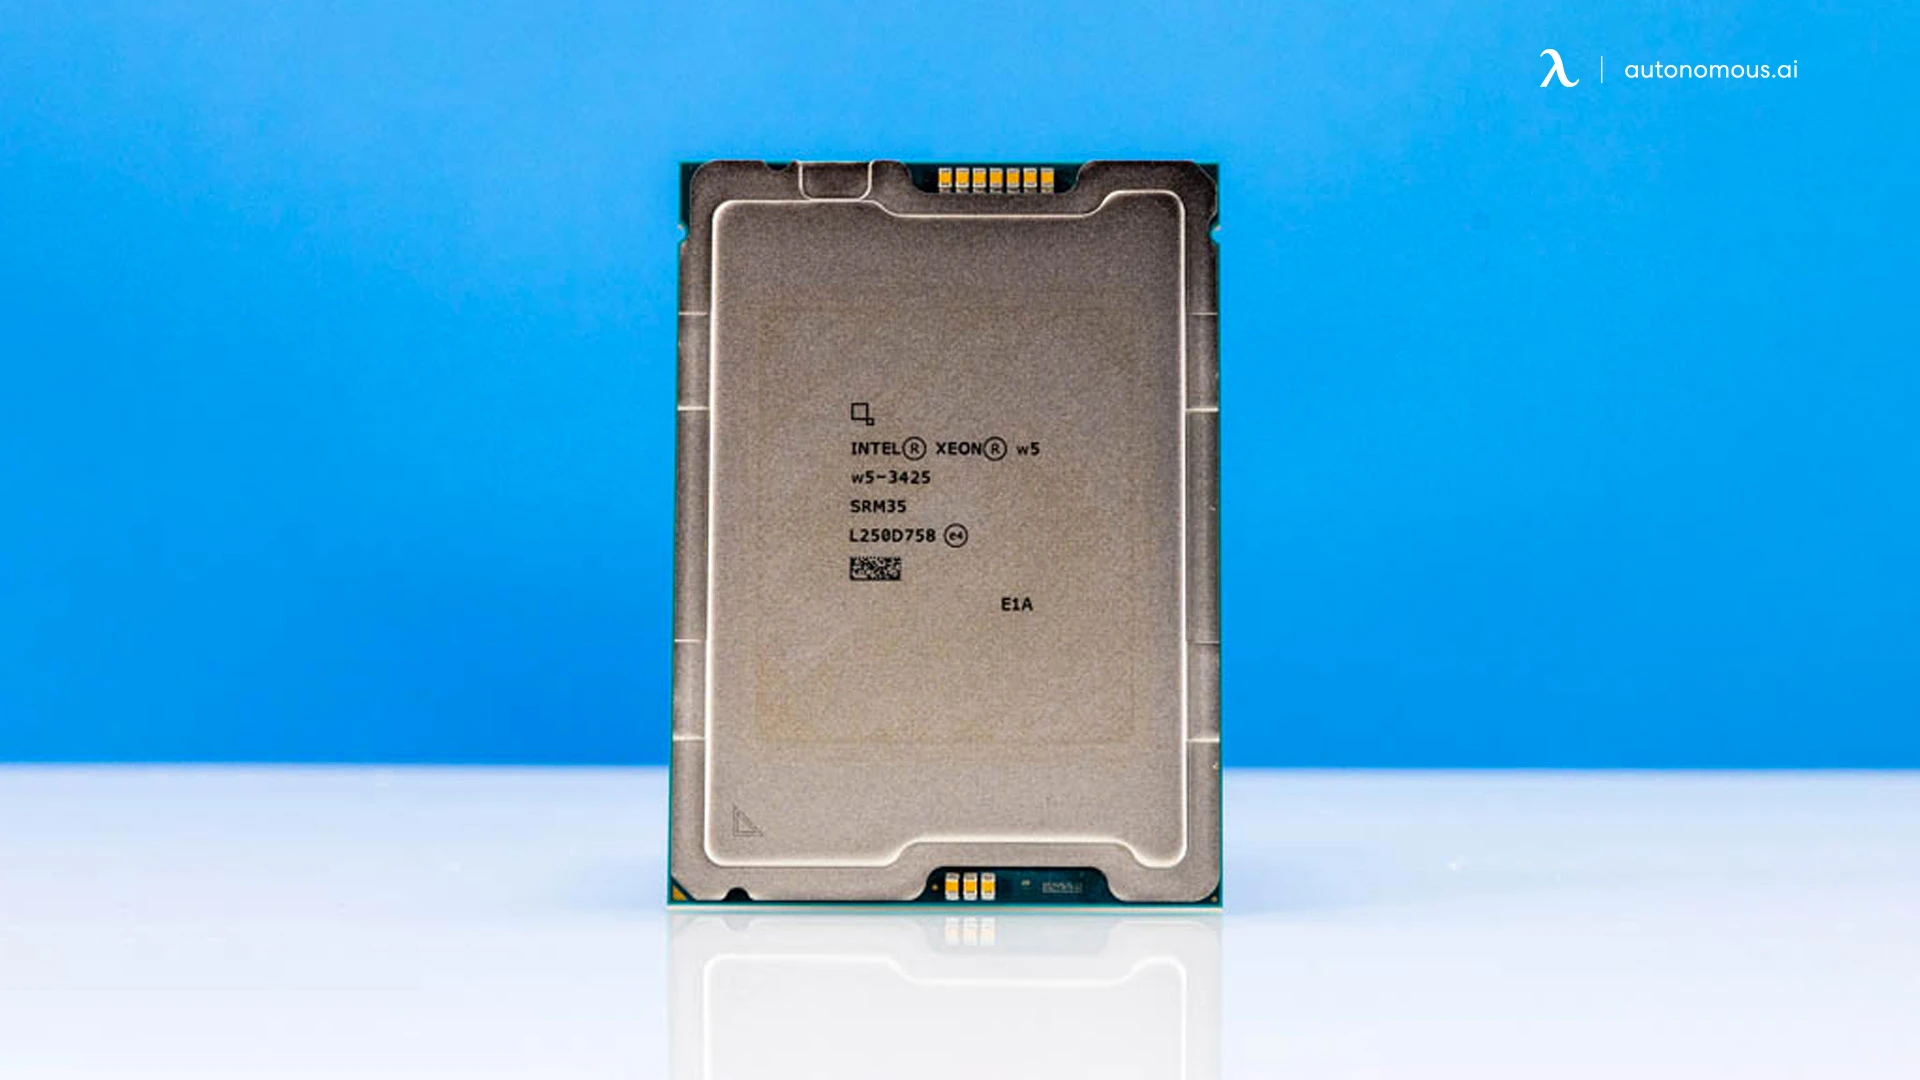
2. CPU: Intel Xeon W5-3425
12 cores. LGA 4677 socket. Supports DDR5 ECC and PCIe 5. You're not picking this for compute. You're picking it for the platform: the right socket, the right memory channels, the right PCIe lanes.
3. CPU Heatsink
Tower heatsink for the W5. The CPU doesn't ship with one. Match the LGA 4677 mount. Generic AM5 or LGA 1700 coolers don't fit. Wrong socket, wrong holes.

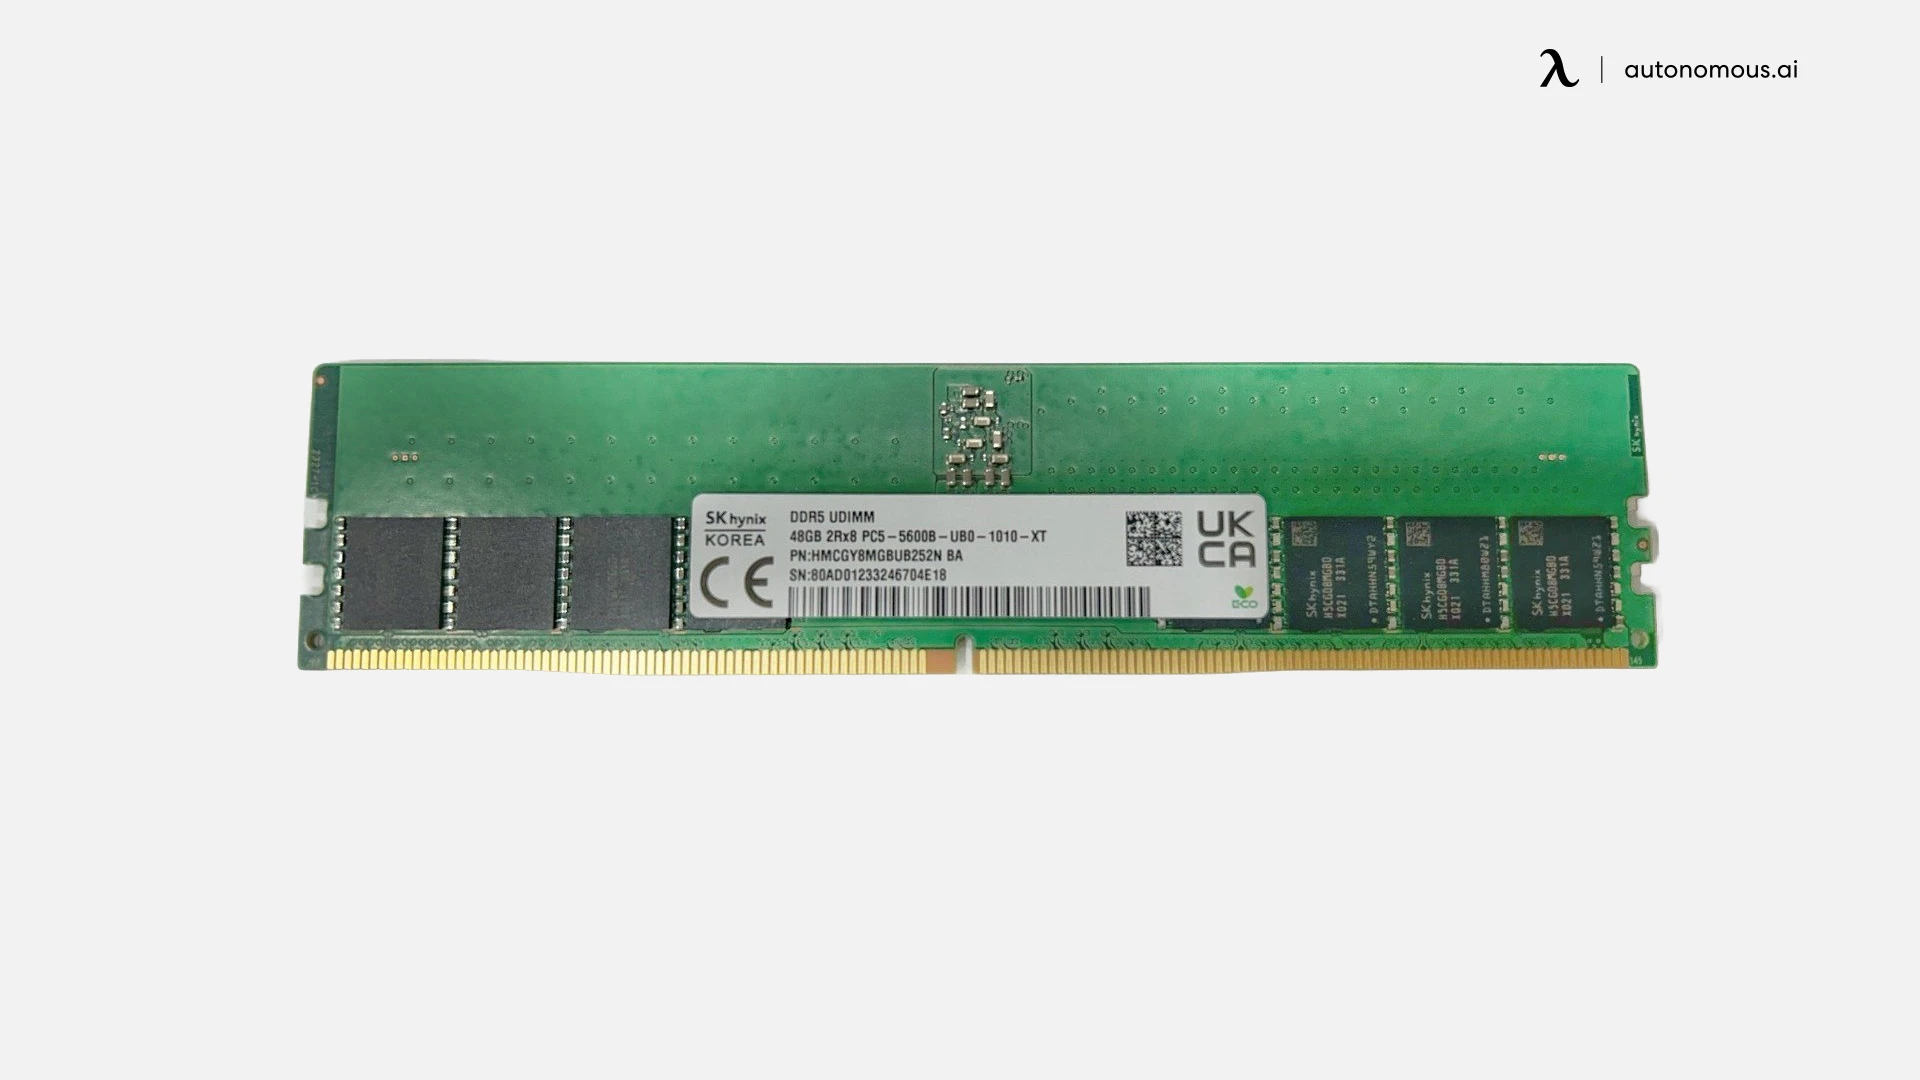
4. RAM
4x DDR5. 48GB total. Run ECC if you can. The model lives in VRAM, but system RAM matters for context handling, KV cache offload, and serving multiple models at once. More is better.
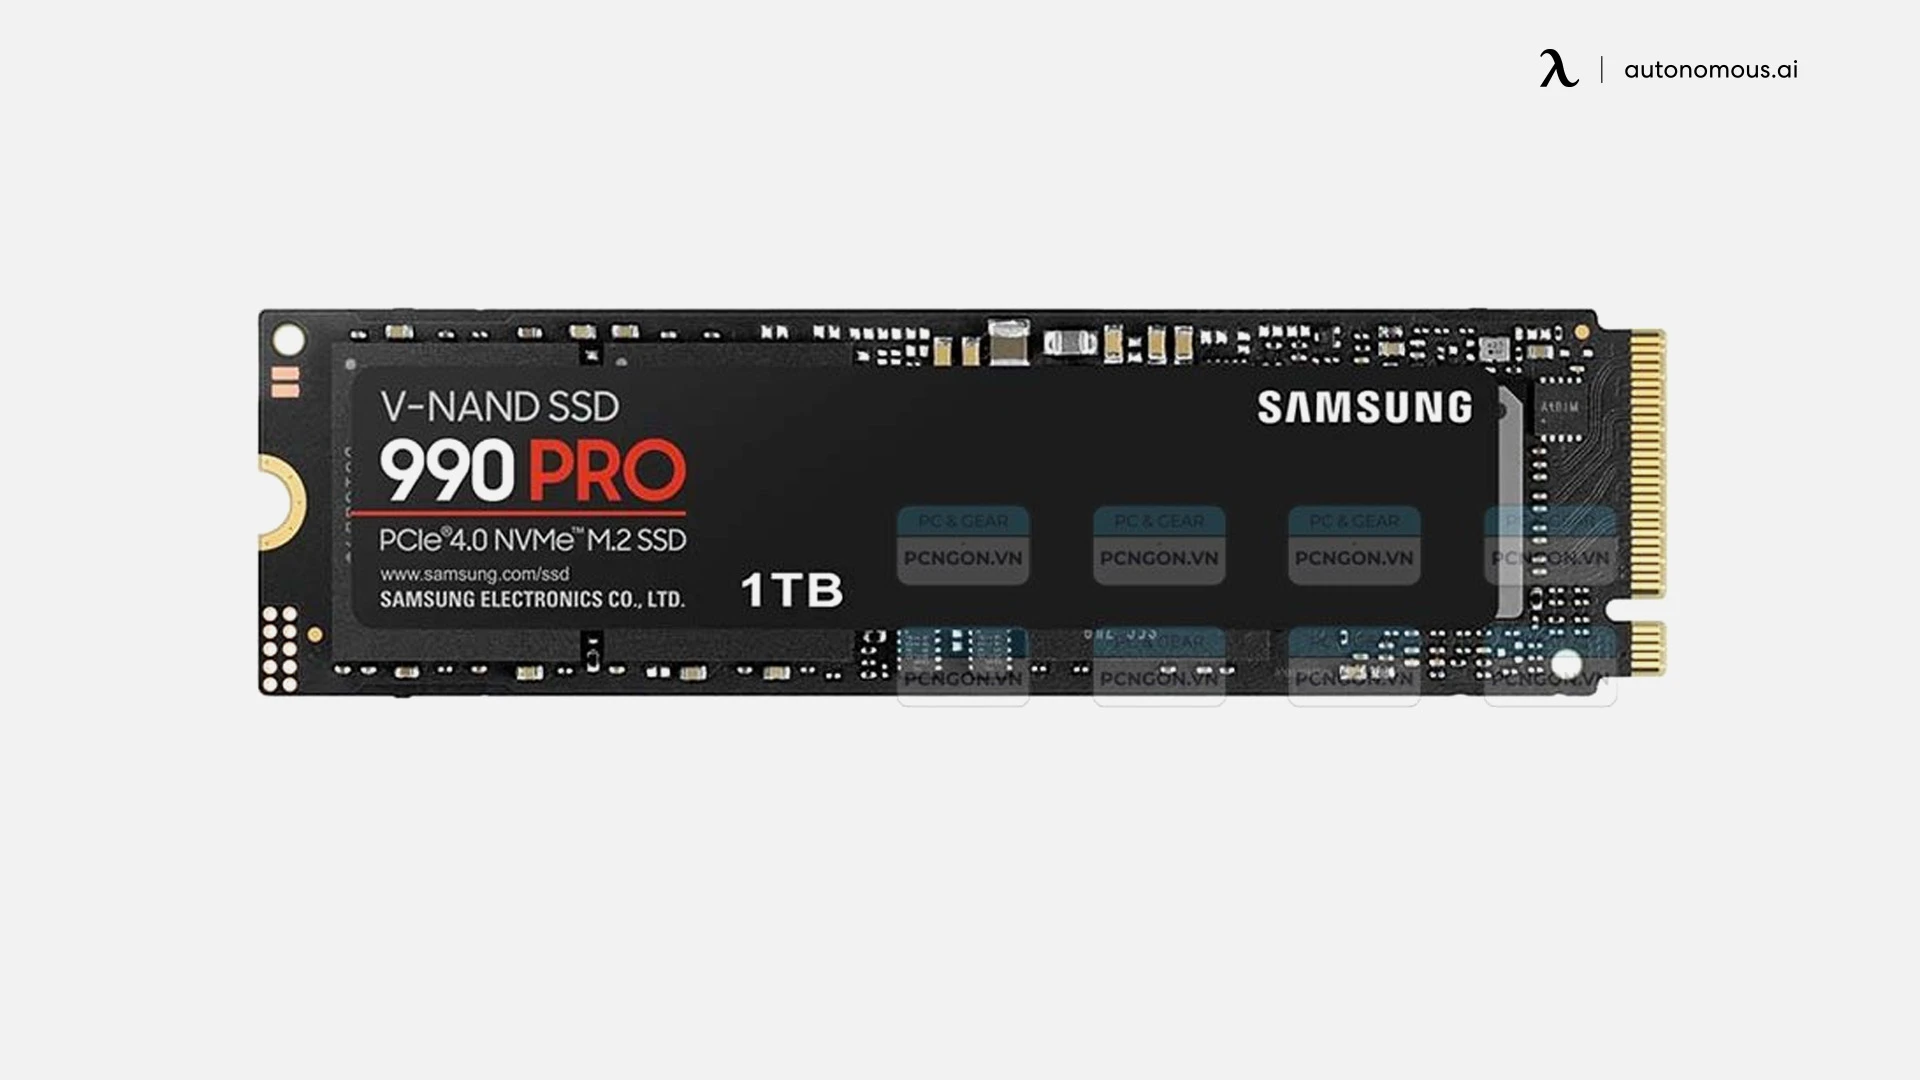
5. Storage
Samsung 990 PRO 1TB NVMe as boot drive only. Models go on a separate, larger NVMe. Plan 4TB+ on the model drive if you want multiple models loaded.
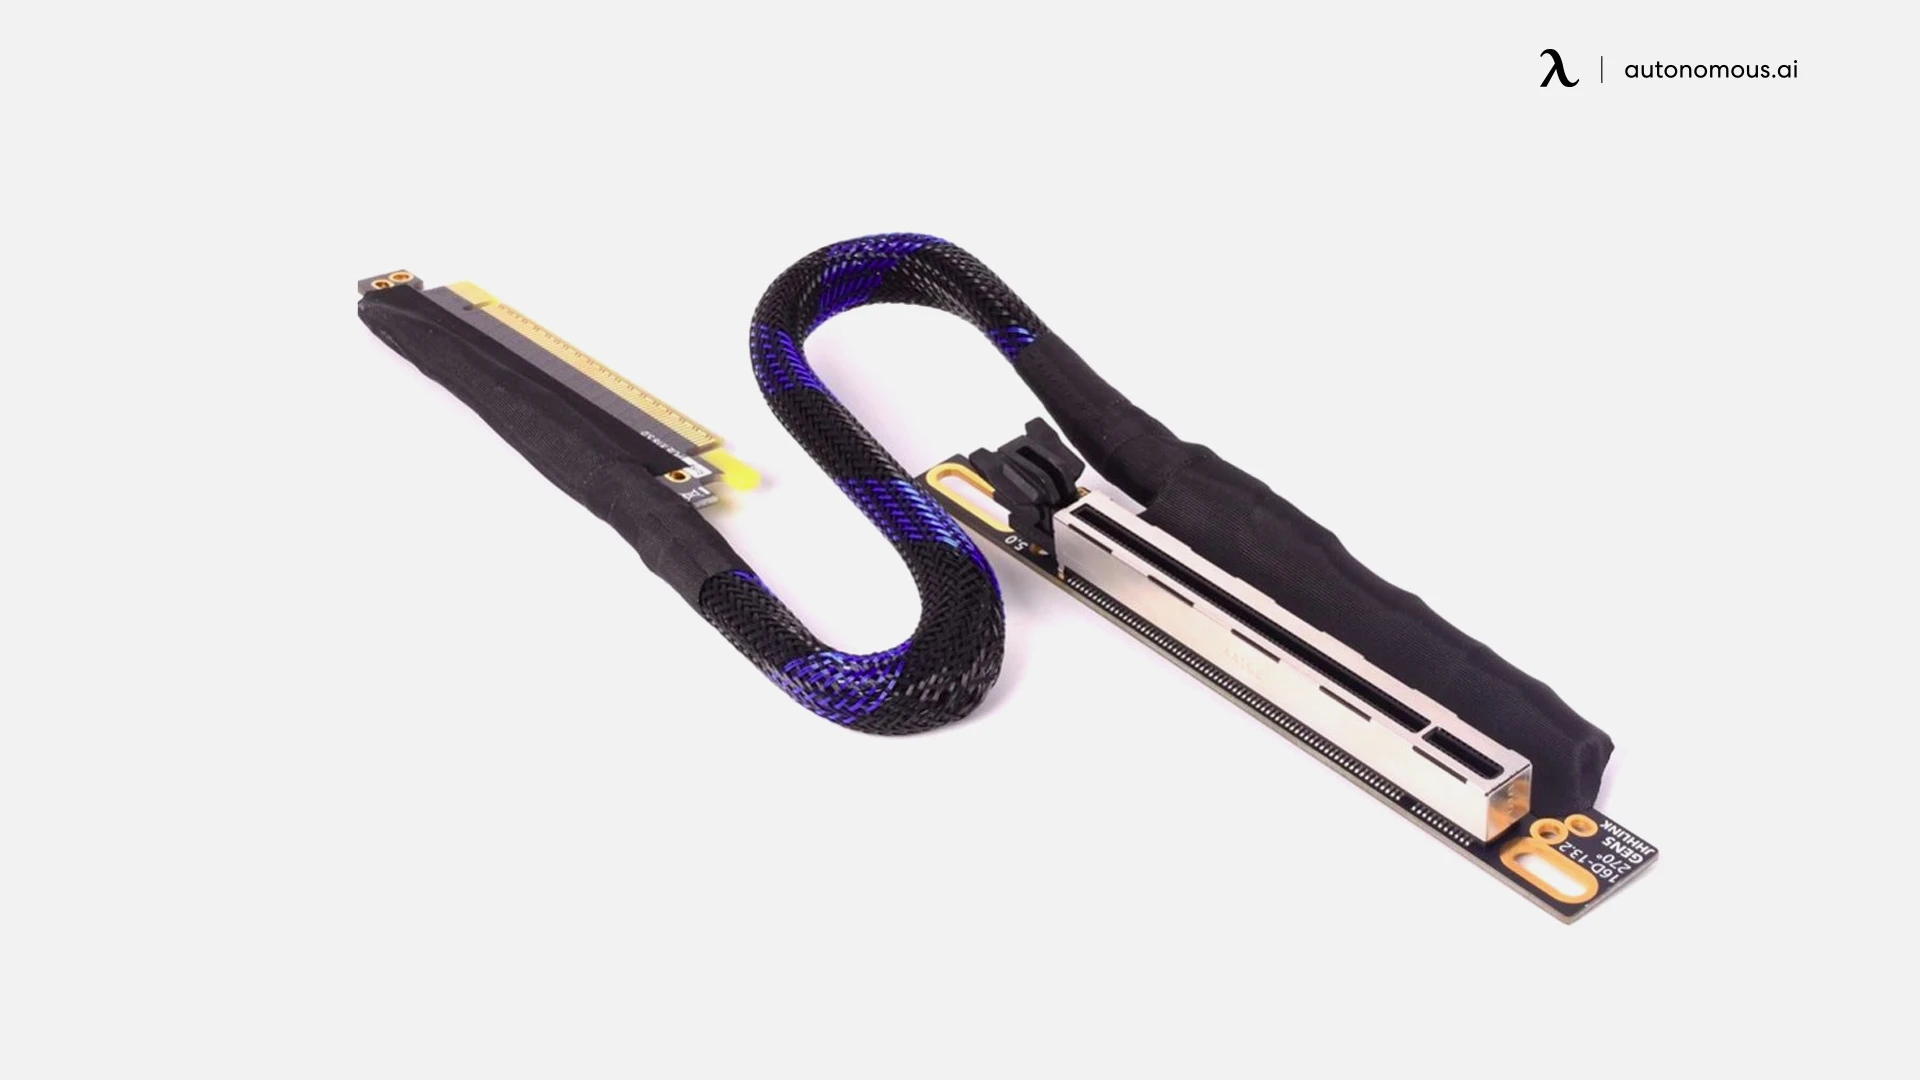
6. PCIe Risers
2x PCIe Gen5 riser cables. Don't cheap out here. A bad riser gives you intermittent crashes, slot dropouts, or silent corruption you won't catch until model outputs go strange.
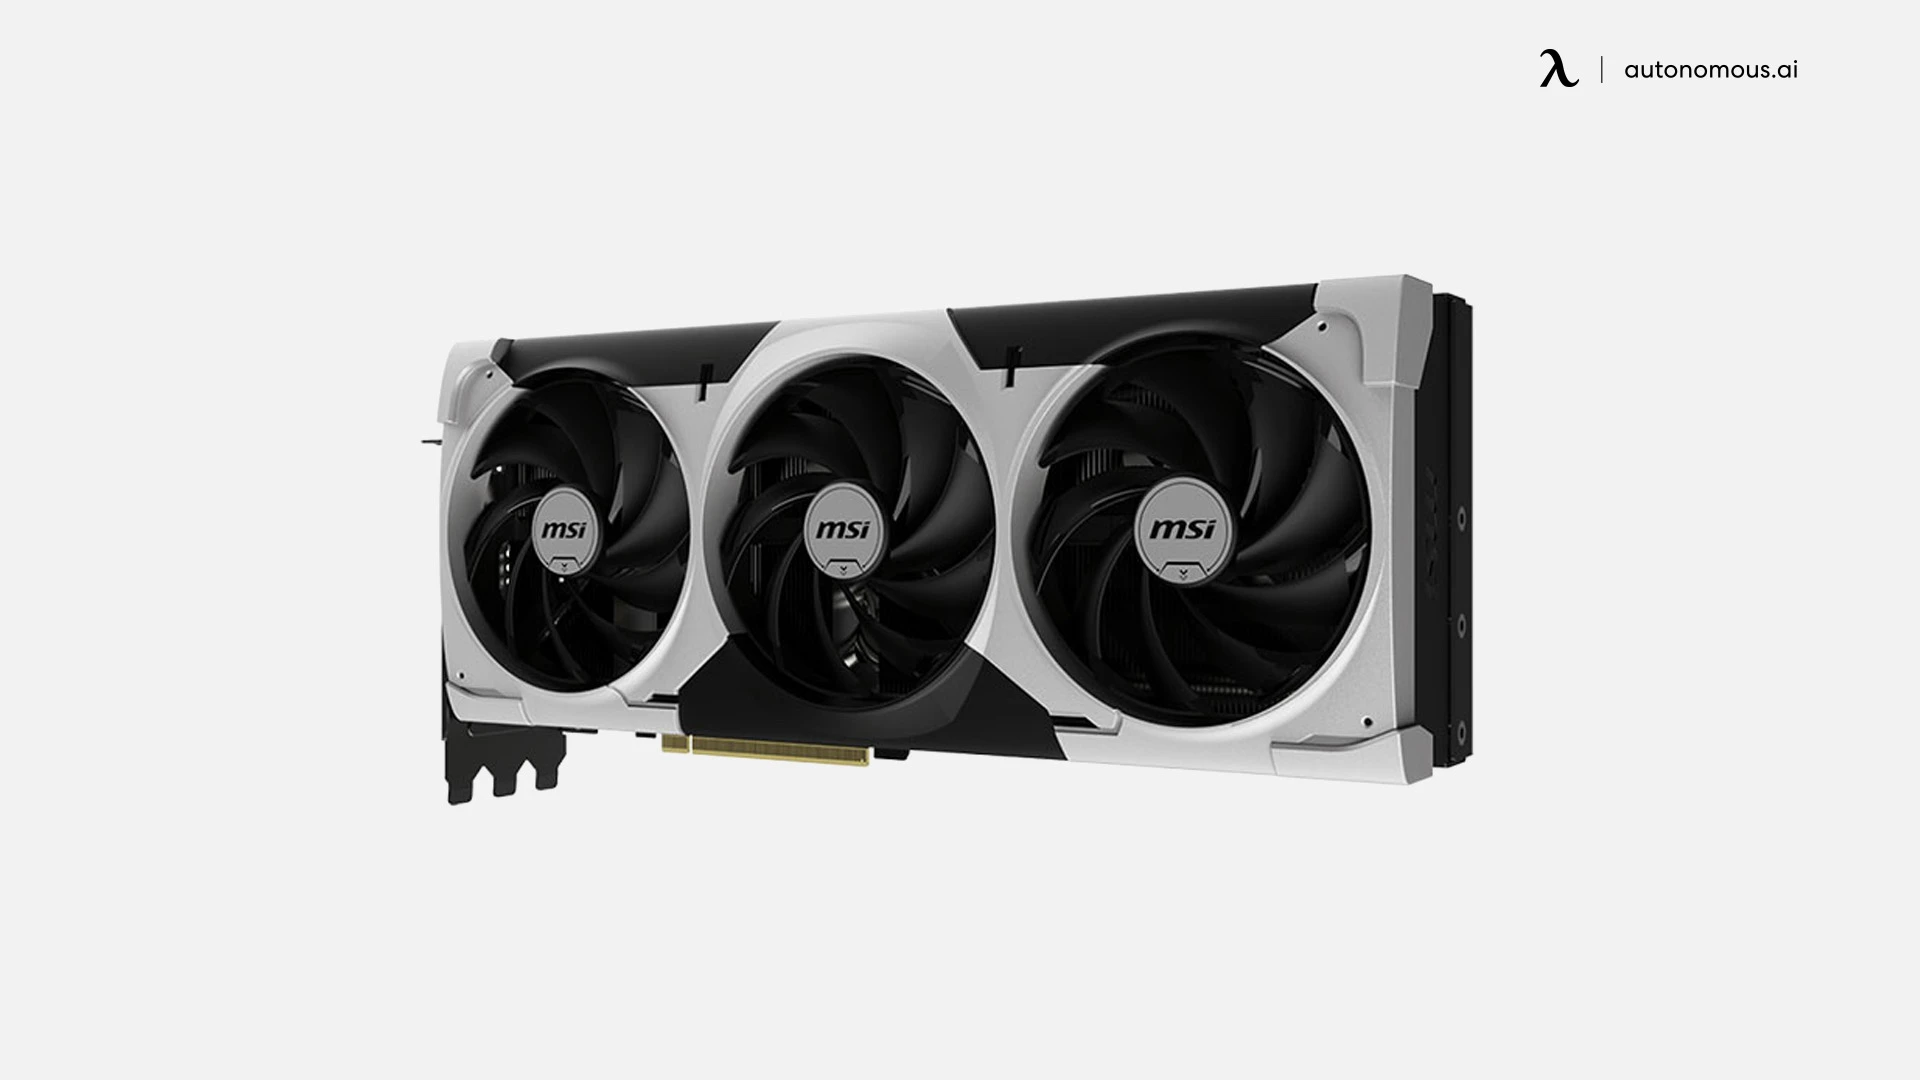
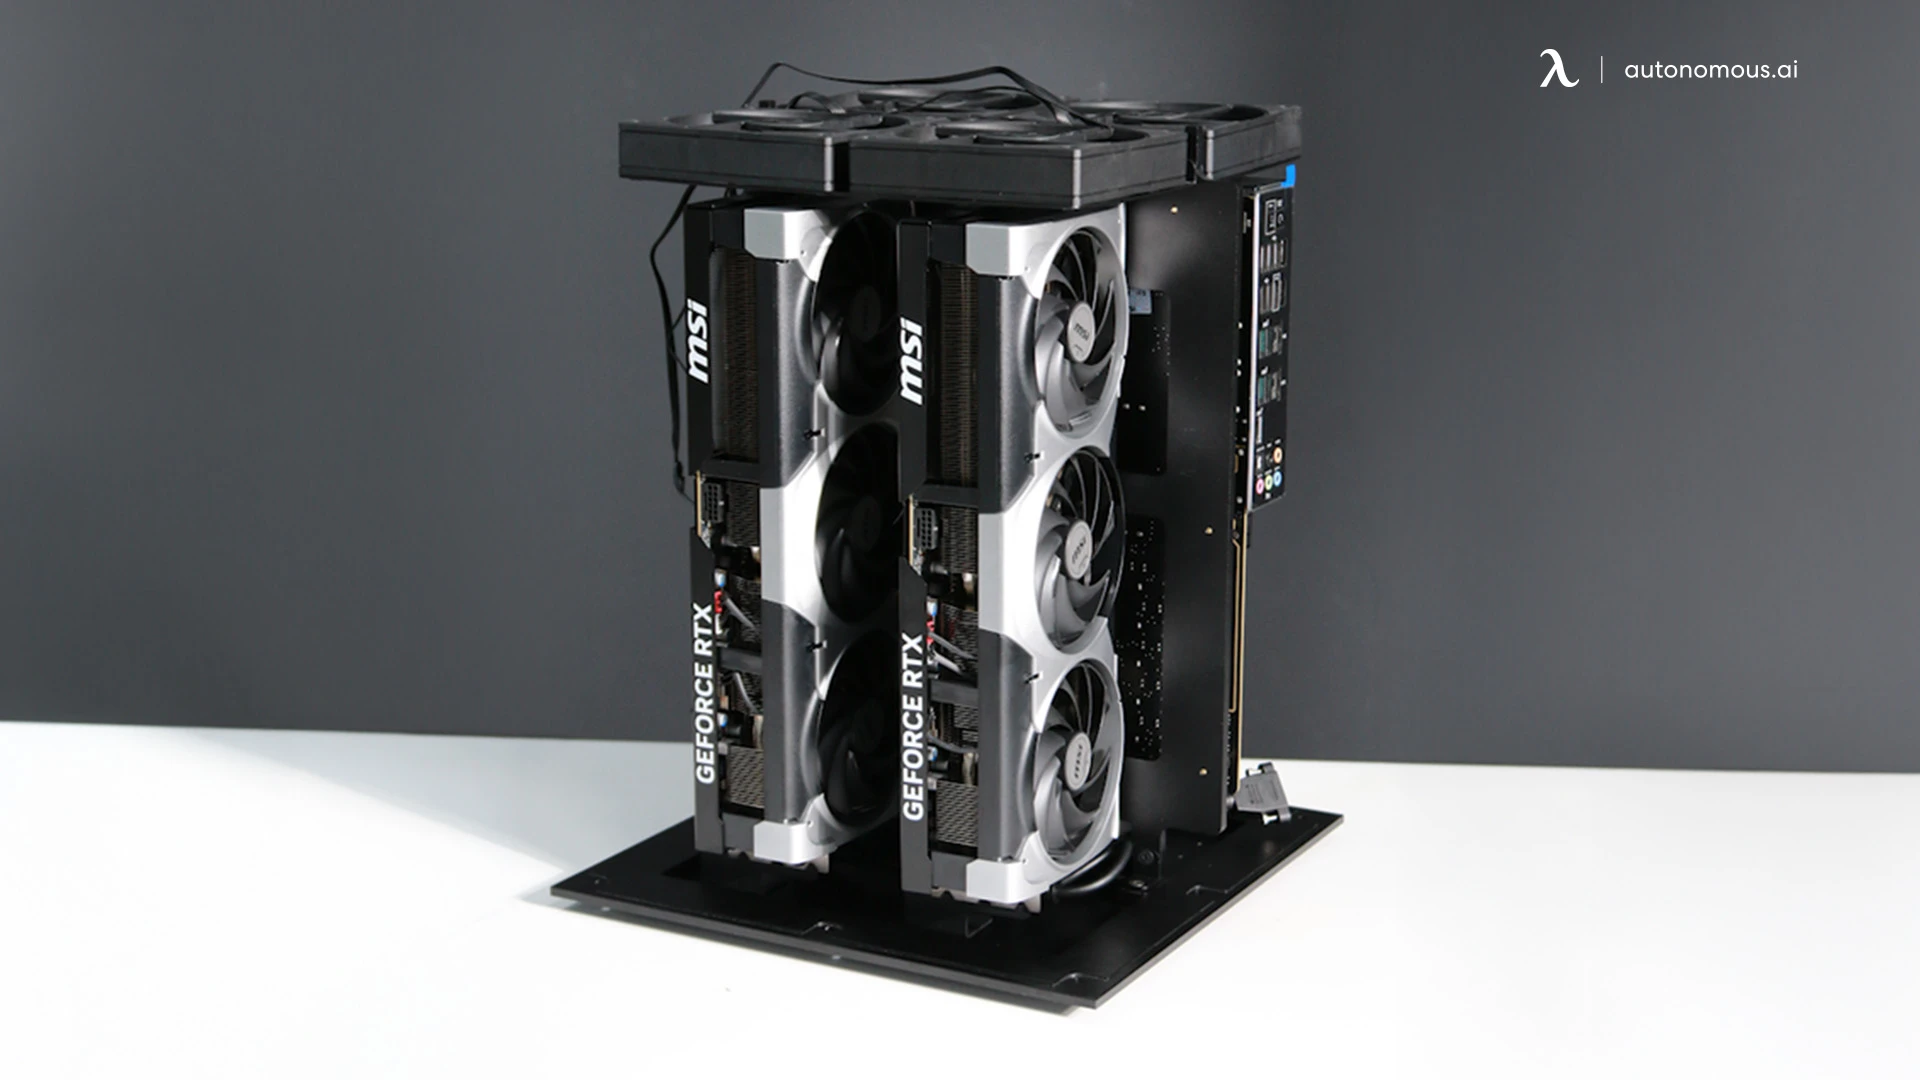
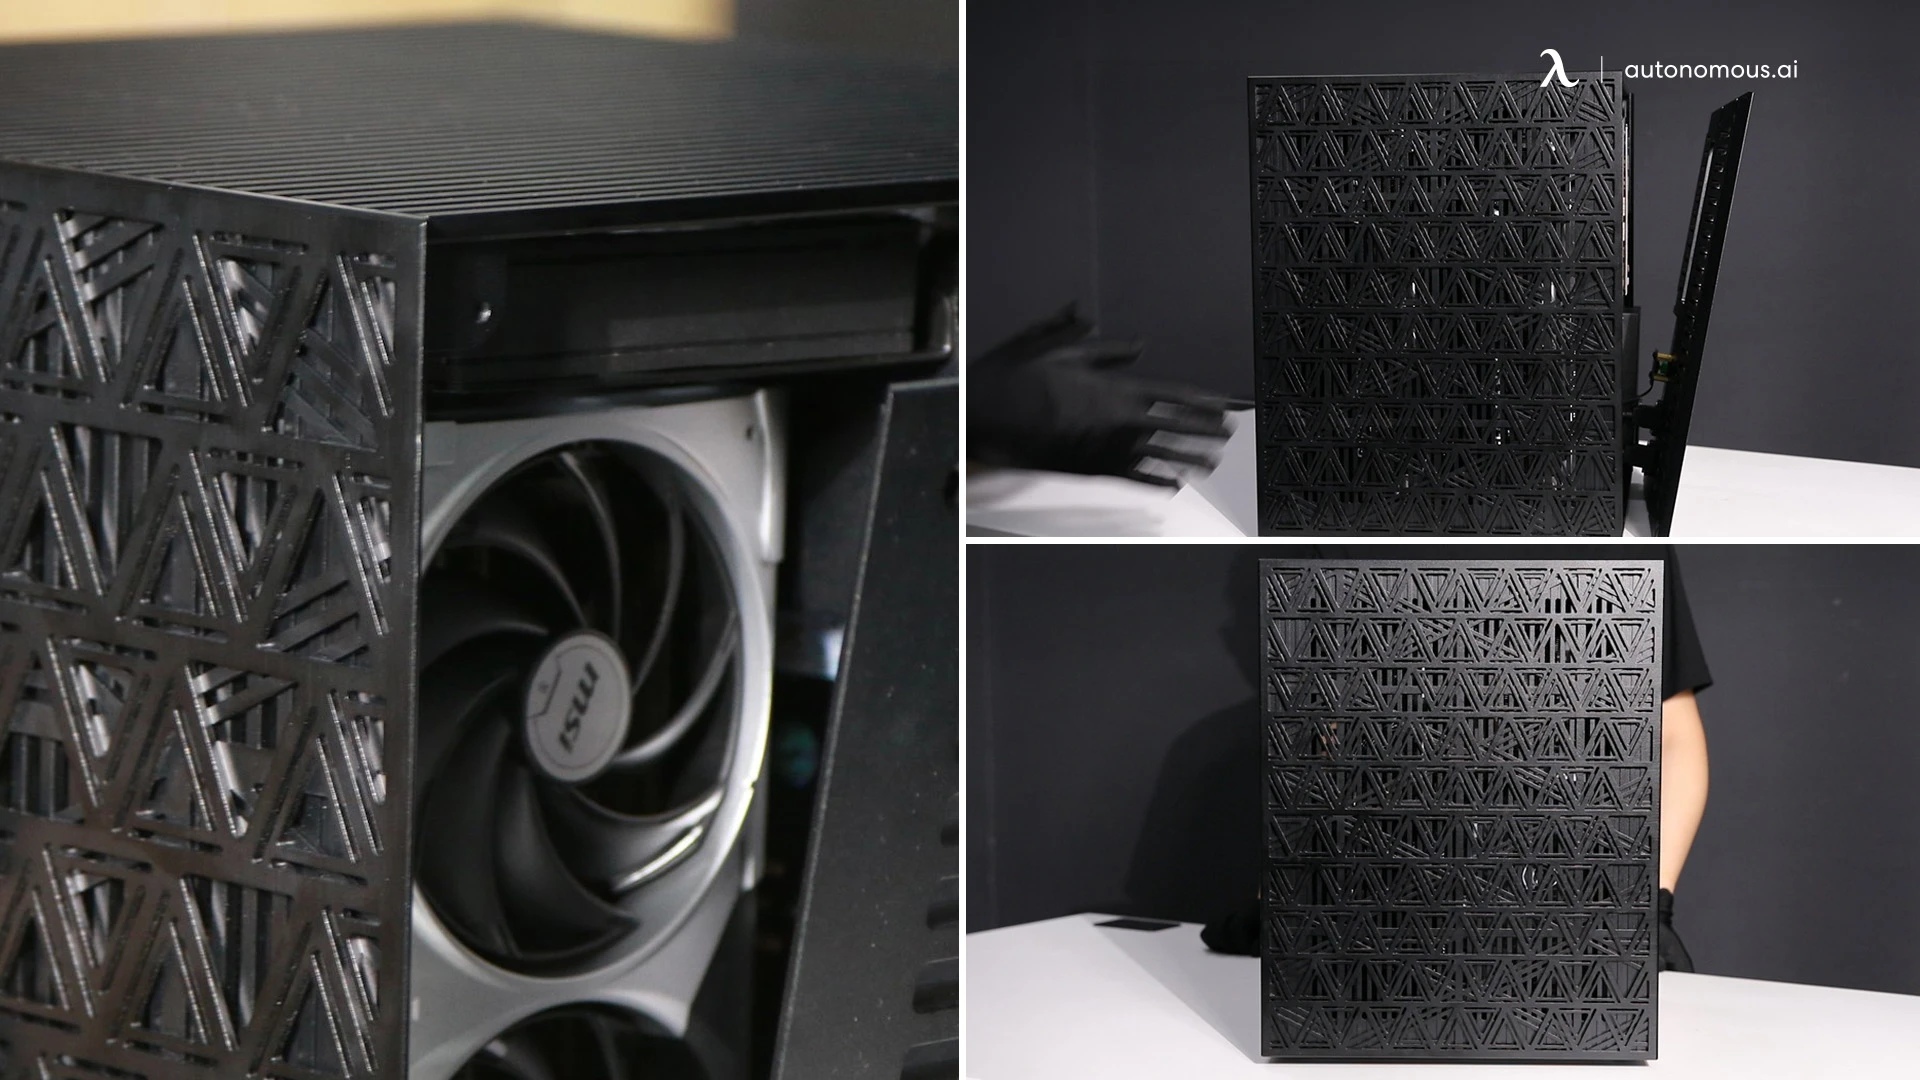
7. GPUs
2x cards. RTX 4090, 5090, or whatever you can source. Two consumer cards give you 48–64GB combined VRAM. Enough for Llama, Qwen, DeepSeek with quantization.
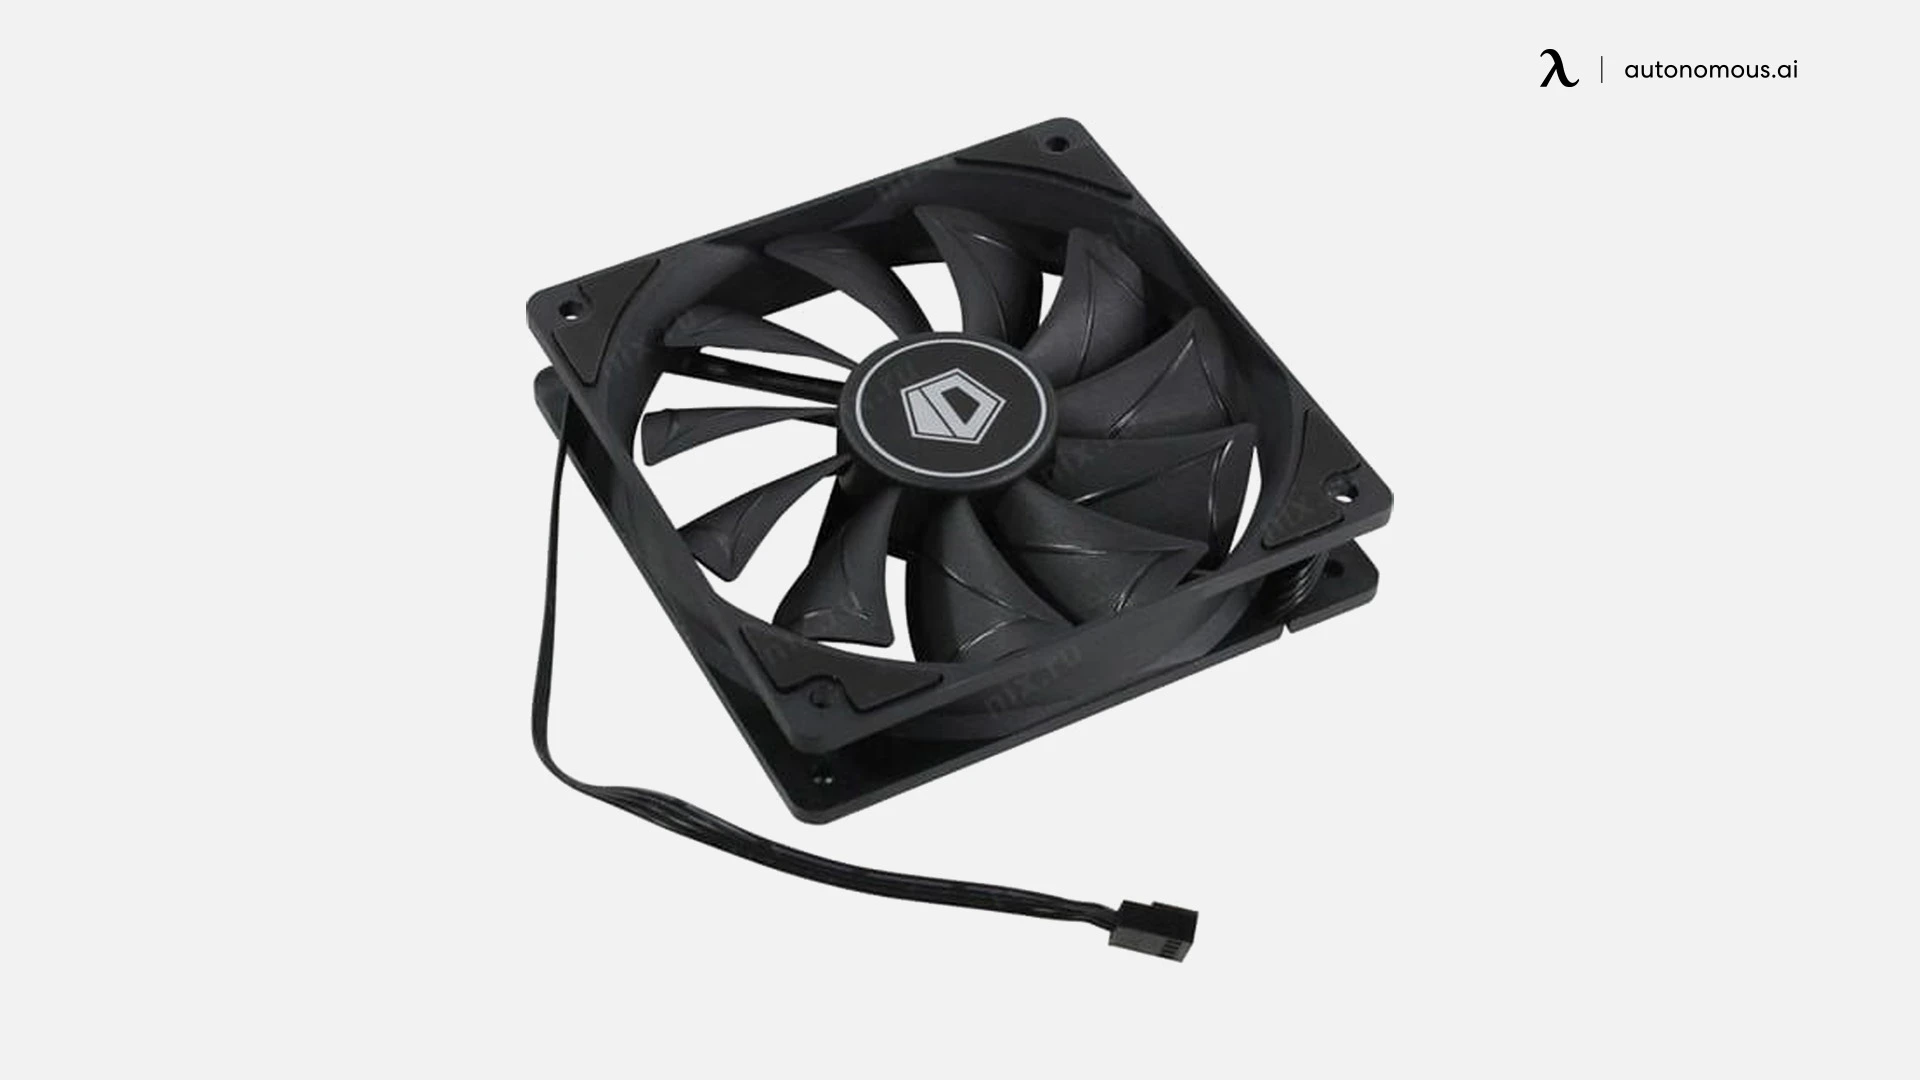
8. Fans
4x 120mm case fans. Airflow is the key with two cards stacked. The inner card cooks if you don't push enough air. 2 intake, 2 exhaust. PWM controlled from the motherboard. Quiet fans cost more, but it's worth it.
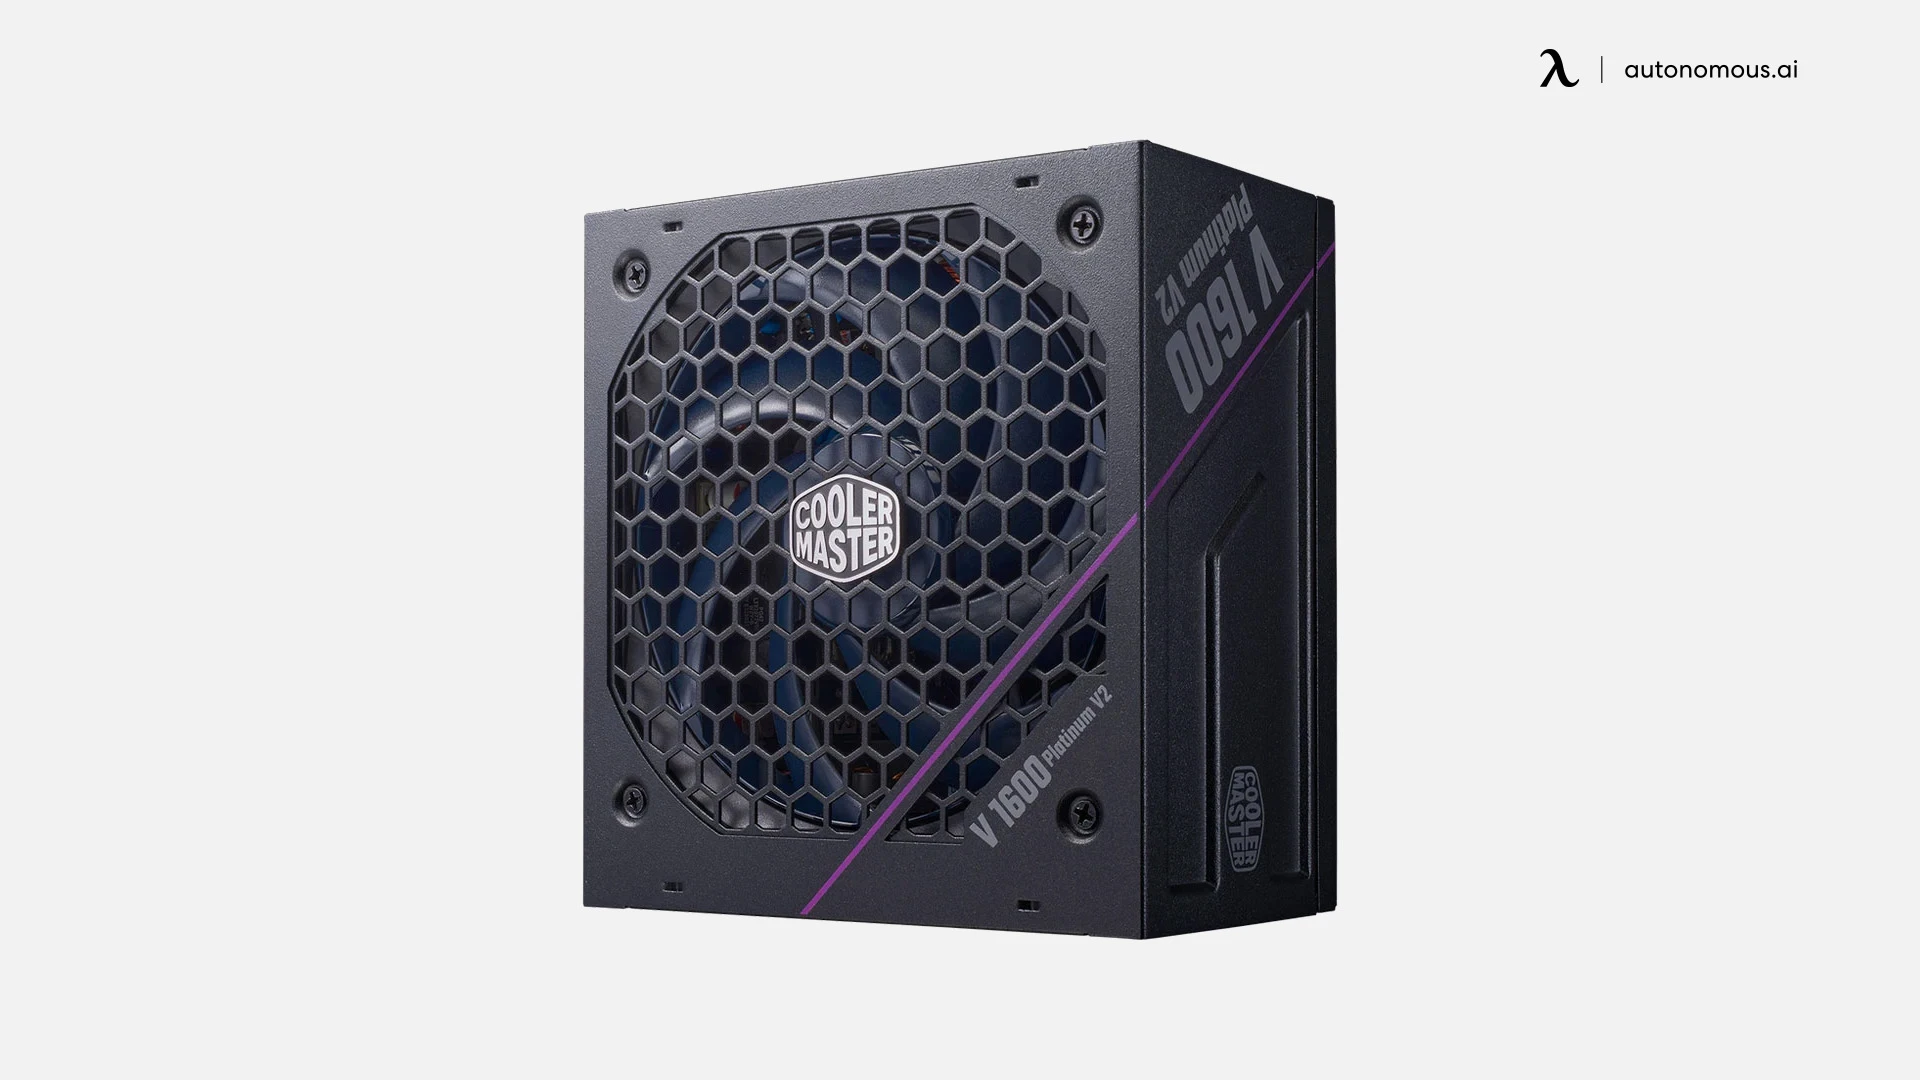
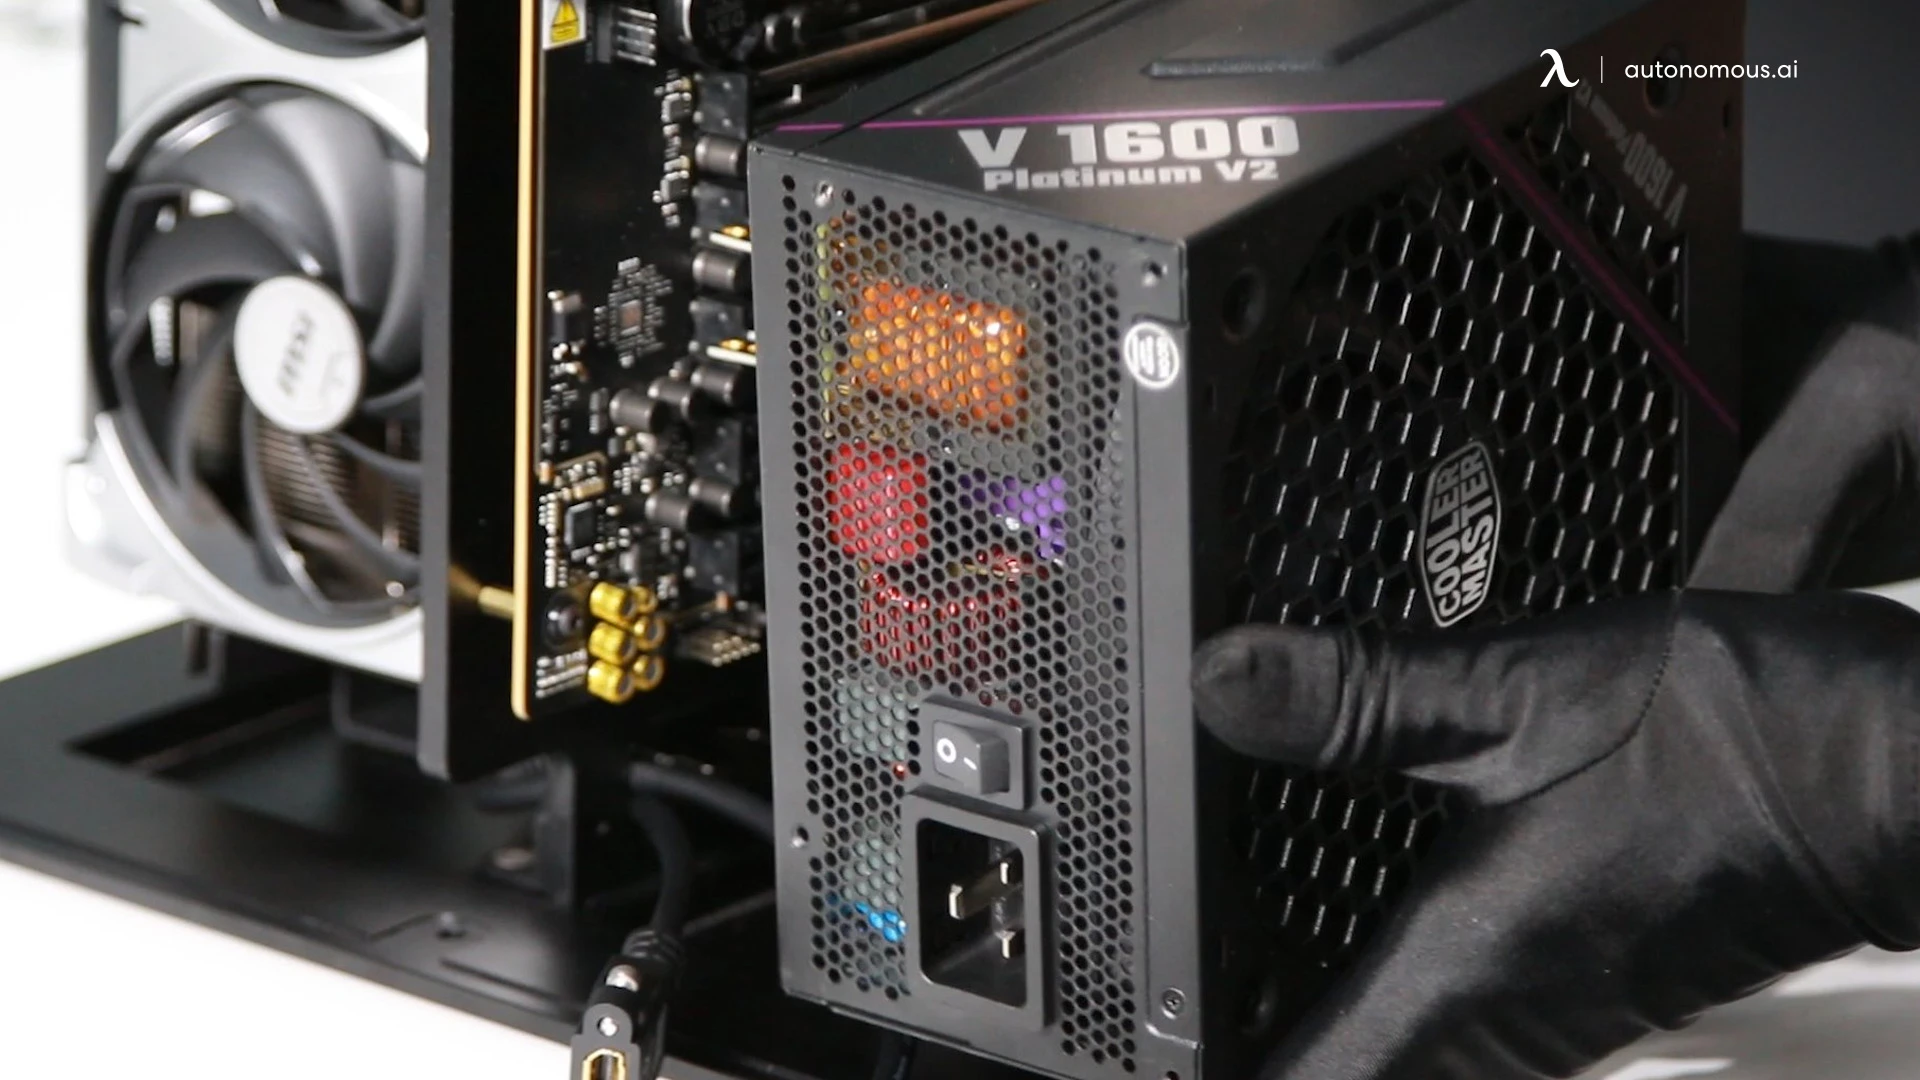
9. PSU: Cooler Master V1600
1600W, modular, platinum. 2 GPUs at 600W each = 1.2kW. Add CPU, RAM, drives. 1600W is the right size.
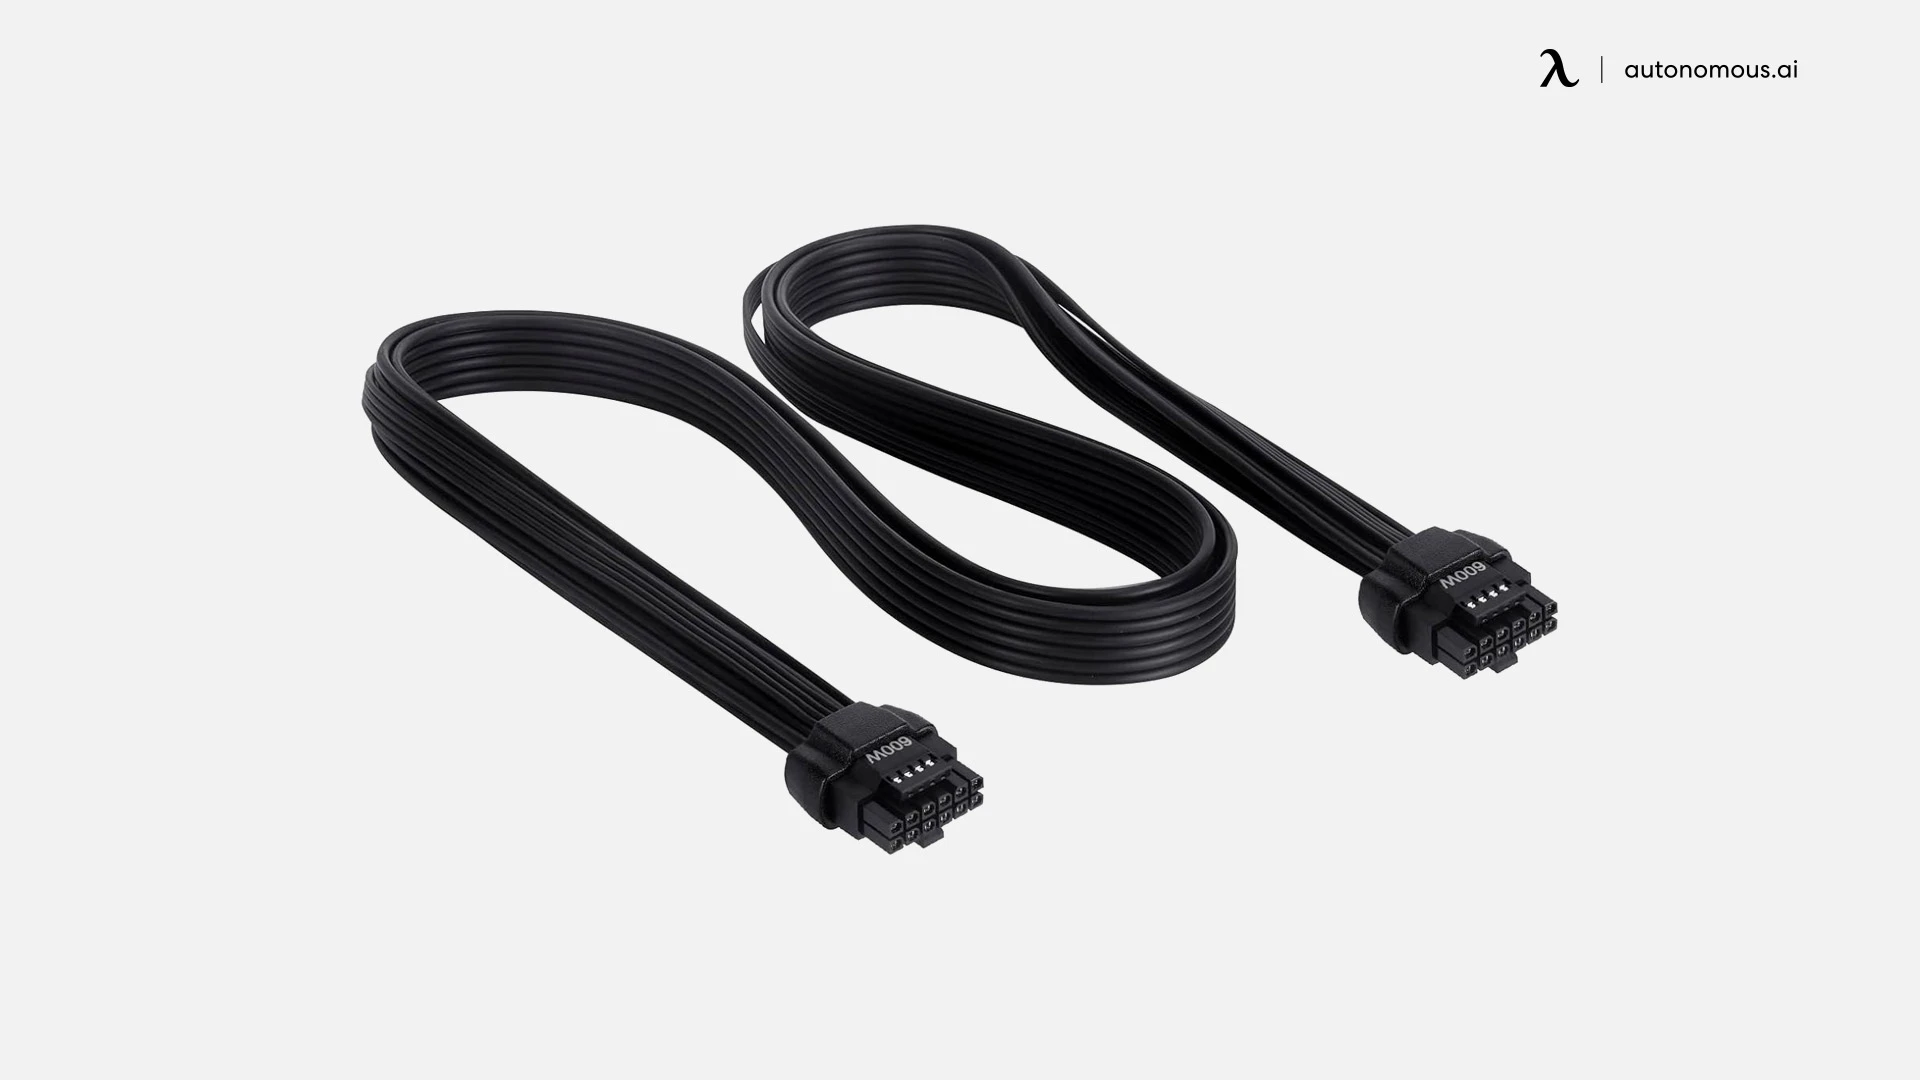
10. GPU Power Cables
2x 12V-2x6 connectors. 600W rated. Push until you hear the click.
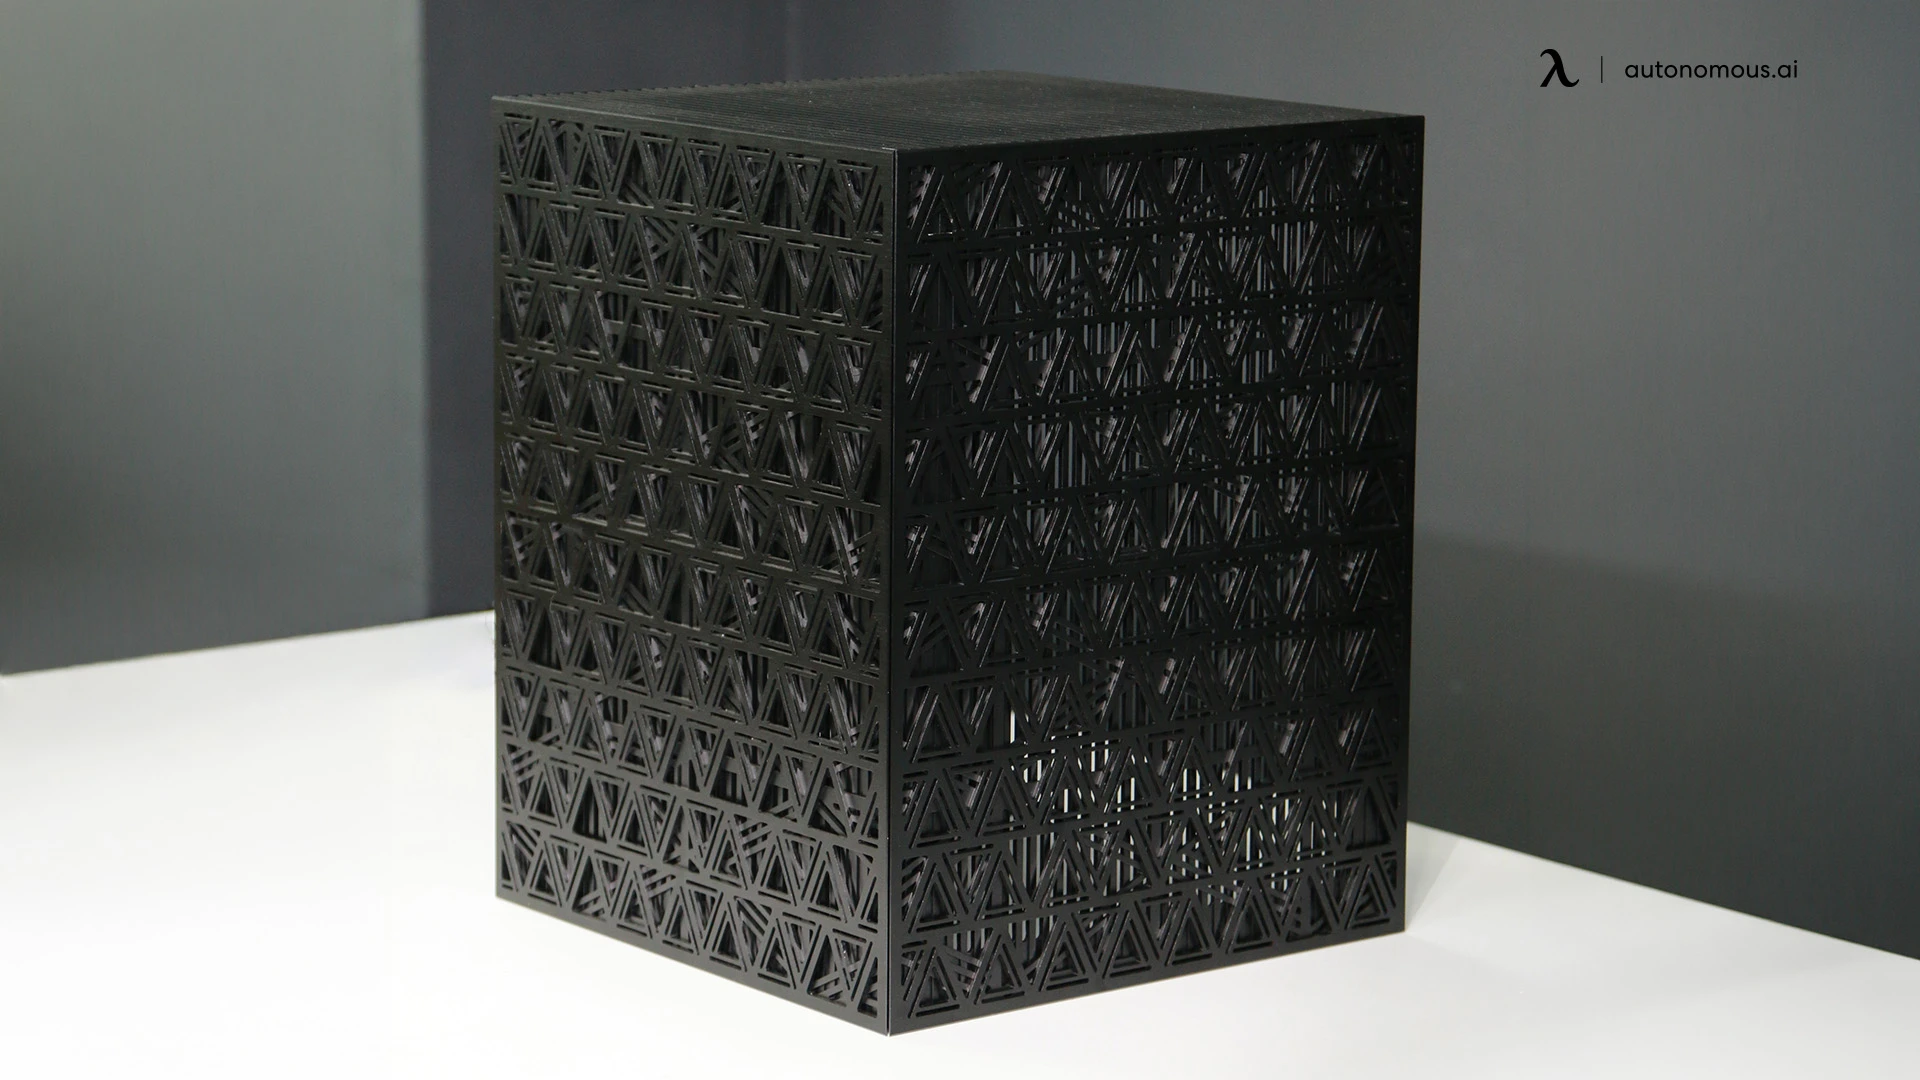
11. Frame Housing
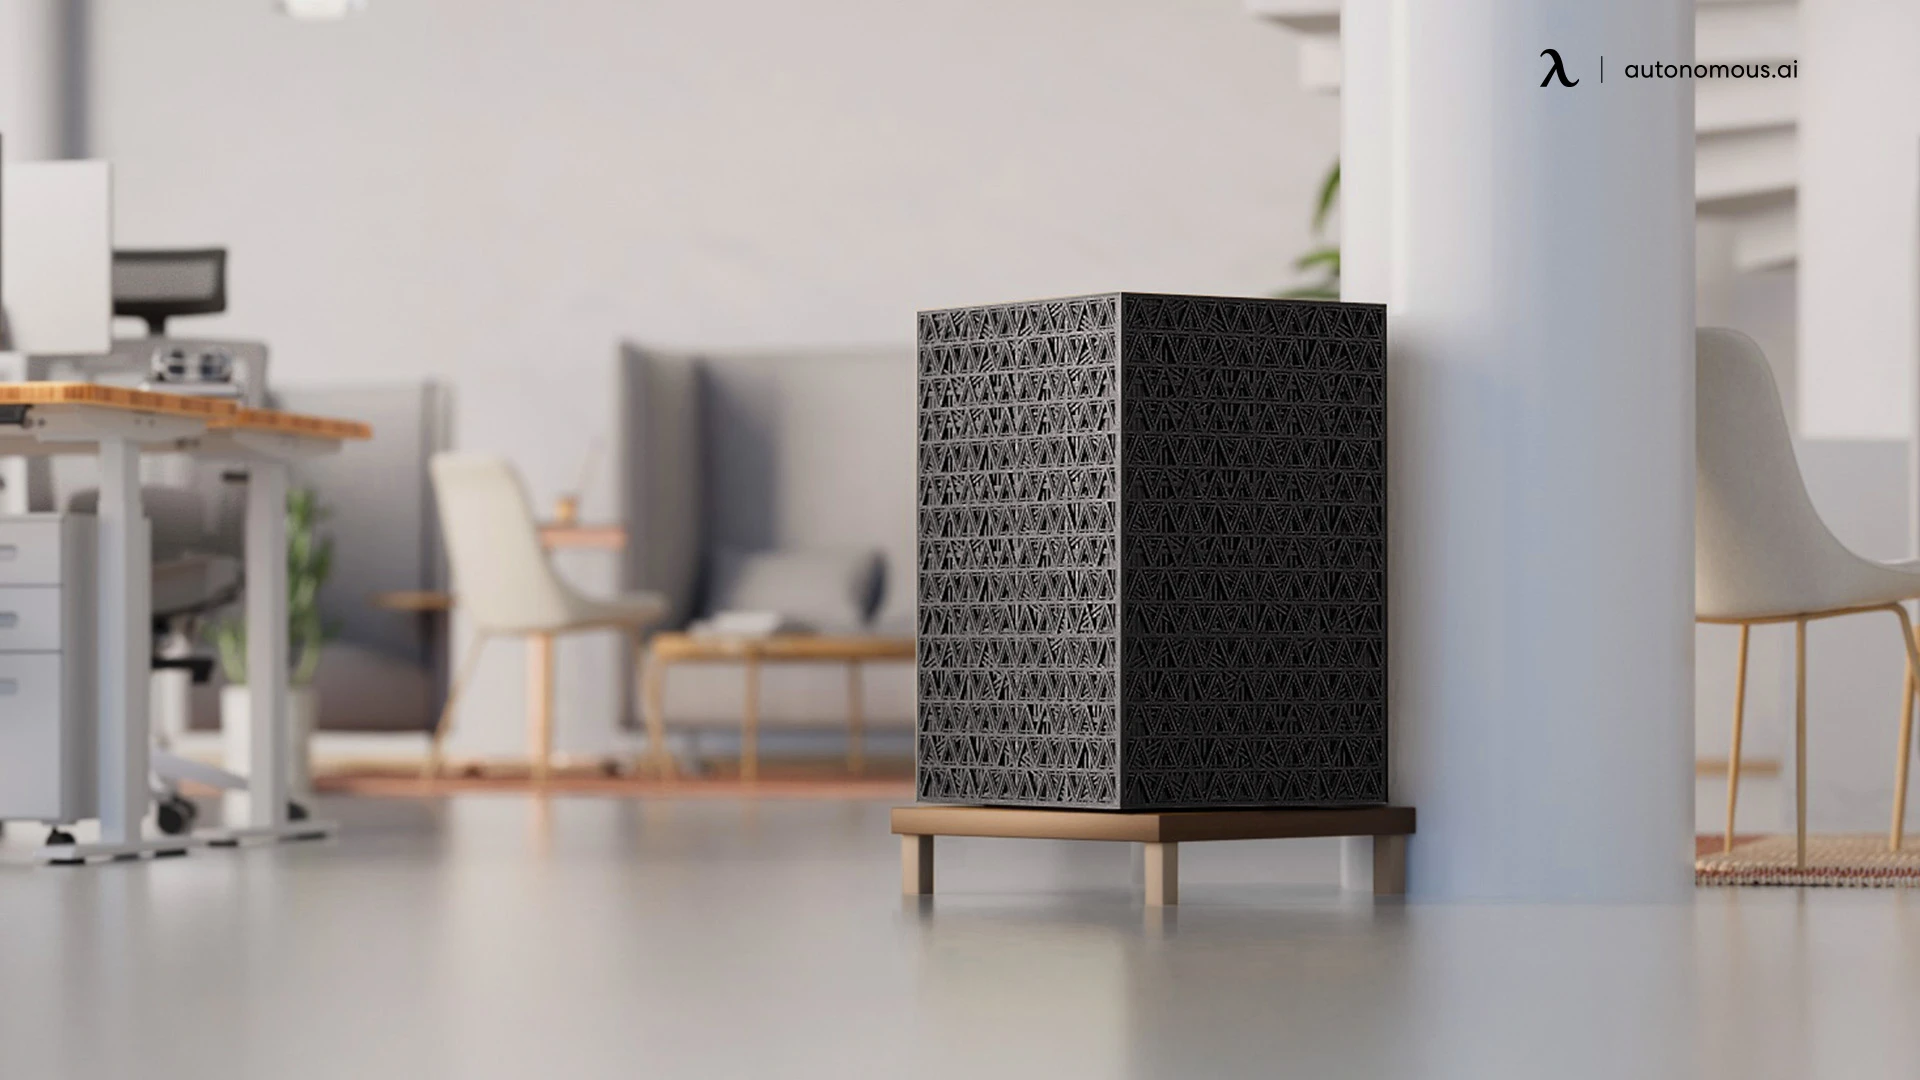
Pick a chassis with good airflow, built for multi-GPU. We custom-build ours at Autonomous Labs, and we open-sourced the design — STEP files are in the repo: github.com/brodyautonomous/2xGPUs. The chassis is custom CNC, designed for proper airflow per GPU. Use a local CNC service or an online one like SendCutSend.
12. BIOS Settings
Adjust before first boot:
- Enable Above 4G Decoding
- Enable Re-size BAR support
- Disable power-saving features (C-states, ASPM)
- Set RAM to rated speed
- Enable XMP/DOCP profiles
- Adjust fan curves and thermal limits
13. Testing
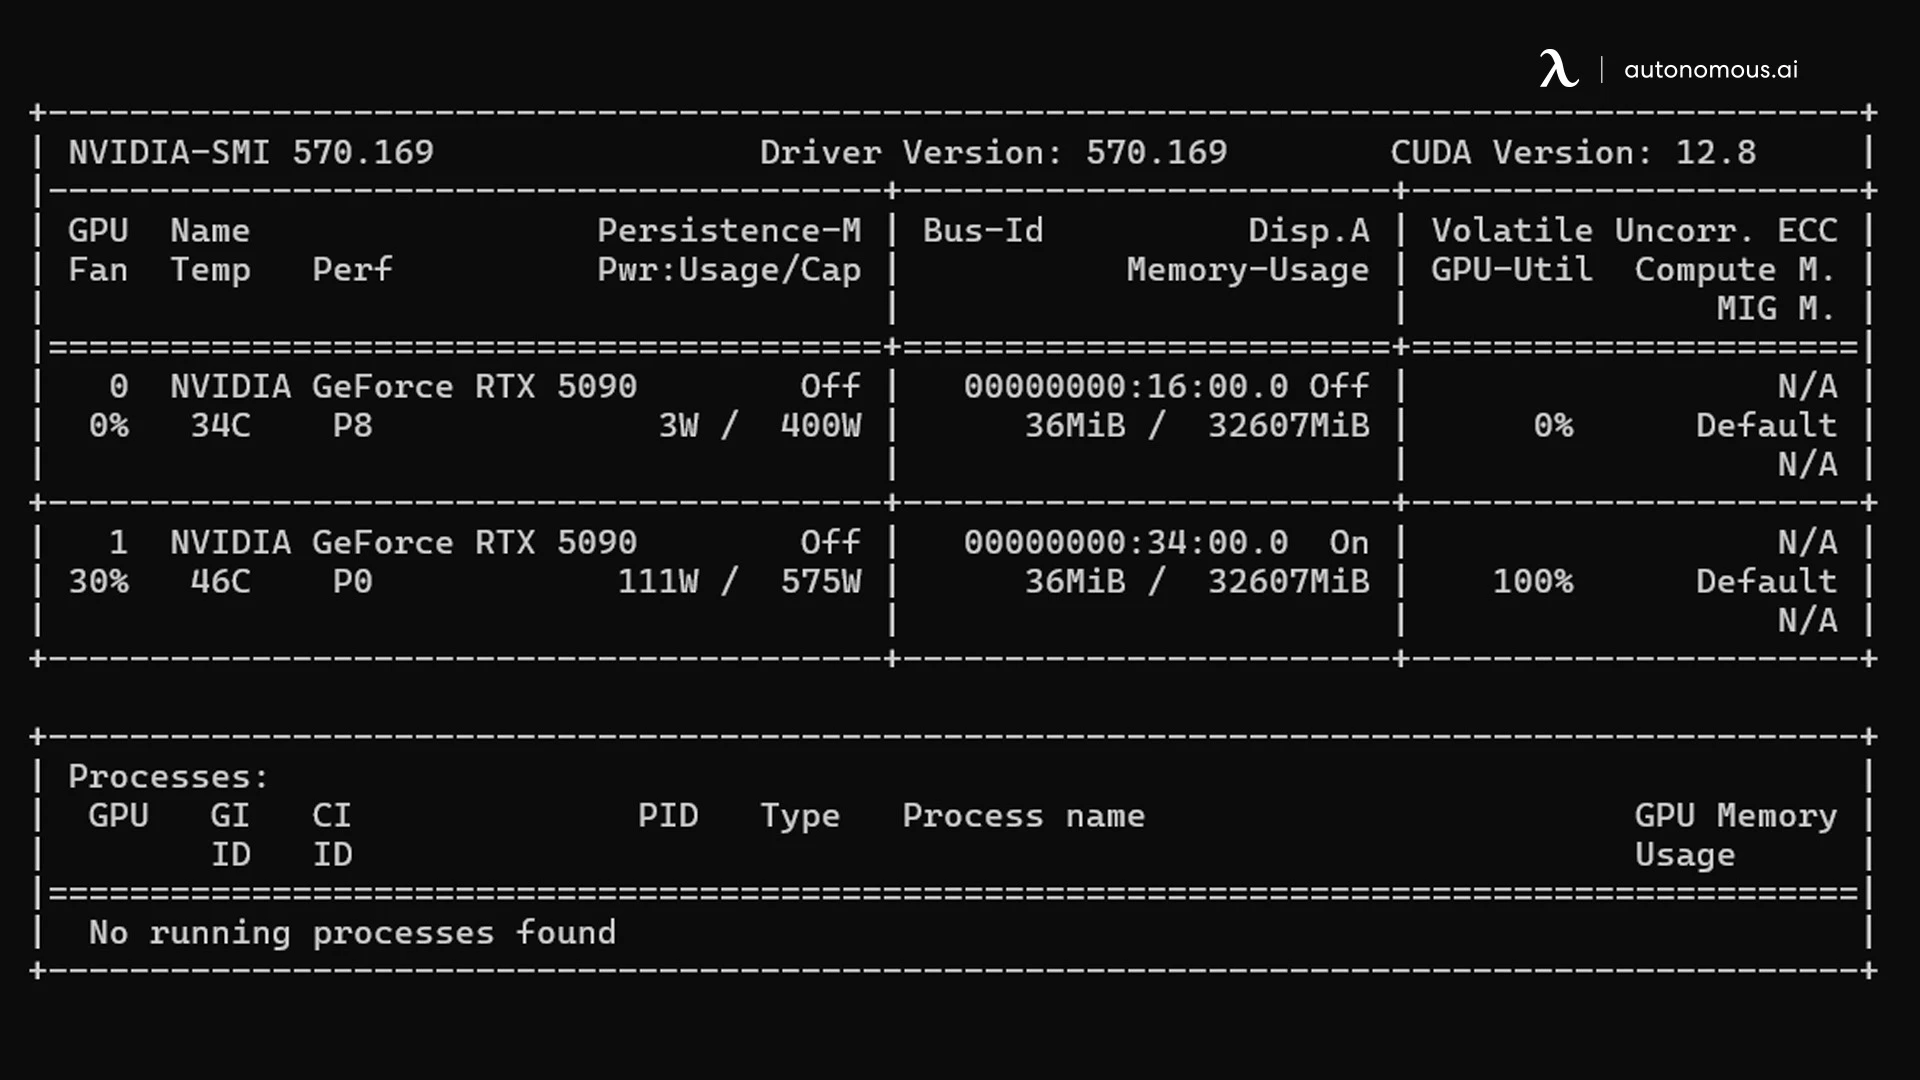
Boot with WinPE from USB to verify both GPUs at the hardware layer. Or go straight to Ubuntu, install NVIDIA drivers, and run nvidia-smi or nvtop to see both cards.
Part 2: Assembly

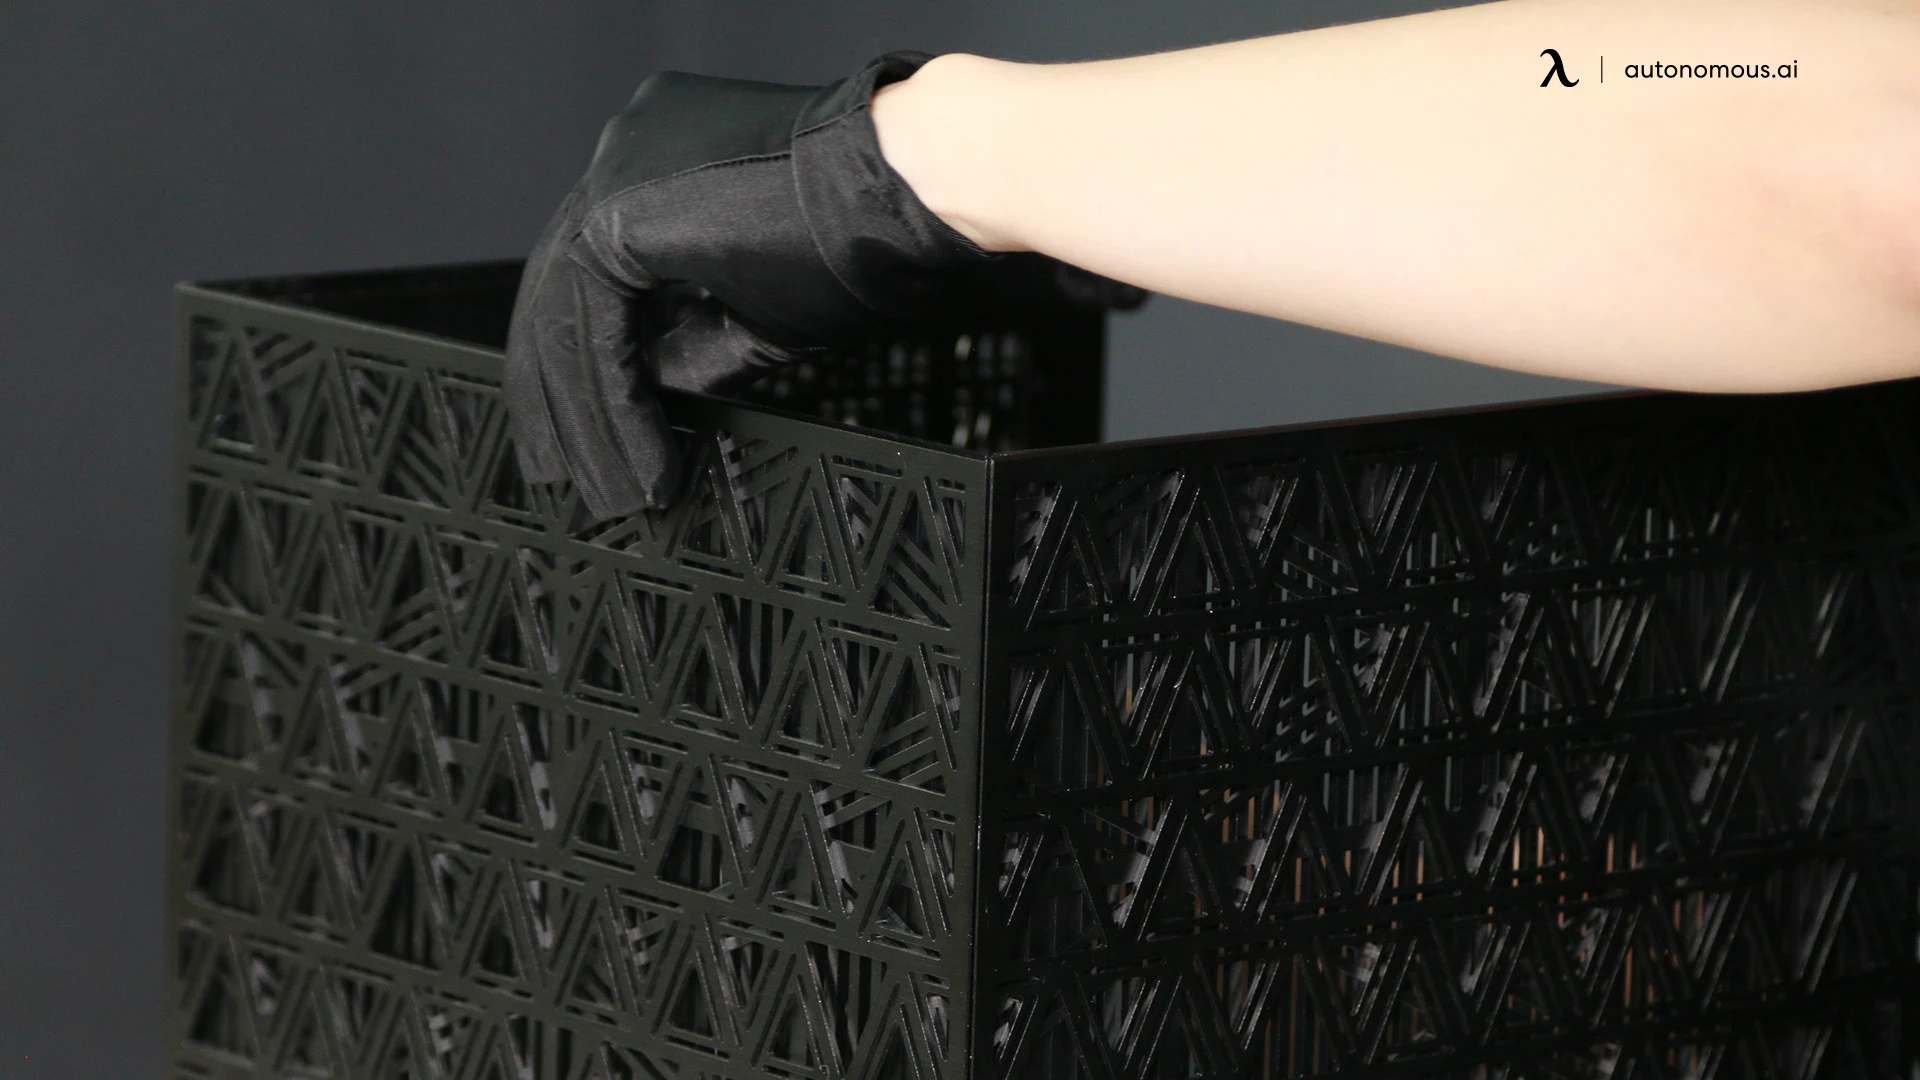
1. Prepare Housing
Lay out the housing parts. 6 panels, support brackets, screws. Take 5 minutes here. Identify every part. Cross-check against the BOM. Builds break when you're 8 phases in and discover you're missing a bracket.

2. Assemble Base and Sides
Both side panels onto the base. Don't fully tighten yet. The first 4 panels need to settle into each other before you torque down. Hand-tighten only at this stage.
3. Top Panel
Top panel slots into the side panels. Listen for the click on the alignment pins. If it doesn't seat flush, don't force it. Back out the side panel screws another half-turn and try again. Forcing this step cracks the panel corners.
4. Standoffs and PCIe Risers
Brass hex standoffs on the back of the mount plate. Hand-tighten only. These threads strip. PCIe risers attach next, before the motherboard. Order matters — you can't reach the riser screws once the board is in.
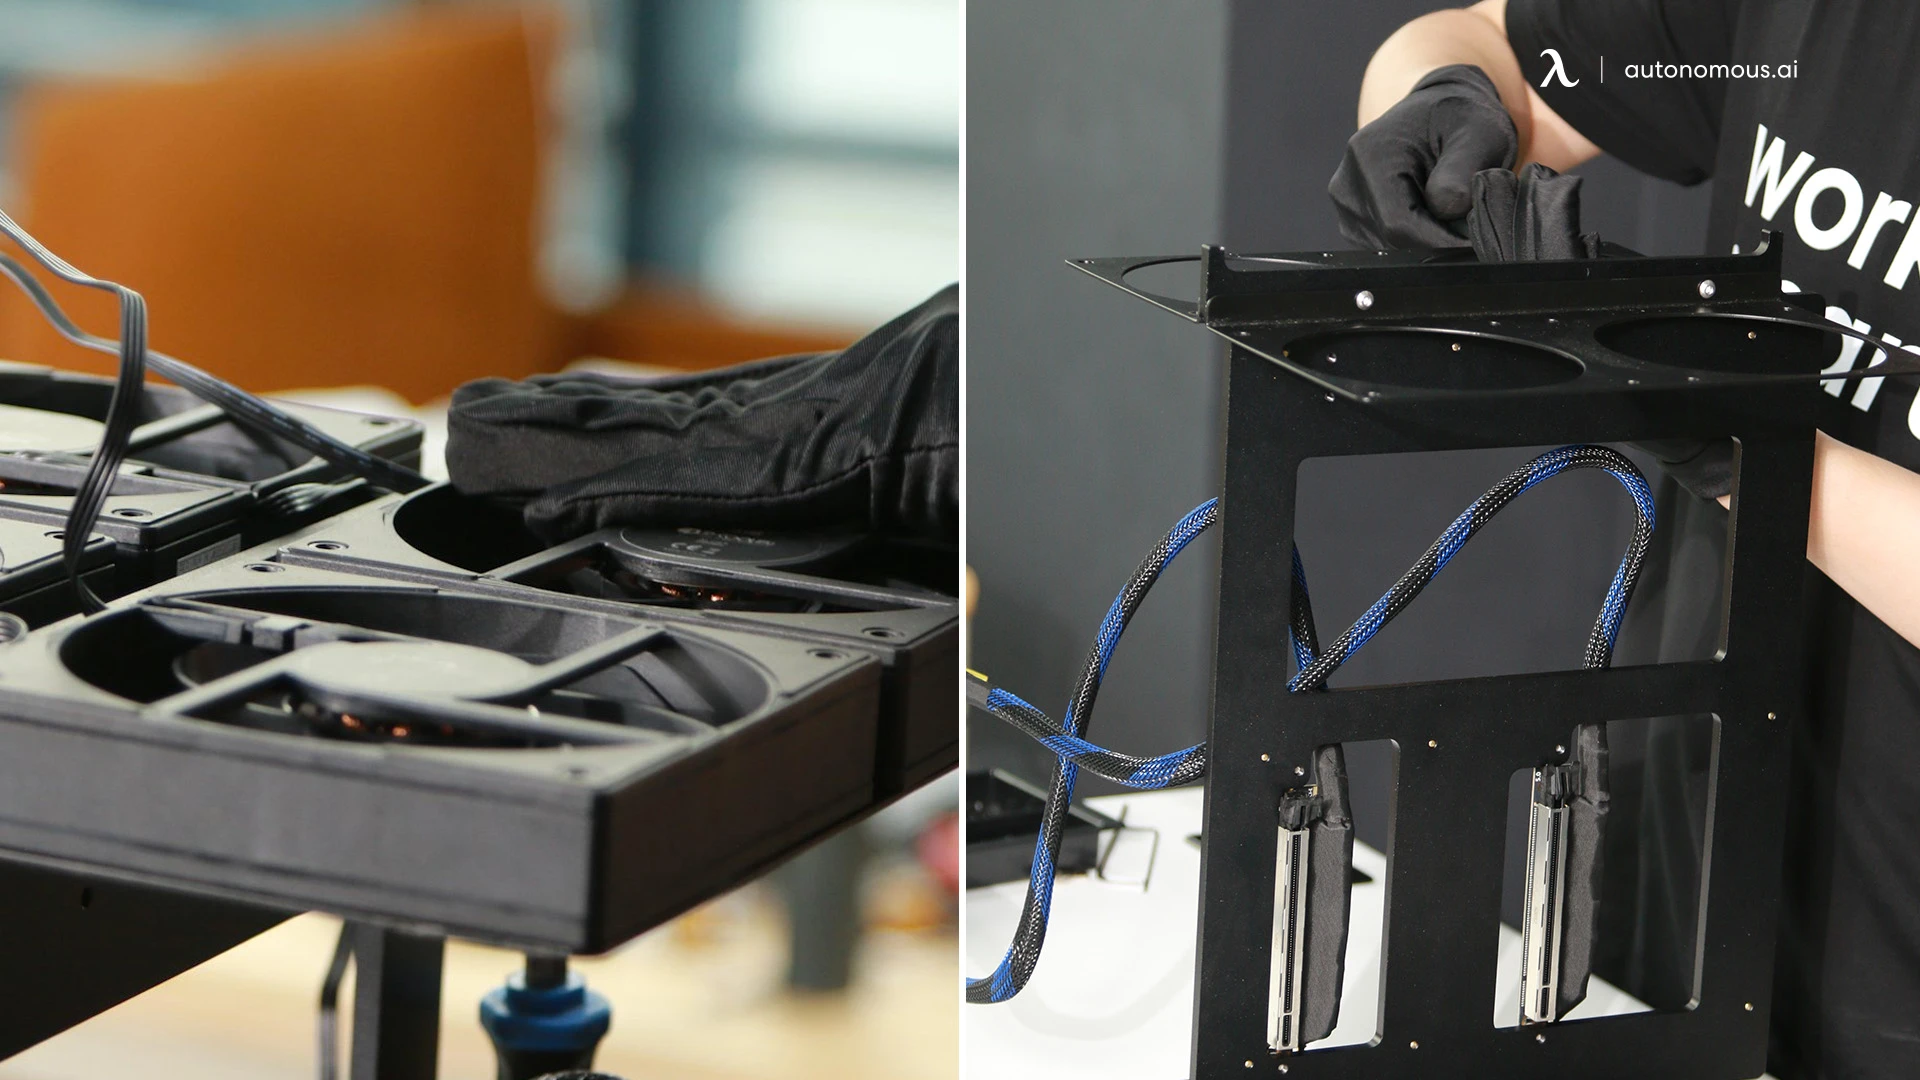
5. Fan Plate and Fans
Fan plate mounts to the housing interior. Mount it before any electronics. Easier to reach the screws. 4 fans onto the plate. Check airflow direction (arrows on housing). 2 intake. 2 exhaust. Don't do it backward.
6. Install Motherboard
Lower the board onto the standoffs. CPU socket aligns with the heatsink mount on top. Cross-pattern tightening: top-left, bottom-right, top-right, bottom-left, then middle. Two passes. First snug, second torque. Prevents board warping.
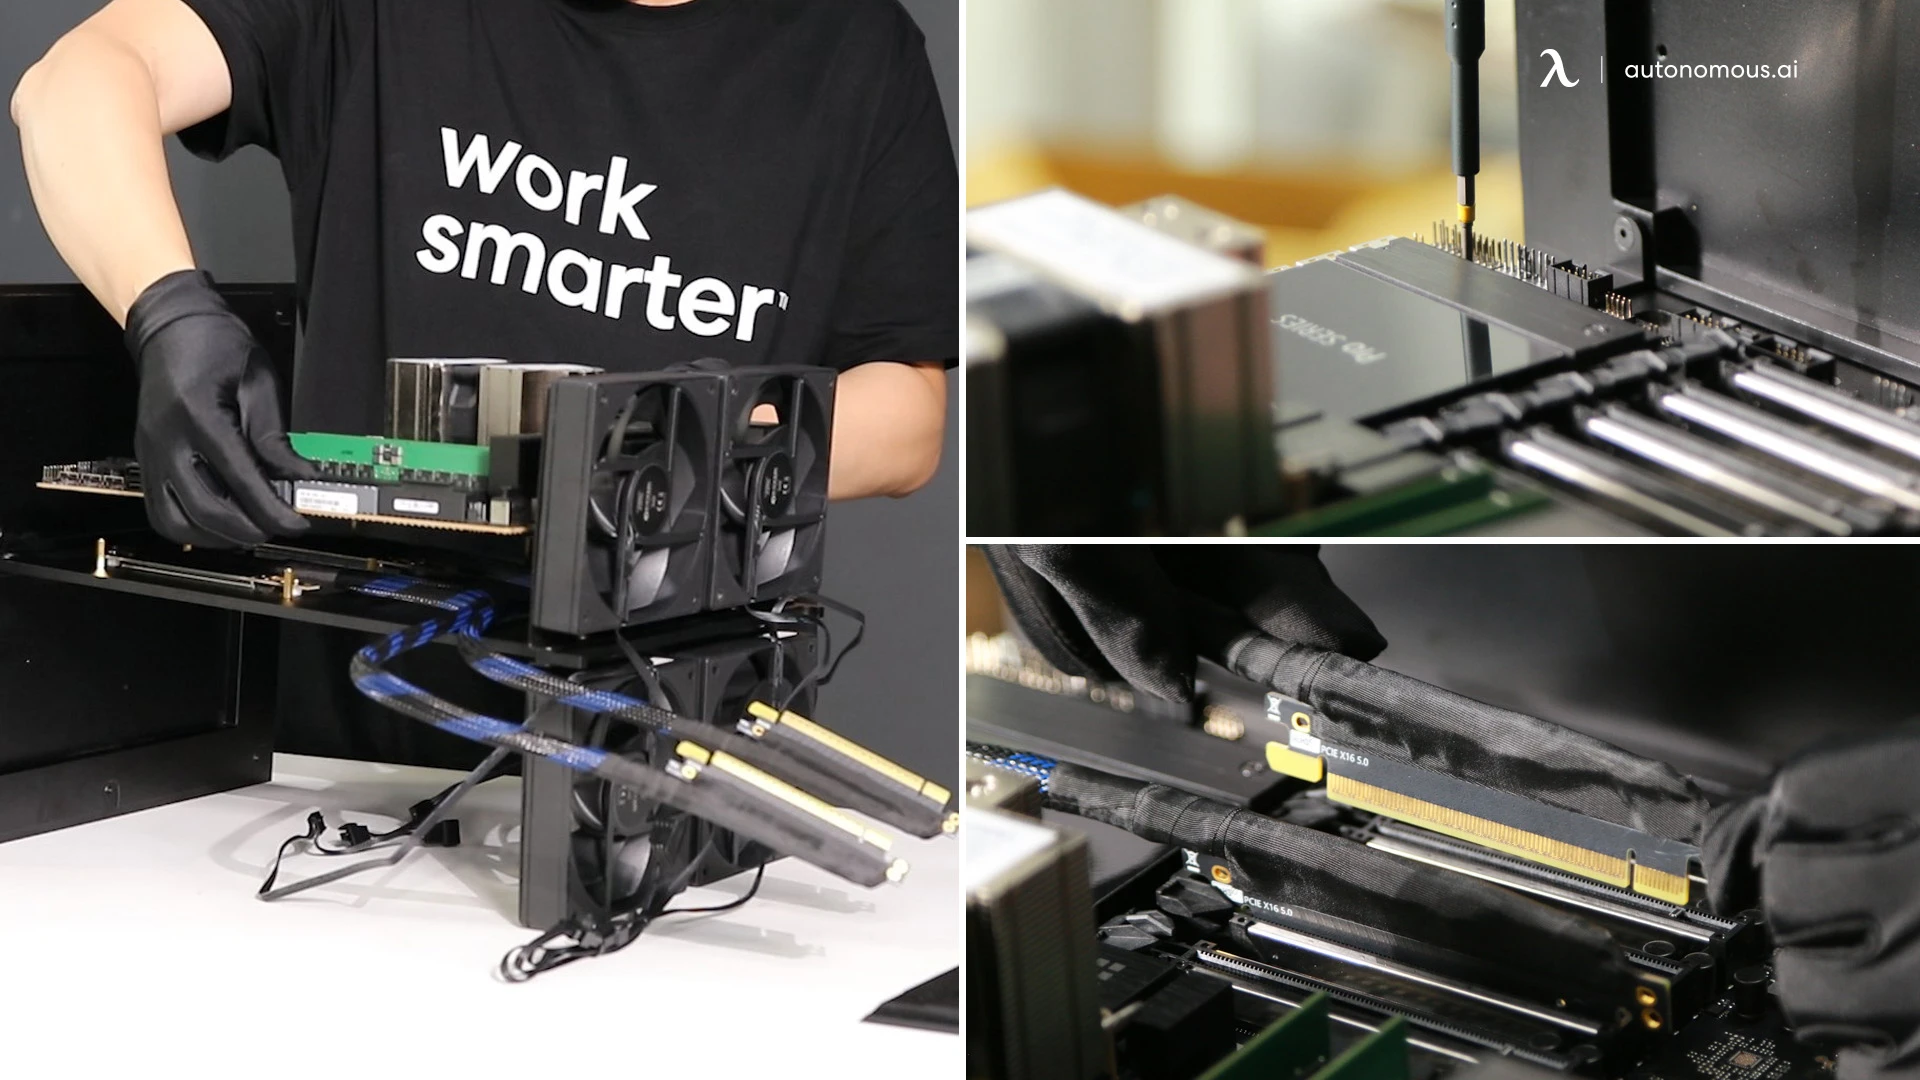
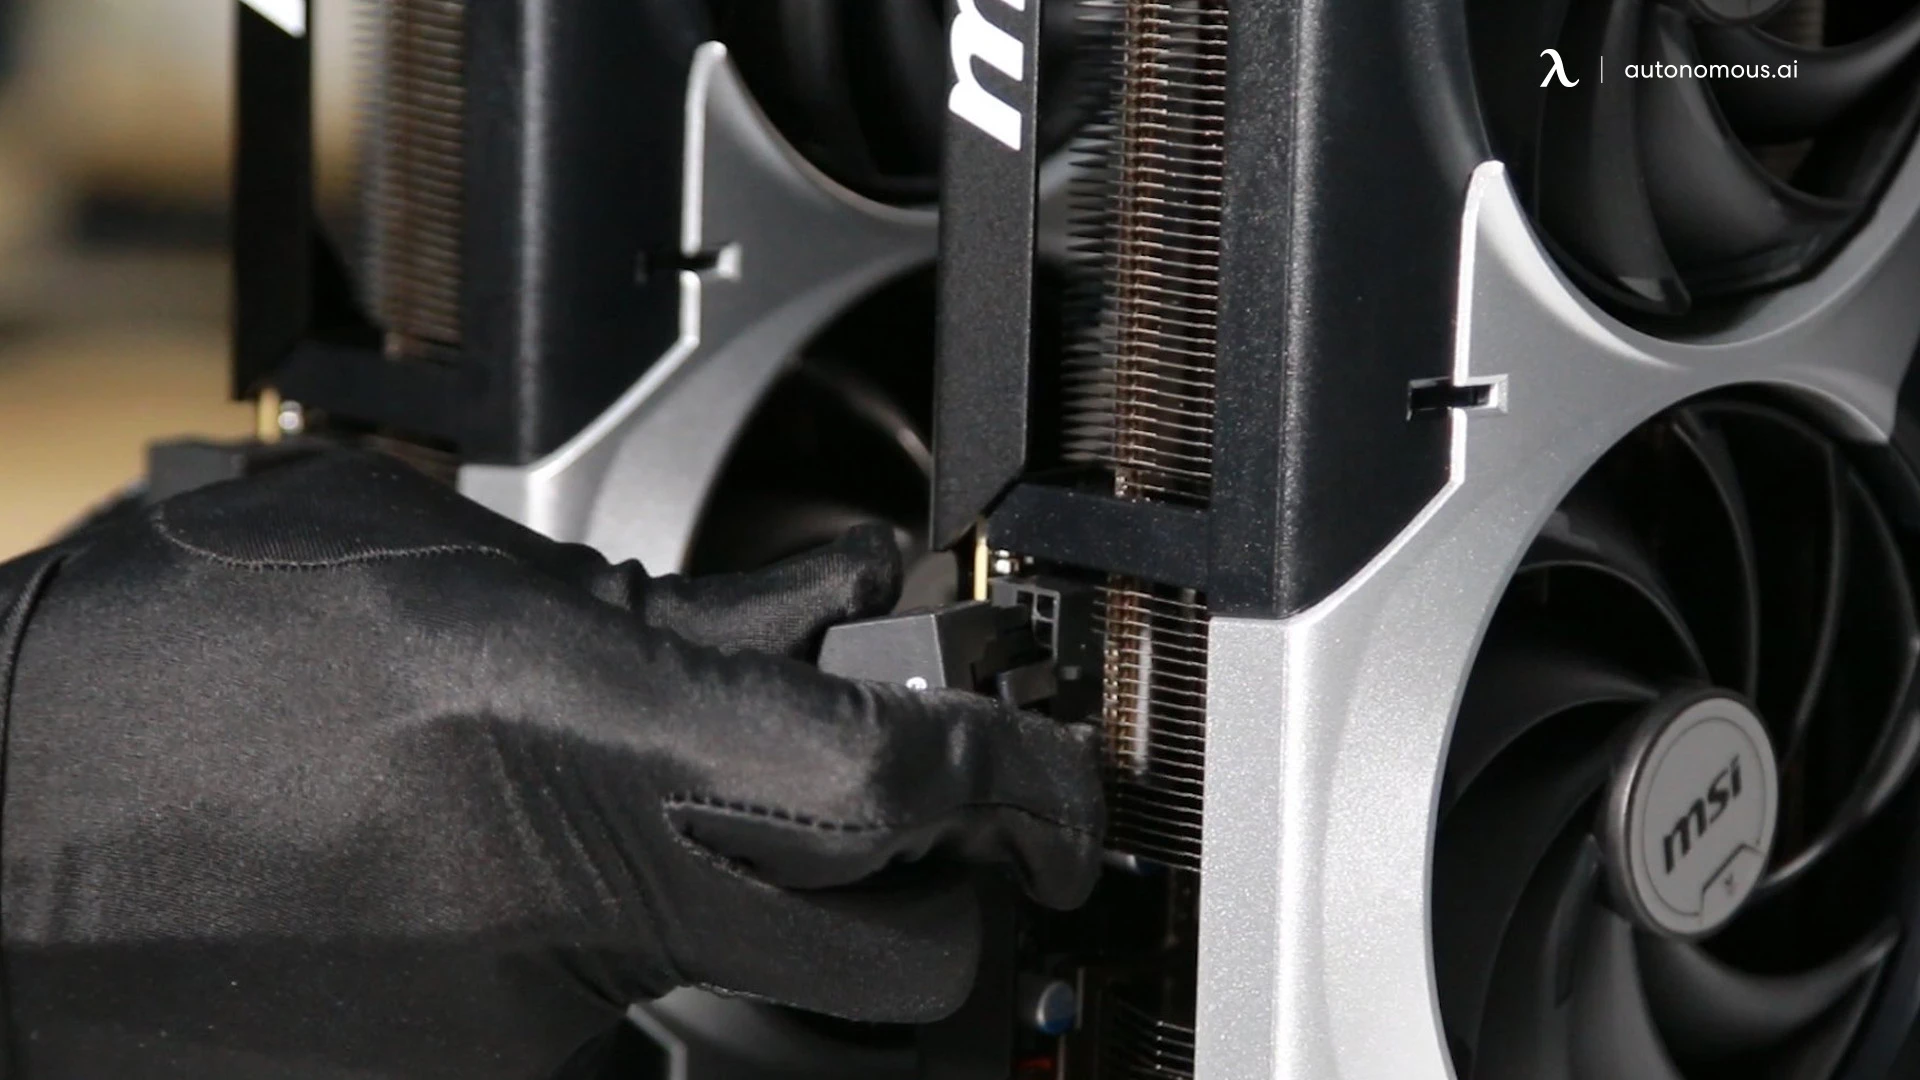
7. Install GPUs
Riser male ends into the motherboard's PCIe slots. Push straight down until the latch clicks. GPUs into the riser female ends. Same rule. Tighten the bracket screws so cards don't sag. Both GPUs must sit co-planar.
8. PSU Mount
V1600 mounts to the base plate. Fan facing down — intake from below for this chassis. Confirm fan direction before tightening. Different cases want different orientations. This one wants down.
9. Power Cabling
Modular cables go in before the PSU is buried. Connect: 24-pin ATX, 8-pin EPS for CPU, 2x 12V-2x6 for GPUs, SATA for fans.
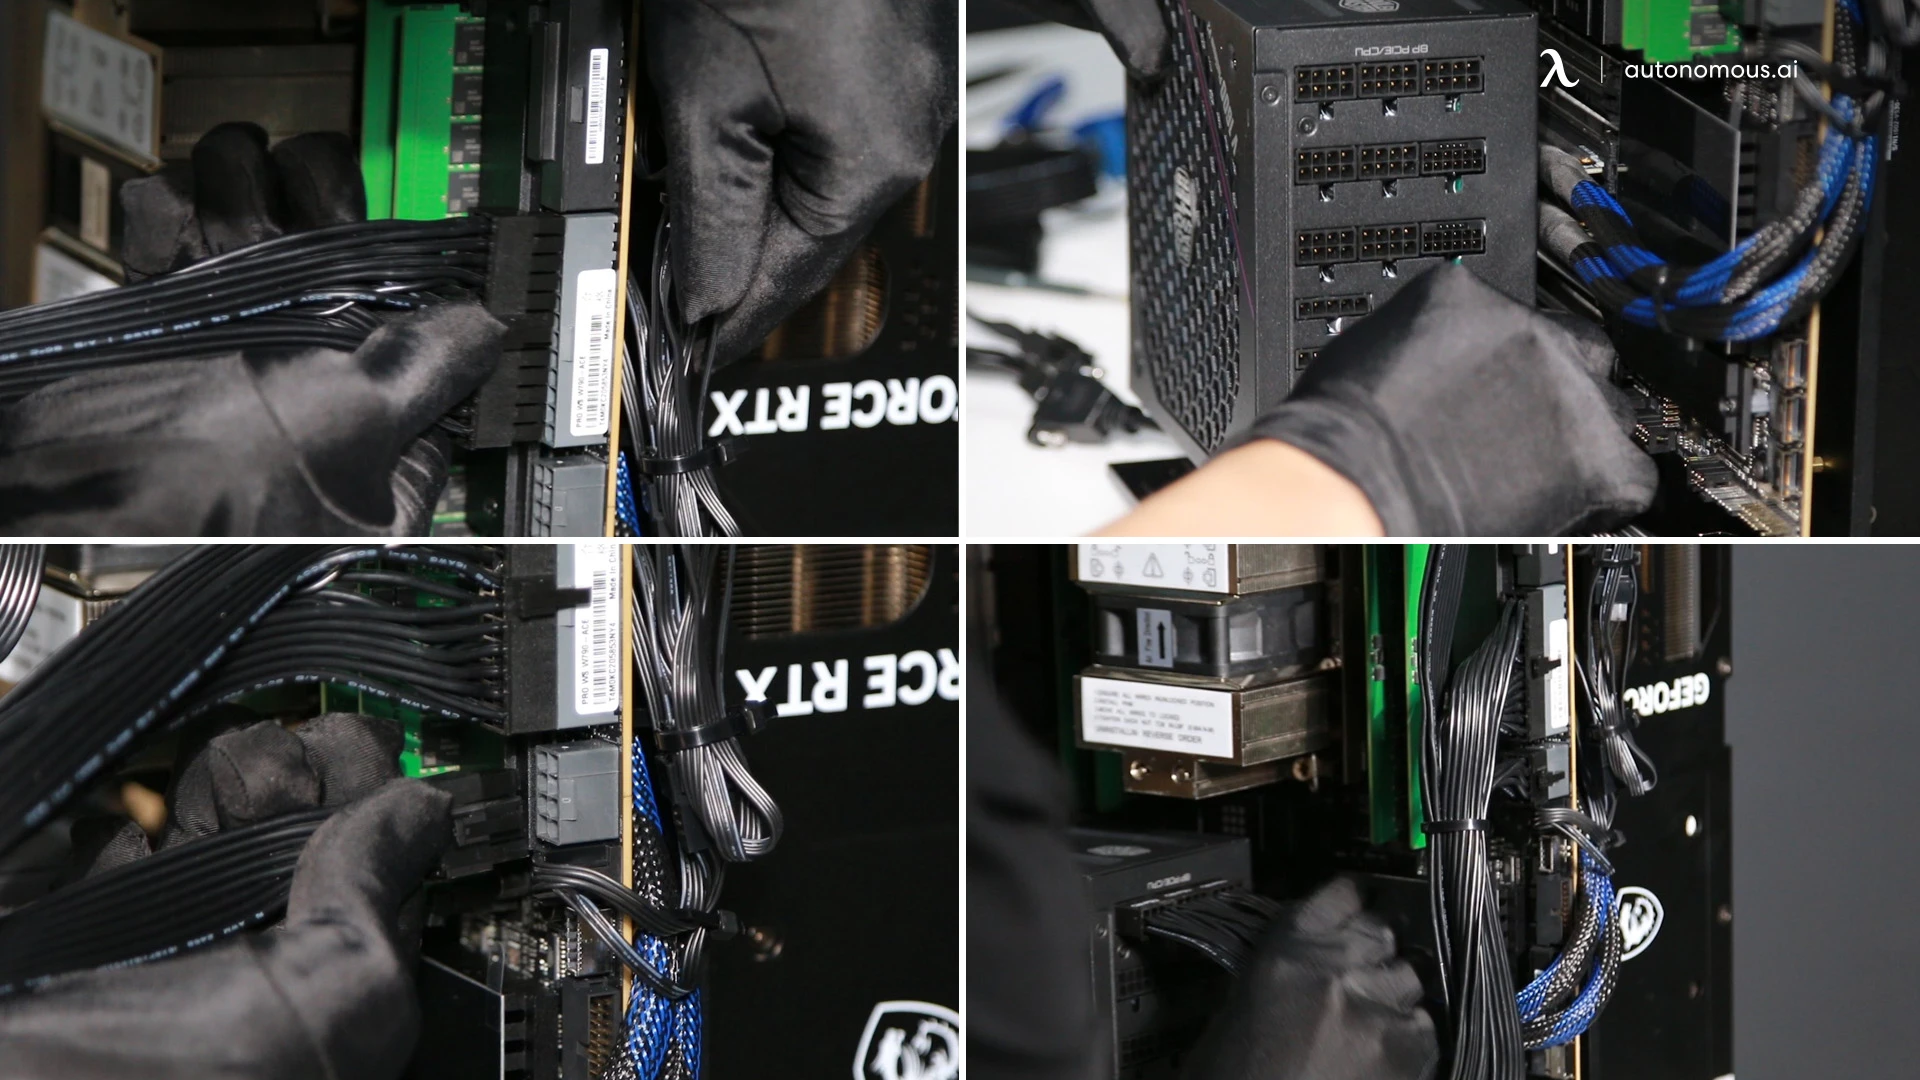
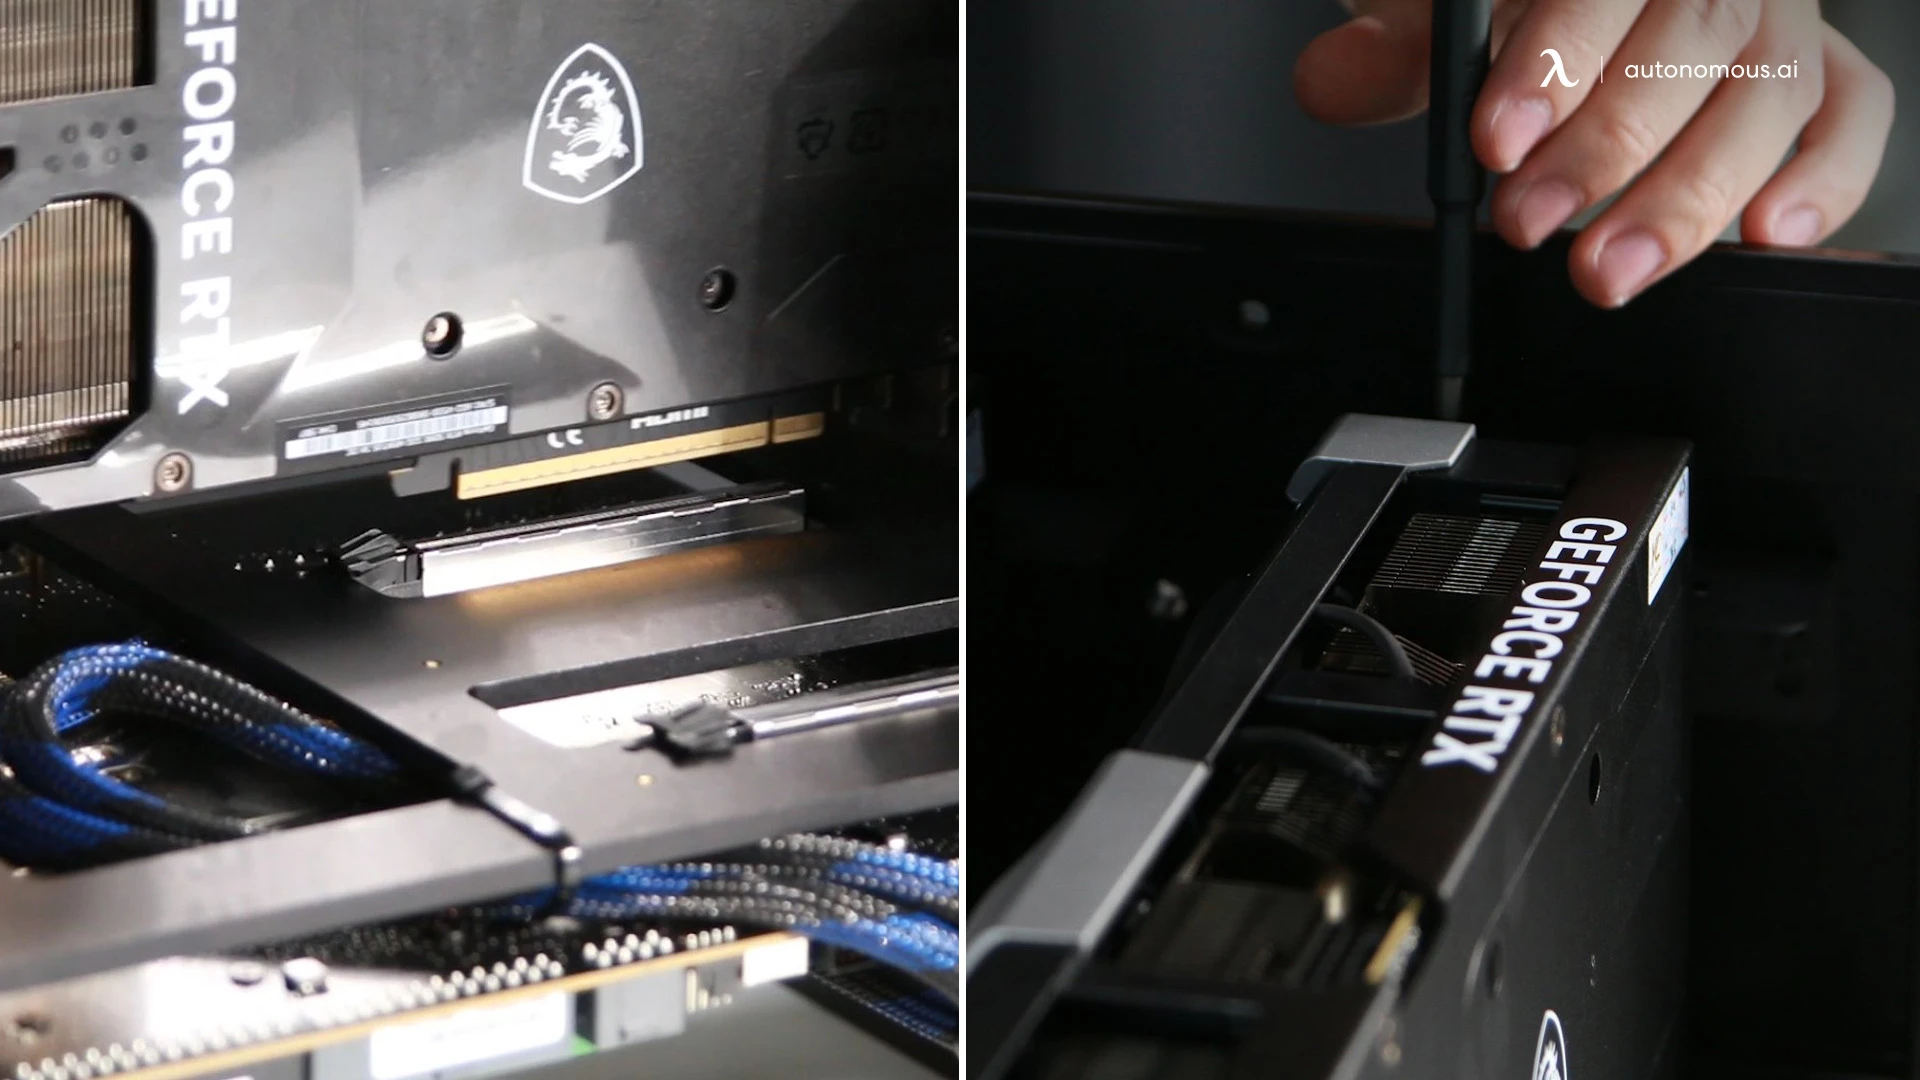
10. Final Connections
CPU fan to motherboard PWM 4-pin header. 12V-2x6 power into each GPU. Push until click. Verify with a tug. Should not move. The melted GPU connectors that made headlines? Almost all installation issues. Seat them fully.
11. Final Check
Walk around the build before closing. Checklist: 24-pin seated, EPS seated, GPU power seated x2, PCIe risers seated x2, all fans plugged in, no cables touching fan blades. Take a photo of the inside. Future you will need it.
12. Close It Up
All side panels back on. Hand-tighten first. Both sides need to seat before final torque. If panels don't sit flush, something inside is in the way. Don't force it. Open and check.
You Just Built a Personal AI Computer
- 2 GPUs, 64GB+ combined VRAM
- Runs models like Kimi and Z.ai
- Runs agents like openclaw and Hermes by Nous Research
- Local, private, sovereign
Your prompts never leave your house.


Bleiben Sie mit uns in Verbindung!
Abonnieren Sie unsere wöchentlichen Updates, um über unsere neuesten Innovationen und Community-Neuigkeiten auf dem Laufenden zu bleiben!
Interesse an einer Linkplatzierung?


Sag es weiter